This week's assignments:
- Individual: Design and produce something with a digital fabrication process (incorporating computer-aided design and manufacturing) not covered in another assignment, documenting the requirements that your assignment meets, and including everything necessary to reproduce it.
I used an SLA 3D printer.
I did not create any files this week. I used an STL from
Thingiverse.
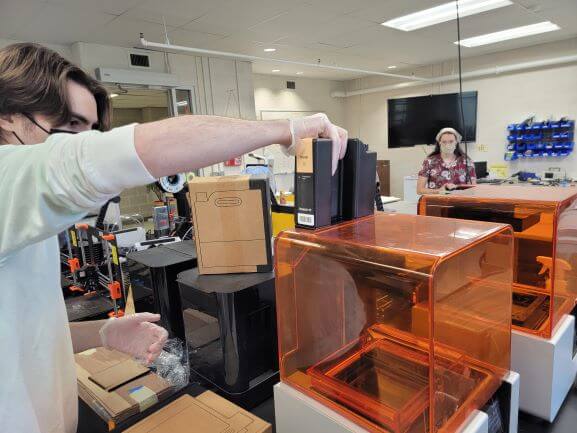
This week, a few students in my Fab Academy Class went to the Dassault 3D Experience Lab to see what machines they had that we could use for Wildcard Week.
My first instinct was to use a handheld 3D scanner to make a bust of myself, but I decided against it when I was told that we had one at Wheaton.
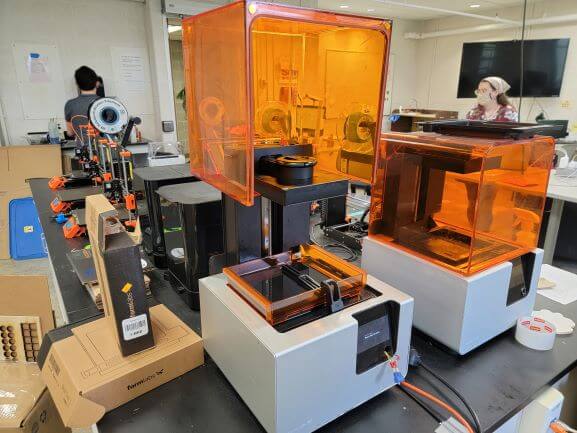
Then I saw that they had a massive Gigabot 3+ 3D printer! This thing can print up to 600mm x 600mm x 600mm! I wanted to use it to print a PETG skateboard, but I could not get the machine to extrude. It loaded fine, moved fine with the gcode, but refused to turn the servo that pulls the filament. On top of all that, the slicer support is terrible and assistance on their website is absolutely useless! After days of troubleshooting, I decided to use the Formlabs 2 SLA printer we have at Wheaton.
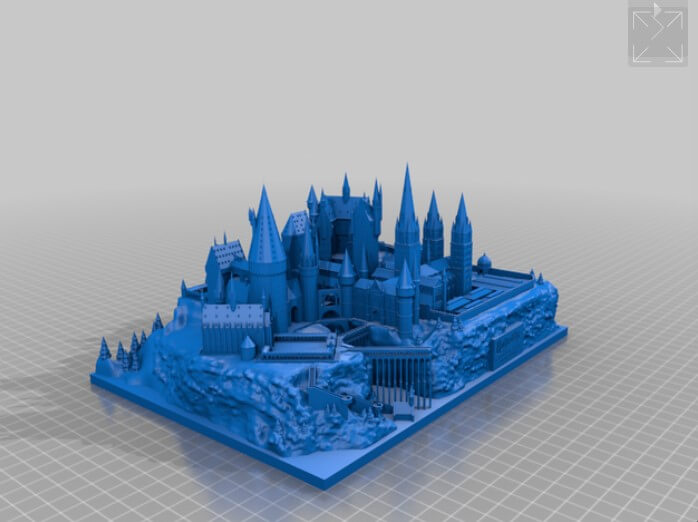
Because I spent so much time troubleshooting the Gigabot, I didn't really have time to design anything myself. I also really wanted to attempt to highlight the detail that the SLA printer is capable of. So, I decided to print this model of Hogwarts by gauravgulati on Thingiverse.
I scaled it down to roughly 25% of its original size and printed using both an extruding PLA 3D printer (PRUSA MK3s+) and an SLA Resin printer (Formlabs 2).
Here is the Thingiverse link to the model
The process of printing using the PRUSA is identical to the process I highlighted during 3D Printing and Scanning Week, so I'm not going to go too in depth.
Here's how it came out with white PLA. I used a 0.05mm layer height to get as precise as possible and to match the 50 micron layer height of the SLA printer.
Before going any further, I quickly want to explain the difference between a conventional 3D printer and an SLA printer.
Where a conventional 3D printer uses spools of plastic filiment that is heated, extruded, and cooled, an SLA printer uses a resin bath and UV lights to cure the resin on each layer. SLA printers are faster, can make smoother surfaces, and are capable of far more detail than a filiment printer.
SLA printers are, however, way messier and far harder to maintain. There is also more post-processing work that must be done after the resin print is completed.
Unlike filament printers, you have to match the resin exacly to the printer. You also need a clean, new tray for every type of resin.
ALWAYS WEAR GLOVES WHEN WORKING WITH THESE PRINTERS! You DO NOT want to get the resin on your skin. If you do, wash immediately!
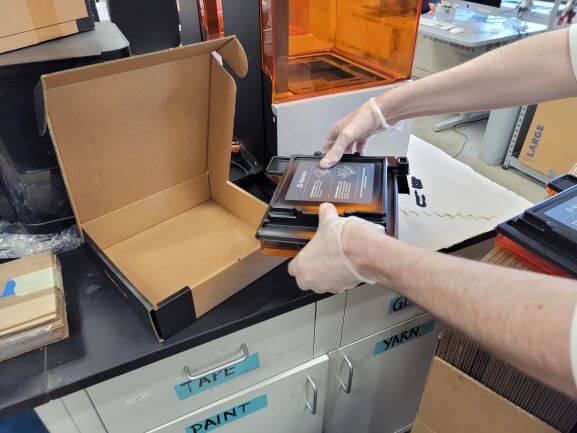
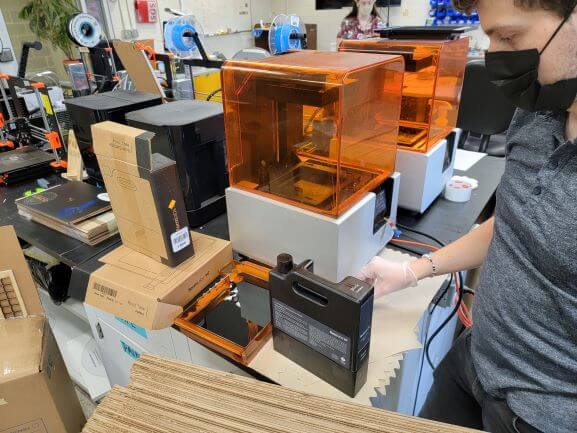
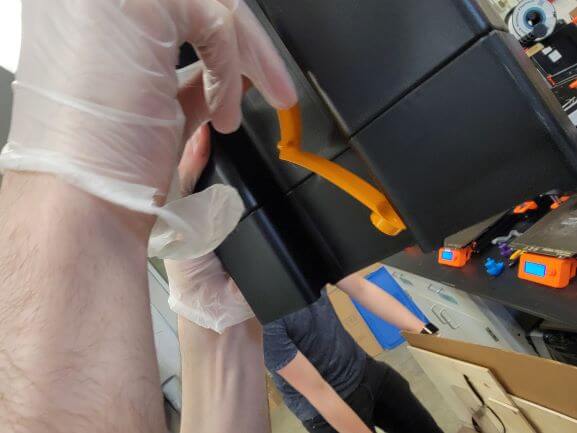
The first step was to remove the resin cartridge and tray from the printer. The person before me was using a black resin, so I could not reuse the same tray.
Removing the cartridge was easy. Just close the cap, pull it out, store in a sealed bag, and put it in a box for storage.
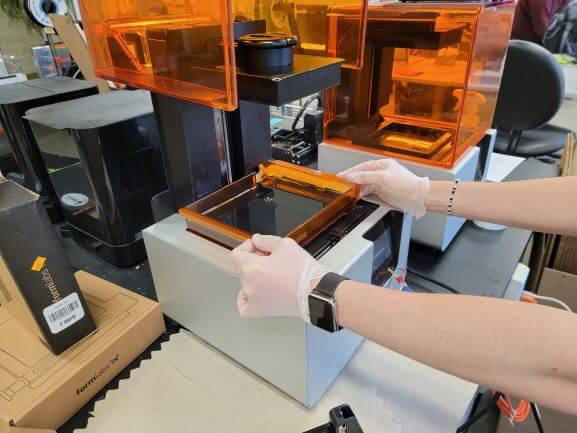
To remove the tray, pull back and then up to release the arm. Set on some paper towels. Then, pull back then up on the tray to remove it. Take extra care not to spill the resin. Set arm on the side of the tray and cover. The photo above with the glove warning is what the tray looks like when covered.
Aslo note that my classmate, Tuna, helped me out a little bit so some of these pictures are of him.
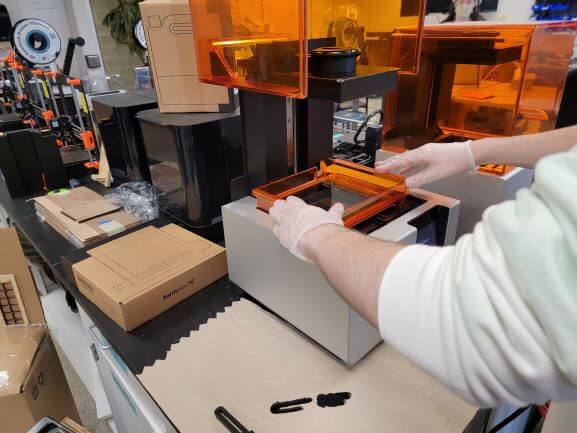
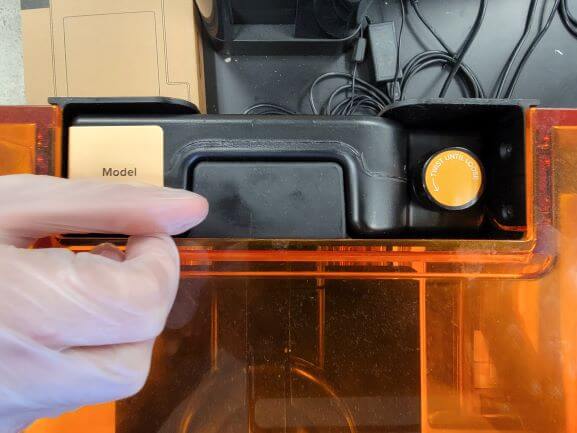
Put the new tray into the printer
And snap the arm into place
Remove the orange cover from the bottom of the new resin
Slide the new cartridge into the slot
Slightly unscrew the cap to allow air to flow and resin to be released during printing
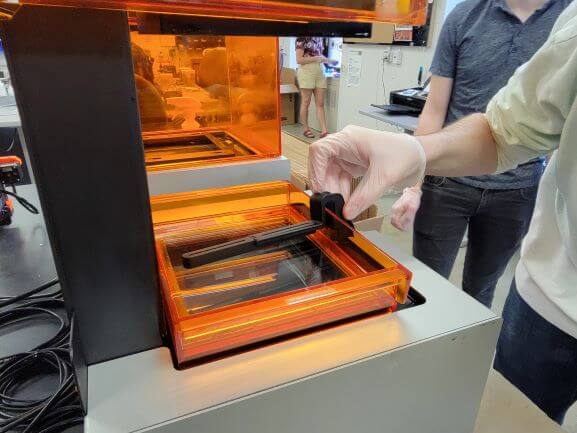
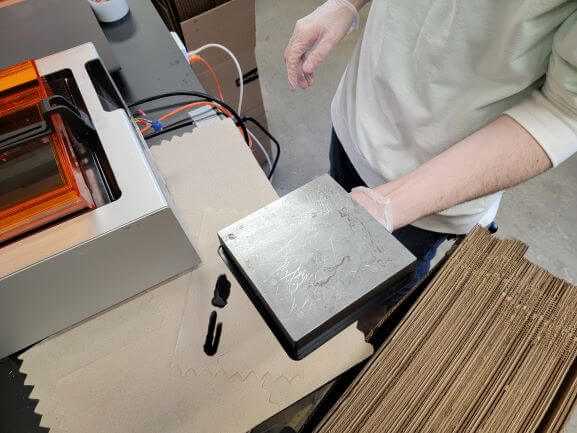
Use the lever to remove the buildplate and clear it of any obstructions. Put it back in.
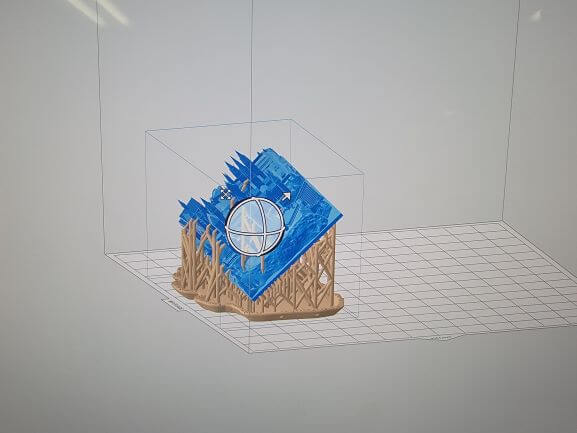
You are now ready to slice your STL. Luckily, FormLabs has a great open-source slicer called PreForm. It allows for 1-click orientation and support generation for your models. It also made it extremely easy to scale the model down by 75%.
This is also where I selected Model V2 as the resin since this is what I was using.
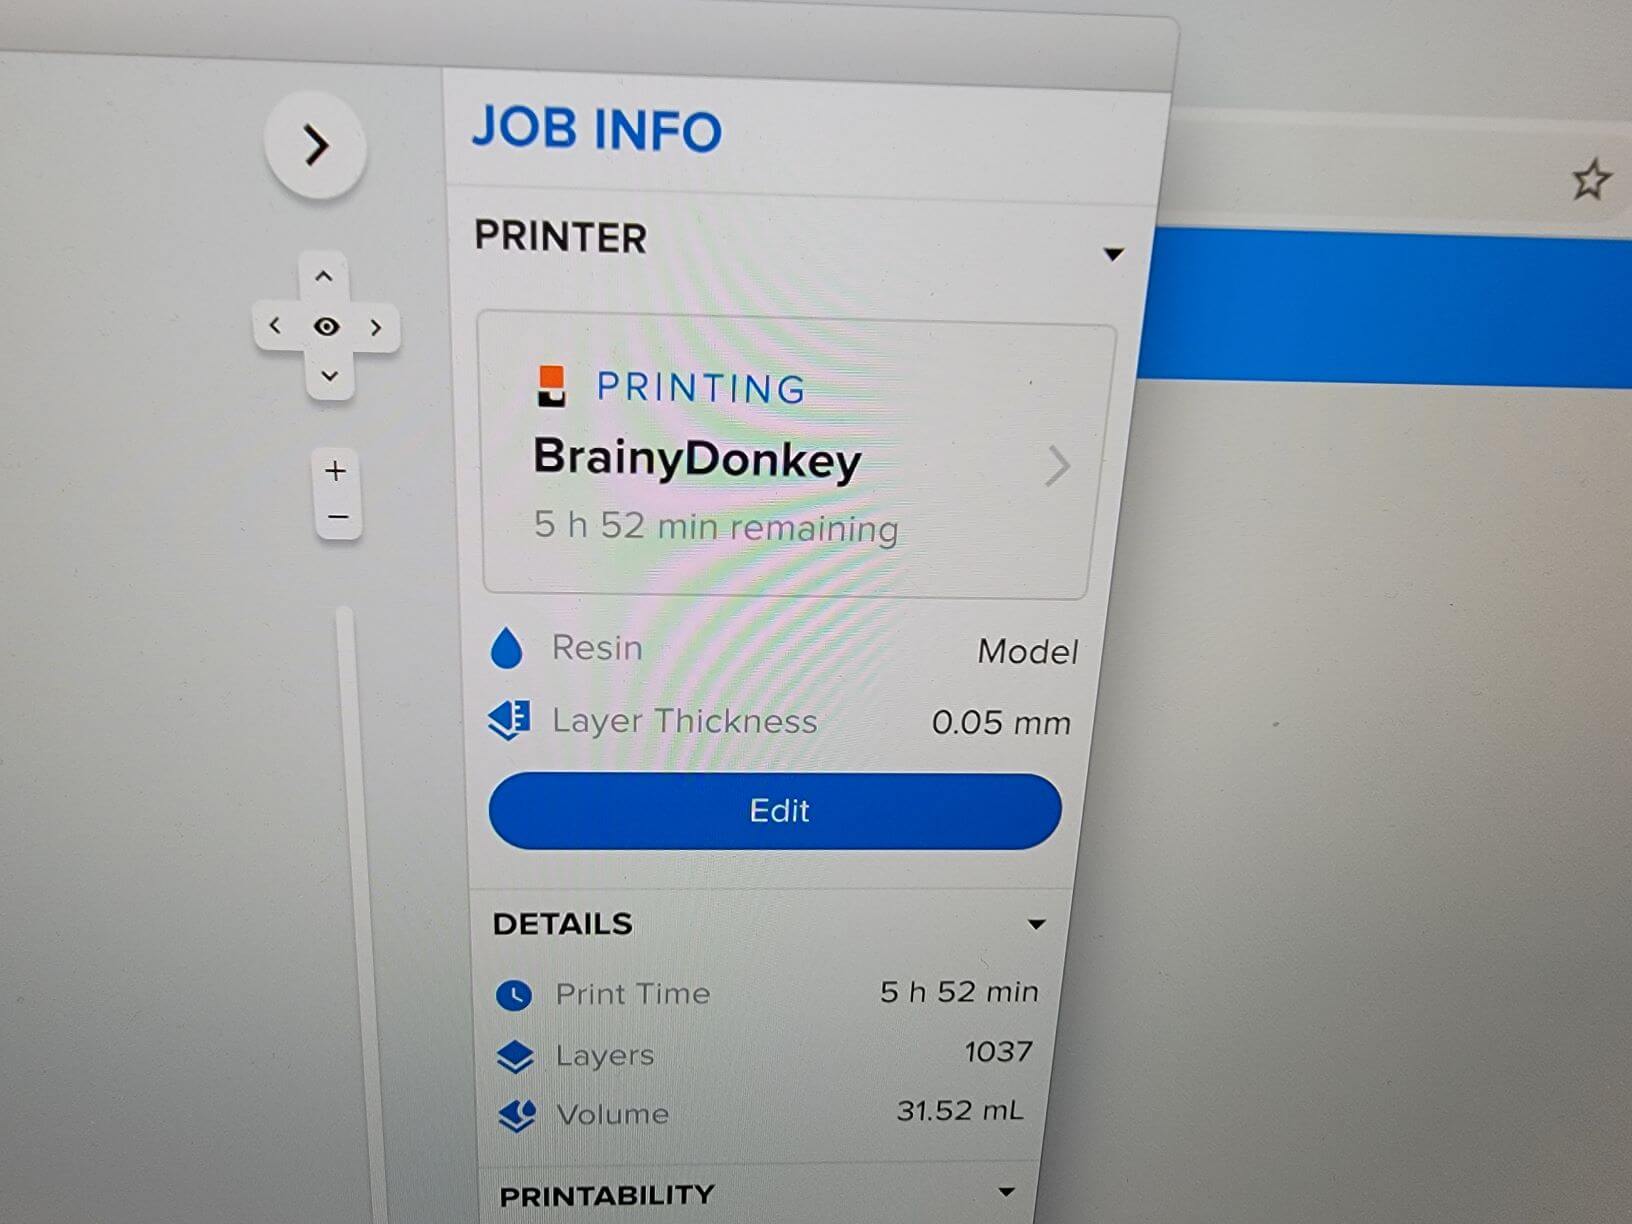
Once the model is sliced and supports are generated, you are ready to send the job to the printer. The only way to do this is over the network. Our printer is named 'BrainyDonkey'.
I chose to print with a layer height of 50 microns which is equivalent to the lowest setting my PRUSA can do.
This print took 5 hours and 52 minutes. It took 8 hours and 40 minutes on the PRUSA! 3 hours quicker is a lot!
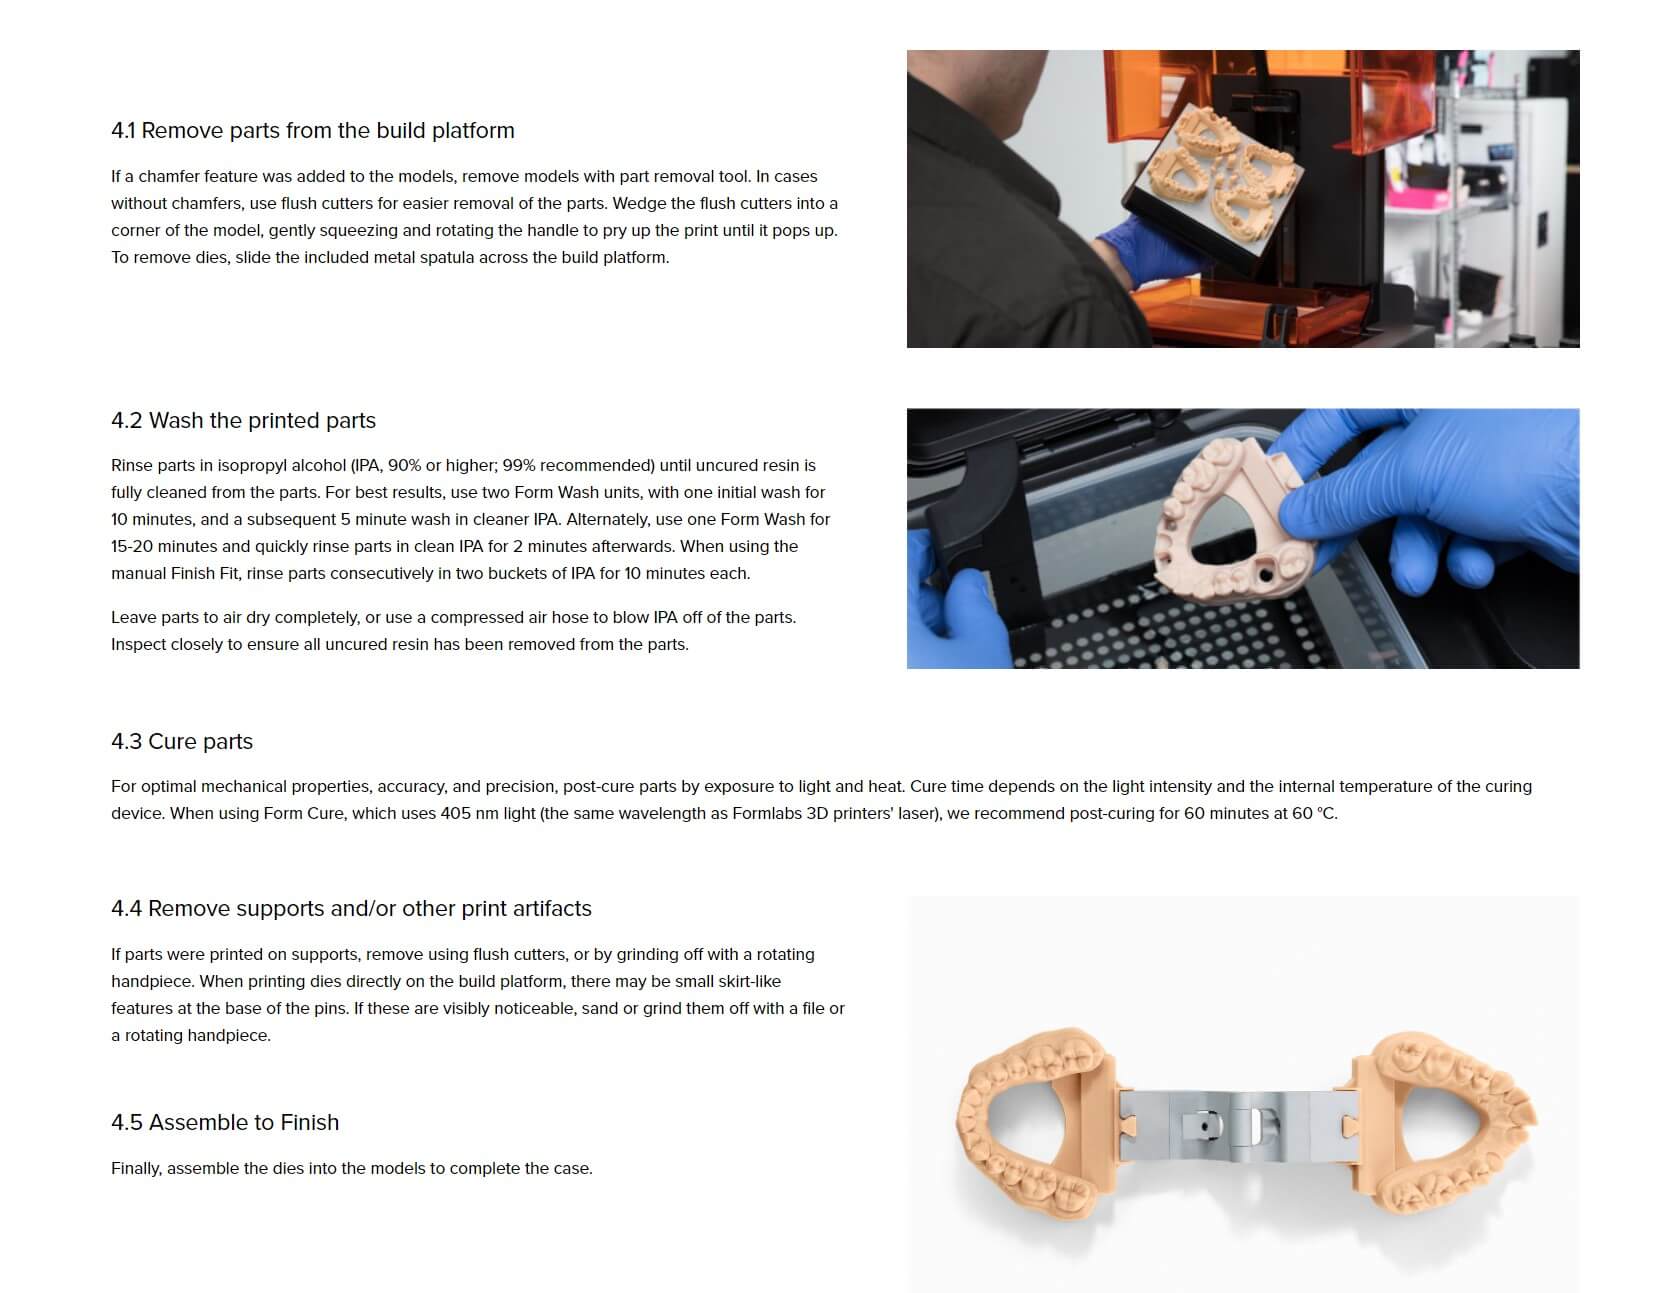
Here are the instructions from FormLabs for the specific resin that I used (Model V2).
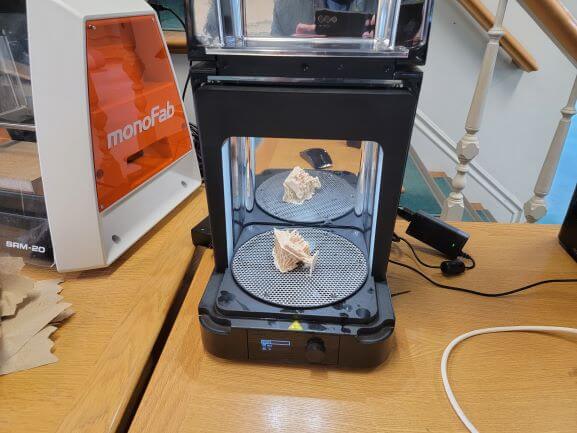
Once the print is finished, remove it and place it into an alcohol bath for 20 minutes. Mine bathed for closer to 2 hours due to us having to move that machine.
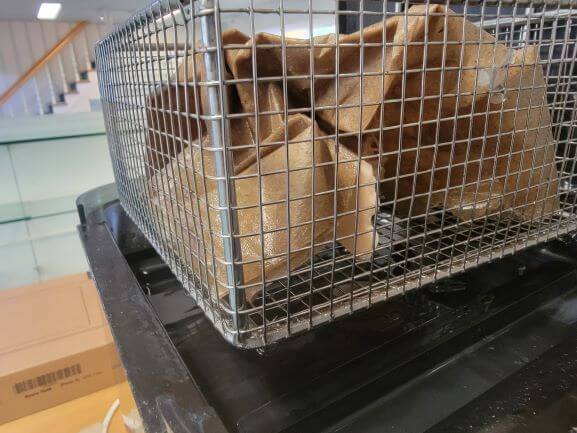
Then, cook it in the UV oven for 60 minutes at 60 degrees celcius.
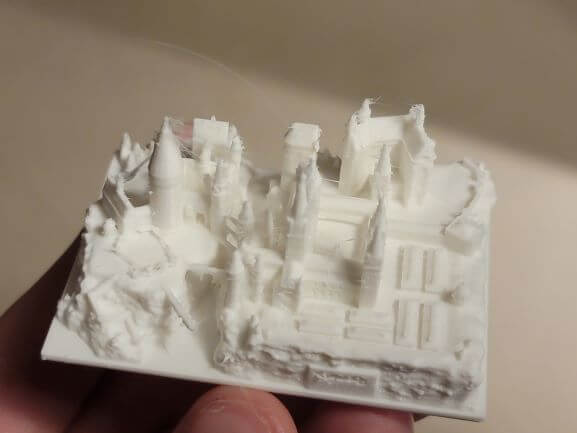
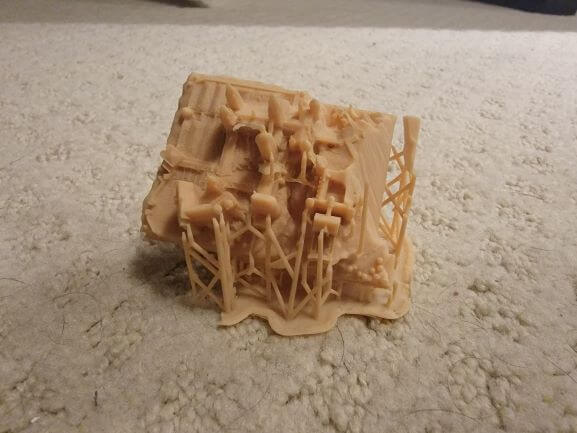
Here's what it looked like after pulling it out of the oven. All the supports are still attached.
Please ignore the dog hair on my carpet...
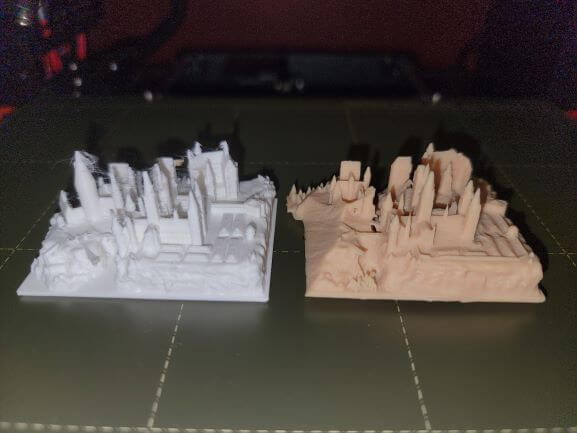
And finally, here is a side-by-side of the extruded PLA print (left) and the SLA Model V2 Resin Print (right)
All-in-all, I really enjoyed using the the SLA printer. It was, however, much messier and less convenient than a conventional 3D printer.
I was also not super impressed by the level of detail, but I imagine that's because it was oversoaked in the alcohol bath. Unfortunately, there was nothing I could do about that since our entire lab is being moved to a new location.
It seems that FormLabs mentions dentistry and dentures on their website as the main industry that benefits from this technology. I think it is amazing that this printer can use bio-safe resin for these applications!