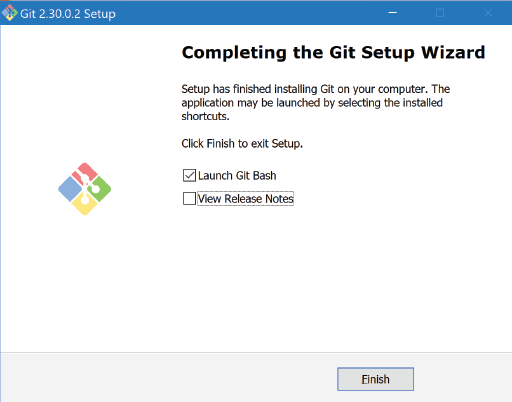
The first step to upload my website was to install Git Bash on my Windows desktop. This went well except for the bombardment of set-up options the installer goes through.
I just kept everything at their recommended settings and that seemed to do the trick!
I had to go thorugh this process twice: once for my desktop and once for my laptop.
I decided to clone my repo to my personal OneDrive folder since I commute to Wheaton's Lab and will be working on my website both at home
on my desktop and in the lab on my laptop. OneDrive allows me to have one consistent working directory on both machines. So far, the only issue
I've encountered is that when I attempted to copy and paste my local folder into OneDrive from my desktop, only the folders, but not any of the files,
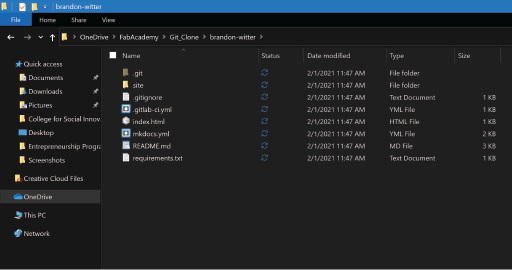
were in OneDrive. This was solved by a simple clone (shown below).
After installing Git Bash, the first step is to generate the secure SSH key, but now for my laptop. Since I am on a Windows machine, I installed Git Bash and
was on my way to greatness.
To set up my SSH key, I followed
this tutorial.
I also followed the tutorial of past Fab Academy student,
Adrián Torres. He has incredibly helpful documentation and I will definitely attempt to document my projects as well as he does.
The only real issues I encountered were simple typos that caused the terminal to yell at me. But after reading the error messages, I was
able to debug everything.
My terminal yelling at me for making a typo follwed by a successful repo clone to OneDrive
Here is the contents of my local repo after the clone
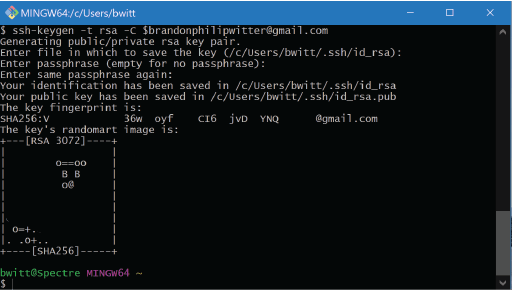
My terminal (with details redacted) after running 'ssh-keygen -t rsa -C $brandonphilipwitter@gmail.com'
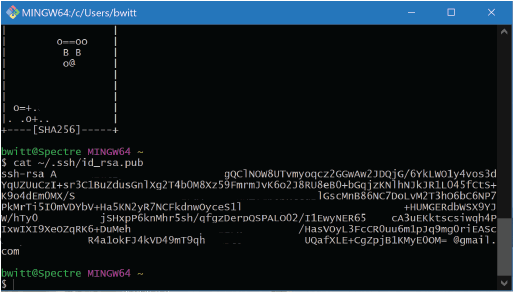
Here is my key (with details redacted) after running 'cat ~/.ssh/id_rsa.pub'
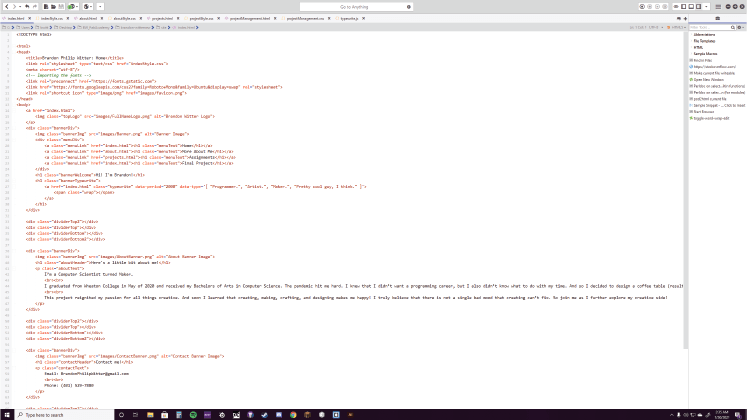
Here's a screenshot of my favorite HTML text editor, Komodo Edit. Maybe it's just because this is the editor I used to learn web development, but I am very partial to it.
Altogether, the beginning of my website (Home Page, About Me Page, Assignments Page, and Project Management Page) consists of four HTML files, four CSS files, and one JavaScript file. That's nine files, not to mention all of the images!
And the fun has only just begun!
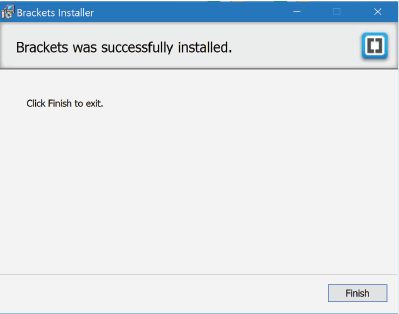
I installed Brackets and a plugin by Martin Zagora that allows me to push directly to Git Lab from Brackets after opening my local folder that contains all of my website files. This did not, however, go without any issues.
I lost track of how many terminal commands were required to get this to work. Thanks to our TA, Noah Cowie, who walked me through every single commit, push, and clone, I was able to get everything working flawlessly!
I can now edit files, commit, and push them without any difficulty. Thanks, Noah!
Just a quick note from Brandon:
I believe that the difficulty associated with Brackets that I explained above actually had to do with the initial setup of my repo on my desktop. After cloning the repo on my laptop, I was able to open all files in Brackets
and push them to Git Lab without any difficulty!
Now, after using Brackets in combination with Git Lab, I can say, with a heavy heart, that I am saying goodbye to Komodo Edit. It's Brackets' time to shine.
Commiting edited files to Git Lab using Brackets
The message that appears in Brackets after a successful push
And finally, here's me pushing my website files to Git Lab through Brackets, thus allowing the world to see my website in all of its glory!

