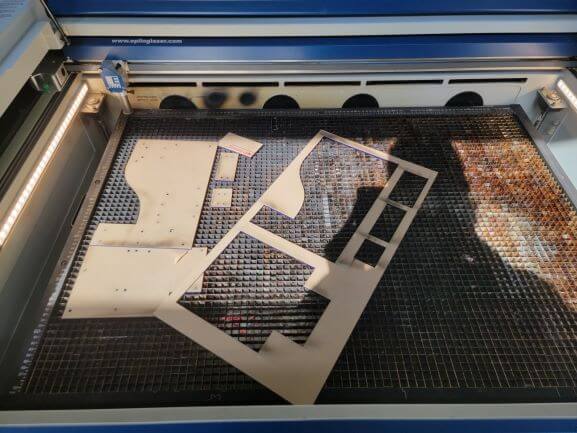
Every blue wall that makes up the enclosure of the MakerBar has been laser cut to fit all of the components that I chose to use. Above, you can see a 12" x 24" sheet of acrylic that was used to cut the front wall and right side of the enclosure.
All together, it took 4 sheets of this 12" x 24" acrylic to cut everything.
This section is specific to the laser cutting portion of my final project. Please return to my
main final project page to see the navigate to the other pages covering different processes.
All of my final files can be found
here.
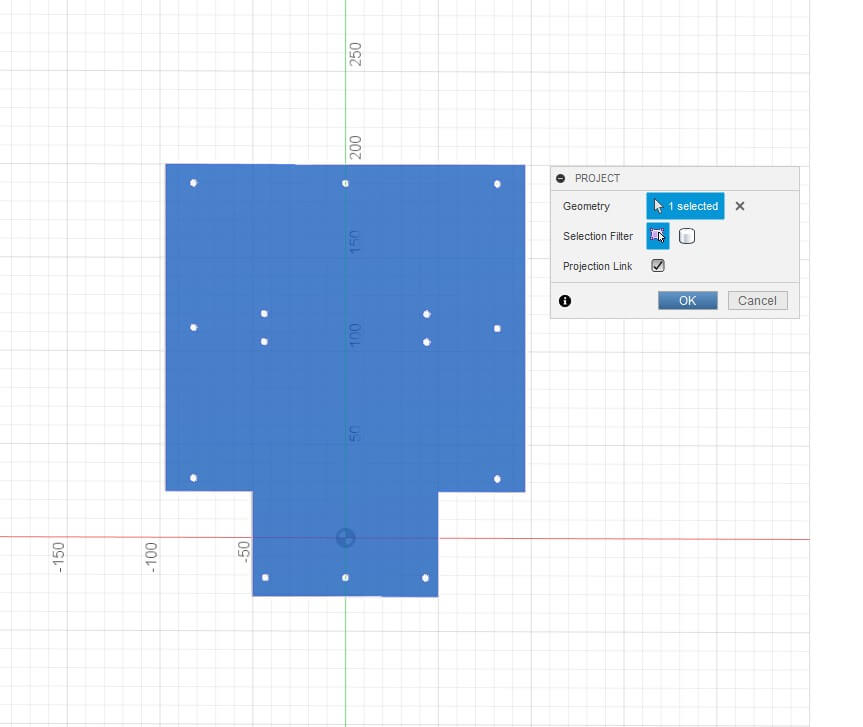
In order to export the shape of the faces to laser cut, I used Fusion's built-in 'project' tool.
I created a new sketch on each face I needed to cut and then used 'project' to outline the part. This resulted in a sketch of the outline of each face. There are a total of 14 parts to cut!
Then, I was able to export each of the 14 sketches as DXFs, arrange them in Illustrator to fit all parts on the 4 sheets, and cut!
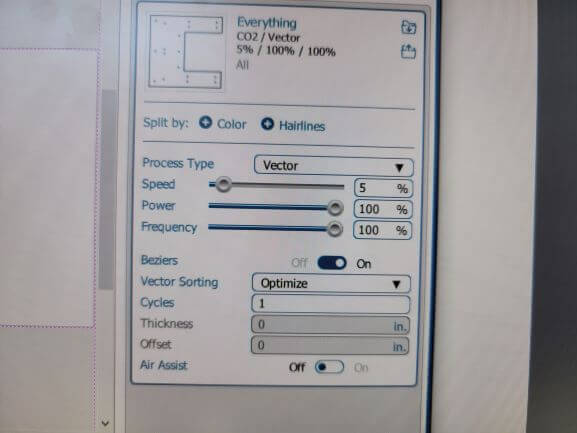
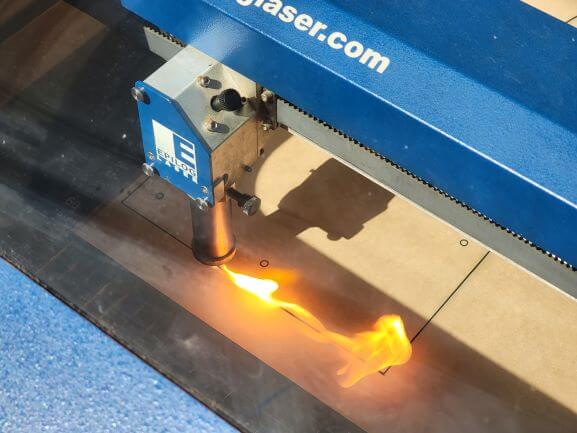
In order to cut through, I had to use a Vector setting of 5% speed, 100% frequency, and 100% power.
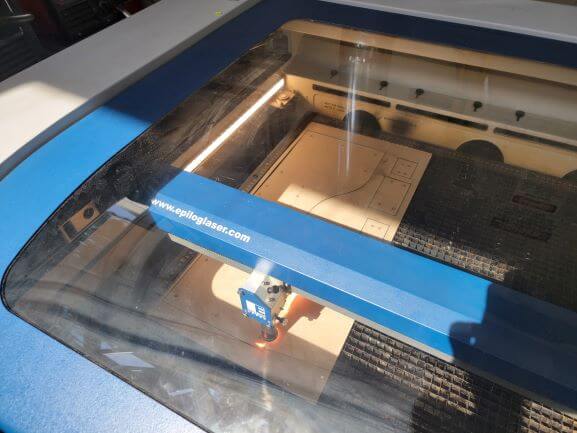
I focused the lens and set the origin at the top left corner of the acrylic before cutting.
Here is a photo of it actually cutting a full sheet.
There were a lot of flames so I kept an extremely close eye the entire time.
Our laser lens got busted during transportation so it really wasn't at peak performance. I think due to this, the laser couldn't focus correctly. This would explain the excess flames.
Also, even at 5% speed and 100% power, it never cut through the first time. I had to pass over at least 2-3 times to ensure that it actually cut! No big deal, I managed to get everything cut, regardless!