Wild Card
exploring embroidery
Intro.
So I learn from my mother to do hand embroidery when I was kid. I remember she use to work like it was kind of meditation or medicine for her. By just staying with her and observing her to do work I have learned many things in my life. Many Thanks to my first teacher My mother.
Week Task:
Design and produce something with a digital fabrication process (incorporating computer-aided design and manufacturing) not covered in another assignment, documenting the requirements that your assignment meets, and including everything necessary to reproduce it. Possibilities include (but are not limited to):
Usha Janome Memory Craft 200E
A computerised embroidery machine, the Memory Craft 200 E is ideal for embroidering up to 140 X 140 mm designs. Multiple font sizes are available for each font to design monograms and a USB Port helps import customized designs. Along with this the free Digitizer Jr V5 software allows one to edit existing designs and making select custom designs. 73 built in designs and a backlit LCD screen help scale up one’s creativity. to know more about it visit
.jpg)
.jpg)
.jpg)
.jpg)
.jpg)
.jpg)
.jpg)
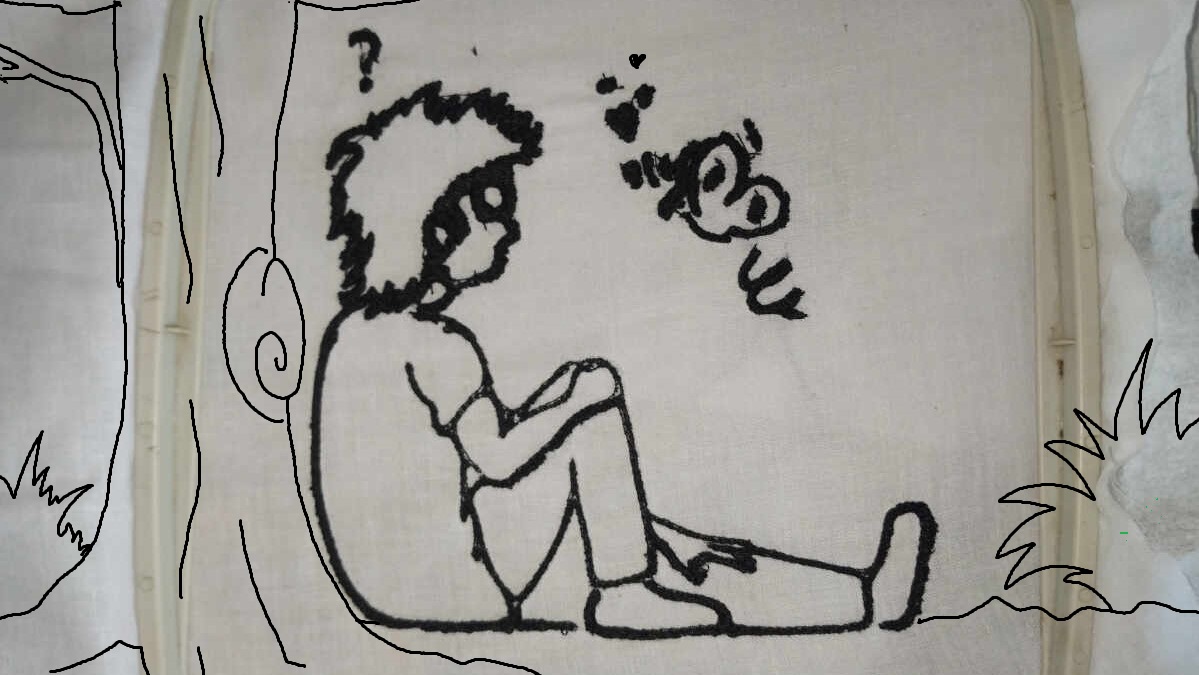
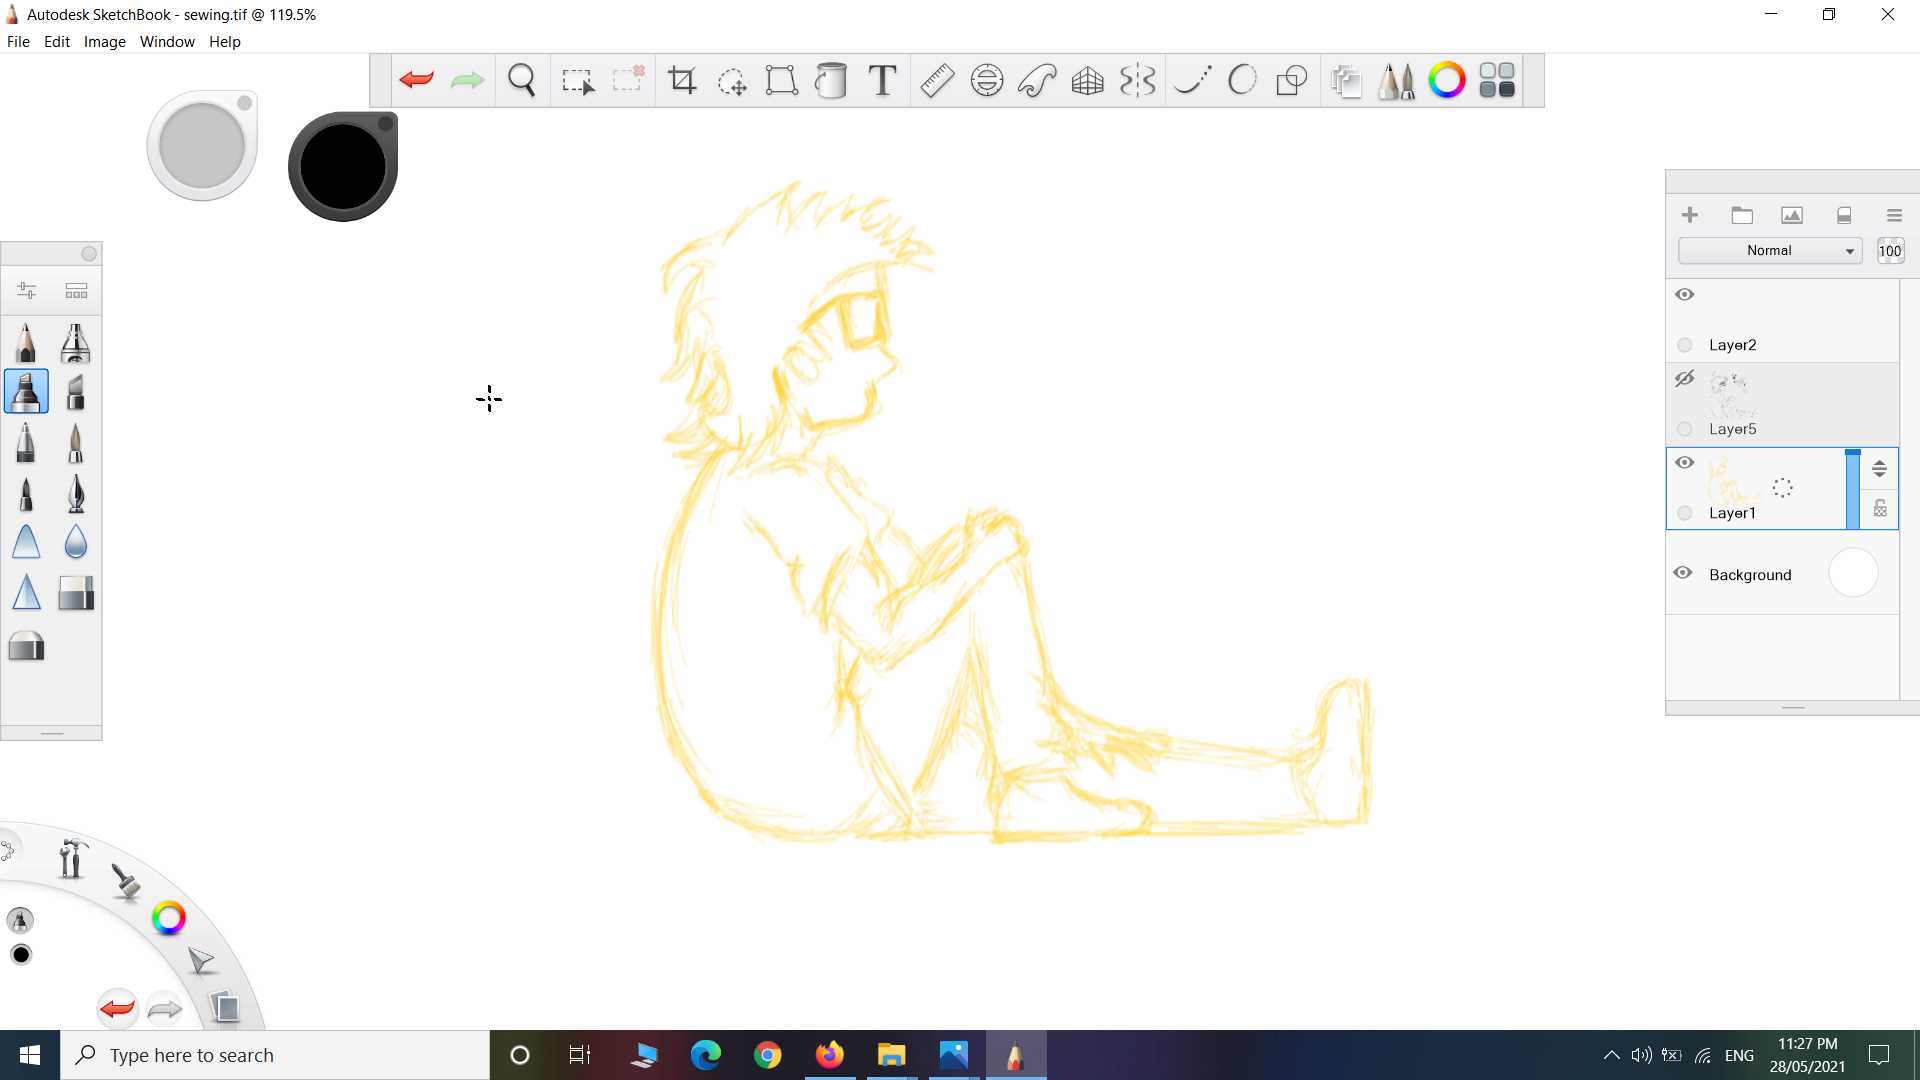
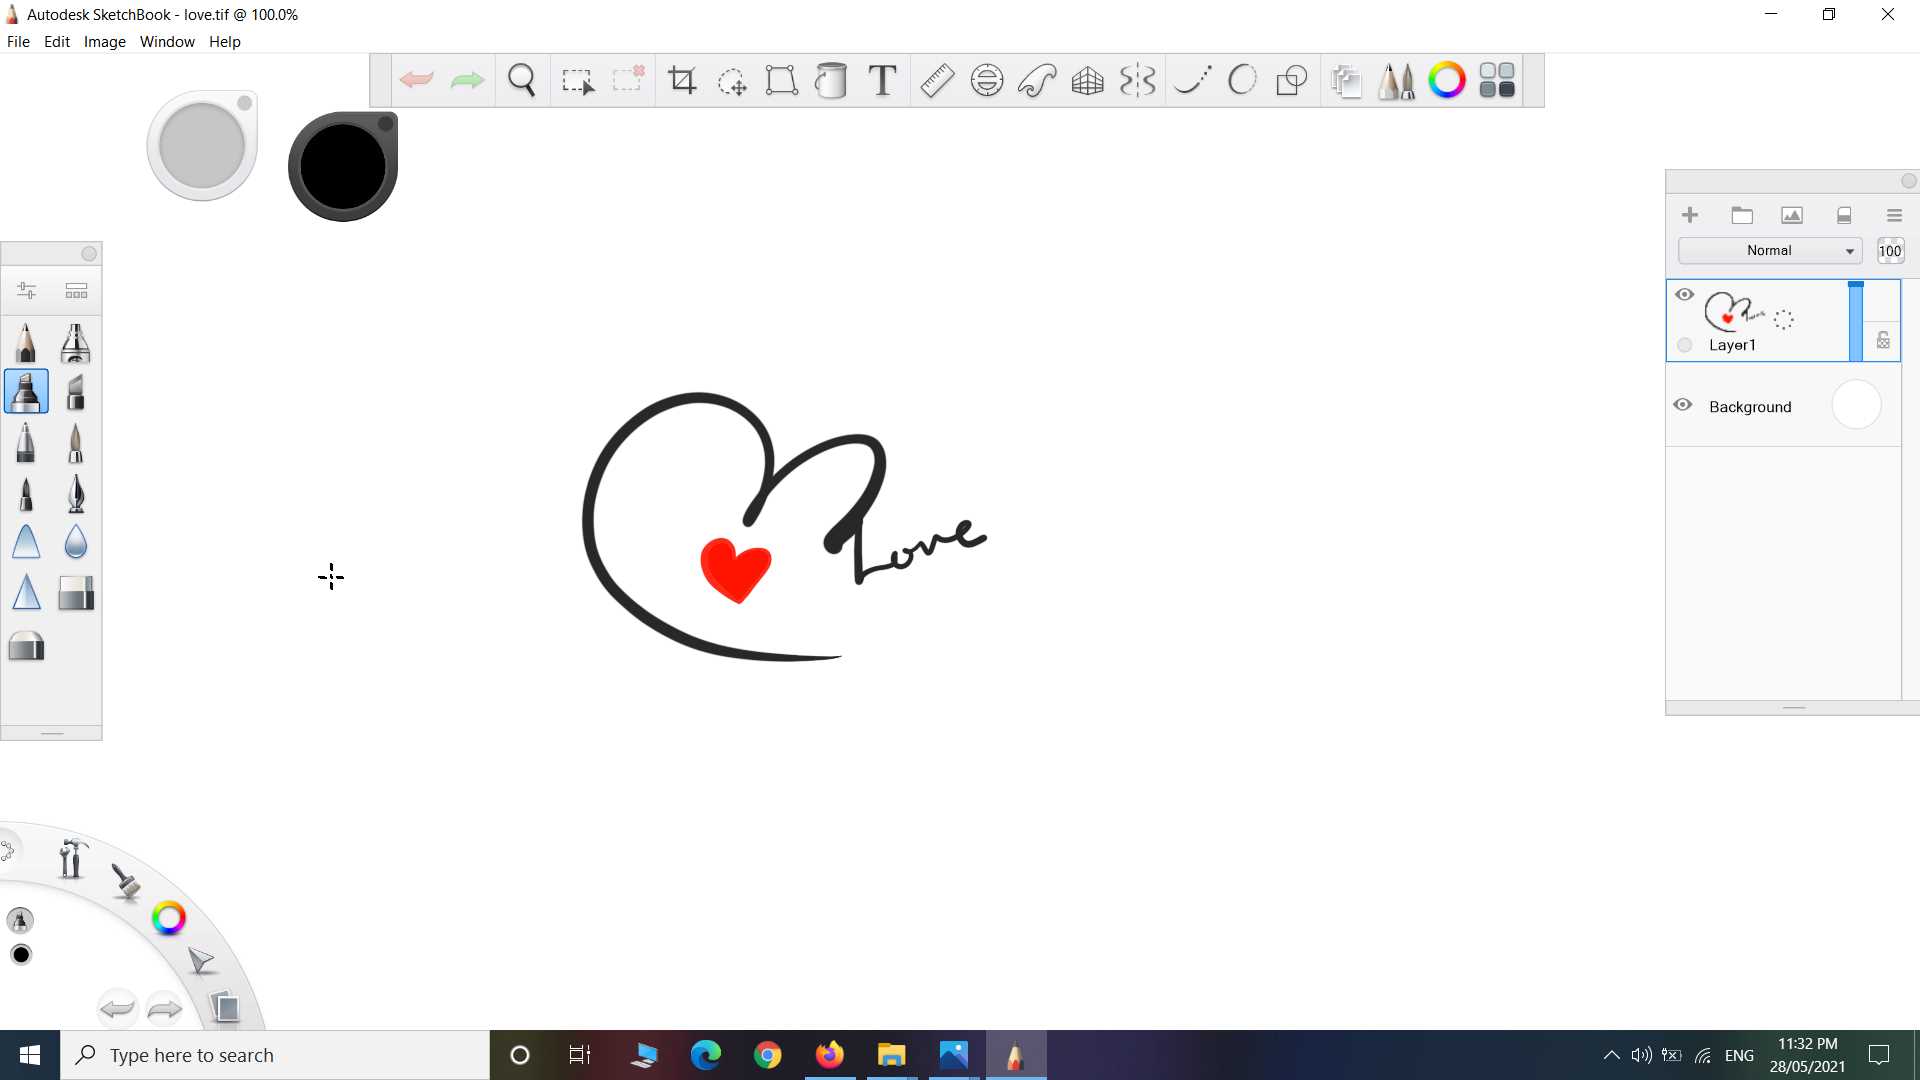
So I made some Drawing in autodesk sketchbook and saved it into png format. I will use this Drawing for embroidery test.

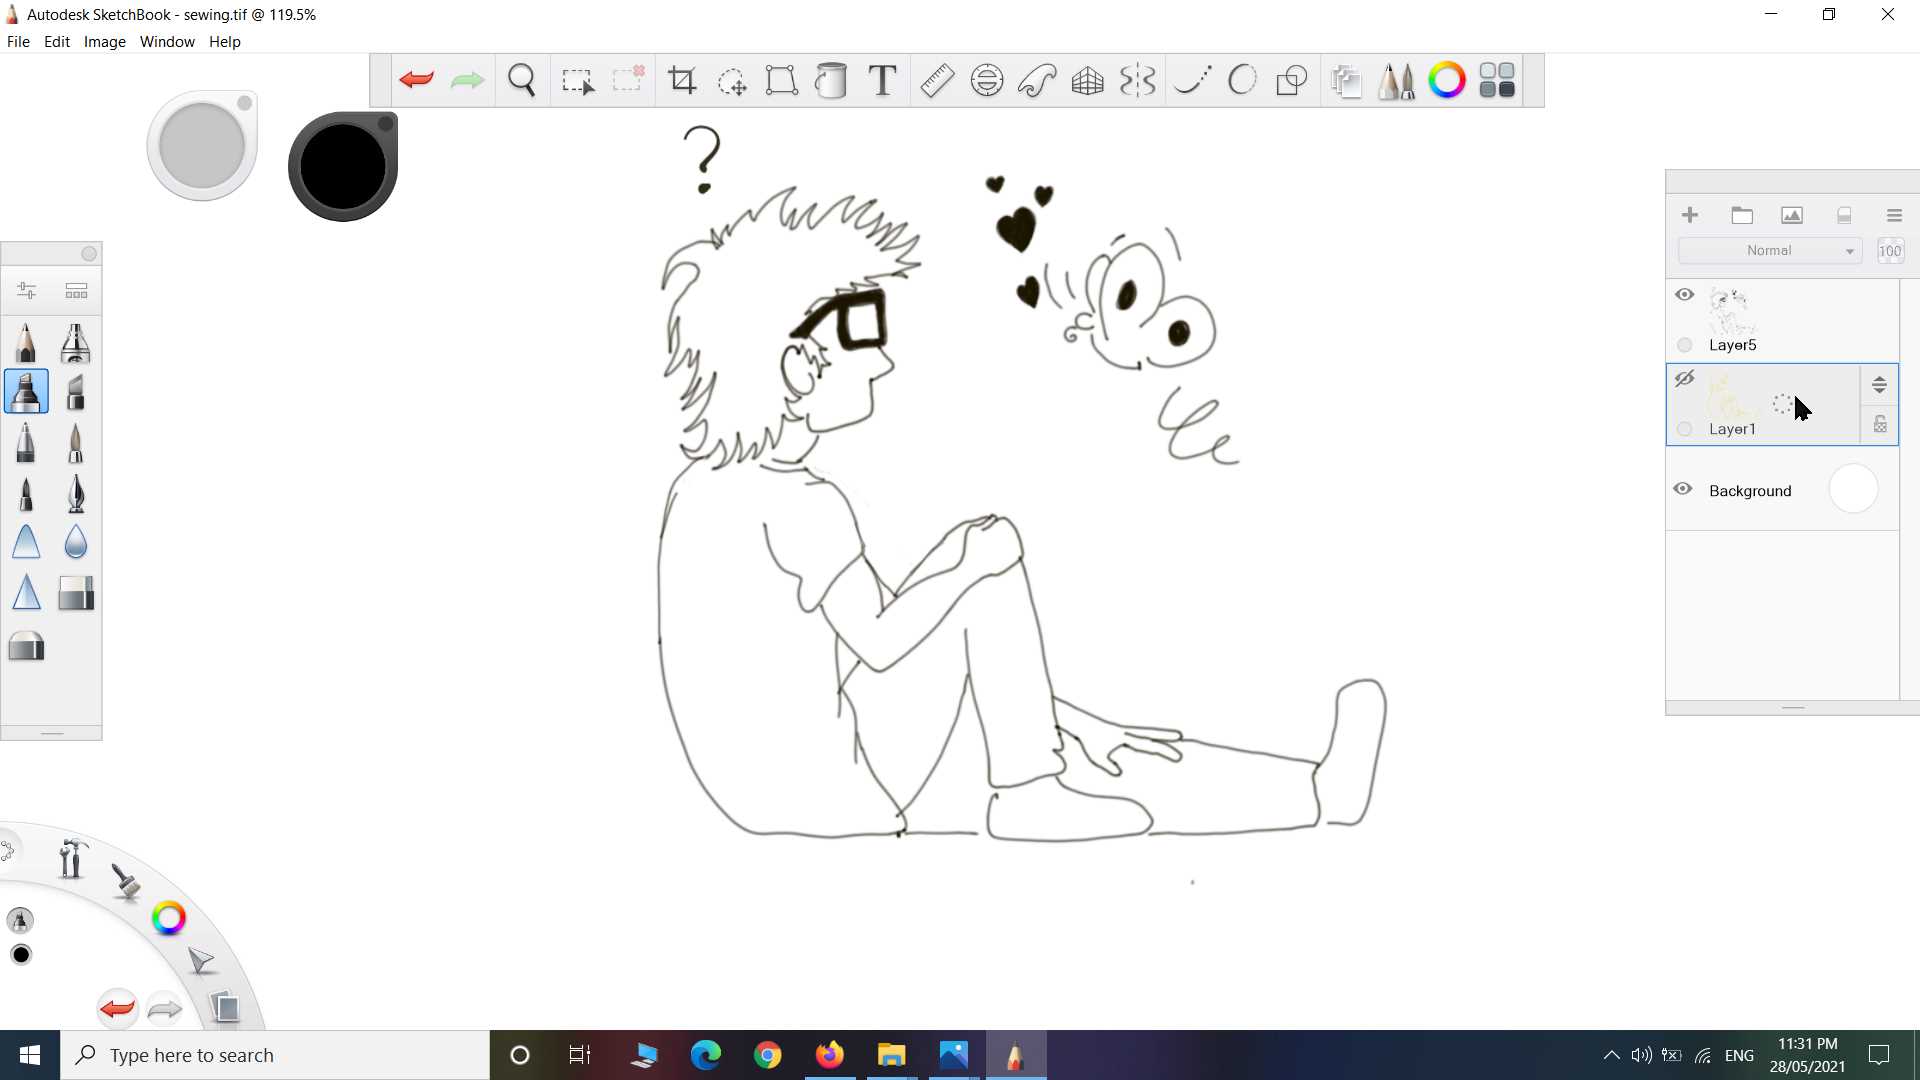
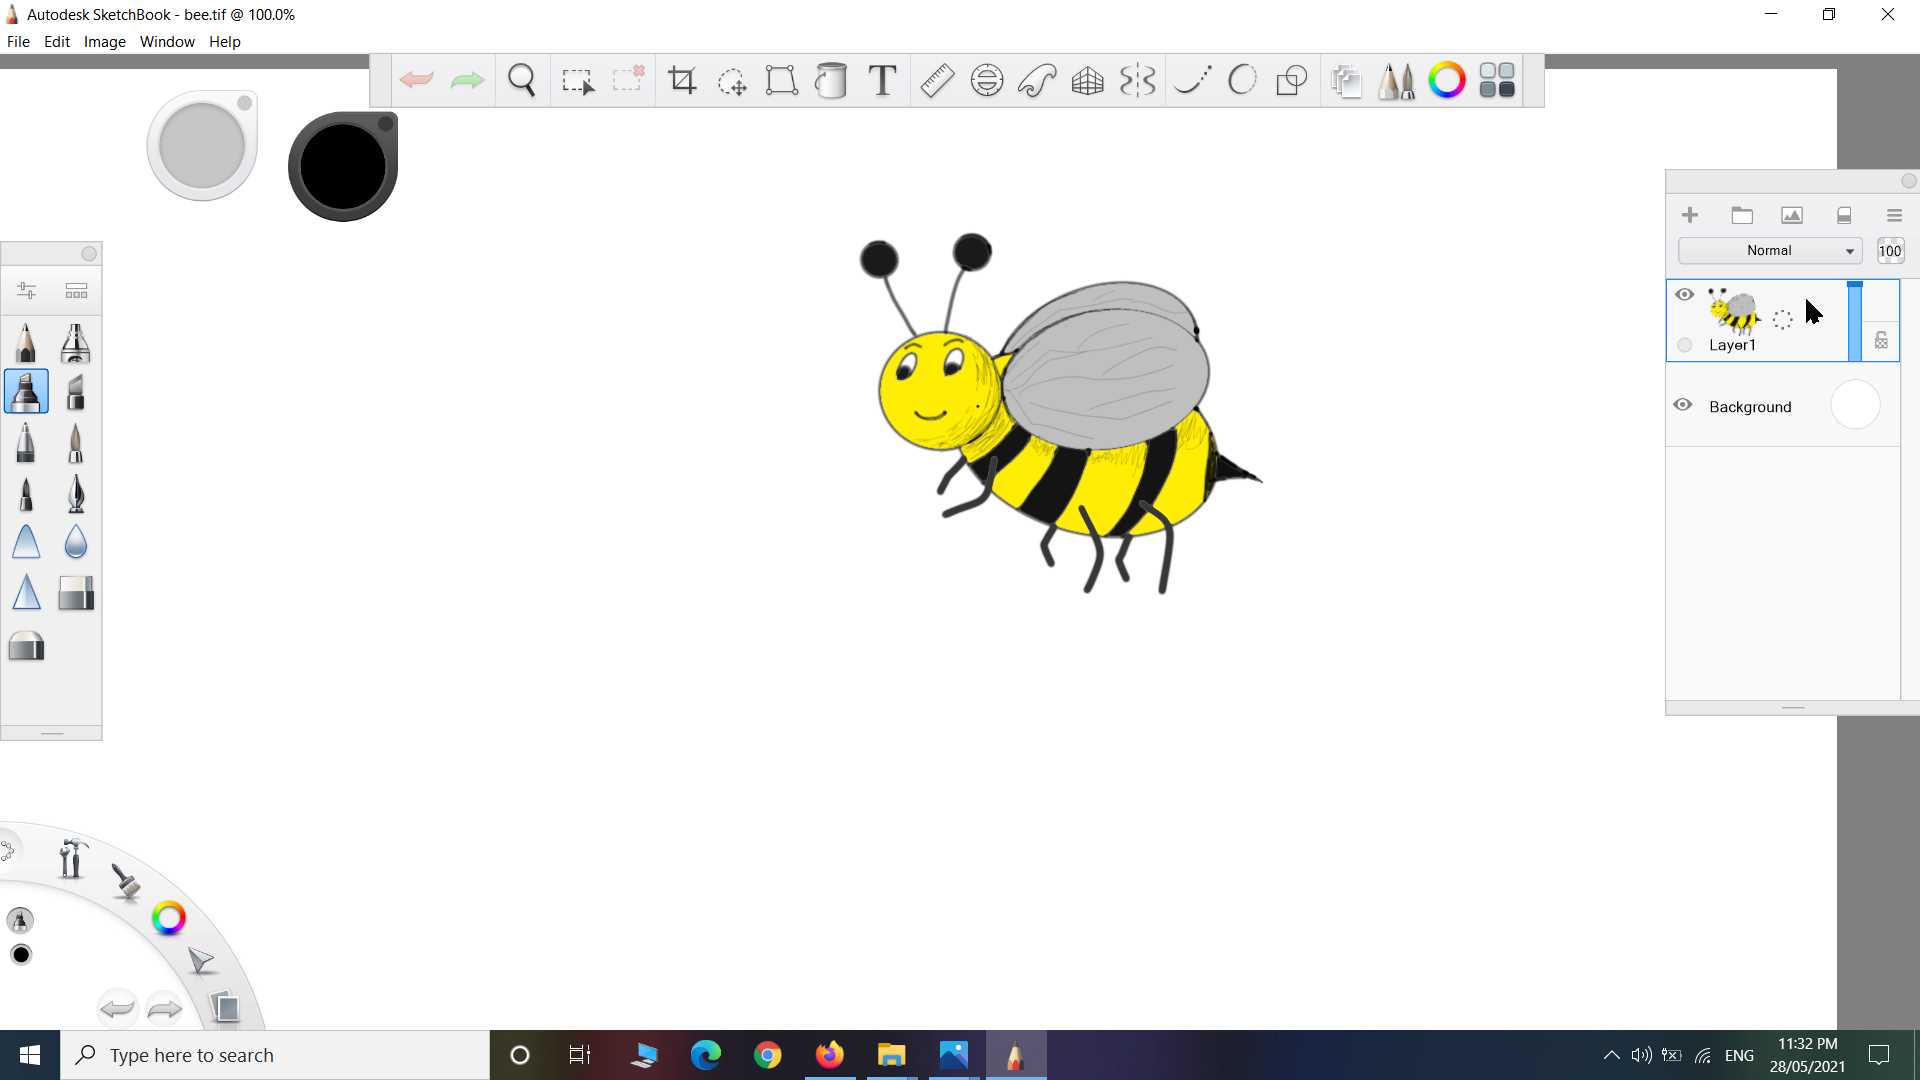
Another two Drawing for testing embroidery that have multi-color
To use this machine there is a special software "Digitizer jr" that take png image and build embroidery instruction file that machine understand, kind of generate gcode to operate machine.
.jpg)
.jpg)
When you first open the software you see embroidery hoop design. This can be understand like it is page. Design under this hoop border are valid and considered for embroidery. This is x and y limit of machine to design. In this hoop there is a margins in red color . Design should be under it
.jpg)
On left side you see Toolboxes panel. In toolboxes panel down you find auto digitize where you get option insert artwork. Next you have to select and insert png image of your design. Select and press open
.jpg)
Adjust size of image to fit your design under red box
.jpg)
Then go to and select click to fill option. it will open prepare artwork window
.jpg)
So here my design is png image I want machine to know my design so it like tracing bitmap kind of thing Here you process image and extract out design. Select cartoon processing and adjust slider till you find good detail of image is got detected
.jpg)
Again select click to fill option now your image is traced into different parts select part you wanted to be embroidery
.jpg)
Bringing or hovering mouse arrow will highlight selectable part
.jpg)
Keep selecting part one by one and make sure you have not double selected same object else it will do embroidery on embroidery
.jpg)
make sure small part of your design all been selected.
.jpg)
I completed applying or filling embroidery to my design. Here you see in image it show outline are filled up with thread like texture.
.jpg)
If you wanted to You can change pattern of filling. On right panel you see there are options of pattern to select. This will effect your embroidery you can test what suit you or suit your design. I kept it default one.
.jpg)
After completing this much. you can delete you import image to clearly see what design you filled up. Next keep Saving your work.
For next drawing open new file and Import your that design png. Repeat all step that we have done with first drawing
.jpg)
select all unfilled part and fill it
.jpg)
Sometime it creating some extract designs on your design to keep connected embroidering
.jpg)
you can hide this by adjusting filling order or which part will embroidery first and who next
.jpg)
On Right side you see resequence panel. Here you see order of printing parts. I edited it accordingly to hide extra embroidery and on bases of thread color. Since this machine can work with one color thread at one time so it good idea to let complete job of one color thread in one round and then change the thread
.jpg)
Take a look on embroidery preview . save it
.jpg)
Do all same for next design
.jpg)
Here one thing needed to do with each design you have to save it or export it to file which you can give to machine to start it work. Connect pendrive to your usb and save it or write your file in that pendrive. Next we have to connect that pendrive to machine and needed to select file for printing
.jpg)
So I am using white cloth to embroidery on. To give support to embroidery I have used special kind of cloth on back of my white cloth and managed them on hoop. After putting cloth on hoop we are almost ready to print. This hoop come with machine having dimension and connector to go with this machine
.jpg)
.jpg)
.jpg)
We have to load thread on machine like we do on common sewing machines. we load thread from two side. one from bottom for that we need bobbin and one from top that to can give directly from thread roll
.jpg)
.jpg)
.jpg)
So after completing all above step select design from pendrive using machine interface and start to print. I have showed timelapse of machine doing embroidery in down video
After machine have completed embroidery I found I missed one butterfly part in design. So I have not moved hoop and cloth from it postion and made separate file just for that missing part and printed it again
.jpg)
Thats how it finished. yeah:)
.jpg)
I had skip to do embroidery for other two designs. Completed one is enough for me for now
Learning Outcomes:
One thing I observe that need more study is in software preview embroidery look little different compare to actual made on. In preview it achieve narrow details but actually my embroidery was thick so some detail got blend. I think there should be some setting to match preview and actual work. Another issue I face that you clearly see in video that process get interupted many time because thread was breaking on dense filling side I think it can be solve by losing tension on thread. Compare to hand embroidery it is less time consuming and energy saving but yes doing work with hand is a meditation I have learned long back in my life but yes I also like this process and high-tech touch that is why I am here and learning digital fabrication