About Project Management
Objective:
- Build a personal site describing you and your final project.
- Upload it to the class archive.
- Work through a git tutorial.
Learning Outcomes:
- Understanding of Programming Languages
- Building a Website
- Version Control - Gitlab/Fabcloud
- Keygen, Configuration, Downloading(Pull) and Uploading (Push)
Opening Quotes:
(Precisely explains progression of my state of mind)
“Building a Website is easy; designing one takes skills...”
“If you are not doing mistakes, you are not doing anything…”
“Indecision and delays are the parents of failure.”
“Action cures fear. Indecision, postponement, on the other hand, fertilize fear.”
Fab Charter:
I have read the Fab Charter. It is a document which answers all the Wh? type questions about the Fab Academy. The link for the Fab Charter is here.
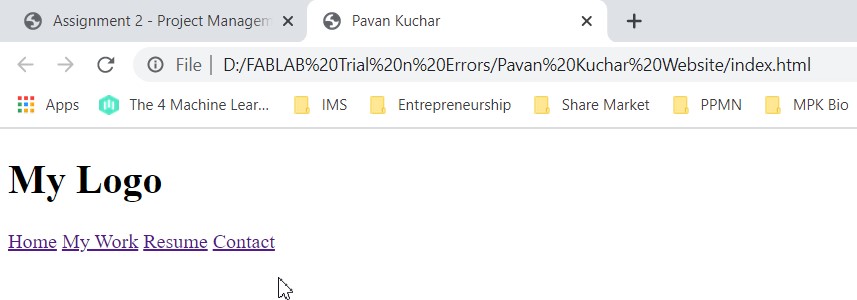
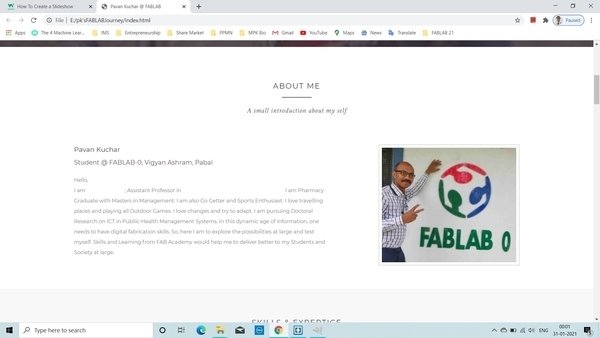
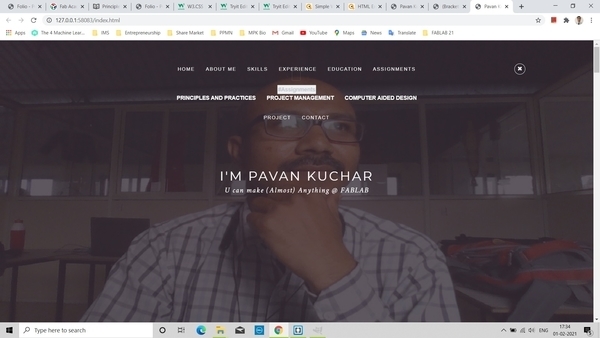
Build a personal site describing you and your final project:
Being a Pharmacy Graduate and Masters in Business Management, I lacked Technical Proficiency and Skills of Coding. I even took admission to Pharmacy instead of Engineering due to fear of Mathematics, Analytics, Coding languages. But thanks to FAB lab’s motto – “You can make almost anything”, I was guided and told to edit a pre-existing template of a website.Sounds easy, right!
1. I downloaded few templates from w3school.com, free-css.com.
Mistake 1: I saved the website page directly. It didn’t have all the required files like css, php, images, files etc.
Here we were not Spoon-fed. We learned by actually doing, experimenting, failing so much that we were frustrated.
But it made me to approach others, got my doubts cleared and started working on website.
Download a template from w3school.com, free-css.com etc. (You may also use the template provided by Fablab)
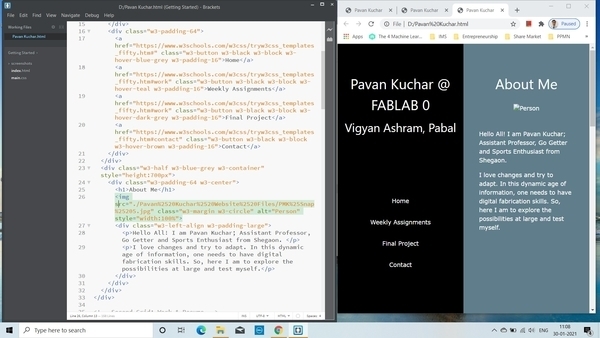
After a series of trial and errors and switching from one template to other, I finalized one of Portfolio which had many complex graphics and effects. (Folio – Personal Portfolio Template from free-css.com)
2. I went through the tutorials of w3school.com and quackit.com for understanding and uploading codes.
3. I also downloaded required softwares like Brackets, VS Code, Notepad++, Gimp, bimp, Lightshot, Gitbash, OBS Studio etc.
4. There are various Coding languages like .html, .css, .js (javascript), bootstrap, python etc.
5. I have used Brackets software for html code editing as it is open source, lightweight(consumes less disk space), more powerful which offers features like Inline editor, Live Preview, Preposser support.
6. Remember while Coding in HTML that-
Save the file in .html file
Close the Tags properly or else, there is error in codes
Refer the main.css files for certain styling.
Use .html for defining content of webpage, .css for styling and .js for programming the behavior of website.
Issues I encountered while making Website:
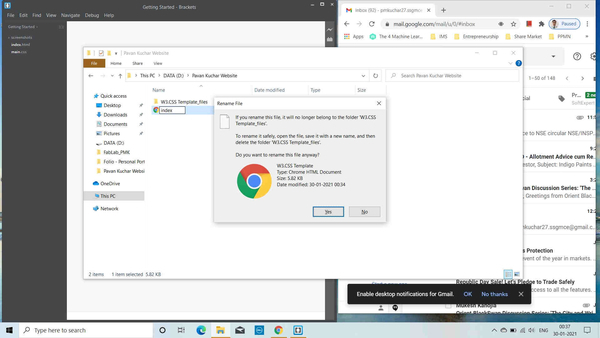
I didnt saved the file in HTML format.
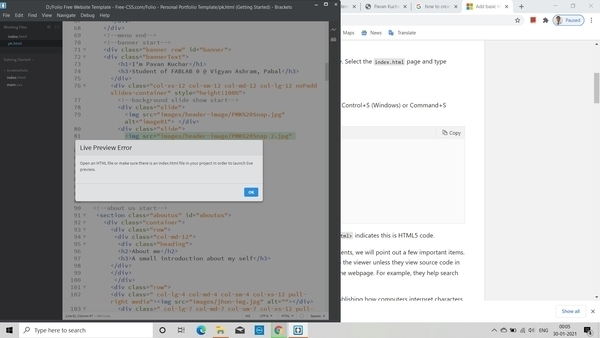
I didnt opened the folder having css files through brackets, so the live preview could not be seen.
Few trial and errors
First Website page
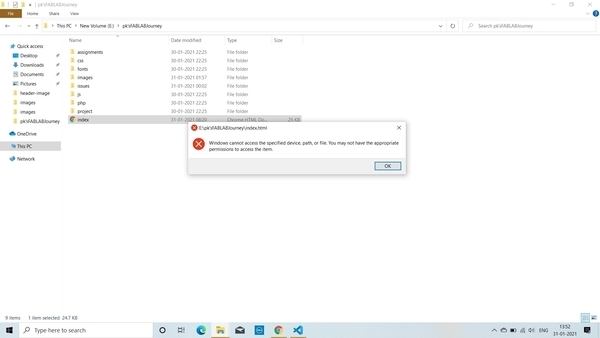
My Laptop crashed due to bugs in McAfee Antivirus. So, I was unable to access any files. My instructors helped me to resolve the problem and I was back to work.
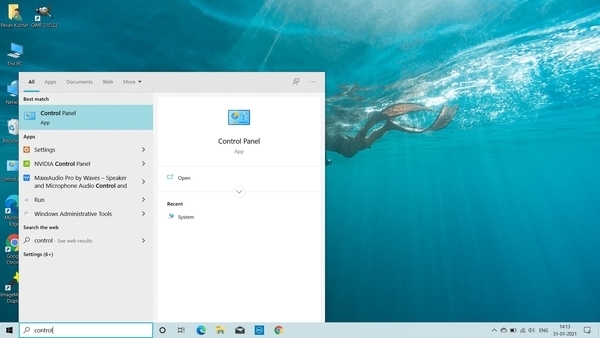
Cant access even Control Panel
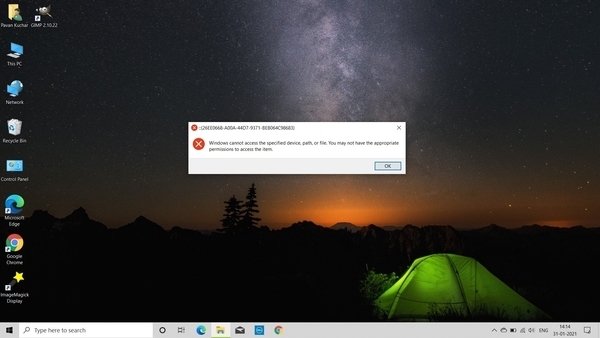
Not even any other Systems Applications

Didnt removed the Loader so, Website took some time to load which was fancy but not needed feature for me.
Wasnt able to properly code Dropdown Menu.
Still struggling.
Important that: Beginners, Spend more time on selecting relevant template in the beginning or may use the template provided by Fablab or else you may struggle later
Few Codes that I used in my Website are:
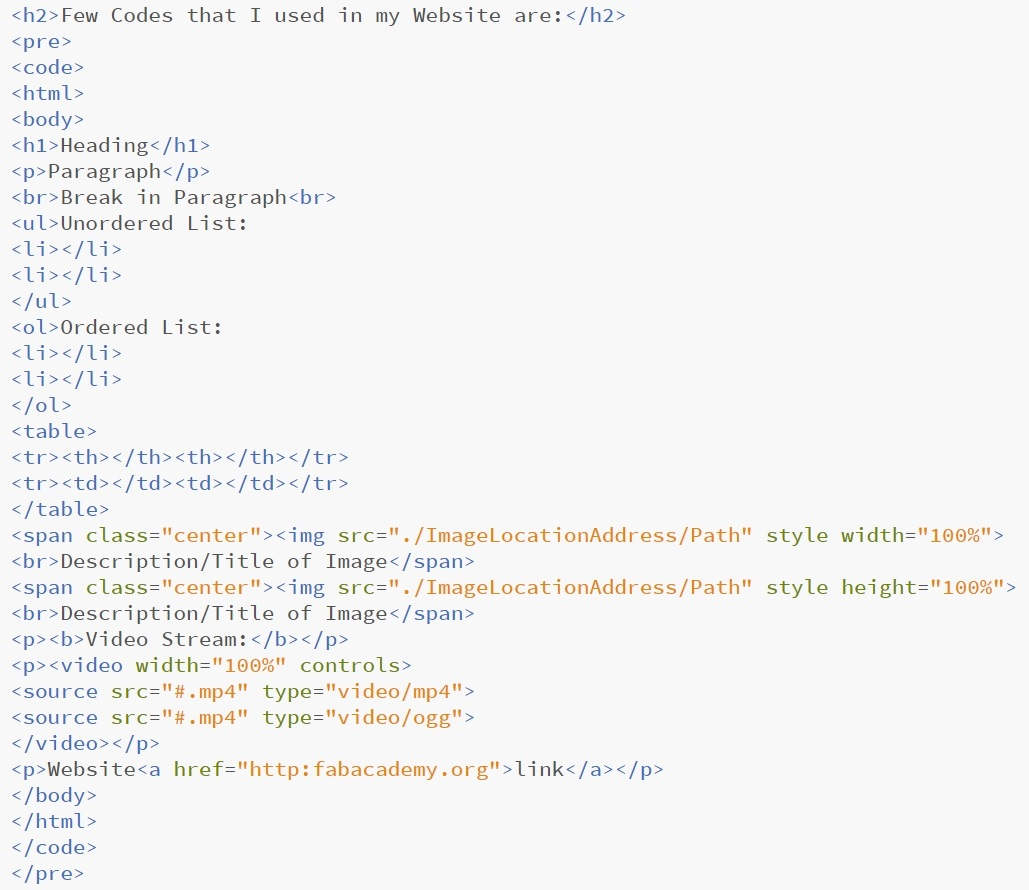
Codes/Tags mostly used in my Website
Version Control:
It is very frustrating if we are making changes and they are later lost or reverted; so its always better to have its access to multiple users who may contribute, make necessary changes and have a copy or your hard earned work.
There are many but, we have used Git bash for uploading our work to archives of Fablab because it is opensource, distributed version control system designed to handle small to large projects with speed and efficiency.
1. Get going with Git
1.1. Download Gitbash (for Windows, Linux etc.)
1.2. Sign in with the User name and Password provided or you may generate one by Signing Up. (We signed in with the username and password provided by fablabs.io)
2. Open the Git bash and configure as per the instructions shared by our instructor.
a. Download git bash
Go to link and open Gitlab account ( Use user name and password of your account received on email; change password)
ssh-keygen -t rsa -C "yourmailID" -b 4096
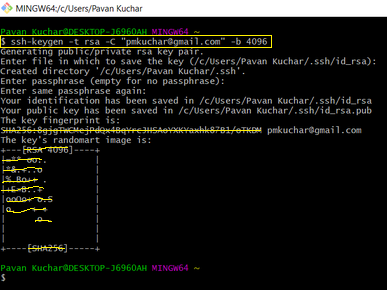
cat ~/.ssh/id_rsa.pub | clip
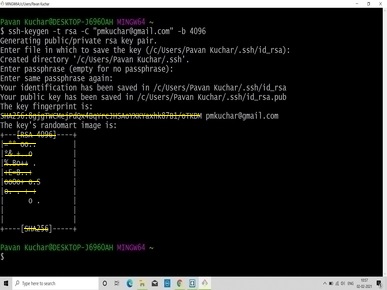
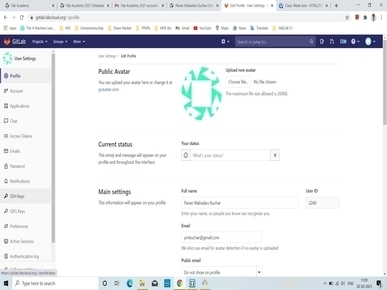
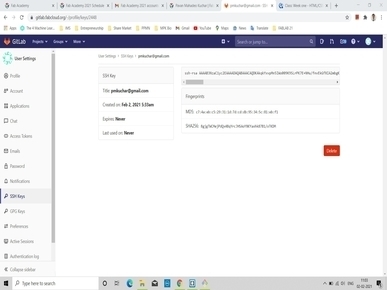
b. Paste key in Profile Settings (right corner in git account)---> click on SSH key ssh -T git@gitlab.fabcloud.org (to check your key configured or not )
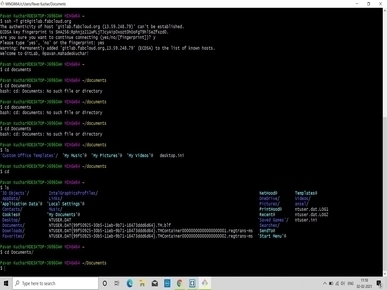
c. Now go to Documents folder (where you want to Pull the data from Gitlab) with
cd Documents then
git clone /copylink from your git account/ then
go inside cloned folder with
cd foldername
Then run following commands
d. Configure User Name and email
git config user.name "You Name" (enter gitlab user name)

git config user.email "you@example.org" (enter gitlab rgistered email id )
e. Check file size paste your changes in cloned folder and run folloing commands
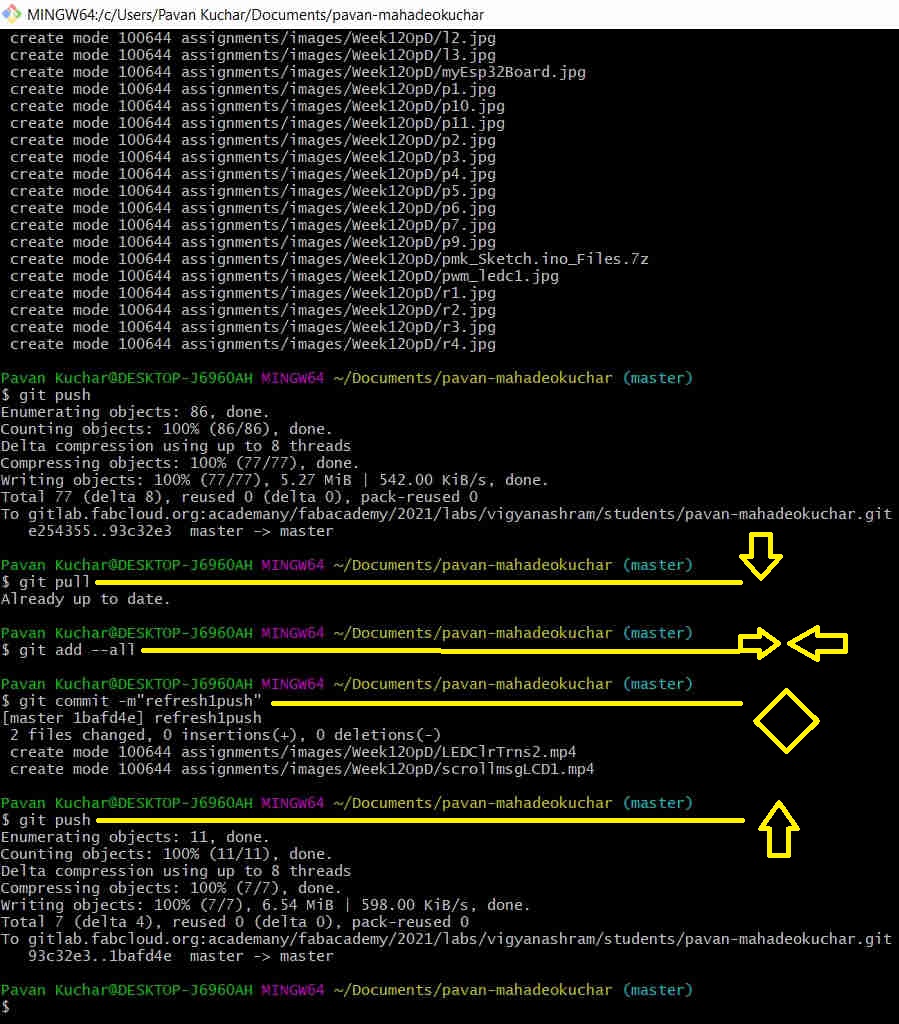
git pull
git add --all
git commit -m "message"
git push
This is how you will have your work uploaded successfully on the server of gitlab.Fabcloud.
I forgot to take the few Screenshots the first time I uploaded my work on the Git Hub. I even didnt realized to take Snapshots while making the website.
The second mistake was that - I used ImageMagik software to reduce the size of the Images / Screenshots. I tried the bulk / batch image manipulation Tab. But while compressing the size of the images, I compressed the images too much and also replaced the Original files / Screenshots while doing so. That is why my few images are too blurred and out of resolution.
I should kept the backup somewhere else or should have made a different folder for images to be processed and Processed images. But I learned this hard lesson after comitting mistakes rather Blunder.
Remember to
Pull the data before pushing it on the server/cloud.
Always check the size of the data to be pushed.
Separate the working folder with the one which is cloned or pulled.
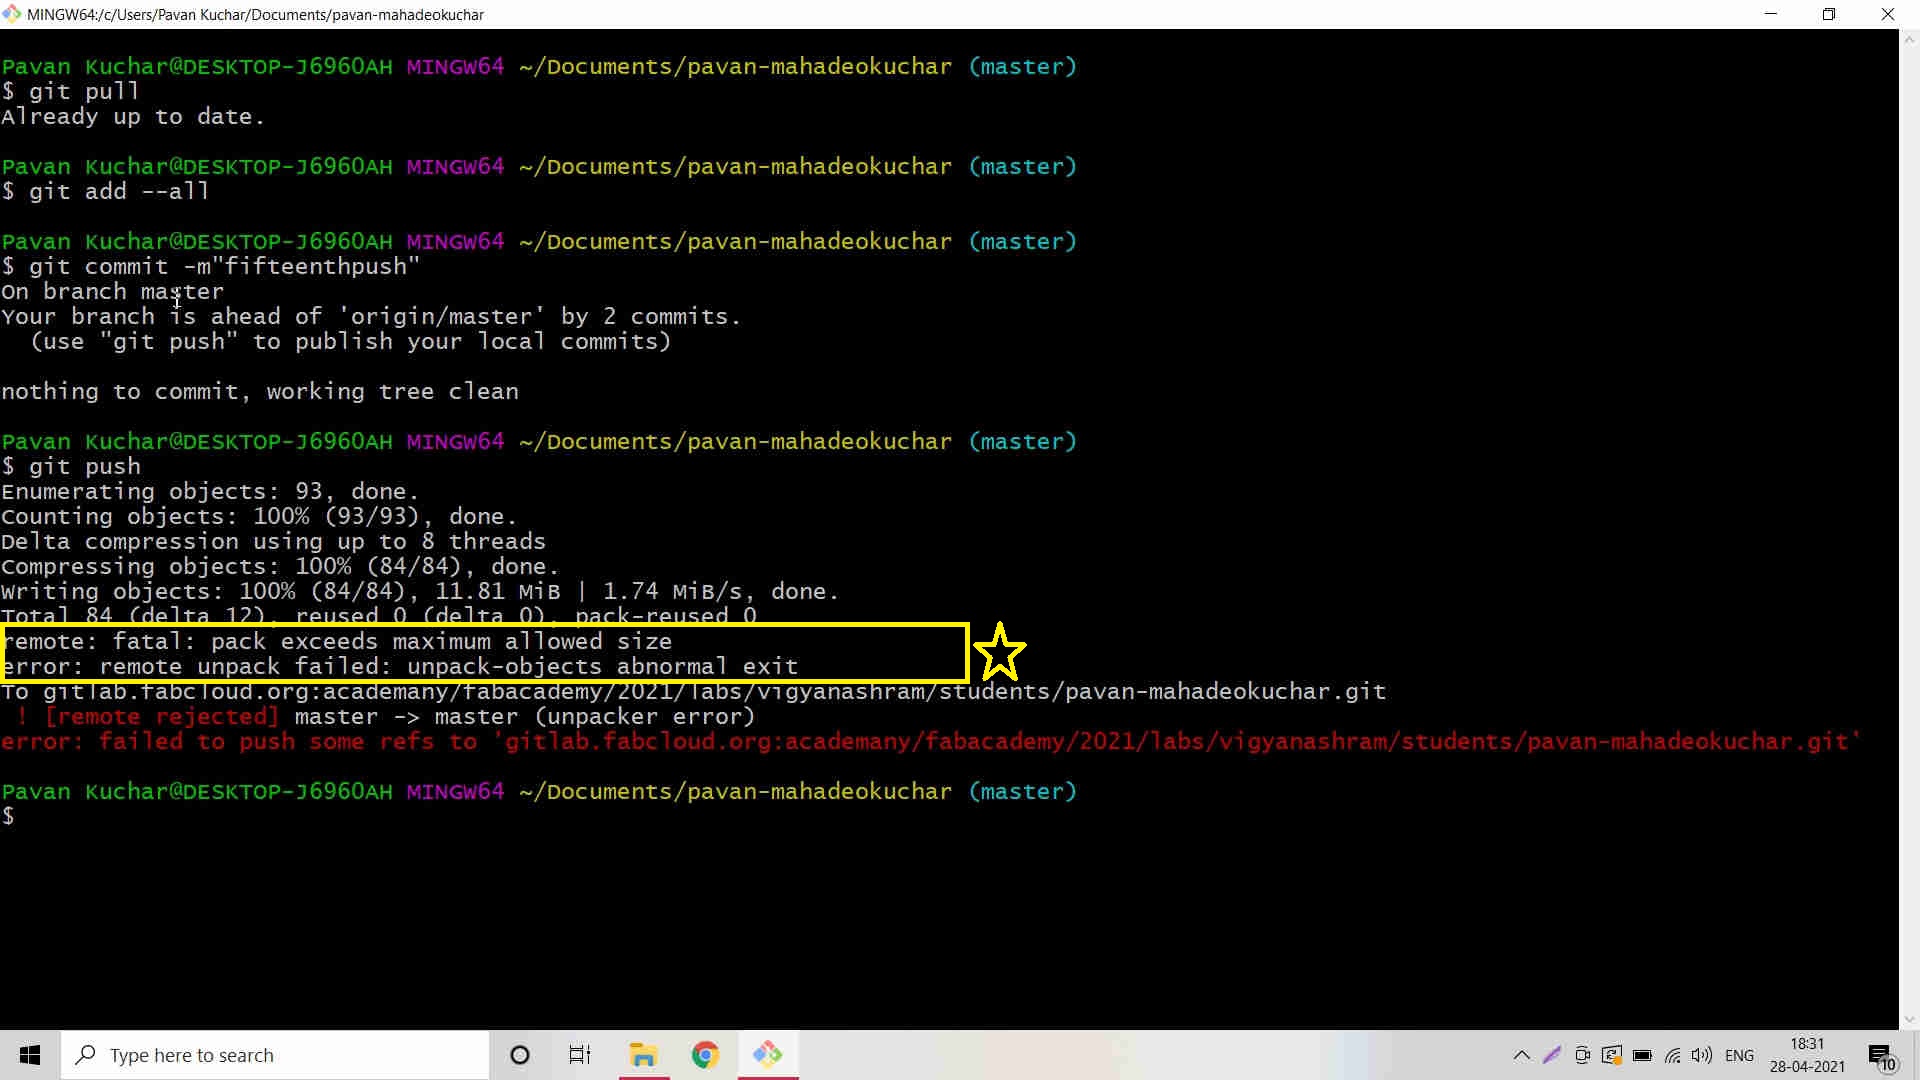
Problem I encountered during Pushing my Work of 12th Week of Output Devices:
I faced issue while pushing my content on my Git repo of FAB Academy on 28th April 2021 at almost 6 pm before the Global Review scheduled at 6:30 pm. I tried pushing 3 times but was unsuccessful. This happened due to Repo size larger than 10Mb.
My Resort was to again Clone my Repo. But, our FabLab Manager managed to help me out by undoing my commits by referring the https://www.clock.co.uk/insight/deleting-a-git-commit and running the “git reset HEAD^” command. He checked my activity of push and commits made earlier.
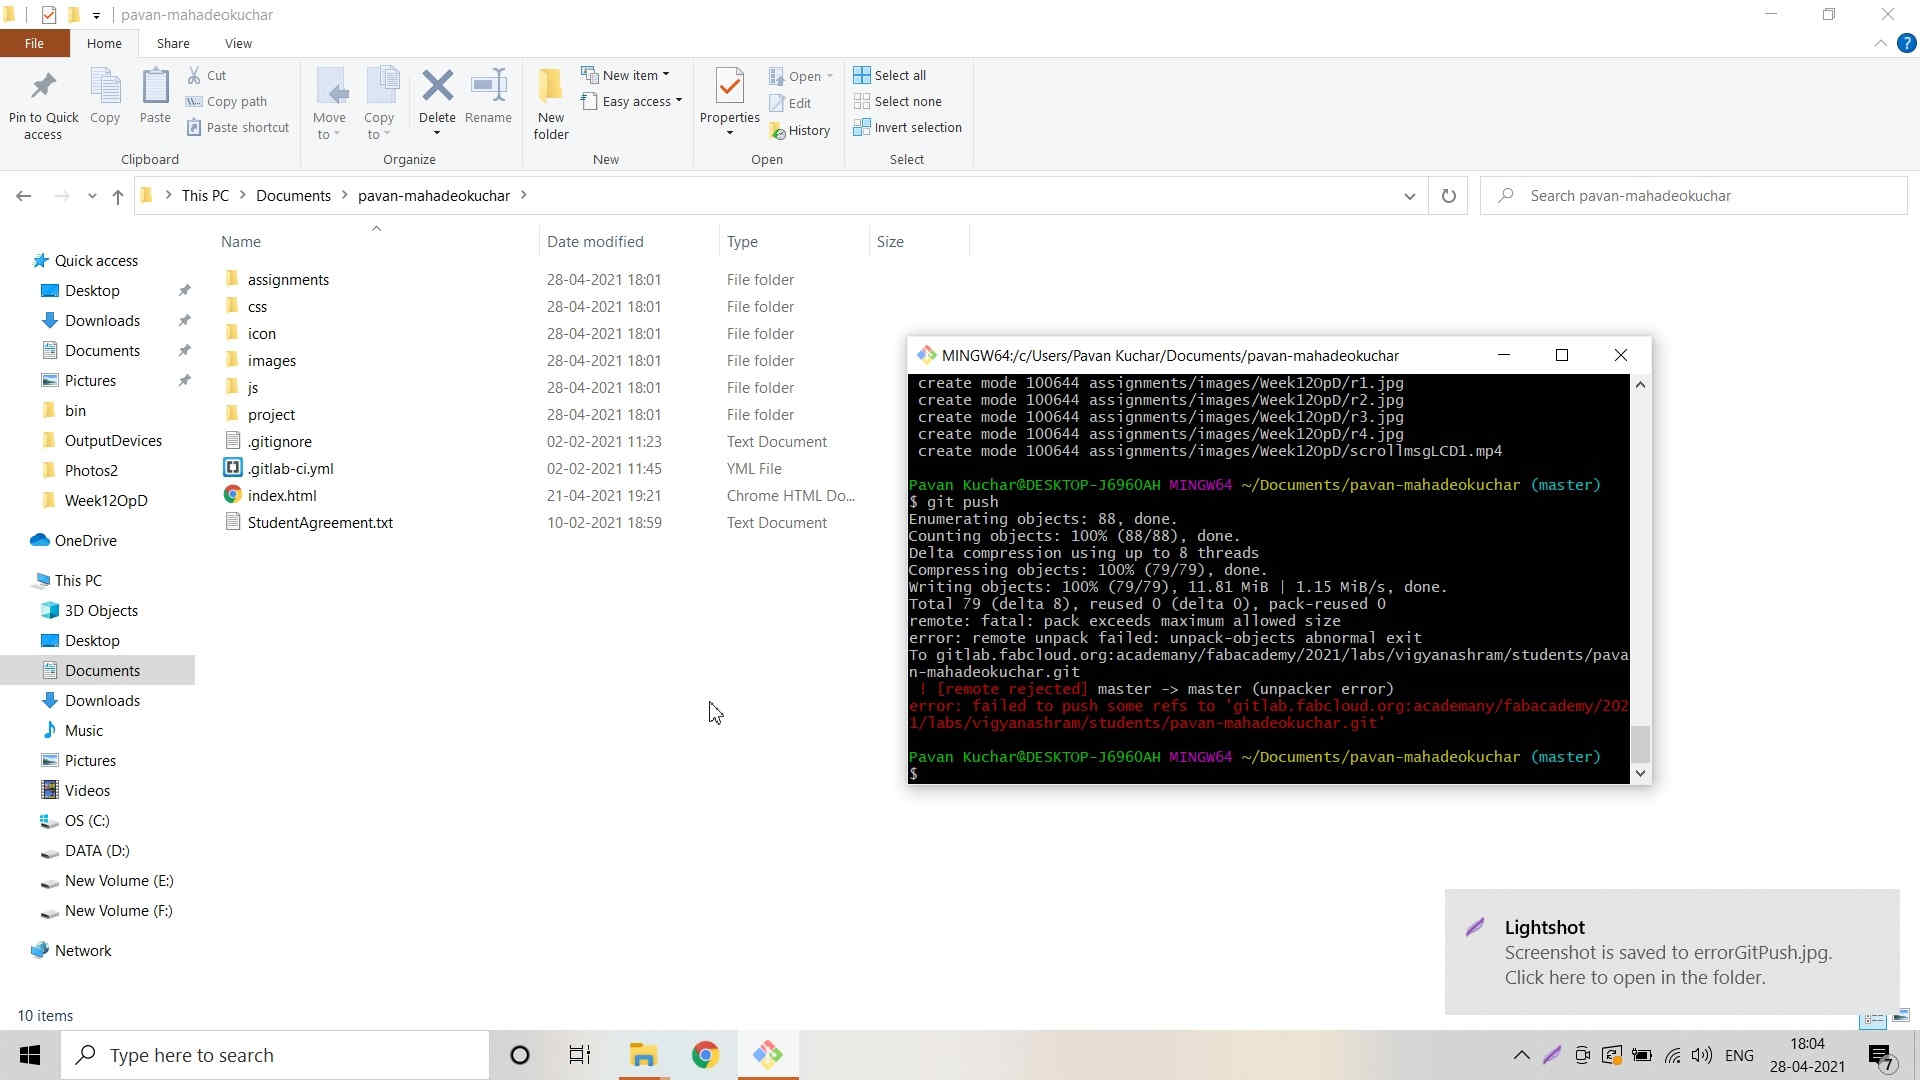
Problem while Pushing the Week's work on my Git Repo
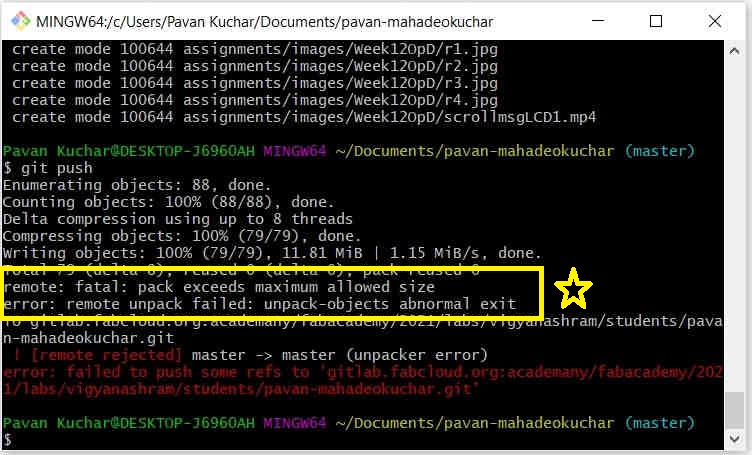
Problem was due to Pushing data larger than allowed limit of 10Mb
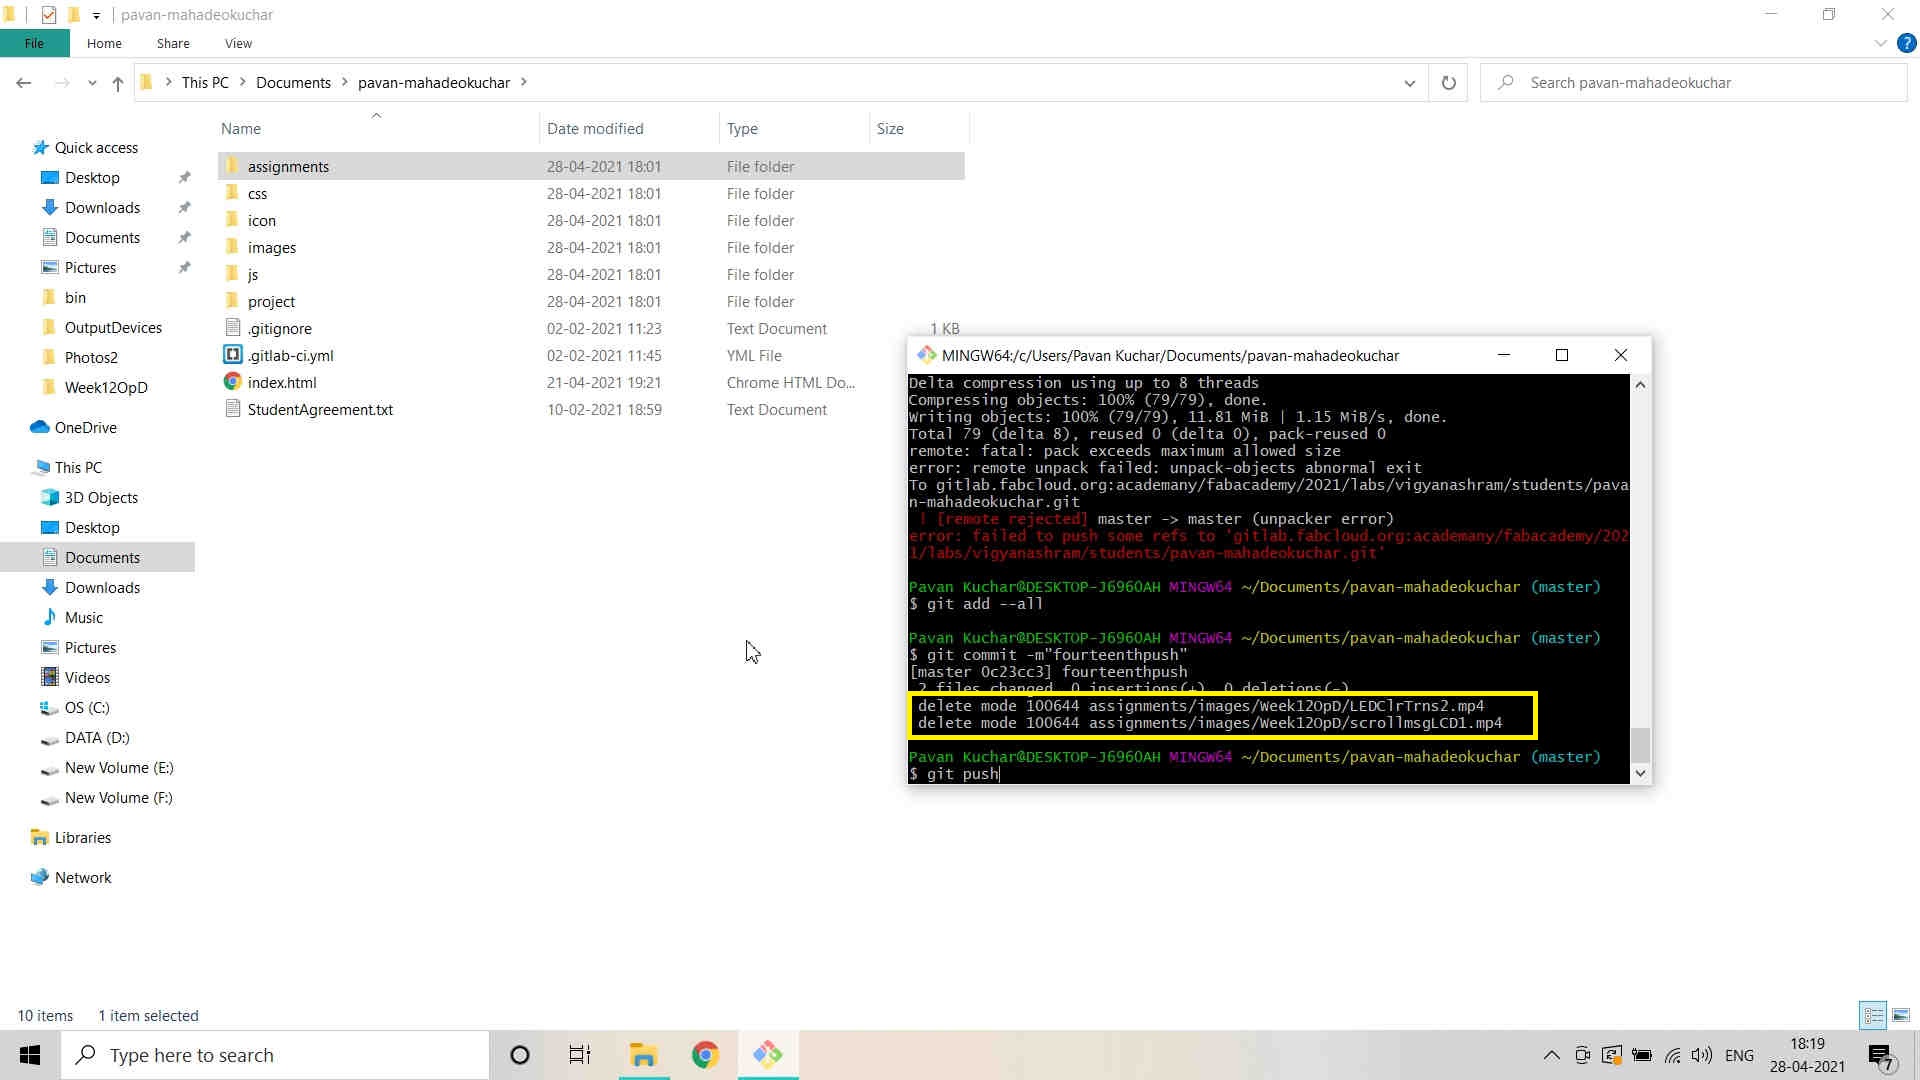
Deleted two videos from the data and tried again to push the data but couldn't do it as "once you commit, it cannot be reverted back"
Already had two commits which were not pushed and thats why I was denied any other commits
Again the same error of More than allowed data limit
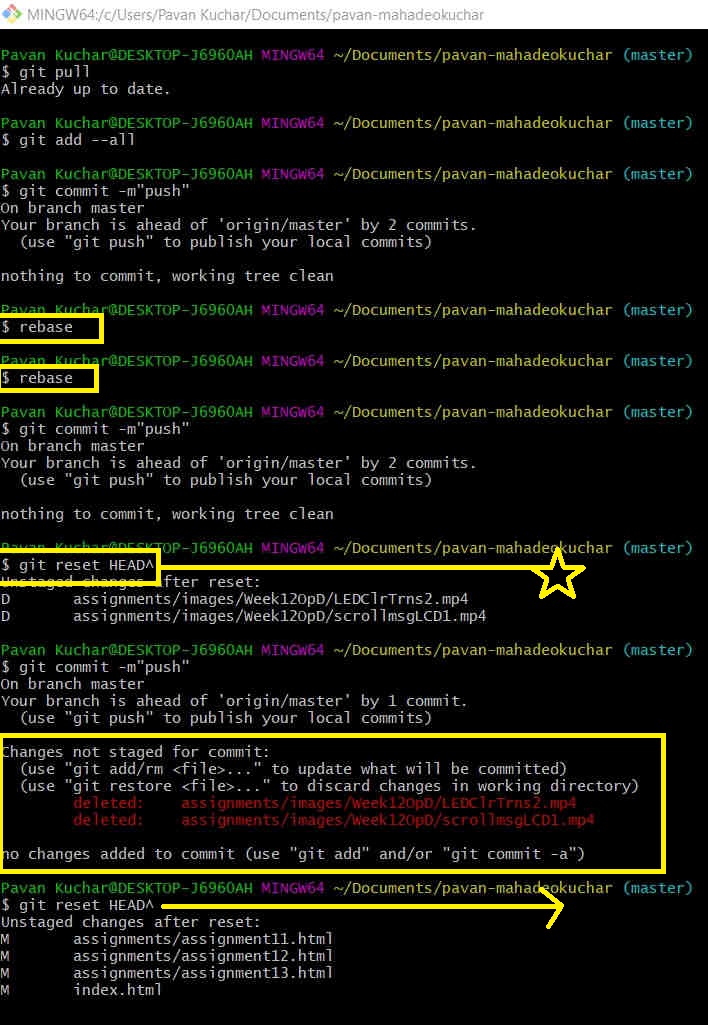 Referred the clock.co.uk website for deleting git commits and used commands like "rebase" and "git reset HEAD^" | 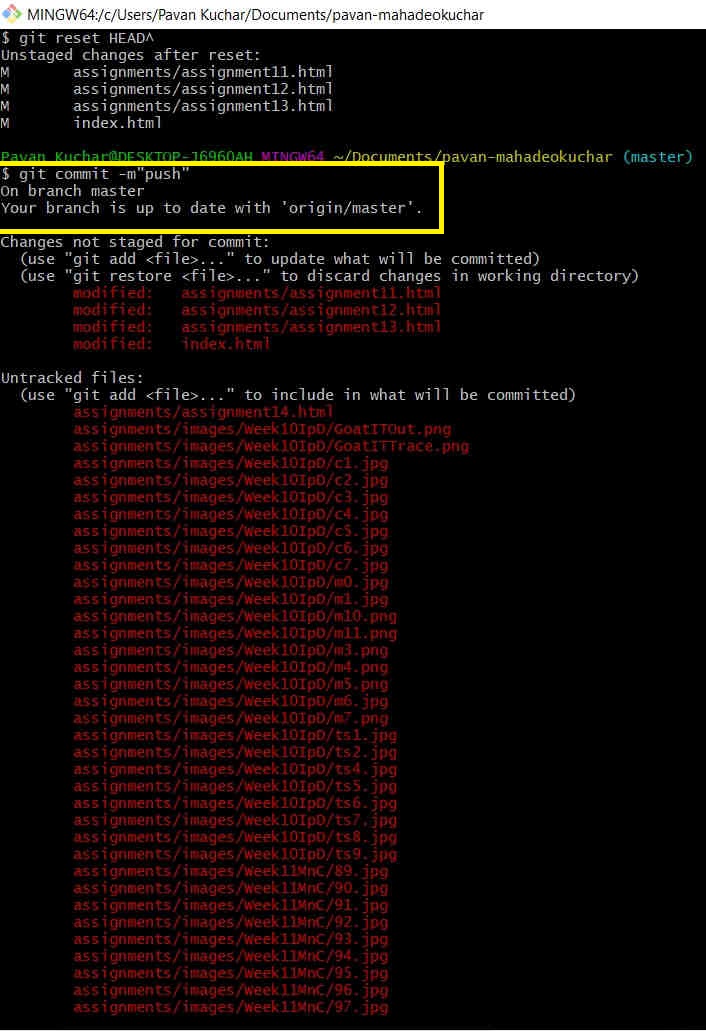 |
|---|---|
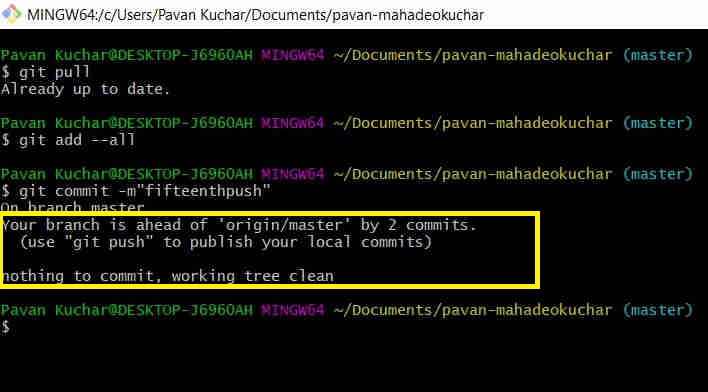
 Again tried to use commands of "git pull;add --all; commit -m"msg"; push | 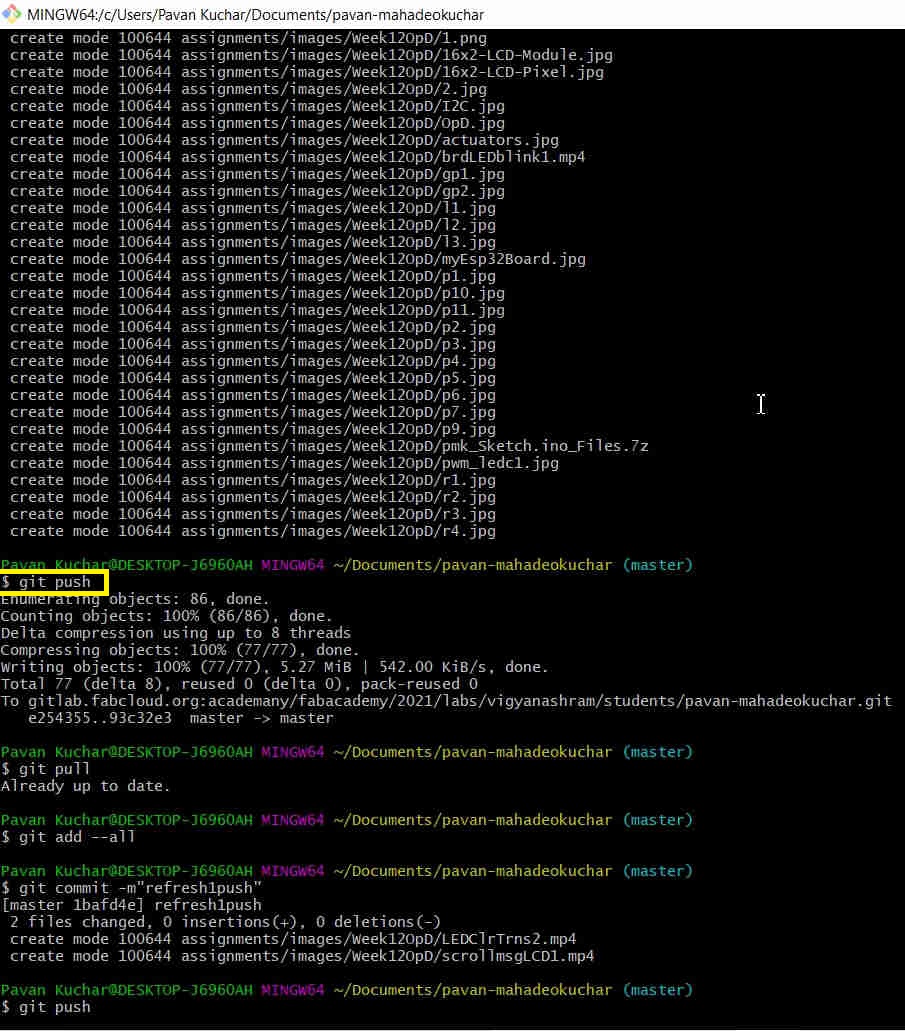 |
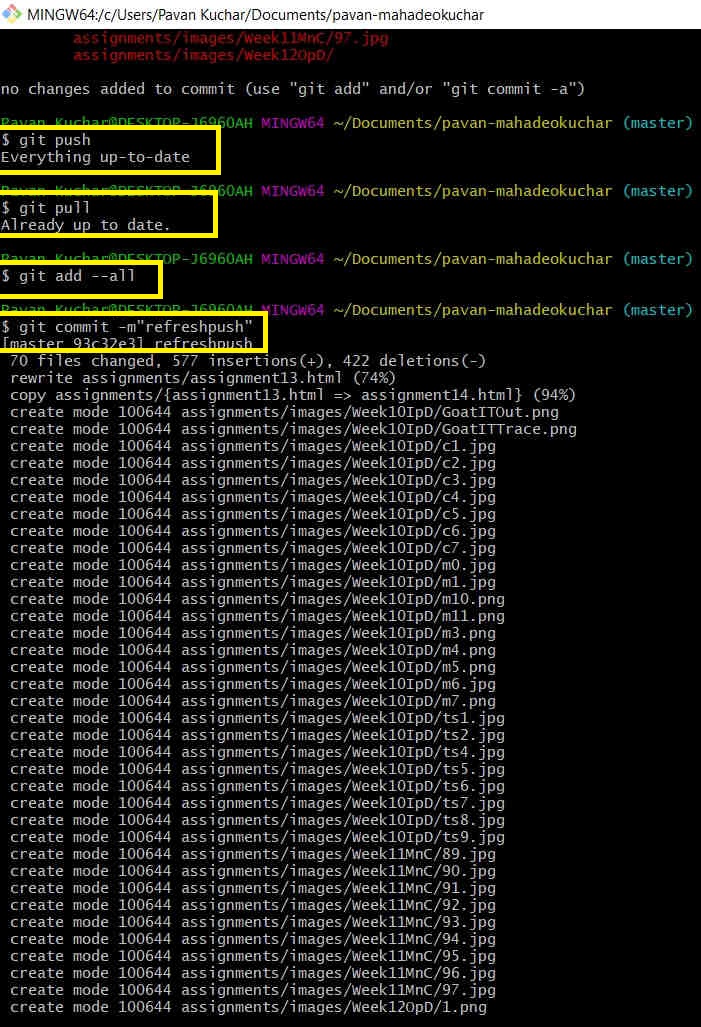
This is how the Problem was solved and my content was pushed on the Repo well in time. But my Number didn't came in Random Generator
I should have pushed the content two times; without videos, the first time and then the remaining videos the other time. Pushing content more than 10Mb is not allowed.