
Computer Controlled Machining
Group assignment:
- Test runout, alignment, speeds, feeds, and toolpaths for your machine Document your work (in a group or individually)
- Make (design+mill+assemble) something big
Individual Assignment
Group Assignment
Please find the group assignment in our Group Page Link
Individual Assignment
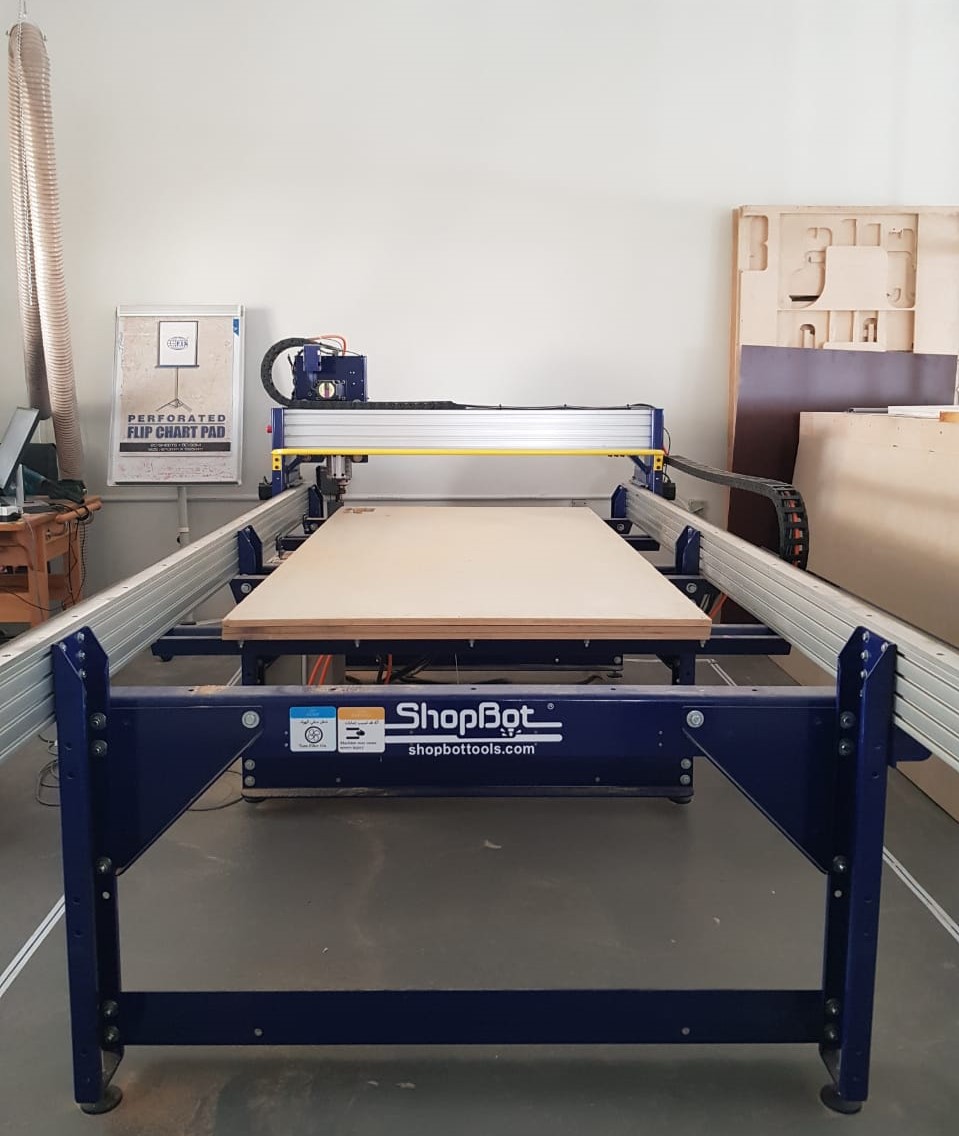
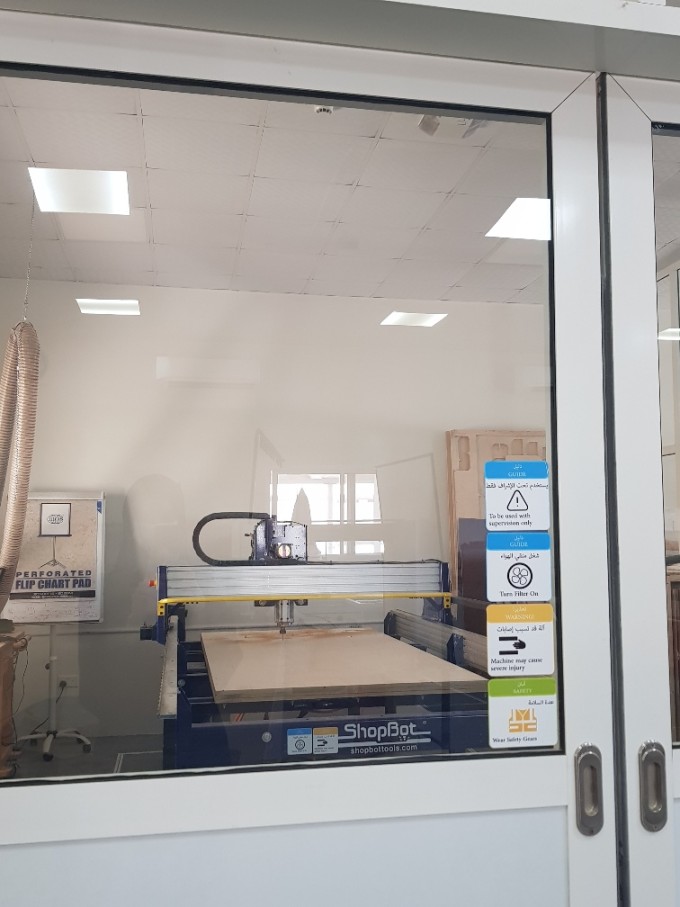
In this week we used the Shopbot machine shown in the following image to cut sheets of plywood and make big project.
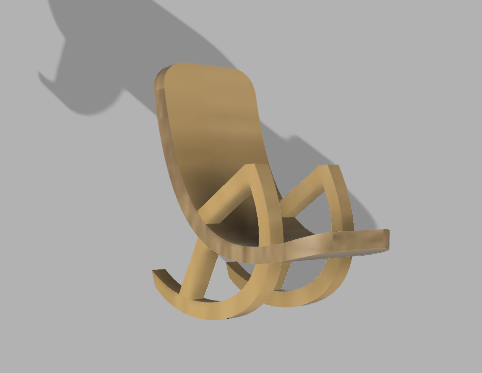
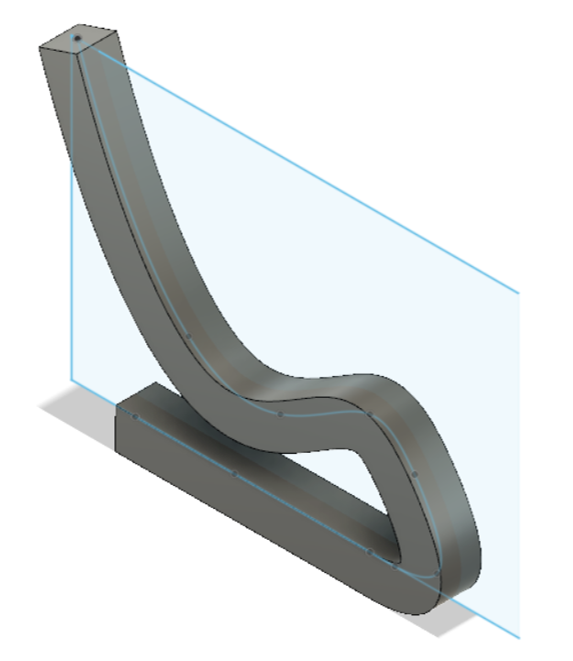
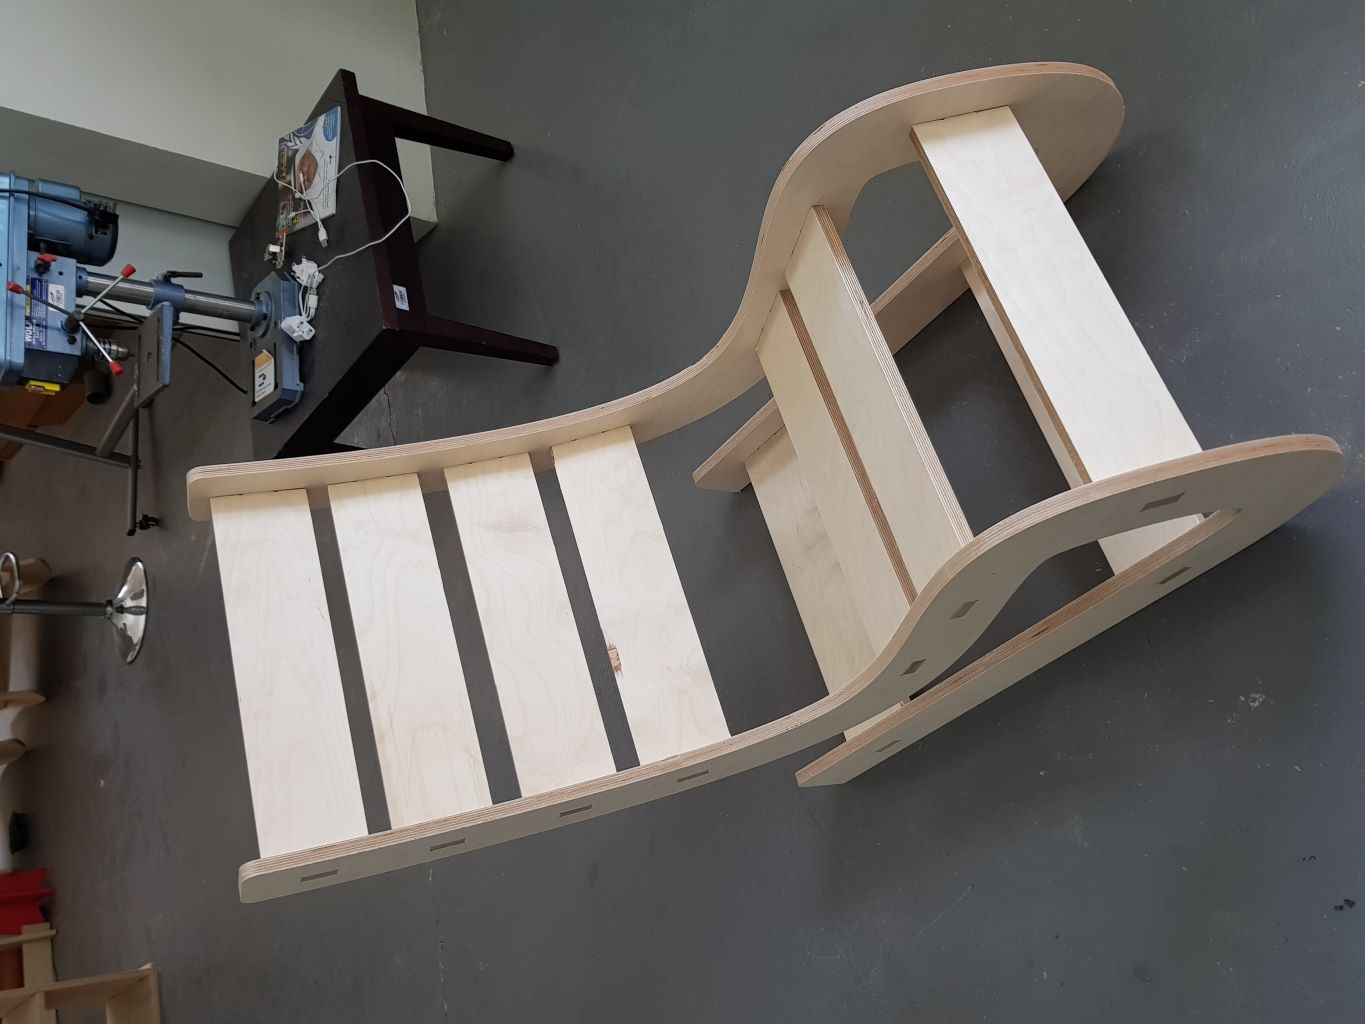
I decieded to do a rocking chair for the home garden. I did a primary design which is shown in the following image. But I realized that this design would be hard to construct.
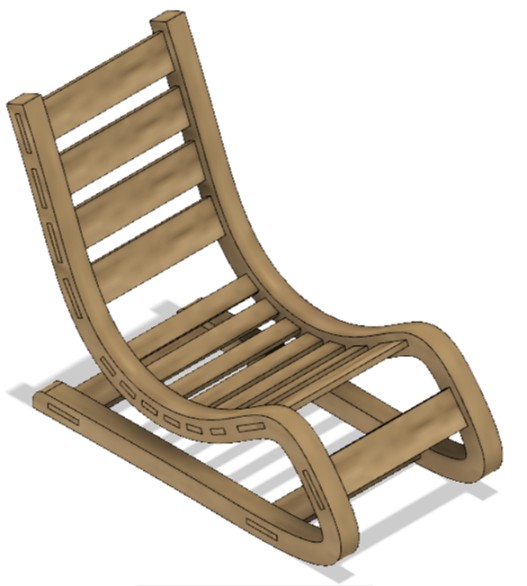
I realized that this rocking chair design would be hard to construct. So I did another design, I got the idea of this design from youtube and I did some changes to make it differnet.
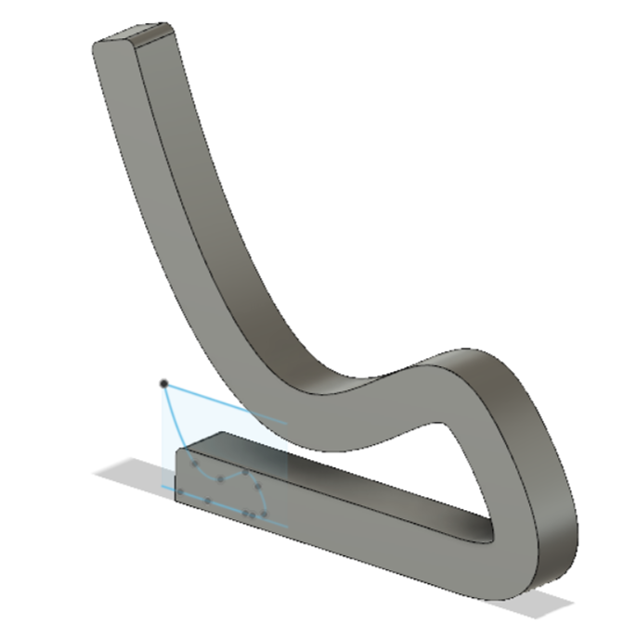
I designed my chair in Fusion360.
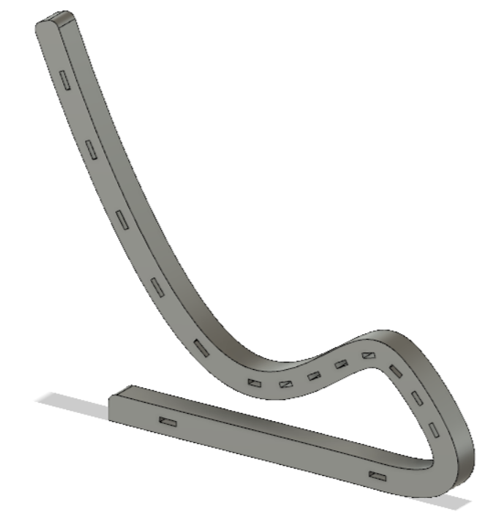
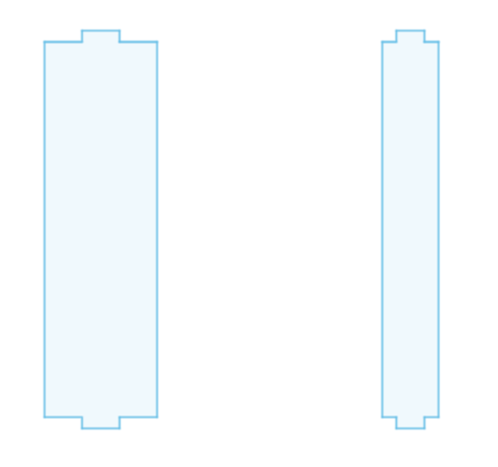
I created sketch and used Fit Point Spline tool to drow the path line of the sides of the chair. I added some slots at the sides and I designed two sizes of the boards that will connect the two sideds togehter.
Thikness = 3mm
Slot length (large board) = 10mm
Slot length (Small board) = 5mm
kerf = 1.5mm
Slot width = Thikness - kerf

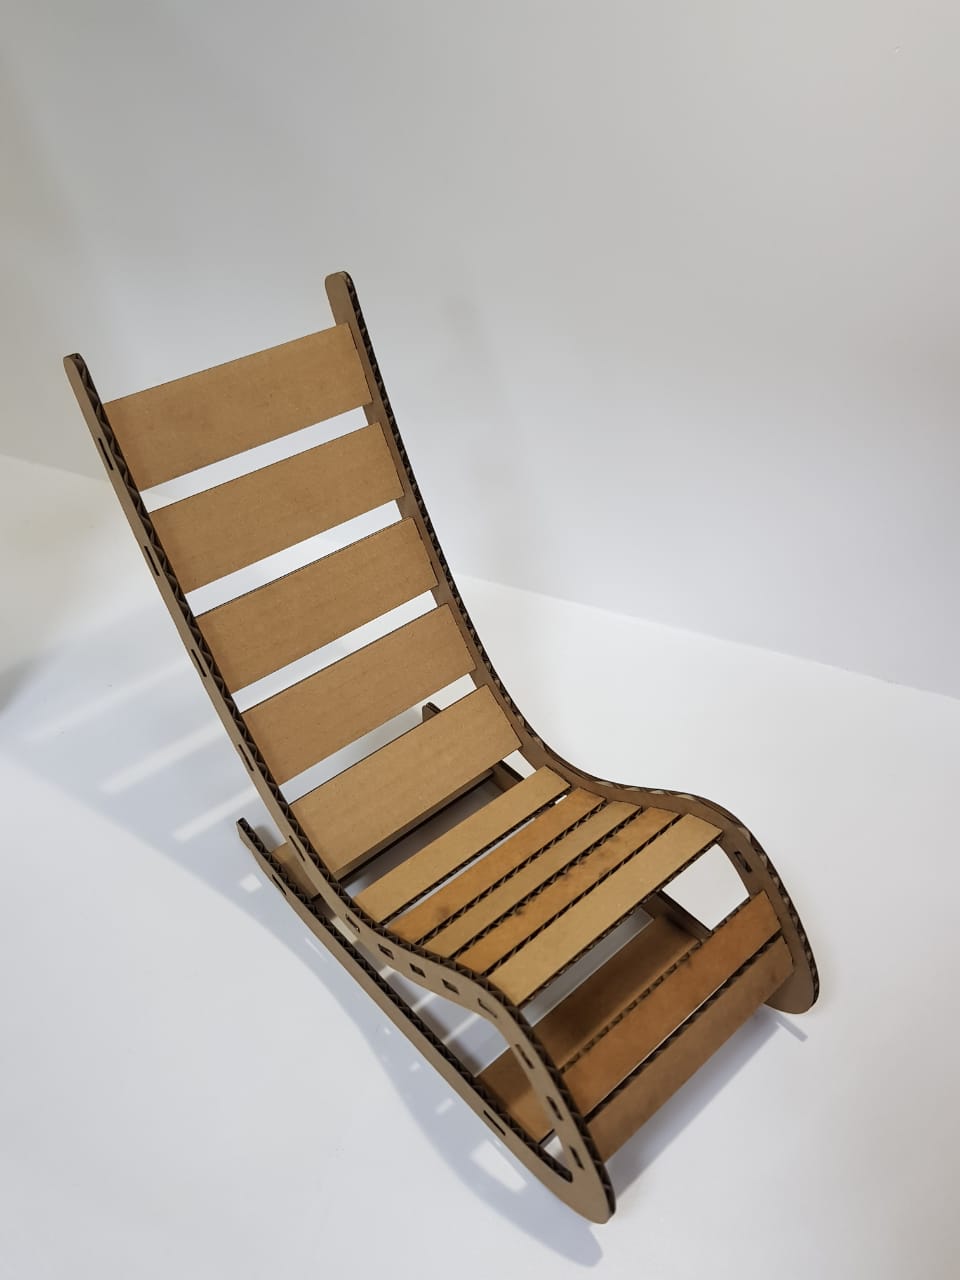
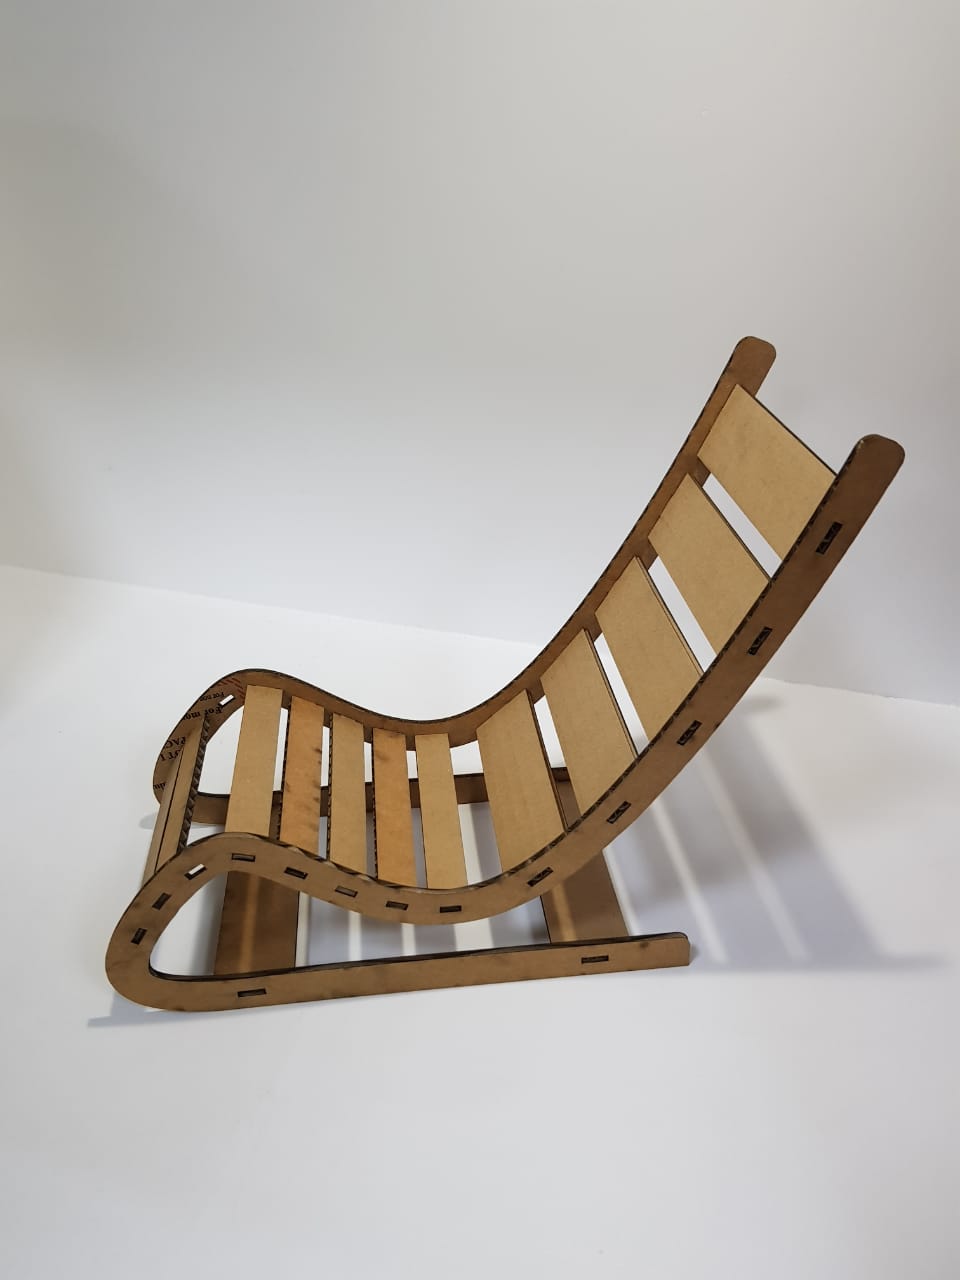
I tested the design by cutting it in the Universal Laser Systems Machine. I used a 3mm Cardboard.
Here is the result after cutting the design .
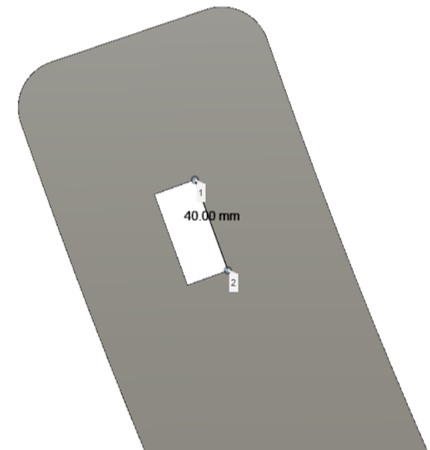
Then I did some modifications to the design by scaling it up and reducing number of boards because it will be hard assembling it with many boards and it will need big effort.
Thikness = 18mmSlot length = 40mm
kerf = 0.2mm
Slot width = Thikness - kerf = 17.8mm
Sketch:


Before and after scalling:
After adding the slots:
Toolpath:
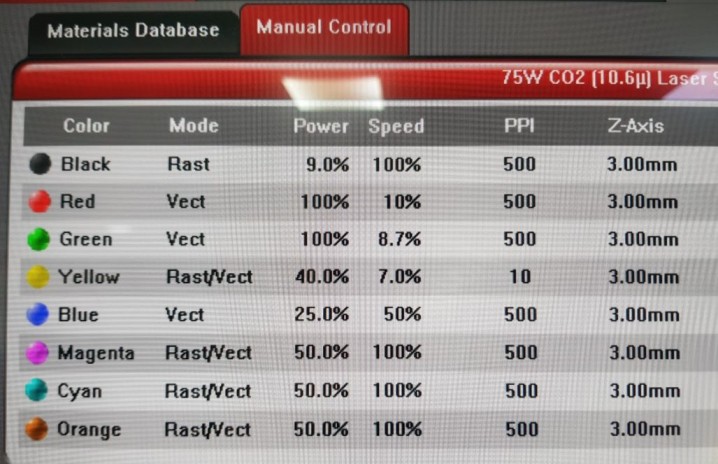
To generate the toolpath for the Shopbot machine, we use the VCarve Pro software. It's a software for creating and cutting parts on a CNC Router.
I put my design parts in the software and I organized them in order to be able to cut them all in one sheet. The size of the sheet is 2400mm x 1200mm x 18mm. Since the 12mm plywood sheets has finished, I used the 18mm plywood we have in the lab. Then we tested it to check the clearance and it was 0.2mm.

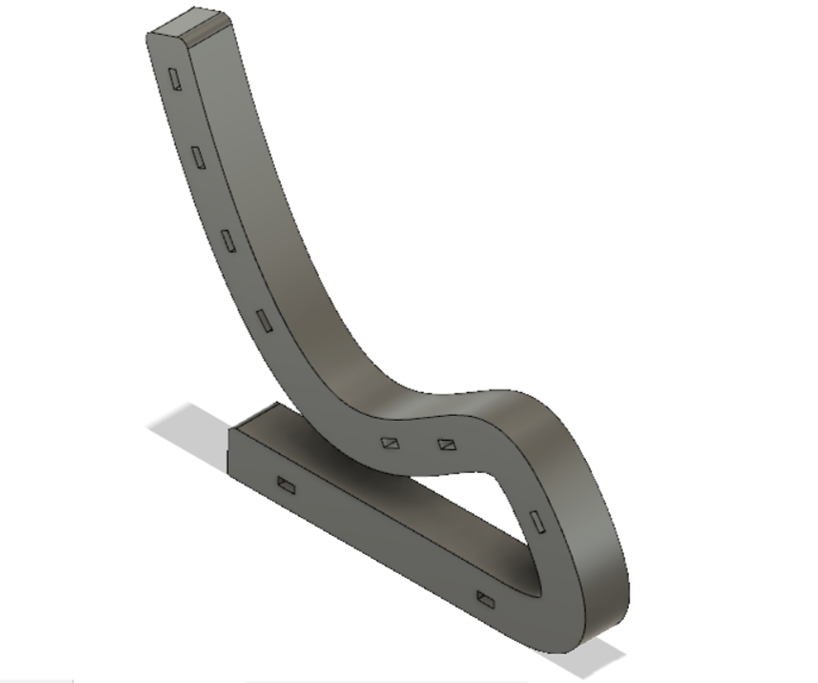
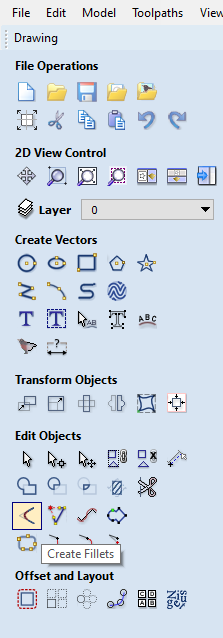
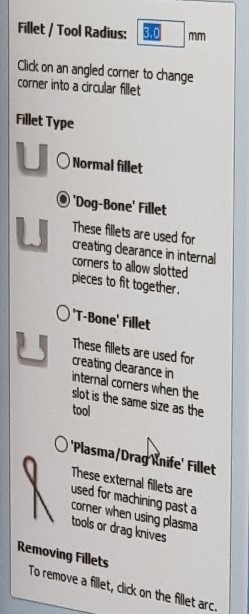
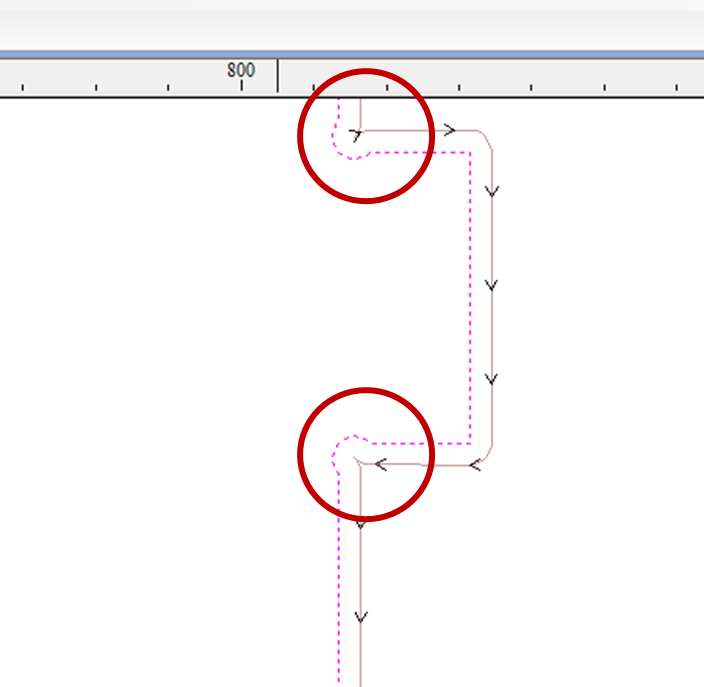
Also I added fillets at the edges of the slots as shown in the following images. Because it's hard for the milling tool to cut these small edges.
Then I selected the positions that I want to drill on the sheet to be able to put screws and fix the sheet on the machine.
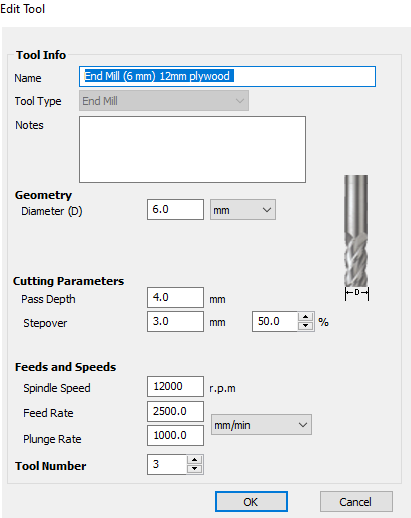
I made the cut depth 4mm because I don't want it to be loose. The milling tool I chose is End Mill 6mm
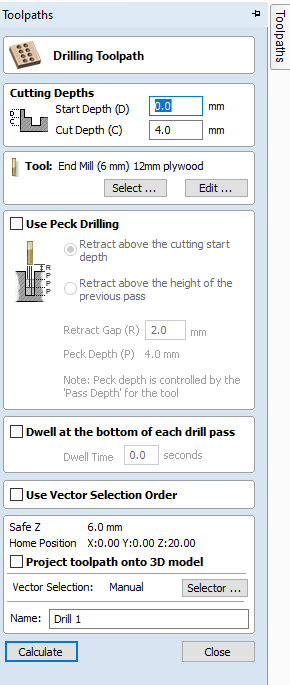
Milling tool:
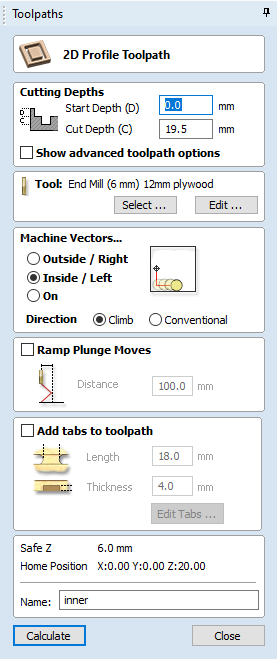
Then I selected the outline of the slots. The milling tool will spin from inside as shown in the toolpath settings. The cut depth here is 19.5mm because I'm using a plywood with 18mm thickness and I added 1.5mm to make sure the milling tool will cut clearly and will reach the end of the sheet.
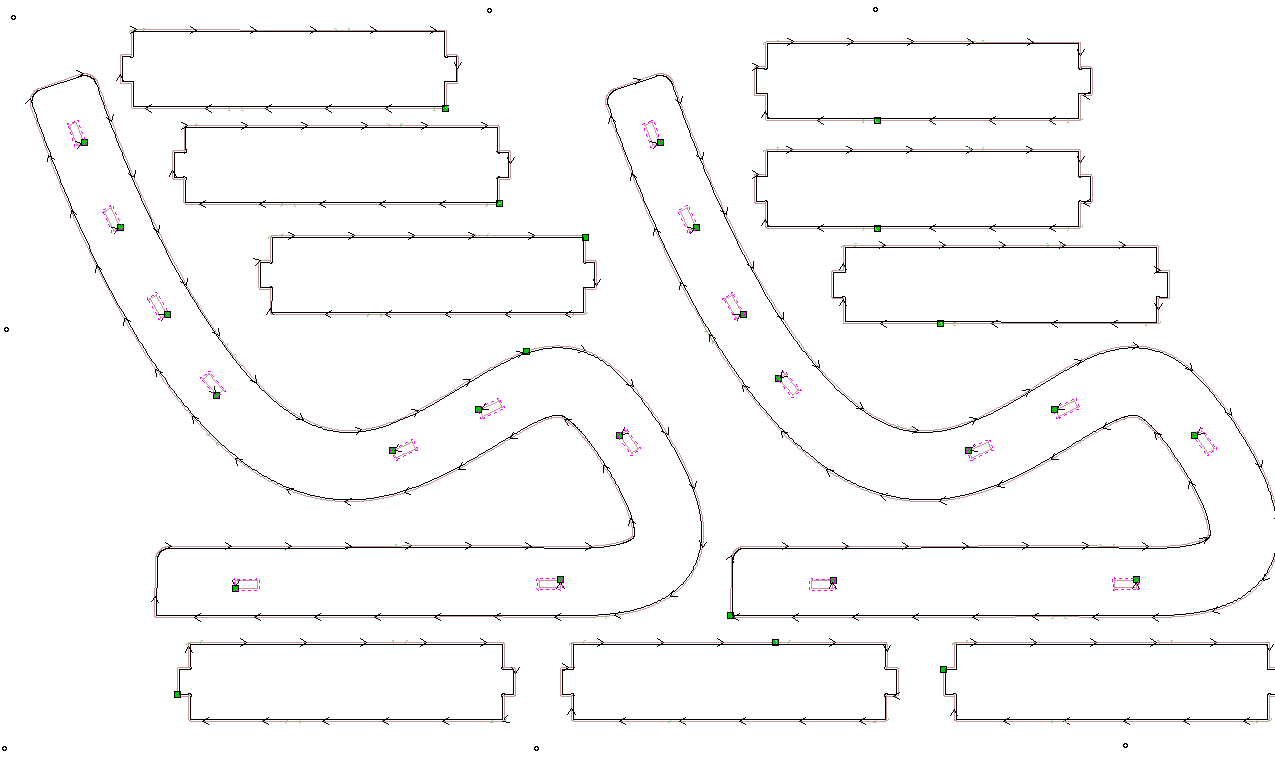
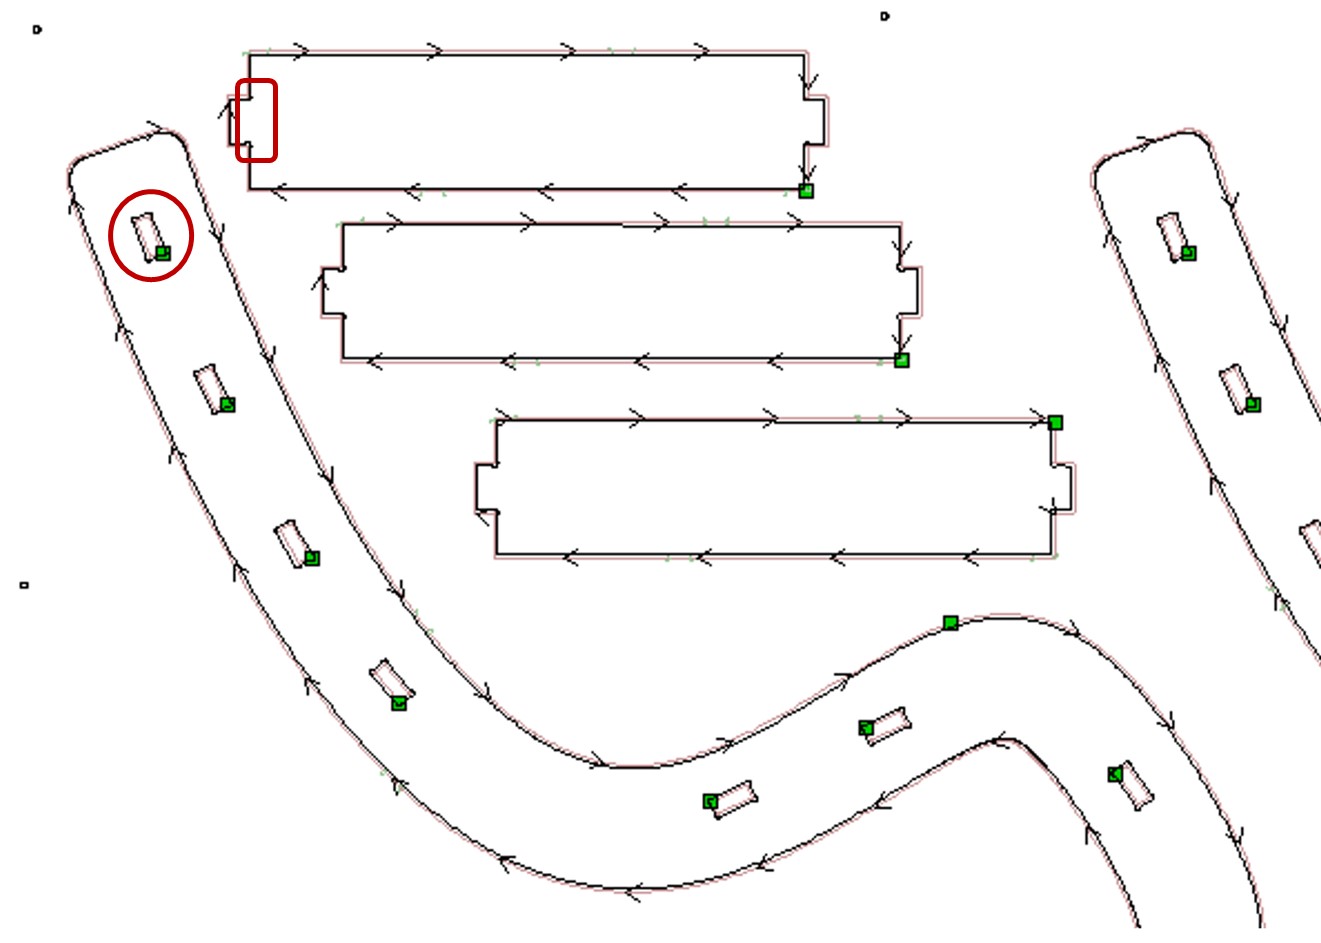
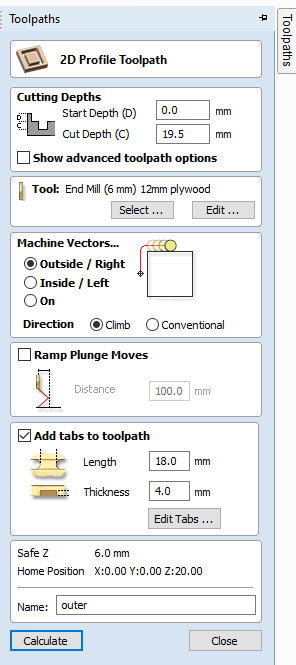
After that, I selected the outline of all the big parts . The milling tool here will spin from outside as shown in the toolpath settings. I also added tabs for them to ensure they will not move from their place when each part is being cutted. Tabs are shown in the following image as small yellow squares with the letter T.
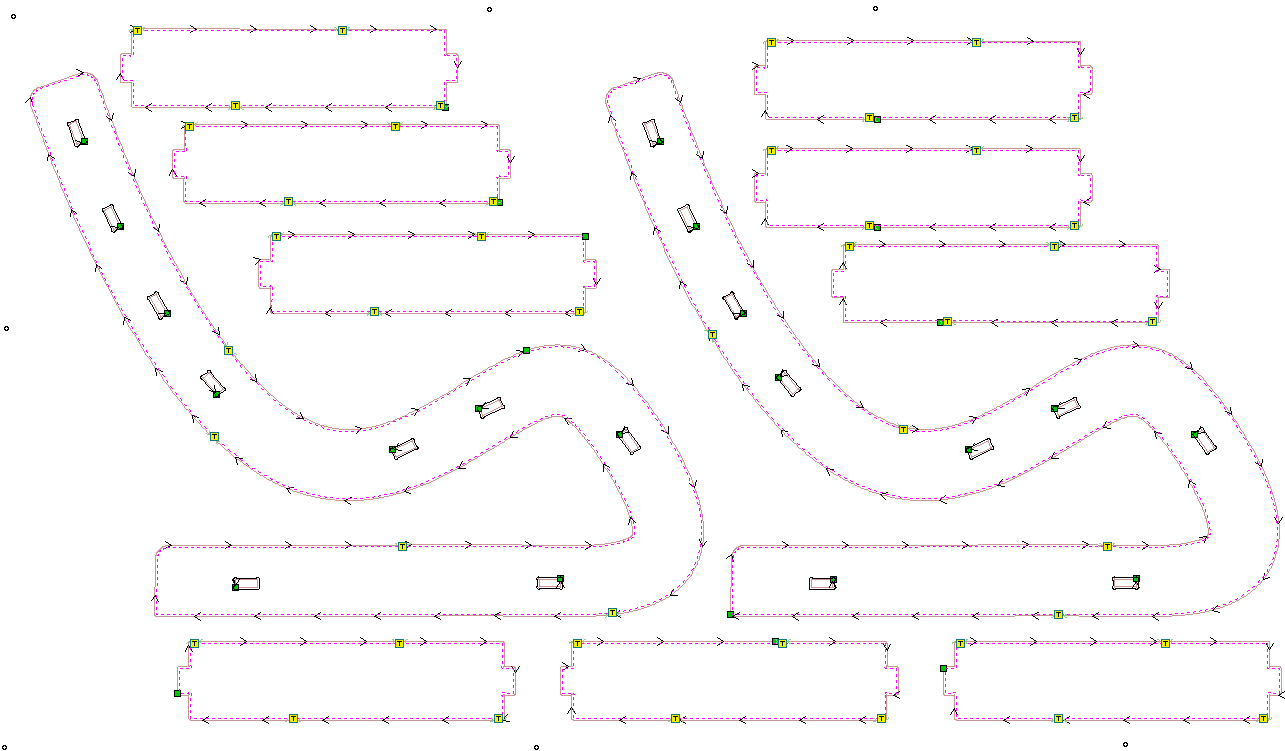
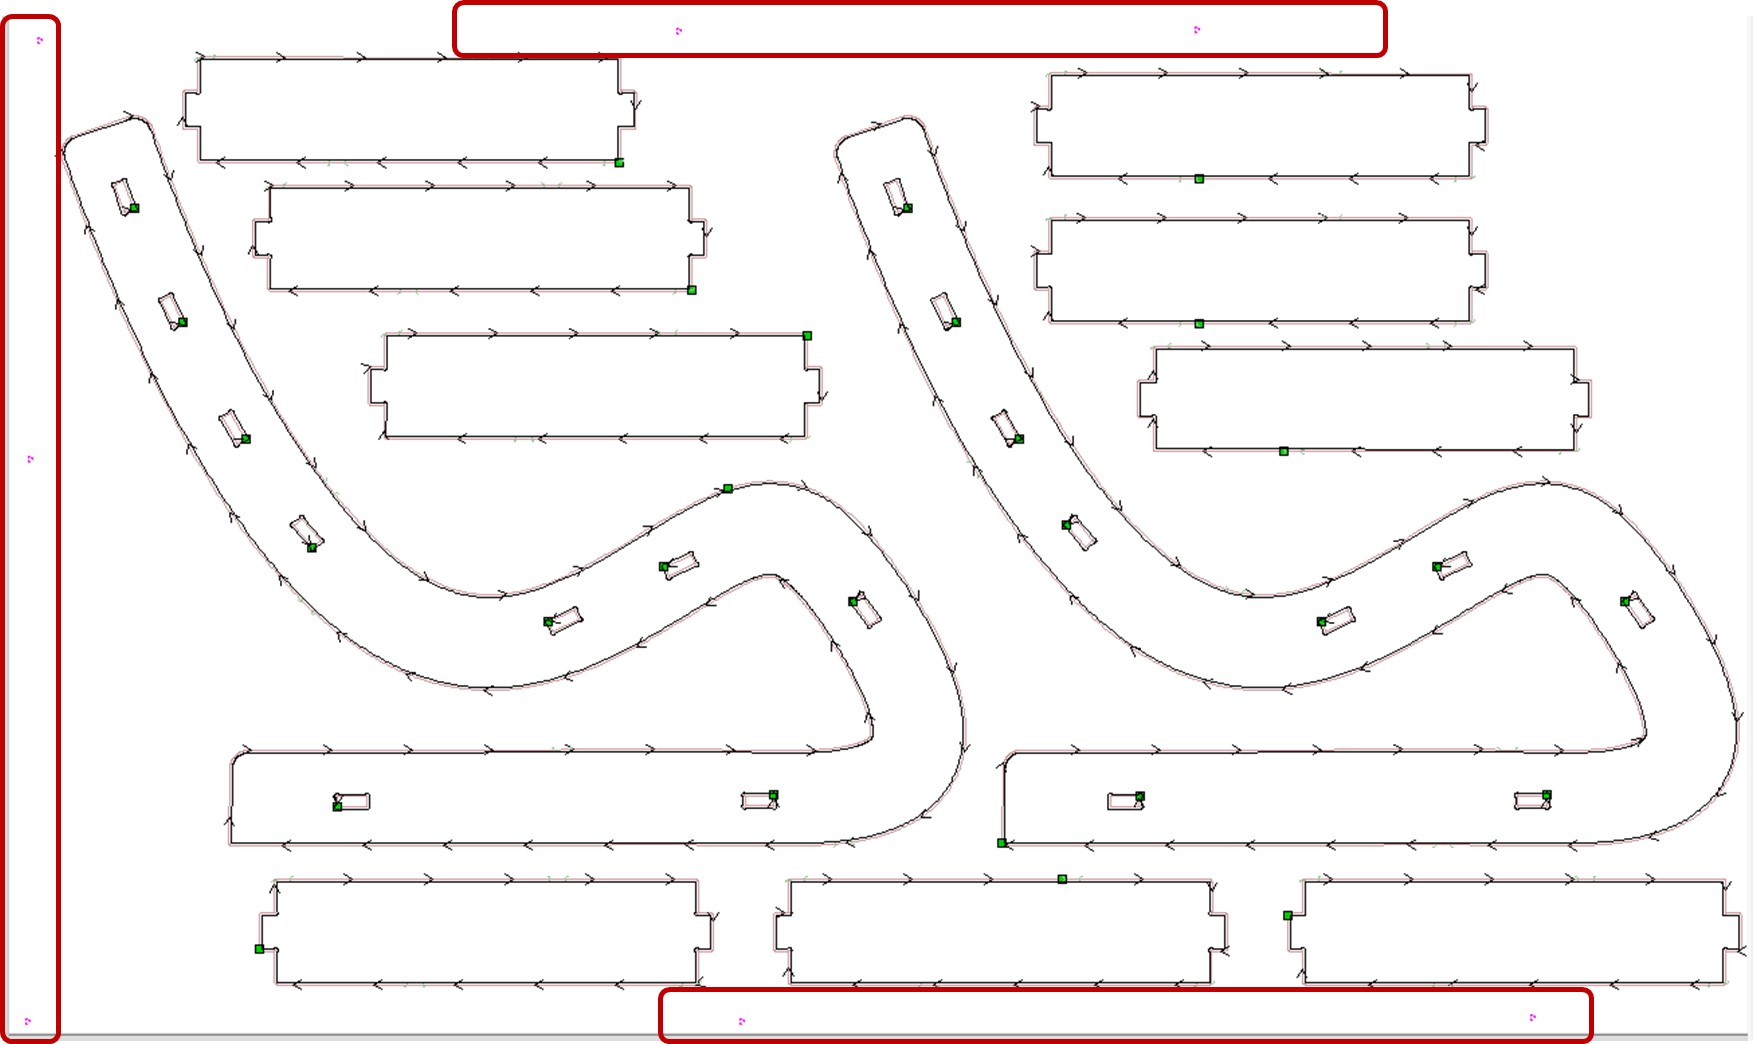
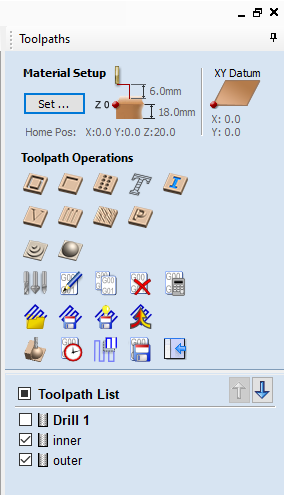
Here is the toolpath list:
Now I should set the origin of XYZ axis, and this is done by using the Shopbot Control Software. The red box in the following image shows the position of the milling tool now and the yellow box is the Keypad that we use to move the milling bit as shown in the following video.
I moved the milling bit to the position that I want the machine to start from then I clicked on the blue box on the keypad (Zero Axes) and I select the X and Y axis and I made them zero.
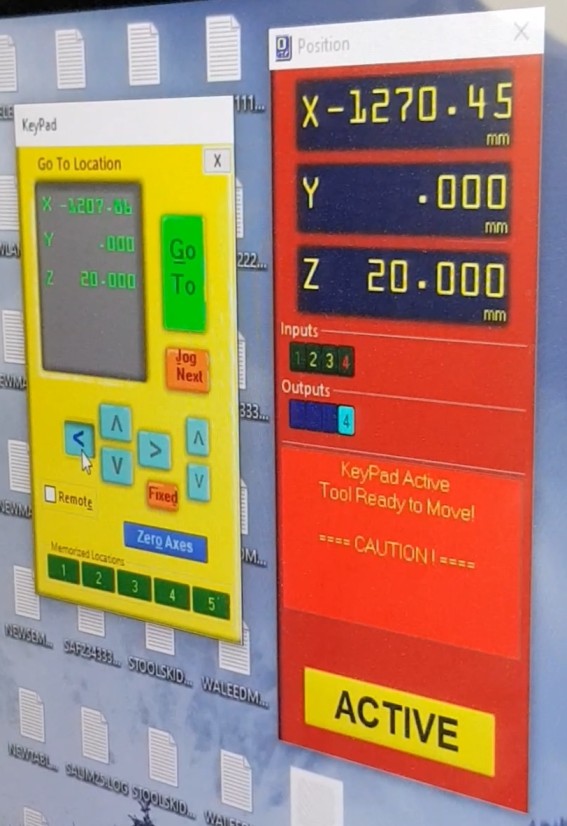
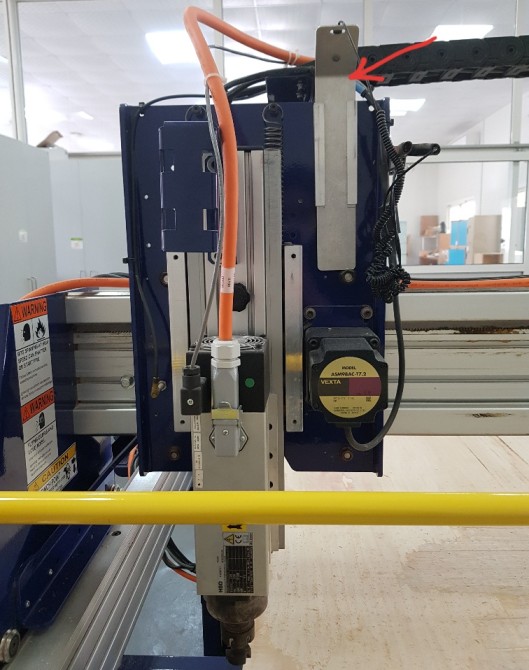
For the Z axis, first we move the tool up and we use the metal plate attached to the machine and put it under the milling tool then from the software click on Set Zero. The tool will move automatically till it touch the metal plate. This will be repeated twice automatically to confirm the Z axis zero position.
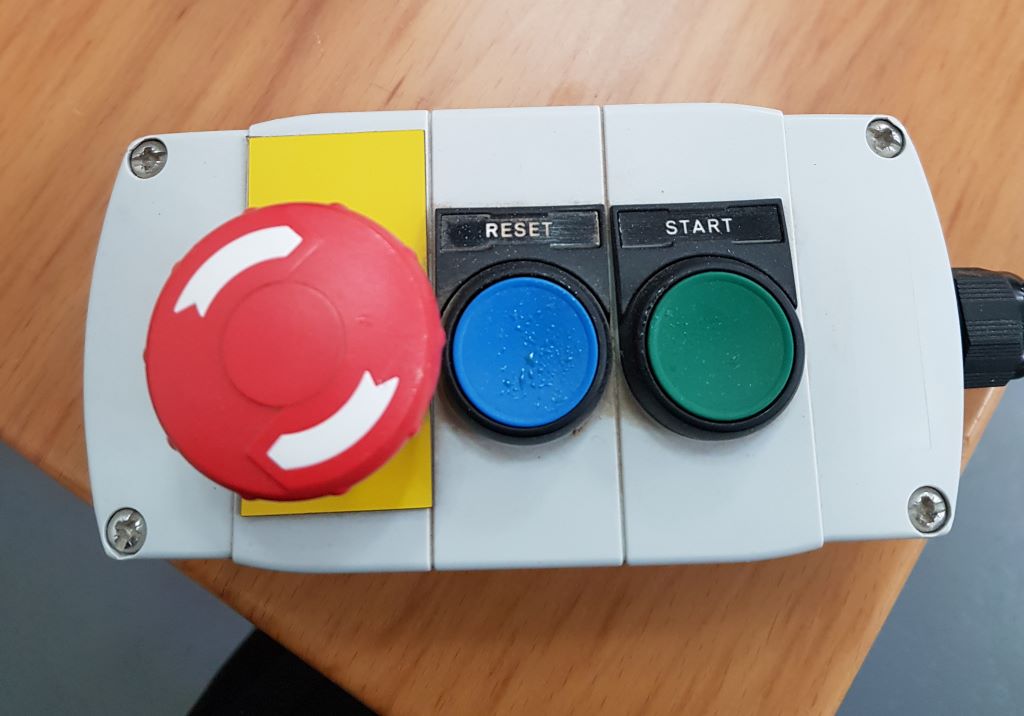
Now I can start the milling process by clicking on Cut Part in the software. Some notifications will appear and we should read them carefully. After that, I took the remote control shown in the following image outside the shopbot area and I closed the door. Then I pressed START button. These steps are done for safety.
After cutting with the Shopbot machine
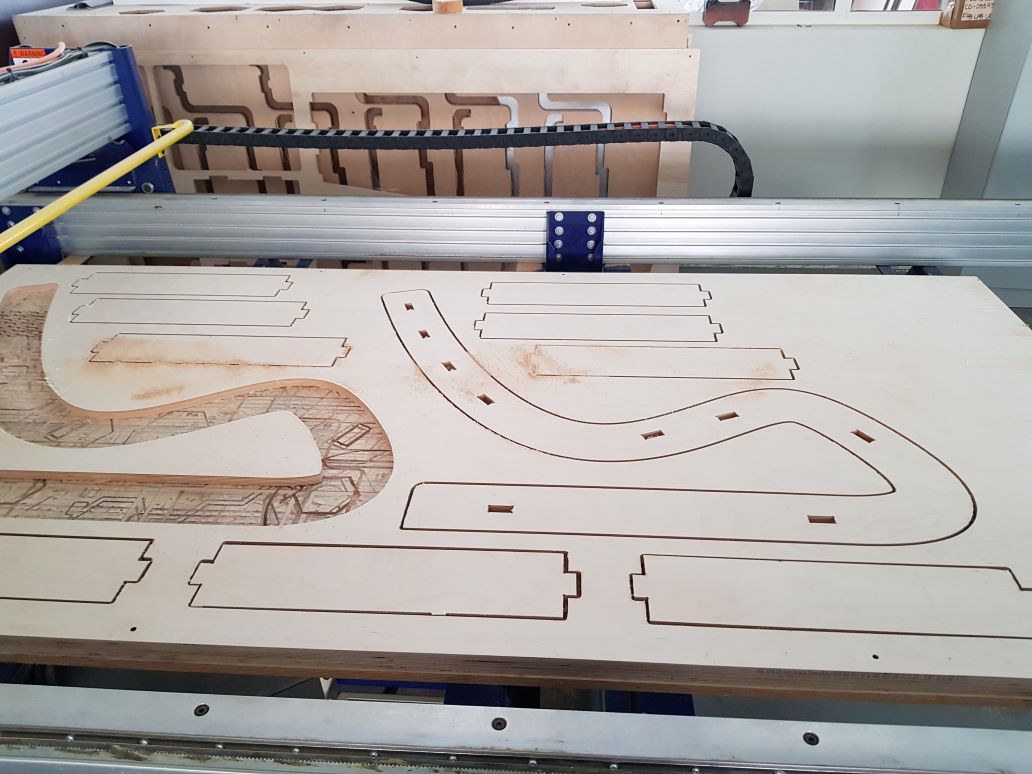
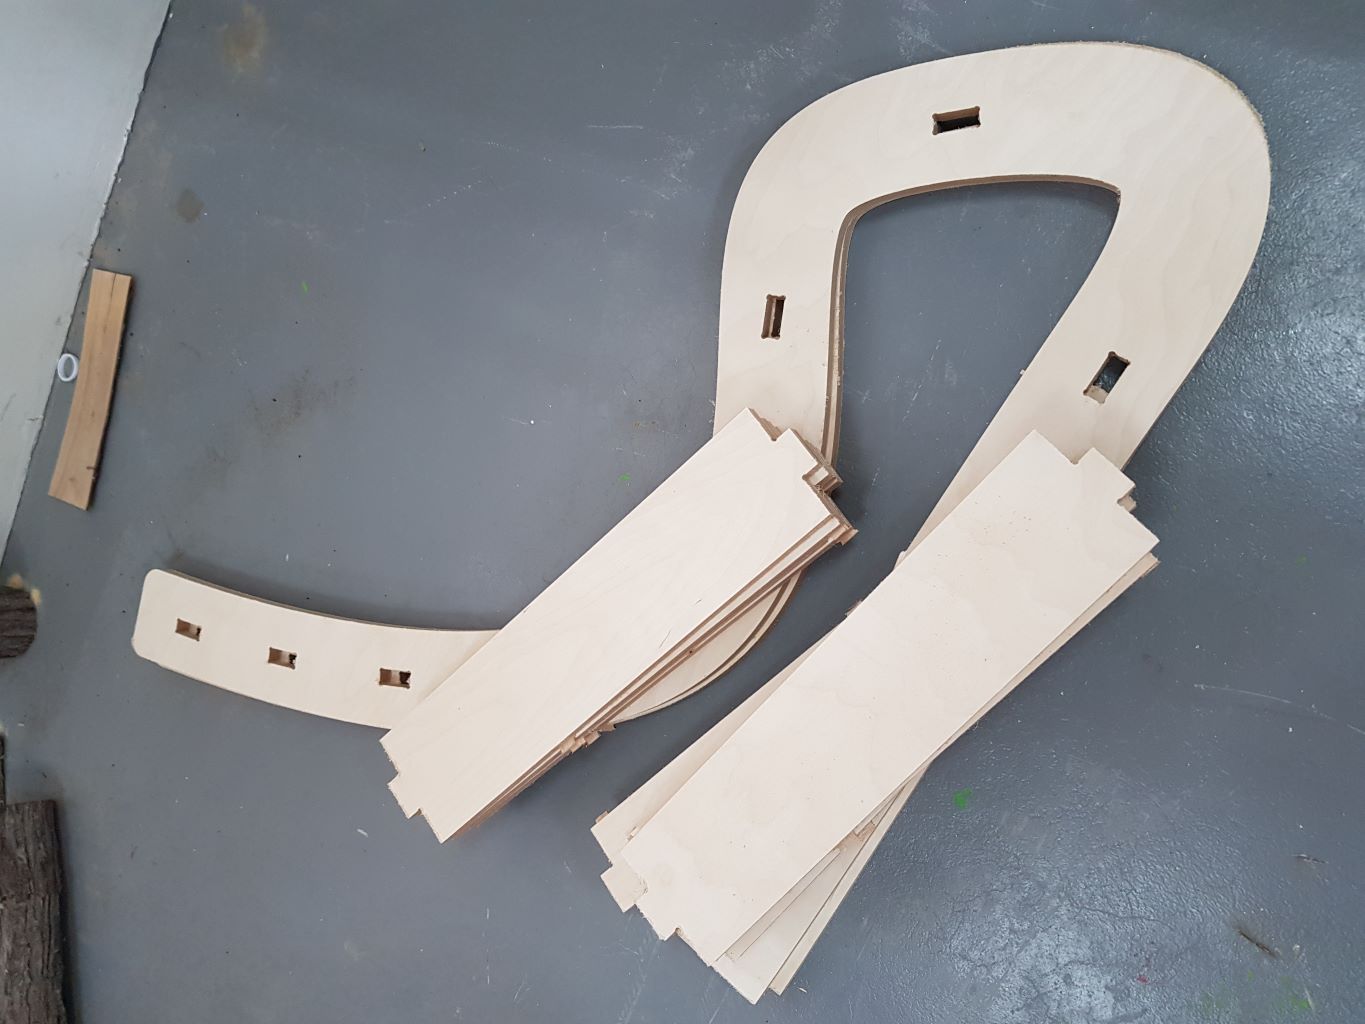
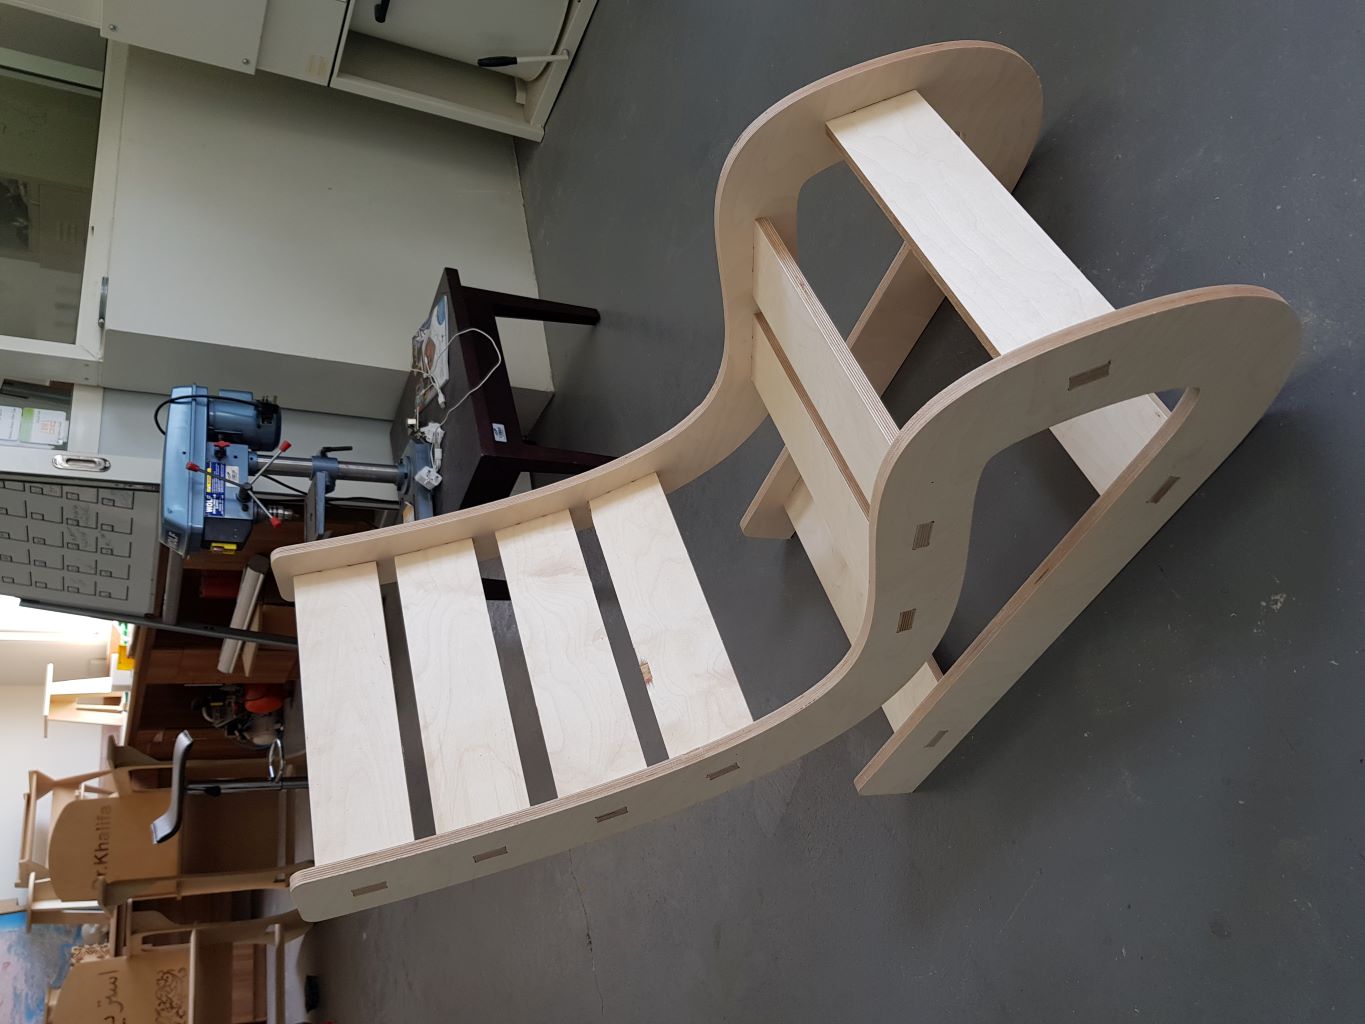
Then I did sanding for all the parts and I used a hammer for assembling. Assembly wasnt easy because it needs huge efforts, I got help from my colleagues and engineers (Thanks to Mona, Eng.Waleed and Eng.Abdallah for their efforts).
Files list:
| Designs for Shopbot Machine: | |
| Chair design | F3D File |
| Side design | DXF File |
| Board design | DXF File |
| Designs for Laser Machine: | |
| Chair design | F3D File |
| Side design | DXF File |
| Small board design | DXF File |
| Large board design | DXF File |
Close Project