Molding and Casting
Week SixTeen.

Group assignment
Review the safety data sheets for the molding and casting materials.
With each of them you need to make and compare the test casts.
Individual assignment
Design a 3D mold and look for the stock and tooling that will be using, mill and cast it.
Learning outcomes
Design the proper objects with the limitations of 3 axis machine.
Determine workflows that will used in mold design, construction and casting.
This week is about creating molds!
Design
For this week I decided to make a simple design such as heart by using Fusion 360.
First i try to make a design by myself, the result as showen below:
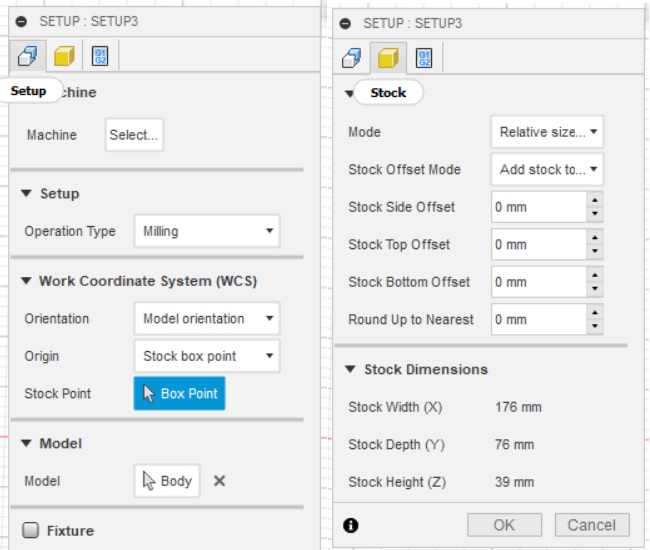
I created a box that will be as the stock for the mold.
The dimensions that will be used for the stock are the following:
Width (176 mm)
Length (76 mm)
Height (39 mm)
Then in the stock I created pockets with 30 mm depth that will help to place my design object which I split it in half.
Then I mirrored the other half of the design to be totally symmetrical.
I add two cylinders one of them will for casting and the other for air to emerge.
CAM
The next step is to generate the toolpath by Fusion 360 Cam/manufacture.
1. Creating the setup
I click on setup > new setup.
I selected the lower left corner as the origin point in the stock component.

2. Adding tools
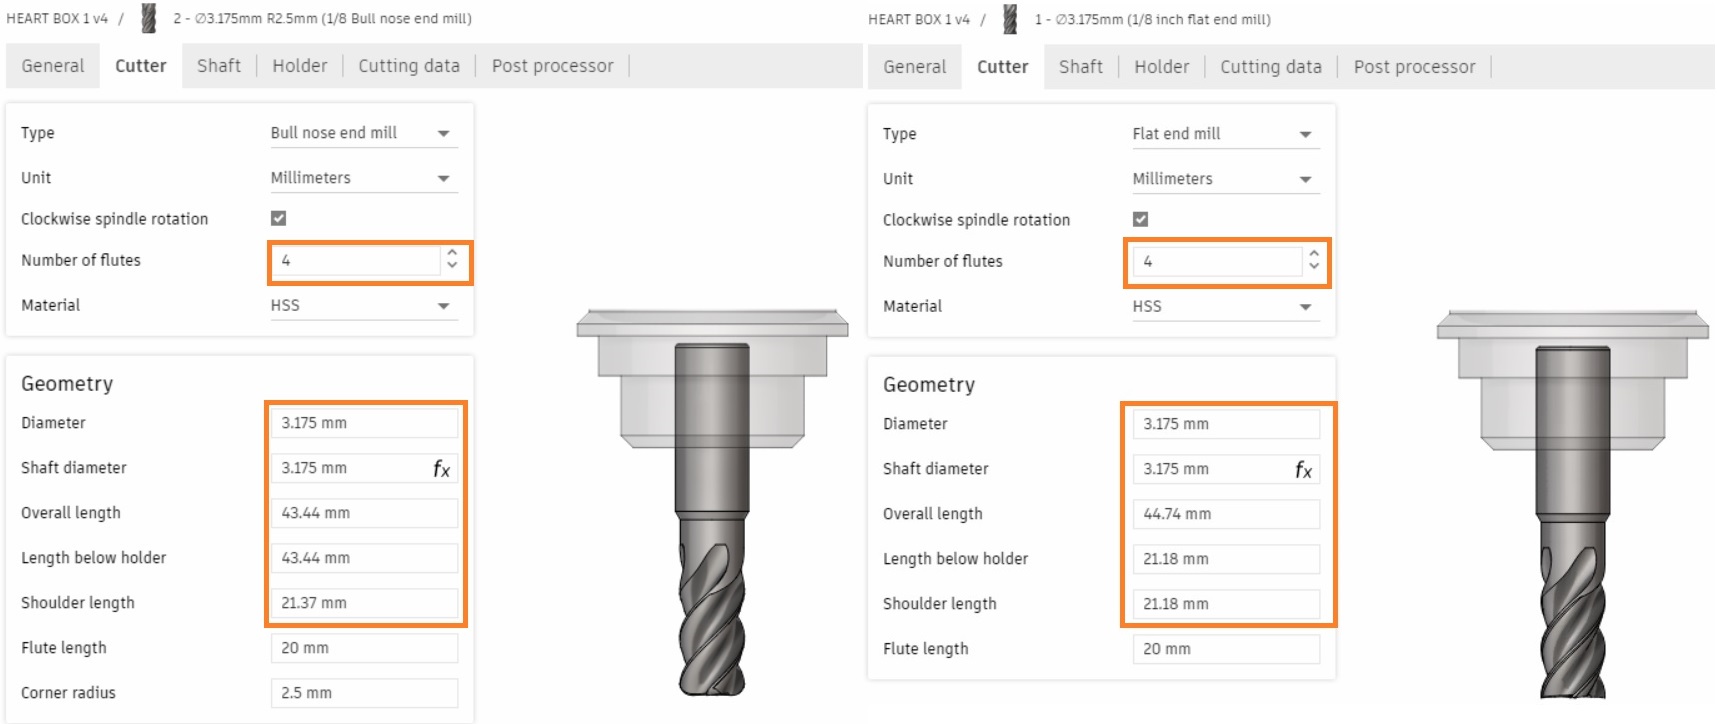
I add the tools by going to manage > tool library > add new tool.
I added two tools : 1/8 inch flat end mill and 1/8 inch bull nose end mill.


3. The step
To remove the excess material of the taper edge I need to do the step below.
Use the 2D adaptive clearing operation
go to 2D tab > adaptive clearing.
To clear the horizontal space I will use a flat end mill , and select the outline to cut.
4. The rough cut
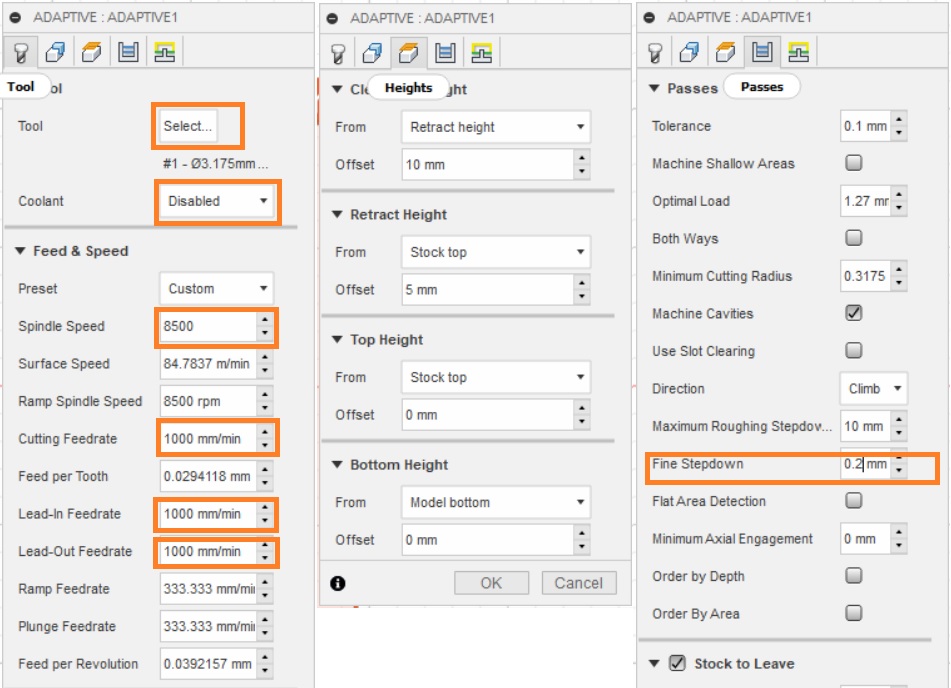
I use the 3D adaptive clearing to remove large amounts of materials.
Go to 3D tab > adaptive clearing.
Select flat end mill to clear the excess material.
To clear all the material off the pocket.
I select the bottom boundary then change the stepover to 4 mm.
fine step over to 1.87 mm

5. The horizontal surface
Go to the 3D tab > Horizontal and selected the bull nose end mill. This will detects flat/horizontal surfaces and evens it out.
6. The finishing
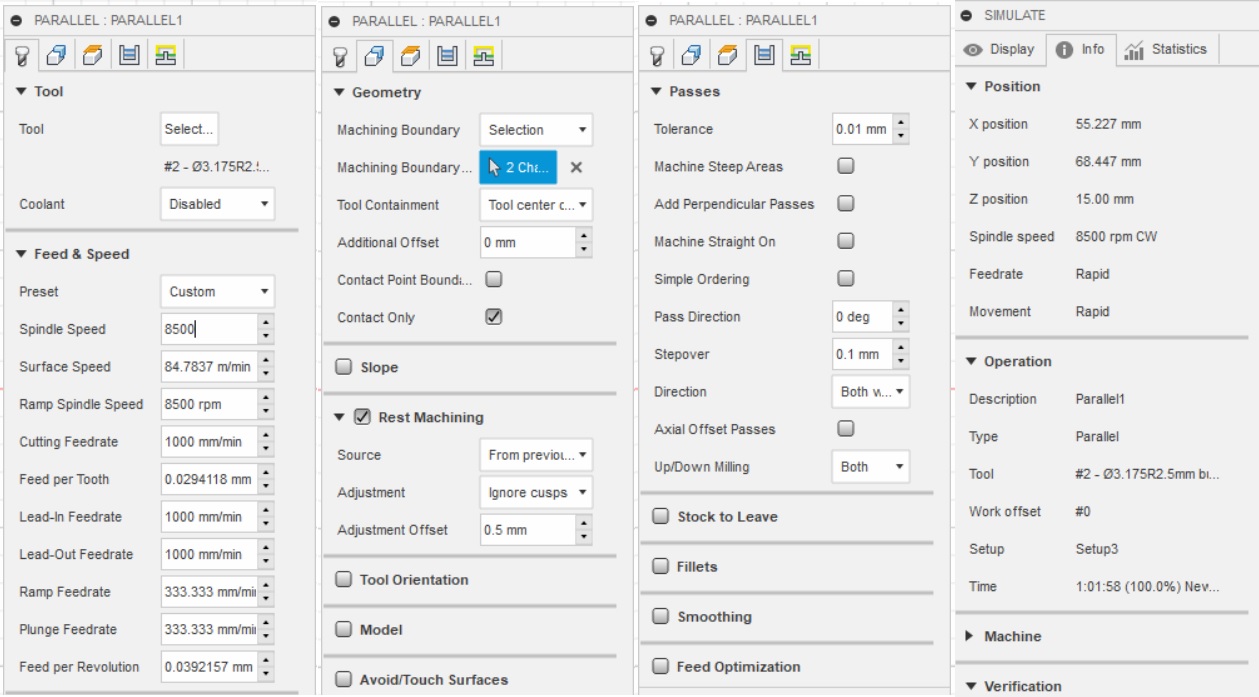
The parallel operation runs the final detailed shape.
Go to the 3D tab > parallel.

7. The machining time, and exporting the files
To check the machine time
Right-clicked on the setup
Select machining time.
It will take 1 hour to be done.

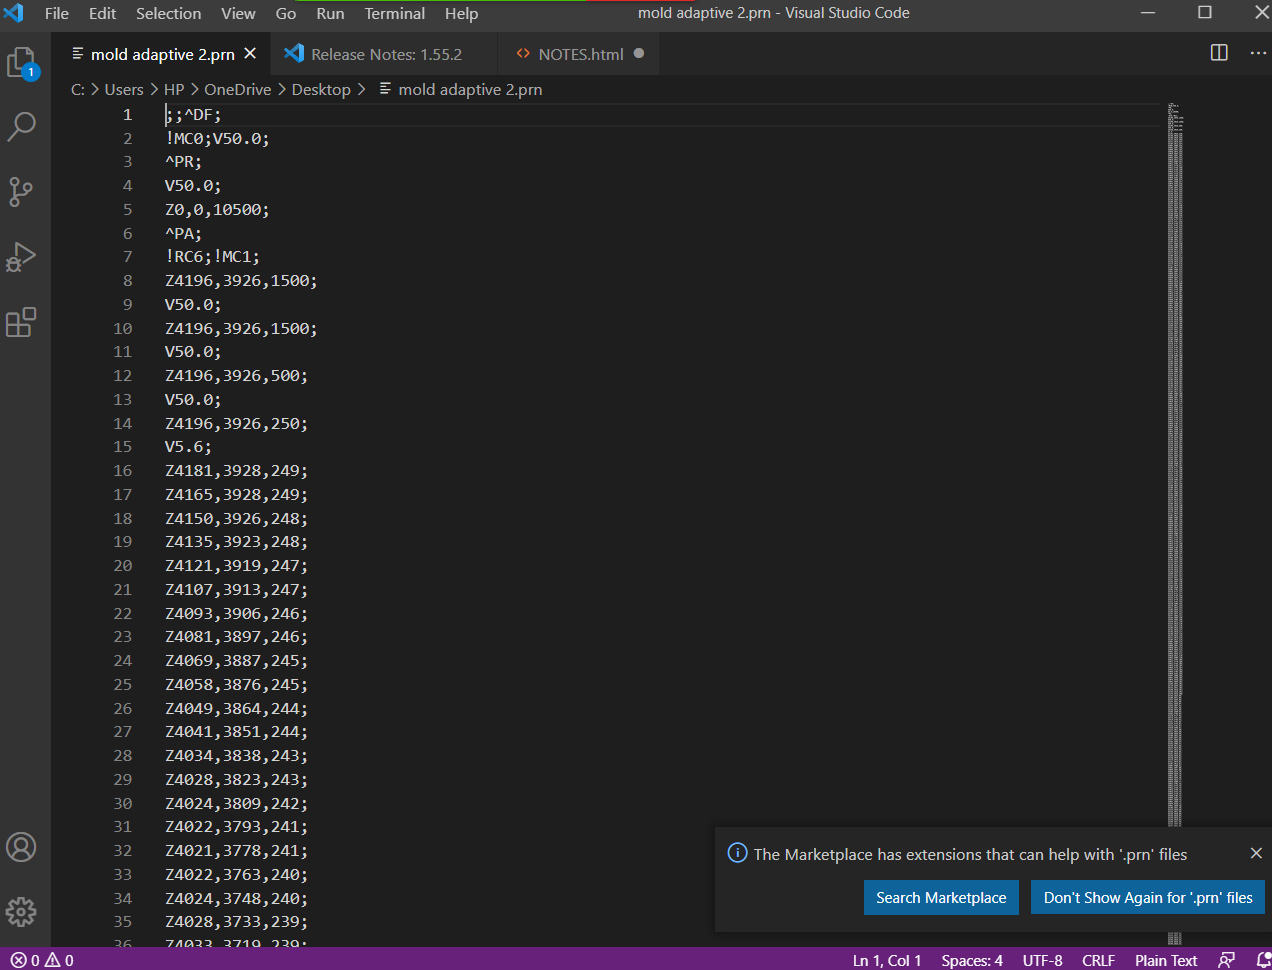
To export the cam files, you need to select each process at a time.
Right clicked then select Post process.
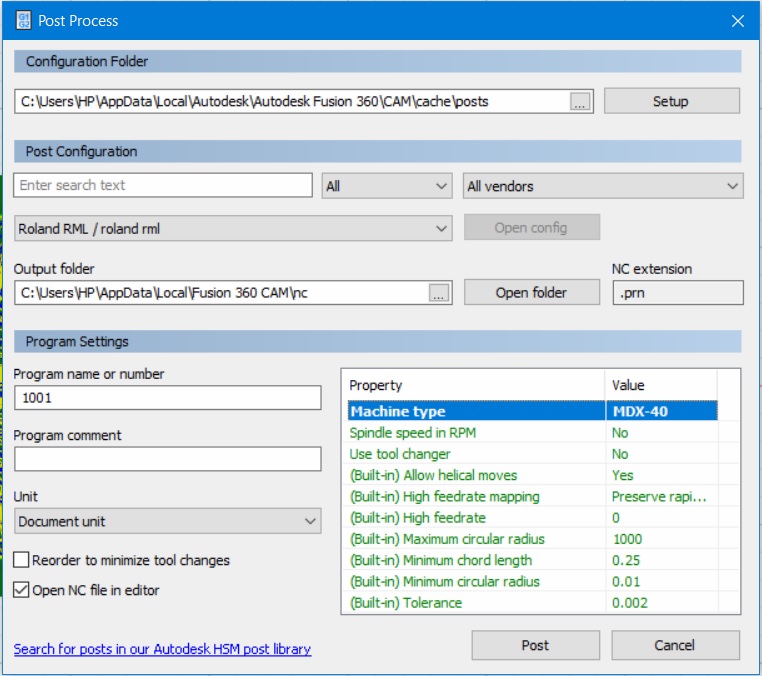
To generates the Gerber files for the milling machine you need to modify the following:
Select > post configuration > all vendors >ROLAND DG.
Select Roland RML.
Program settings>select the machine type > MDX-40.


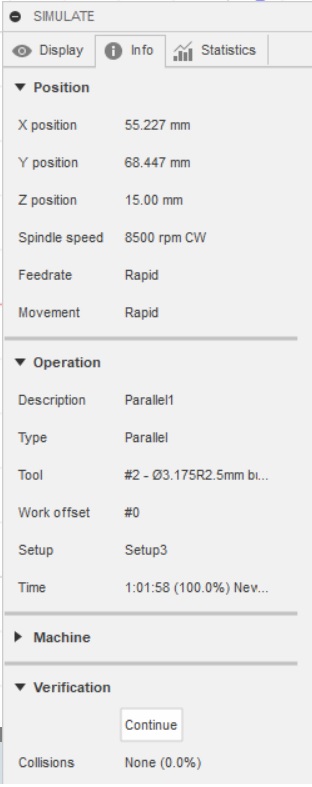
I used the simulation tool to see the toolpath of the machine, and also the final result of the milling:
The final result of the milling:
Molding
The last step is to be made in resin.
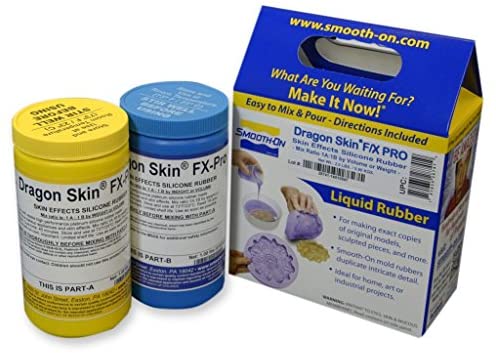
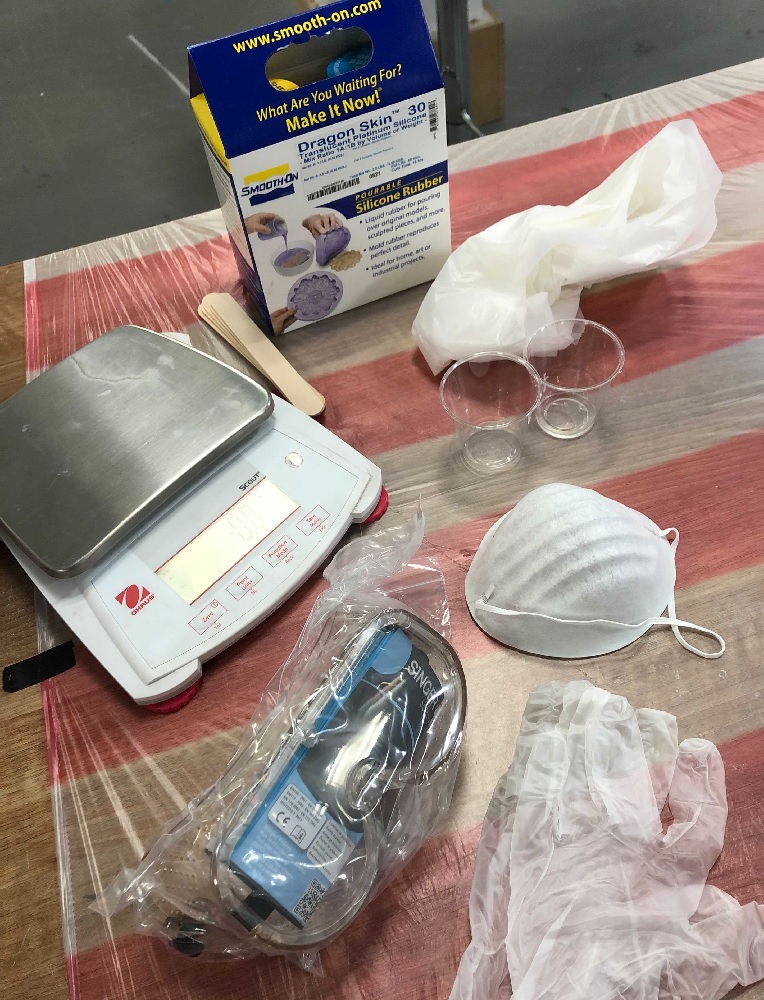
I use Smooth-on Dragon skin.

Before I must read the technical datasheet for the material
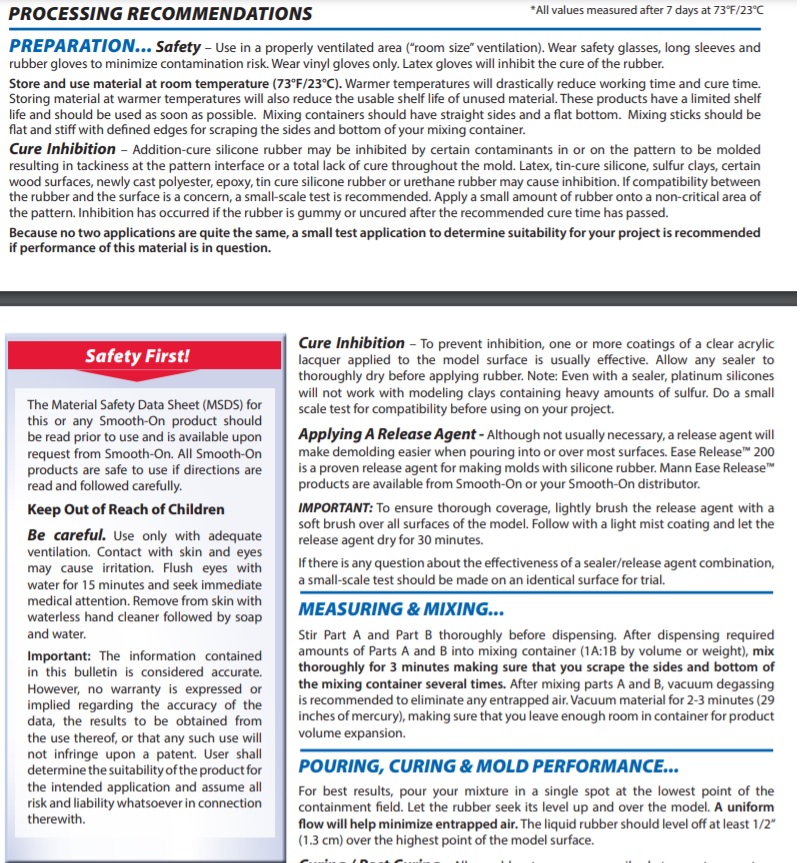
I must know the safety precautions and the periods of time for using.
The Safety datasheetis shown below:

Wear two vinyl gloves on each hand to avoid the material from touching the skin goggles.
A plastic apron to protect my clothes and extra mask.
I covered the working area with plastic to avoid the damage in the surface.

First is to measure the amount of material required.
I did it by filling the two sides of the wax area with water.
Then measure the level of water to know the level of the material required.
Then I dry the cup and the wax area.
I start to mix part A and part B as it is shown in the instruction :
1. By wooden stick mix part A and part B separately in its container for 1 minute.
2. I put water in the wax to measure the volume of the silicon needed then spill Part A and part B into the cup then take note of the weight.
3. Zero the scale then measures the mass of the cup of water, the ratio of 1:1 part A and part B to reach the total mass.
4. With wooden stick Mix part A and B together for 1 minute.
5. Spill the mixture in the wax starting from the lowest point that will help to minimize the air inside it.
6. Keep the wax in a covered surface area then came back to it after 24 hours.
7. Clean the area.
After 24 hours the mold came out of the wax easily.
________________________________________
Casting
I use ArtResin .
The steps are shown in the website clearly.
Watch the video to know more about it
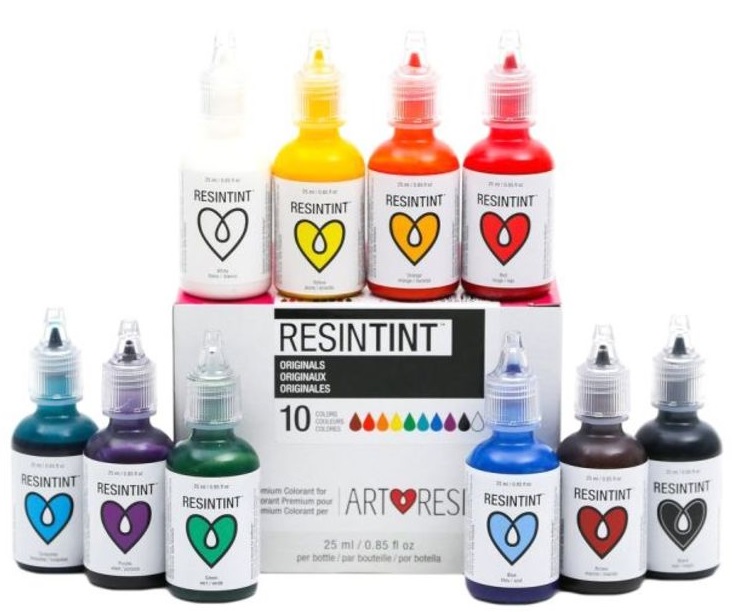
I use ResinTint Red color
The steps of adding color are shown in the website clearly.

The steps :
First is to measure the amount of material required.
I did it by filling the Silicon area with water.
Then measure the level of water to know the level of the material required.
Then I dry the cup and the wax area.
I start to mix part A and part B as it is shown in the instruction :
1. By wooden stick mix part A and part B separately in its container for 1 minute.
2. I put water in the wax to measure the volume of the silicon needed then spill Part A and part B into the cup then take note of the weight.
3. Zero the scale then measures the mass of the cup of water, the ratio of 1:1 part A and part B to reach the total mass.
4. With wooden stick Mix part A and B together for 3 minute.
5. Add the color I use Red from SO-Strong™ urethane colorants.
6. Tape the two sides of the mold together.
7. Pour the mix into the mold slowly and steadily.
8. Keep the wax in a covered surface area then came back to it after 24 hours.
9. Clean the area.
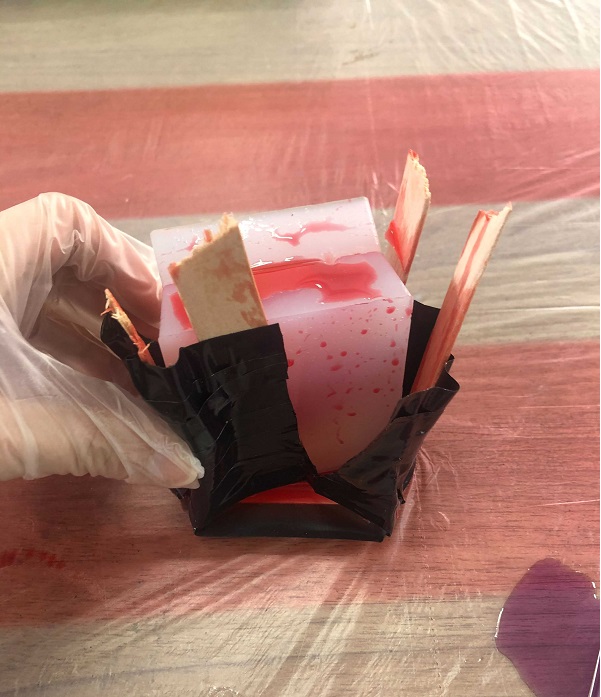
After 24 hours the mold came out of the silicon easily, I was impressed with the design it was magnificent experience.
I wrapped the wax with the tape so the mix wouldn't come out

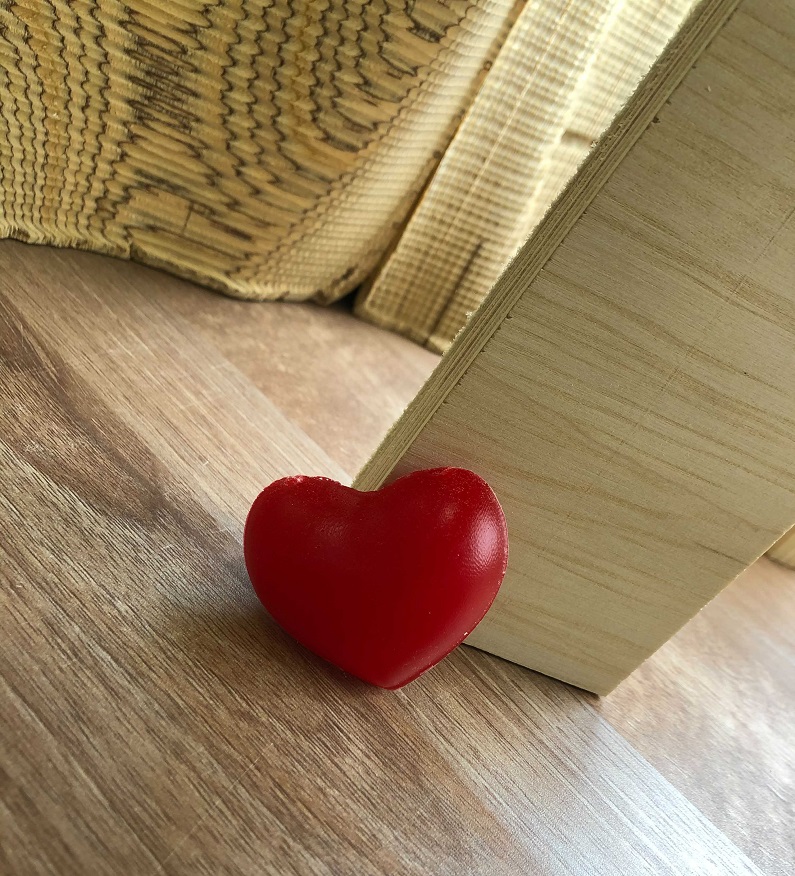
Finally look like this!

It is a magnificent experience and the heart surface showed nicely
Previous
Next

