6. 3D Scanning and printing
This week I worked on 3D design , 3D printing and 3D Scanning.
Task: 3D Scanning and Printing
Group assignment:
- Test the design rules for your printer(s) Document your work and explain what are the limits of your printer(s) (in a group or individually)
For the Group Work please check the Group Page for more details.
Individual assignment:
- Design and 3D print an object (small, few cm3, limited by printer time) that could not be easily made subtractively.
- 3D scan an object, try to prepare it for printing (and optionally print it).
Group assignment
Temperature is the key a factor for 3D printing. For the Group assignment I’ll test printing with different temperatures to find the best temperature for 3D printing.
-
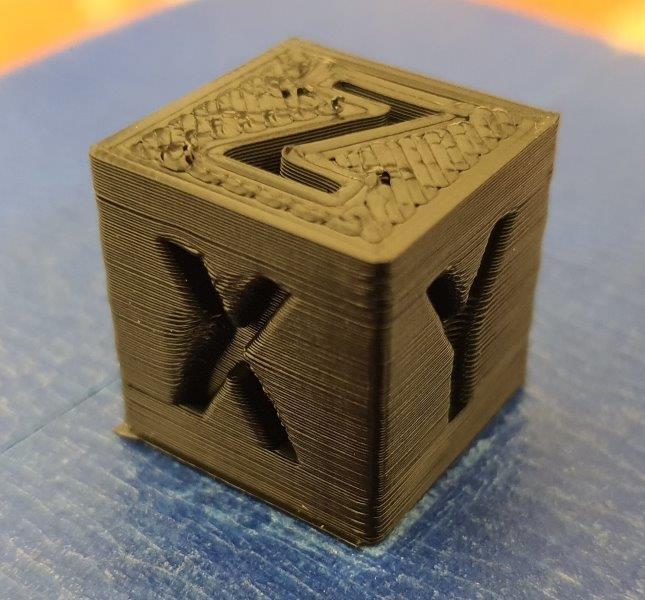
I have downloaded the XYZ 20mm Calibration Cube from thingiverse.com
-
For printing XYZ 20mm Calibration Cube I’ll use my Formbot T-Rex 2 3D Printer with 400x400x470mm Build Size
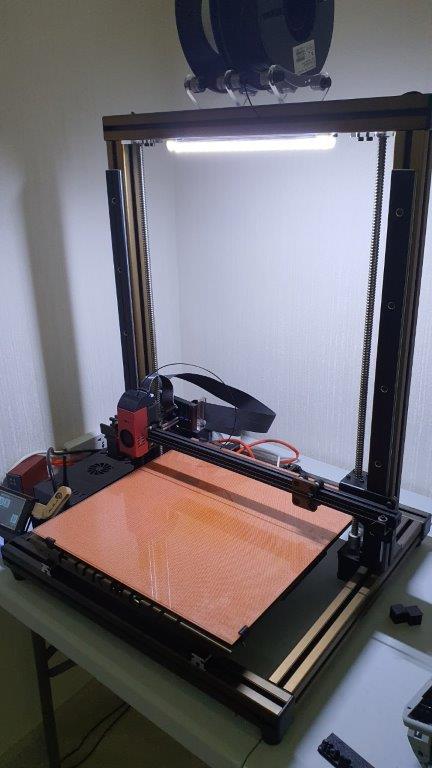
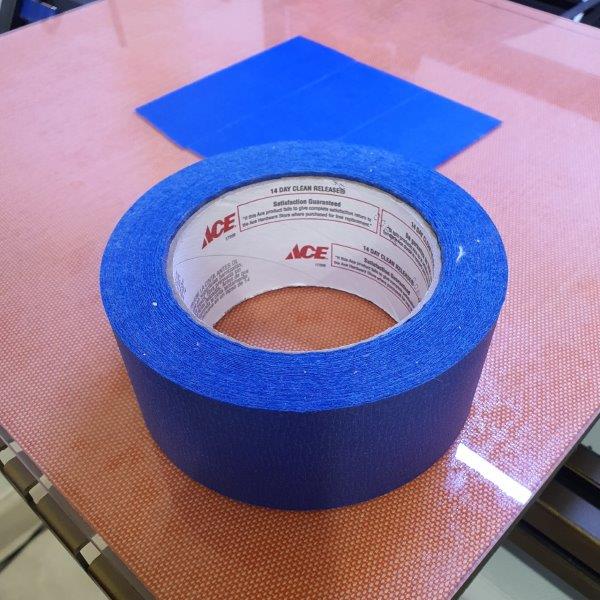
- For better bed adhesion I used blue tape
- For 3D printing slicing software I used Simplify3D which has more control feature for this 3D printer.
![]()
- For the filament I used PLA+ which is more stronger than normal PLA filament.

-
I have uploaded the STL file to the Simplify3D software I print it with different temperature settings.
-
Test #1: temperature 220 °C
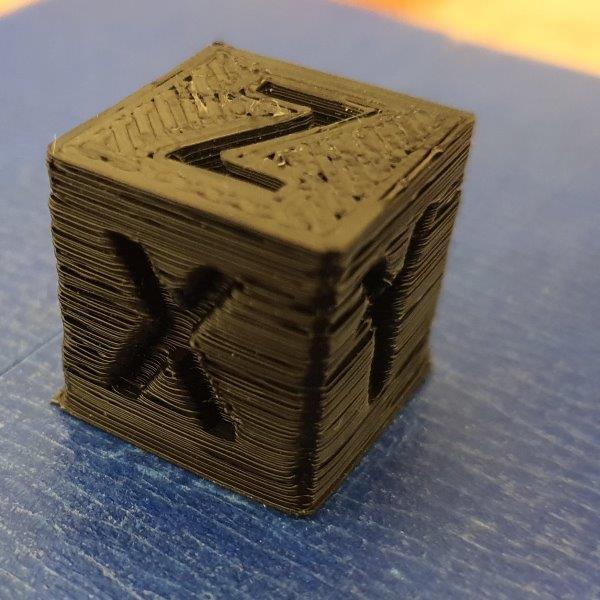
- Test #2: temperature 210 °C
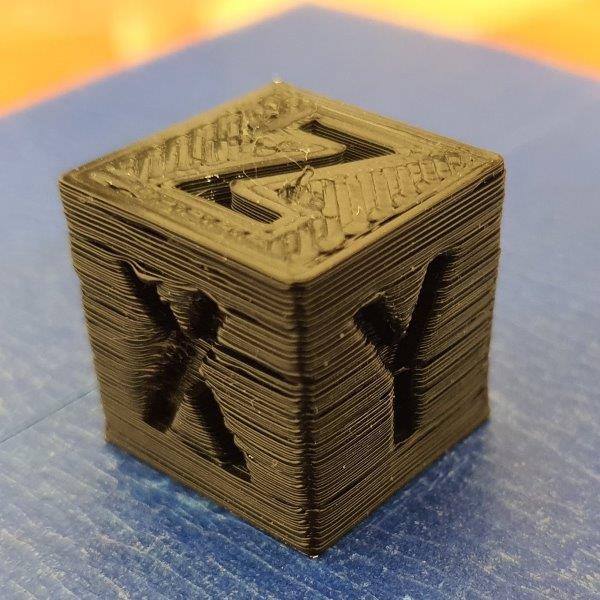
- Test #3: temperature 200 °C

- Test #4: temperature 190 °C
The below table shows the comparison between the tests:
| # | Temp. | Print Quality | X | Y | Z |
|---|---|---|---|---|---|
| 1 | 220°C | Bad | 20.3mm | 20.2mm | 20.05mm |
| 2 | 210°C | Bad | 20.35mm | 20.25mm | 20.15mm |
| 3 | 200°C | Good | 20.05mm | 20.0mm | 20.0mm |
| 4 | 190°C | Best | 20.3mm | 20.3mm | 20.15mm |
Overall for the most accurate print 200°C is the best temperature, but if you want the best print quality then go with 190°C.
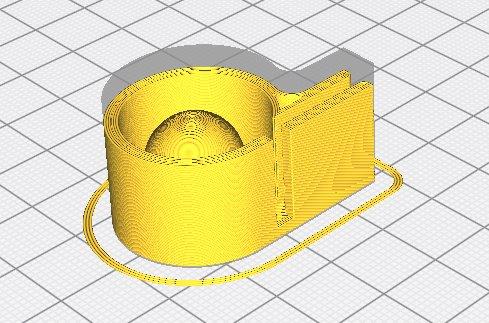
3D Design
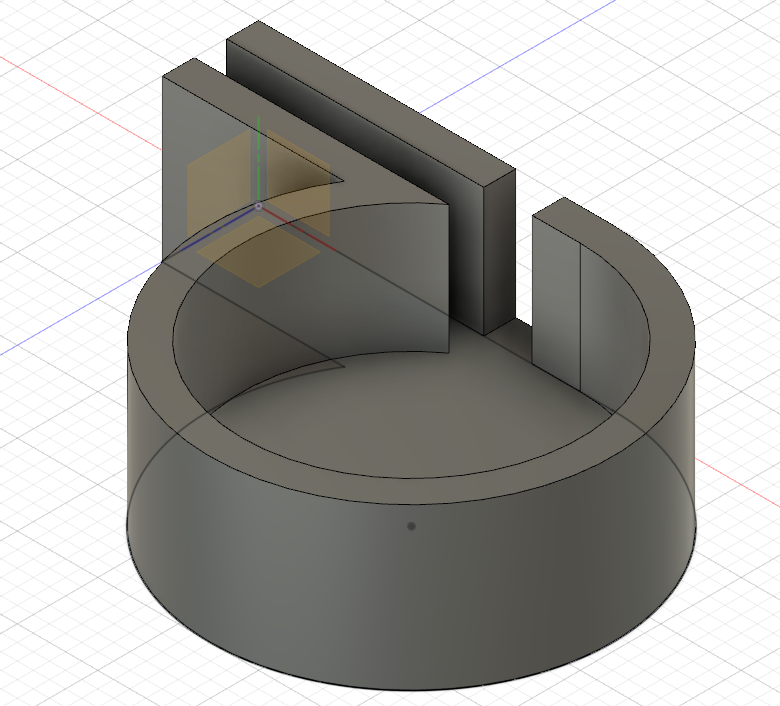
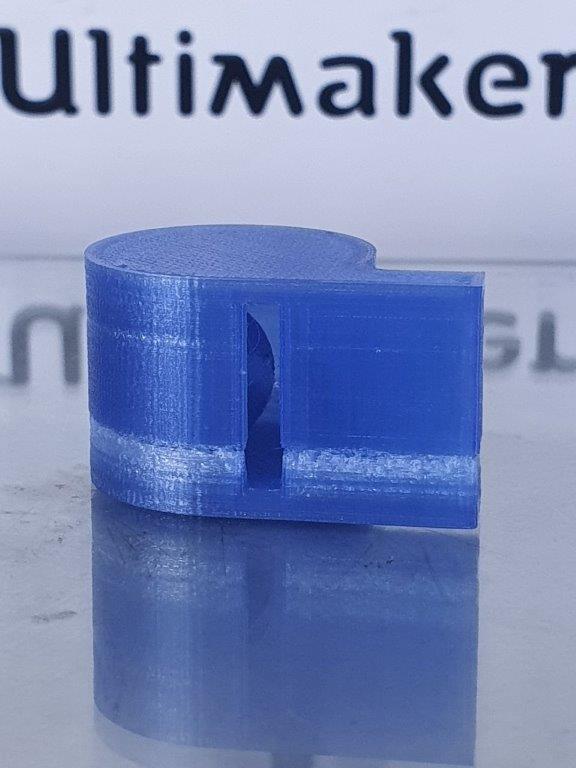
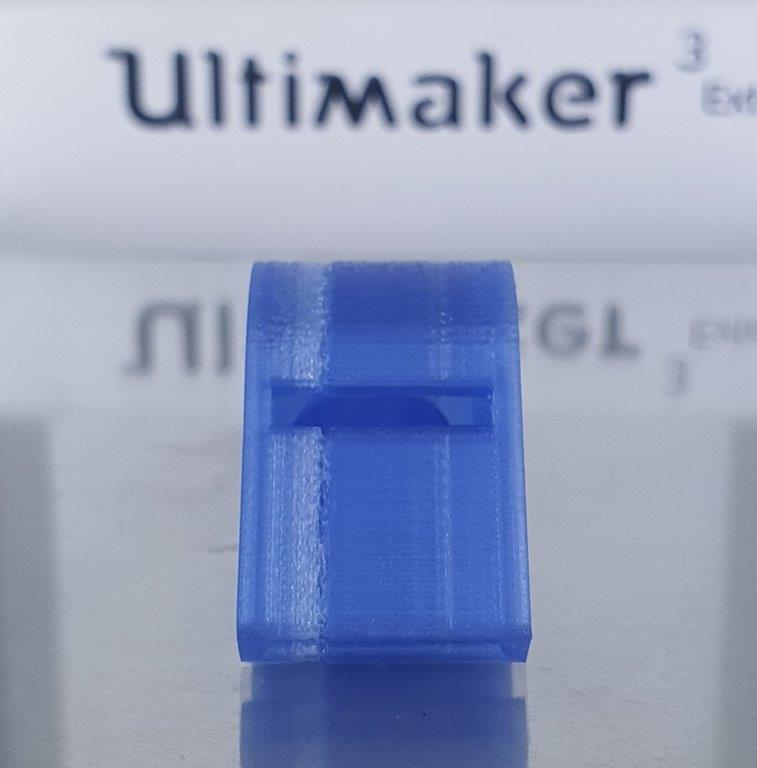
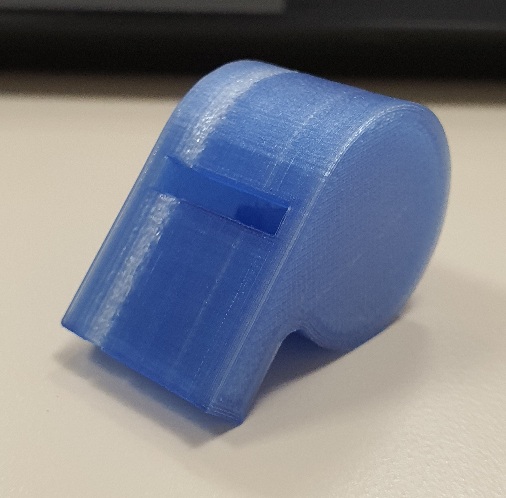
In 3D design I worked on designing a Whistle using Autodesk Fusion 360. I chose whistle because it has moving ball in it and can’t not be made subtractively.
for this design I follow the tutorial form 3D Printing Whistle
-
Draw the 2D profile of the whistle using sketch
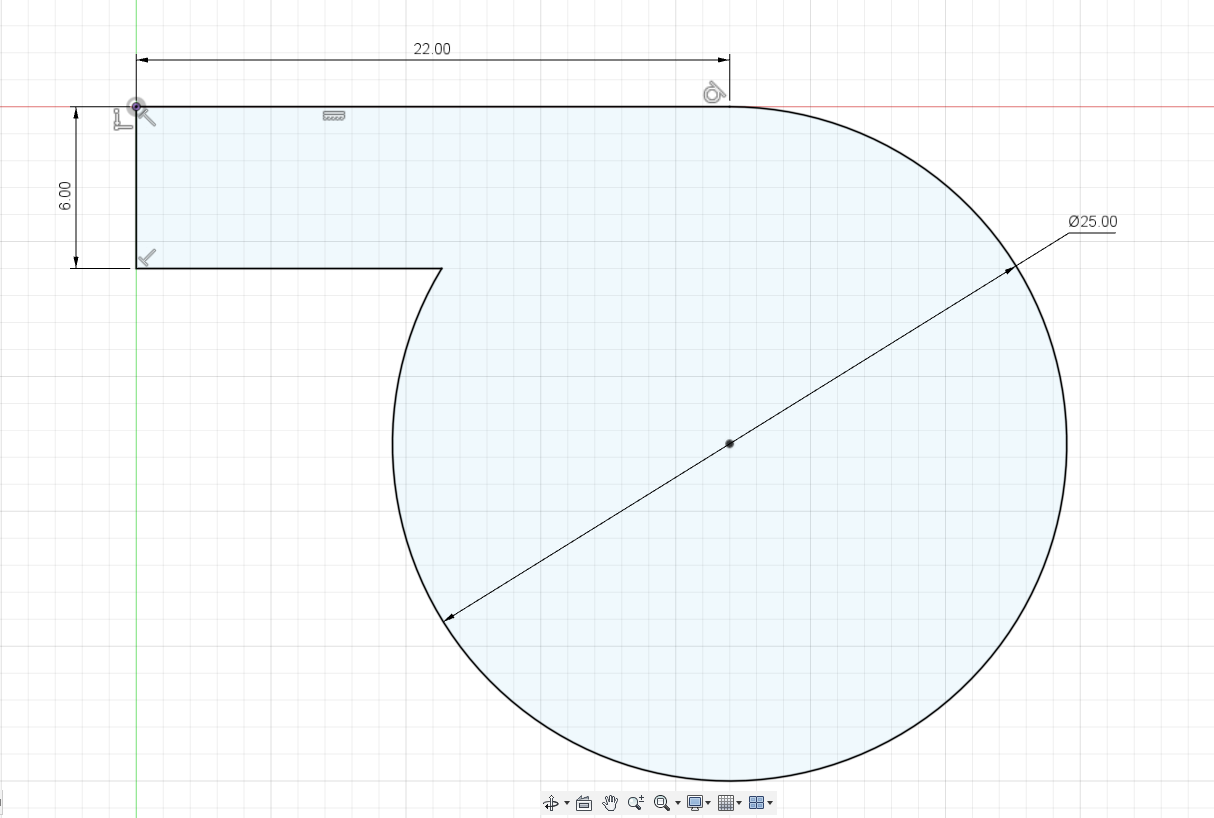
-
Extrude the sketch to 10mm
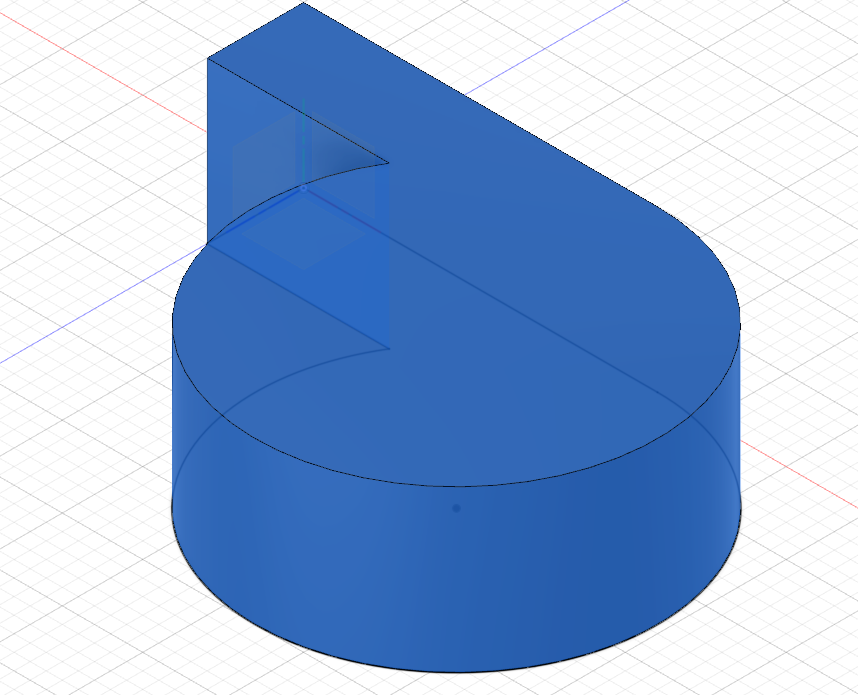
- select tow faces and create 2mm shell
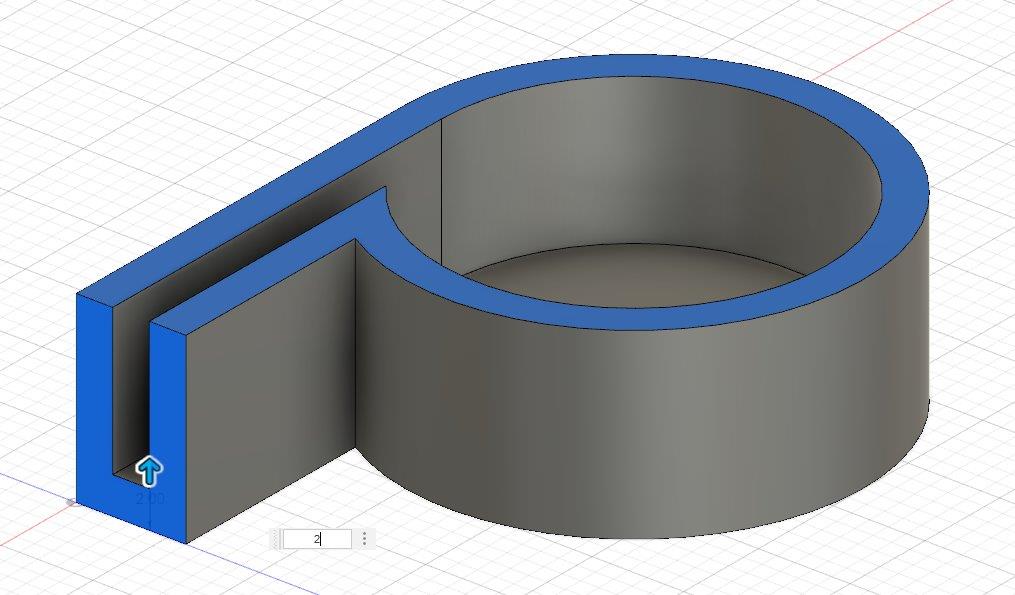
- Cut the window
- Create sphere and move it on the inner face of the whistle
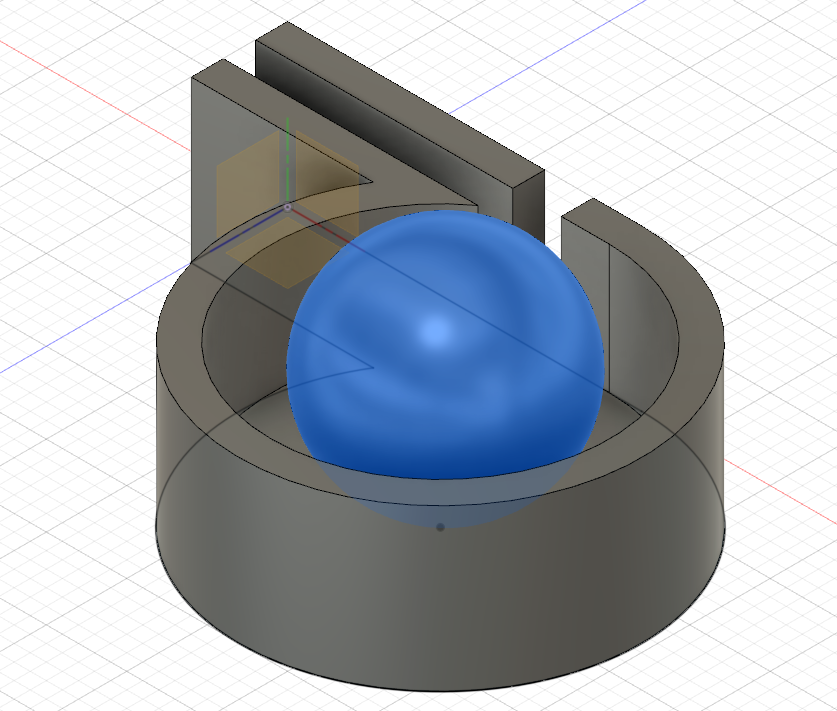
- Move the sphere down with 0.1mm
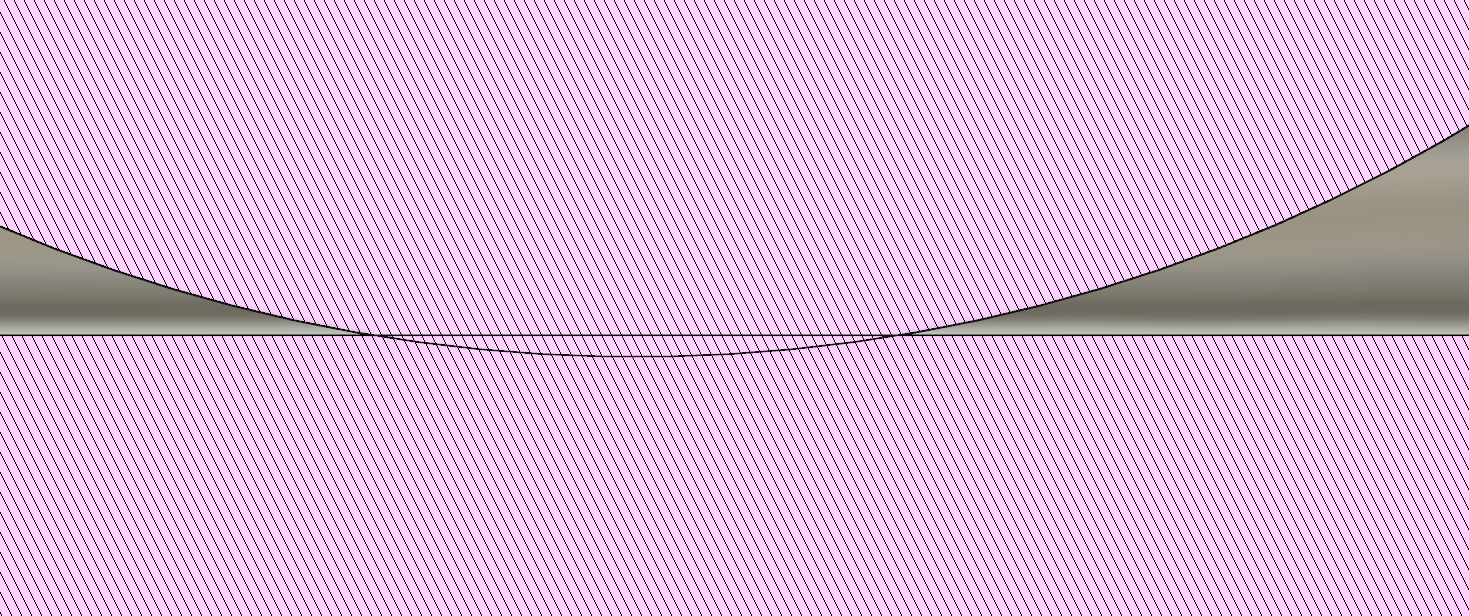
- use the fillet for the edges and corners.
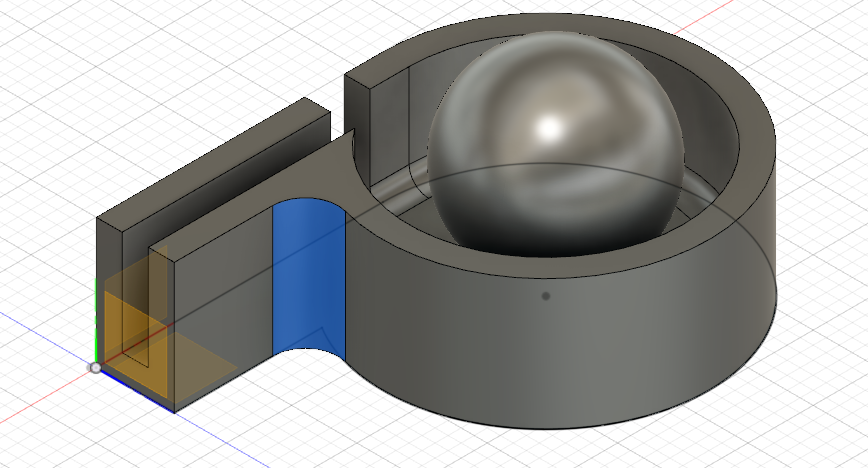 -Mirror the bottom part and this will completed whistle model
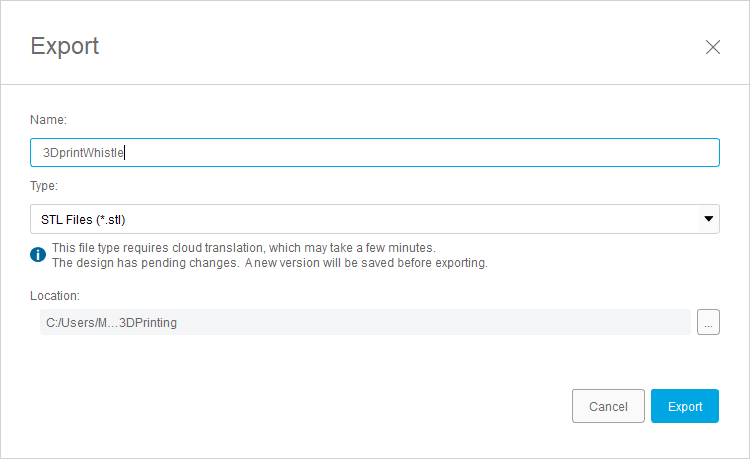
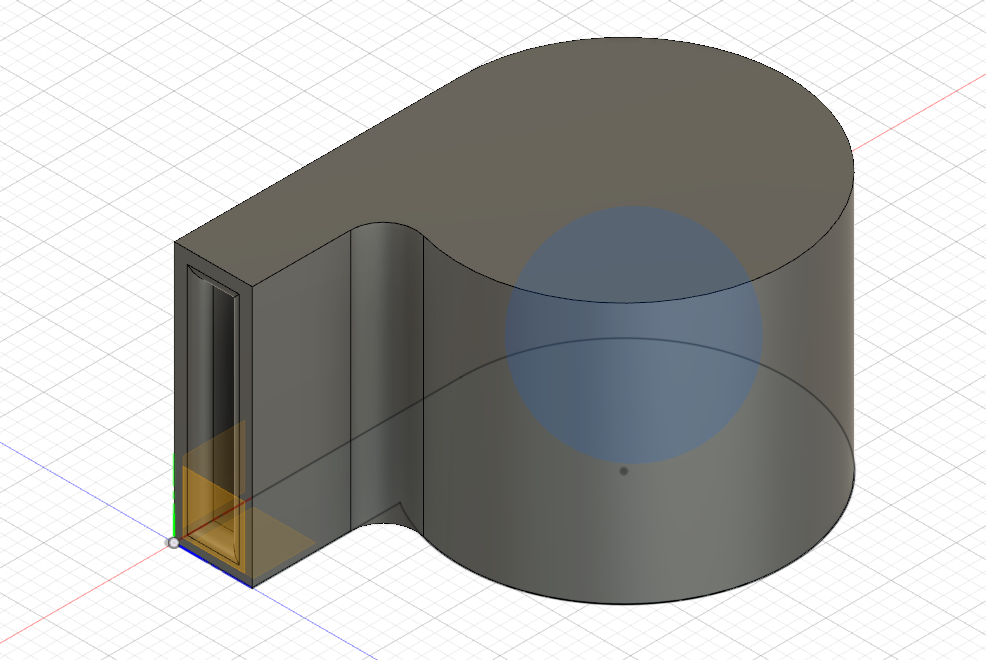 -finally Export to STL
3D Printing
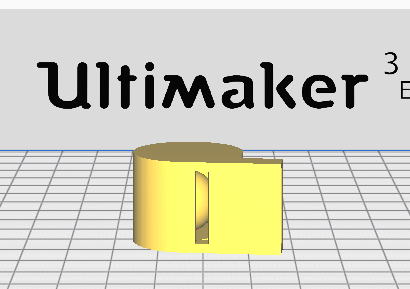
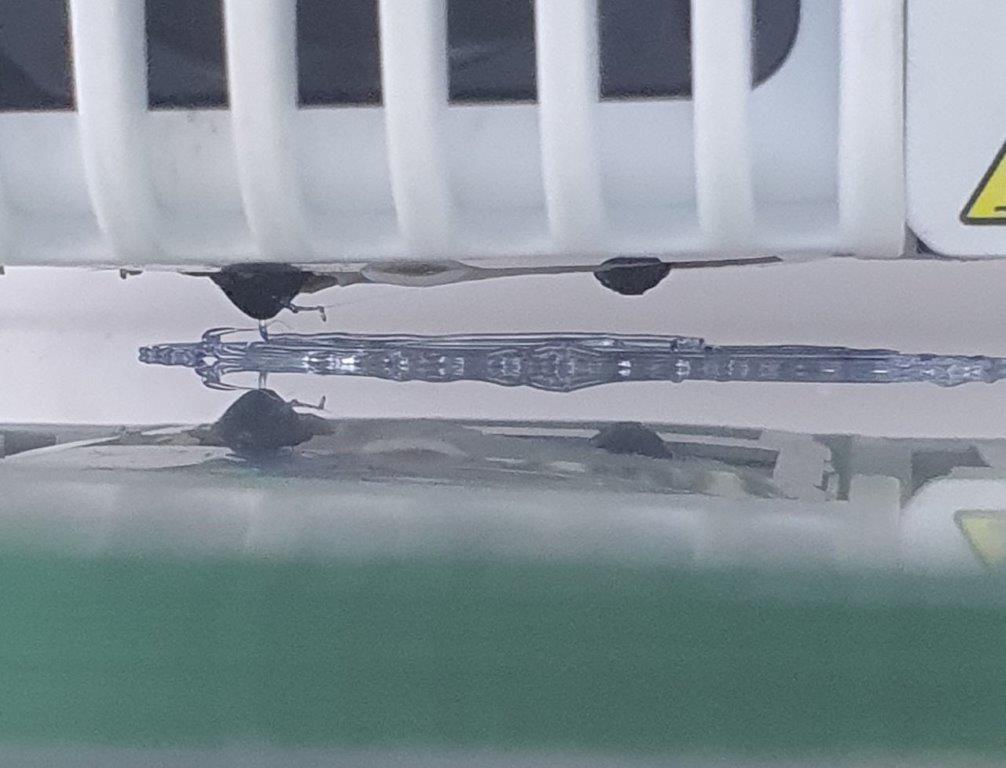
for 3D Printing I used Ultimaker Cura Software and Ultimaker 3 Extended 3D printer.
- Open Ultimaker Cura Software and import the STL file.

- Change the orientation and make sure that the ball is in the lower layer
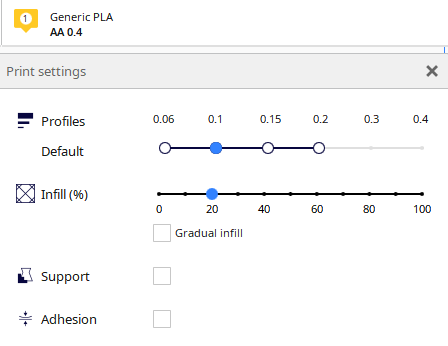
- Change the setting of the printing.
- Click in Slice and Preview to check the print
- Save the file to External Drive
- Now insert the External Drive to the printer and start printing
- Check the first layer of the print if not sticking very well, stop the print and calibrate the bed level
- In 3D printer Go to System > Build plate > Manual leveling
- Use A4 paper or business card to check the level and follow the instructions in the screen.
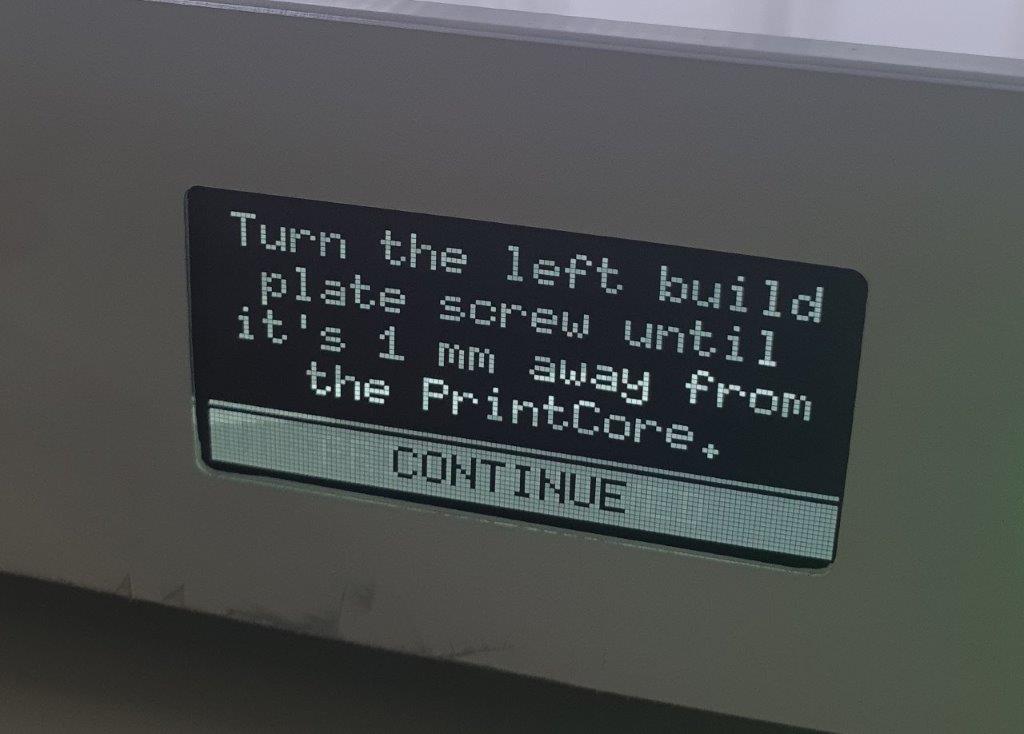
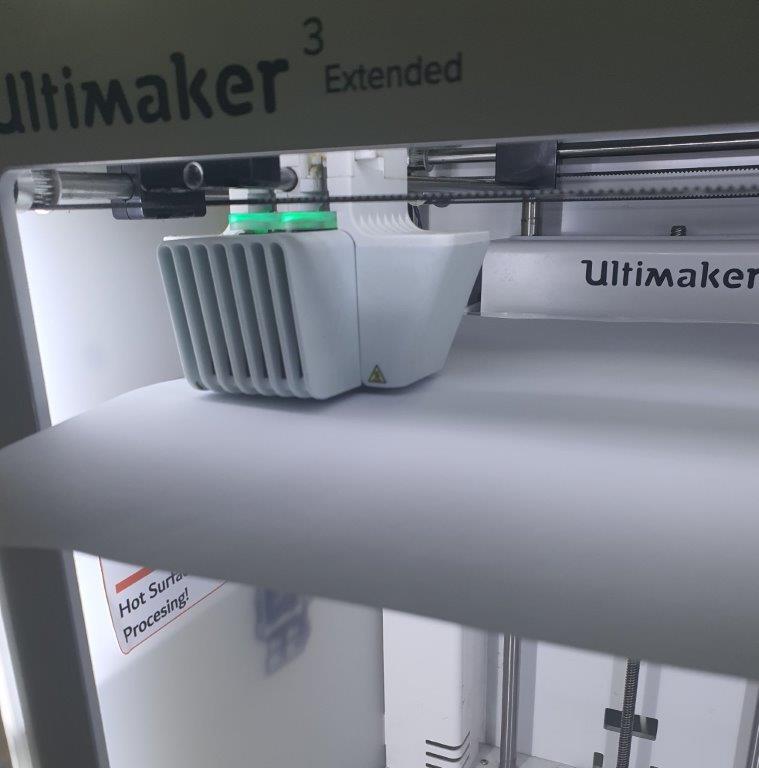
- After bed leveling start the printing again
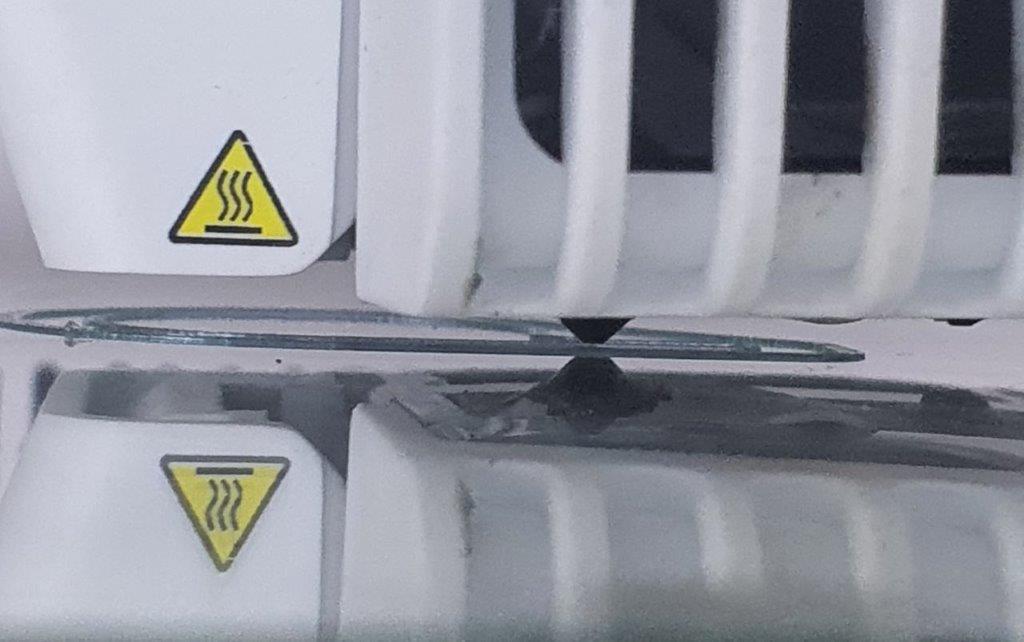
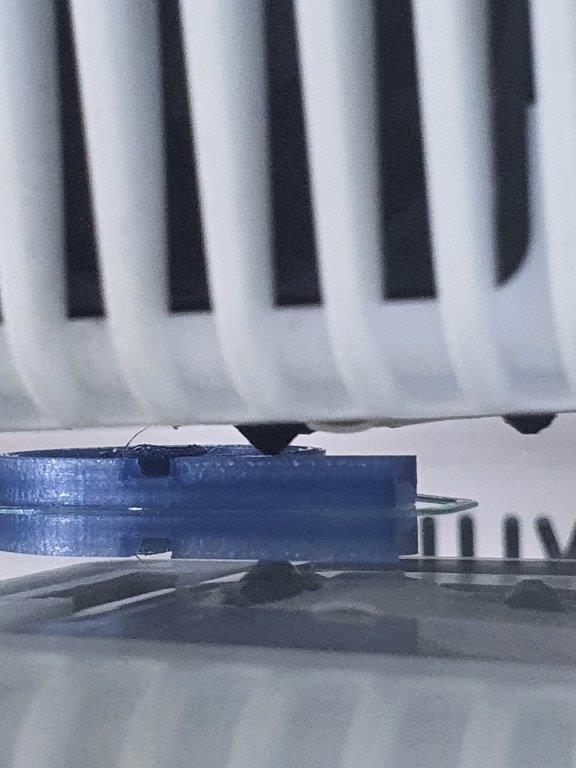
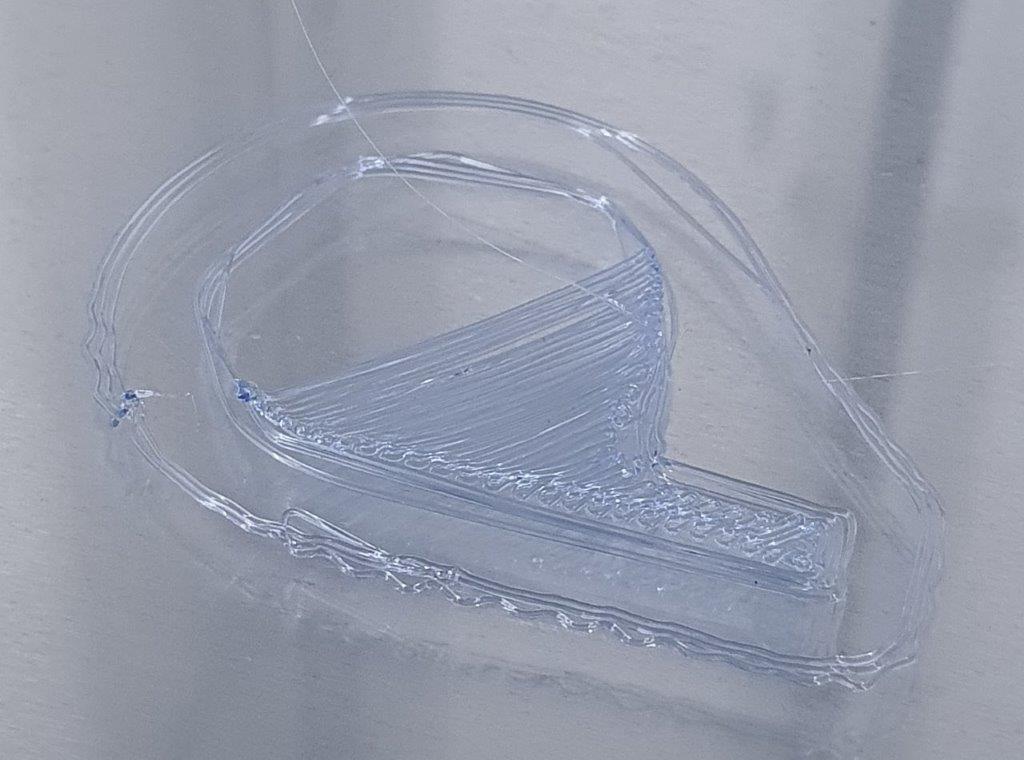
- After print completed check the print.
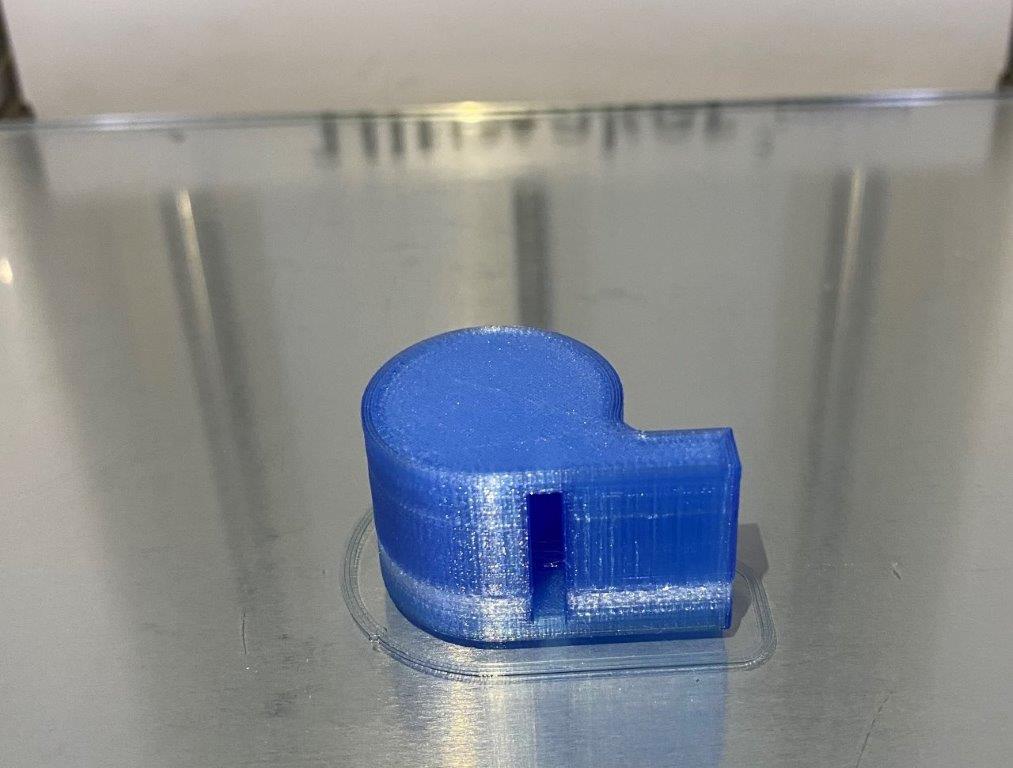
- Then use the screw driver to brake the ball
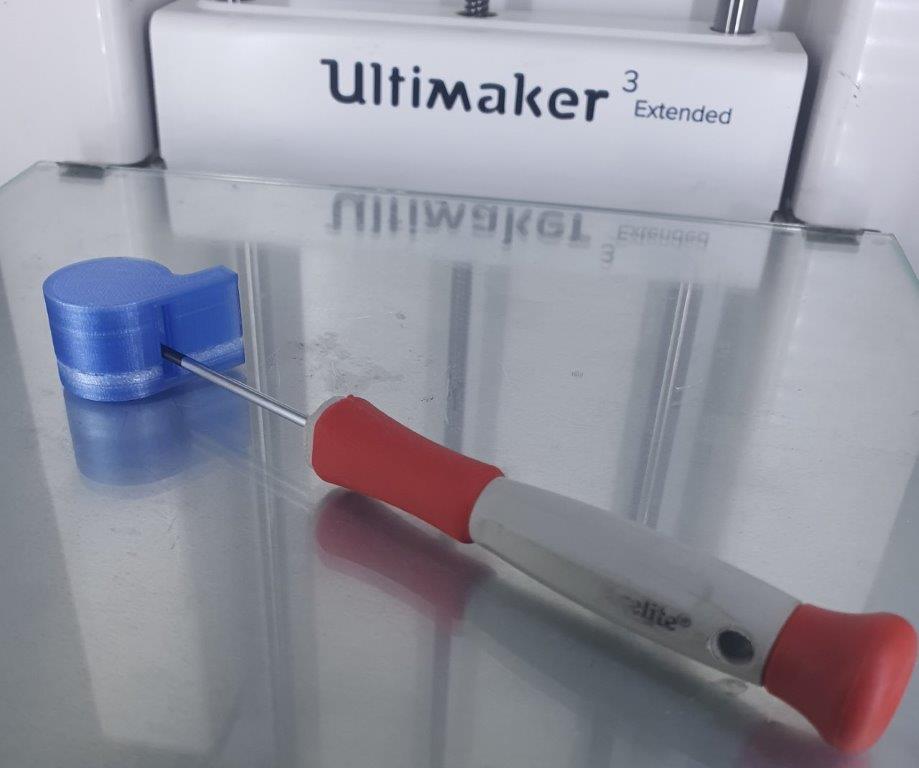
- After testing the whistle, The ball inside the whistle is moving, but there is no whistle sound. I thing because whistle design issue.
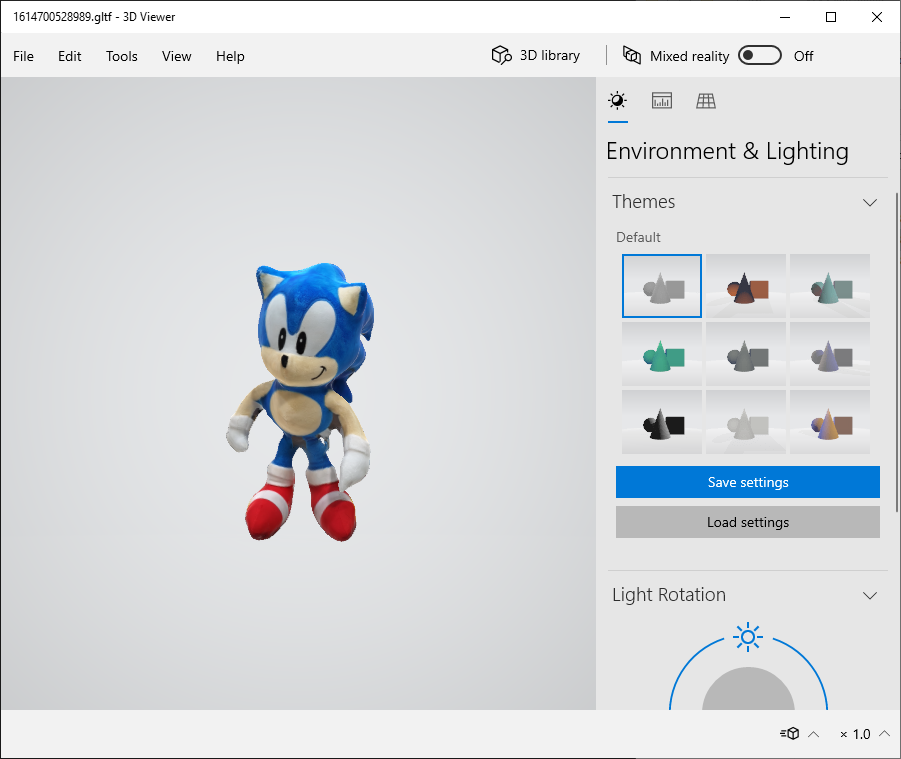
3D Scanning
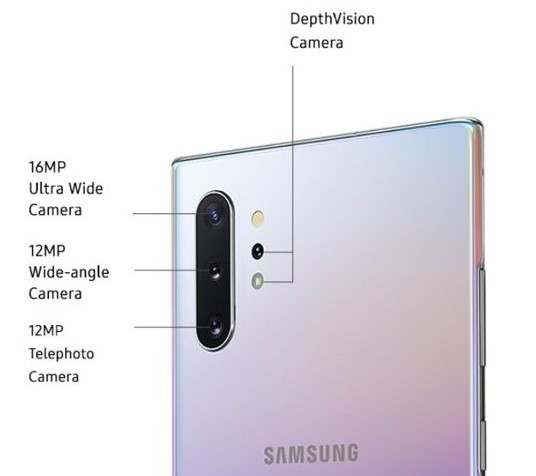
For 3D scanning I used 3D scanner app in Samsung Galaxy Note 10+. This phone has a built in 3D scanner Sensor using depthVision camera.
-
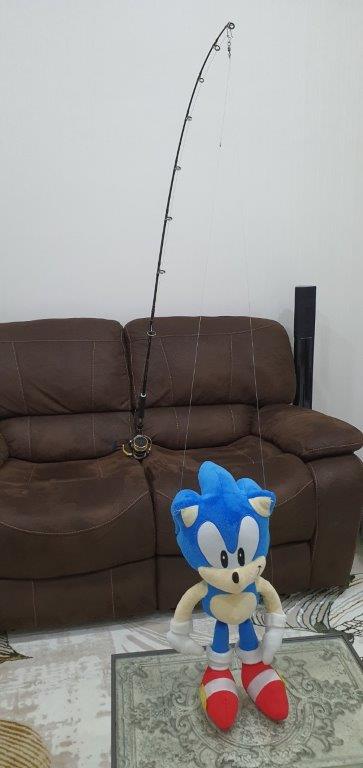
Place the object in base. I used fishing road to hold the object standing.
-
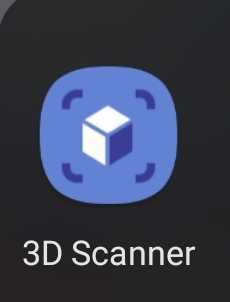
Open 3D scanner app in the phone.
-
Turn the phone around the object
-
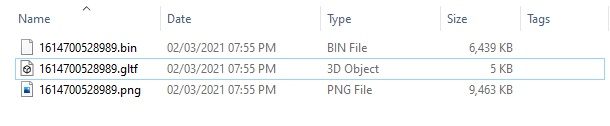
Save and Share the file with WindowsPC
-
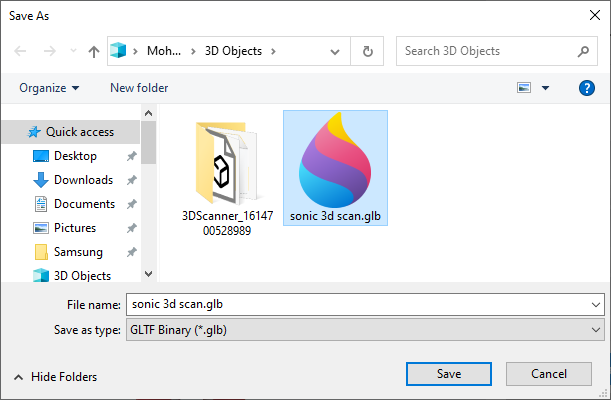
Open (*.gltf) file with Window 3D Viewer Application
-
Save the file as (*.glb) file
-
Upload the file to your SketchFab account.