This last week everything was chaos, for all those who read this in years after 2021 I want to tell you that the Fab Academy is something that deserves a lot of dedication and above all hard work, now add to that a pandemic that has been hitting us hard since 2020, but don't worry, that's why I'll stop writing chapters for you. Newton told us that for a body to continue moving, the force that drives it must be much stronger than the force that counteracts it in the opposite direction and you will ask yourself: "What does Newton matter now?" "What am I doing reading this and not going to the direct tutorial?" , each one of you can see yourself reflected in this law, for example the problems would be the negative forces that incline you to stop and throw everything away, but you also have positive forces that encourage you to continue and continue with your purpose or objectives, I have many of those forces (with name and surname) and I would like to introduce you to some of them.
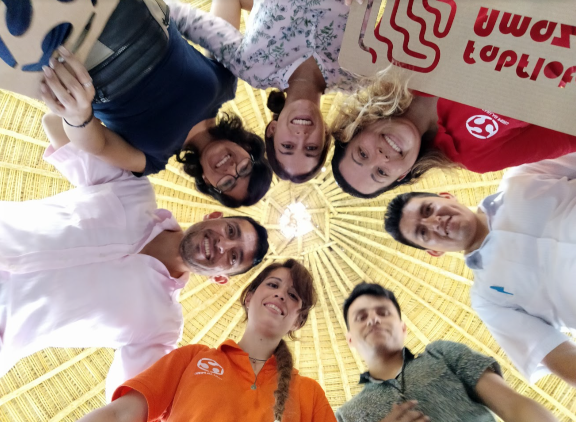
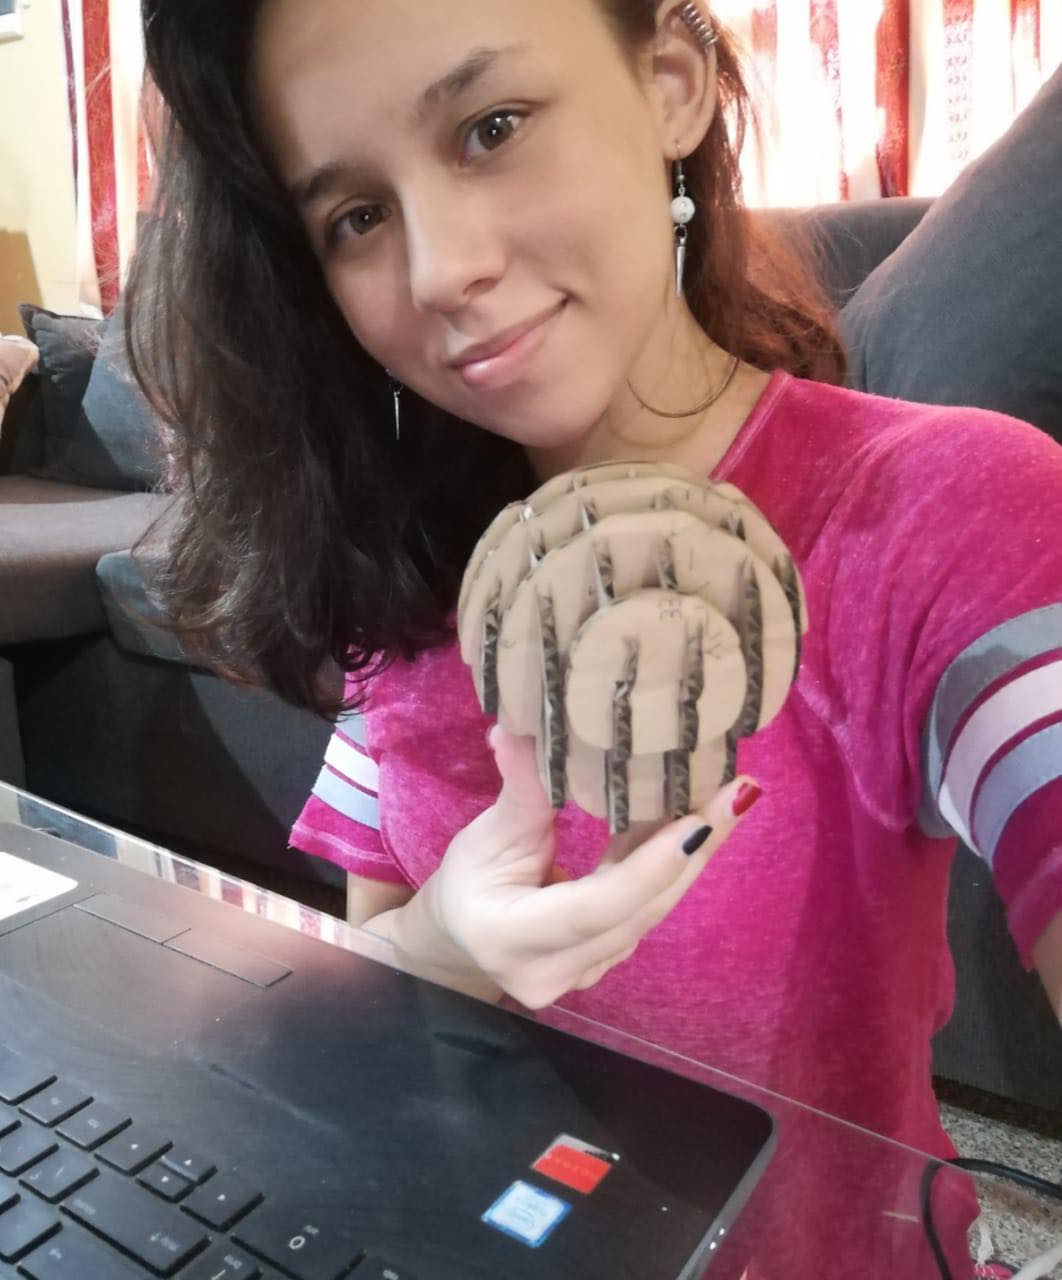
The people who see the image along with some others are my team and they are one of the great reasons that today I can be here writing for you and I want to thank you for that and much more.
Well let's stop there, I don't want to make you cry, this week is the laser cutting assignment, however the laboratories here in Peru are closed or restricted in their capacity, however that is not an obstacle for a brilliant mind and I do not mean me this time, I am referring to the great Uncle G (Henry Sanchez), who was in charge of promoting a Fab Tour for the vinyl machine to tour different districts of Lima, on the other hand the great Grace Schwam was in charge of doing the efforts to enable the laboratory for us and I want to thank (I hope you read it) you and the entire Fab team for always being there no matter how difficult the situation becomes.
“..No matter how brilliant your mind or strategy is, if you play alone, you will always lose to a team.” Reid Hoffman
The perfection of the simple
Each assignment requires a relentless search for different software which can help you solve it but this time I found a perfect one in the first search, I thought I should keep looking and find a more complex software but I remembered what the great Bueno always tells us about be objective with the knowledge we acquire, so look no further and work with the following program:
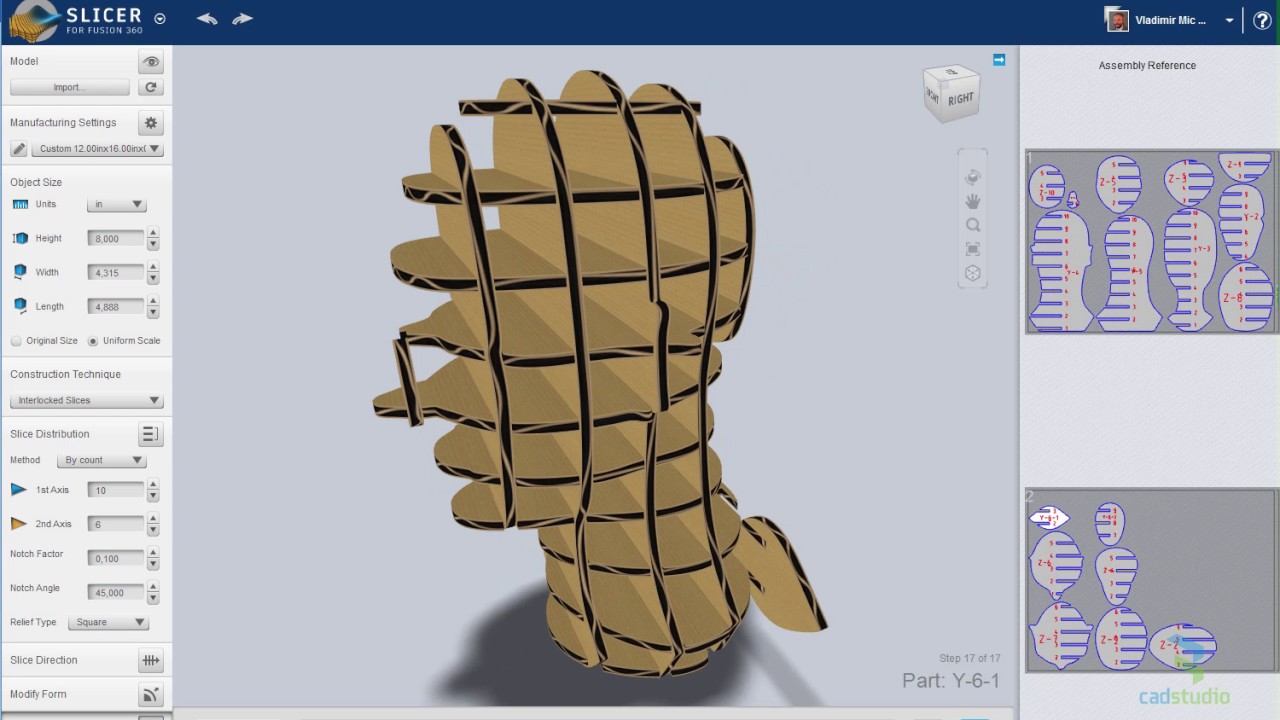
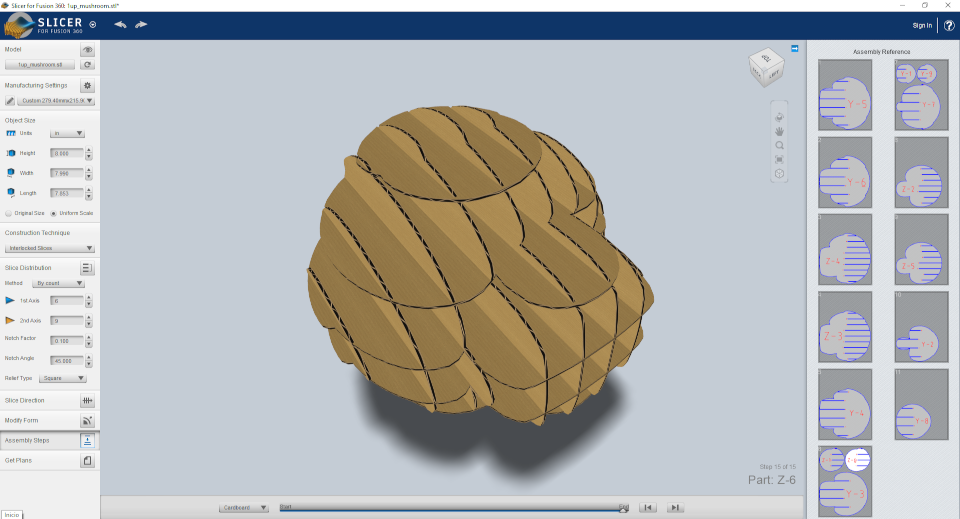
Slicer is a software that can layer any type of 3d design, on the other hand it also allows you to download the plans of said transformation to be able to send it to a laser cutting machine and finally assemble the final product.
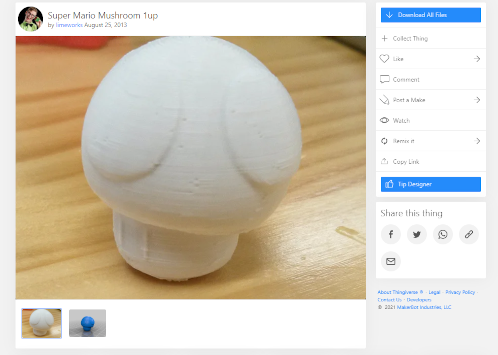
Parkyt does not have elements that must be laser cut, therefore the elements that I will cut will be something outside the project but something that can be useful. This time it will not be for me, but for my brother (the great Mati of 9 years old) who loves videogames like me, to do so I explored different designs within tingiverseand the model I chose was the following:
Now you just have to download the file and follow the next steps in the Slicer program:
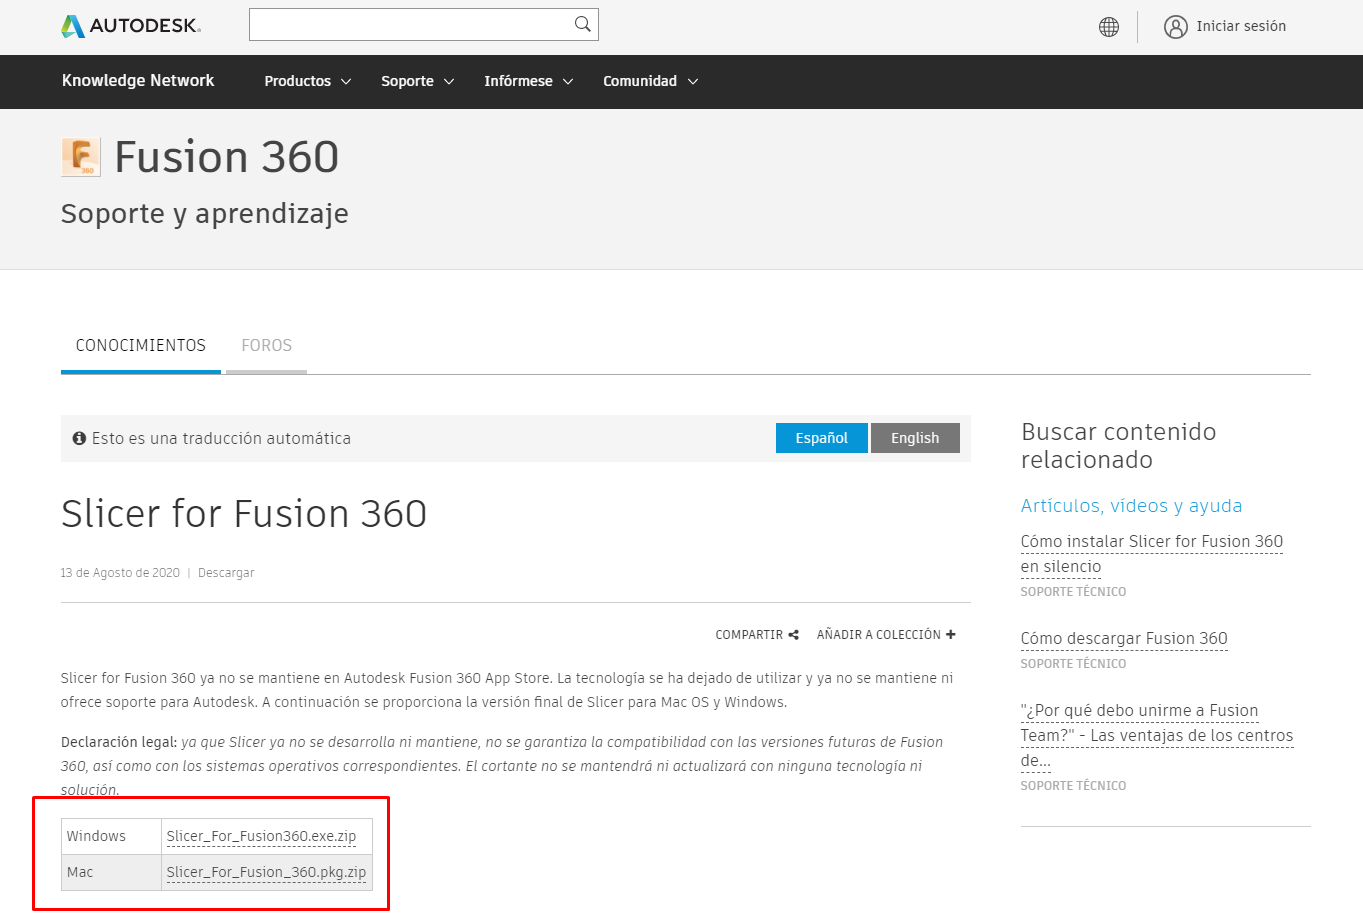
-First you must enter the main page of Slicer to download and then install the program (it does not require a previous installation of Fusion 360).
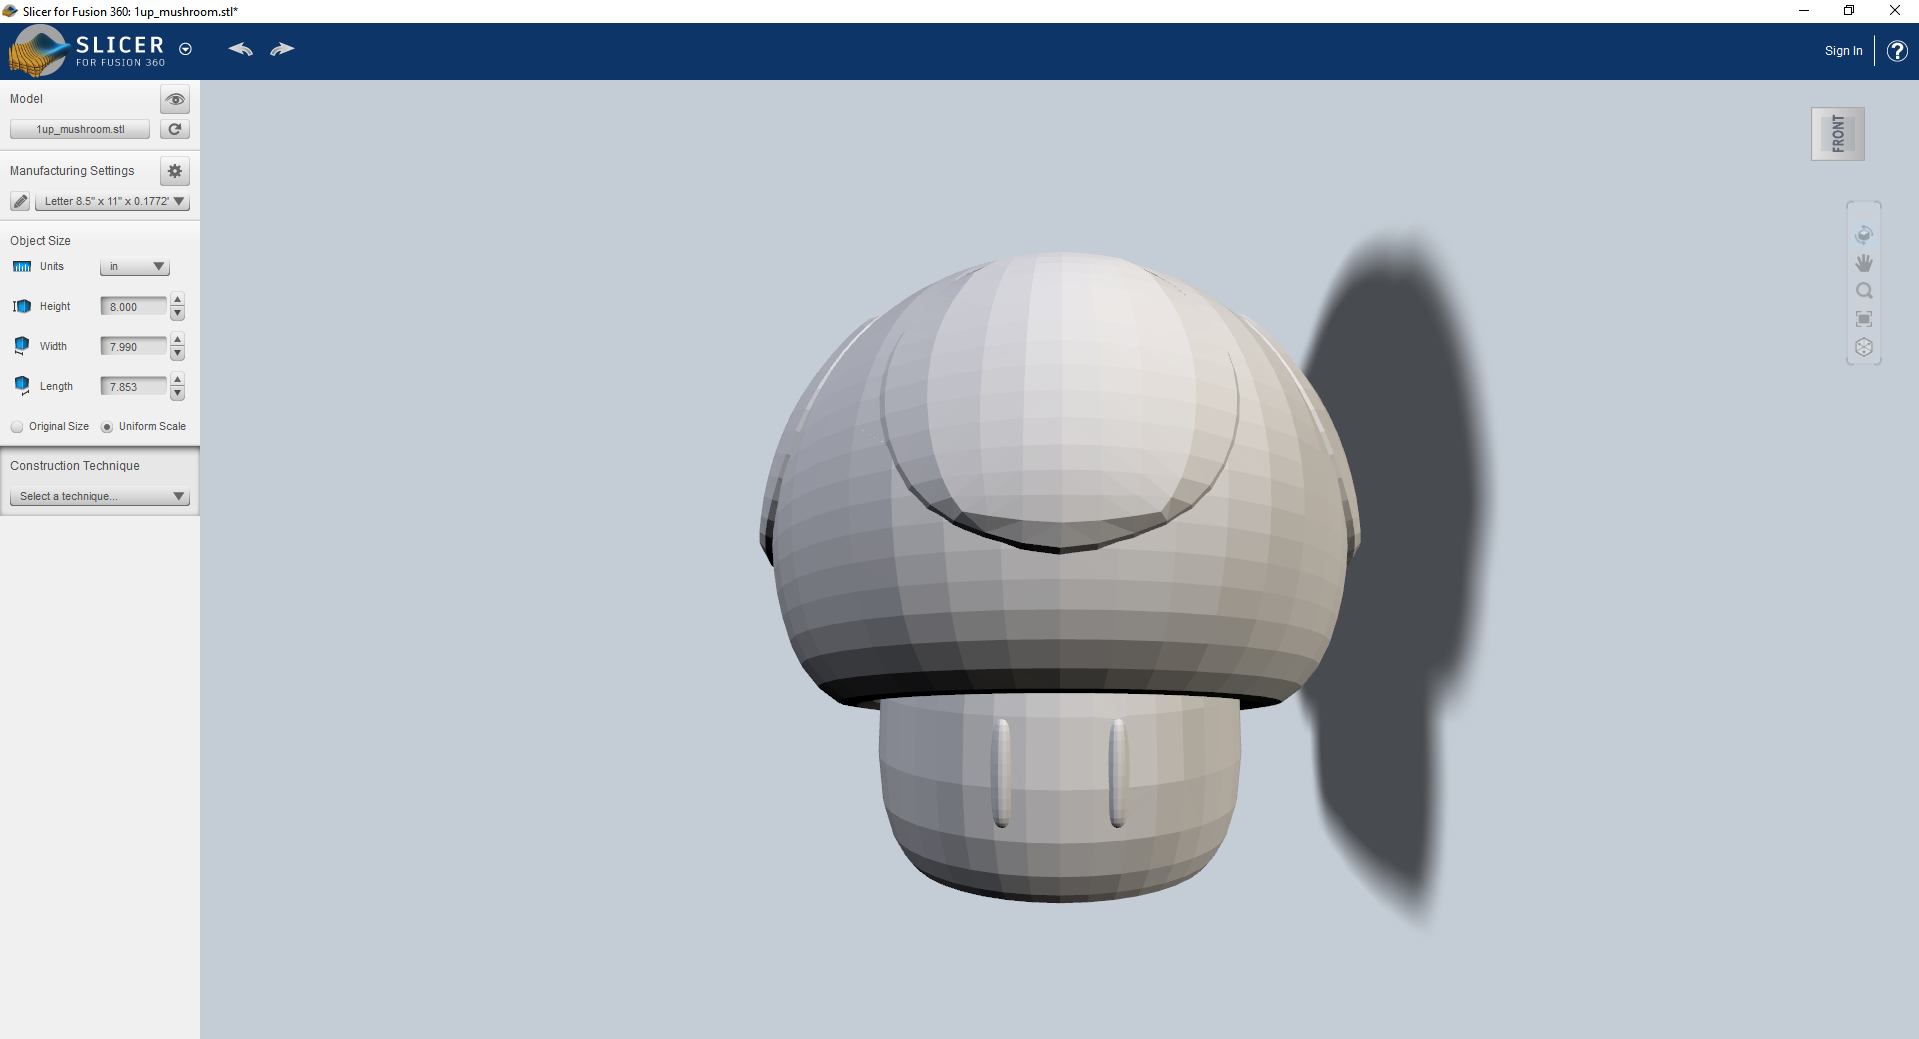
-Now you must open the program and import the file you downloaded earlier from tingiverse.
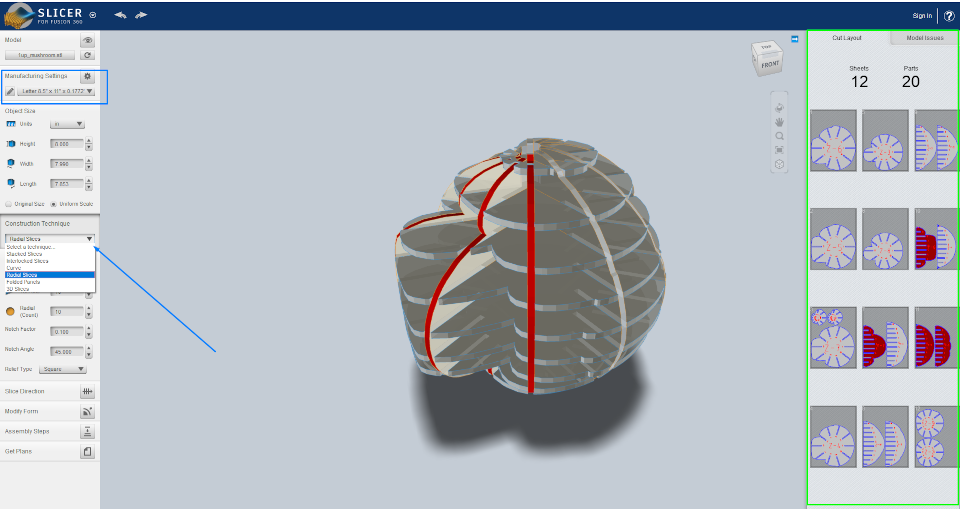
-Then you have to go to “Construction Technique” to choose the ways in which your solid will be built layer by layer, by clicking on one of the options you can see how our solid is transformed into an assembly of different pieces and different windows appear . The window on the right side (green) shows the amount of material in a certain format that will be used (this format can be changed by clicking on the blue box in the image).
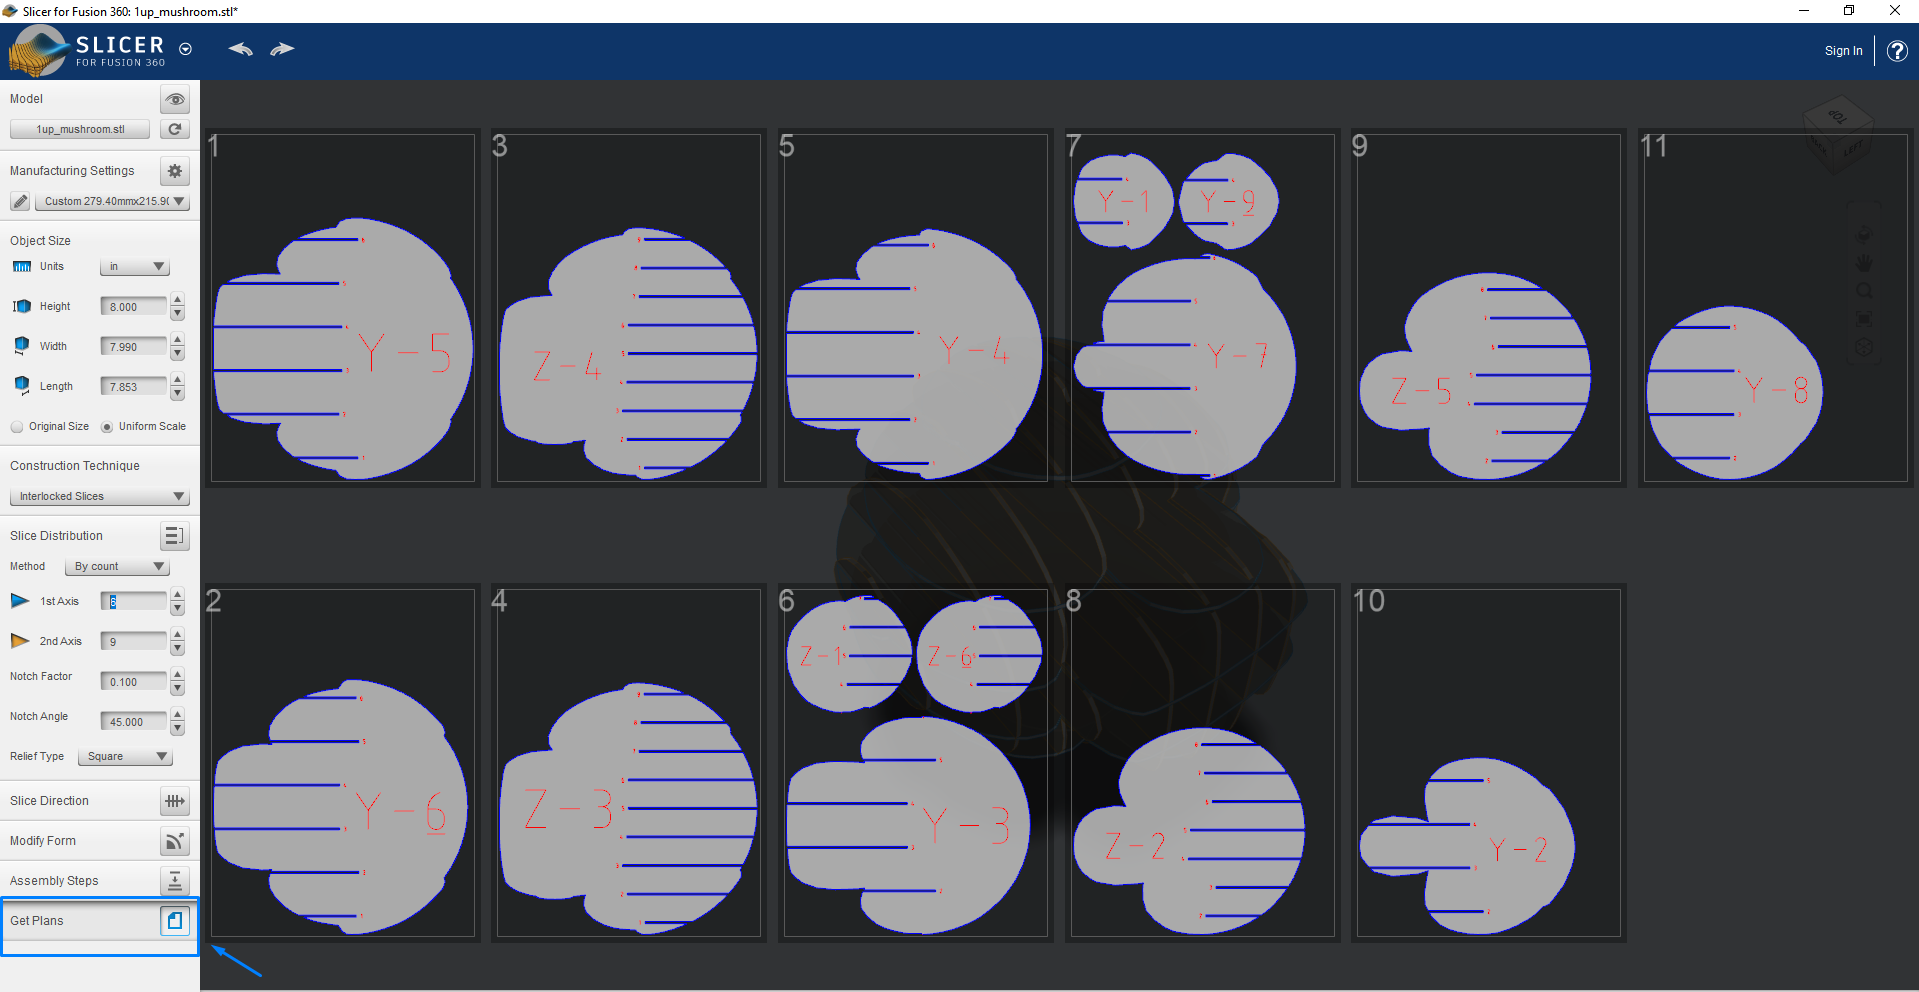
-Finally, we go to the “get plans” button and we obtain the plans in the format that the laser cutter can recognize or send directly.
-It should be noted that this program has many very powerful options, such as choosing the material in which the cut will be made and also its thickness, it even allows us to simulate the assembly of the piece. I highly recommend this software if you want to start from scratch and get great results.
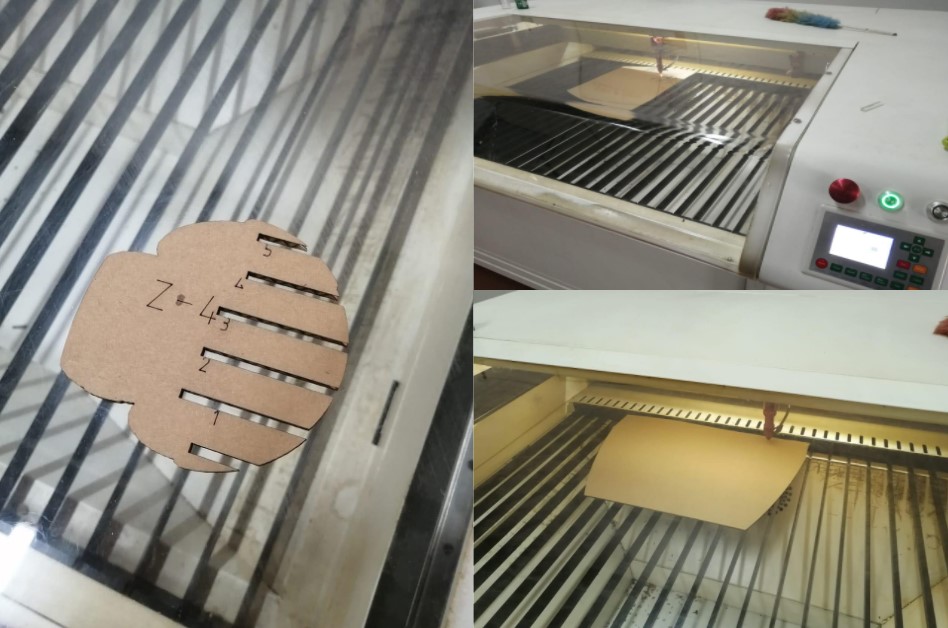
-The cut
-Final
Vinil cutter
Today was the court day and for that I had to go to the fab lab that was closed for several months due to quarantine, I must confess that the fab lab is one of the few places where work and fun become one and I always return home with more than one anecdote. Below I will show you everything we managed to do as a team (and what we didn't too).
-For this mission you need a super reinforcement and a fleeting masterclass from the greatMayra Ascencio.
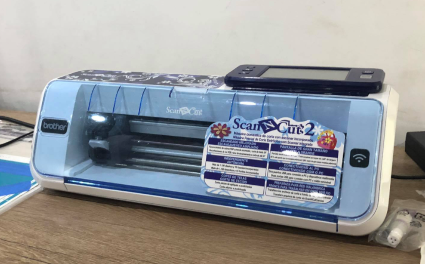
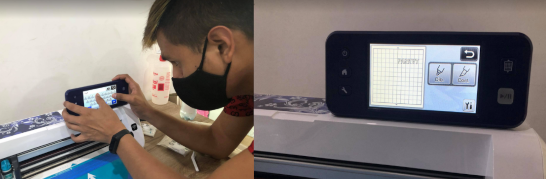
You may be wondering: “Who is Mayra?” "What does Maya do?" and some other questions, the most accurate question would be "What doesn't Mayra do?" , in this short time that I have known her (about 3 years), Mayra has been one of the most outgoing people I have met and who is not afraid of anything, when you read these lines I would like to thank you for always being willing to help anyone who needs your support and for being a great friend. Well let's continue with the vinyl tour, the machine I use is a ScanNCut2 CM350e and requires the following steps:
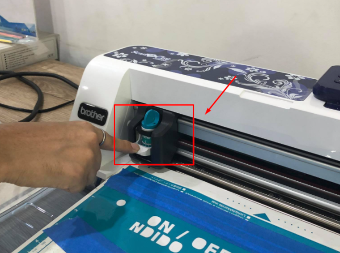
This machine works thanks to a CNC mechanism which has a changeable spindle to be able to carry out multiple operations such as: cutting, painting, etc.
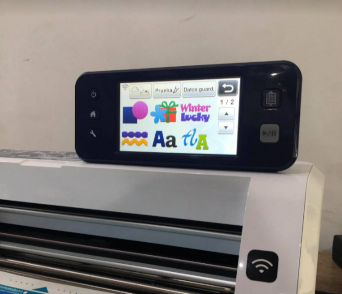
-Once the spindle has been placed, the machine must be activated and the work mat must be placed together with the glued vinyl, in order to then access the command touch screen.
-The command screen is very friendly and has pre-established formats to be able to send the cut directly and even an alphanumeric menu to place messages in the cut. It should be noted that this machine also has the possibility of receiving external files to make the cut.
-Finally, we just need to hit play and wait a few seconds for our work to be ready.
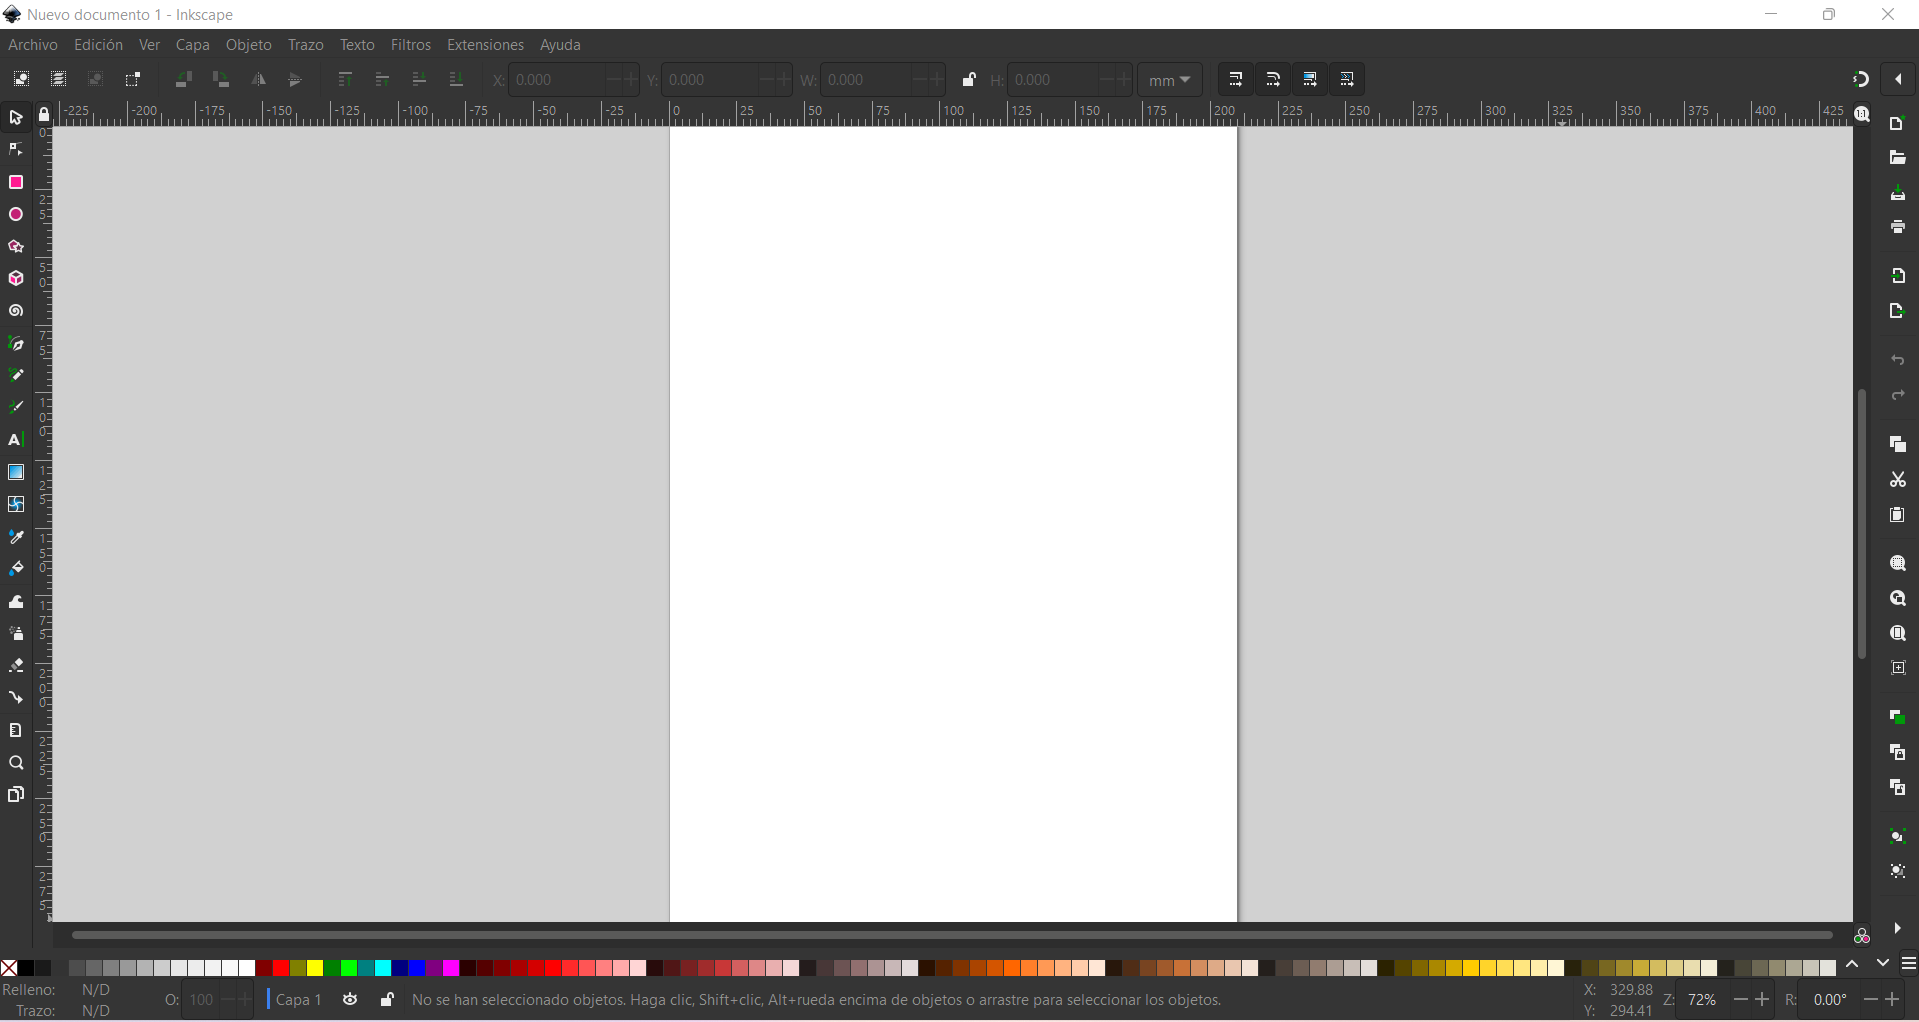
For the design of the cut we use the 2d design program called Inkscape, this program had already been used by us before and it is much easier to use it, this time what I will do is put my name in the program but I will do it in a special format, a shape of each peculiar letter and for that I will use Inkscape's line creation tool.
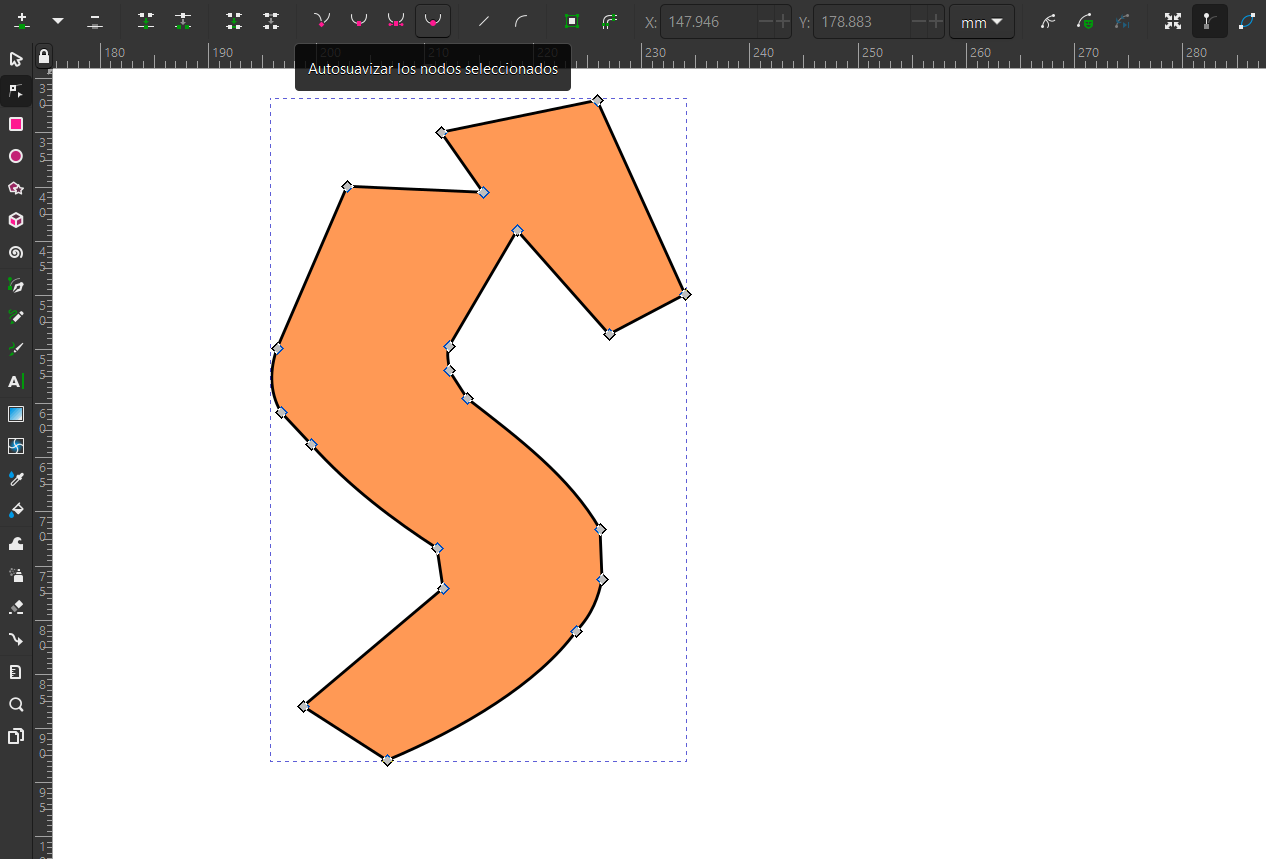
Once the letter is designed, it is time to shape it with the curve formation tools, we have an automated option or we can do it manually, in my case I only prefer to do it in some letters and not in all, so I will only use it for the letters S and Y.
This is the final appearance of the design made in inkscape, you can download it from the following link.
Laser cutting
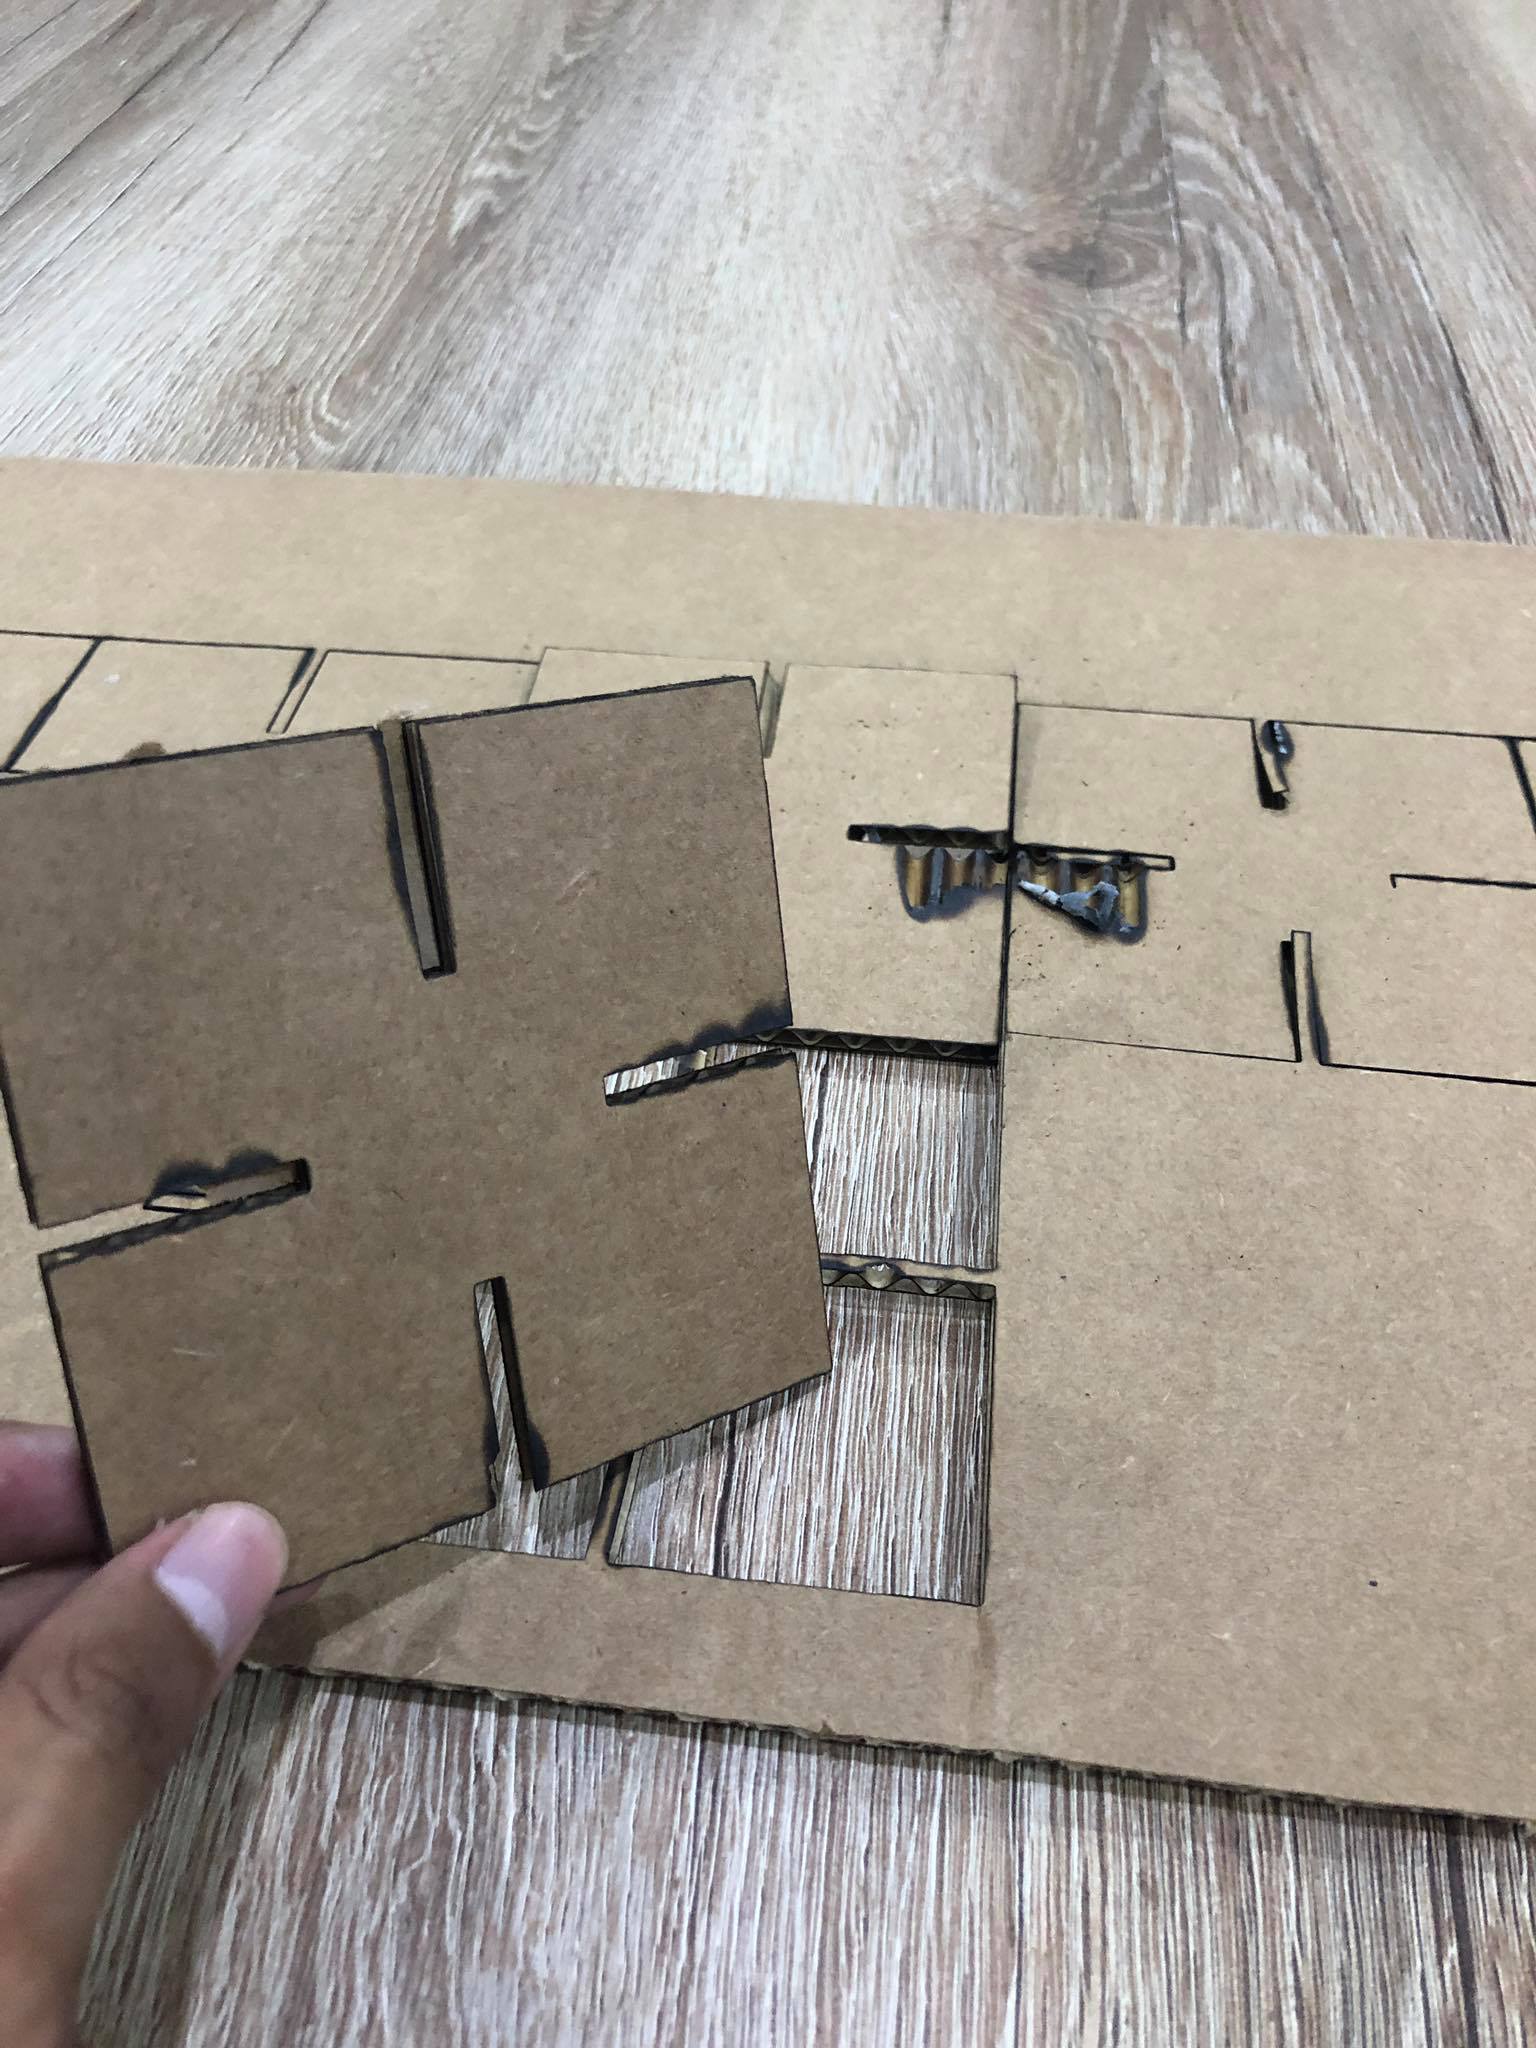
The laser cutter is one of the most versatile and educational machines that I could have known, however, many times certain errors tend to occur which make us doubt about its practicality, they always told me that knowledge comes thanks to trial and error but some errors they can bring us bigger problems.
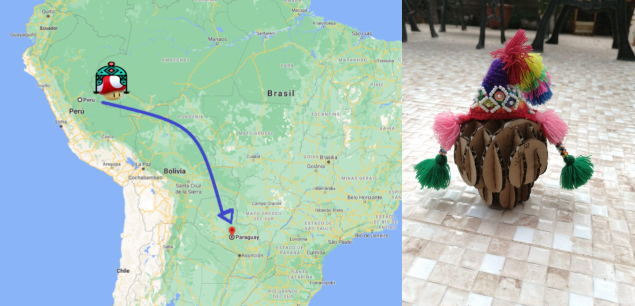
Despite the incident with the fire (look at it here) We decided not to stop, however, the time in the laboratory these days is very limited and we beat the time to leave, very worried we had to leave the laboratory, however, giving up was not an alternative, so we looked for solutions and found support in different Fab Labs that yes they had the availability to send our file ready and cut. For my part I had the great support of a teacher in the mystical arts of the Fab Academy, I am referring to the great Dra Lugo, she has been a great guide throughout this path that he took from the Fab Academy and did not allow my little mushroom to be left alone in bits and transformed it into atoms, so my little mushroom had to take a trip via the web to Guarani lands.
It was there where my mushroom stopped being a DXF file and became a mushroom man. Thank you again, Dra Lugo, for the patience and good humor that you put into this humble servant every day (especially patience).
Parametric Design
For this design we will use a program which is not one of my favorites but which is nevertheless very useful for making a parametric design because it has the extension called grasshopper, this extension allows us to make designs with number modules or with functions which They allow us to make any type of design.
The program, as you can see, is part of the original program. In the following images, we will see how it can be linked using the modular tools at the top of the screen.
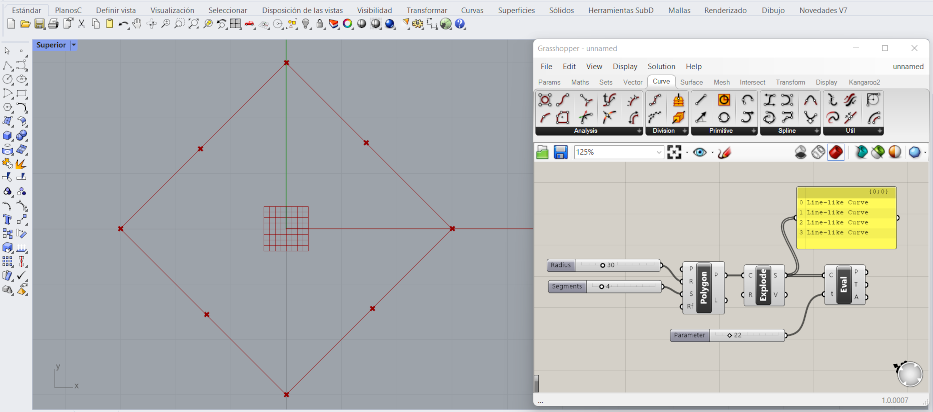
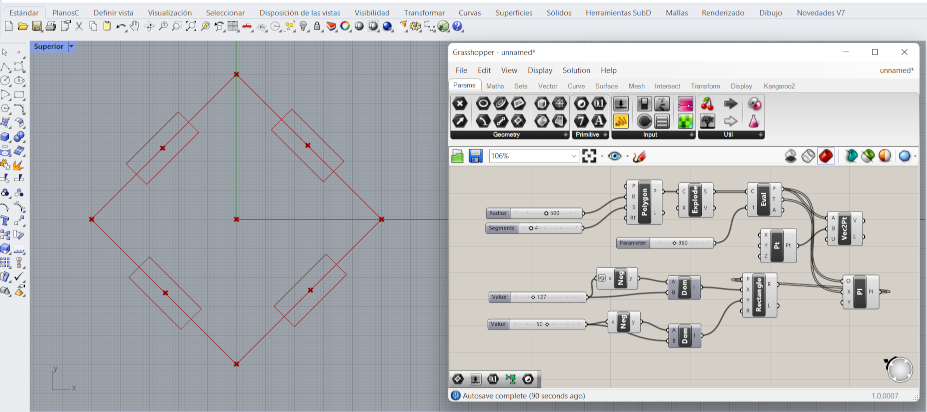
Step 1:
We start with the creation of a 4-sided polygon because the idea is to make an ornament cube, therefore we only need 6 sides that can fit correctly to make the laser cuts and later assemble it. The modules that we use in grasshopper that we use in this first stage are only the polygon to generate the 4-sided polygon, the next thing is to create the points of this polygon and then find the middle region since the cut for the fit will be made there .
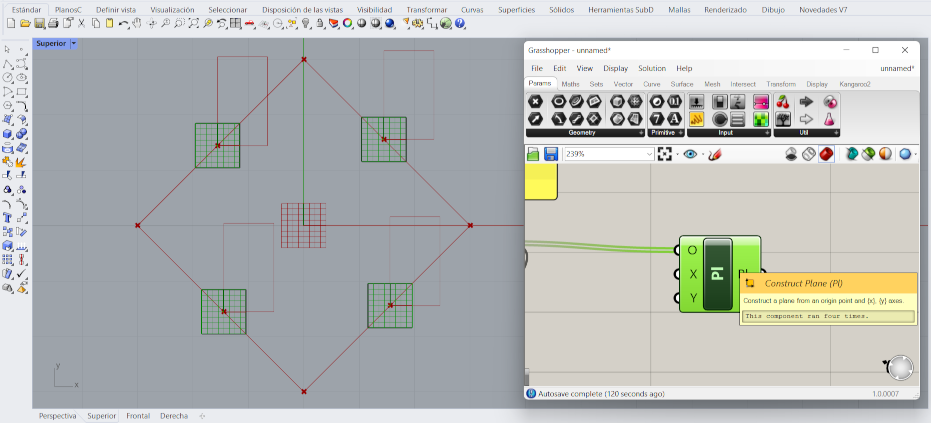
Step 2:
Now we are going to create a plane in each of these midpoints for this we use the plane creation tool and in this we are going to create a rectangle, here there are two fundamental parts the main polygon and the rectangle that will make the cut so that later thanks These cuts can be fitted with the other pieces.
Step 3:
This is the appearance of the plane, apart from the rectangle because this will help the figures so that later the whole figure can be rotated because as you can see the rectangle is not in a perpendicular position so that the cut can be made.
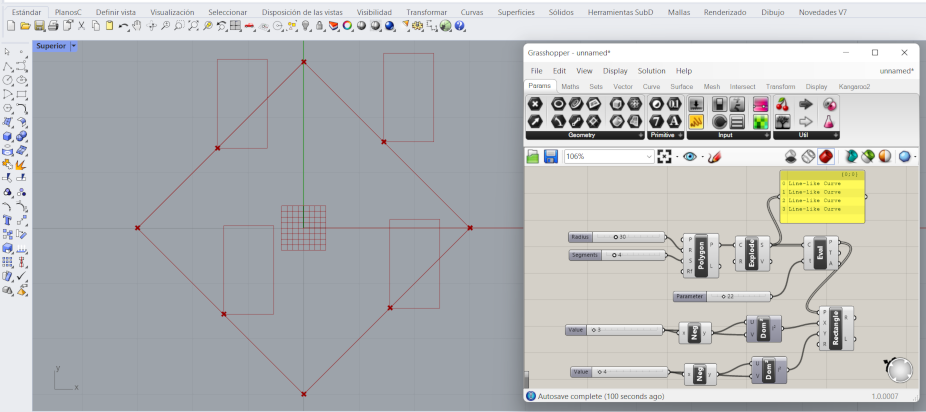
Step 4:
Now that we have the planes, it is time for the rectangles to be positioned in the direction of the planes, for this we must also add measurements to the rectangle creation module but we must bear in mind that these rectangles will be created at the origin of each of these planes and for this it is also important that when the dimensions of the rectangle are modified it grows in the positive and negative sense so that it continues to position itself in the center, for that we use the negative modules and place it with the module of "construct domain" for the rectangle and finally it will have the appearance of the image.
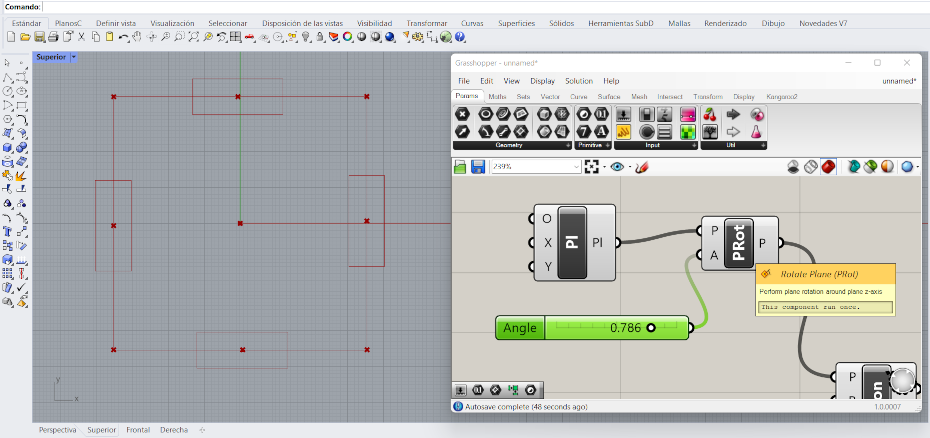
Step 5:
In this step the only thing we have to do is rotate the design in general and for that the only thing that is done is a central plane to place the entire design collection and later rotate that plane and with it our entire design will rotate.
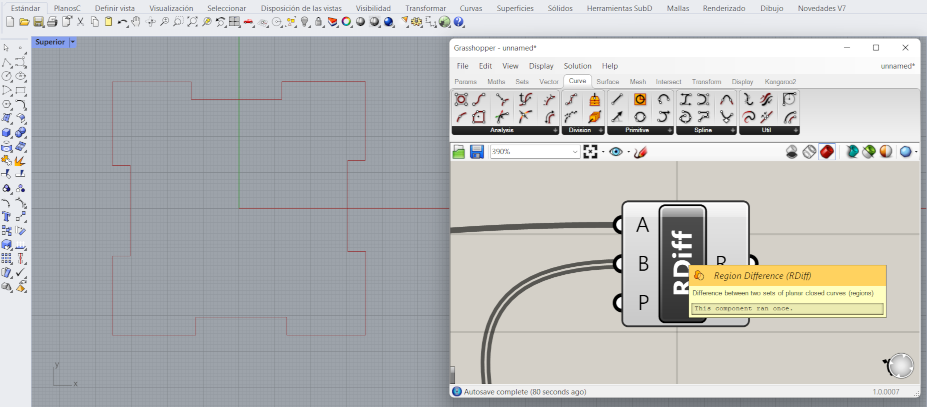
Step 6:
Now that we have the cutting rectangle and the polygon well placed, it is time to make the cut, for this we use the "subtraction" module with this we can subtract another figure from a figure, this module as you can see is the only thing it asks of you It is shape 1 and shape 2, which is the one that will make the cut, so that only the new shape can be seen, we must hide the preview of all the blocks except that of this shape subtraction block.
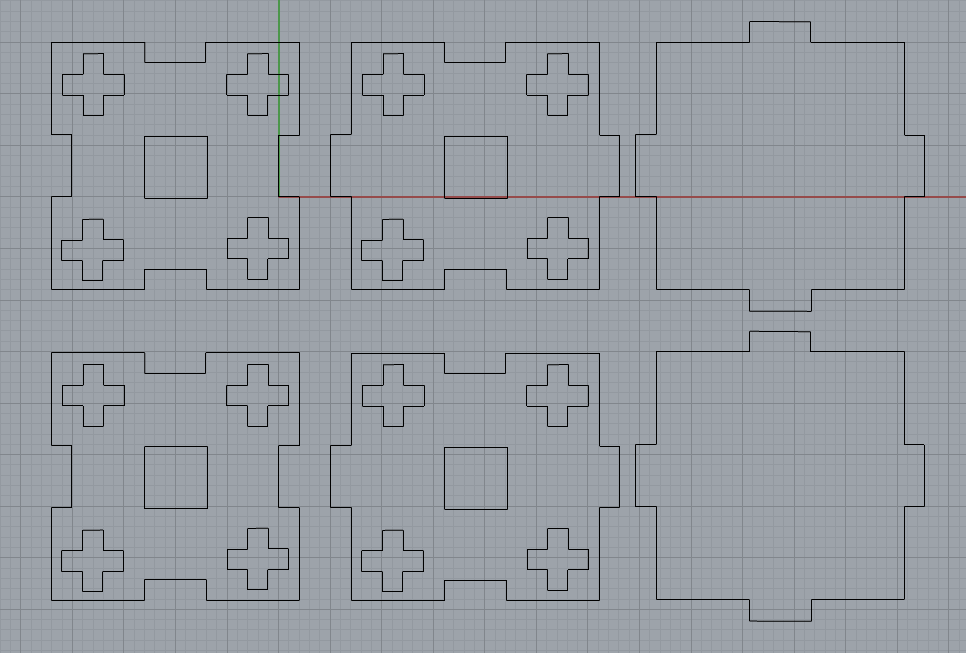
Step 7:
In the last step we only have to replicate this shape and then send the block to be cut, for this we must use the "rectangular array" module which allows us to make copies in a rectangular shape which generates a greater number of replicas on a surface. specific rectangular, this module asks us to create a rectangle so that it can serve as a reference for the positions of future copies of the final shape.
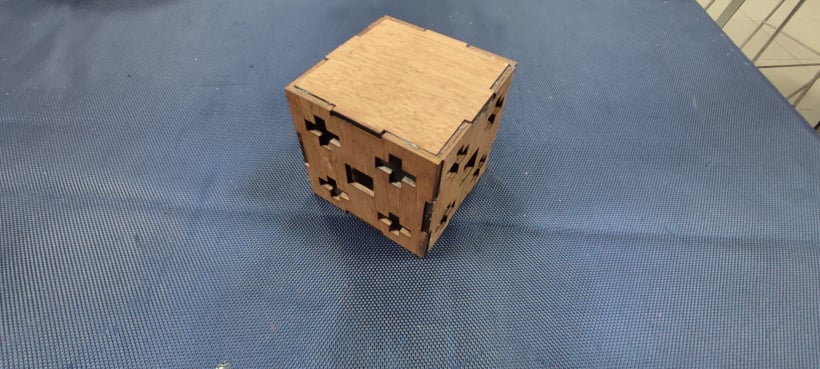
As a final result we must take only 6 forms to assemble a cube, to those forms we can add some final details so that it has more detail when assembling it, these details can also be added by means of grasshopper or it can also be created manually with the straight line tool. This svg file can be downloaded from the following link.
Finally , by joining all the pieces we would have this great design , which can be used for many things.
Group assignment
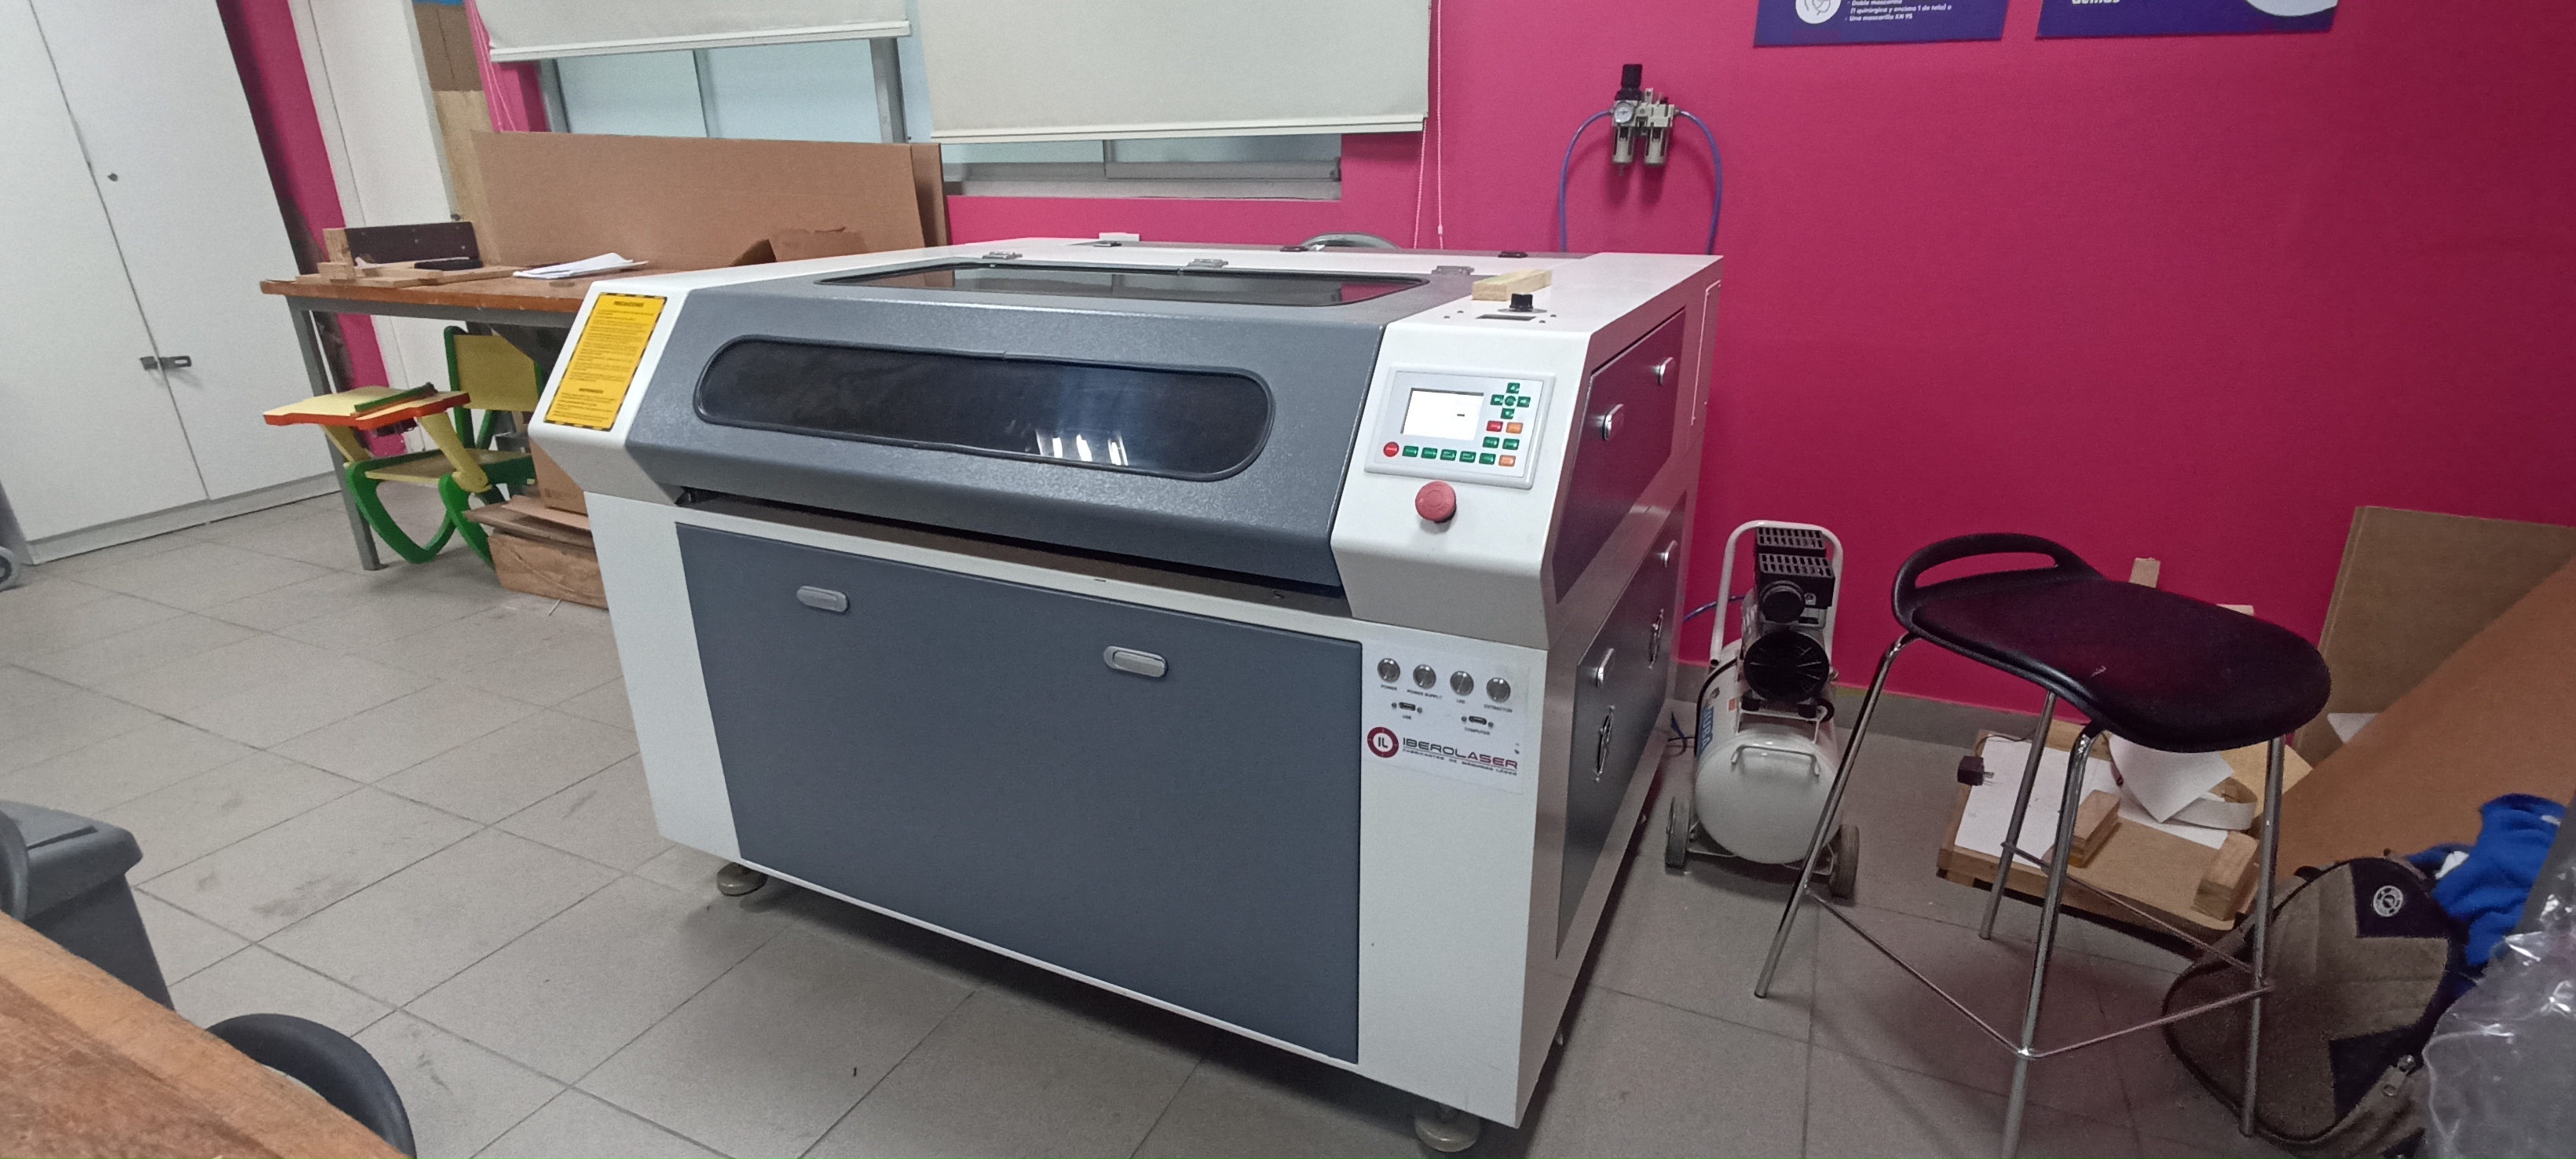
To make a correct laser cut, first you have to know the machine in which the cut was made, in this case it is an Ibero Laser and this machine will allow us to cut our designs.
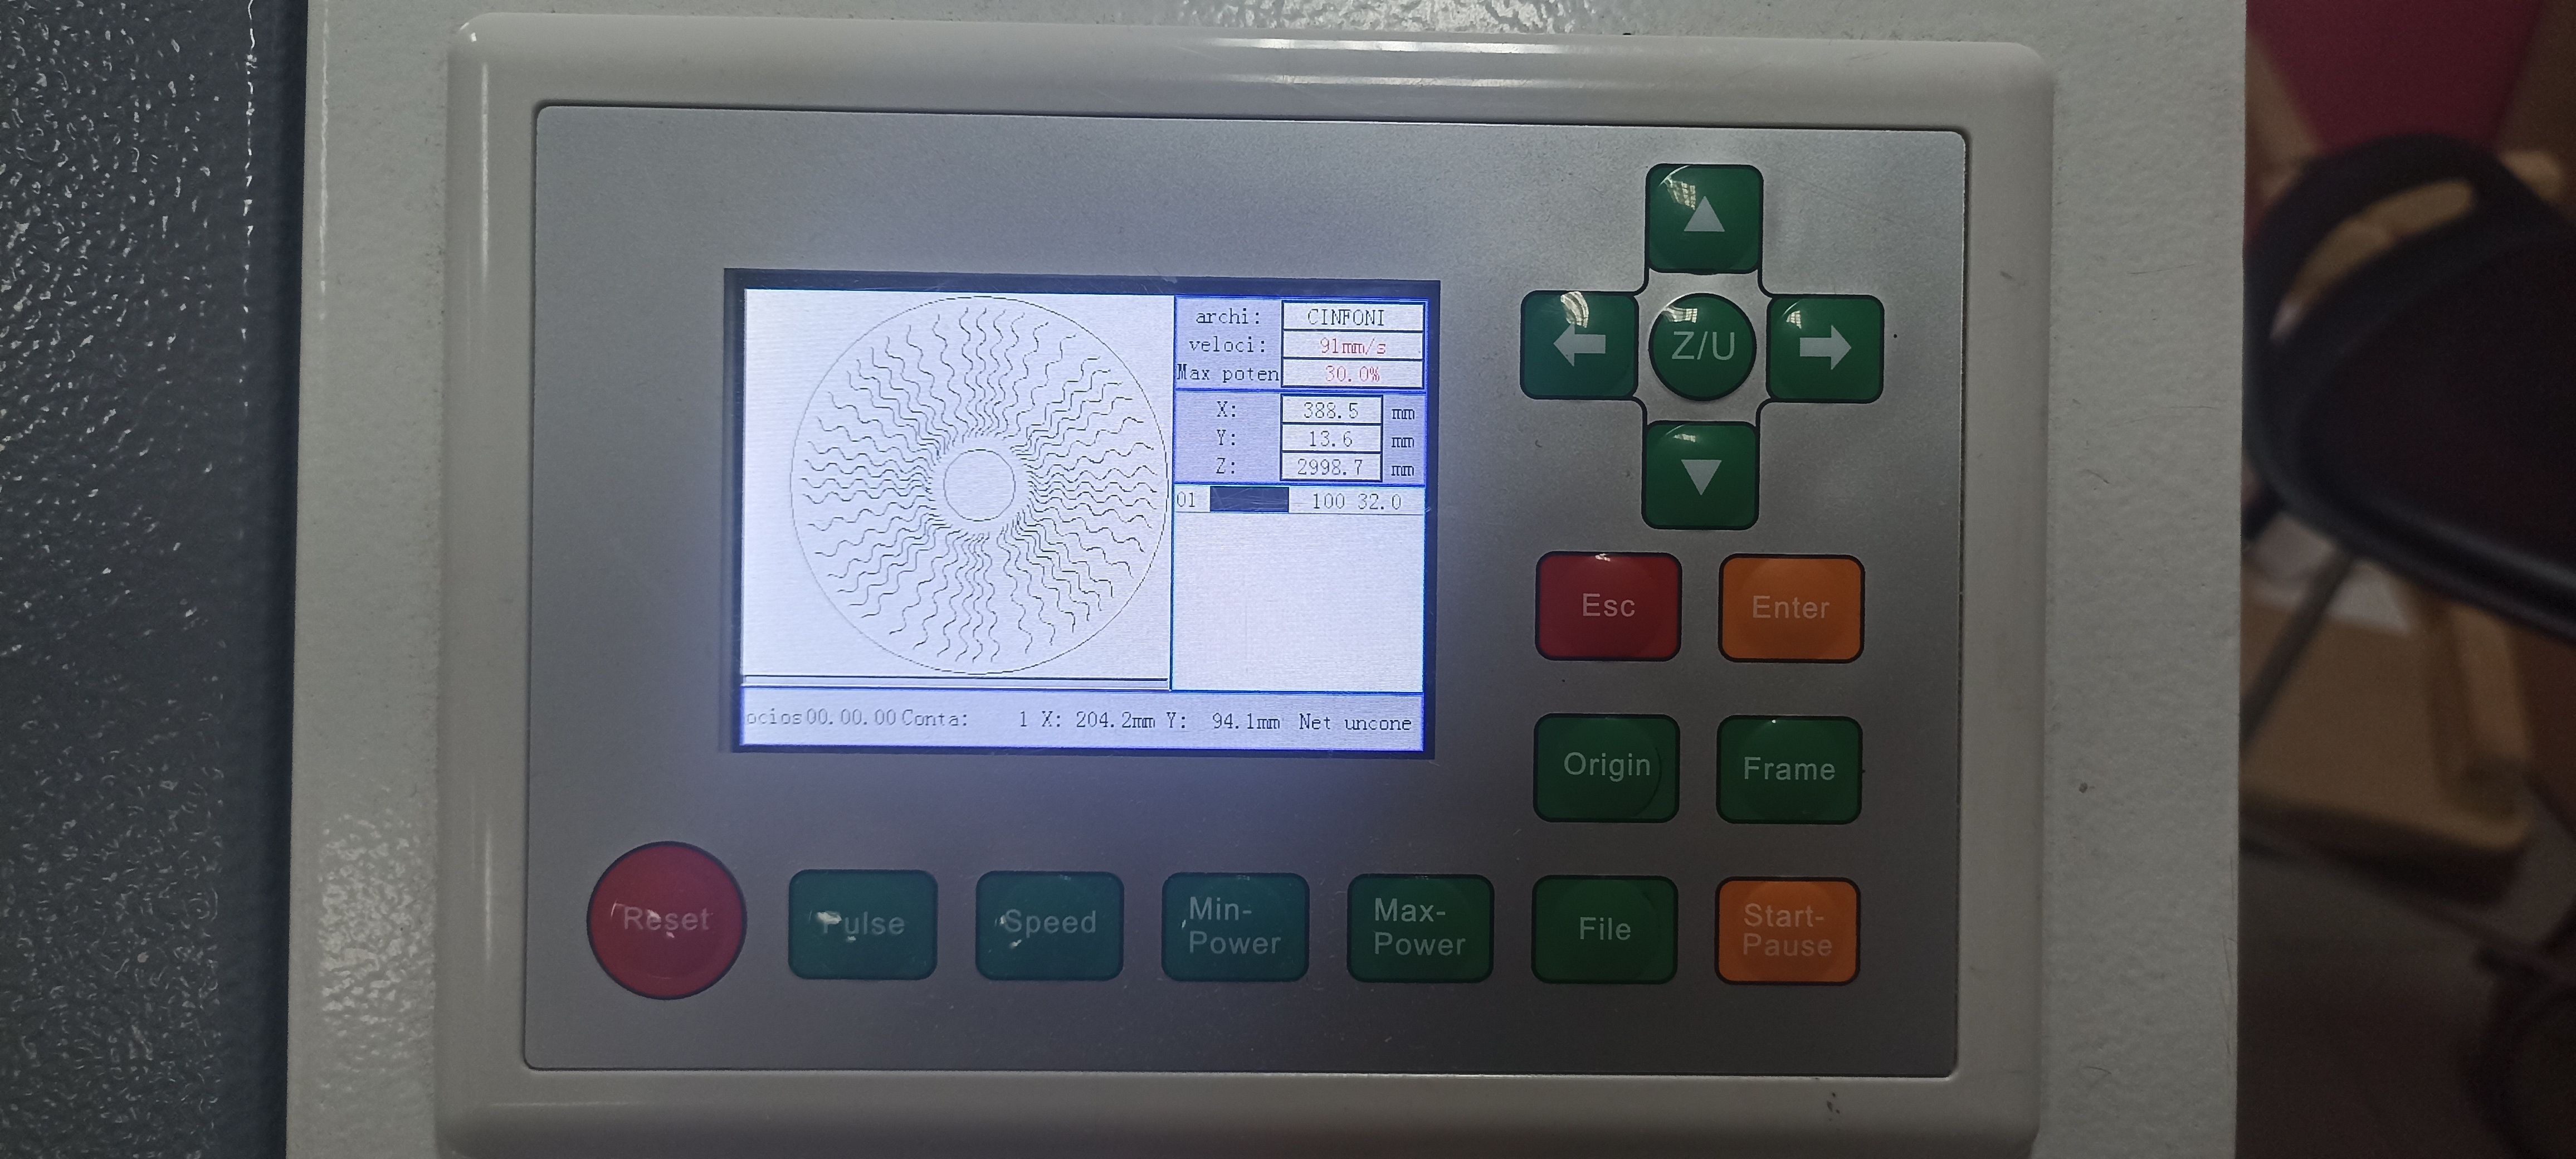
The interesting thing about this Ibero Laser machine is that it allows you to preview the cut design that will be made, as you can see on the screen we have a test design and it also allows us to modify some parameters.
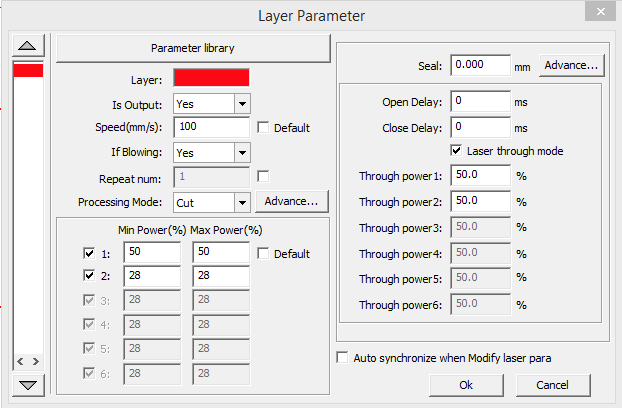
So that all our cuts can come out correctly made, the following parameters were used.
It should be noted that a laser cutting machine also has the possibility of making engravings on different materials, here is an example of how a laser cutting machine works to make an engraving (the video is only to show how the machine works).
 This last week everything was chaos, for all those who read this in years after 2021 I want to tell you that the Fab Academy is something that deserves a lot of dedication and above all hard work, now add to that a pandemic that has been hitting us hard since 2020, but don't worry, that's why I'll stop writing chapters for you. Newton told us that for a body to continue moving, the force that drives it must be much stronger than the force that counteracts it in the opposite direction and you will ask yourself: "What does Newton matter now?" "What am I doing reading this and not going to the direct tutorial?" , each one of you can see yourself reflected in this law, for example the problems would be the negative forces that incline you to stop and throw everything away, but you also have positive forces that encourage you to continue and continue with your purpose or objectives, I have many of those forces (with name and surname) and I would like to introduce you to some of them.
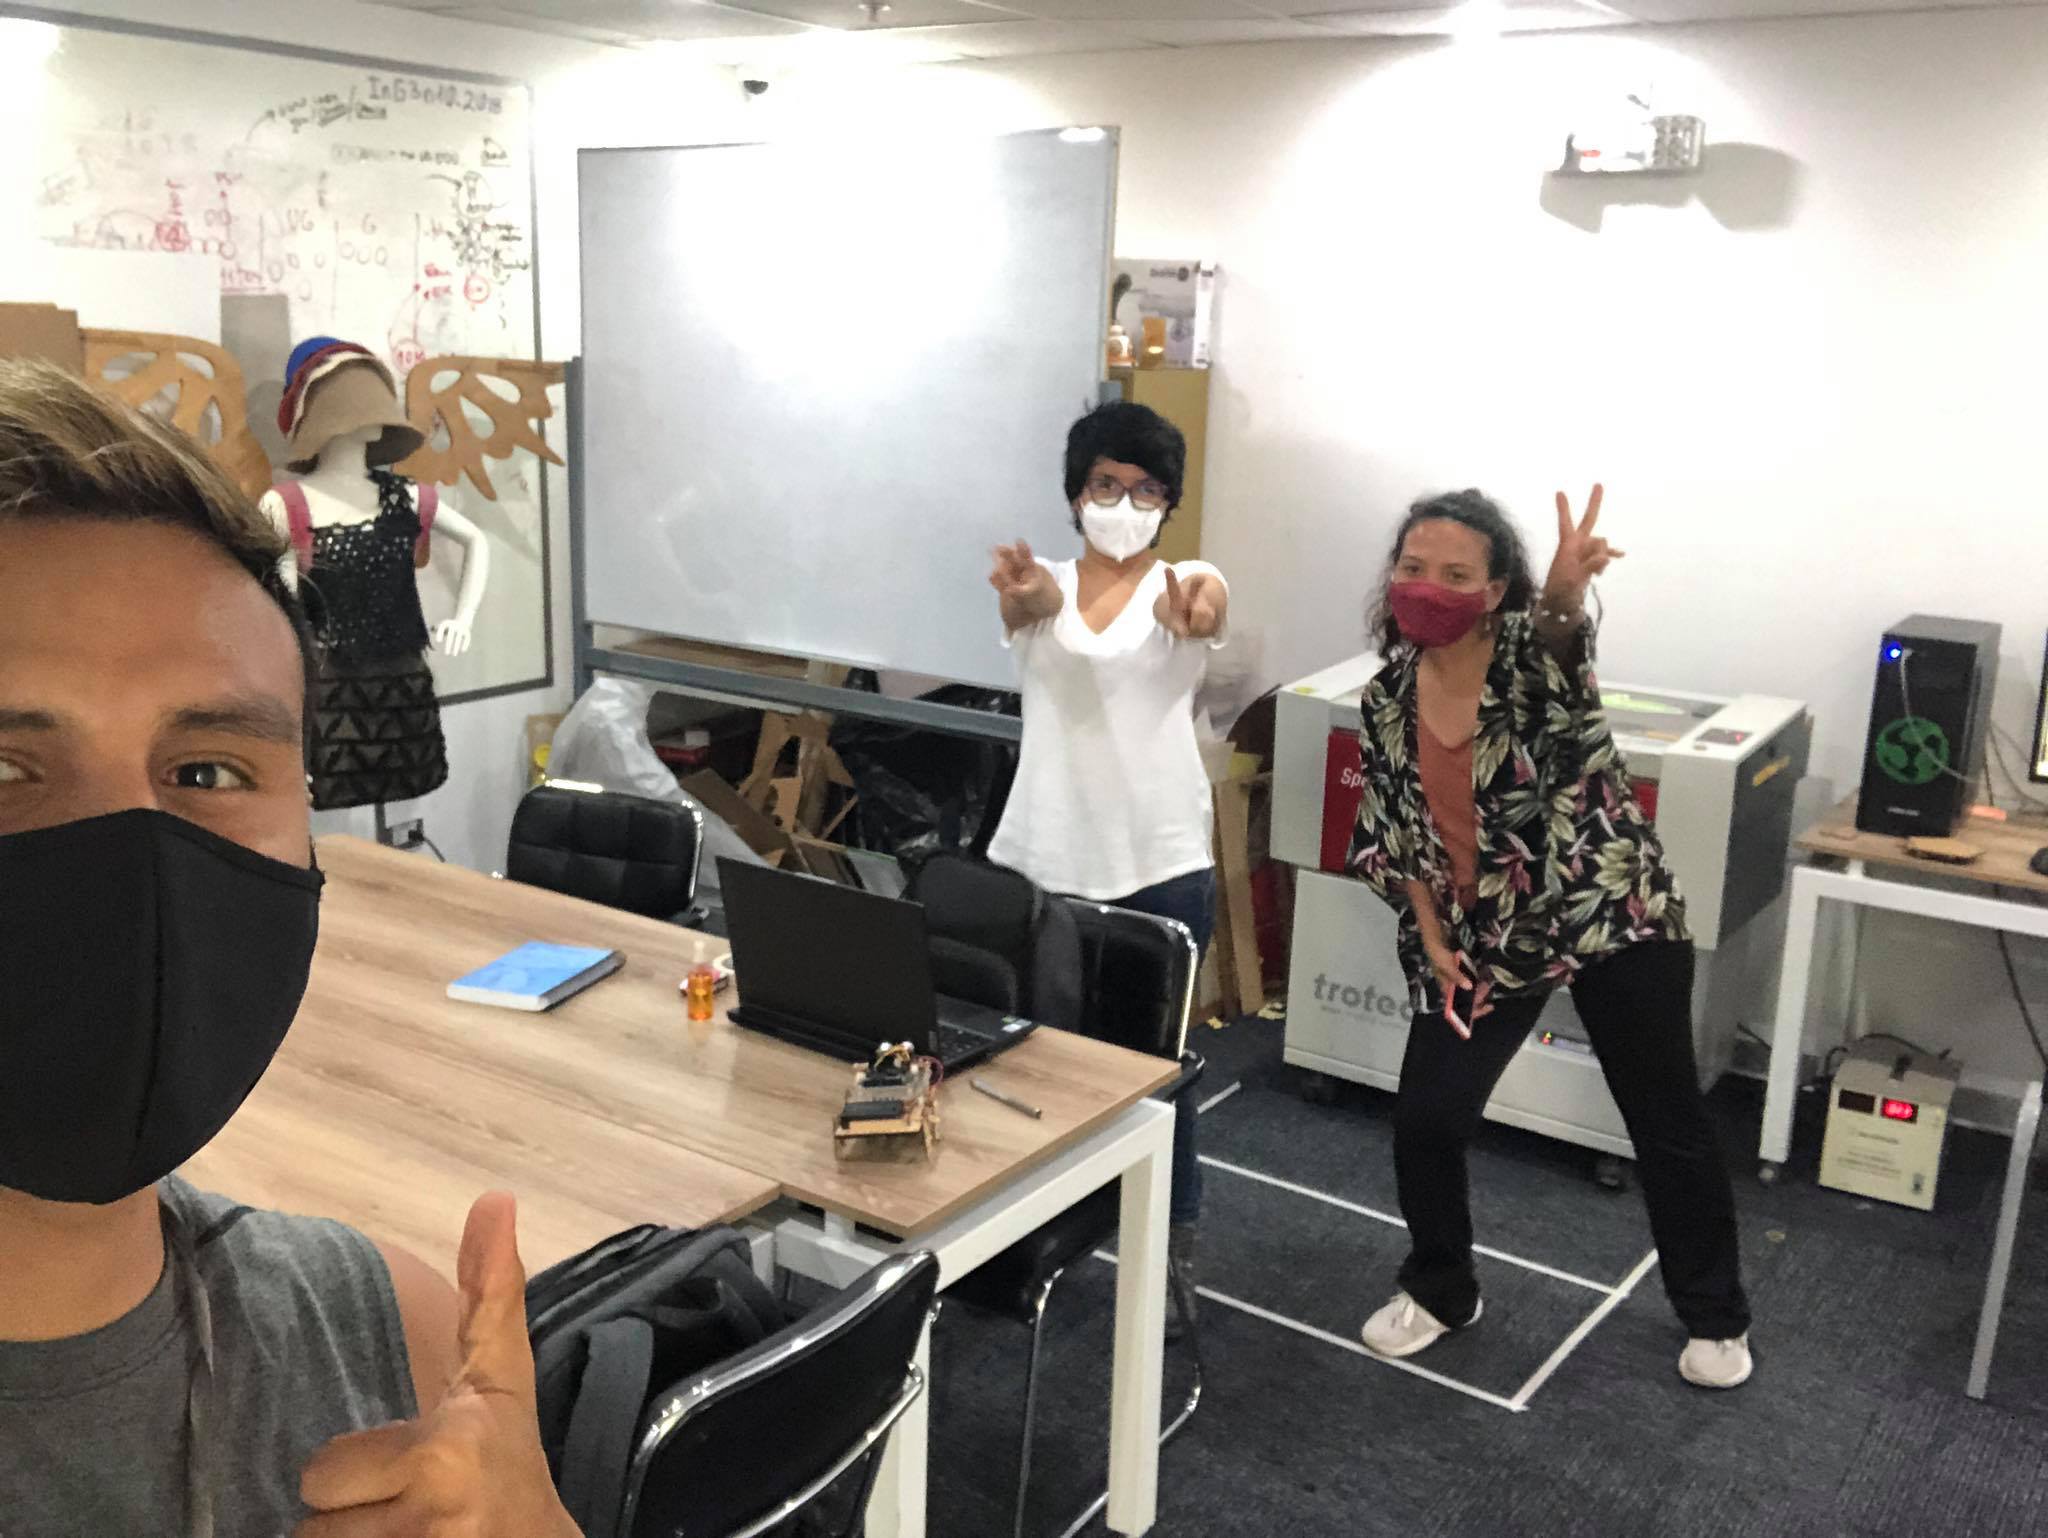


