I don't remember the last time I slept long, the fab academy is teaching me more than I thought and among those teachings is to value and miss my hours of sleep. This week Neil showed us many CAD (Computer Aided Design) programs in order to use some of them to represent our projects. Neil is a living encyclopedia and knows which program would be perfect for each type of case but he advises us the following: “ ..choosing a show is how you choose a partner for a date, you should always choose the person you get along with the best ..” after this I decided that if this was completely true, I was really screwed by my lack of ability to choosing dates however Neil trusts me and I will not let him down.
Join me to immerse myself in the tinder of 3D programs and find my ideal program.
Less is more
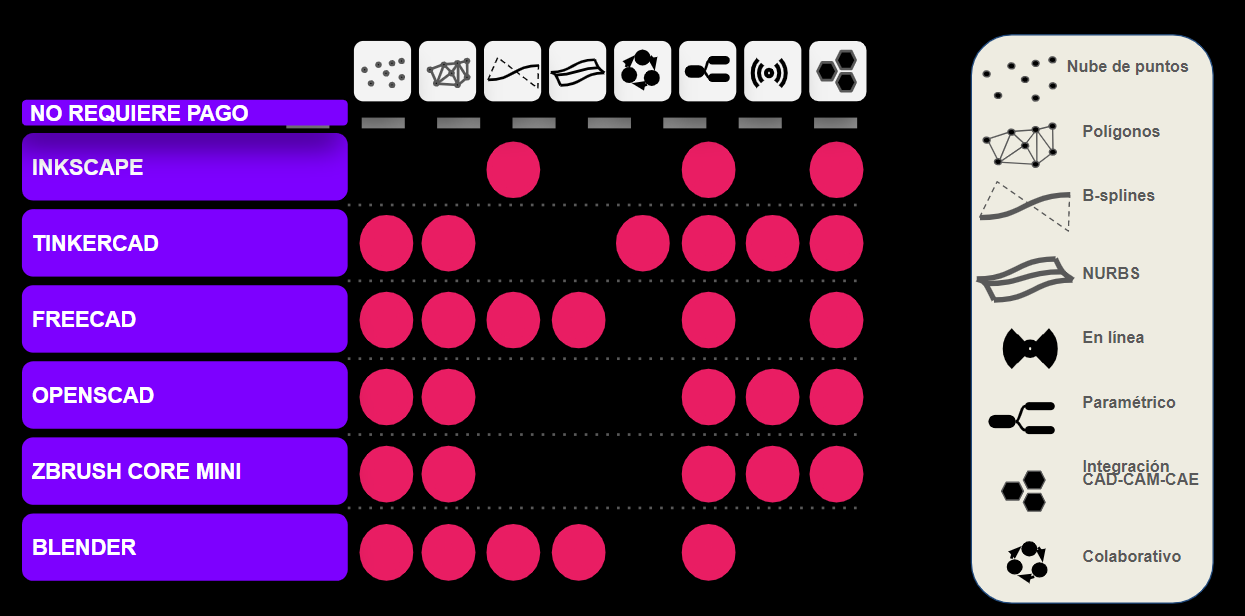
Van de Rohe believed that the perfection of things lay in their simplicity. If we transfer this to 3D design programs, we would see that there is software that can do EVERYTHING, however its level of complexity is high. After this exploration and thanks to a lot of information previously collected by the Fab Lab Lima team, it was possible to collect the following information about some programs:
-Among the best programs that do not require any type of payment we have FREECAD and BLENDER, these two in turn have advanced modeling paradigms (parametric design).
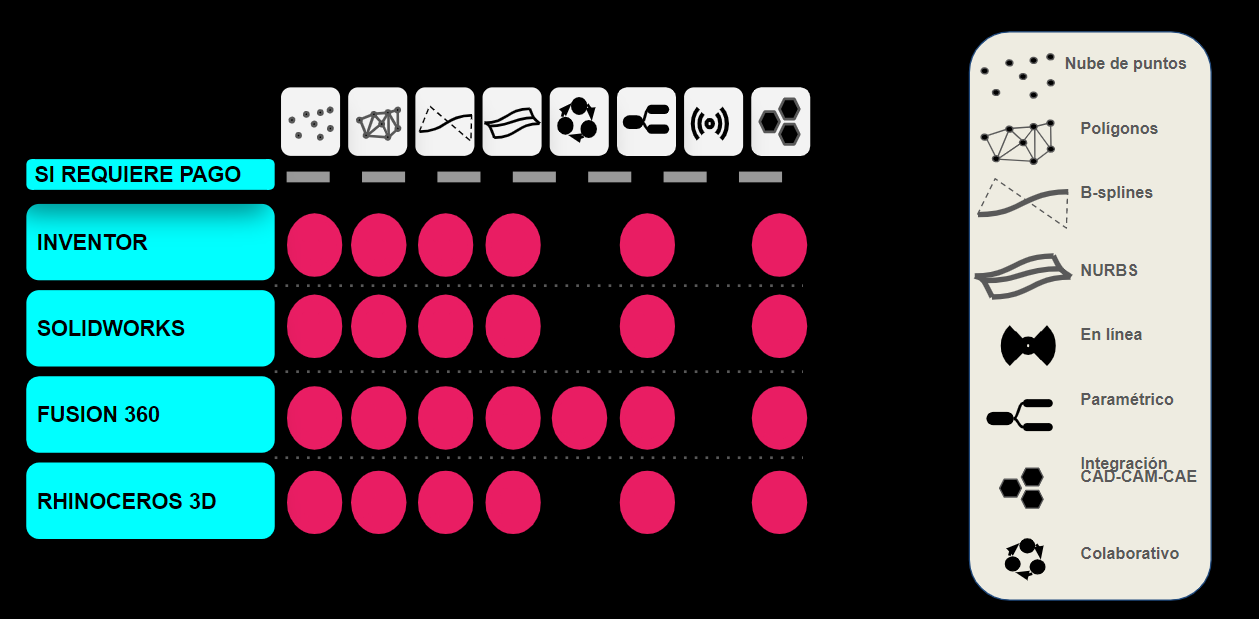
-On the other hand we have the software that requires a paid version and the one that most promises is Rhinoceros 3D together with Fusion 360.
-Now we have 4 very powerful programs for our final decision, because just like in real life, if you date many partners at the same time you are destined to collapse (in addition to being unfaithful).
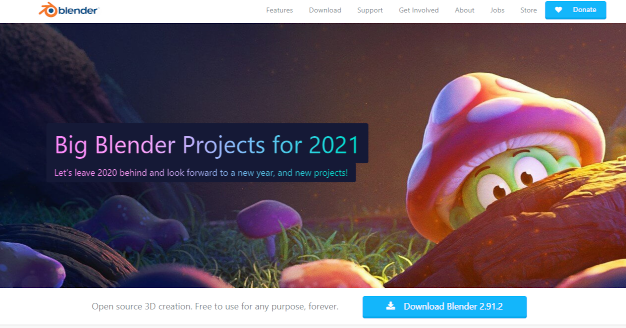
The first impressions I had about blender came thanks to Dr. Lugo who came to me every week and showed me the amazing things that were done with blender, however this little feeling of curiosity and desire to experiment would not come true until Today I decided to explore.
-Blender's main page showed me exactly what I was looking for (and I'm not referring to mushrooms), completely FREE software and without losing the potential of software with a paid version.
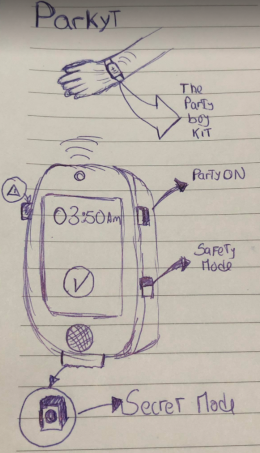
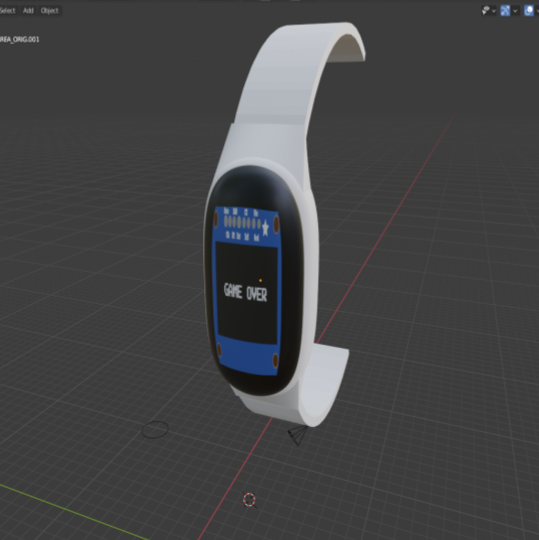
To design the 3D model of Parkyt we must first identify the main parts (central module and strap) and then go to modeling in Blender.
Parkyt has fundamental parts which will serve for its interaction with the user, these parts that are found in Parkyt are joined perfectly by pressure, which is why the measurements of the modeling must be precise and designed to fit with the electronic circuit that is will develop later.
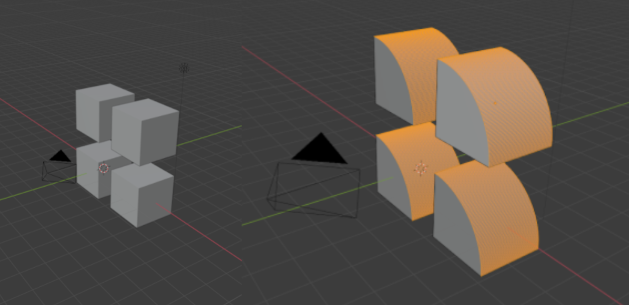
For the design of the central module, it is required to elaborate a curved solid that is similar to a quadrangular prism with curved corners, for this the following steps will be carried out:
-We start with 1 cube which we then replicate using the alt + d command to be able to make copies that vary along with the original.
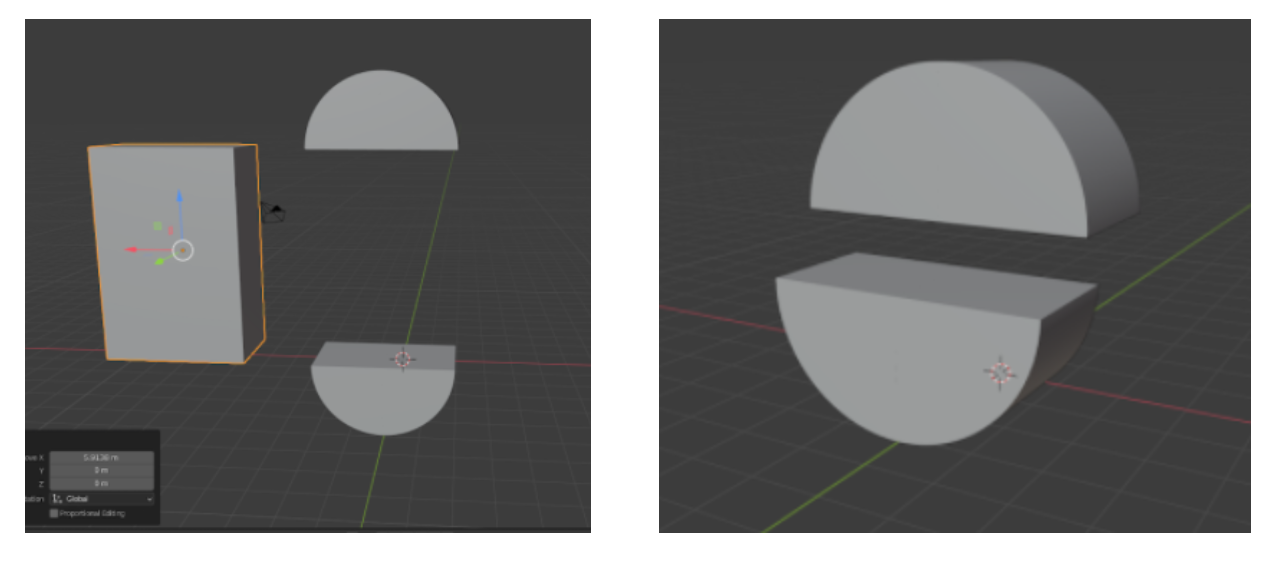
-Then we make unions of the upper and lower figures (CTRL + J) to be able to unite them and additionally we create a shape box which we will edit in such a way that it can fit diametrically with the circumferences, finally we join them (CTRL J) .
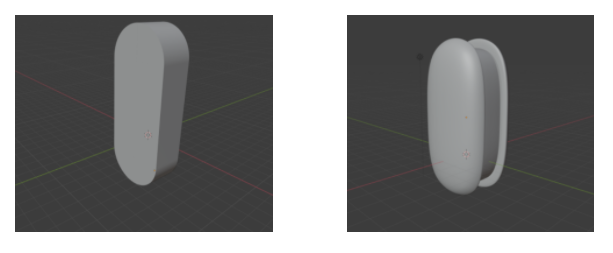
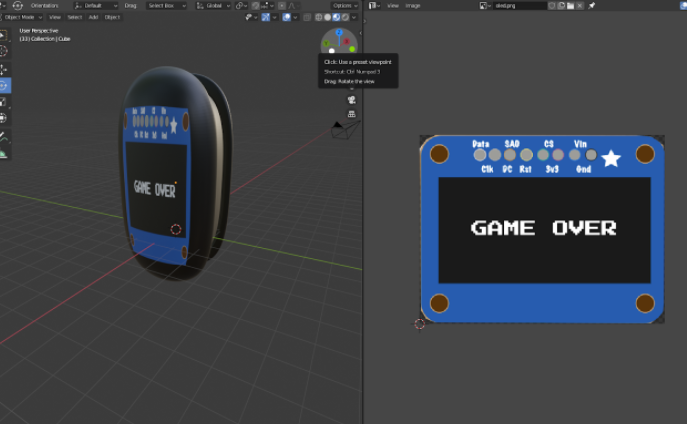
-Now we must sculpt this first form to reach the one on its right by means of face subdivision modifiers.
-Finally we add textures to our solid so that it looks like in the image (I am aware that they must be flying through the clouds but don't worry, in this video you will be able to better understand the process).
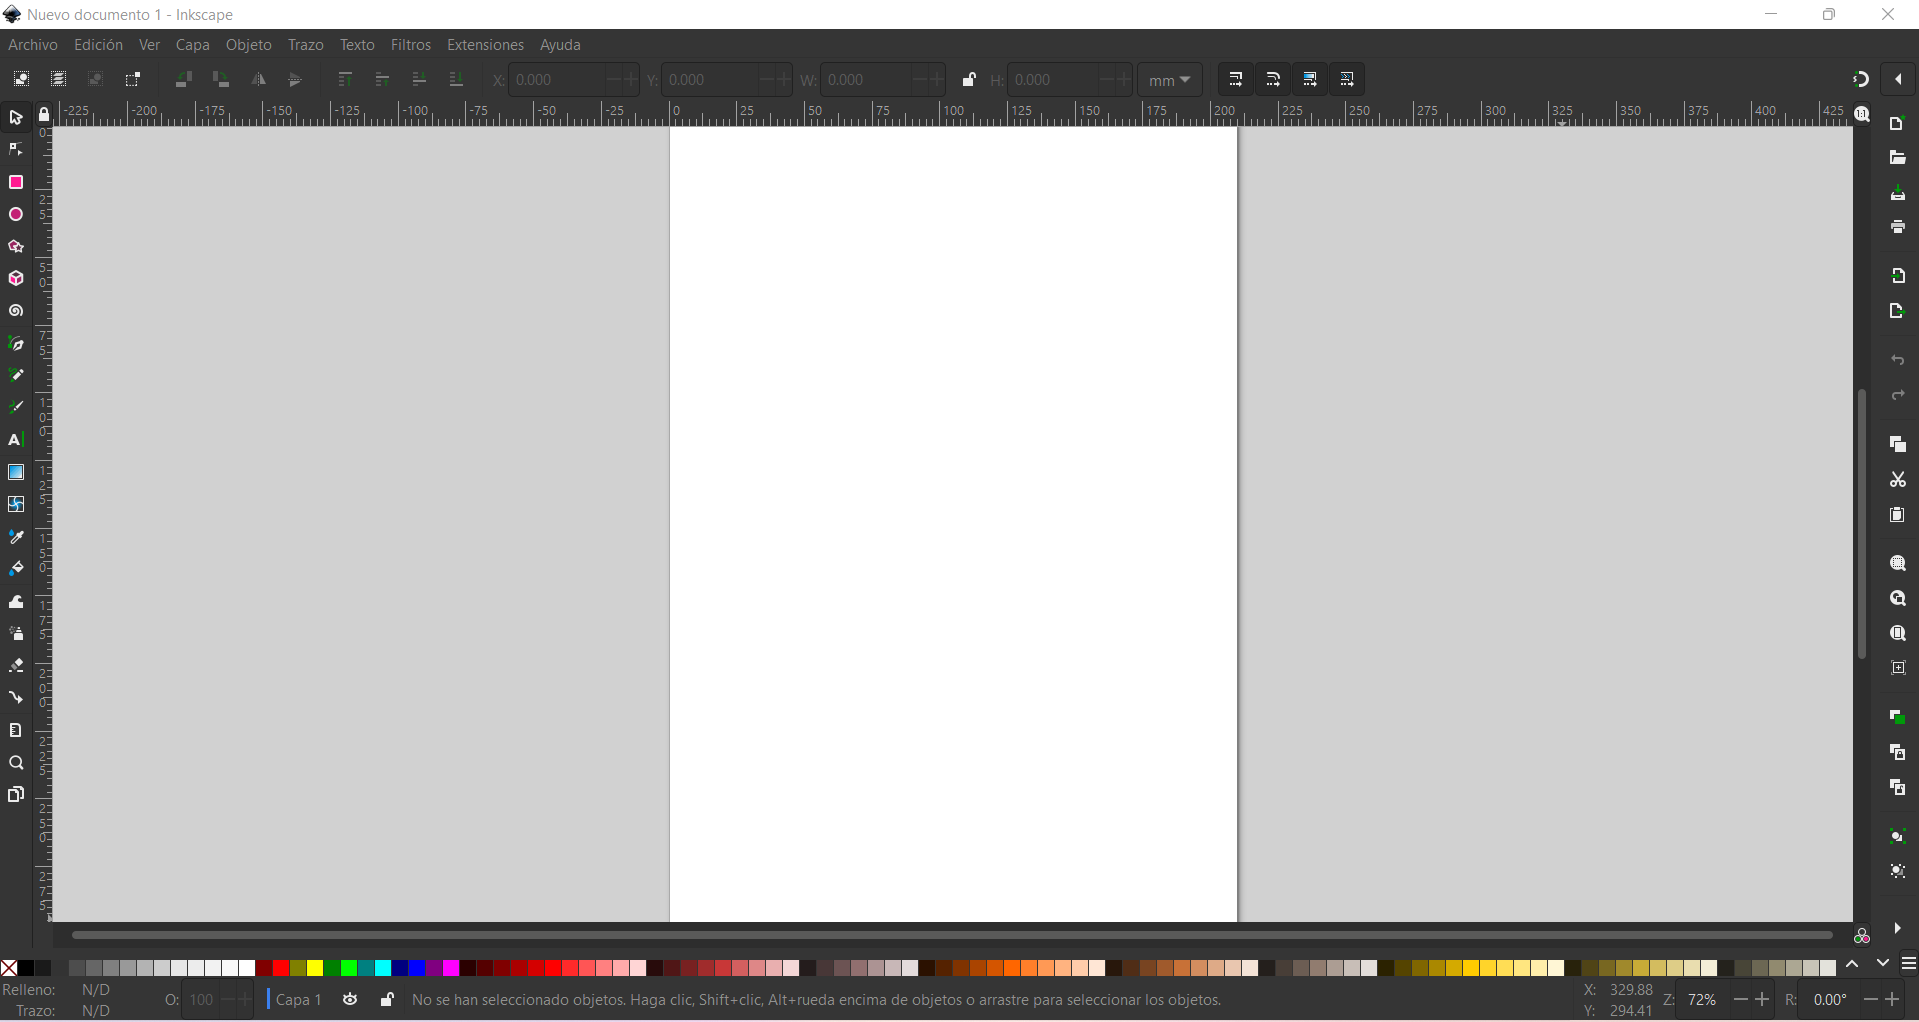
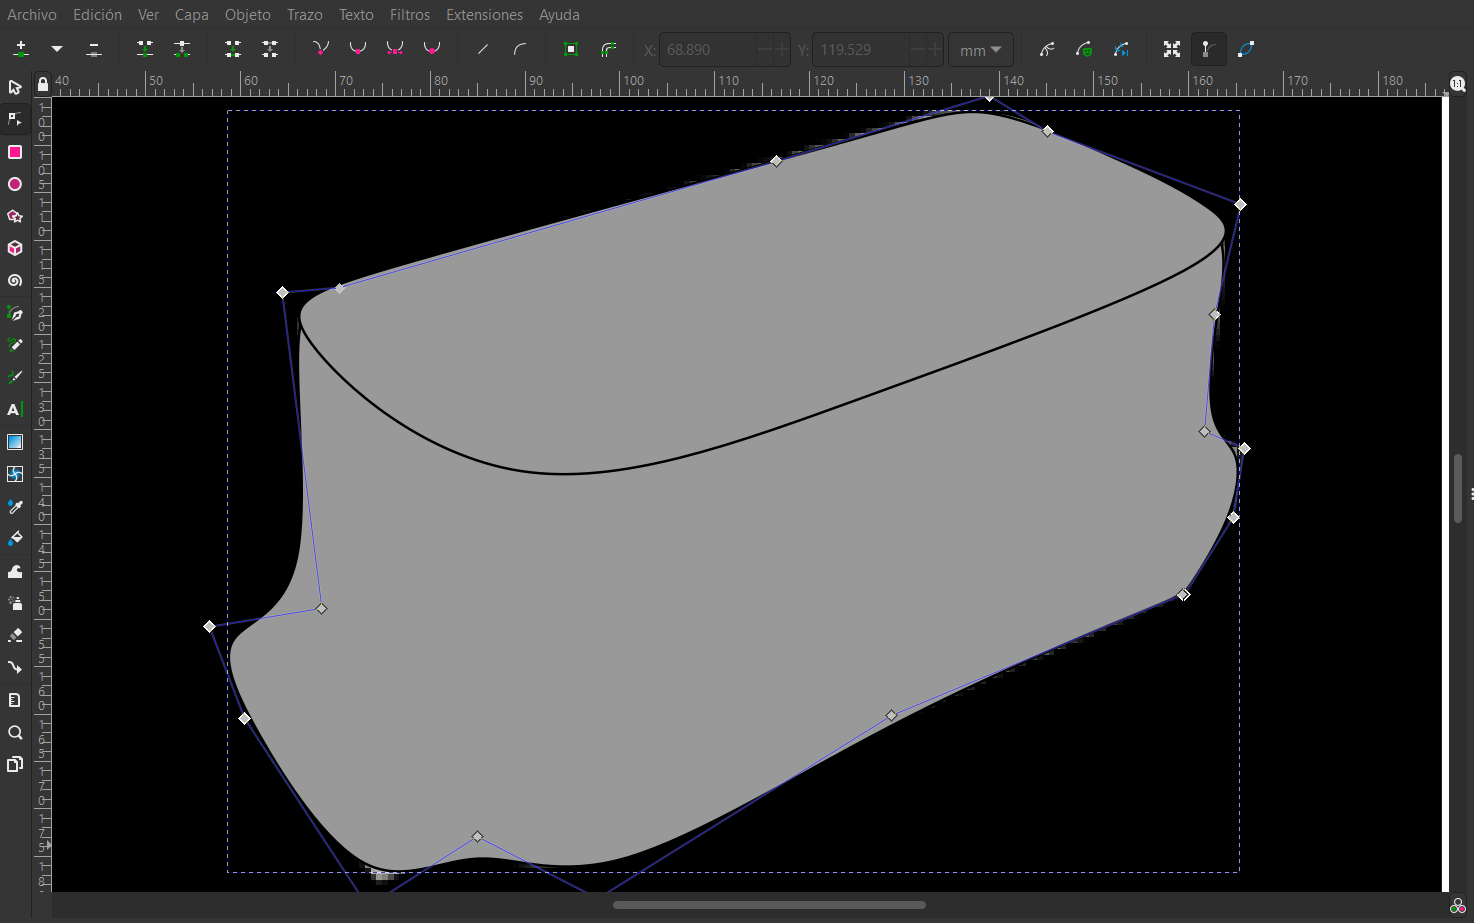
The inkscape program is a 2D design program which will allow us to make different vector designs to later be able to manufacture them using laser cutting machines, for example, but this time we will use it to make the sketch of our Parkyt prototype.
This is the sale of Inkscape, what I like about inkscape is that all the tools are in the user's view which makes it easy to use, on the other hand, the color palette is also on the main screen. Although the editing tools are not compared to those of other software such as illustrator, but for a user who is just starting out, it can come in handy to be able to make 2d designs, especially vector ones.
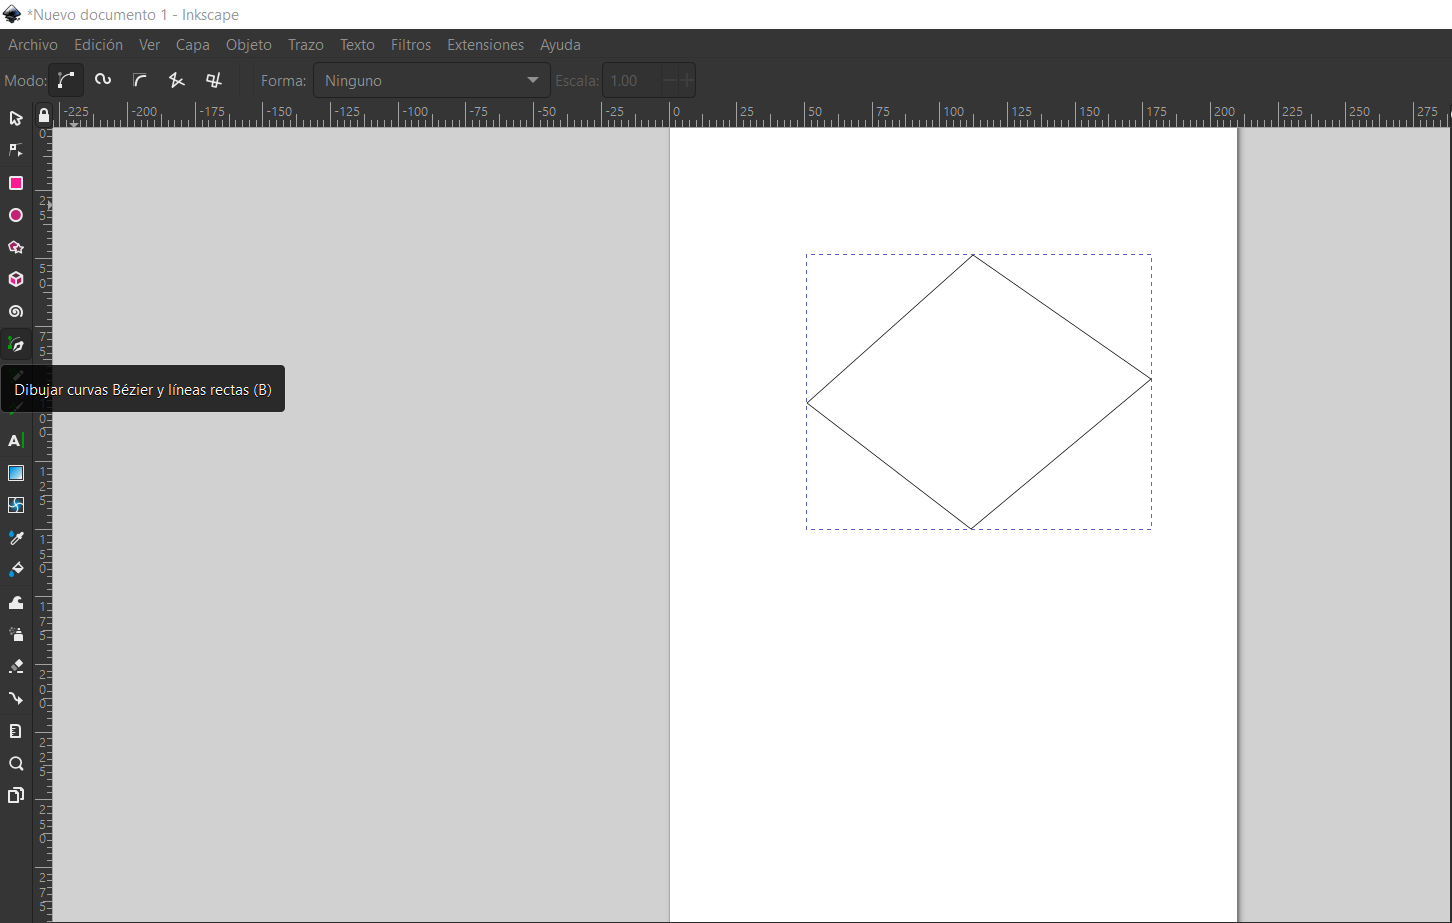
The interesting thing about this program is that it has different forms of units to draw, as we mentioned at the beginning we will use the b splines, this will allow us to make straight lines as well as curved lines.
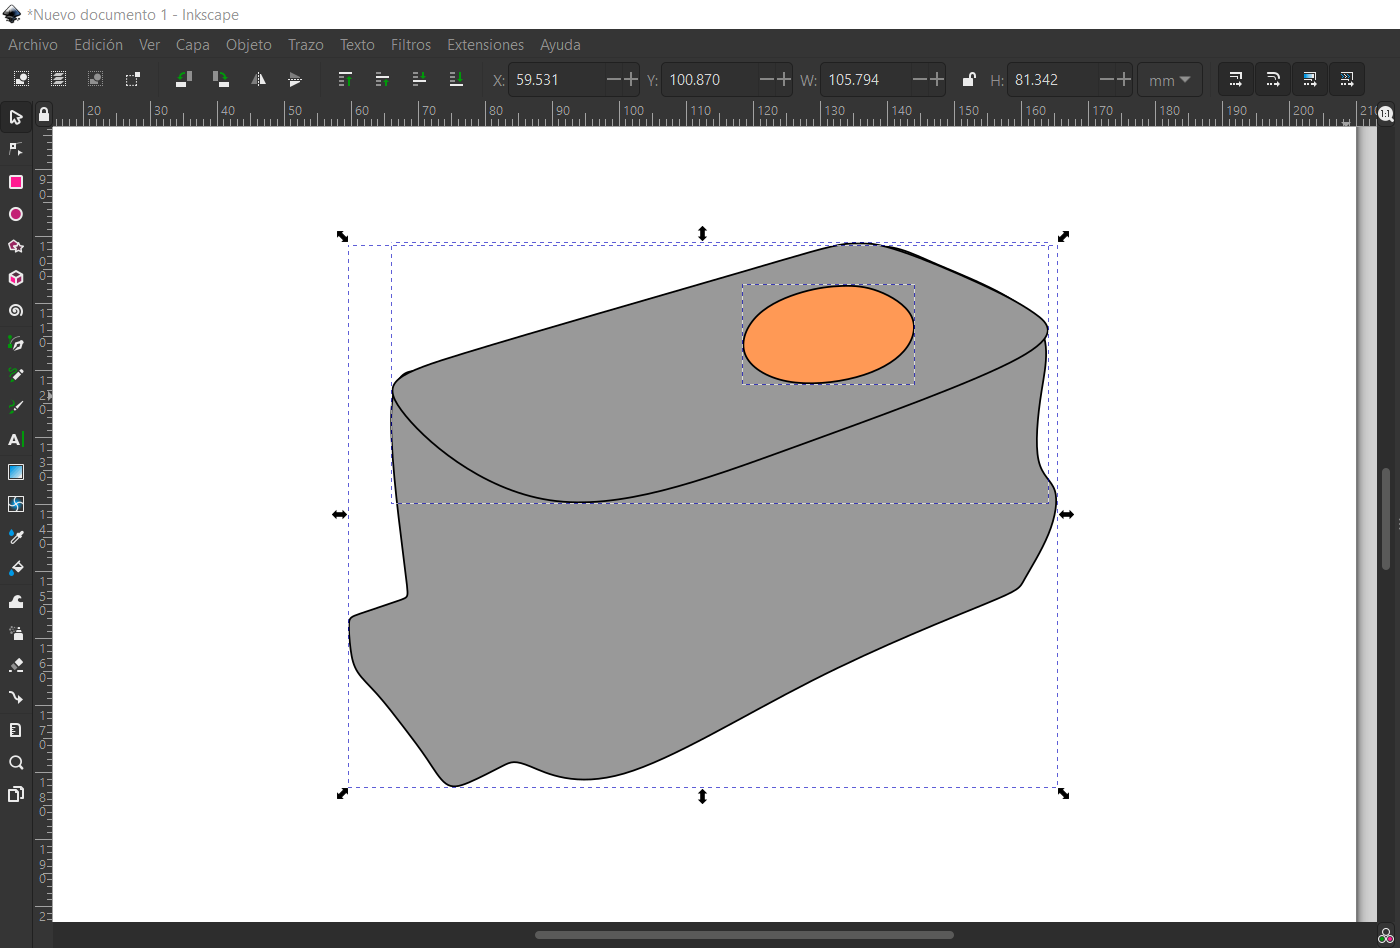
After placing the points it is time to shape it, just by clicking on the control points you can deform these lines until you can reach the desired shape, as additional data, the exploration of this tool in the first instance was very simple even to be able to fill it of a color, it reminded me a lot of the old paint software but more sophisticated.
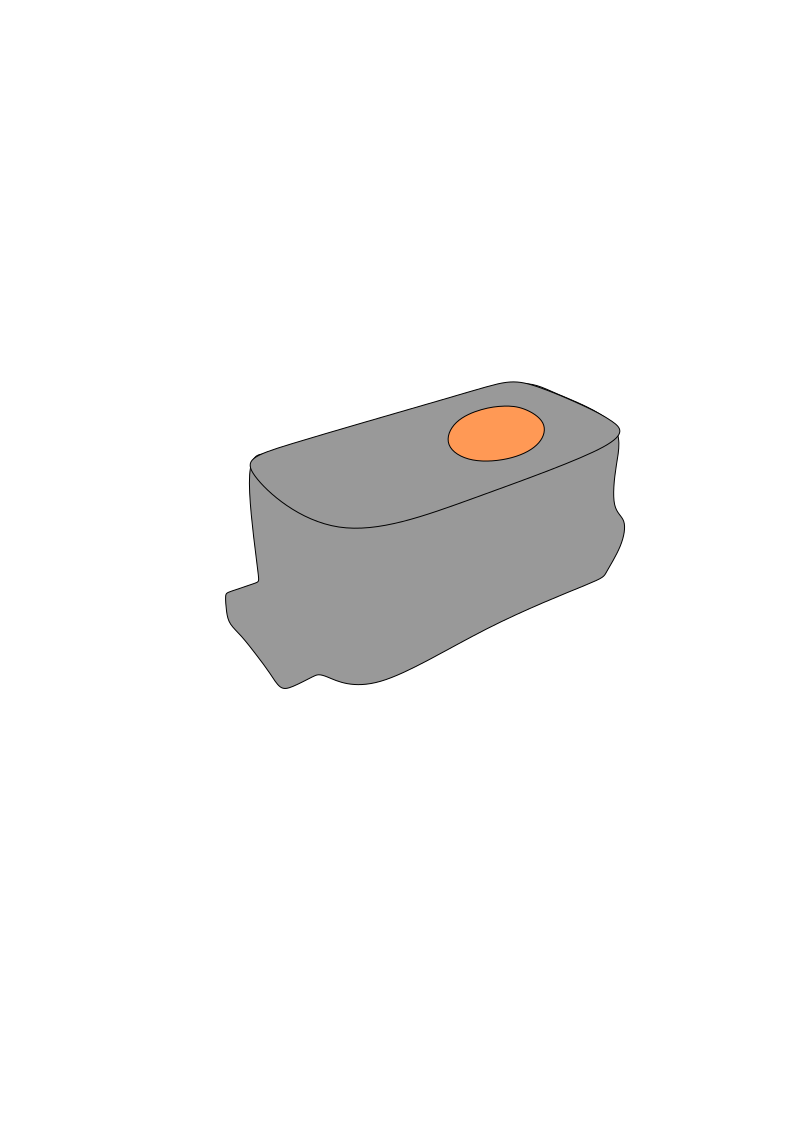
Finally, it only remains to be able to give color to each part and we would have the special shape of our parkyt, this design can be in Png format by clicking on the following link.
 I don't remember the last time I slept long, the fab academy is teaching me more than I thought and among those teachings is to value and miss my hours of sleep. This week Neil showed us many CAD (Computer Aided Design) programs in order to use some of them to represent our projects. Neil is a living encyclopedia and knows which program would be perfect for each type of case but he advises us the following: “ ..choosing a show is how you choose a partner for a date, you should always choose the person you get along with the best ..” after this I decided that if this was completely true, I was really screwed by my lack of ability to choosing dates however Neil trusts me and I will not let him down.
 To design the 3D model of Parkyt we must first identify the main parts (central module and strap) and then go to modeling in Blender.