Index
Group Assignment: - compare the performance and development workflows for other architectures
Group Assignment#
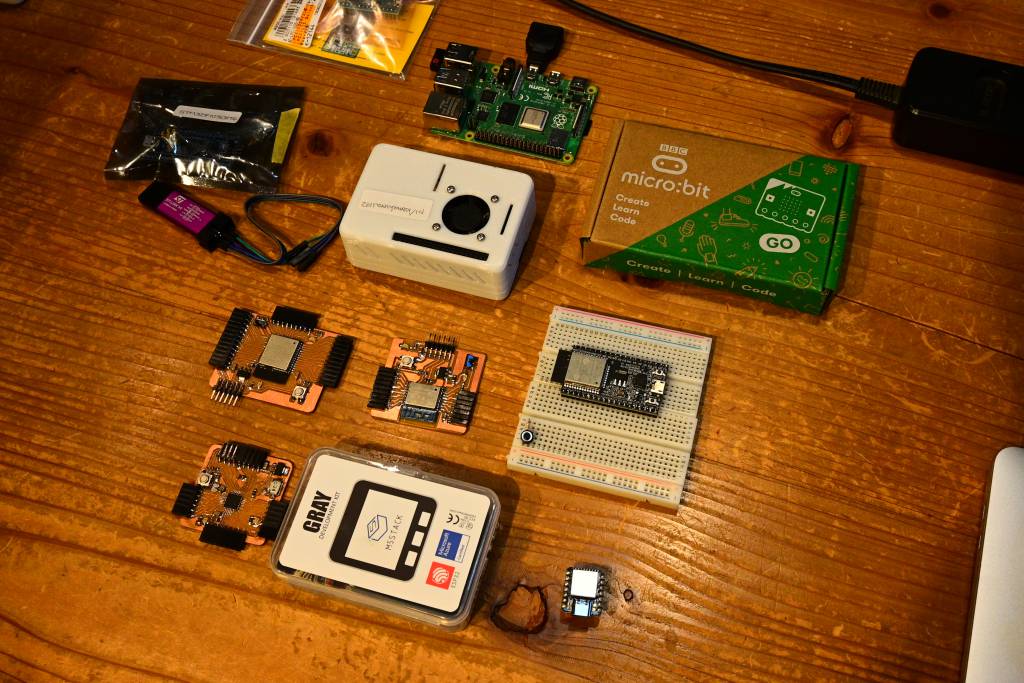
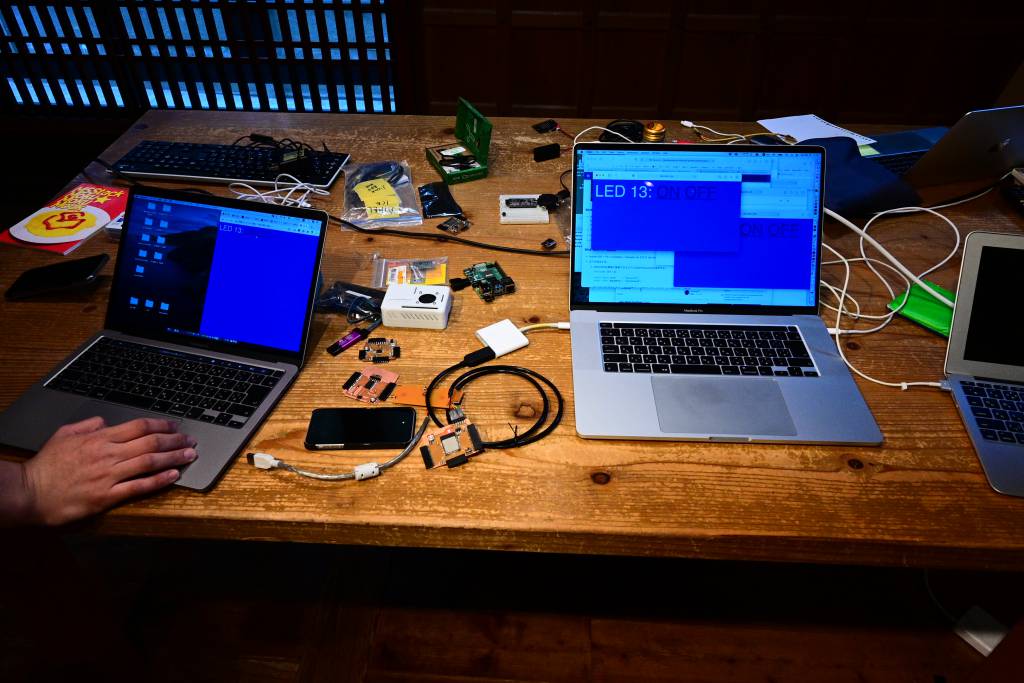
In the group assignment we selected to explore and investigate the BBC micro:bit and the Espressif ESP32 chip. Asano-san had a lot of fun (and made a lot of sounds and noise) with BBC micro:bit, I went through the steps to program a circuit with the Espressif ESP32, the Barduino2.0 board. Jun-san made the board and did a local documentation.
Teaser and tl;dr#
ESP32 Specification#
Why use the ESP32-WROOM Series? Product Page Data Sheets, User Guides, Technical Reference Manuals
- Operation Range: -40ºC to +125ºC
- Ultra-low Power Consumption (how can we test that?)
- Hybrid Wi-Fi & Bluetooth Chip
- Dual Core
- Core clock maximum freq: 240Hz
- Flash (MB) 4, 8, 16
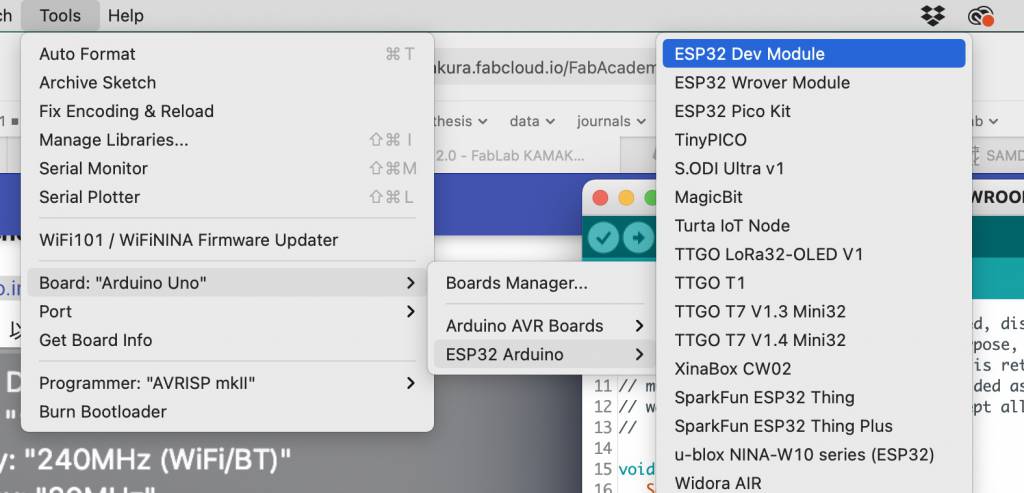
Step 1: ESP32 Description File#
- Install additional Board Manager for the ESP32 package
- Open
Ardinoo > Preferences… > Additional Board Manager - Add thttps://dl.espressif.com/dl/package_esp32_index.json to the list
- Restart the Arduino.app for the Package to appear in the Package Manager
Step 2: Install the ESP32 Software#
- Search for
ESP32 - Install the package
esp32 by Espressif System. I installed version 1.0.5
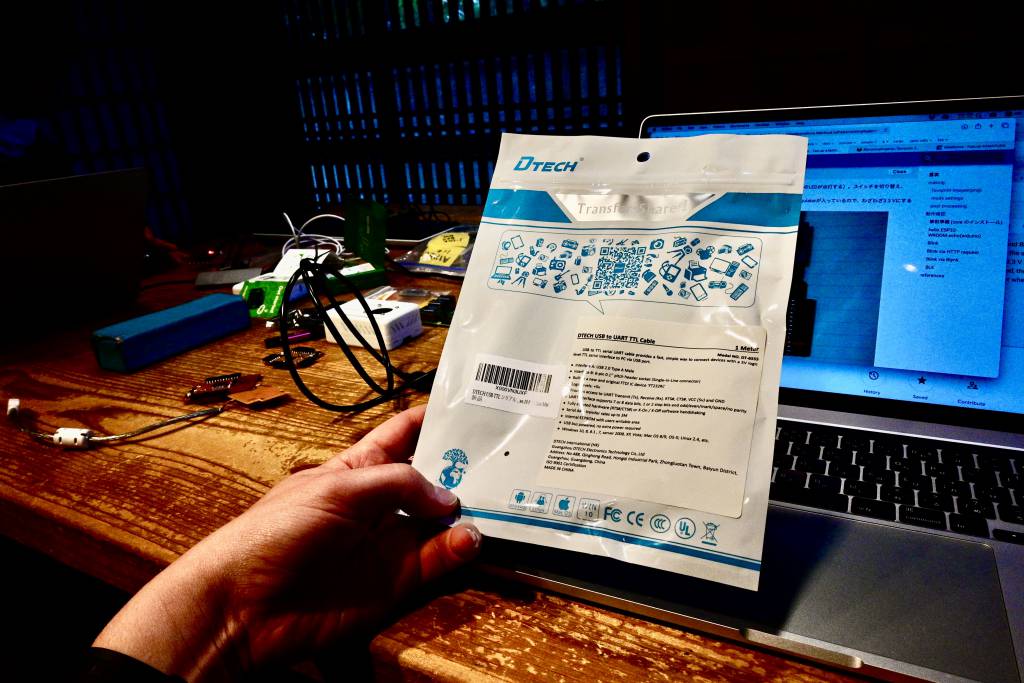
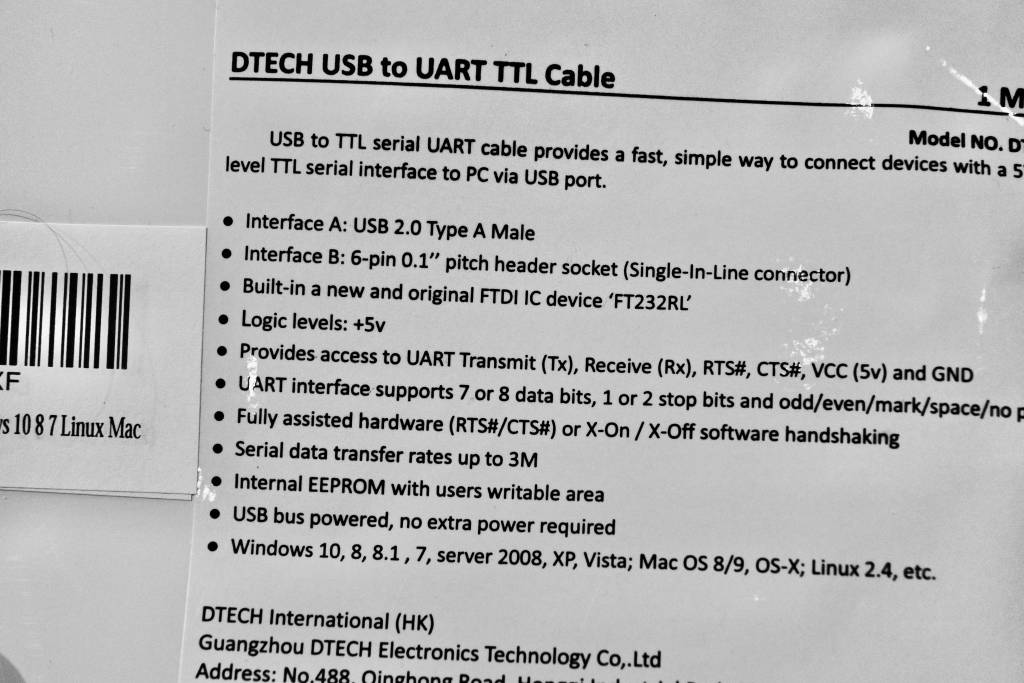
Step 3: Connecting a FTDI Cable#
- I am connecting with my (newly acquired) USB-to-UART FTDI cable my computer with the board.
- The shiny black side neeeds to be on top (convention)
- The red LED on top indicates that the chip is getting power.
Step 4: Echo#
I downloaded the Neil’secho program and opened it in the Ardunio IDE.
A quick lsusb confirmed the serial number of the board.
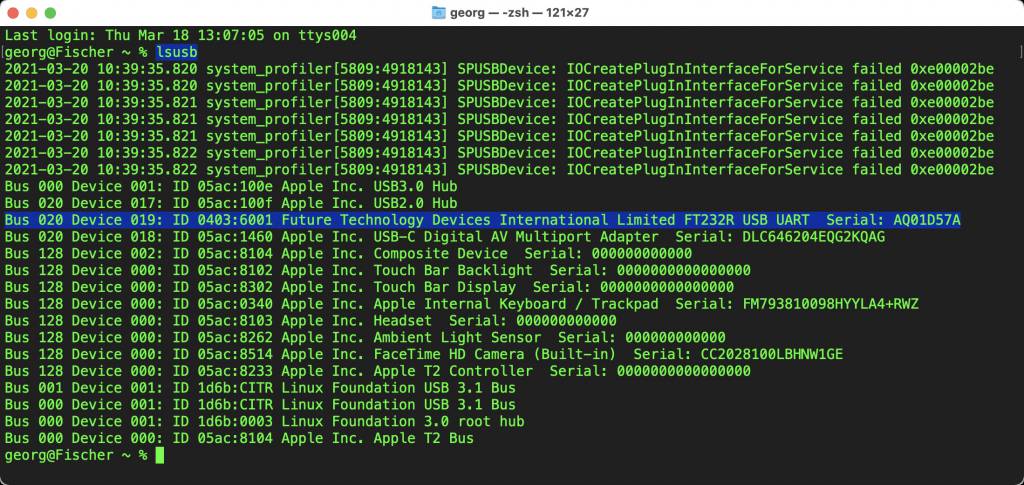
Select the ESP Dev Port with your board’s serial number.

After uploading the program, I got the following response:
1 2 3 4 5 6 7 8 9 10 11 | |
Ok, interesting.
I went into full debugging mode, searching for the error, and tried the following solution attempts to solve it:
- Holding down button while uploading: no
- Holding before connecting appears: no
- Change upload speed setting to 115200, press button after coonnecting appears: no
- Install esp32 library 1.0.4 (instead of 1.0.5): no
After a creative pause, and some re-reading of the japanese documention I realized I was making a mistake with the button/slider settings:
The board has a Reset Button (top left) and a Mode Switch (bottom right), which are involved in the choreography of uploading a program.
- Before uploading, put the switch to Programming Mode (switch to left)
- Upload the Program
- When the word ‘Connecting’ appears in the Arduino Consle, press the Reset Button, otherwise you get the error
Uploading works! No error messages.
I open the Arduino Serial Monitor, and type a message, which should be echoed by the board…
Ok… no echos… hmmm.
Right! Run Mode. Mode Switch to right!
Pressing the Reset Button!
Echo works!

Step 5: Installing PySerial#
Installing the Python-based Serial Monitor PySerial
1 | |
Get the USB Serial Number with lsusb (TODO: make a filter script wrapping lsusb, show only external USB devices - and not all Apple internals)
lsusb
Connect the Serial Montior
1 | |
Where /dev/tty.usbserial-AQ01D57A is your device ID, and 115200 is the baud rate.
Step 5: WifiSimpleServer#
The Echo was a nice, minimal start, now it’s getting interesting. Turning the board into a Server, controlling the LED from a Webbrowser. The sample script comes from Espressif’s GitHub Repo and can also be openend in the Arduino IDE via File > Examples > Examples for ESP32 Dev Module > Wifi > SimpleWifiServer.
I set the Kamakura Wifi-Settings in the code and defined the LED.
1 2 3 4 | |
and doing the usual Switch-Left, Upload, Reset, Switch-Right route started the program.
In the Serial Monitor the IP Address for the ESP32 is being shown:
1 2 3 4 5 6 7 8 9 10 11 12 13 14 15 16 17 18 19 | |
Pointing a browser to the local IP Adress shows the basic site that has been created by the ESP32:
1 2 3 4 | |
Going to 192.168.1.45/H turns the LED on, going to 192.168.1.45/L turns it off.
I wanted to know, if applying some CSS styles would also work:
1 2 3 4 5 6 | |
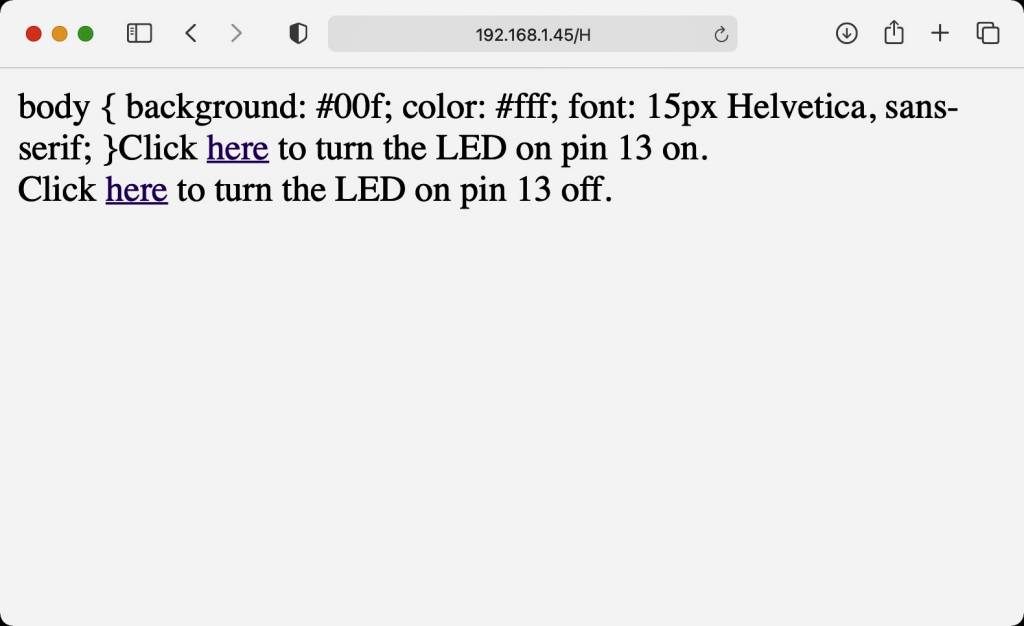
Hmmm. Not quite.
How about adding <html><body>?
1 2 3 4 5 6 7 | |

Also works when connecting more than one browser!
The modified SimpleWifiServer code is linked here.
Learning Outcomes#
I was positively impressed by both the capapilities and possibities of both the BBC micro:bit and the ESP32. It was a very, very satisfying moment to get the webserver to run on the ESP32 and control the LED via a website.
I only caught some glimpses of the BBC micro:bit - and the Scratch programming enviroment for kids. By chance, my 11-year old also asked me this week how to do programming “with blocks, and not that strange text that you are always doing.” Turns out they are starting to learn Scratch in school, and as the BBC micro:bit can also be programmed in Scratch, I am getting a BBC micro:bit for her.
And I will most likely use a ESP32 for my Final Project.
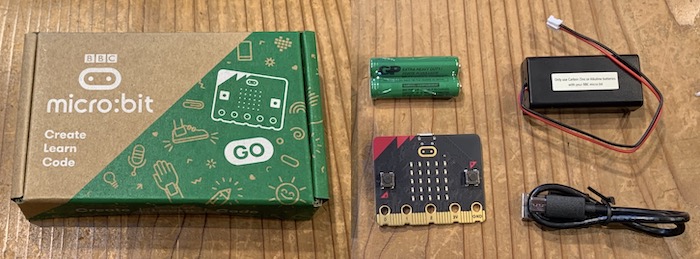
micro:bit#
The micro:bit is a board developed mainly by the BBC, and is often used in STEM education.
| part | spec |
|---|---|
| MCU | 32 bit ARM Cortex M4base Nordic nRF52833, 64MHz, with BLE |
| RAM | 128KB |
| LED | 25pcs, can use as light sensor |
| Swith | 2 |
| Touch Sensor | 1 |
| Speaker | 1 |
| Microphone | 1 |
| Acceleration sensor | 1 |
| Magnetic force sensor | 1 |
| Size | 43 × 52 × 11 mm |
| Weight | 9 g |
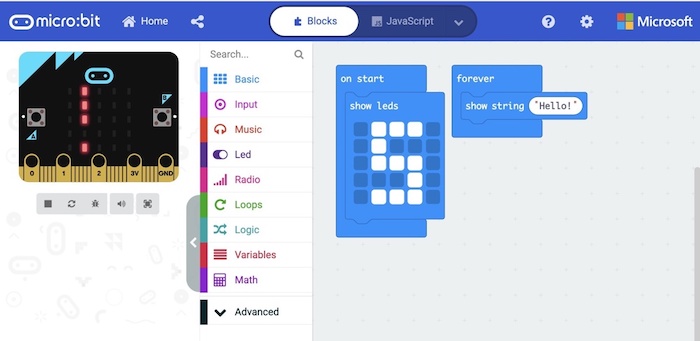
Programming is done from a web browser. It was a block-based no-code environment, and the conditional branching and use of sensors was intuitive and easy to understand.
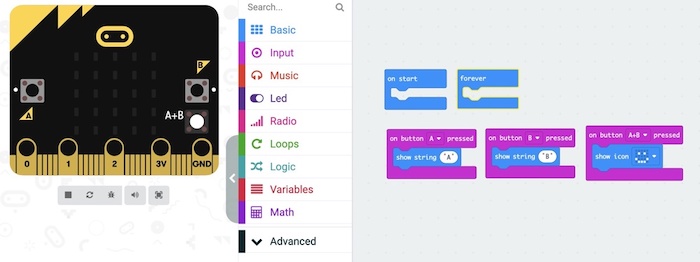
We try to detect touch and play sounds program.
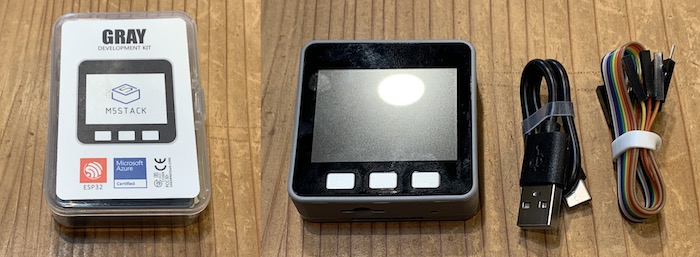
M5 Stack#
M5 Stack is equipped with ESP32, it can handle Wi-Fi and Bluetooth communication and can be developed in the Arduino environment.
| part | spec |
|---|---|
| MCU | MPU6886 + BMM150 |
| Interfaces | SPI x 1, I2C(GROVE) x 1, UART x 2, I2S x 1, microSD slot x 1 |
| LCD | 320 x 240 Color TFT LCD |
| Speaker | 1 W |
| Vattery | 3.7 V / 150 mAh |
| Tempreture | 0 ~ 40℃ |
| Size | 54 × 54 × 17 mm |
| Weight | 120 g |
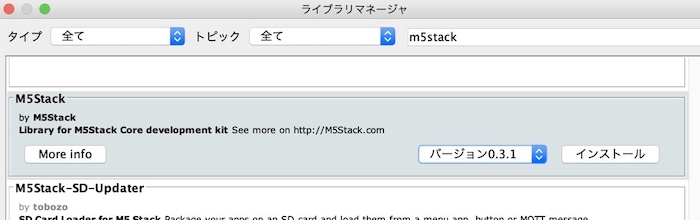
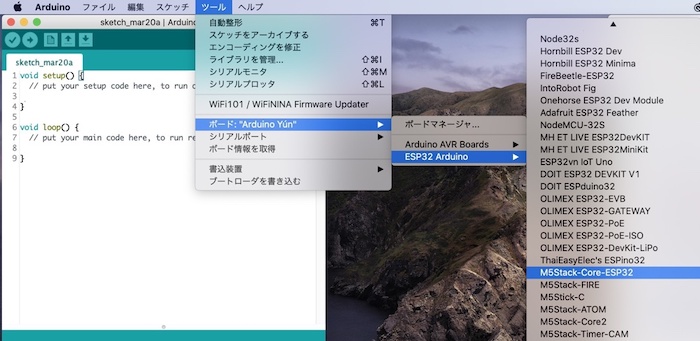
When programming from Arduino, have to add esp32 board, include m5stack library. In case of M5 Stack Gray, choose M5 Stack-Core-ESP32.

Then, We ran random triangle showing program.
1 2 3 4 5 6 7 8 9 | |