Thinking back on beginning the FabLab as a novice, I never would've imagined that I'd be able to come as far as I did. To that I say thank you to those who've helped me get this far and those who've made my FabLab experience a great one. I'm proud of myself for being able to conceptualized and bring a creation of my own to life. With the help of others, I'm proud to show off my progress, developments, and what I've learned over the course of these 6-7 months.
╰─━━━━━━━━━━━━━━━━━━━━━━━━━━━━━━─╯
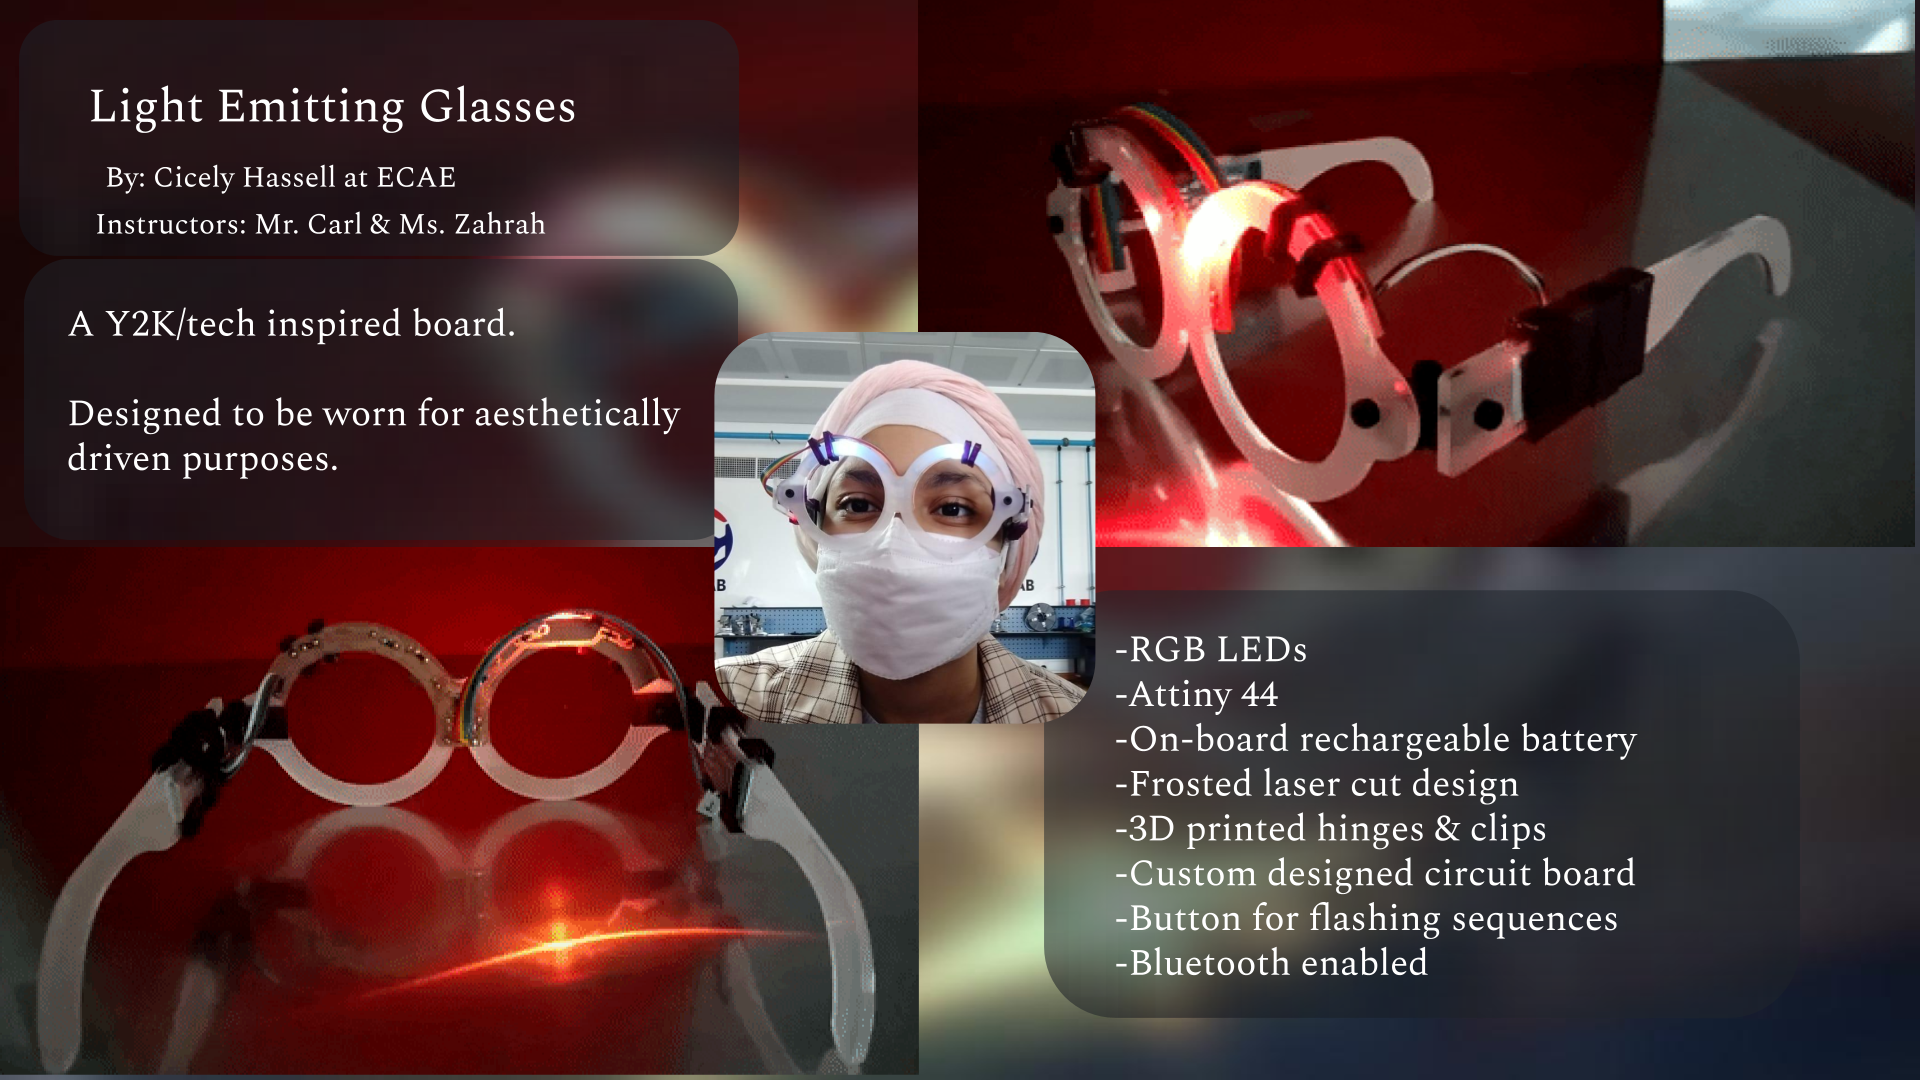
What did you design and what does it do?
╭─━━━━━━━━━━━━━━━━━━━━━━━━━━━━━━─╮
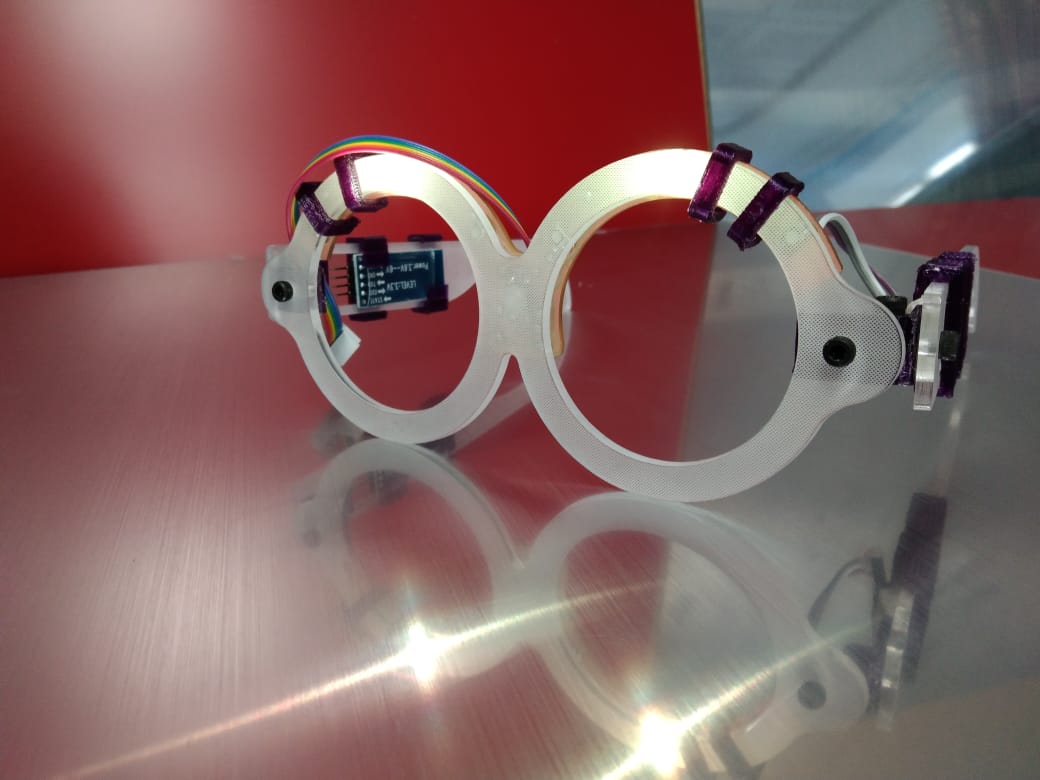
I designed a double-sided PCB embedded with RGB LEDs, and I've named them L.E.Gs (Light Emmitting Glasses). They light up, go through different flashing sequences/patterns, and are bluetooth enabled.
─━━━━━━━━━━━━━━━━━━━━━━━━━━━━━━─
─━━━━━━━━━━━━━━━━━━━━━━━━━━━━━━─
Who's done what beforehand?
╭─━━━━━━━━━━━━━━━━━━━━━━━━━━━━━━─╮
My L.E.Gs project and design is unique to the FabLab community so I couldn't really find any projects which directly focused on L.E.D based glasses. But for a project generally based on glasses I'd say that Mr. Ben had a cool concept and design.
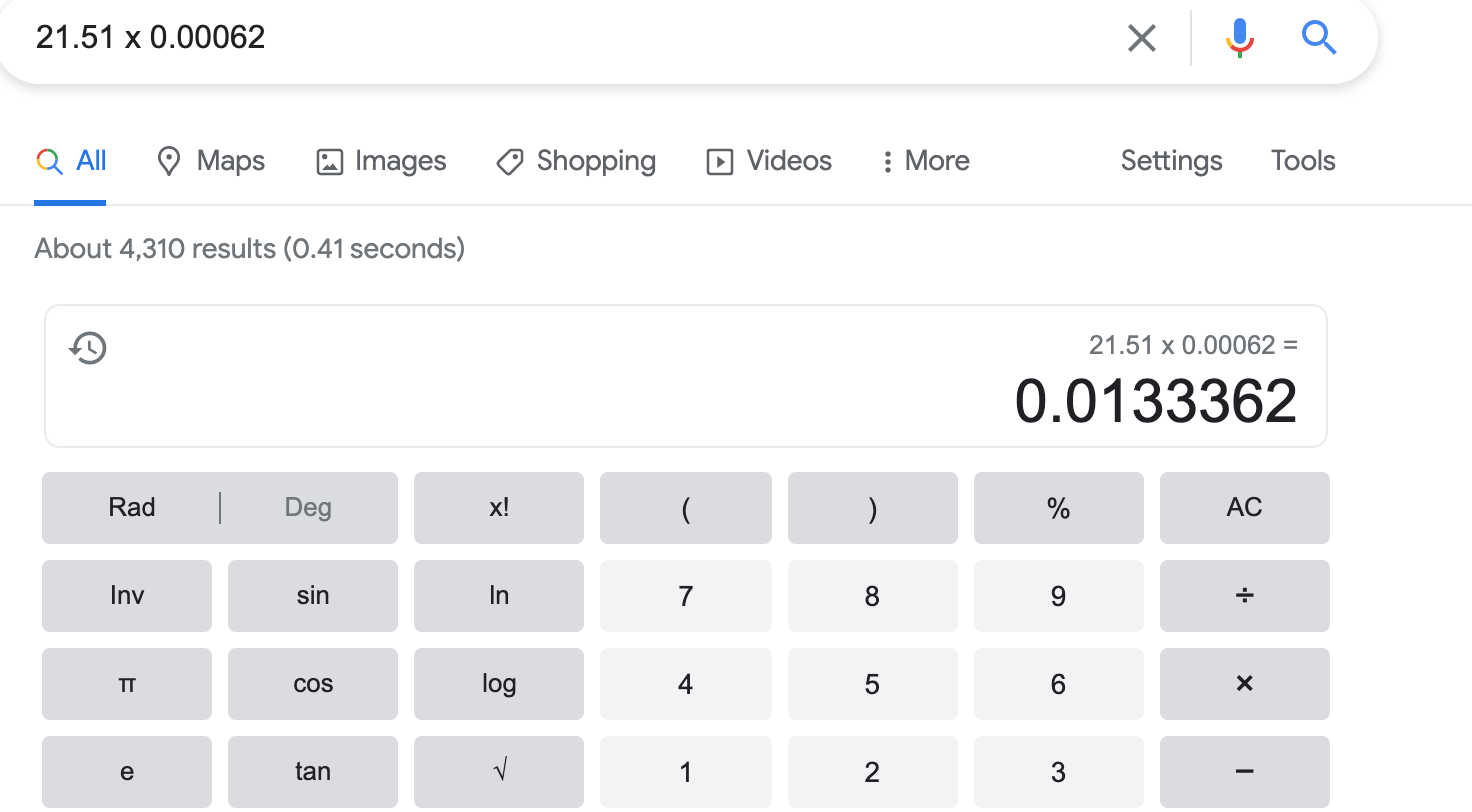
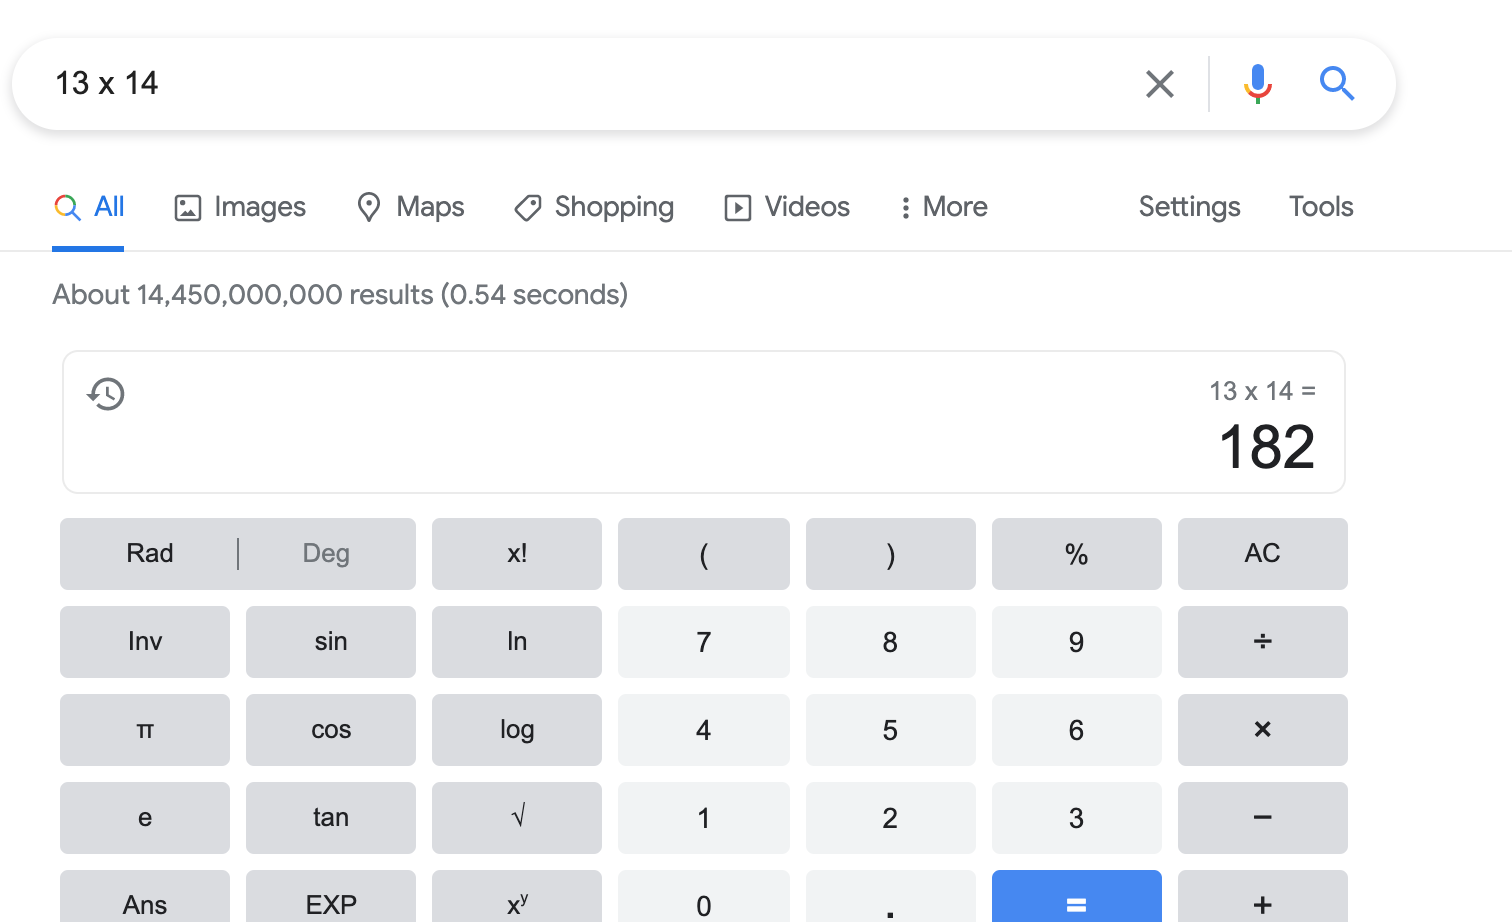
*3D printed parts - Around 1.82 for 4 hinges, 4 front clips, 6 sideclips. I based this price around the weight of one of my hinges x the price of filaments
(I take away one zero when rounding the initial price).
What systems were made and what processes were used?
╭─━━━━━━━━━━━━━━━━━━━━━━━━━━━━━━─╮
Processes I used: laser cutting (for the glasses and frosting), soldering (for the glasses board and bluetooth board), programming (for the glasses LEDs, button, and bluetooth), 3D printing (for the hinges, top clips, and side clips), milling (for cutting out the PCBs), and cutting/sawing (for the long bolts). The double-sided PCB for the glasses is the system I created (I've also incorporated an app system which controls the board via. bluetooth).
─━━━━━━━━━━━━━━━━━━━━━━━━━━━━━━─
In week 14 I created the app which I implemented into my PCBs system.
─━━━━━━━━━━━━━━━━━━━━━━━━━━━━━━─
Making the code
╭─━━━━━━━━━━━━━━━━━━━━━━━━━━━━━━─╮
╭─━━━━━━━━━━━━━━━━━━━━━━━━━━━━━━─╮
This is the code that runs on the PCB. The tiny44 recieves messages from the bluetooth module which contain data about the RGB values. Pushing the button will change the flashing mode of the glasses. At this point it only supports one color although before I used bluetooth it was set so that it could alternate between three colors that were hard-coded.
This is a basic summary of the code, but you can read more about it here.
╰─━━━━━━━━━━━━━━━━━━━━━━━━━━━━━━─╯
What questions were answered?
╭─━━━━━━━━━━━━━━━━━━━━━━━━━━━━━━─╮
Will the glasses function properly? How will I incorporate a sensor with the design? Will there be enough space for the PCBs in the final glasses design? What can I do if one of the LEDs stop working? Where will the components fit in the glasses?
╰─━━━━━━━━━━━━━━━━━━━━━━━━━━━━━━─╯
─━━━━━━━━━━━━━━━━━━━━━━━━━━━━━━─
The glasses function properly.
I didn't incorporate a sensor (I did incorporate a button) but that will be considered in my next design.
There is enough space for the PCB on the glasses frames I made.
I could first use a multimeter to check if the LED is broken, if it is surely broken then replacing it would be no problem for me (provided that I have the necessary equipment for that).
The embedded PCB lies on the inside of the glasses (not within the acrylic) but later on I'd like to make it so that they're embedded within the acrylic somehow.
In week 18 you can see these answered questions implemented.
─━━━━━━━━━━━━━━━━━━━━━━━━━━━━━━─
What worked? What didn't?
╭─━━━━━━━━━━━━━━━━━━━━━━━━━━━━━━─╮
For my draft board what didn't work out was the concept of making multiple boards for my glasses, this is what mainly led to my decided of making a double-sided PCB (which is something that did work out).
─━━━━━━━━━━━━━━━━━━━━━━━━━━━━━━─
─━━━━━━━━━━━━━━━━━━━━━━━━━━━━━━─
How was it evaluated?
╭─━━━━━━━━━━━━━━━━━━━━━━━━━━━━━━─╮
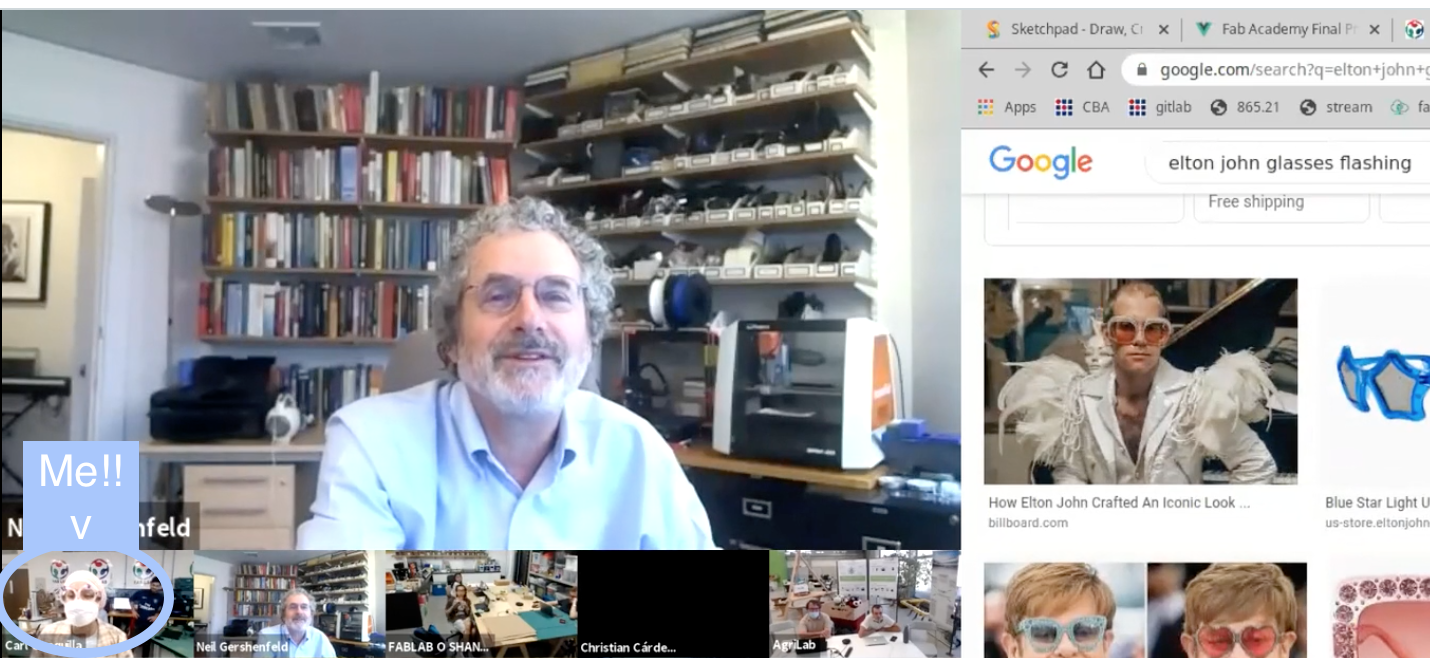
Mr. Neil didn't really have any critiques for me (which is a good thing I think!) He said my glasses reminded him of Elton John too. I feel that my presentation left a good impression and it worked out well! I filled all of the stated requirements and passed! You can watch my presentation here! ଘ(੭ˊᵕˋ)੭
─━━━━━━━━━━━━━━━━━━━━━━━━━━━━━━─
─━━━━━━━━━━━━━━━━━━━━━━━━━━━━━━─
What are the implications?
╭─━━━━━━━━━━━━━━━━━━━━━━━━━━━━━━─╮
If I were to sell these glasses I think I would need people to help me distribute them. A way they would help people is by providing a light for people to read books, see through the night, or just to stand out at a party! The real point of these glasses is that you make them what you want them to be. I would still choose a copyright license due to the fact that I would consider redistribution.