Assignment #16
Wildcard - wood bending
For the Wildcard assignment we have to make something unexplored that involves digital fabrication. At the time I’m writing this words the world it’s going through a terrible pandemic that causes death everywhere and keeps lobs closed, so, I came up with an idea that I can put together almpst entirely in my kitchen.
Design of a loop object
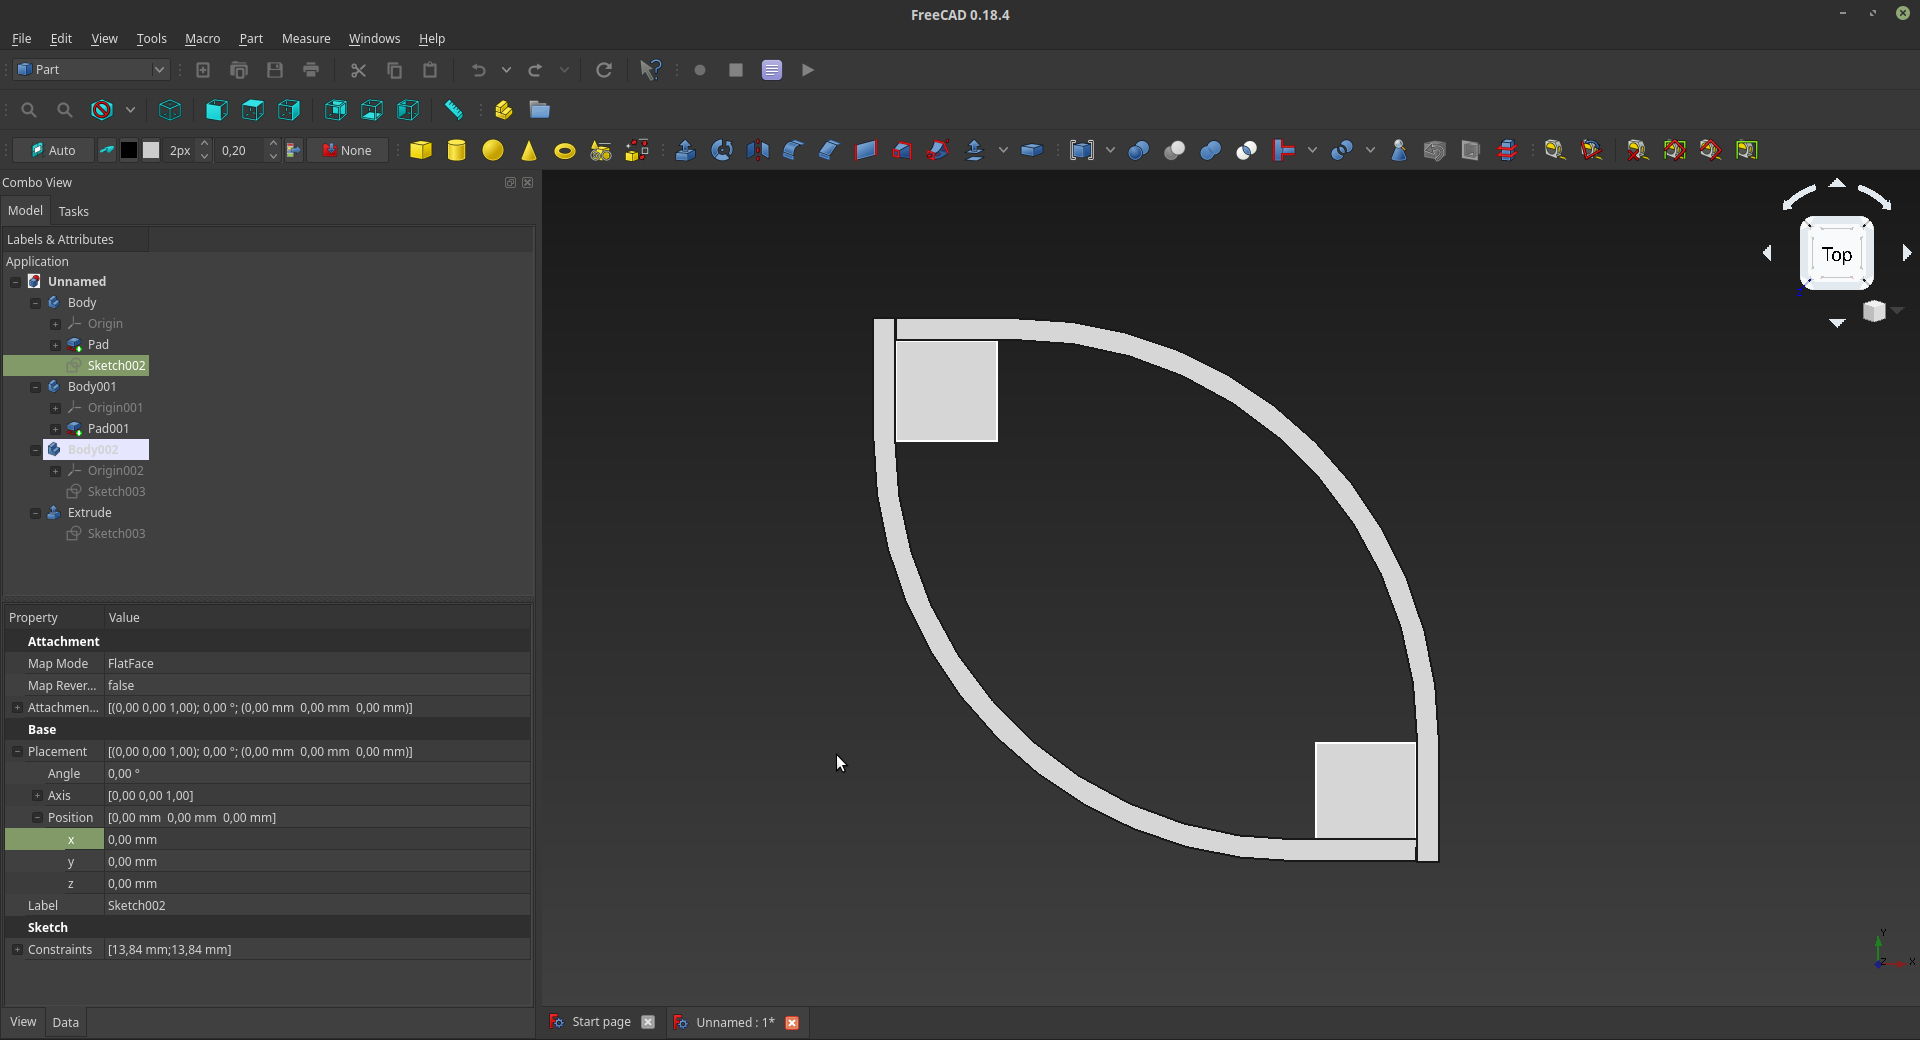
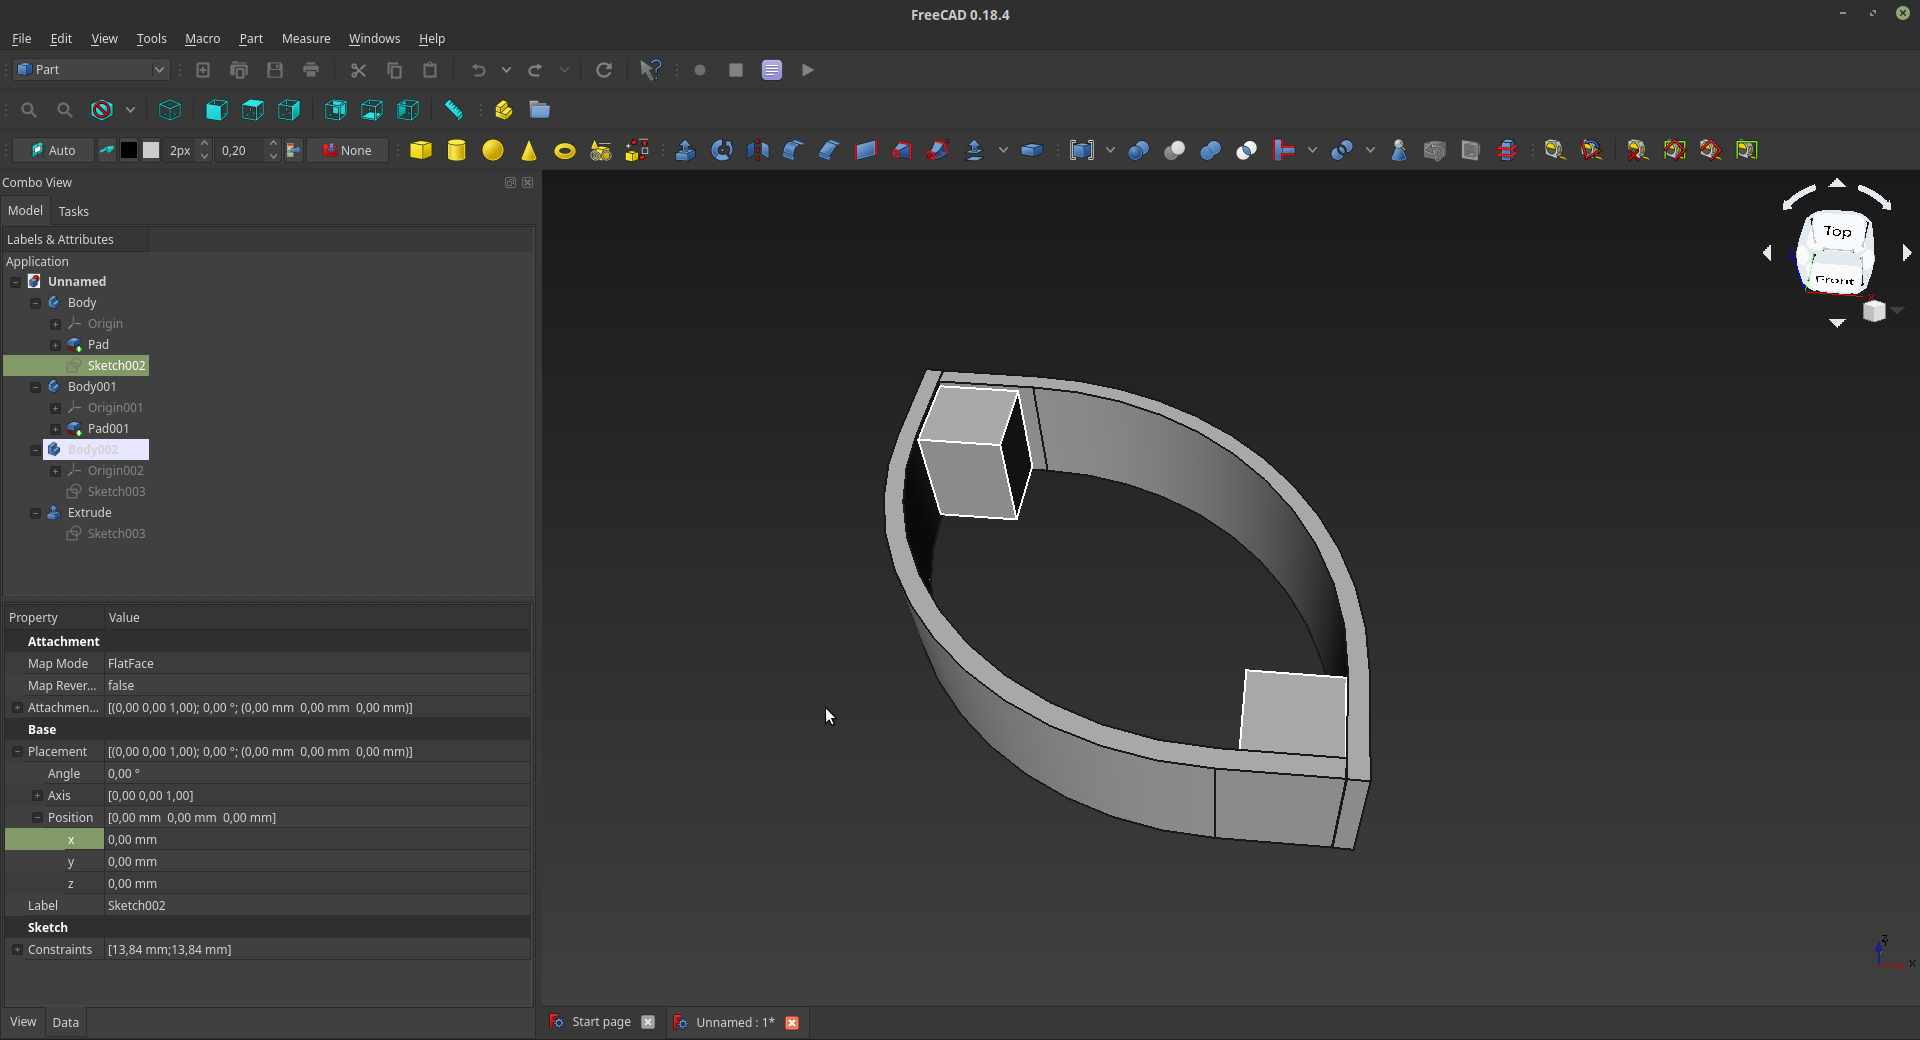
The first thing I did was to come up with a Design. What I did was a sort of eye-shaped loop made out of 4 components: two curved pieces of wood, and two simple wooden rectangles to make a structure that will keep the whole piece together. To do this I used the good old FreeCAD, and used some basic sketch and PAD functions of the Part Design workbench
Steam Wood Bending
The woodes squares are quite easy to make, but the curved stripes are a little less easy. What I’m going to do in order to fabricate this piece is to use steam to bend a piece of wood and obtain the shape that I designed. To bend the wood I’m going to 3d print a shape and then put some slices of wood into a steamer
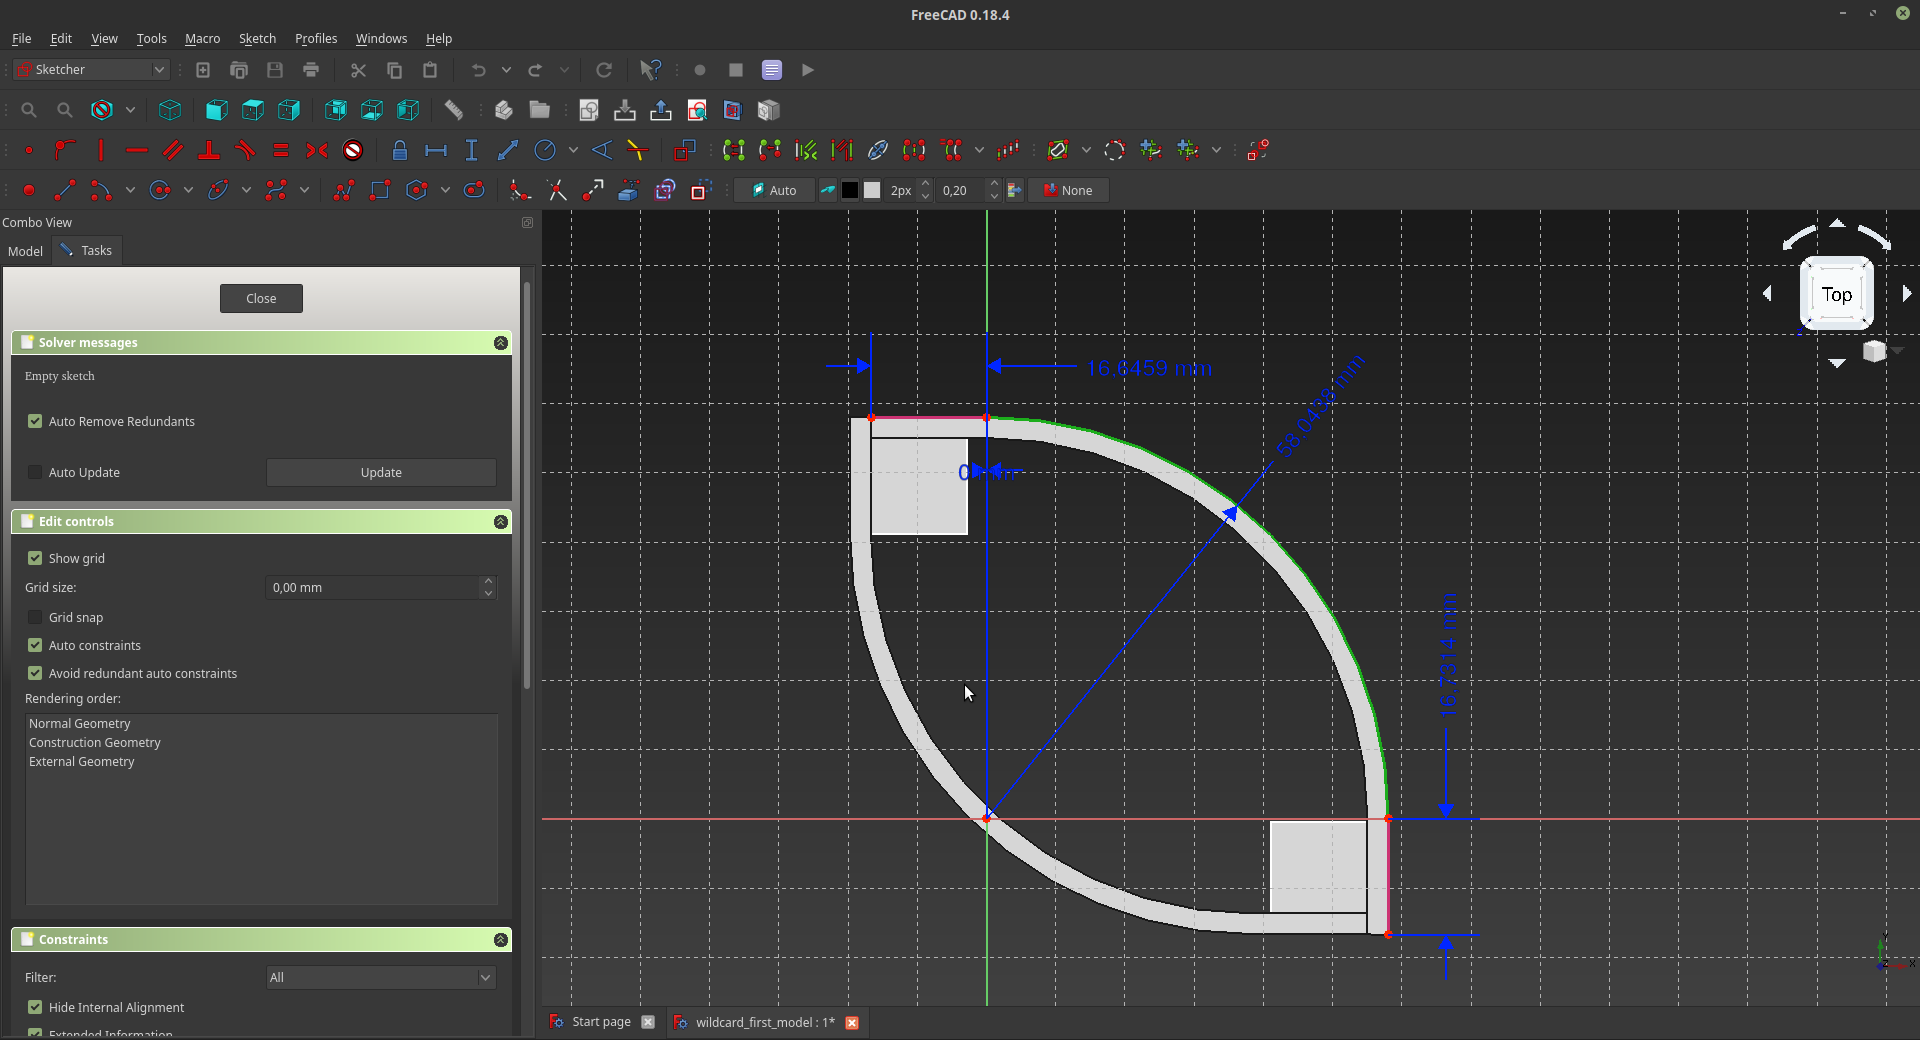
1 – 3D modeling of the negative.
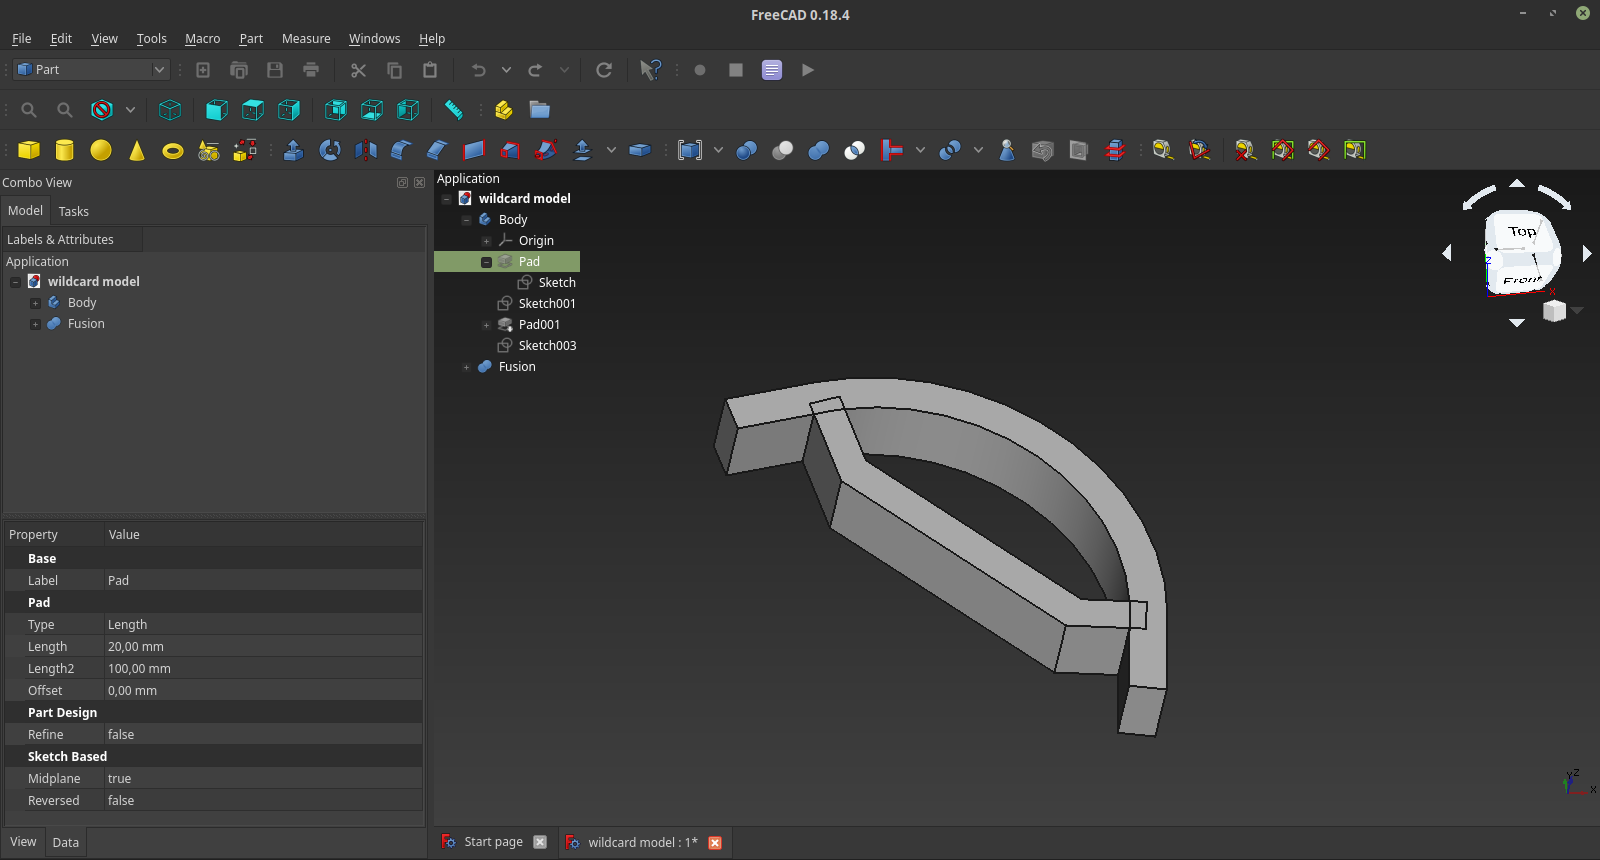
The first thing to do for my wood bending session is to 3d model a negative shape. What I’m going to do is to simply bend the wood into a 90° arc. To do that I used the FreeCAD partdesign workbench. The commands used are pretty basic: just sketches and pads. The result is a thick piece that will allow me to clamp the bended wood. Since I expect the bening to be a little looser that the shape I’m going to 3d print, the corner is 20° sharper than 90°. In this way I expect to get a shape that goes as close as possible to what I have in mind. Once I was happy with my model I exported in in stl and 3d printed it with my prusa i3.
2 – wood bending
To bend wood I first used a cutter to make two wooden stripes that would fit with the 3d printed element I fabricated. The CAD file that I made at the beginning was very helpful in this process because it helped me to calculate the exact dimension of the slices of wood that I had to cut in order to get my shape.
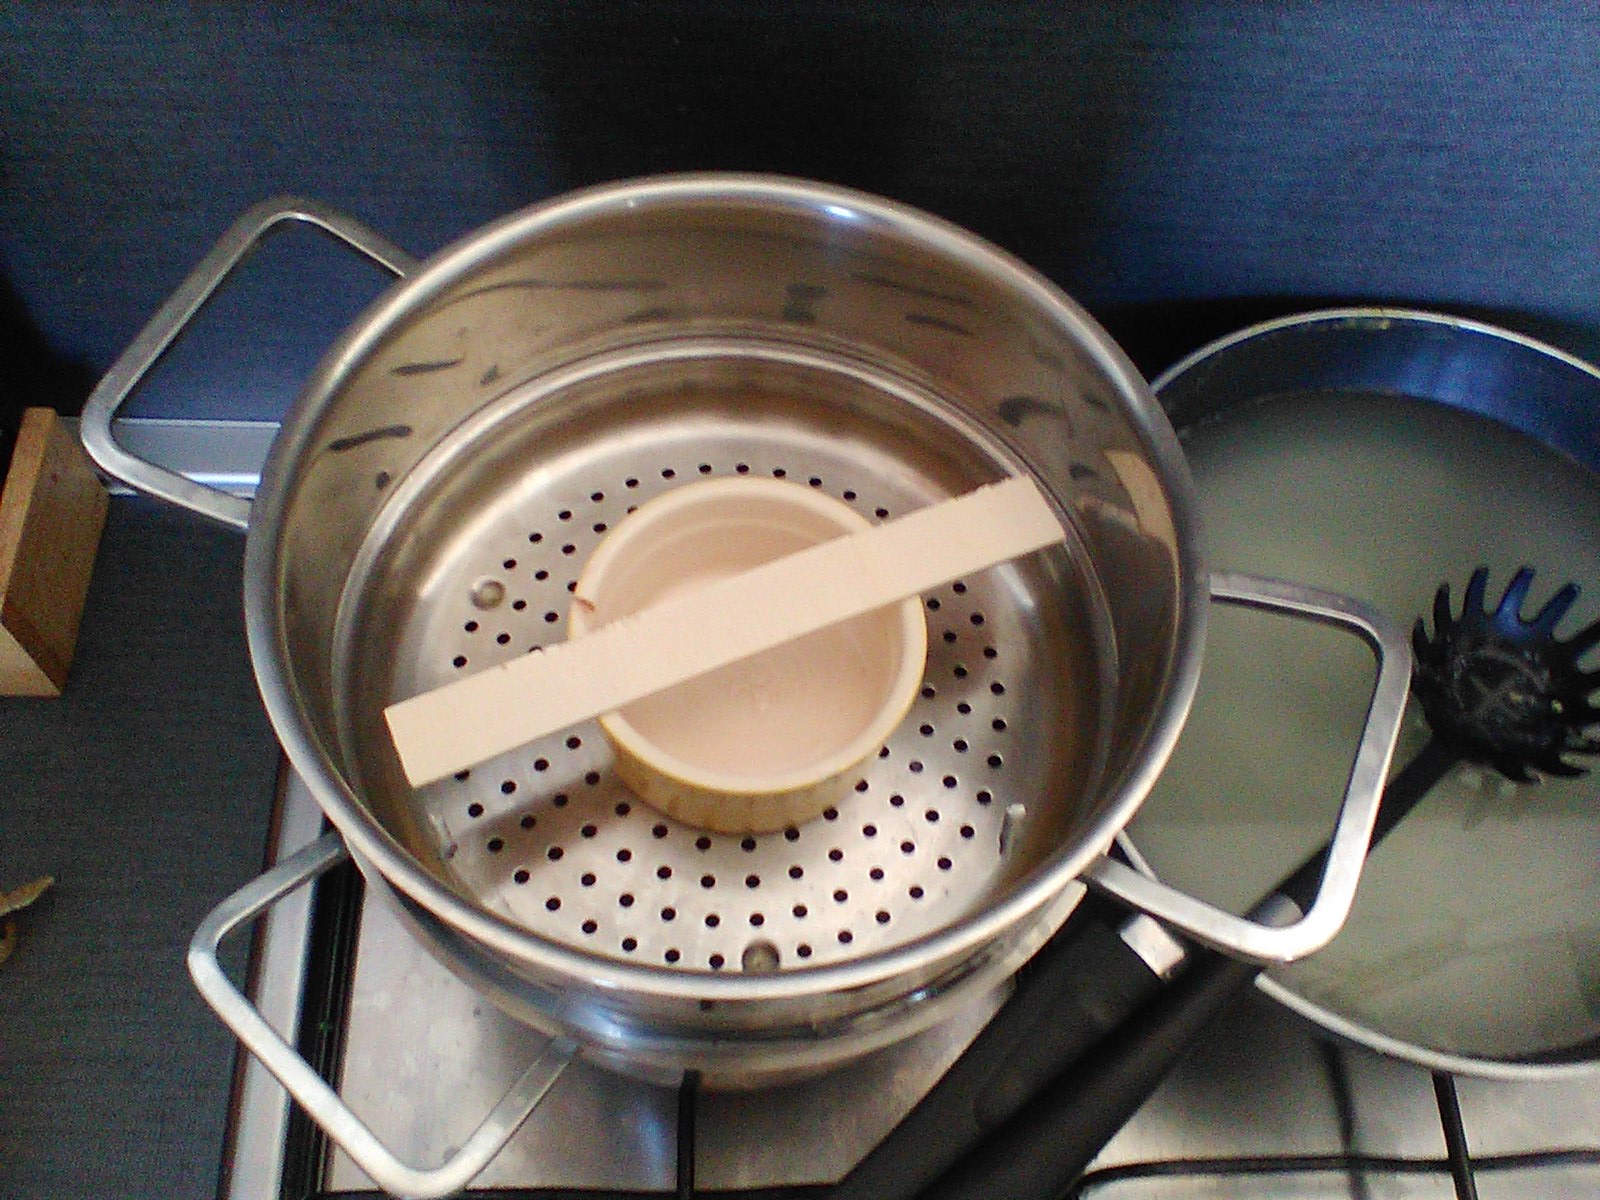
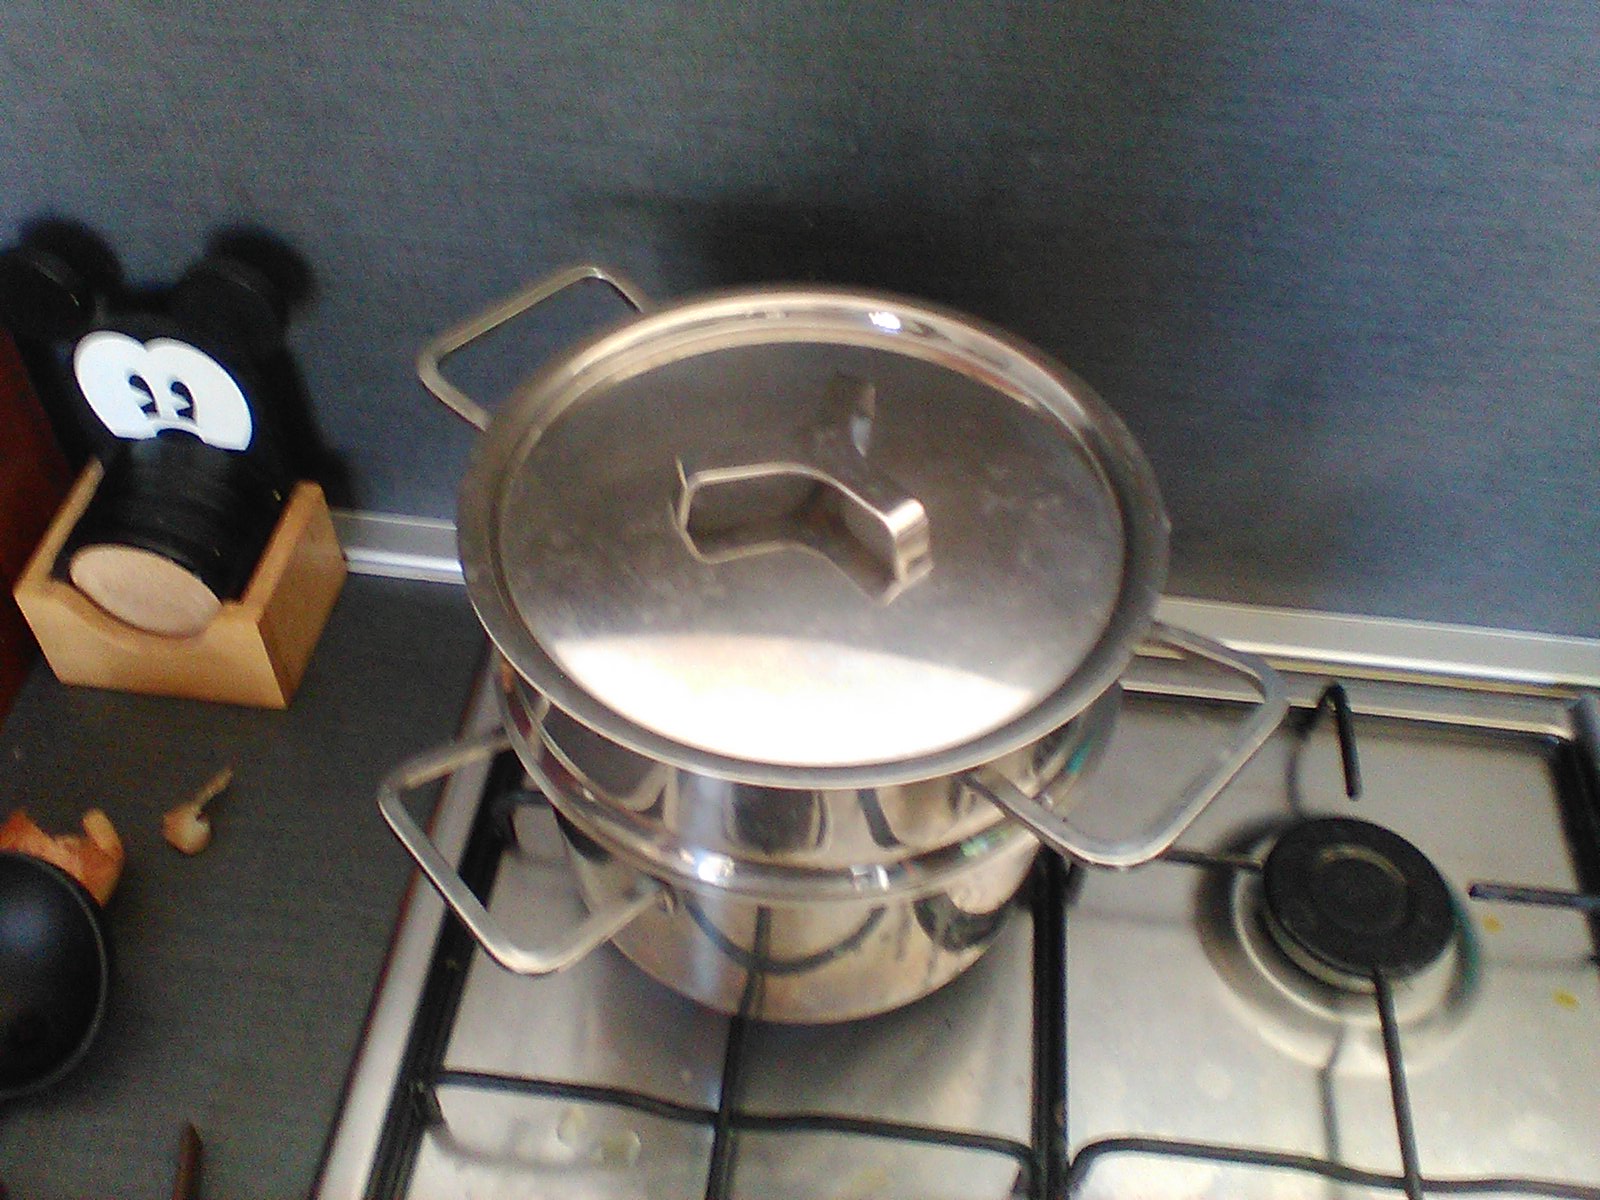
 Then I went to the kitchen and boiled some water with a steamer pot.
I used a ceramic little bowl to lay the piece of wood not directly to the grid, and then I covered it all an waited for 20 minutes.
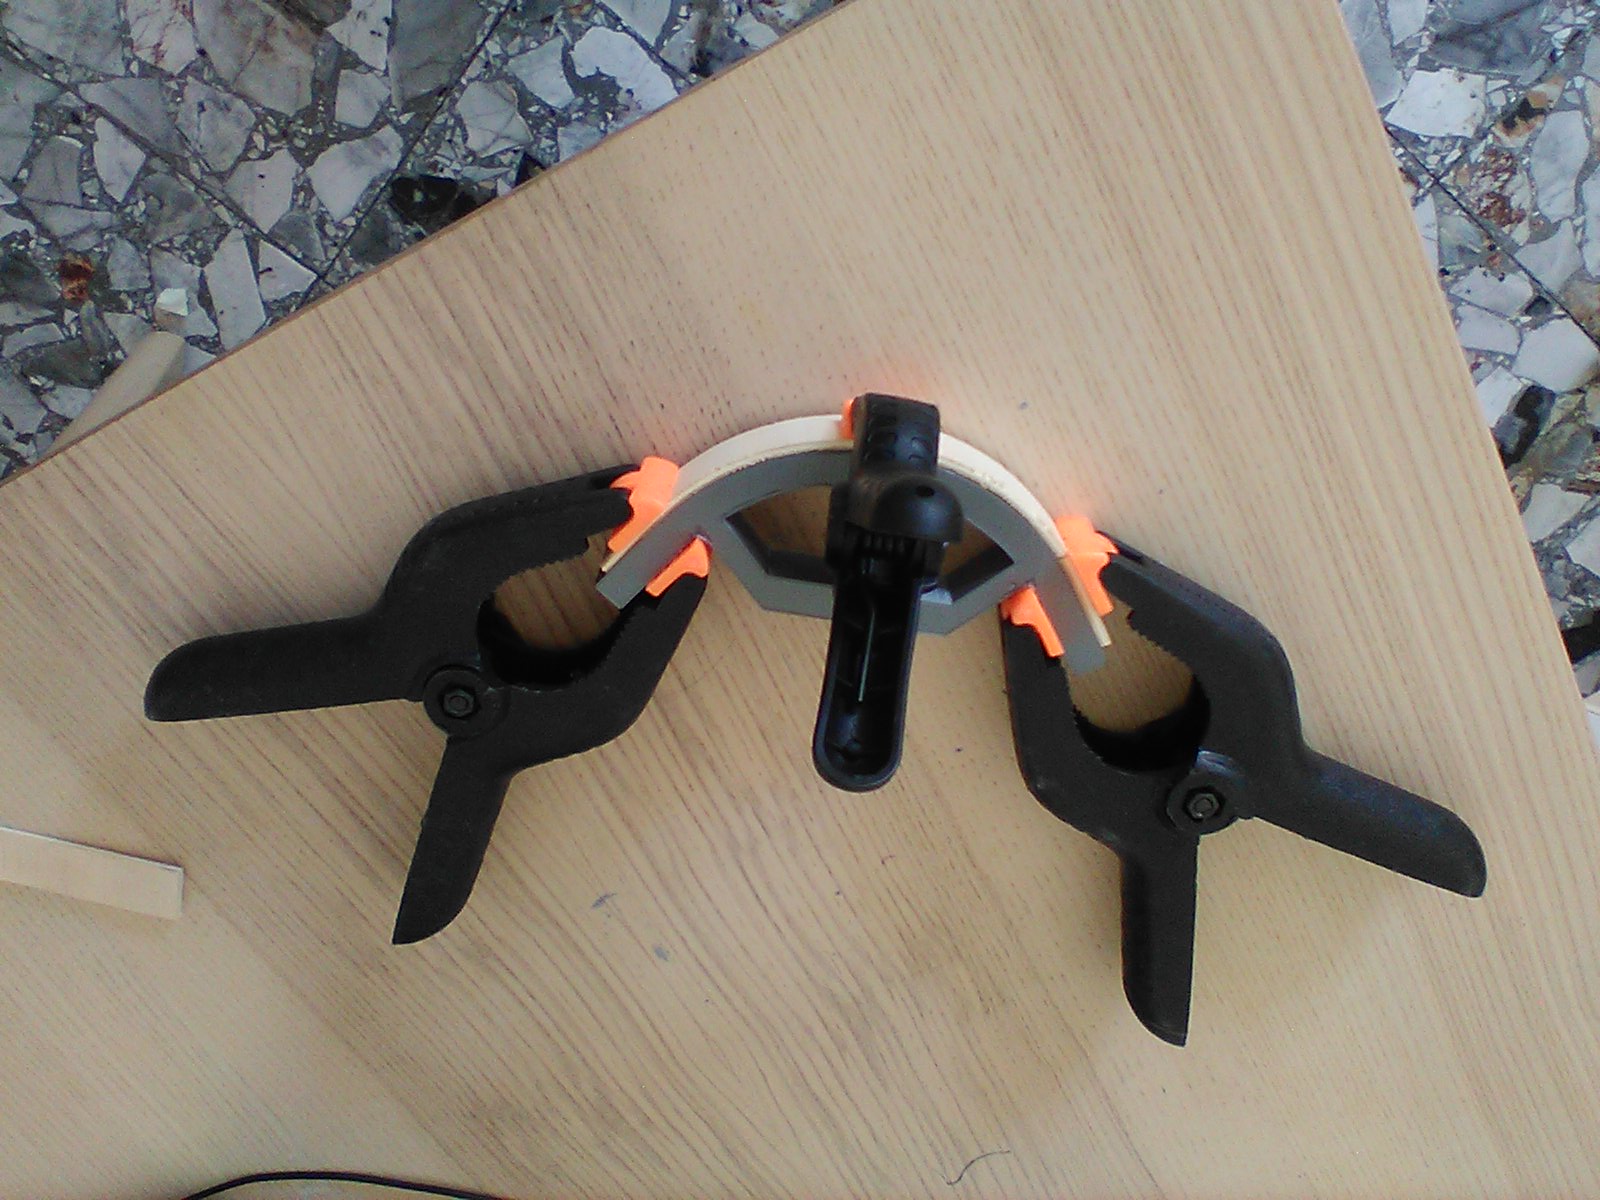
After this amount of time I took the wood, and used a clamp to keep it against the 3d printed volume I made previously..
Then I went to the kitchen and boiled some water with a steamer pot.
I used a ceramic little bowl to lay the piece of wood not directly to the grid, and then I covered it all an waited for 20 minutes.
After this amount of time I took the wood, and used a clamp to keep it against the 3d printed volume I made previously..

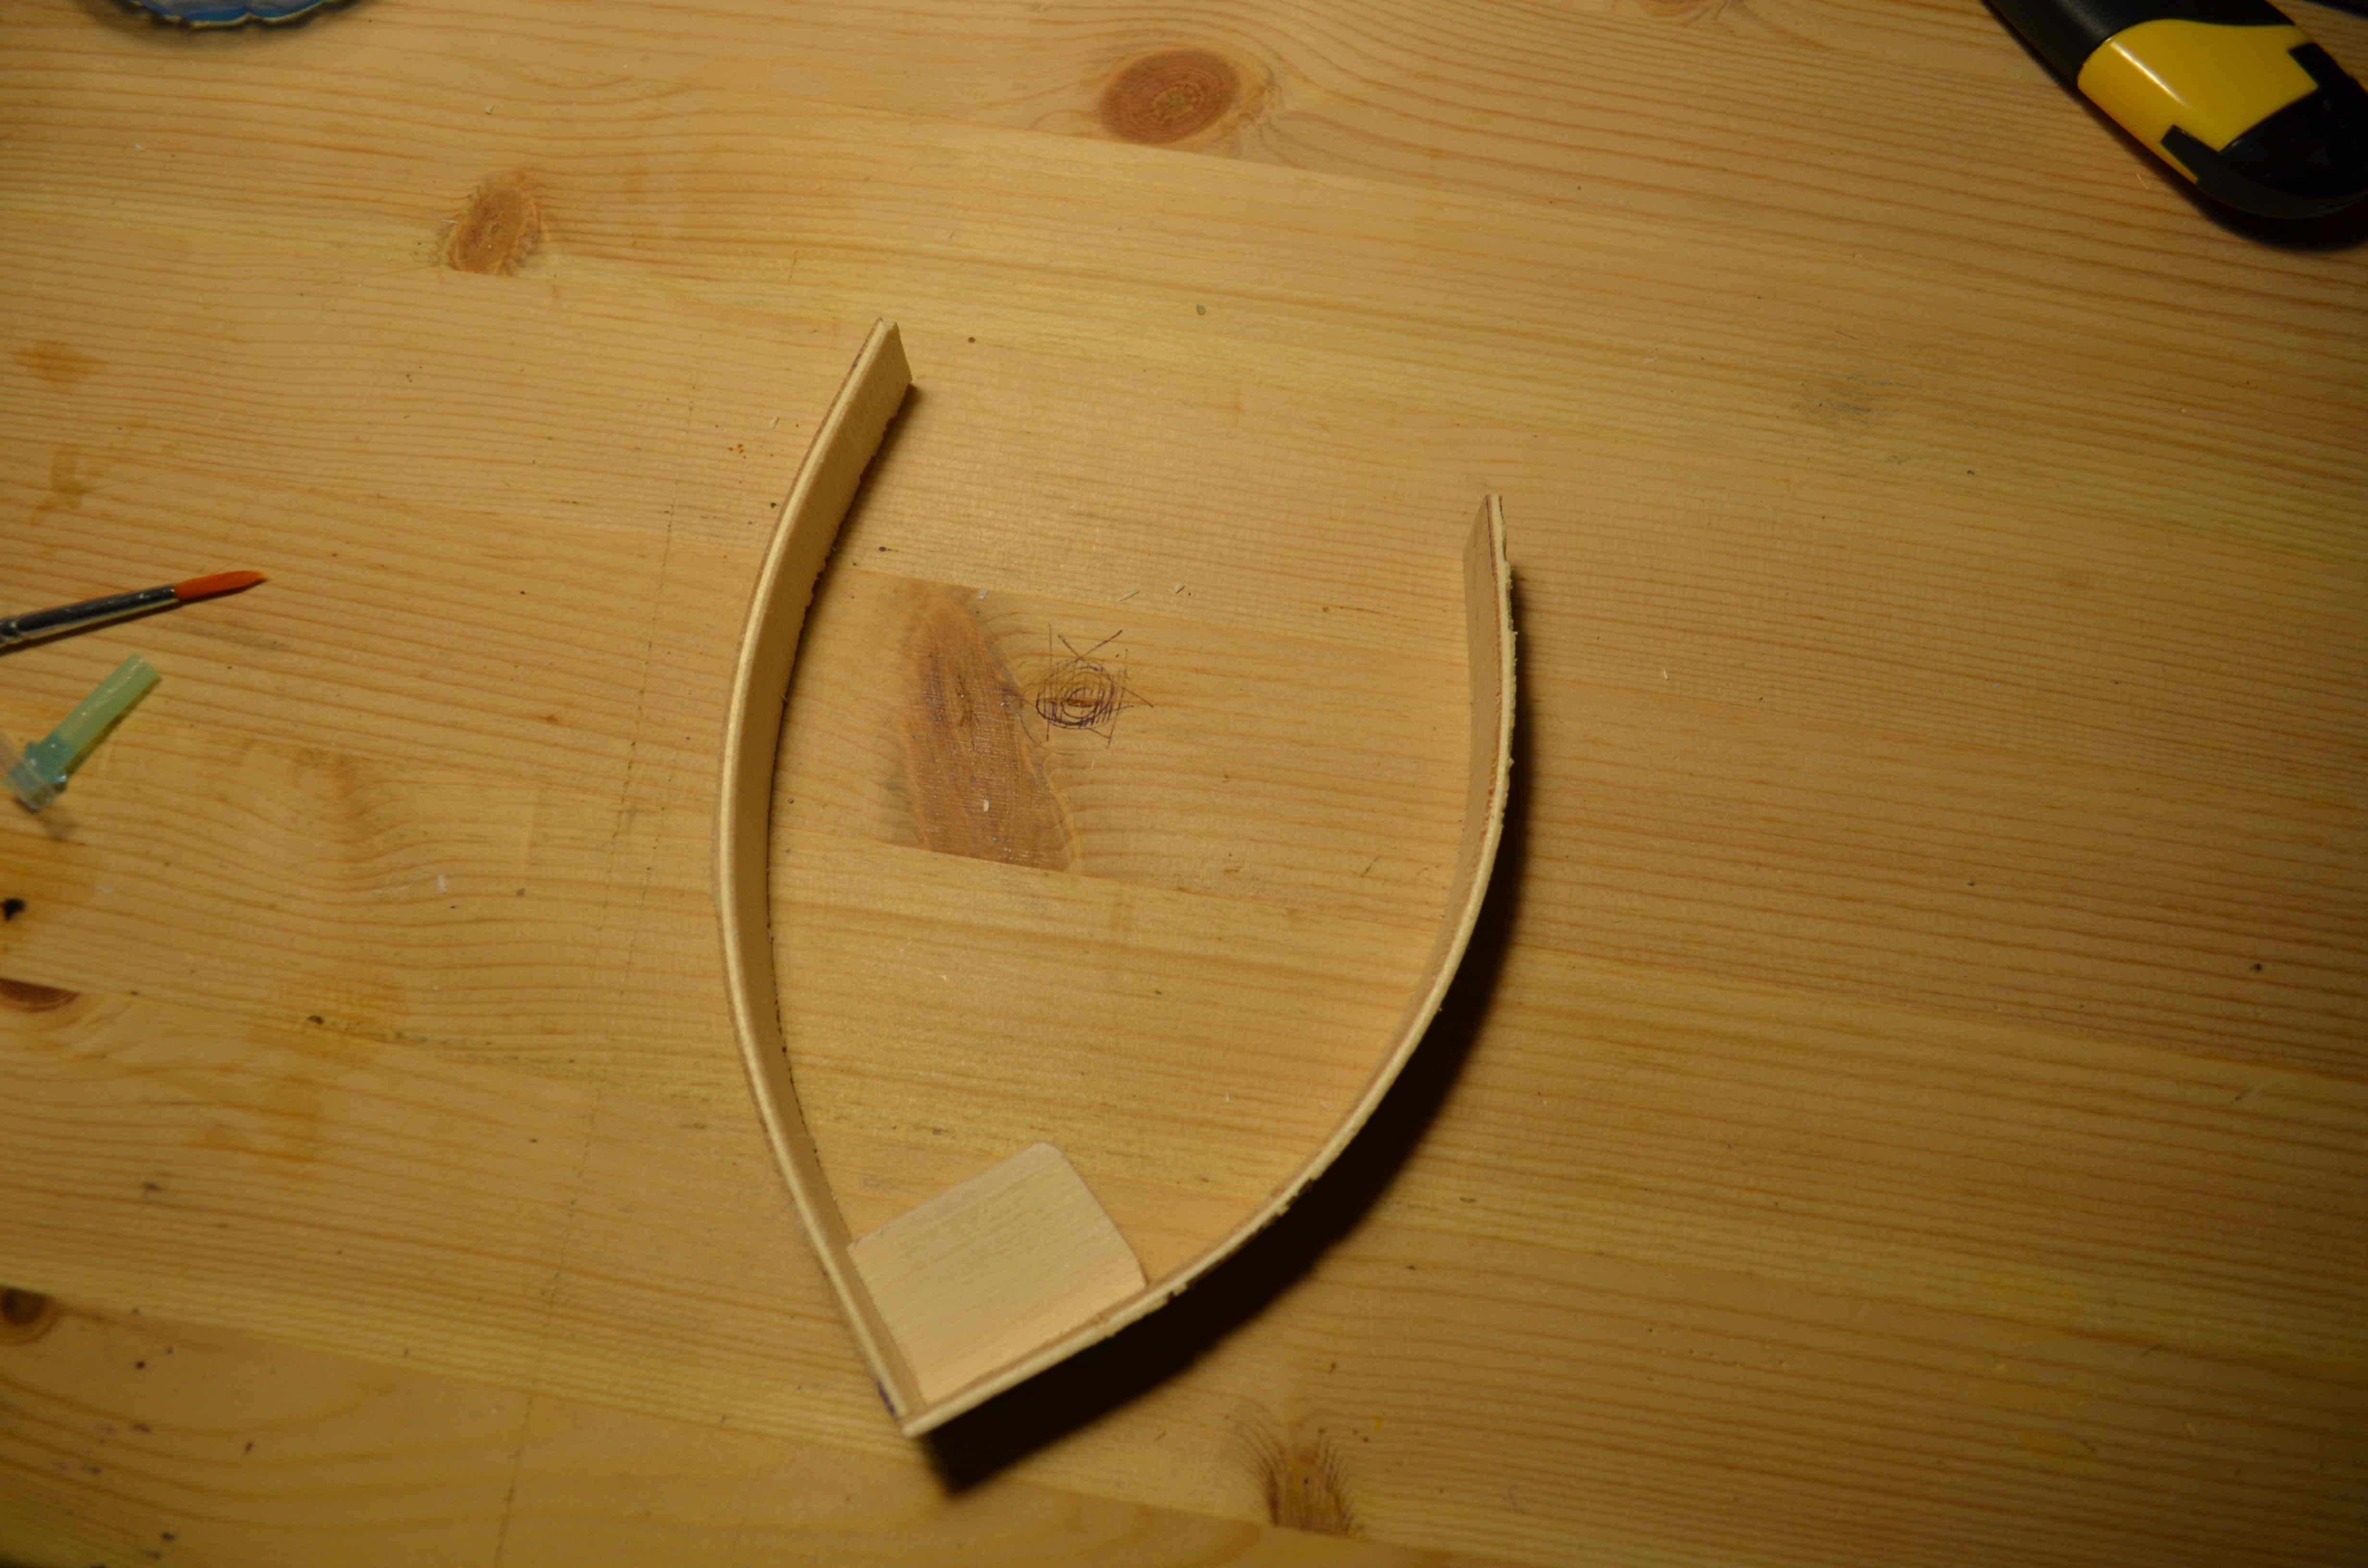
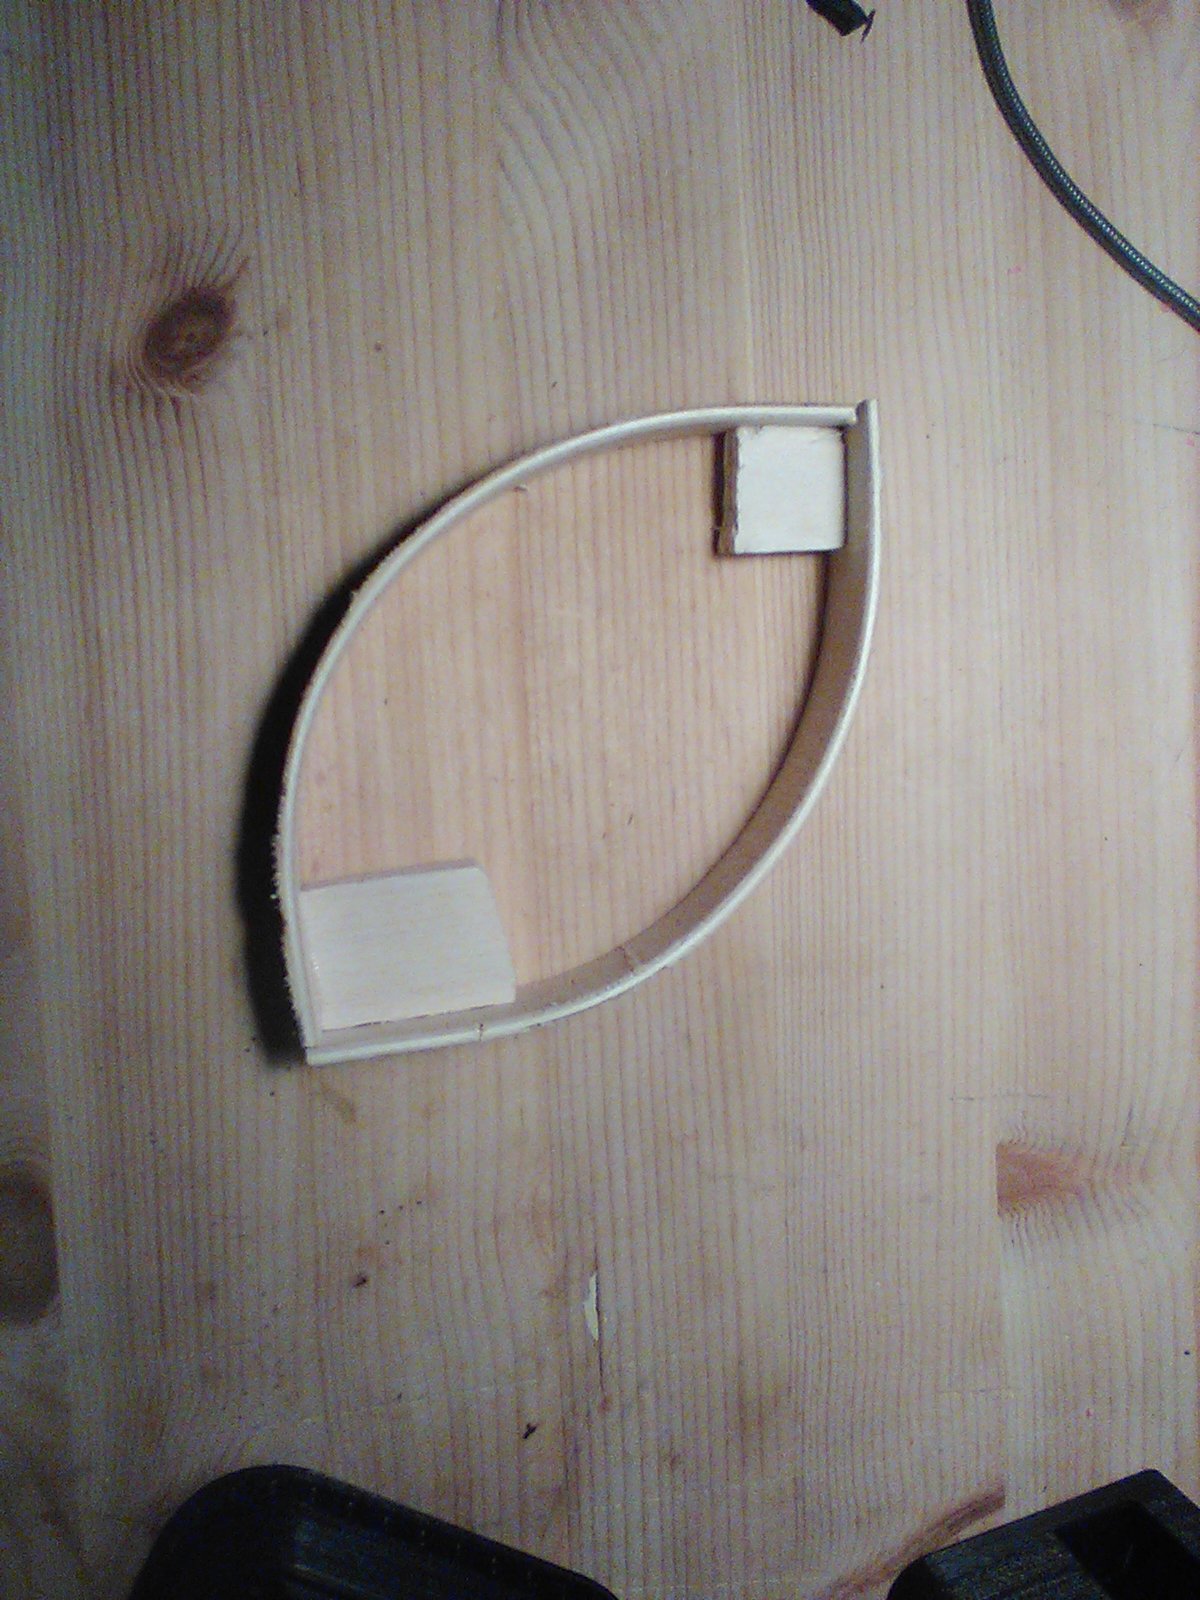
3 – waiting and getting and gluing my parts
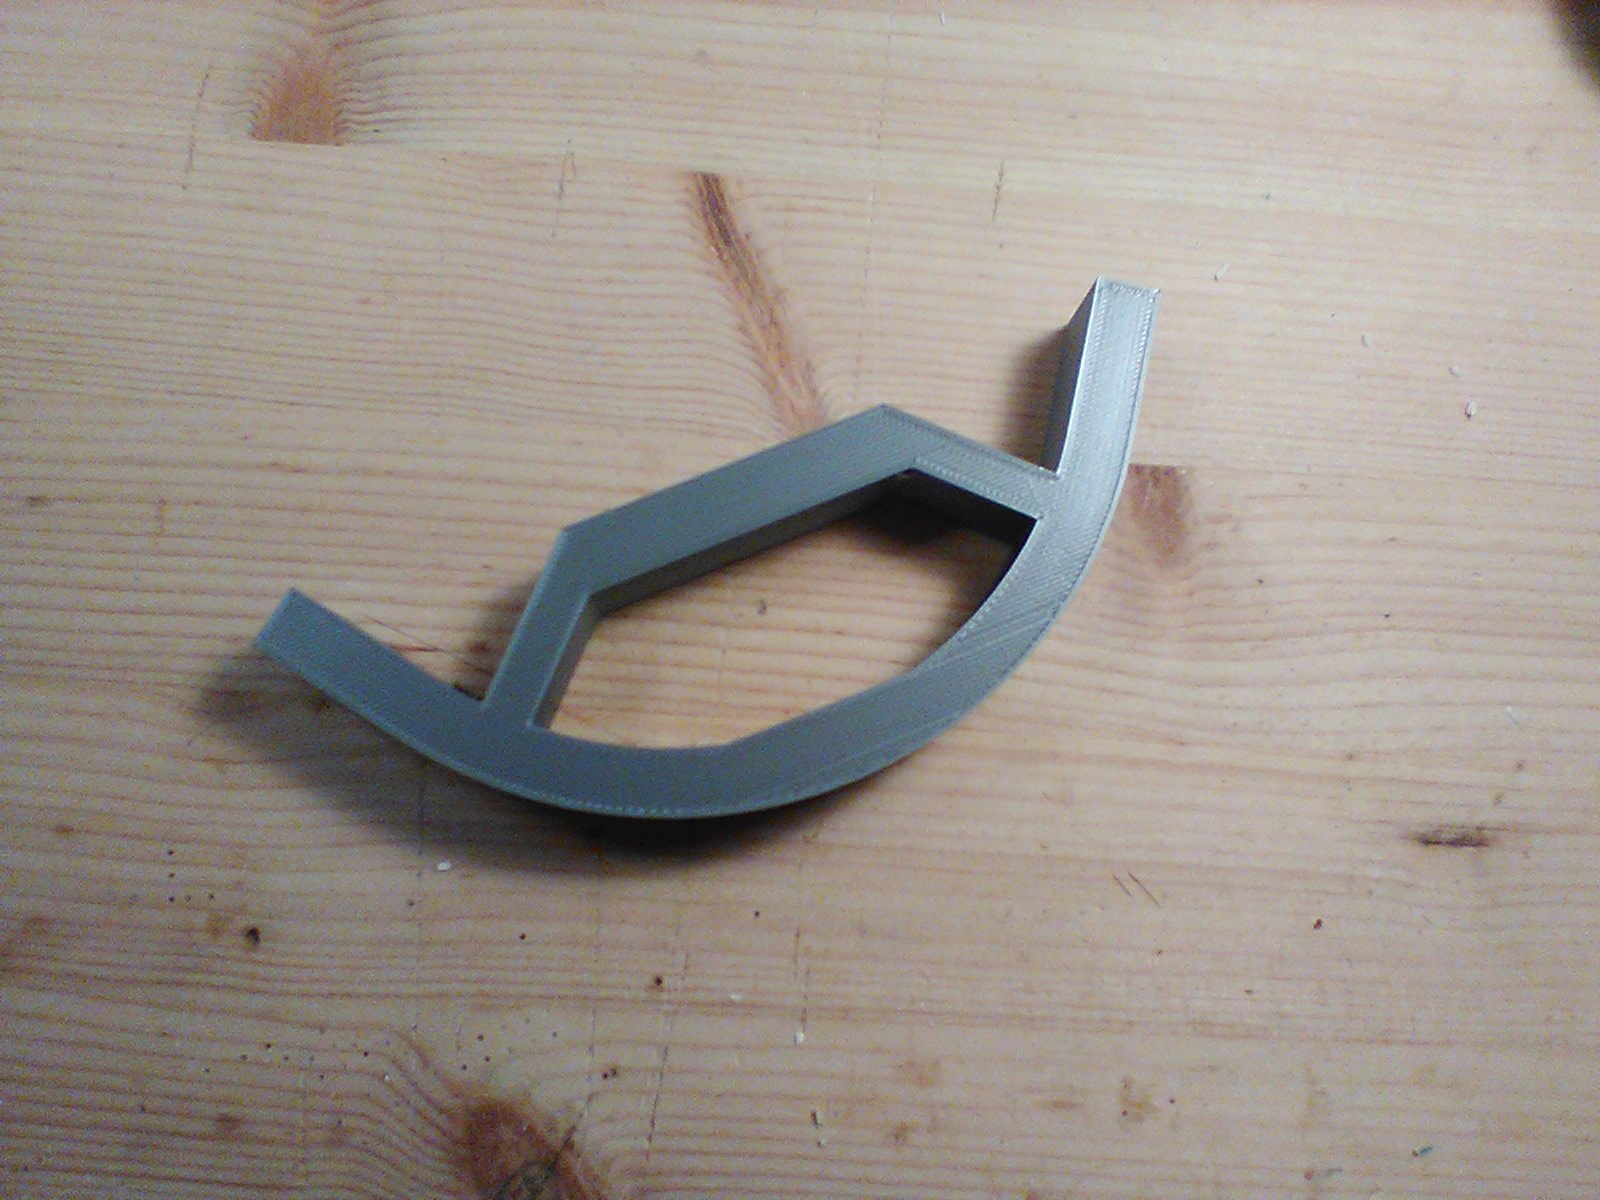
The wood stayed clamped against the 3dprinted volume for 4 hours, I’m not sure if this is too much, but I decided to wait longer rather than shorter. After this time was gone I opened the clamps and saw that the wood was actually bent. I was quite optimistic about the wood getting loose, but by gluing the parts together I managed to obtain the shape I wanted at the beginning of this experiment, and turned my design into a real object!
source files
Here are all the source files for the Wildcard assignment:
1 - freecad file of the whole shape
1 - freecad file for bending form
2 - stl file for bending form