Assignment #15
moulding and casting
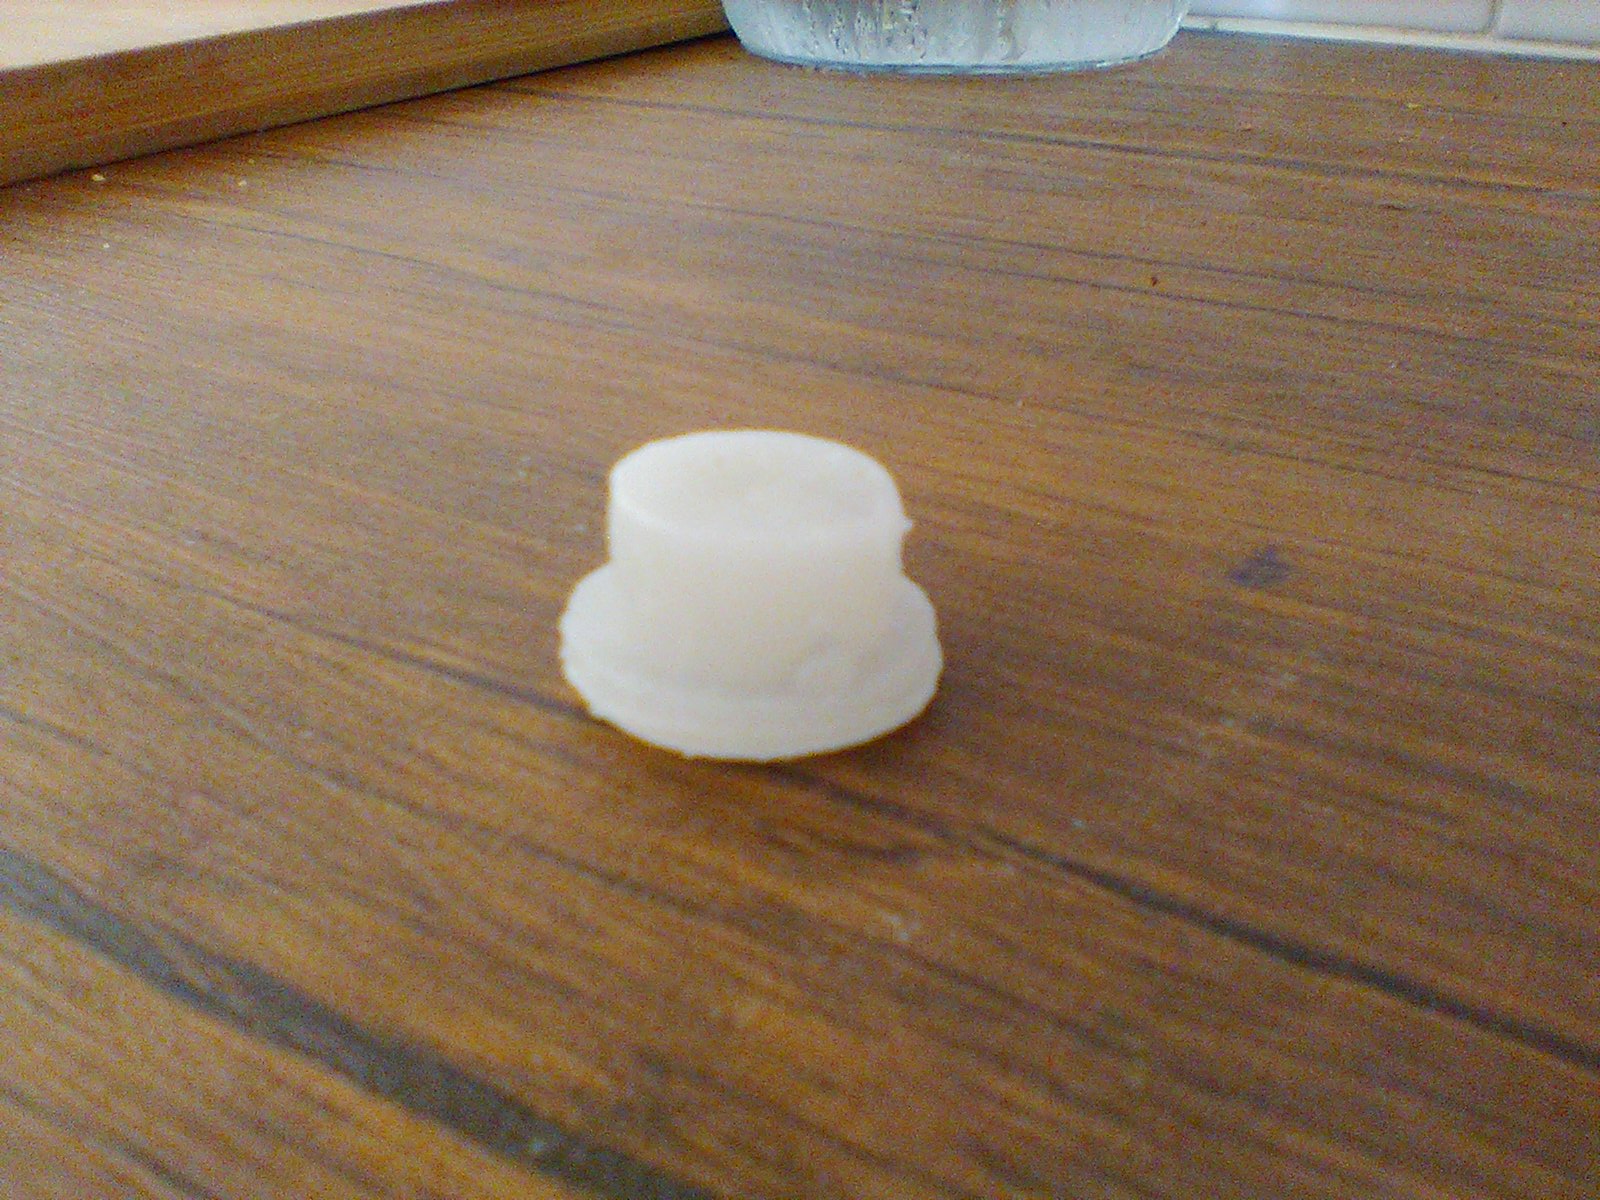
The 15th assignment of the fab academy it’s about making a mold and use it to make a shape. I generally like to combine assignments with my final project, but in this case I think I’m not going to need anything made with this technique for it. So, I decided to make a random “button” shape that can be used to make silicon (or other materials) press buttons, who knows, maybe I’ll be needing this one day.
1 – 3D modeling the mold
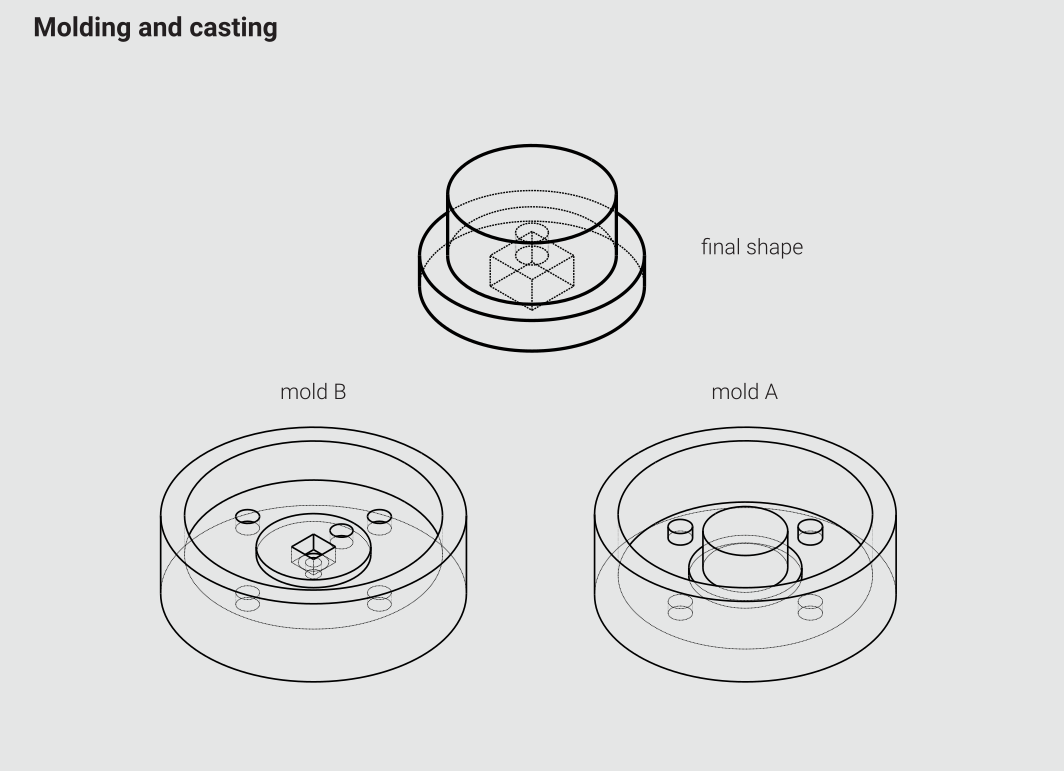
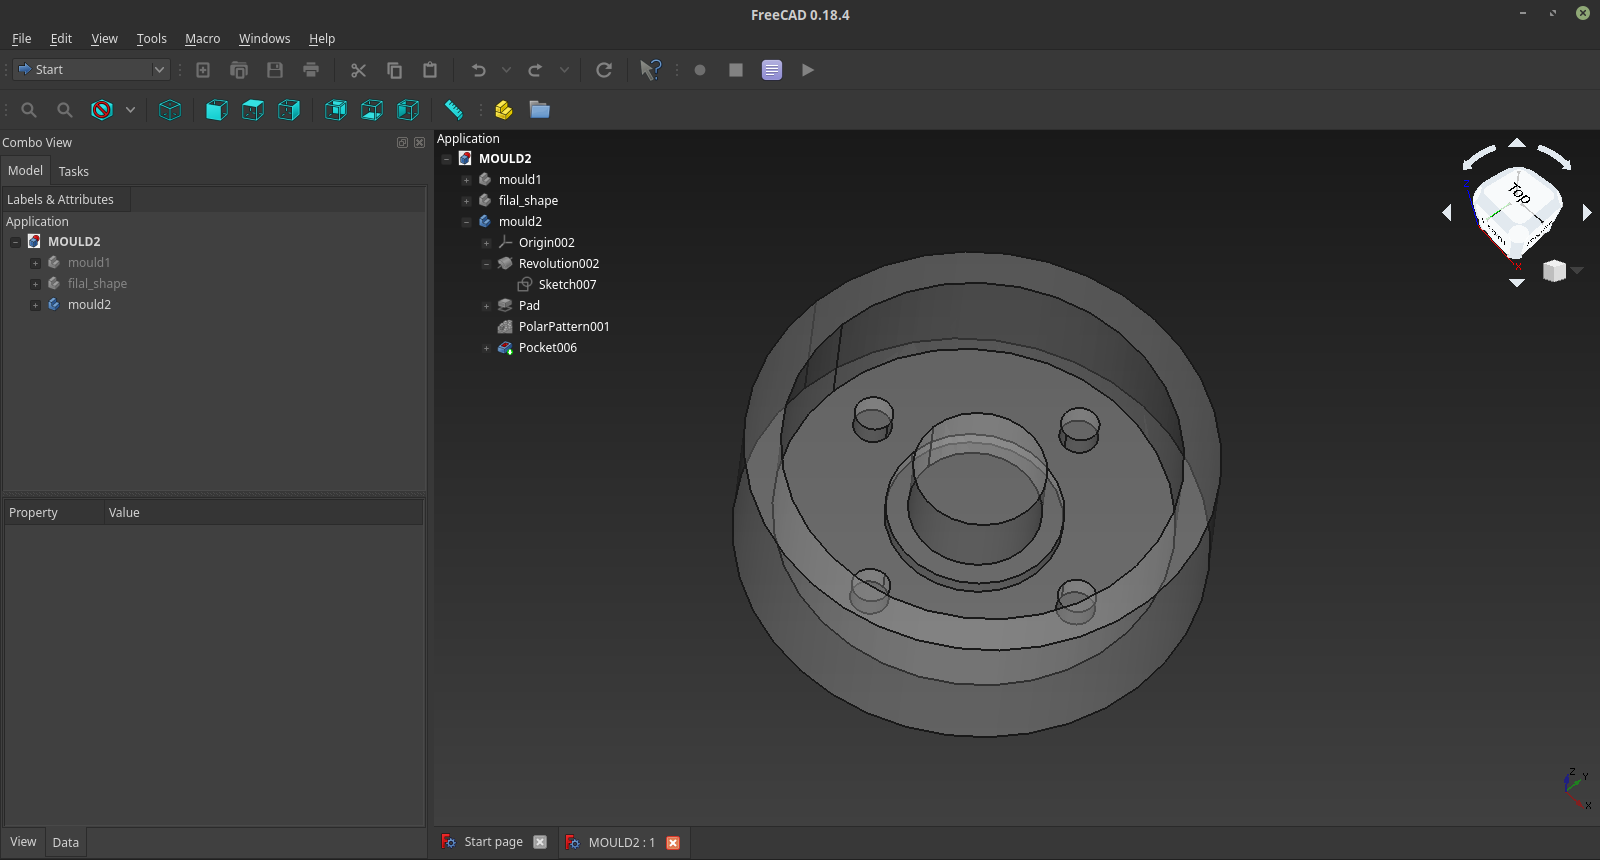
The first thing I did was to use FreeCAD to model my button. This was done just by using pads and pockets. Then I used some boolean operations to generate the moulds.
2 – Preparing the Gcode
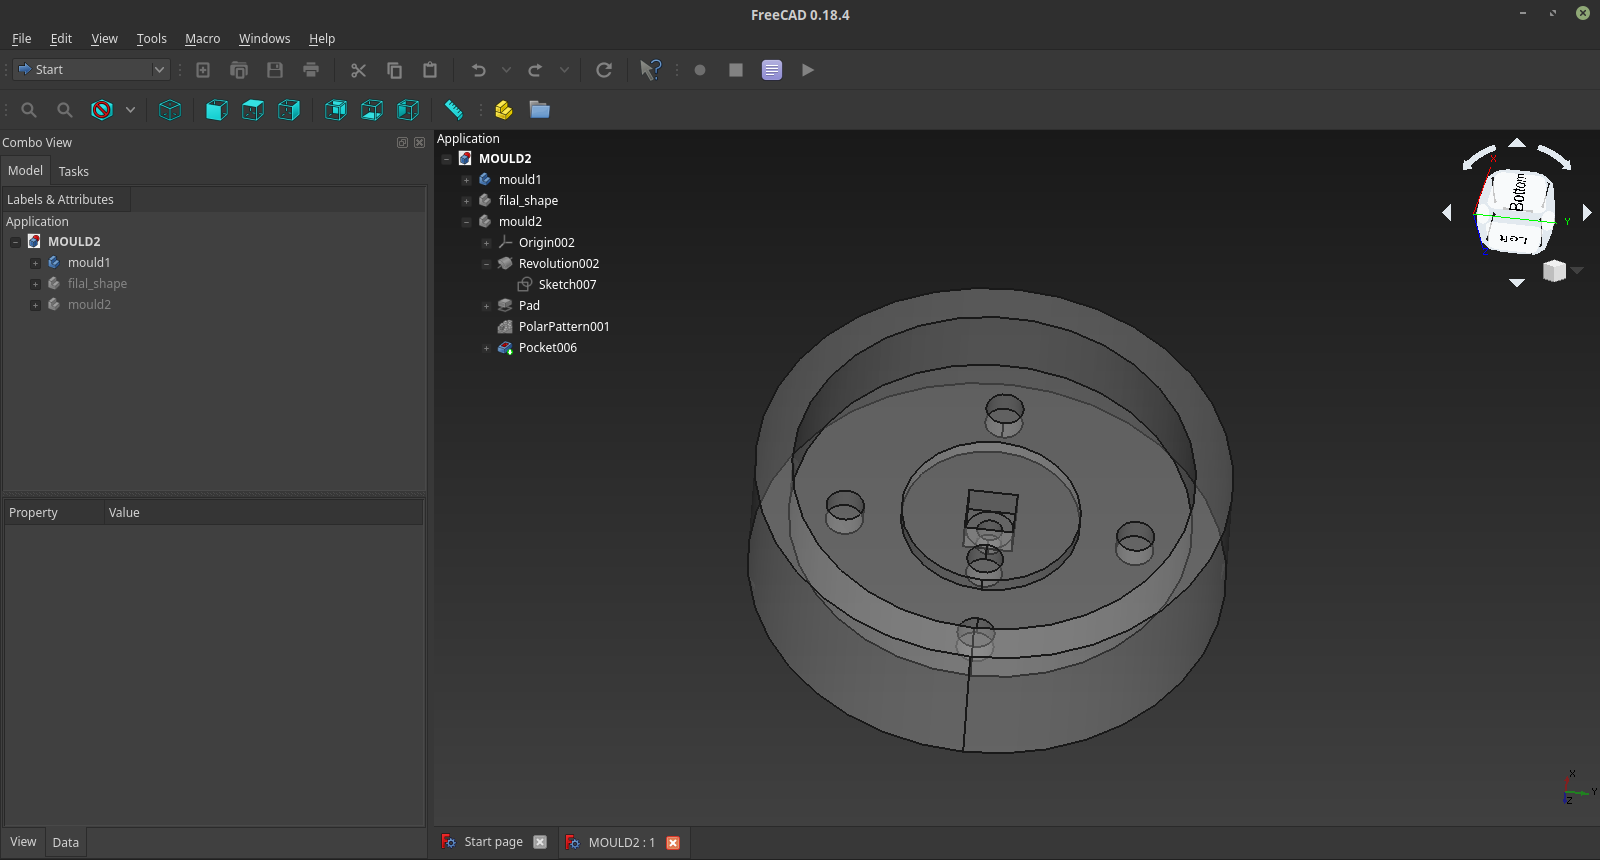
Once I was happy with my models I switched to BlenderCAM, which is a blender addon that allows the user to generate a very vast variety of milling jobs, including a good set of finishing tool paths that are not jet available on FreeCAD’s path workbench. BlenderCAM It’s a little old, and because of that ONLY runs on Blender 2.76, that can be downloaded from the Blender’s archive. U used a 3mm flat mill for this job. Once everything was set I imported my 3d model (in OBJ format) and started to tweak the settings until I was happy with the paths, then I exported the code with LinuxCNC as post-processor, which is read by my machine with no problem
3 – Milling the molds
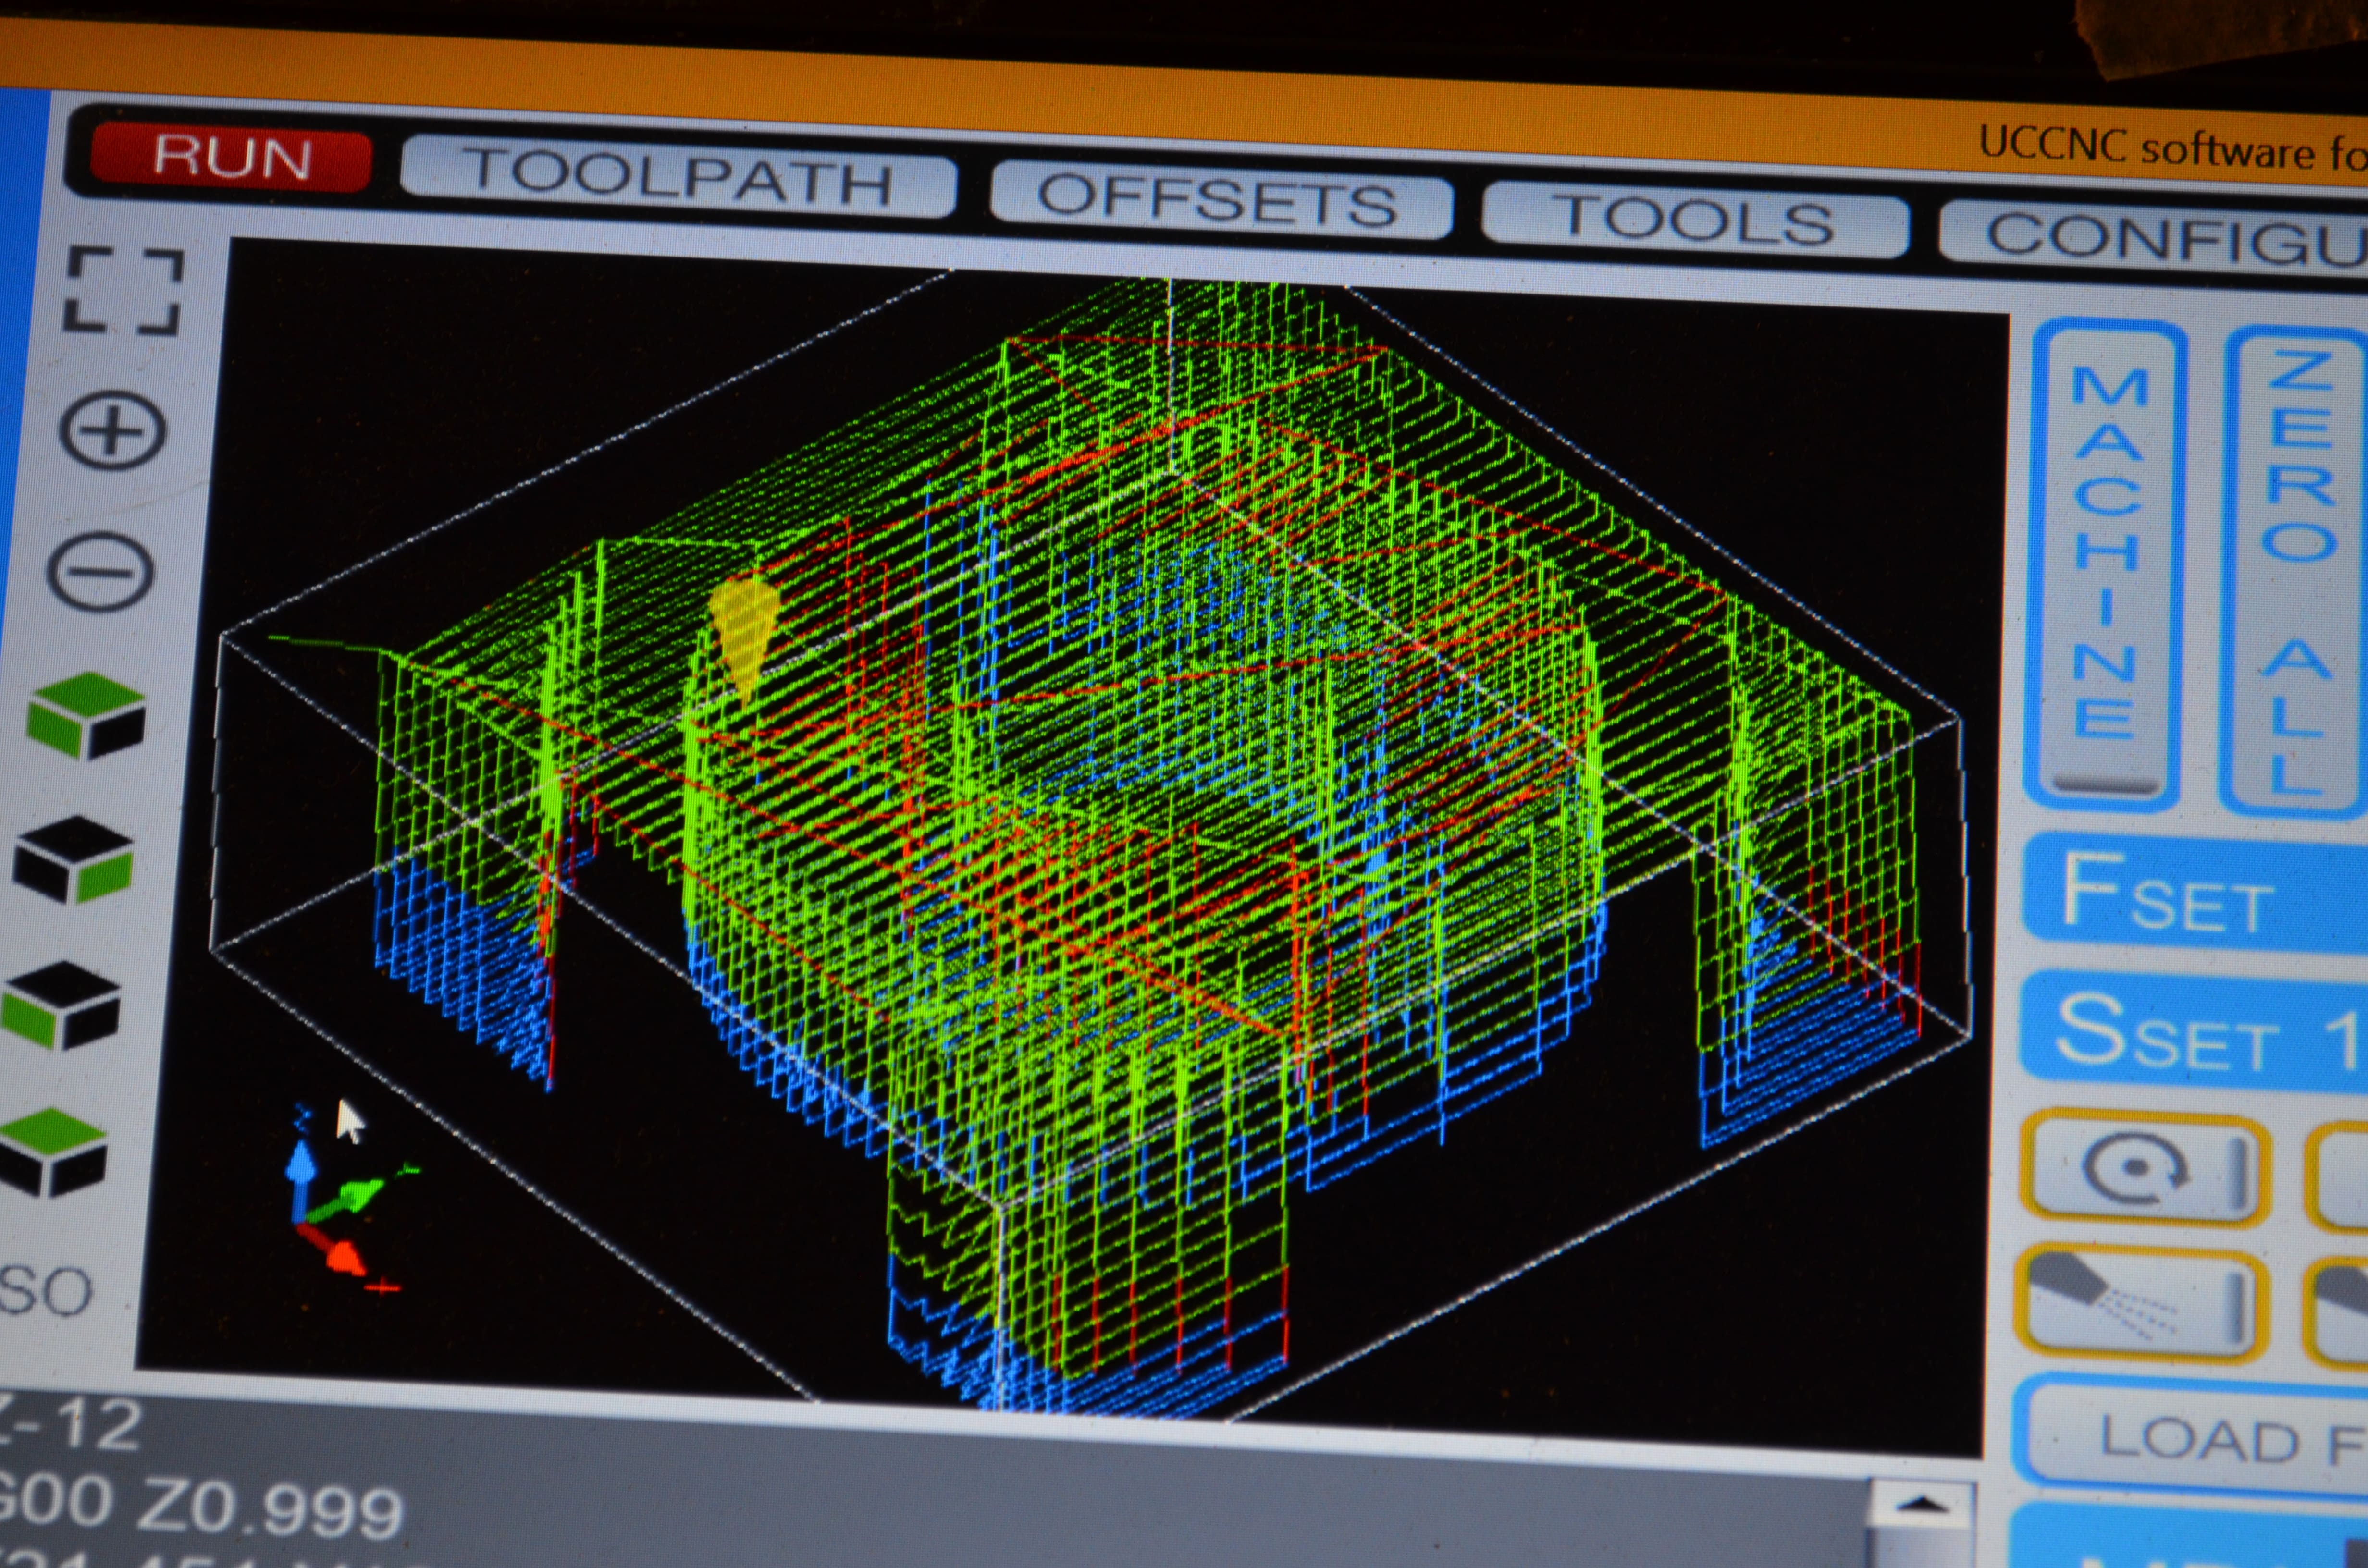
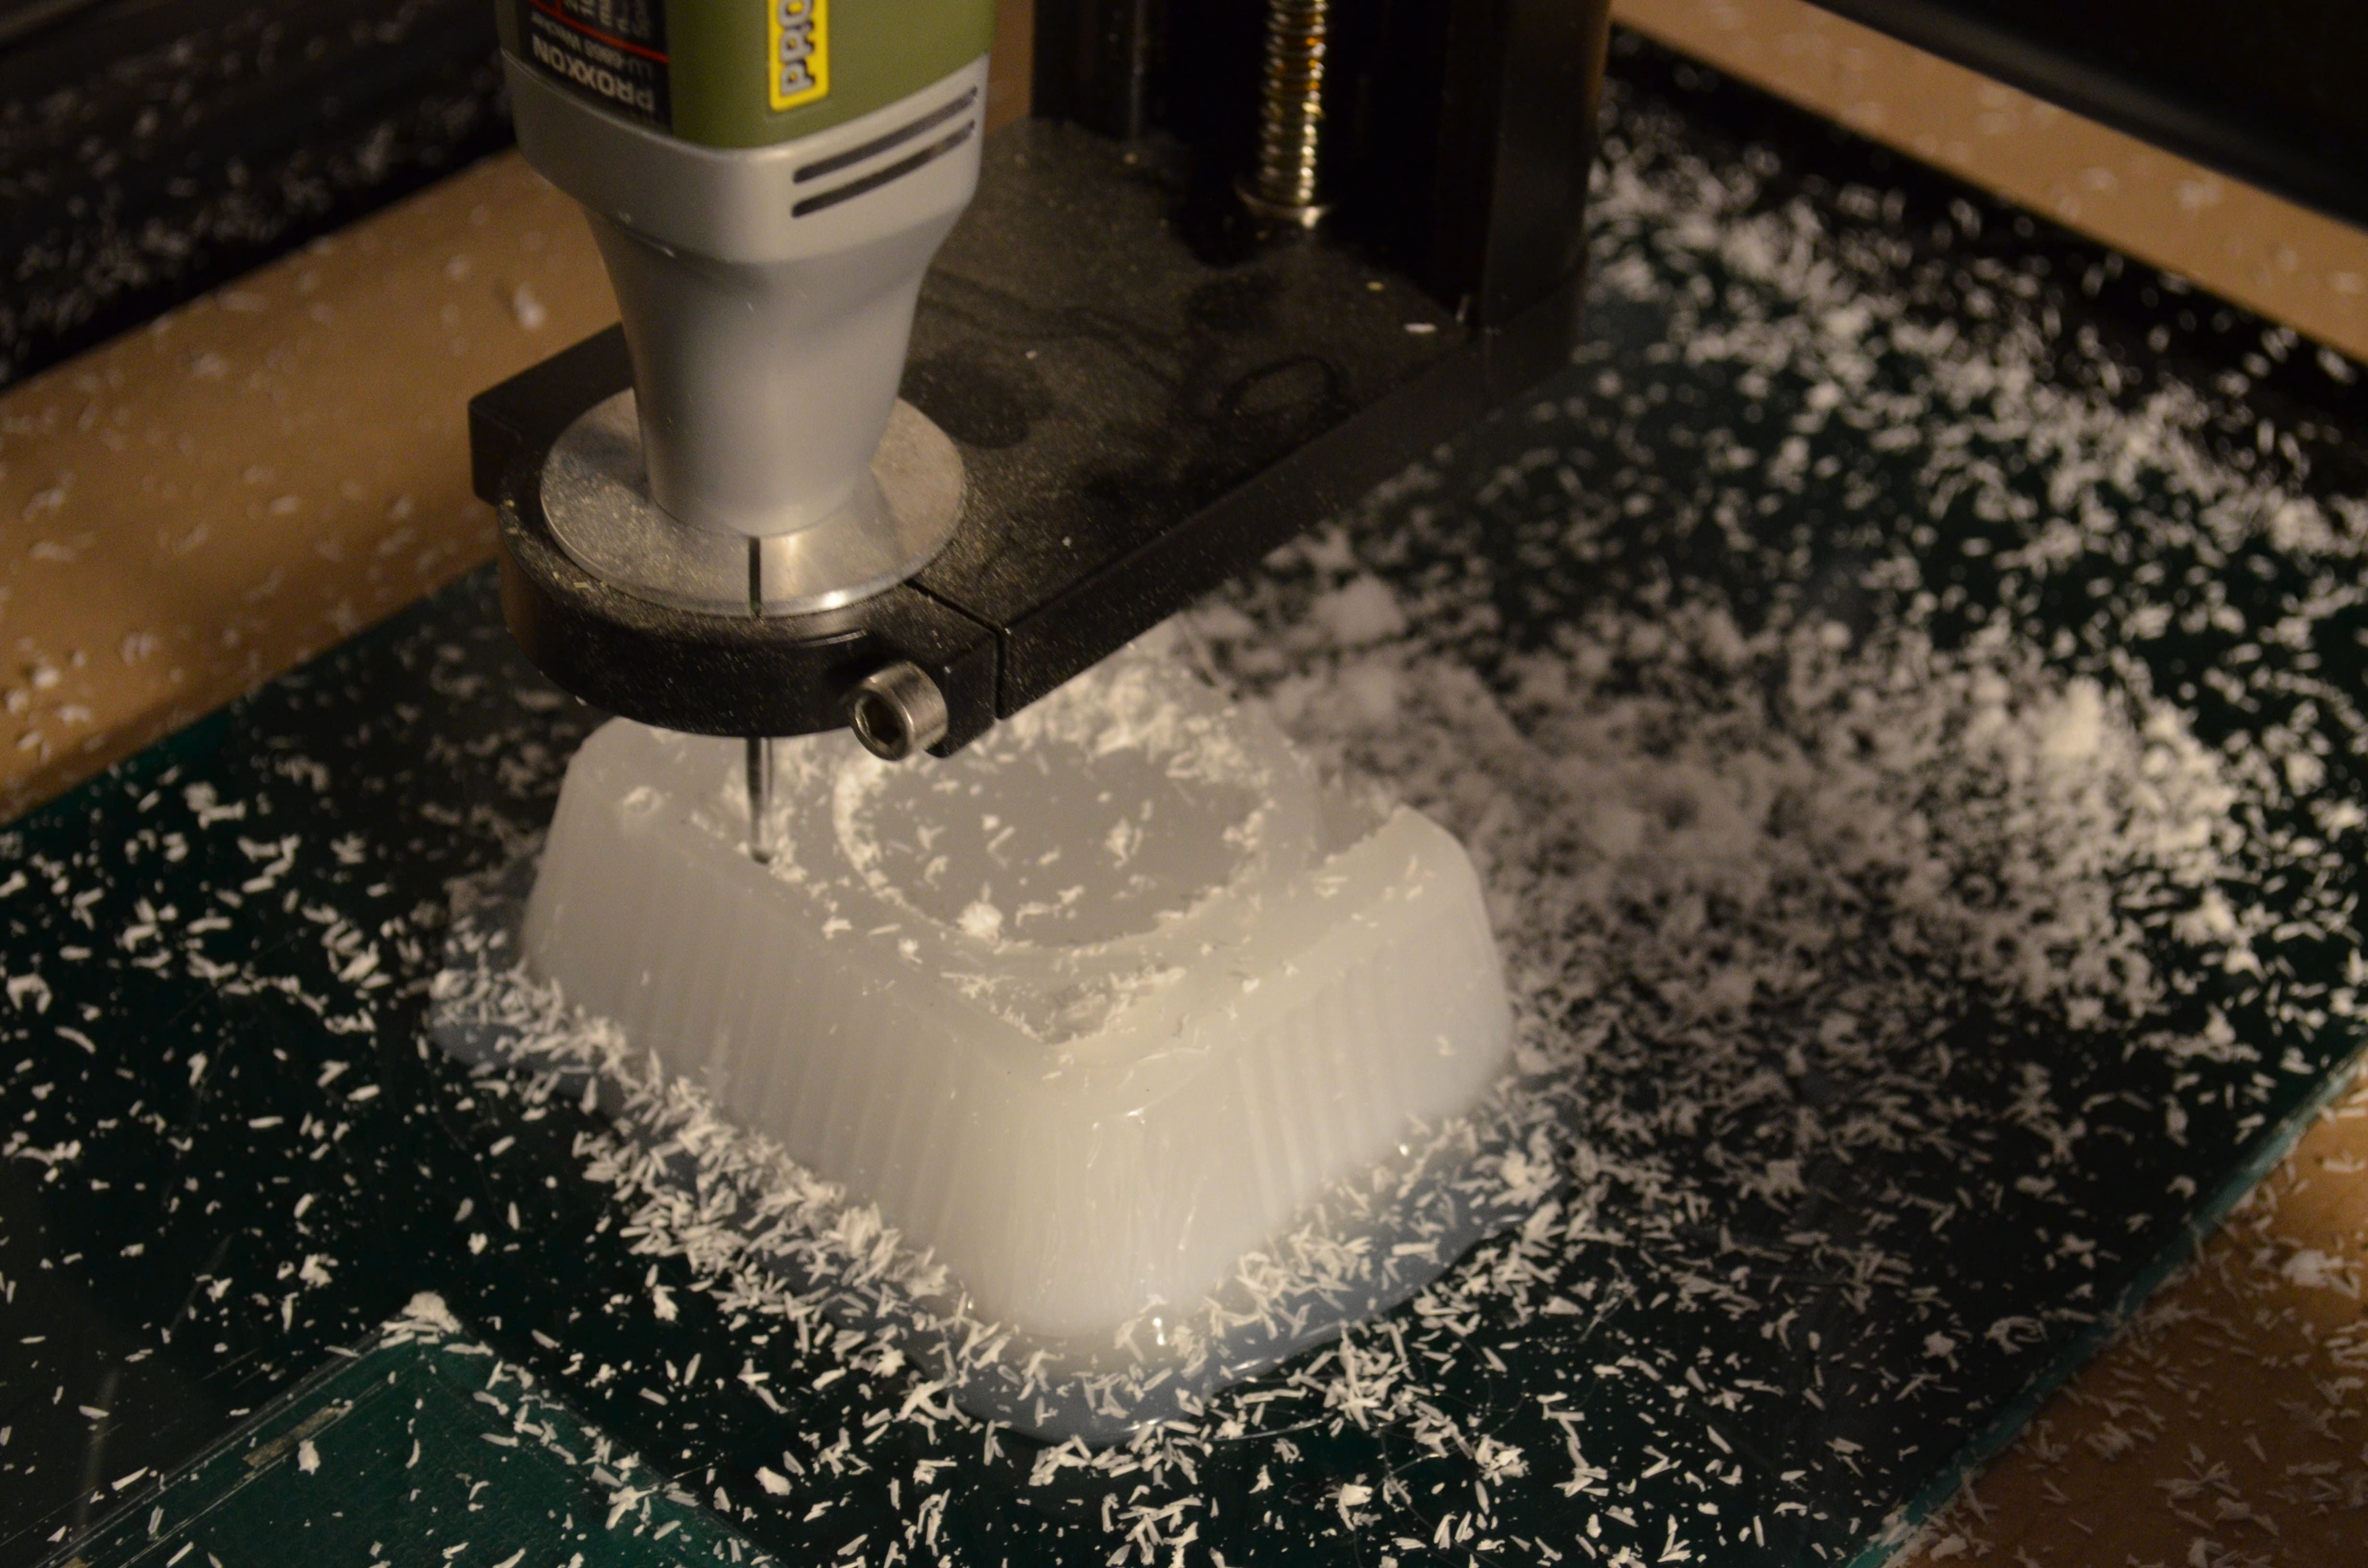
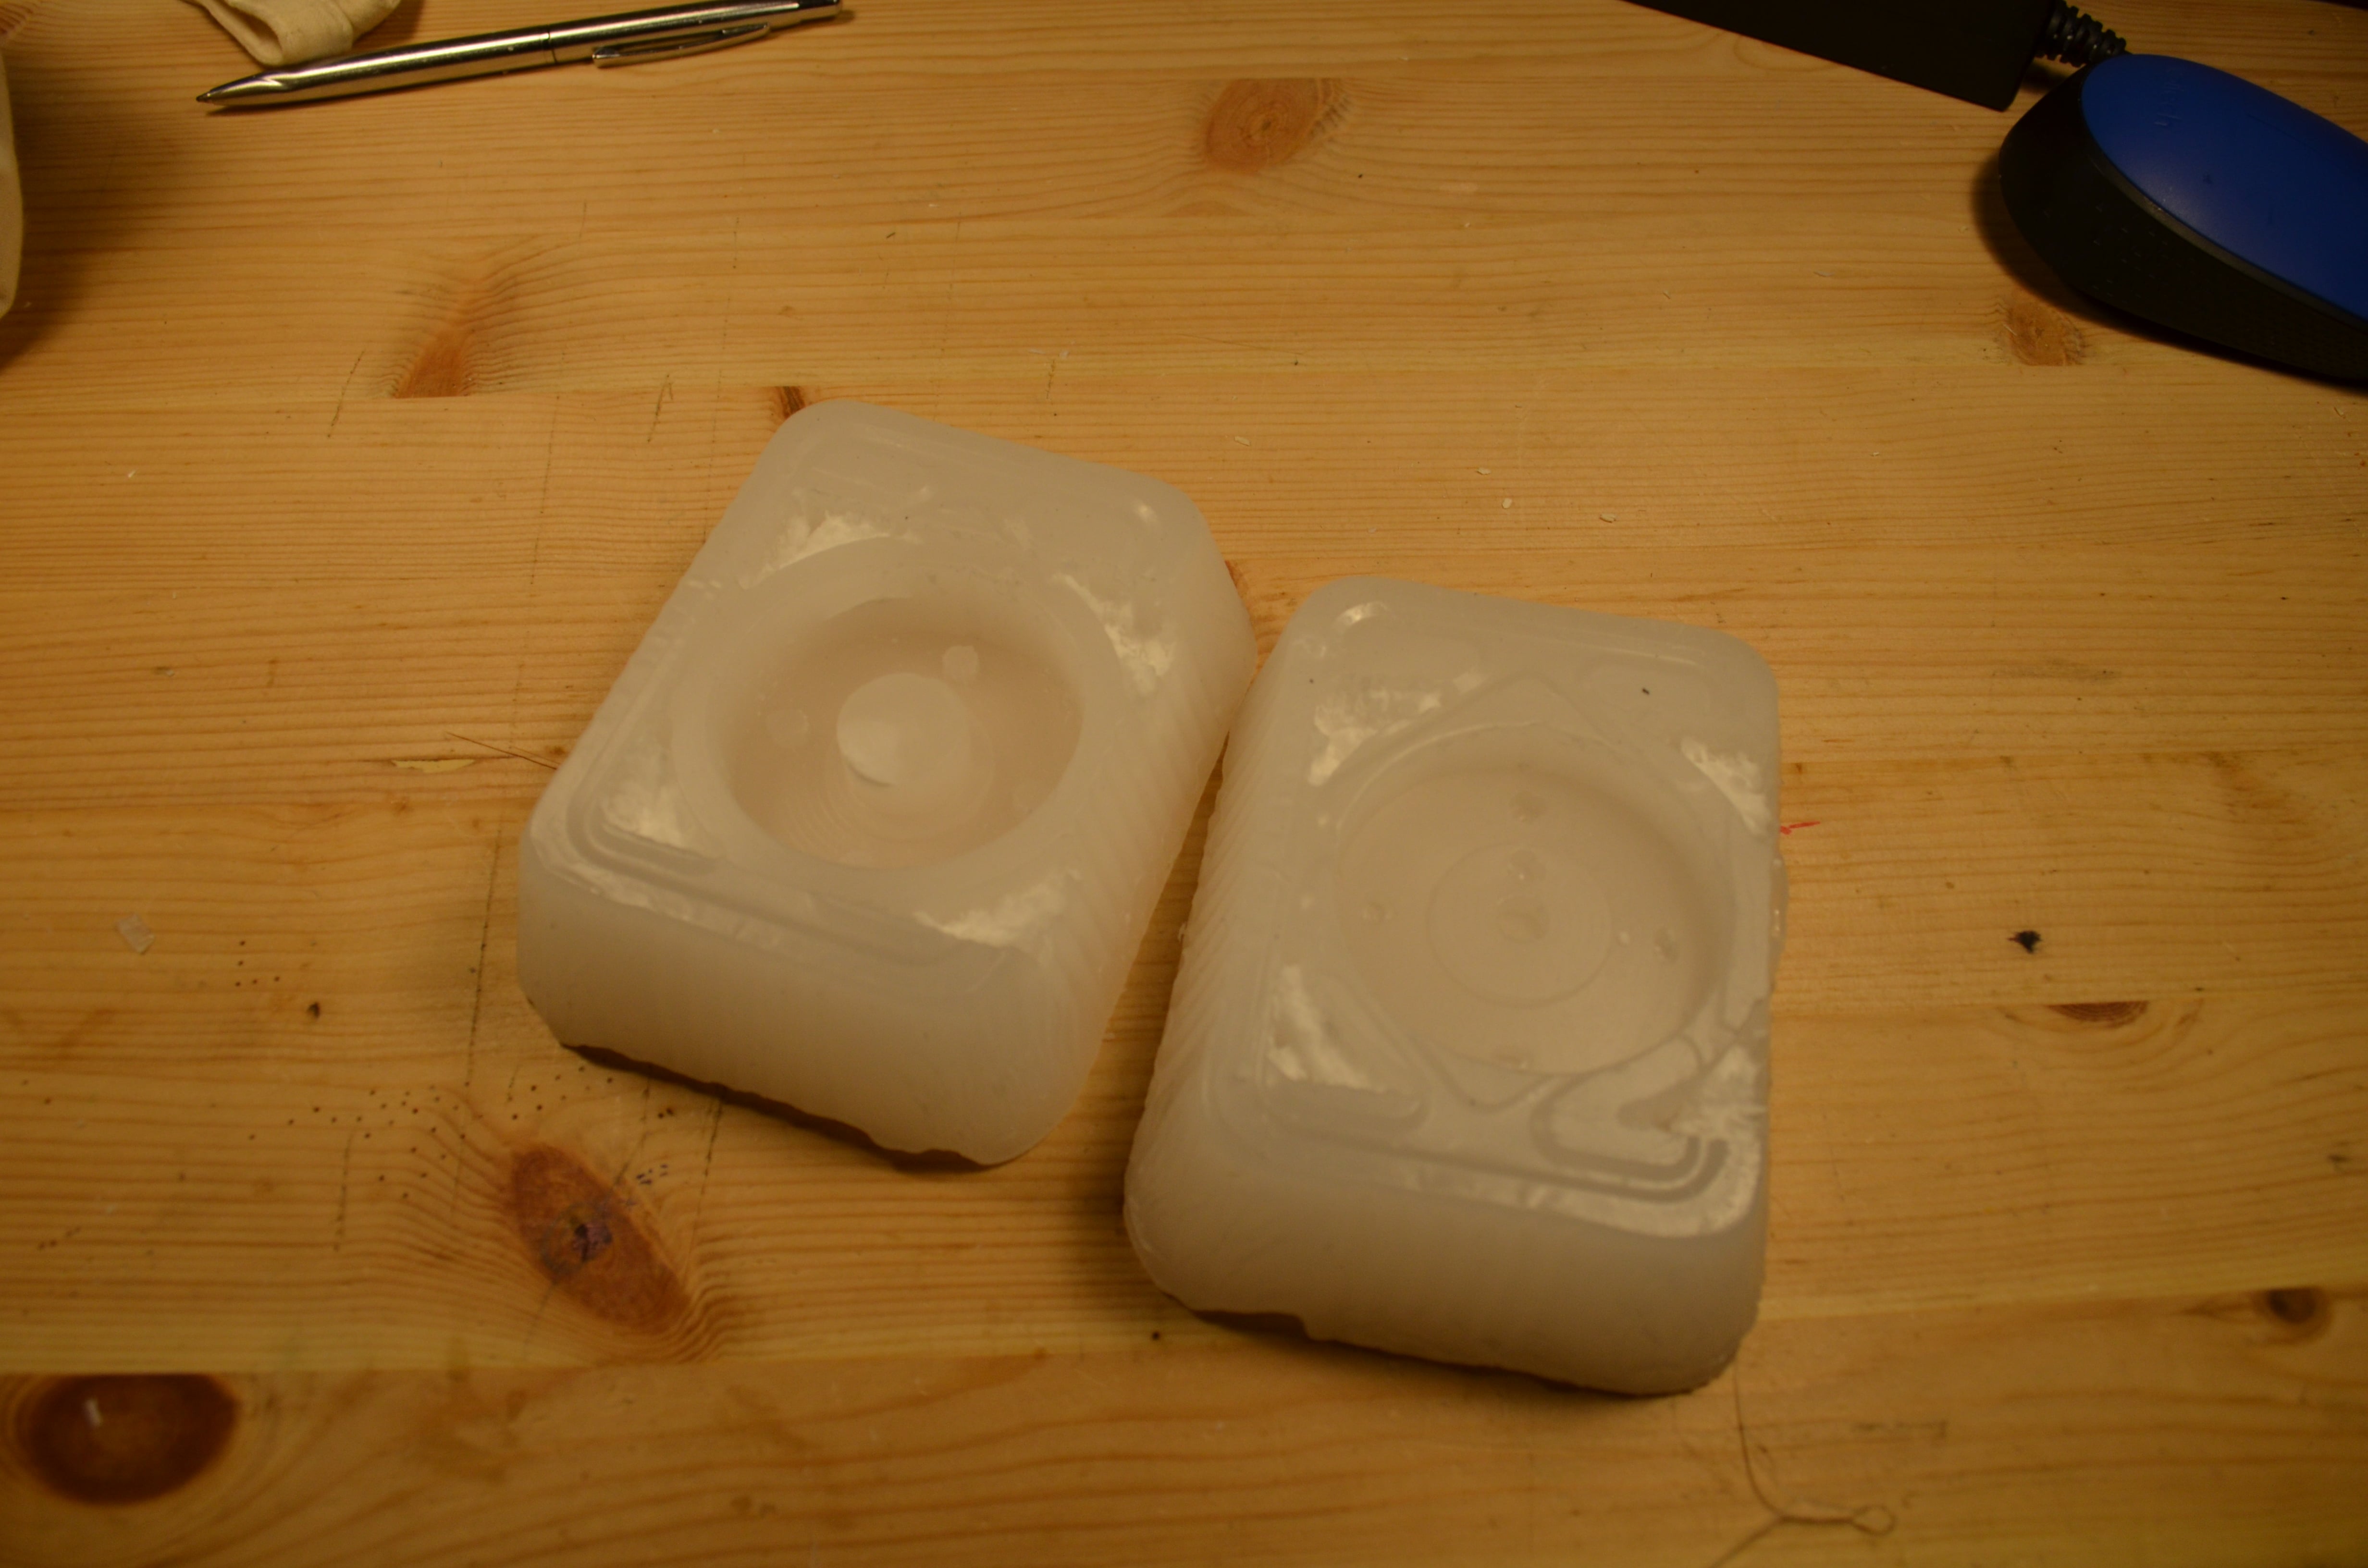
Next step was to actually mill the parts. I used hot-glue to stick the wax block to the bed of the machine, and then, as usual I imported the gcode in UCCNC and did the work. The machine milled the wax like butter, it was really nice to see the work processing. At the end I used a brush to clean the molds from all the wax flakes that were left on the surface.
4 – Pouring the silicone
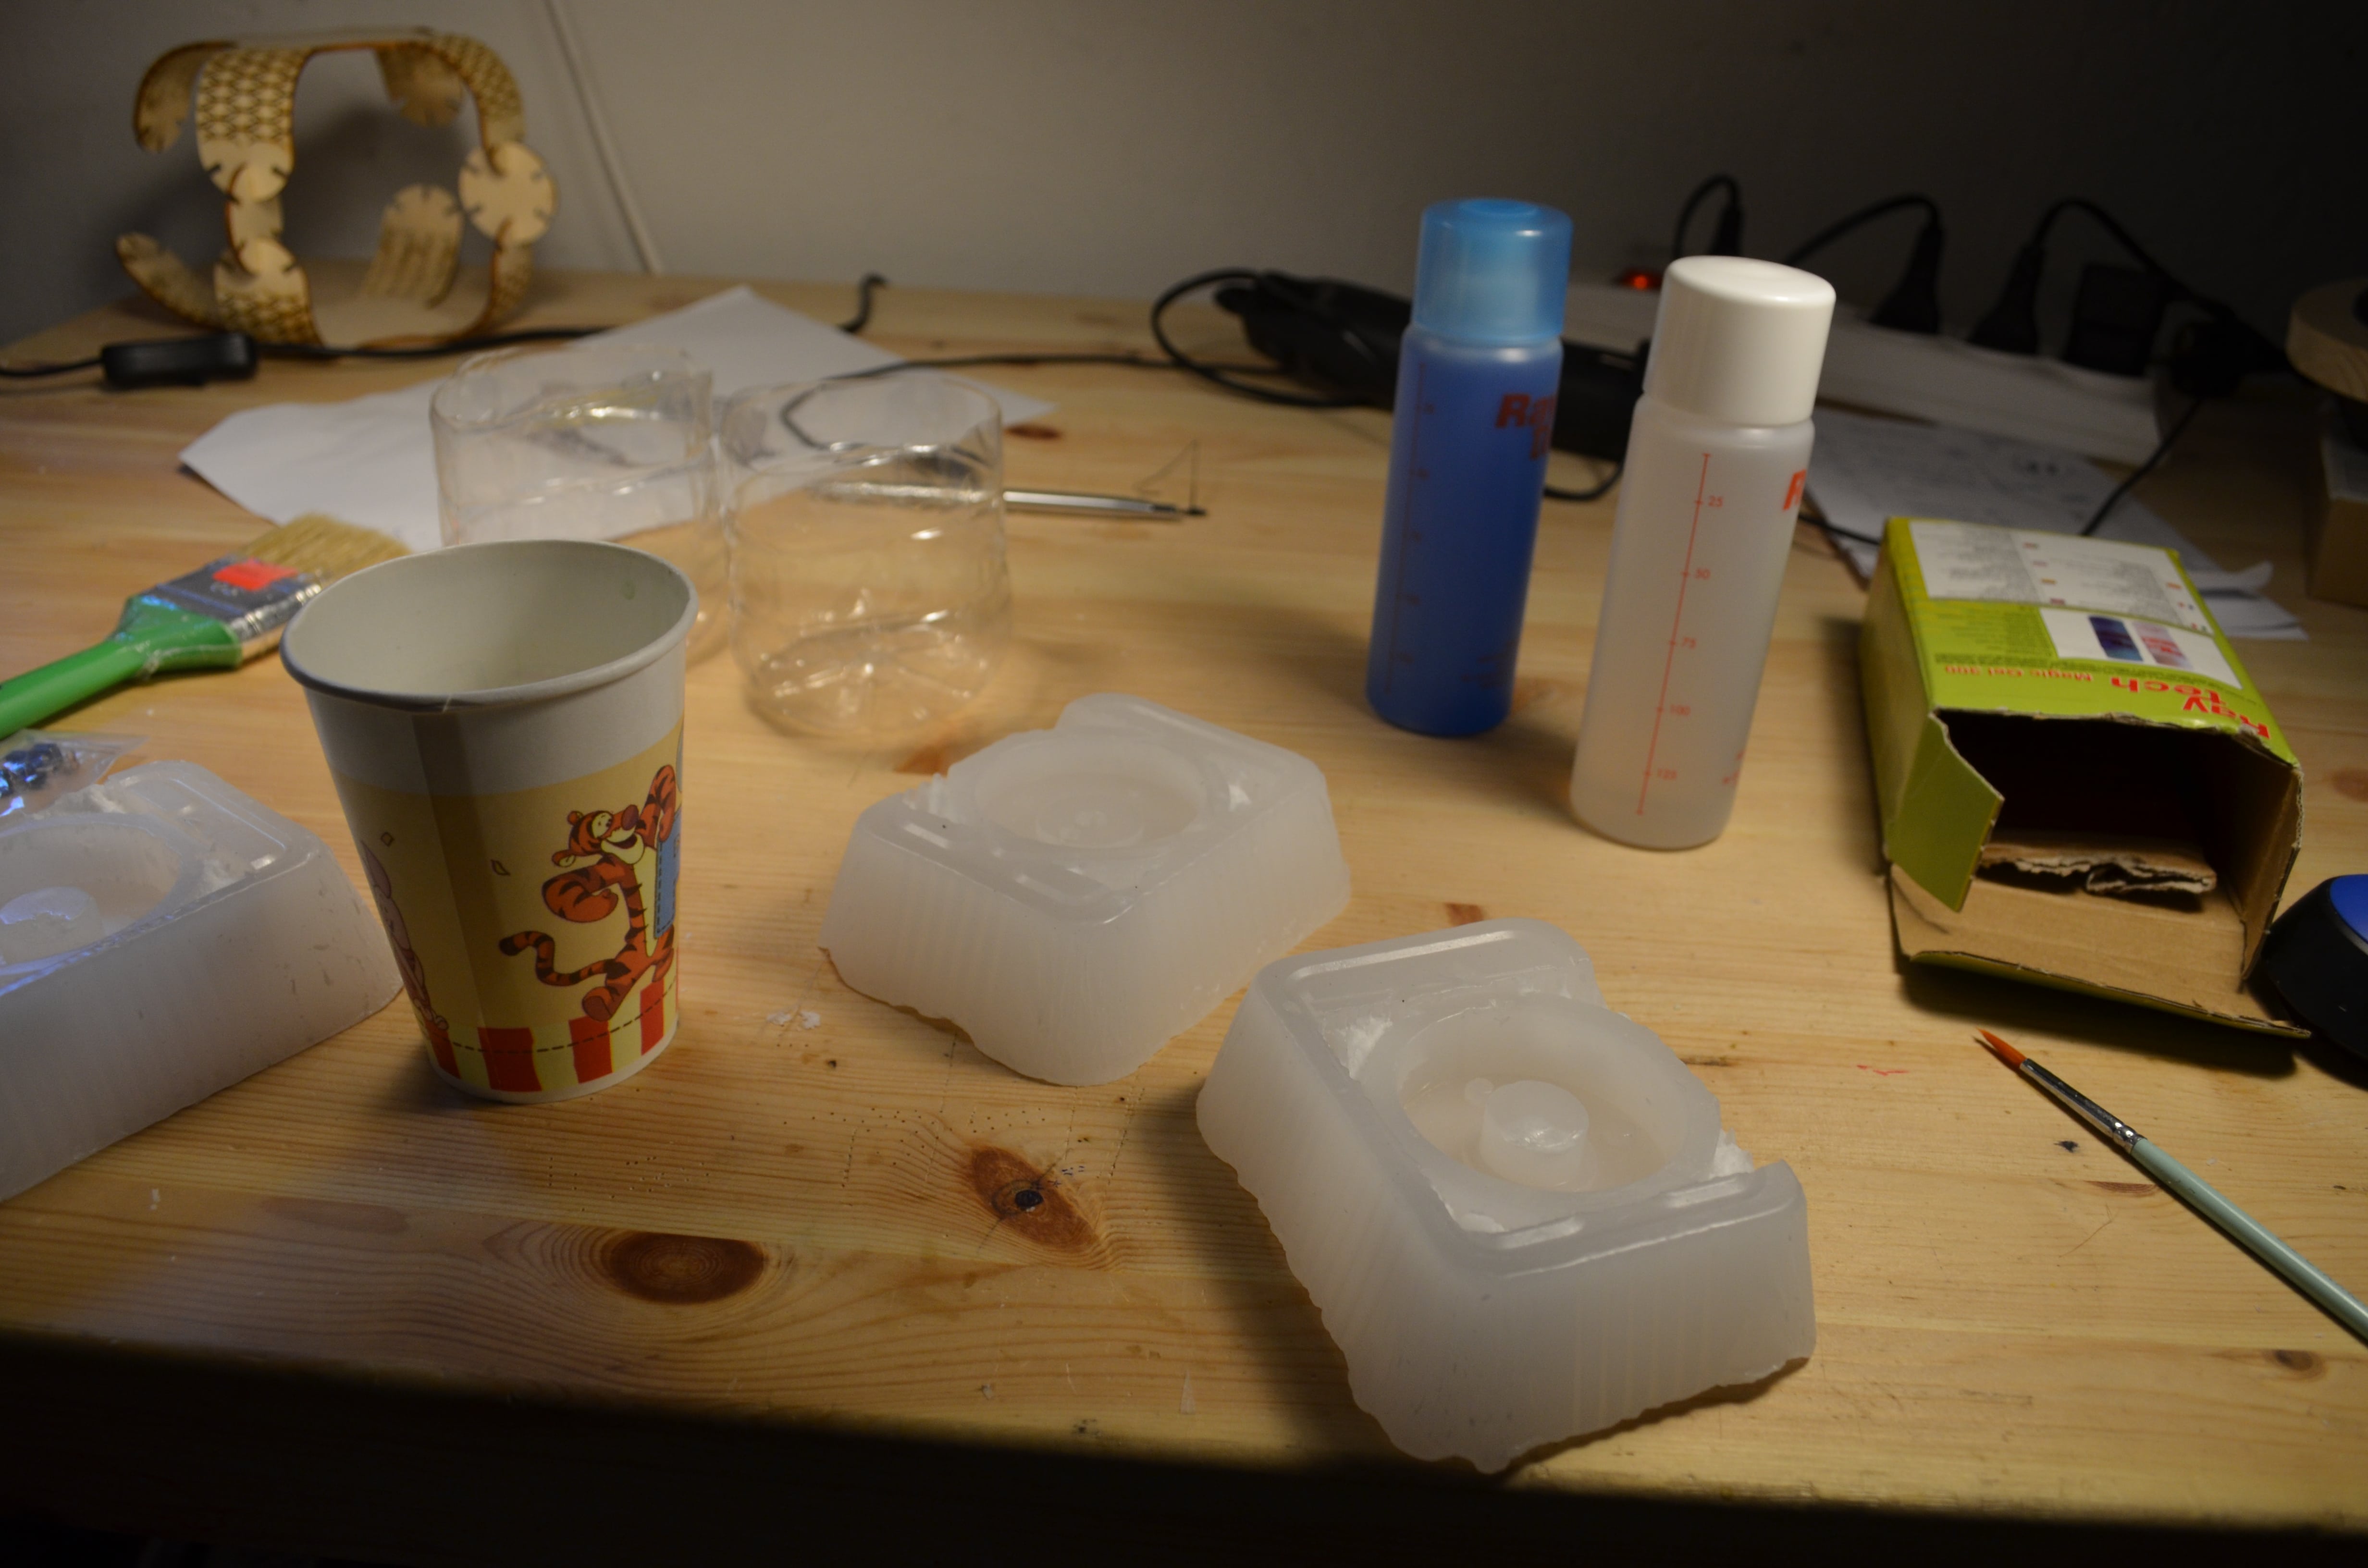
Once the mold was clean I used the silicone to make my real mold. The silicone I used it’s made out of two components, that once you mix together start to get harder until they turn in to silicone…
To be precise, the silicon I bought is called "Raytech Magic Gel", It's generally used to seal electric implants for outdoor electric sysyems. The datasheet can be found Here
The material is very safe to use, but just in case I used gloved and I worked in a well ventilated environment. The instructions suggested to mix the two components for 2 minutes, and 5 minutes is the time that the material requires to become solid
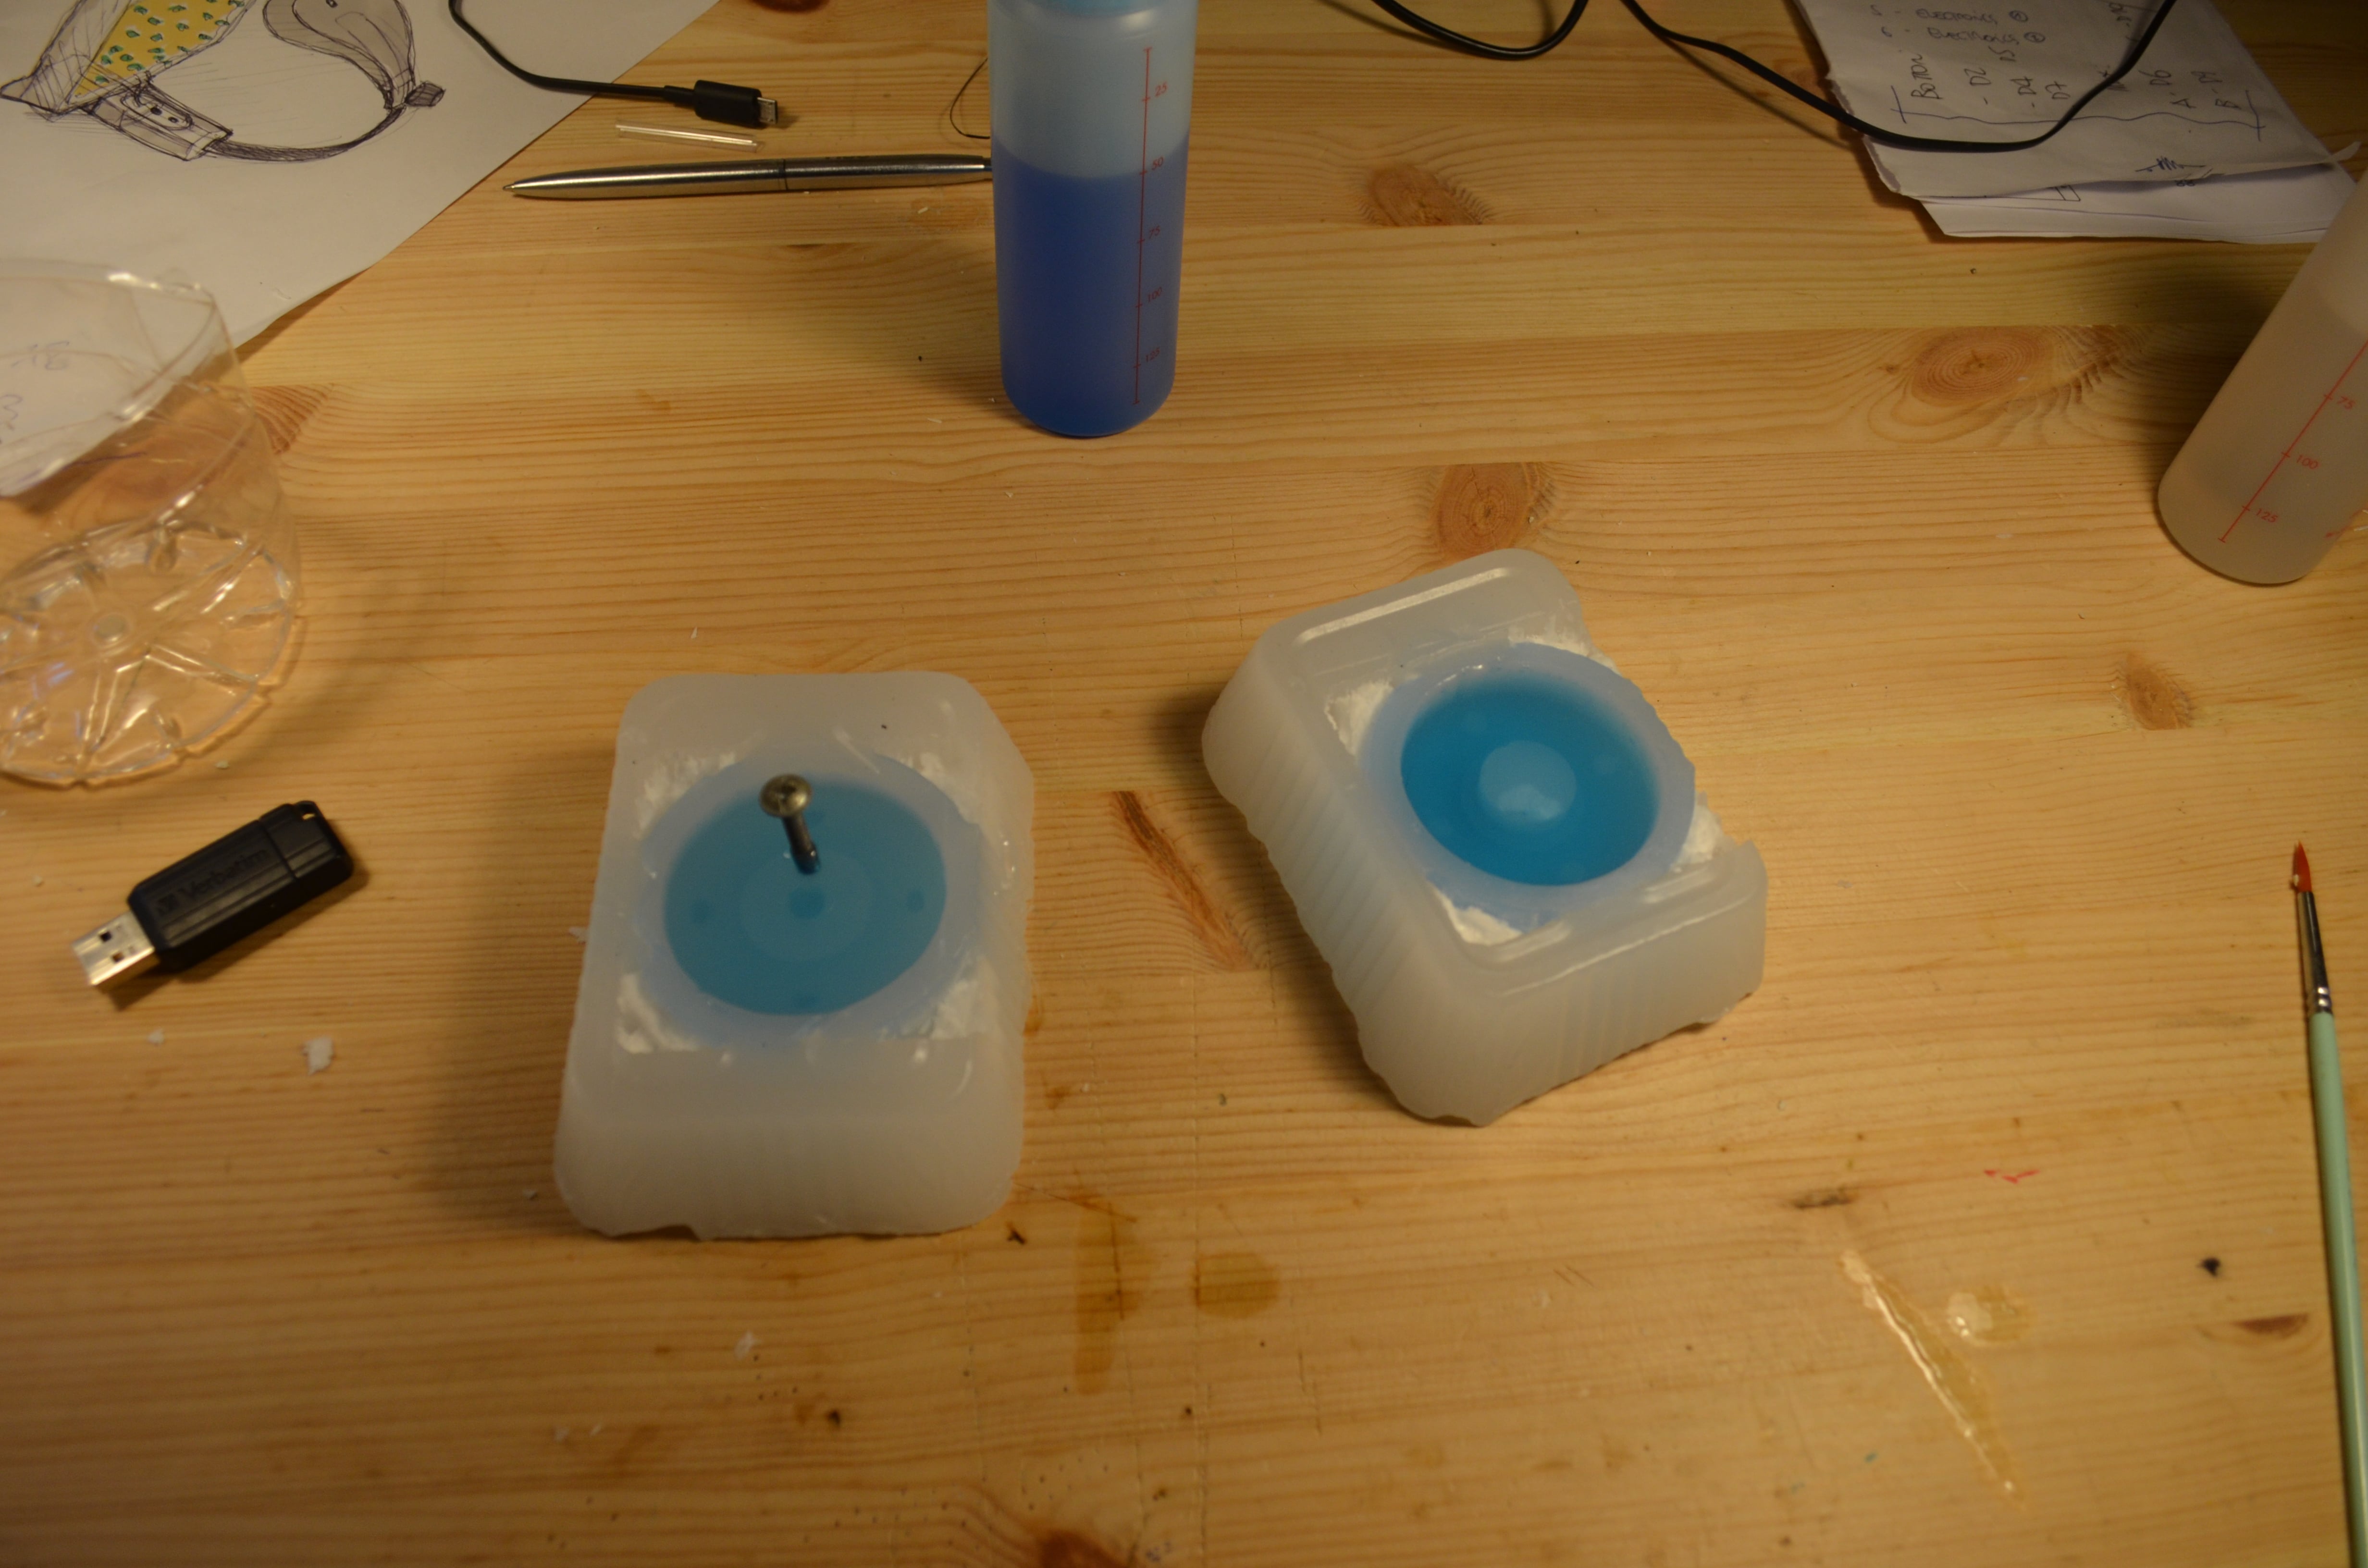
I mixed the parts in a cup and I pour the mixture in my moluds.
To make sure the silicon would not stick too much to the wax, I applied a mixture of dish soap and alchool all over the mould.
In order to have a canal where the material can be poured, I used a bolt.
After a few minutes (to be sure it wasn't too early I waited for 15/30 min) my silicone mold was ready, I love the texture and the softness of the material.
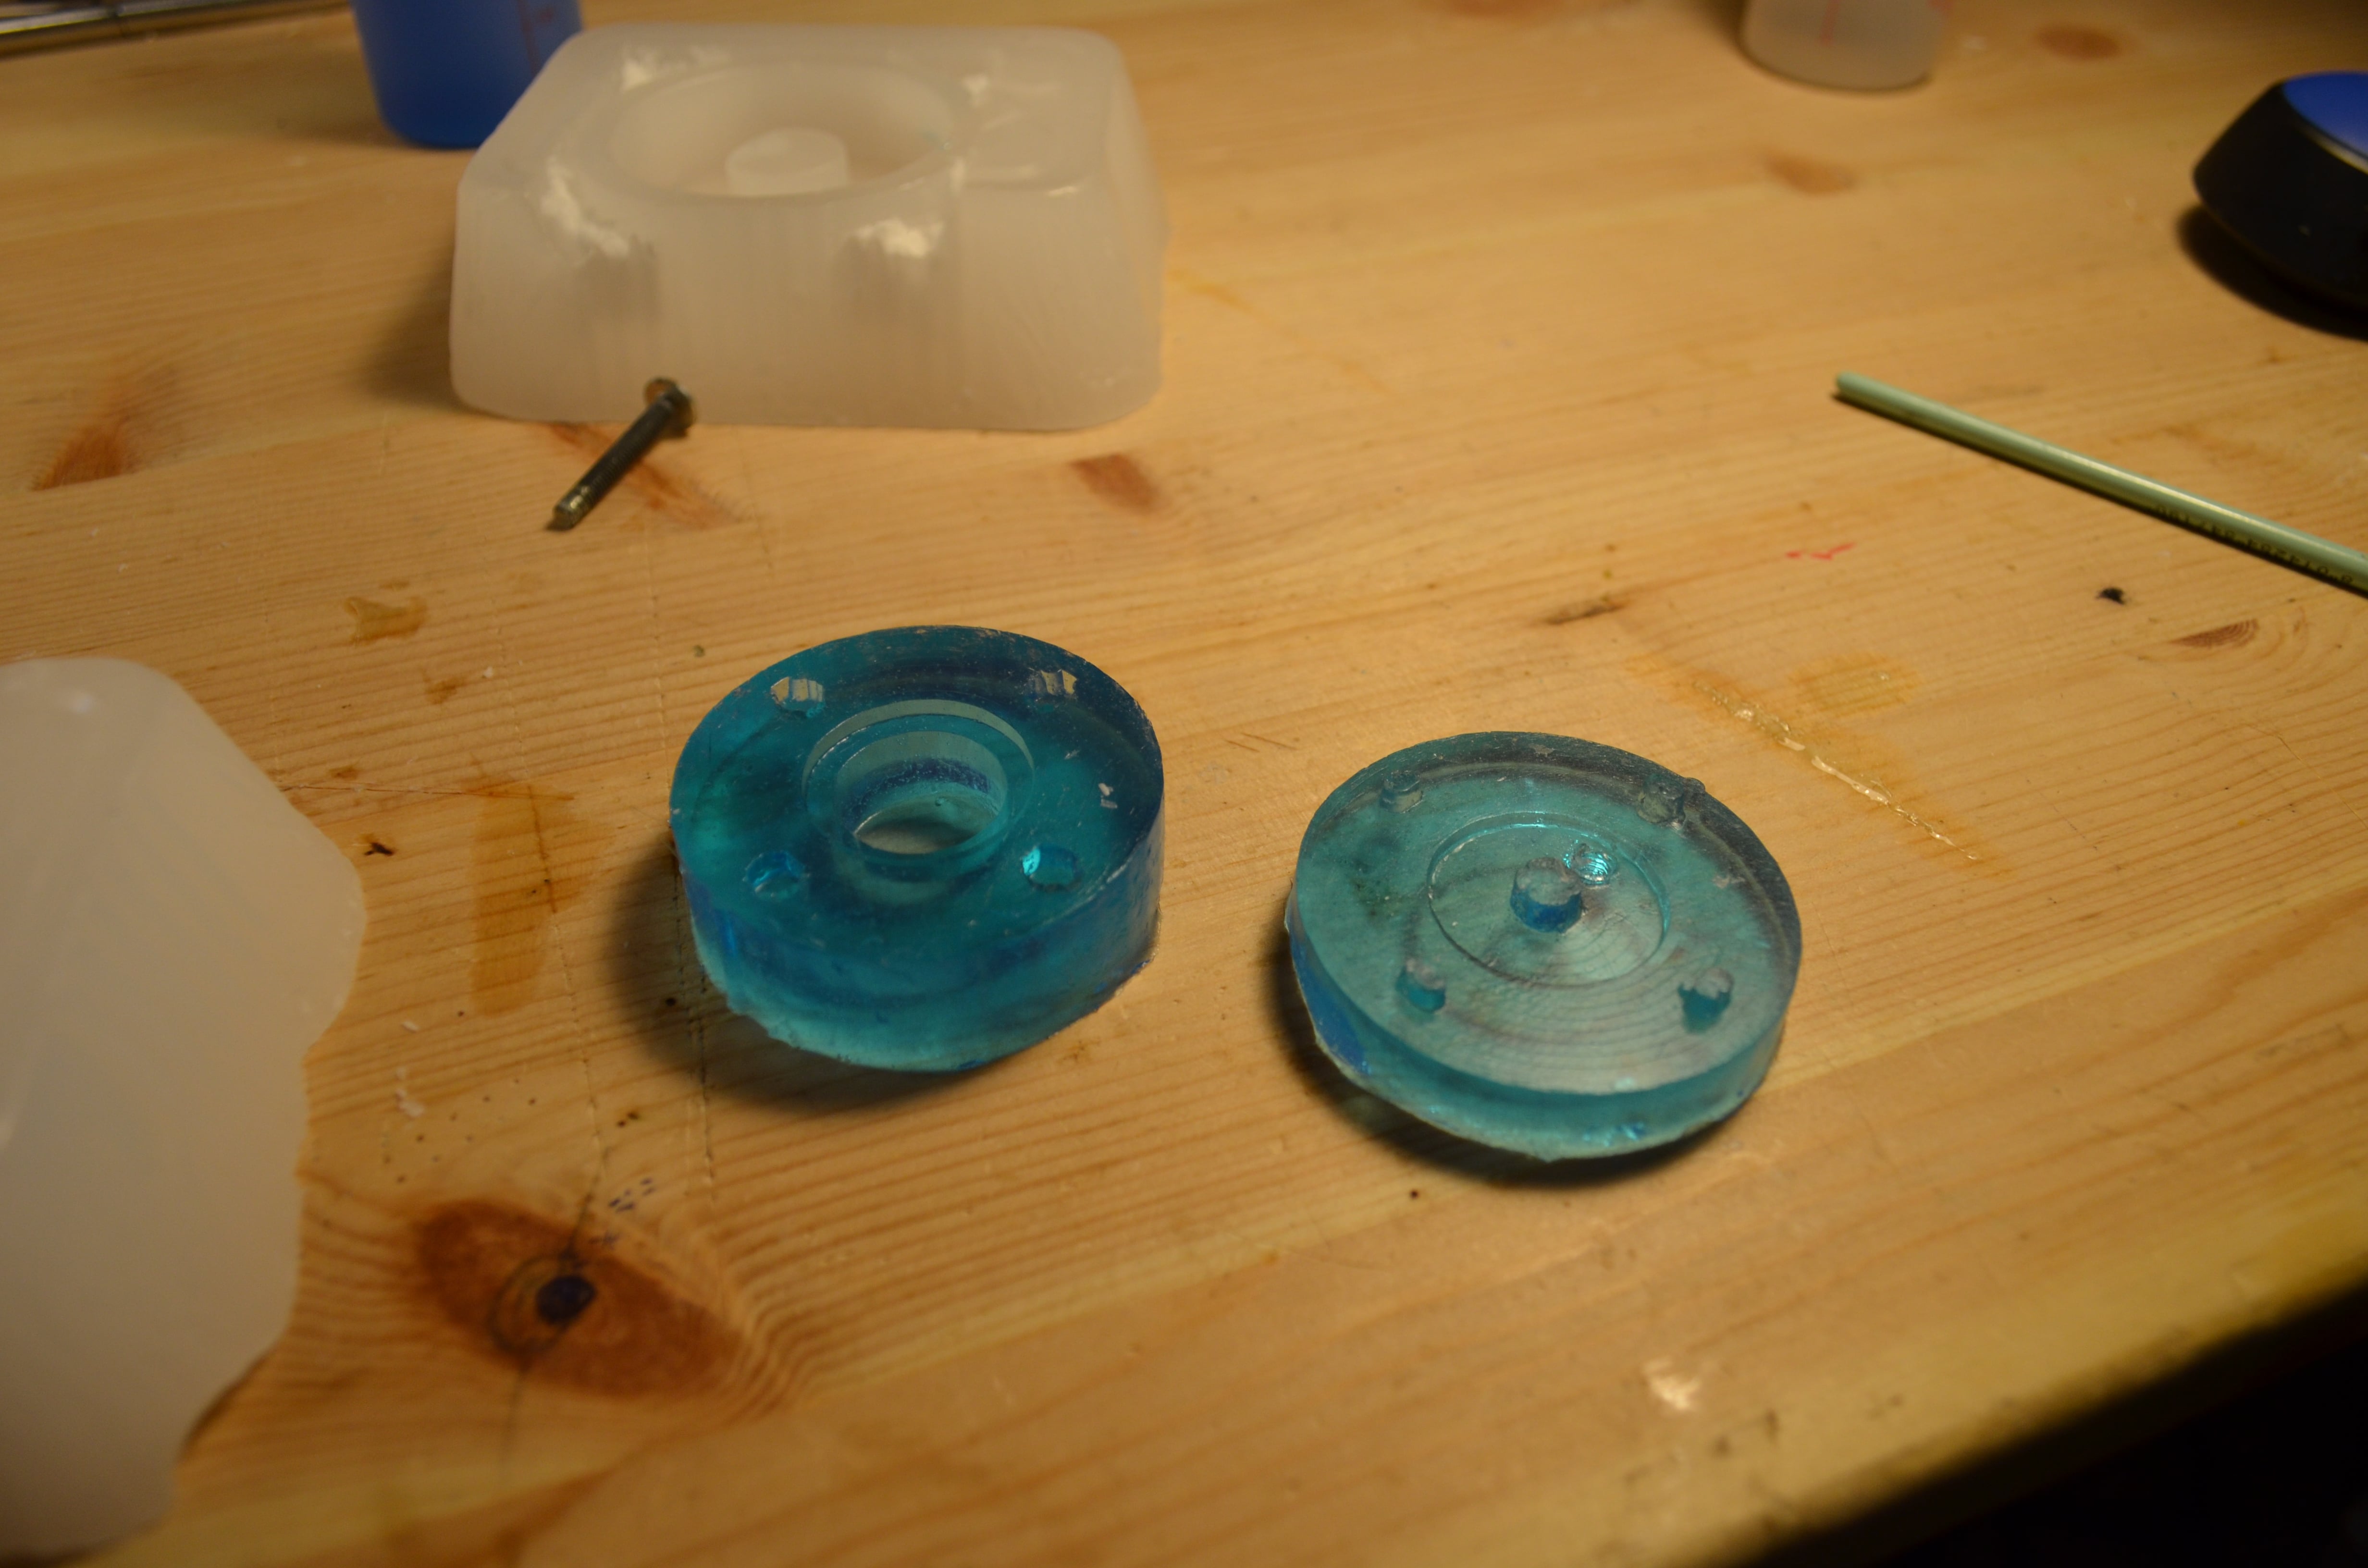
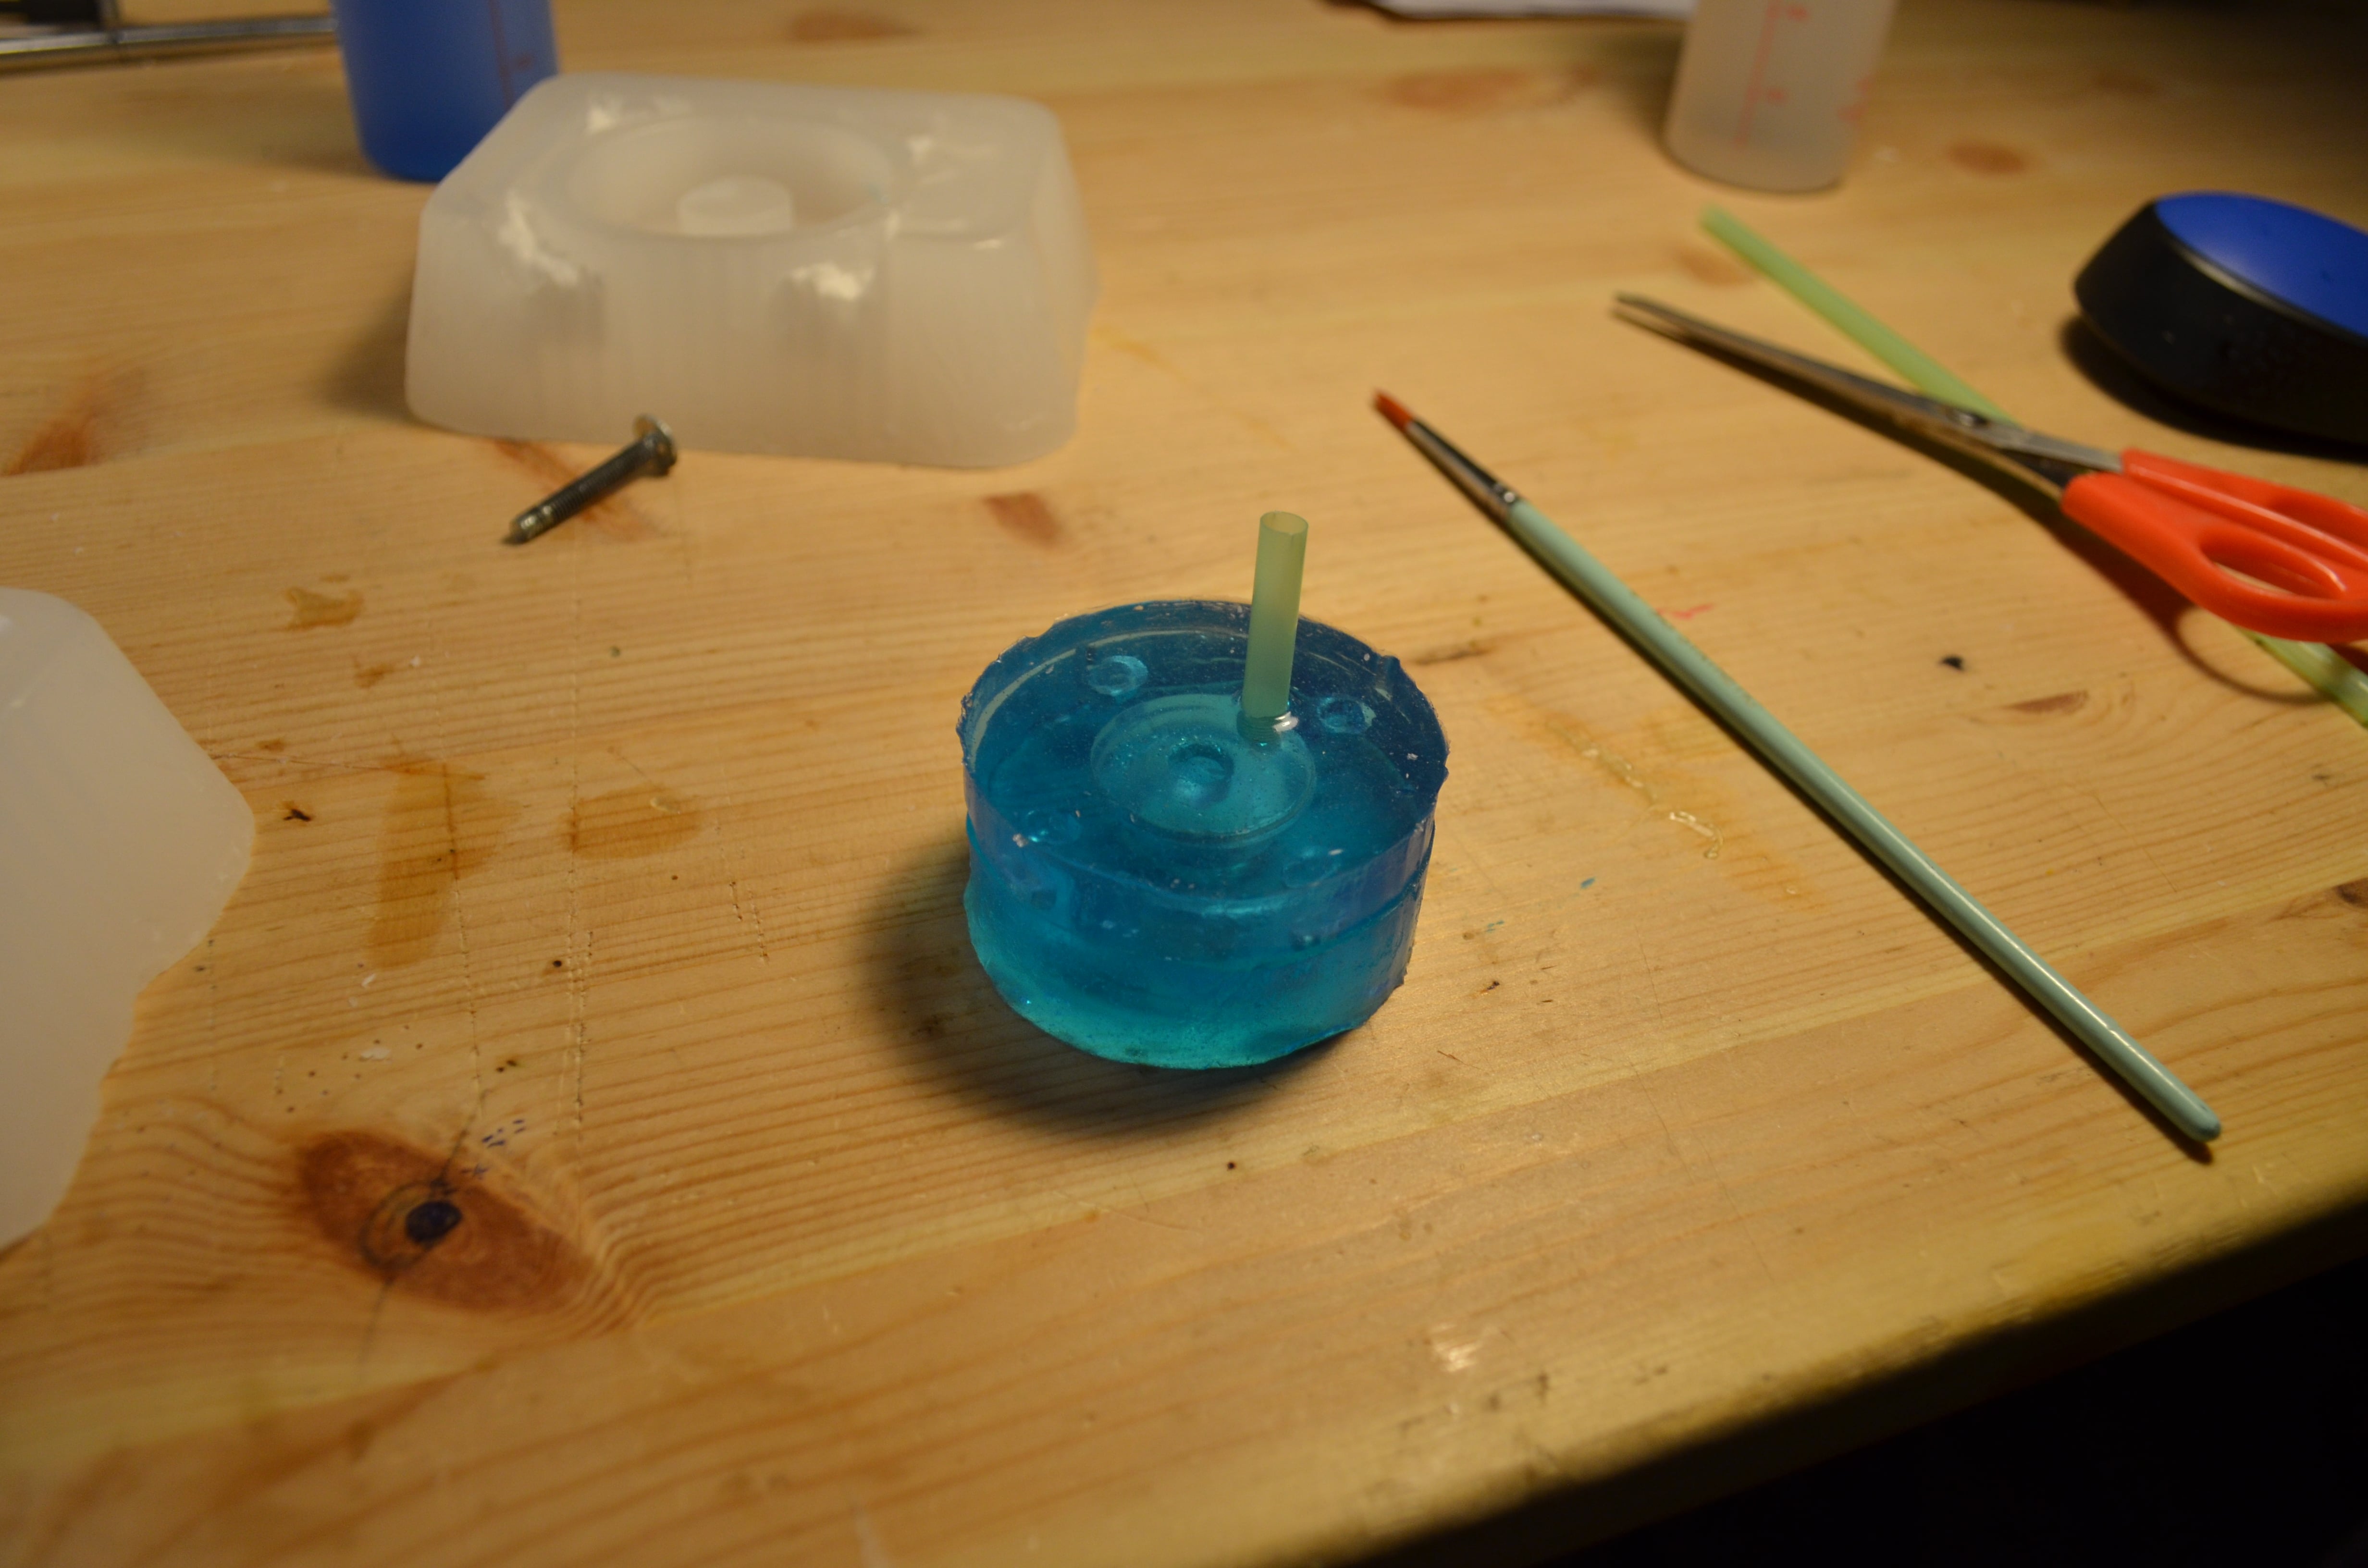
5 – Making the button
To save money I bought a small size of silicon, and I was afraid it wouldn’t be enough to make a button, so, in stead I melted some of the flakes left from milling to make my final object. Although it’s probably not the best material to fabricate long lasting objects, the wax worked really well, since the silicon I’m using is transparent it was really nice to see how the material went from liquid transparent to white.


source files
Here are all the source files for the Interface and application programming assignment:
1 - mould A
2 - mould B
3 - FreeCAD file