Assigment #1A
Propose a Final Project
The task we have to complete in order to fulfill our first assignment it’s to sketch a proposal for our final project. Since years I’ve been working with artists to develop electronic music instruments, and it therefore feels quite natural to propose a final project that goes toward that direction. After a deep analysis of the Fab Academy 2020 program, I thought it would be a very smart idea to implement as many assignments as possible into the development of my final project. In this way I can optimize the time I dedicate to the academy and find myself in a situation where most of the components for my final project are ready as soon as possible.
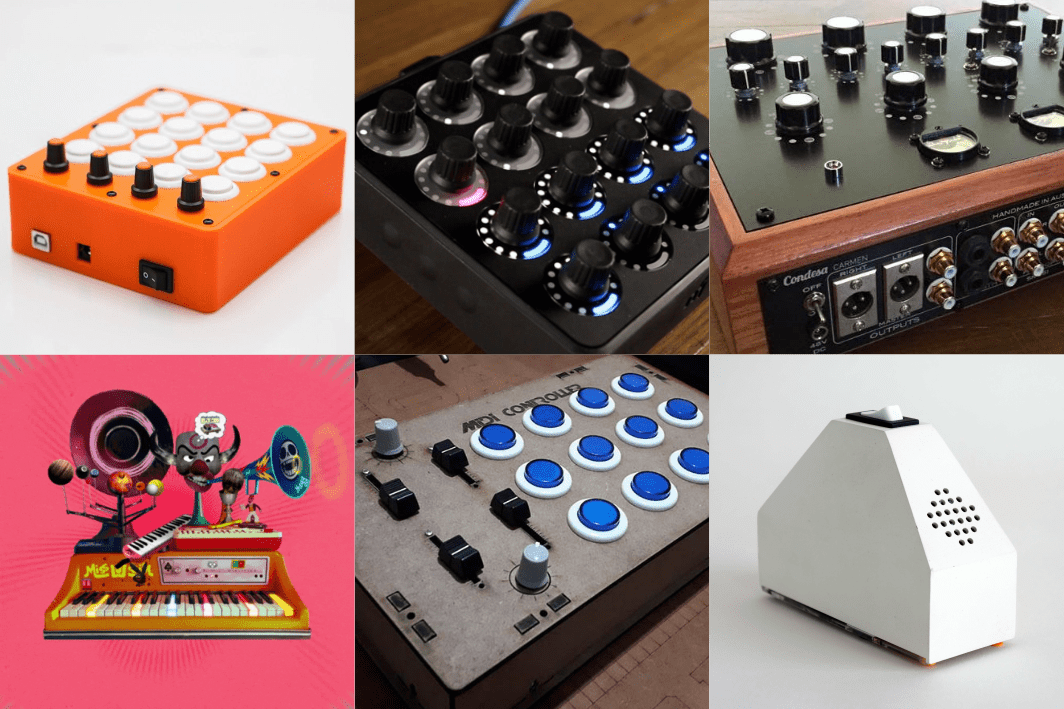
1 - An experimental MIDI controller
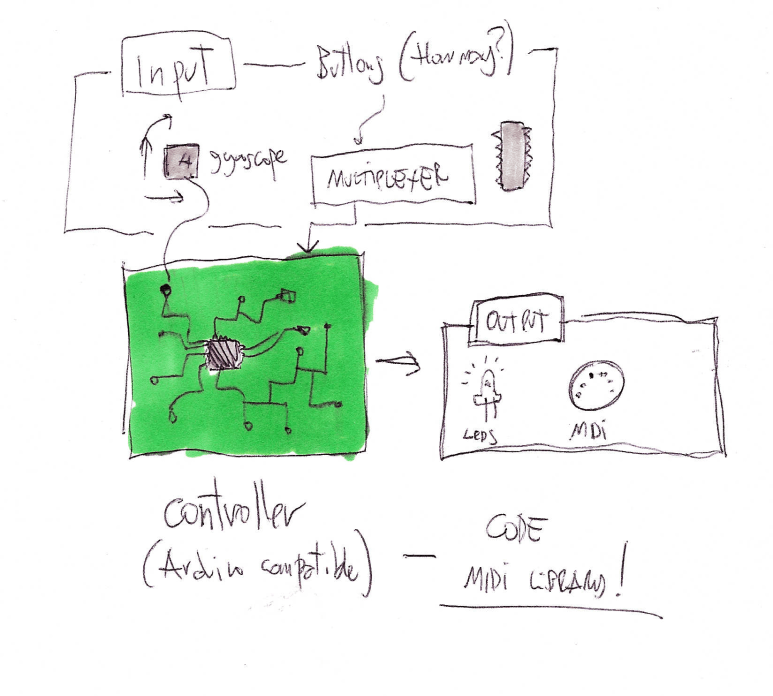
So, my idea for the Fab academy final project is to design a MIDI controller that uses also other sensors in stead of “the usual” buttons and knobs.
In fact it appears that (especially in the mainstream market) even if it would be possible to use nearly any kind of sensors to modulate sounds, it is really hard to find music interfaces that are not boxes with buttons and knobs on them.
I aim to question this approach and come up with something new.
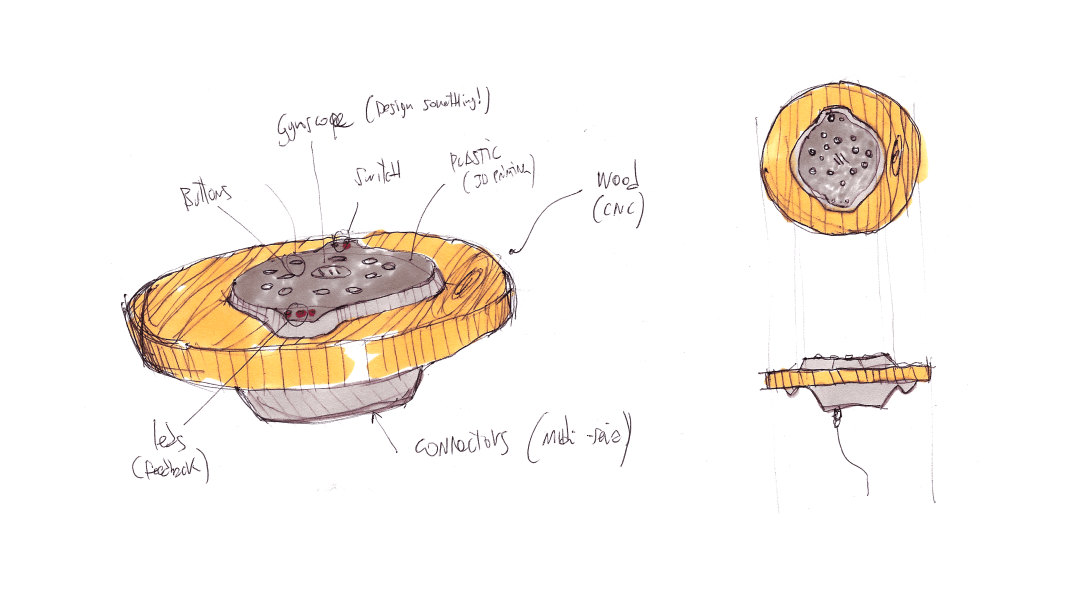
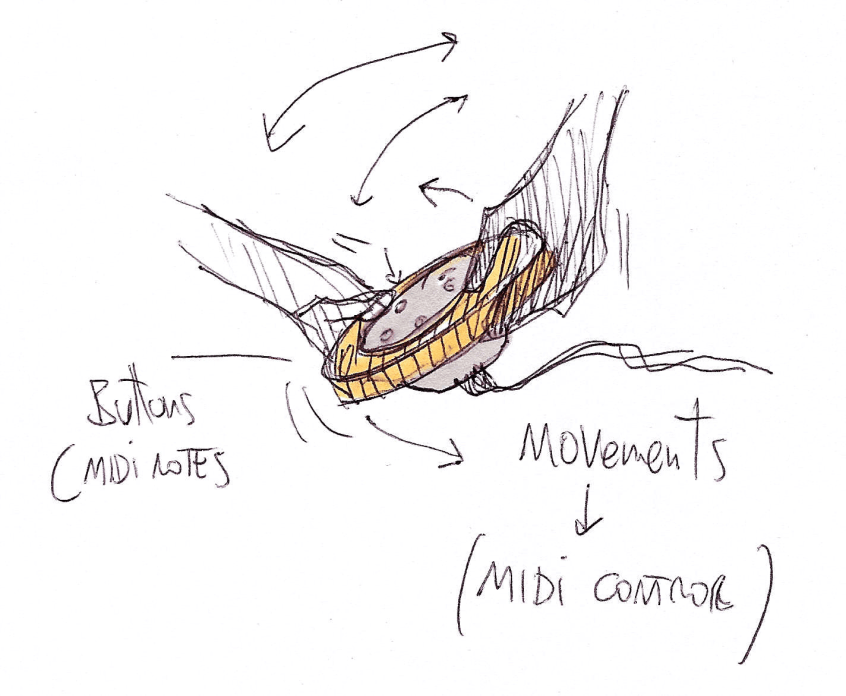
 To be a little more specific, I would like to develop an instrument that uses a gyroscope to interact with the sounds.
I imagine a device that the user could hold in it’s hands and rotate it around to change the sounds he plays with.
To be a little more specific, I would like to develop an instrument that uses a gyroscope to interact with the sounds.
I imagine a device that the user could hold in it’s hands and rotate it around to change the sounds he plays with.
2 - structure of the device
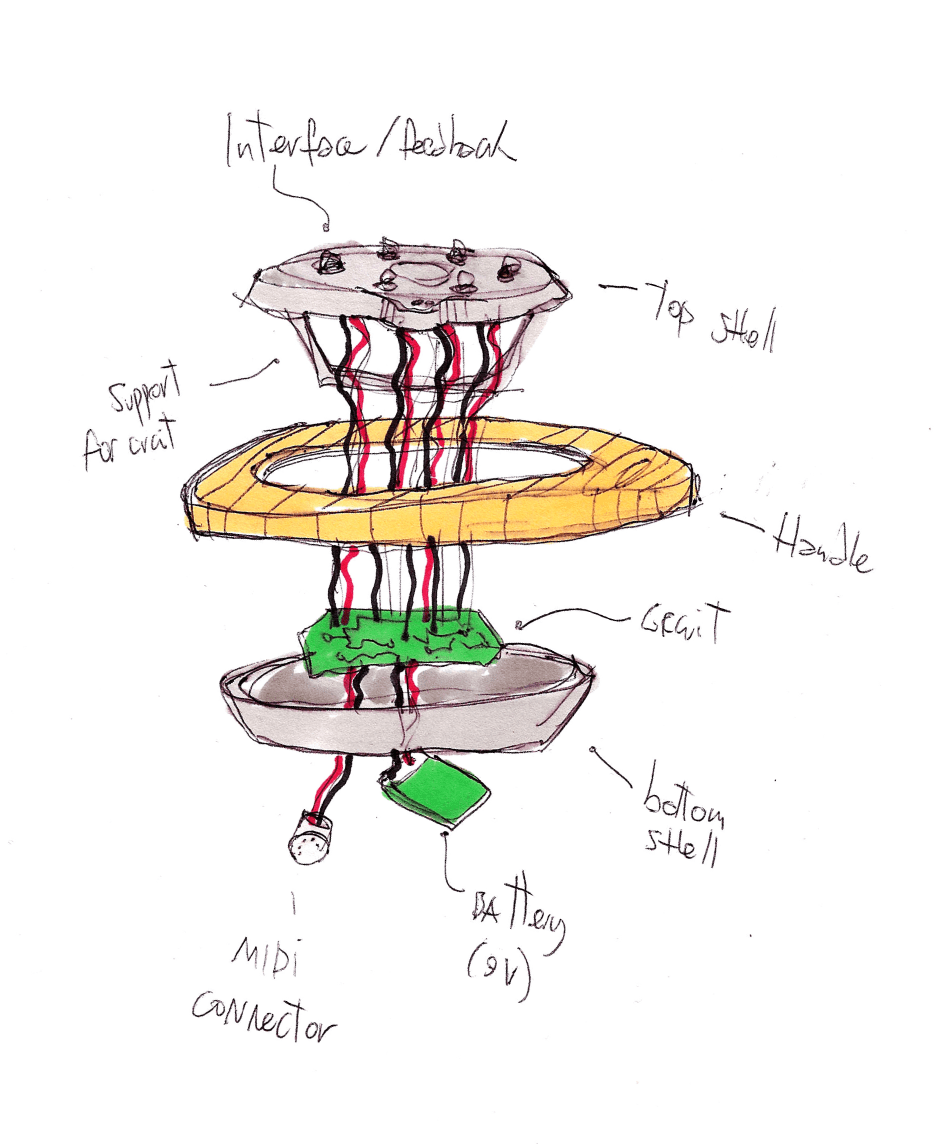
I think that the device should be as compact as possible in order to provide an asy and straightforward handling, and at the same time being relatively fast to produce and budget friendly. To achieve that I thought about producing a devica based on a sort of “sandwich” where two 3d printed shells contain a wooden element that will be the part that the user will hold. I’ll also try to add some visual feedback to make the users aware of what the sensors are detecting (sketch esploso) On top of the device there will be a set of 12 buttons, and in the center I plan to place the gyroscope.
3 - circuits and code
At this stage I guess the best thing to do regarding the desgn of the circuits will be to produce an Arduino compatible controller where I will connect the gyroscope, the buttons and the visual feedback system (perhaps with the implementation of a multiplexer chip to encrease the numbers of the pins available). This way of working will probably make my work a lot easier because there are quite a few arduino libraries that allow the controller to send midi via serial port and/or via MIDI connector.
4 - Design considerations
The fact of using a gyroscope together with the usual kind of input devices will change radically the design paradigm behind the object. A device that can be twisted/turned/moved around will probably change the idea of having a “correct” or “incorrect” verse
Assigment #1B
create a website
After sketching a proposal for the final project It’s time to create and upload a personal website where to publish all the achievement of the Fab Academy program. I’m not a great coder, but I already have a little bit of experience that I made in order ti make my own portfolio (but I used github in stead of gitlab). The following paragraphs will illustrate all the steps I followed to make the website you are browsing right now
1 – Design
The first step I took to make this site is to define some design characteristics that I want to implement on my Fab Academy blog.
I decided to go for a very simple and direct layout, with a sidebar on the right side (with a logo and a very simple menù) and a main area where I’ll place the contents
2 – Jekyll
To develop my website I used Jekyll.
From Jekyll official website: “Jekyll is a static site generator. You give it text written in your favorite markup language and it uses layouts to create a static website. You can tweak how you want the site URLs to look like, what data gets displayed on the site, and more”
Jekyll allows the user to setup a css and html main layout that can be called from more simple files that can be easily edited in mark down language.
On top of this, there’s the possibility of downloading templates and then tweak them to get what you want in (almost) no time…
To install Jekyll in your computer (I’m using Linux Mint as an OS) you need to install a ruby development environment, and then to run the following command:
- gem install jekyll bundler
Once I’ve got jekyll in my computer I just downloaded a template called “Hyde”.
Through my terminal I navigated to the template folder and then I executed the following command:
bundle exec jekyll serve
(terminal picture)
This command will run the website in your local host, that you can explore by opening your browser (in my case Mozilla Firefox), and go to:
http://localhost:4000
by doing this it is possible to see the website as it is, and check what your tweaks are doing.
3 – HTML, CSS, and Markdown to tweak the preset
Once the template I chose was up and running in my local host, I started to explore the folders in it and edit the files to get what I wanted for the website.
At this point I just tried to change stuff by using a mark down compatible text editor called “Remarkable”.
After a few attempts I managed to implement my favourite font (called Roboto) and enrich the sidebar with a logo + some social networks links at the bottom.
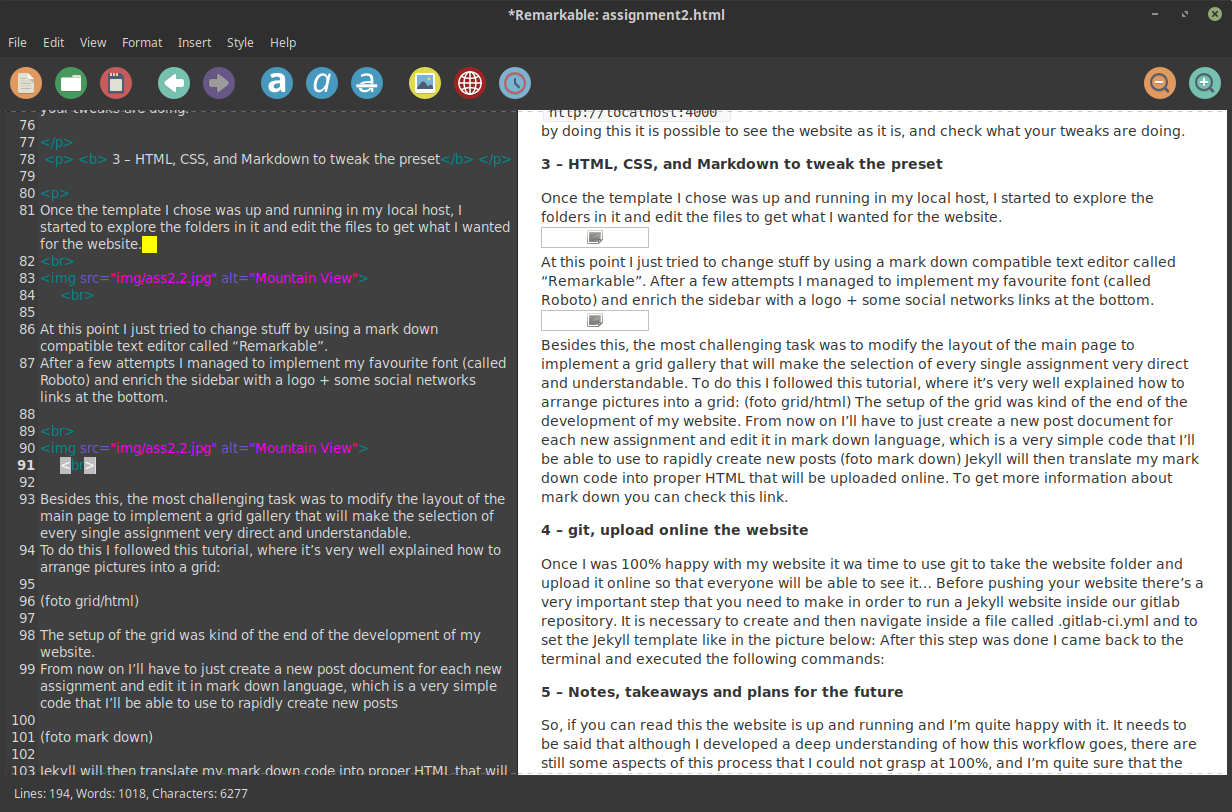
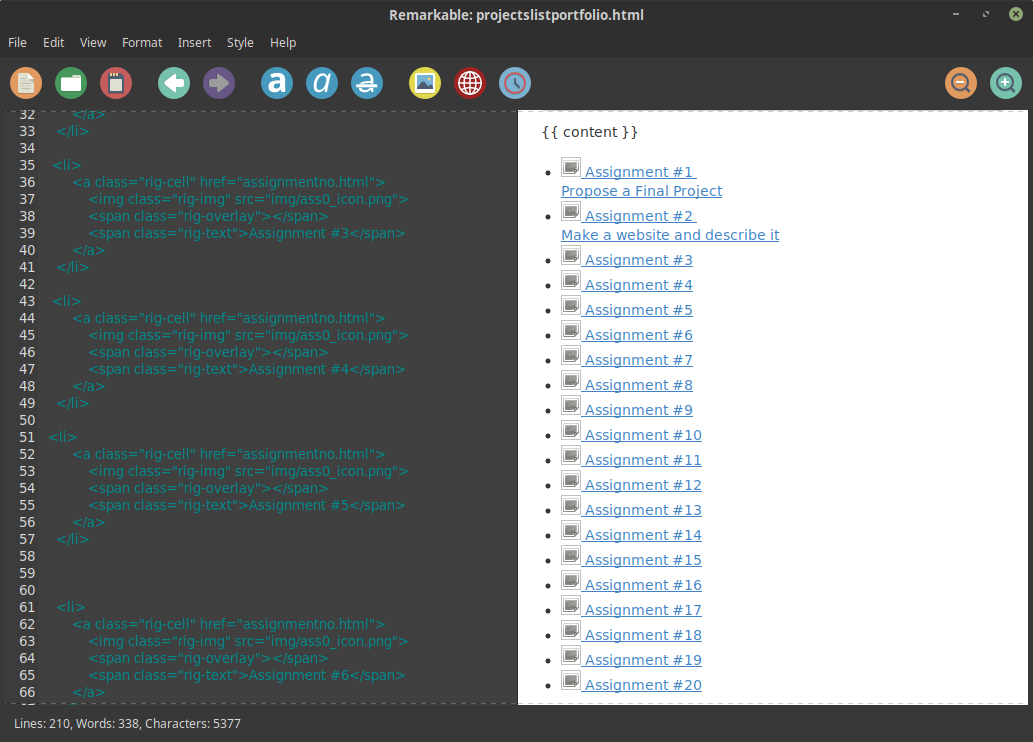
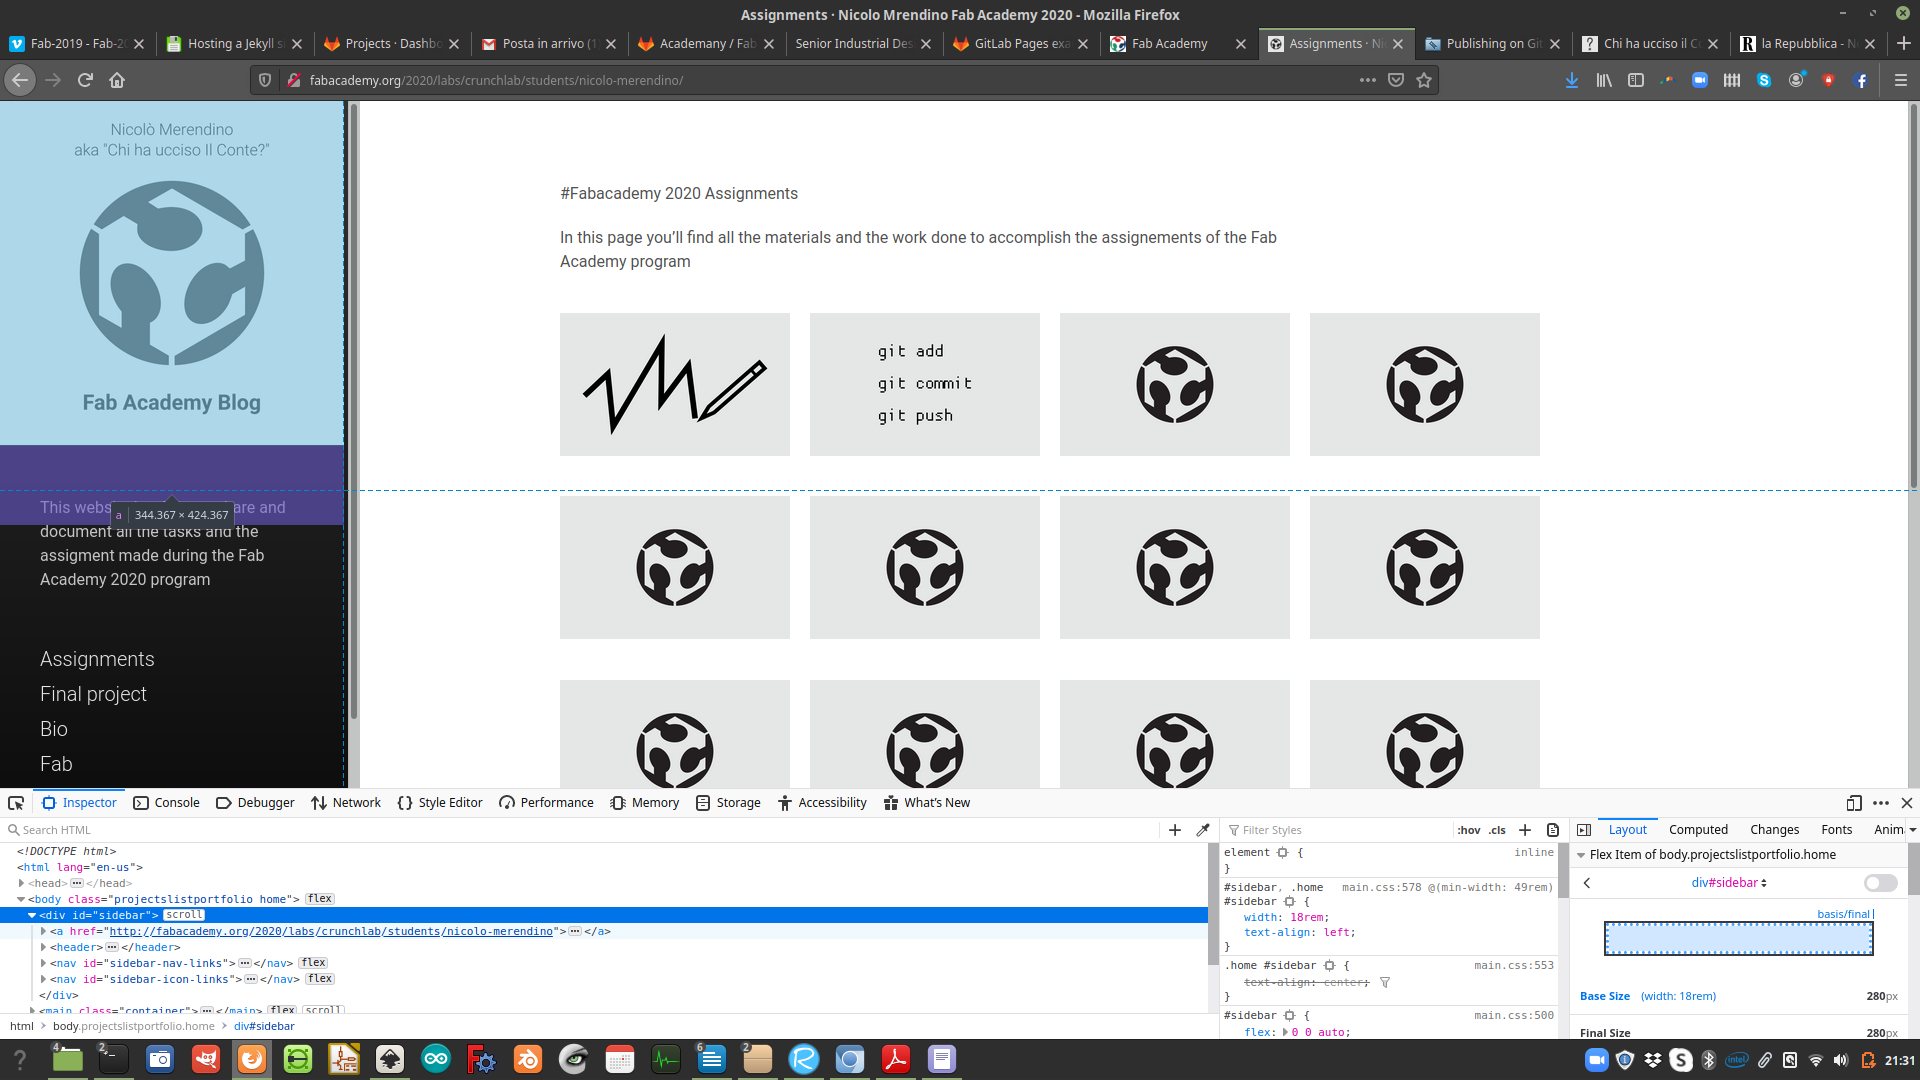
Besides this, the most challenging task was to modify the layout of the main page to implement a grid gallery that will make the selection of every single assignment very direct and understandable.
To do this I followed this tutorial, where it’s very well explained how to arrange pictures into a grid, to do that I followed
this tutorial
:
The setup of the grid was kind of the end of the development of my website. I did this following
From now on I’ll have to just create a new post document for each new assignment and edit it in mark down language, which is a very simple code that I’ll be able to use to rapidly create new posts
Jekyll will then translate my mark down code into proper HTML that will be uploaded online..
4 – git, upload online the website
Once I was 100% happy with my website it wa time to use git to take the website folder and upload it online so that everyone will be able to see it…
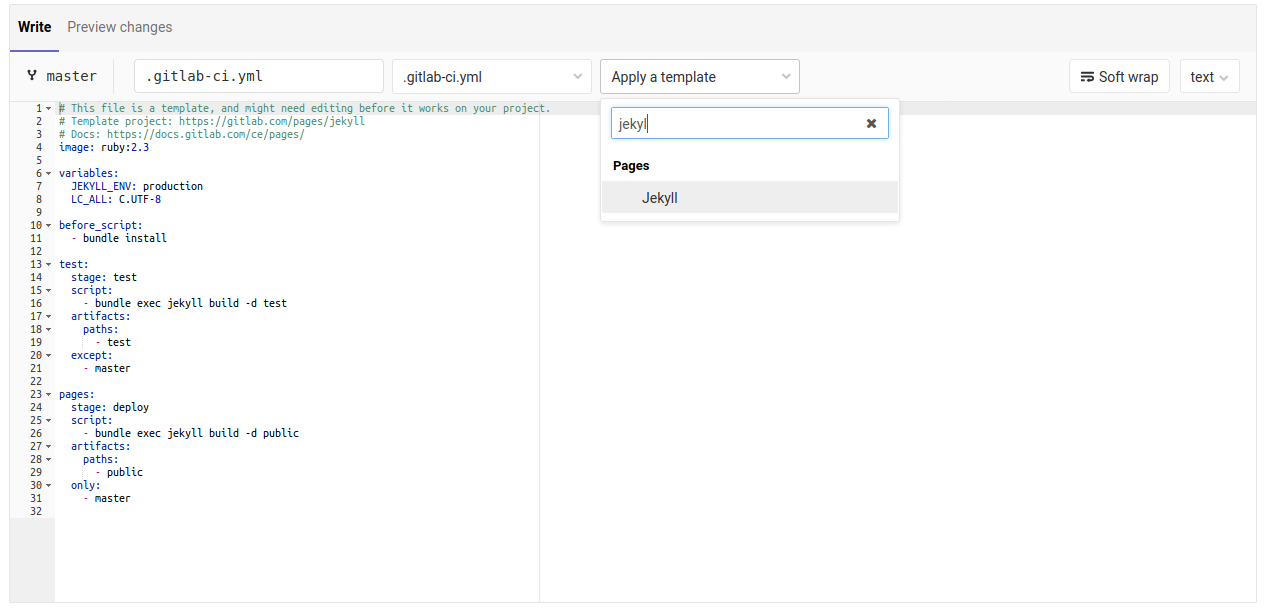
Before pushing your website there’s a very important step that you need to make in order to run a Jekyll website inside our gitlab repository.
It is necessary to create and then navigate inside a file called .gitlab-ci.yml and to set the Jekyll template like in the picture below:
I wish that was it, but it wasn't... I had to tweac some more configurations in my Jekyll website, following this tutorial
After this step was done I came back to the terminal and syncronised my folder with the one on line, using:
git clone https://gitlab.fabcloud.org/academany/fabacademy/2020/labs/crunchlab/students/nicolo-merendino.git
Of course the url changes according to where you need to upload your site. then I copy-pasted my website into the folder I just downloaded and runned the following commands
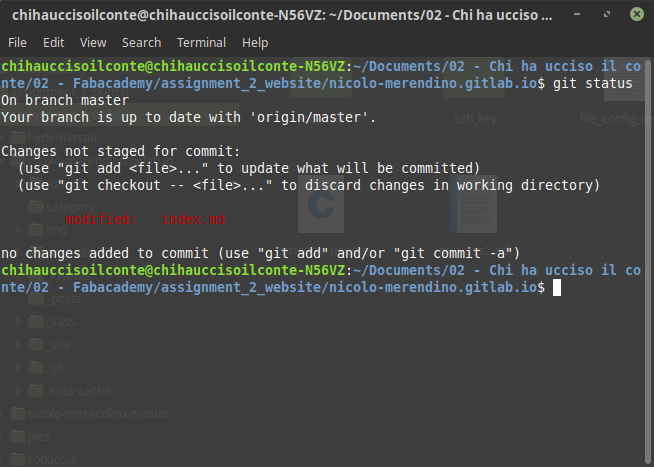
git status
git add .
git commit -m "message"
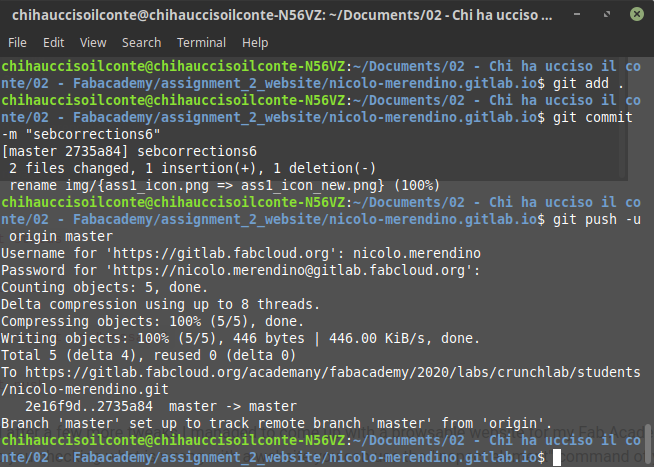
git push -u origin master
And after a few more tweaks I managed to come up with a browsable website for my Fab Academy. To help you checking what is wrong with a website you can use the "inspect element" command of your browser to get a clue of where is the problem
5 – Notes, takeaways and plans for the future
So, if you can read this the website is up and running and I’m quite happy with it. It needs to be said that although I developed a deep understanding of how this workflow goes, there are still some aspects of this process that I could not grasp at 100%, and I’m quite sure that the HTML code as well as the structure of the website could be cleaner and more efficent. I’ll try during the rest of the course to improve my skills toward this direction. I also feel like mentioning some work that I’ve done in Inkscape to generate some icons, but this is a topic that will be better explored during future assignments.