assignment 1.5
Sign the agreement and push it into your repo
This assignment has diferent parts
- What's GIT
- Do a git tutorial
- how to do your first push on git
- student agreement
- git cheat sheet
- Make a web page
- why i stoppetd using java on my menu bar
What's GIT
First things first GIT is a version control System design by linus torvalds.
but here the site that concentrate all of the files of the project it's called repository "repo"
Do a git tutorial
- you will have to get installed git on your computer. You can go to git oficial site from HERE git oficial site then choose your OS.
- After finishing the installation process you want to créate your SSH.
- 2.1.-open git bash from your desktop shortcut or on Windows menú.
- 2.2.-type the comand to the key generator Command: $ ssh-keygen –t rsa –C “email@domain.com” (you want to type your e-mail that you use to your git lab account)
- 2.3.- enter the directory in wich to sabe your SSH key by default is (C:/users/username/.ssh/id_rsa) verify thats were you you want it to be and hit enter.
- 2.4.- enter a passphrase (empty for no phrase) type it and press enter.
- 2.5.- enter same passphrase again type it and press enter.
- 2.6.- you will be prompted with message like…
- go to the directory were your key was stored Command: $ cd .ssh/
- show your key Command: $ cat id-rsa.pub
- copy your key to the clipboard Command: $ clip< id-rsa.pub
- on your web browser go to your gitlab account once you have maintainer Access granted by academany IT (check your e-mail to look for that)
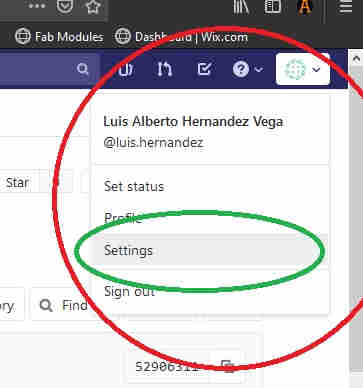
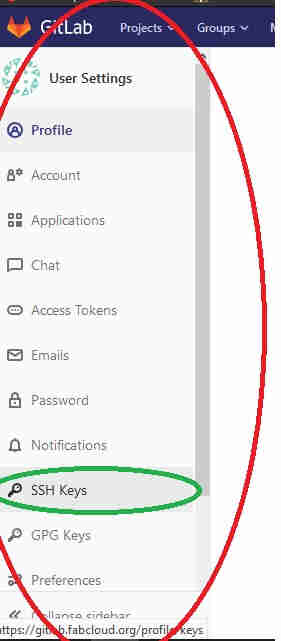
- once inside your account got to your account setting on the right upper corner of the interface
- go to the “SSH KEYS” button on the left side panel of the interface
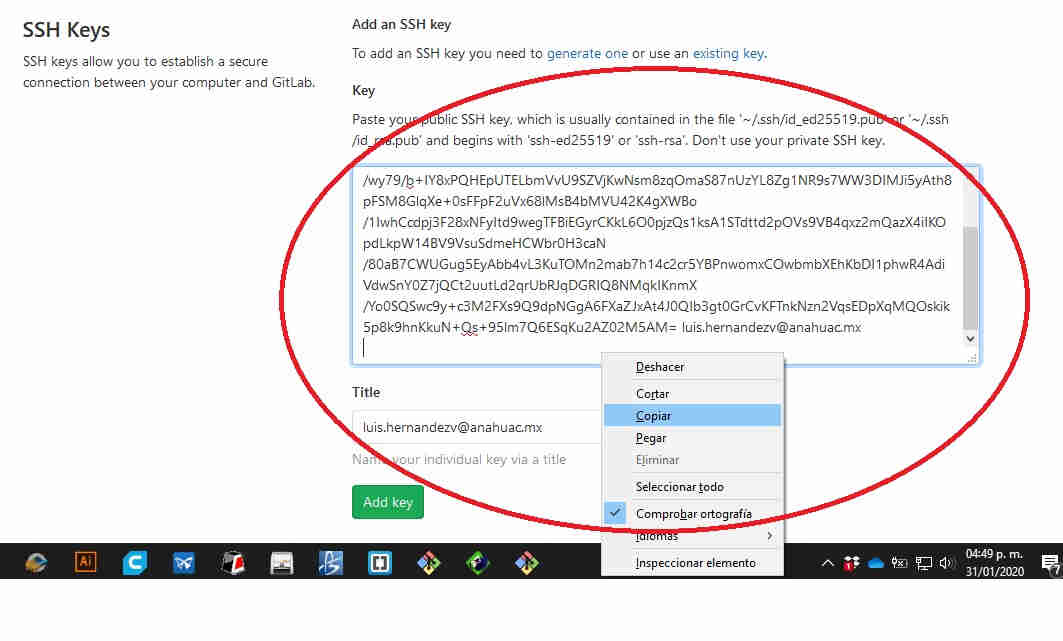
- right click and paste your clipboard on the “key” field.and then click on “add key” button
- if done it right you will be directed to the fingerprint of your SSH key
- go back to git bash to clone your gitlab repository. Command: $ cd (to go back to the gitbash root directory)
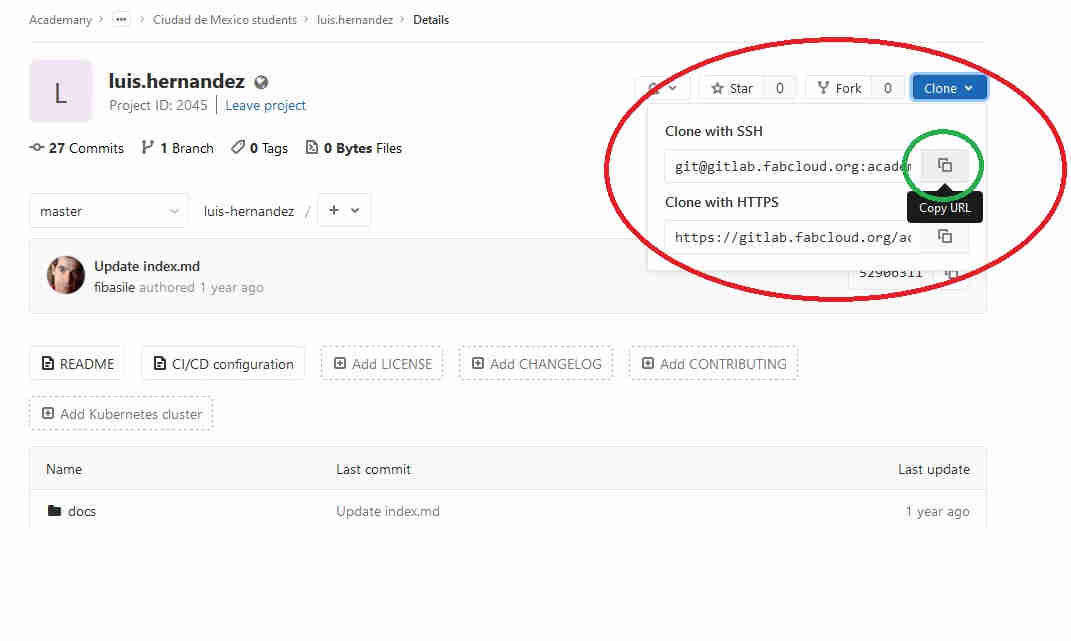
- from your web browser again go to your gitlab account and on your repository make click on the clone with SSH button on the interface (this will ad something to your clipboard)
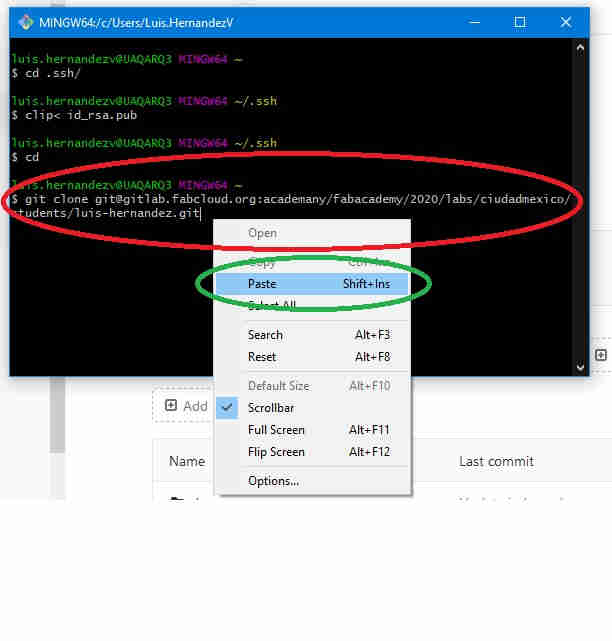
- go back to git bash and clone the repo (this will créate a folder inside the directory your located on bash (as a tip you shuld créate the clone on the gitbash root folder and then on Windows créate a shortcut wherever you like to work on your file to upload) Command: $ git clone “here you pase whatever you copied to your clipboard on the previous step”right click and then paste
- from your Windows explorer go to your cloned repository and créate a shortcut were you’ll be working during your fabacademy
- make your first commit and push
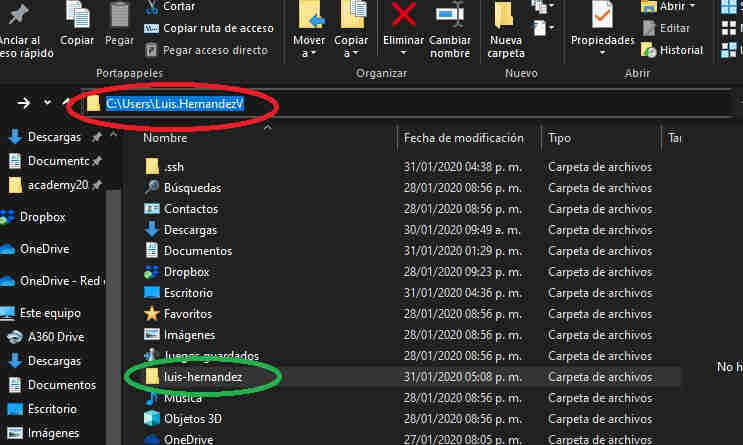
- 15.1.- go to git bash and locate yourself inside the root folder of your repo it should look like this:
- 15.2.- manually drag and drop your files and folders to be commited and then Command: $ git add . (this will add all the changed files since the last push or pull or so) Command: $ git add filename.extension (this will only add that declared file)
- 15.3.- ask for status Command: $ git status (this will show all the files to be commited)
- 15.4.- make your firs commit. Command: $ git commit –m “type a message” (the message allows you to keep track on debugging or file changes
- 15.5.- ask for status Command: $ git status (this will show all the changes to be pushed)
- 15.6.- make your first push Command: $ git push –u origin master
- and then we are set to start uploading files to our repository, if done it right you should look at your pushed files like 1 or 2 minutes you only have to refresh your browser to see the files.
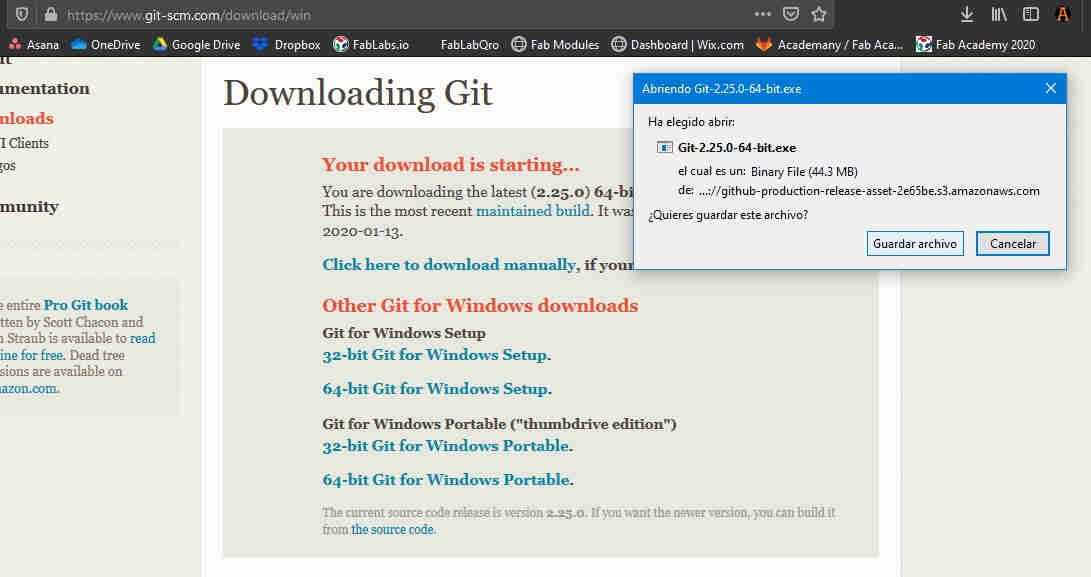
This is the install package i choose.


Notes on yaml
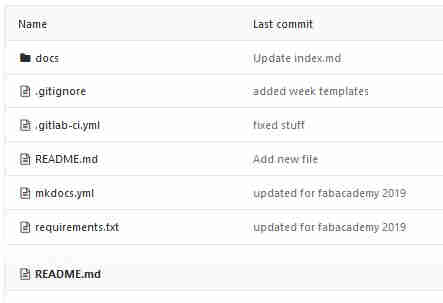
As you start pushing your files of your own web page you should erase the default template fabacademy gave you you should. This are the folders that your repo initially came with.
But in order to your web page be properly displayed on the oficial web on the academy you need a yaml file in my case i had some advice to do this.
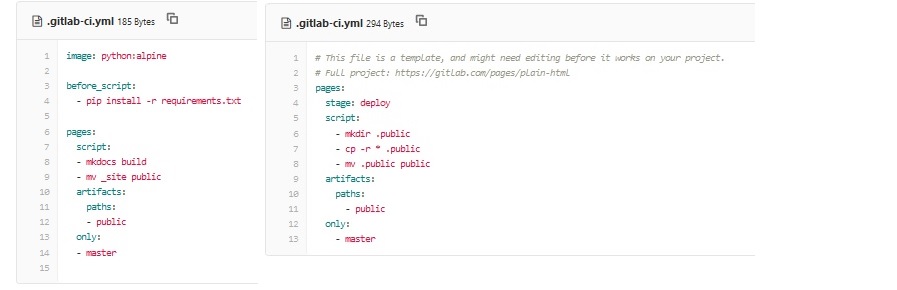
On the left side you have the original yaml file that came with and on the right side you have the template on the new yaml file. It’s just a few instruction to grab all the files and display it publicly on the fabacademy website.
HERE You can download my edition on the YAML file
How to do your first push on git
i'll try to do the very first tutorial on this repo of using GIT.
this is my repo before i made the push
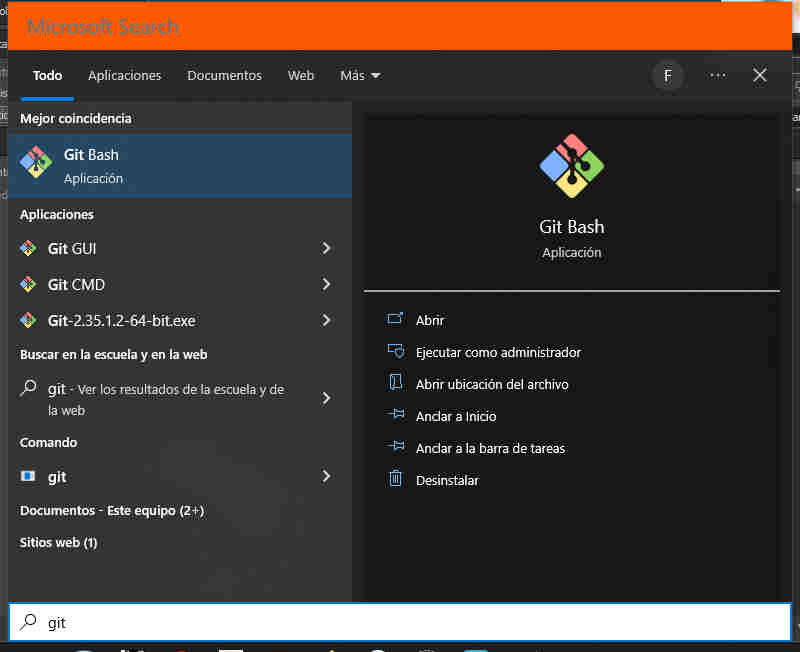
first hit the win key and open a new git bash instance.
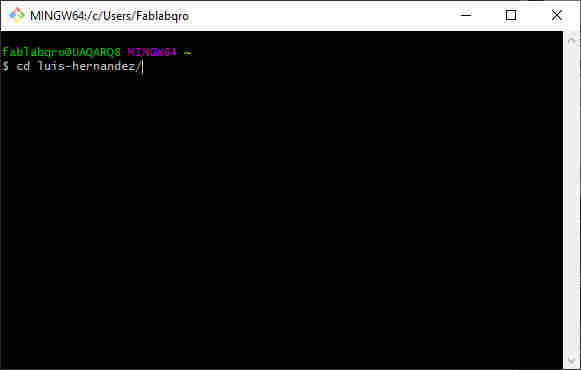
this will change the directory you're at to the repo you just clone in the steps above.

when you hit enter you'll see the line change to the direction you just did.
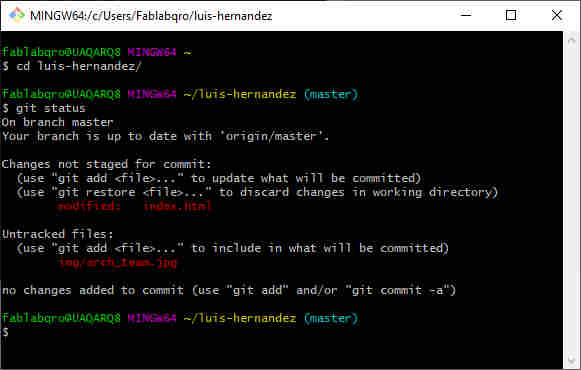
you'll see the documents that had suffered changes and are not updated to the repo.
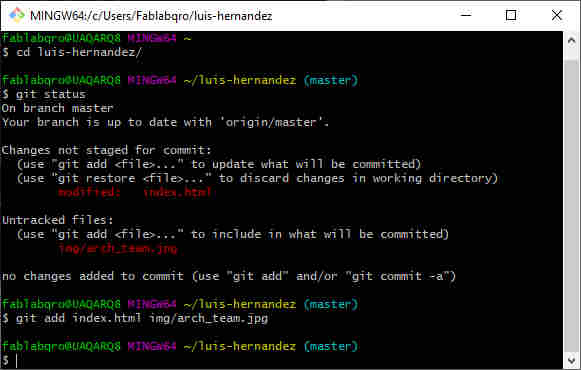
type git add [space] file_name [space] File_name
so you can add one by one the files you need to update.
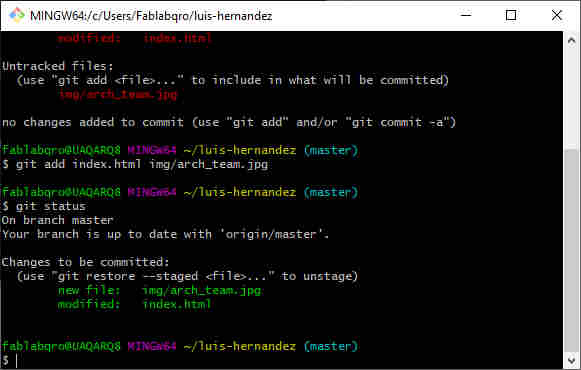
another git statuswill show that you've added those files for commiting
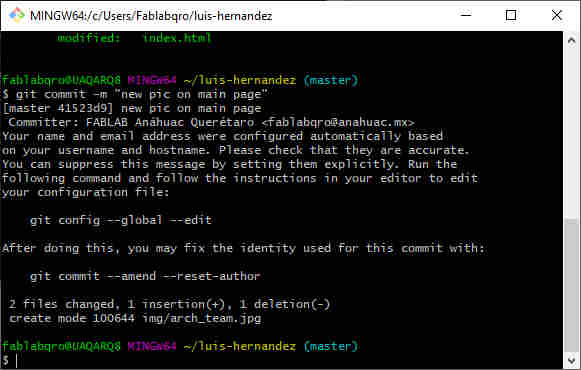
if you type git commit -m "comment"you can close de commit "-m" stands for "message" this means that anything onthes "" will be a comment this can help when you wanna know the changes pushed on the commit
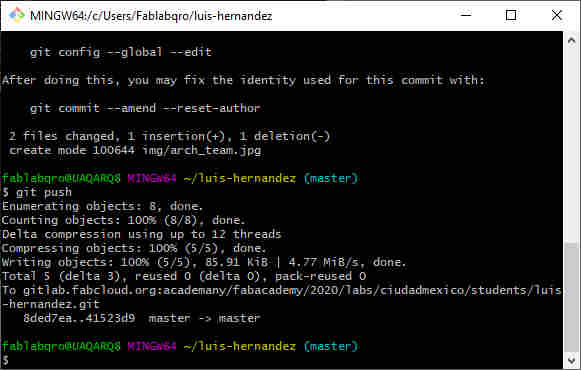
then type git push and if you don't have any error message this means that you can see you're update in arround 2-5 minutes on the web page.
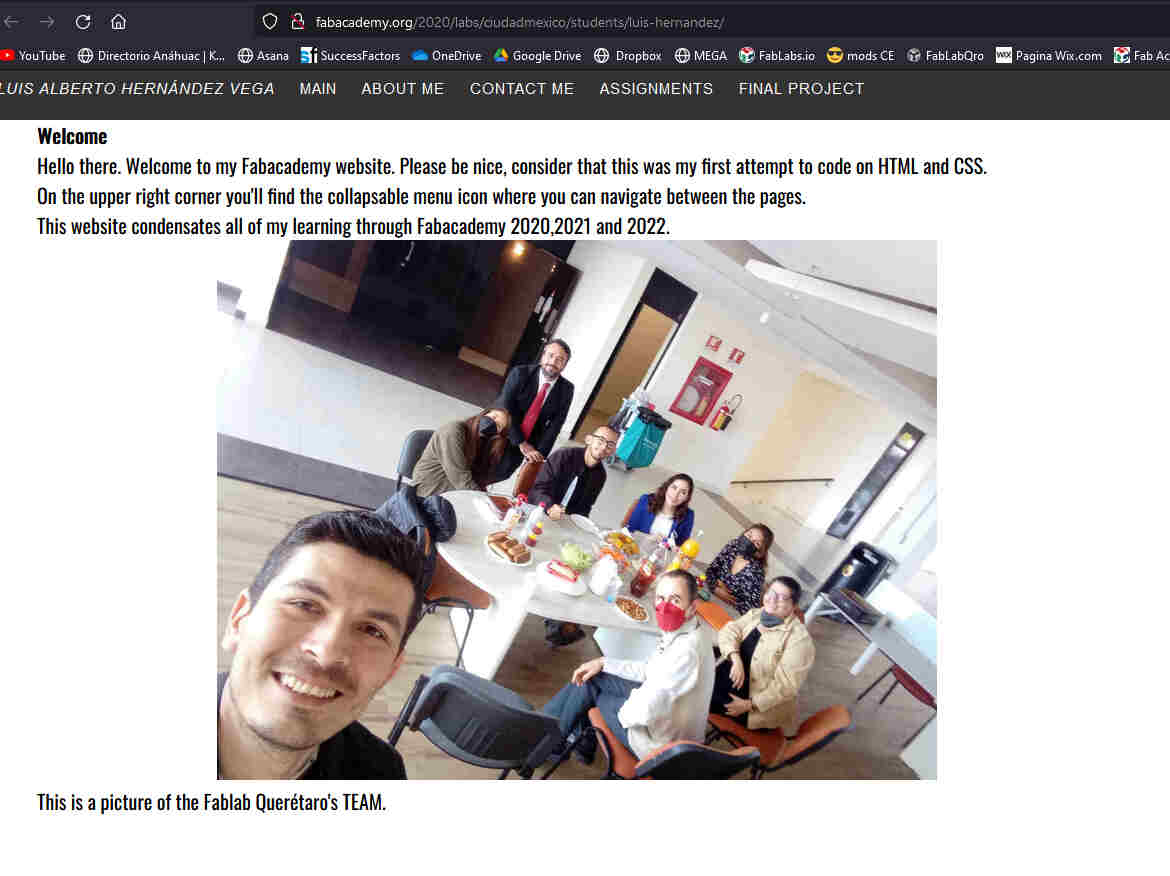
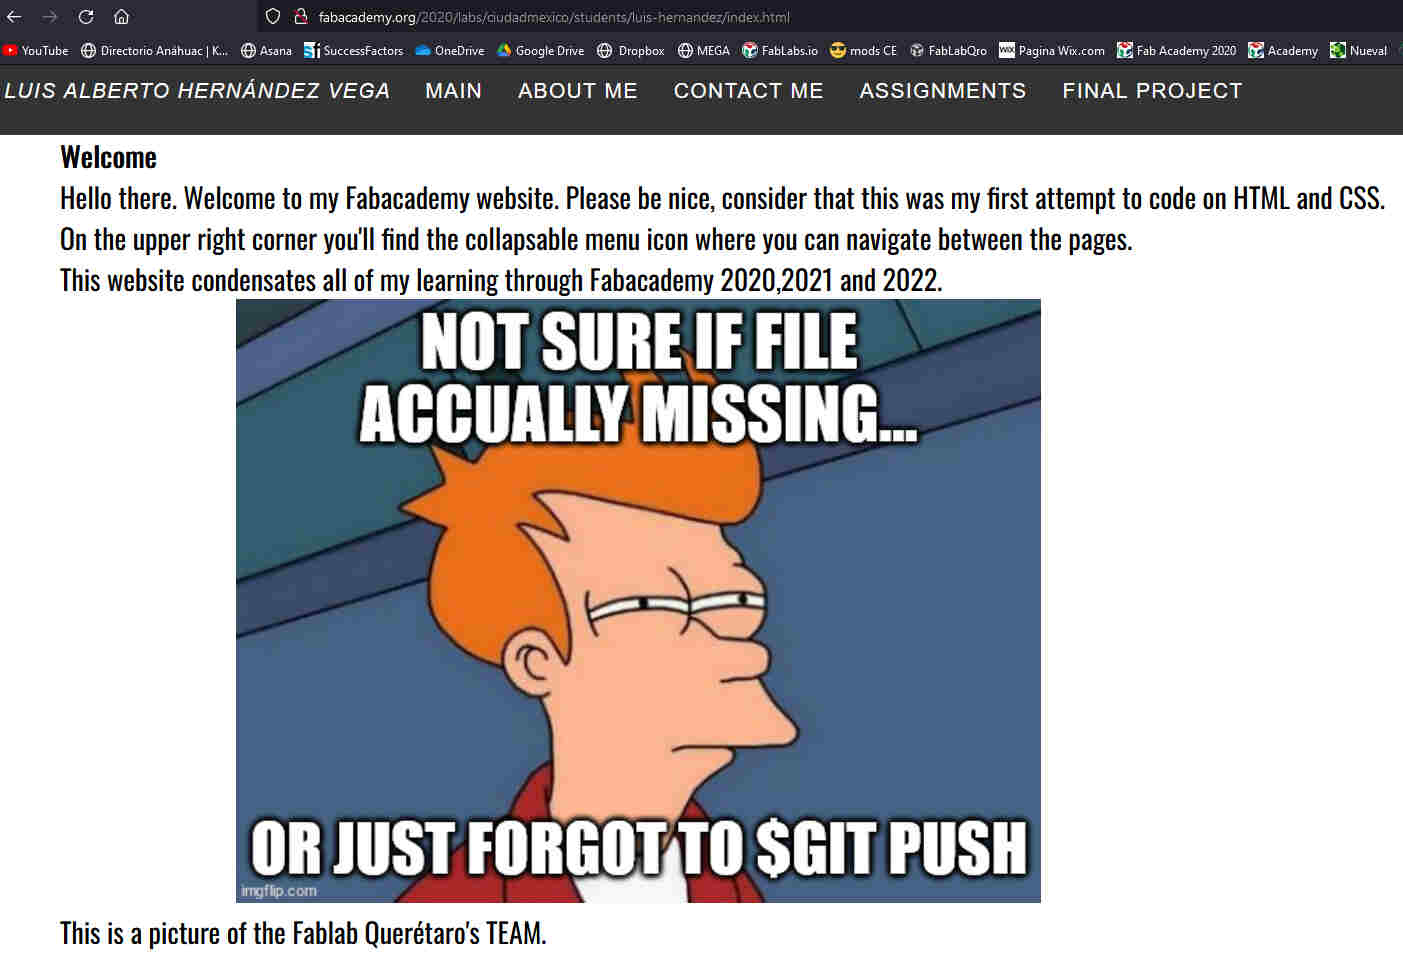
this is the pic i've just pushed.
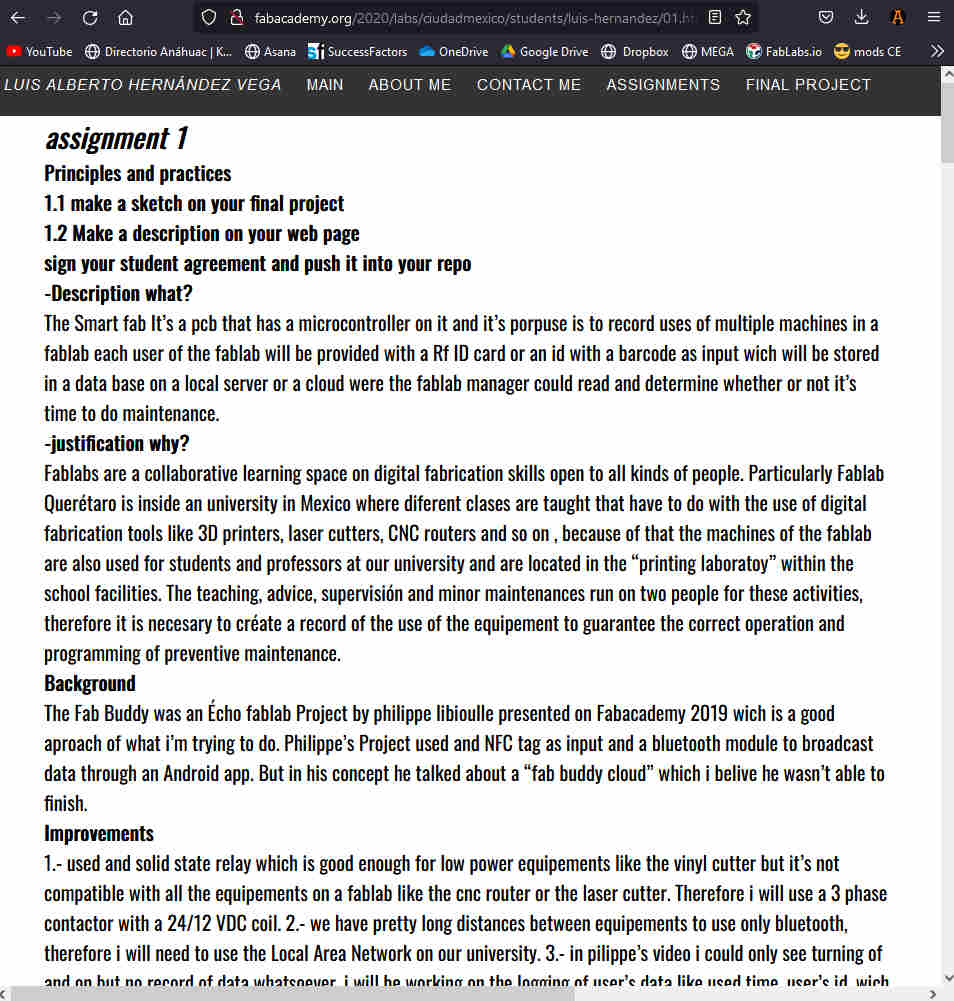
1.2 make a sketch on your web page
My web developer skills are still a work in progress but as an engineer i feel relativly comfortable arround programming languages. At first my friend and local instructor ivan suggested adobe muse because relativly easy to use GUI that software offers but it was quikly discarded due to it was unsupported to adobe on the 2019 version of their suite and in the university would have issues with licences. That’s why we tried to move to bluegriffon and open source software with a similar GUI to adobe’s muse but my greedy mind wanted a responsive menú on my web page and it was realy dificult for me to work with css and js in bluegriffon to be satisfied with the result so i have once more to move to another software so i came across brackets another open source Project not quite as user friendly as bluegriffon but it let me work with plain html,css,js and yml in the same interface that’s why i decided to dive further down in the rabit hole. i’m already learning html and other softwares on tutorials online.
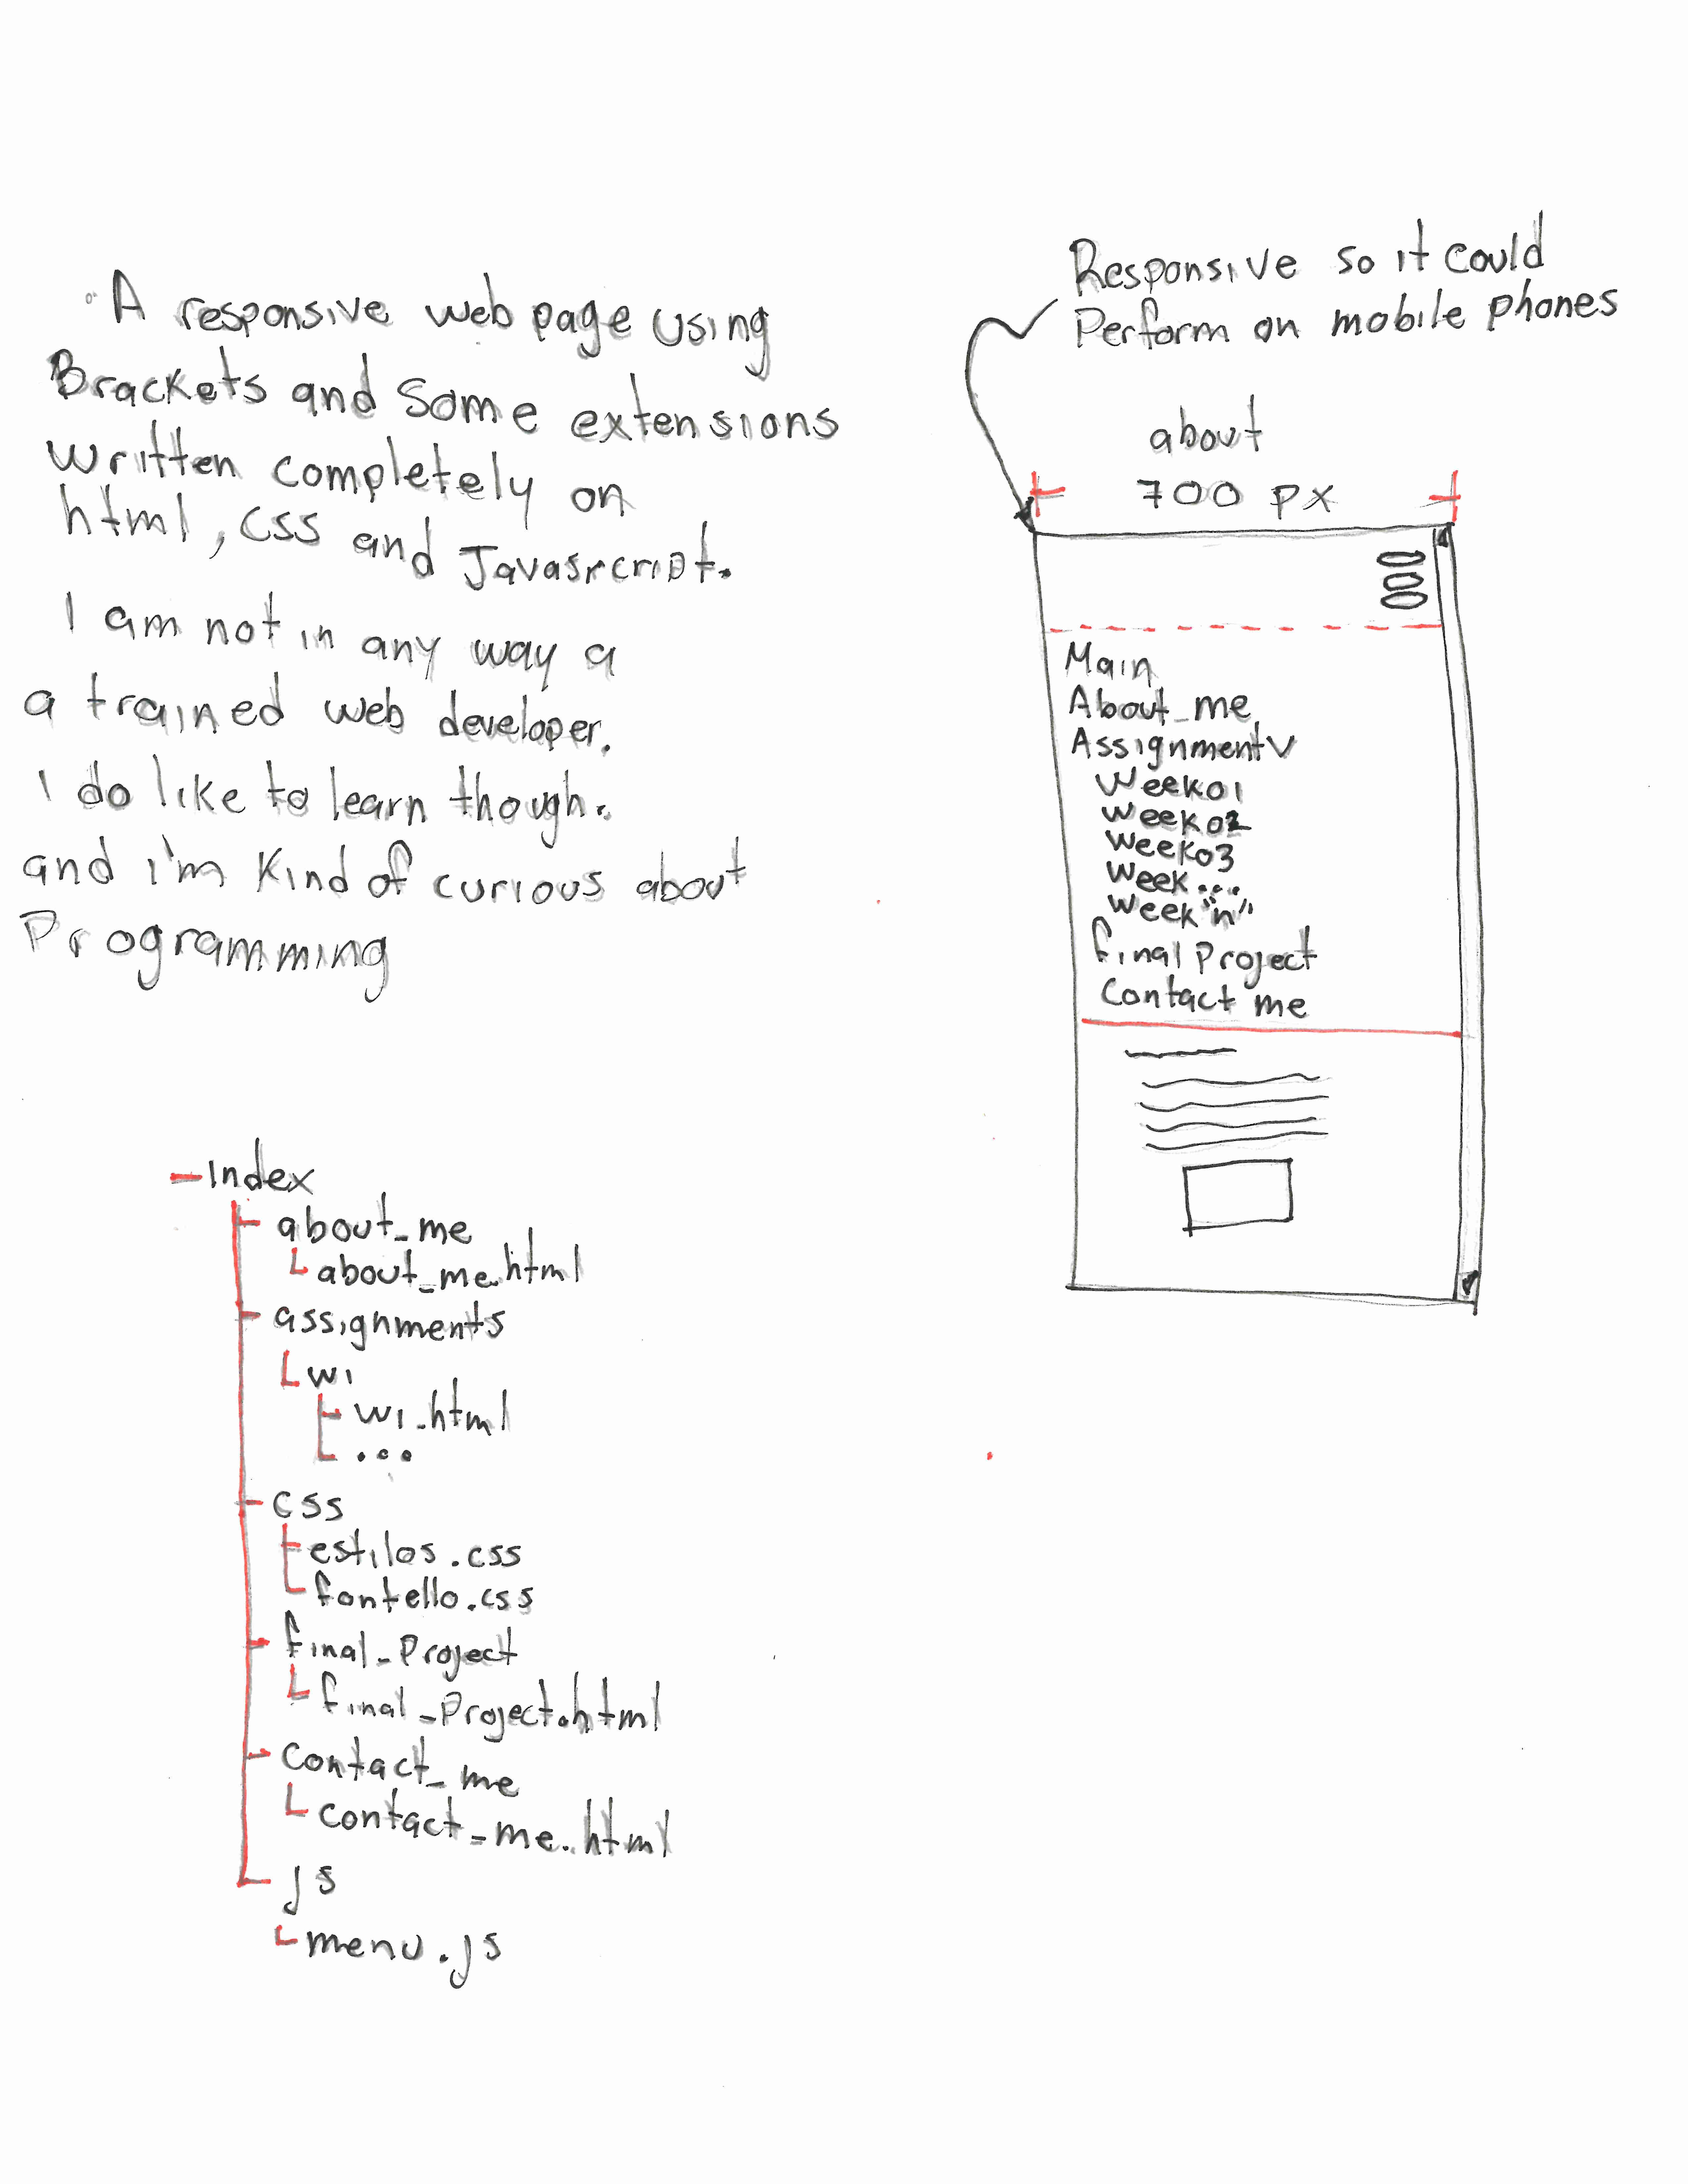
i begin by doing a handmade graphic with some specs on what i wanted to include in my page.

Then used diferent web developemnt softwares.
i've tried bluegriffon, dreamweaver, sublime.
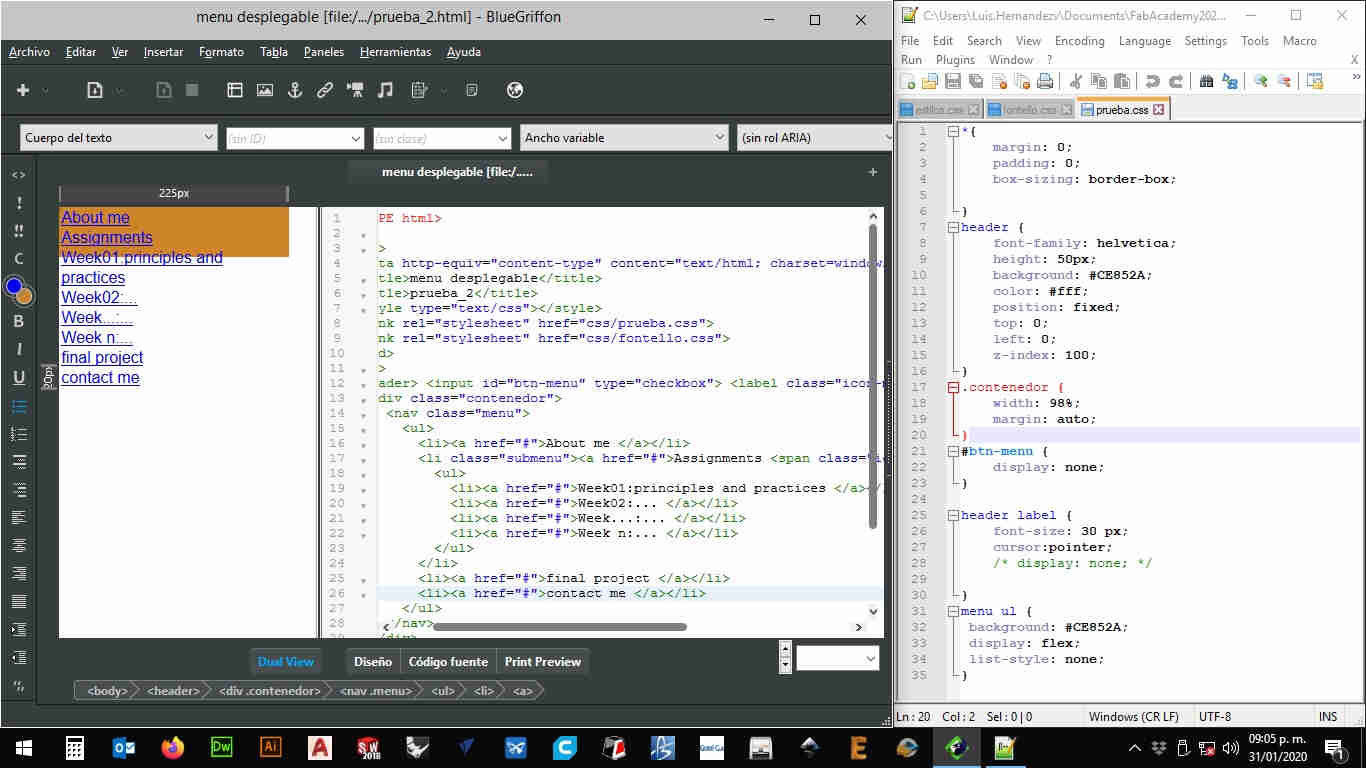
but i've ended up using brackets.
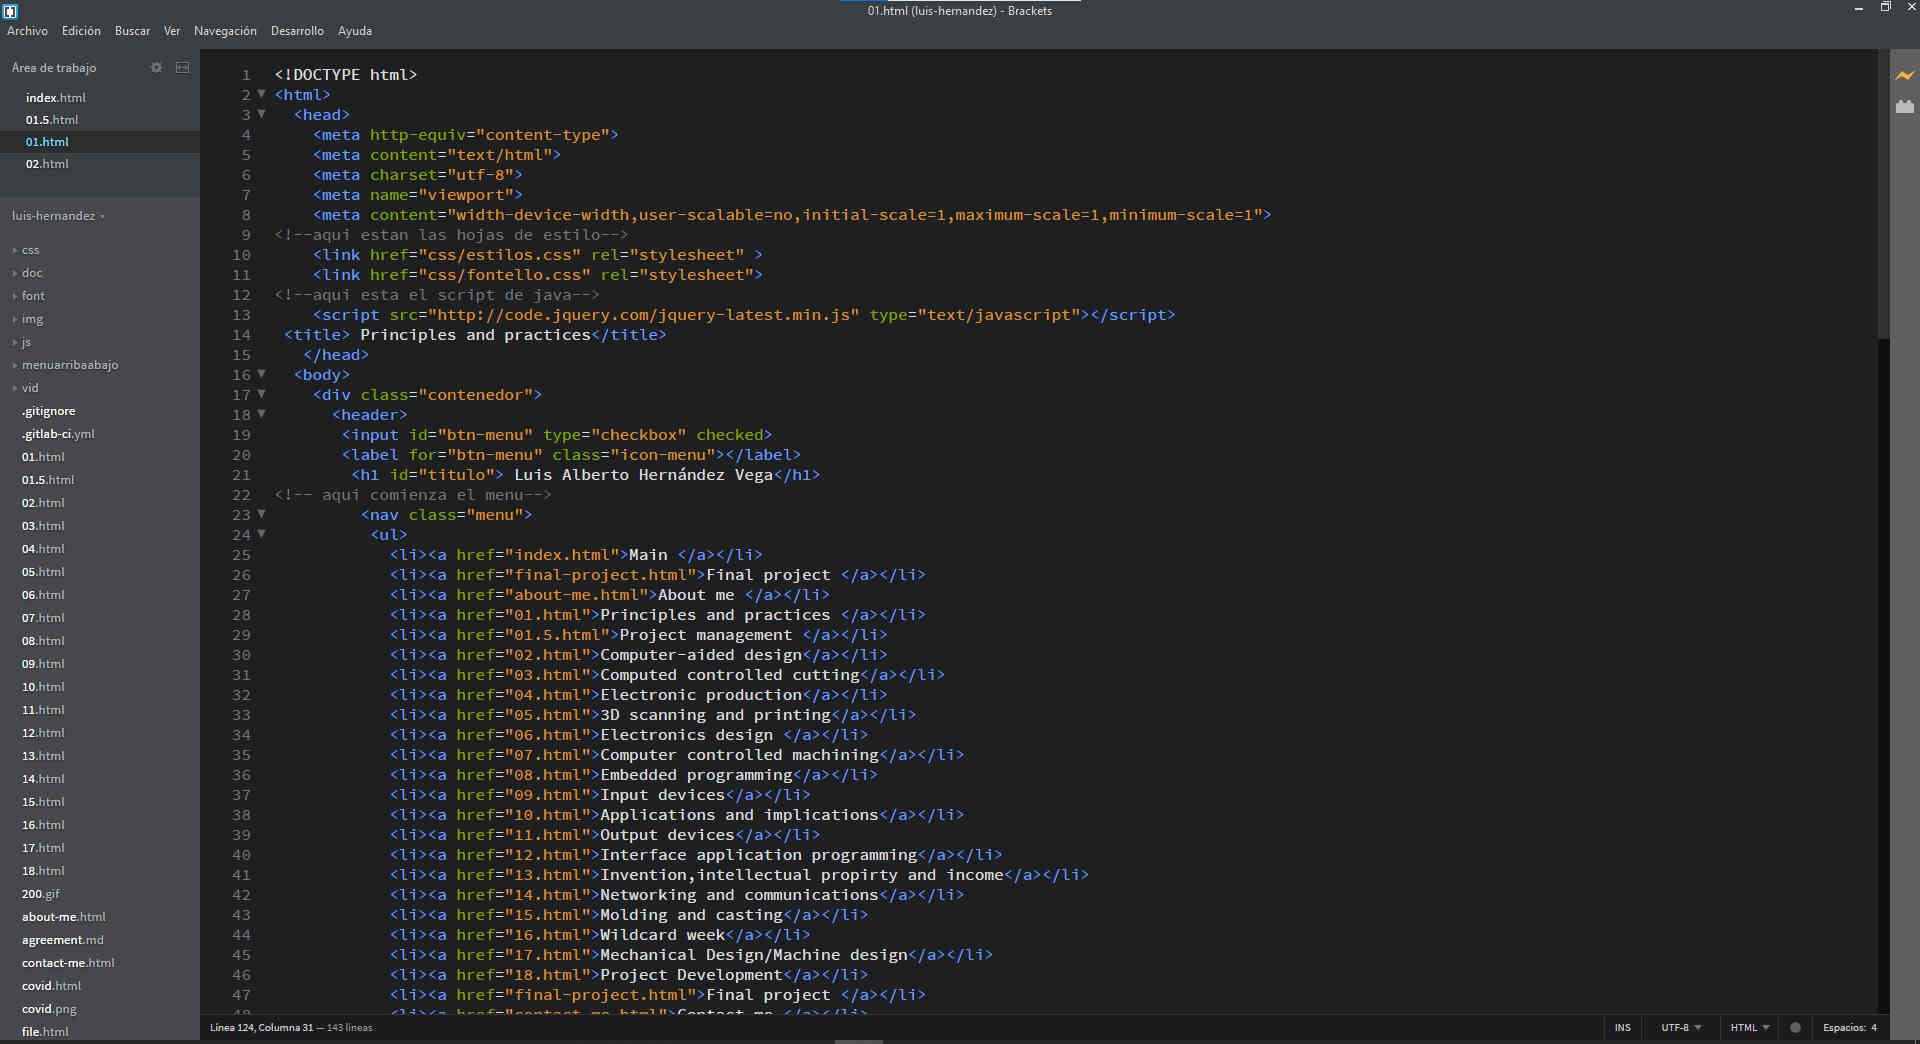
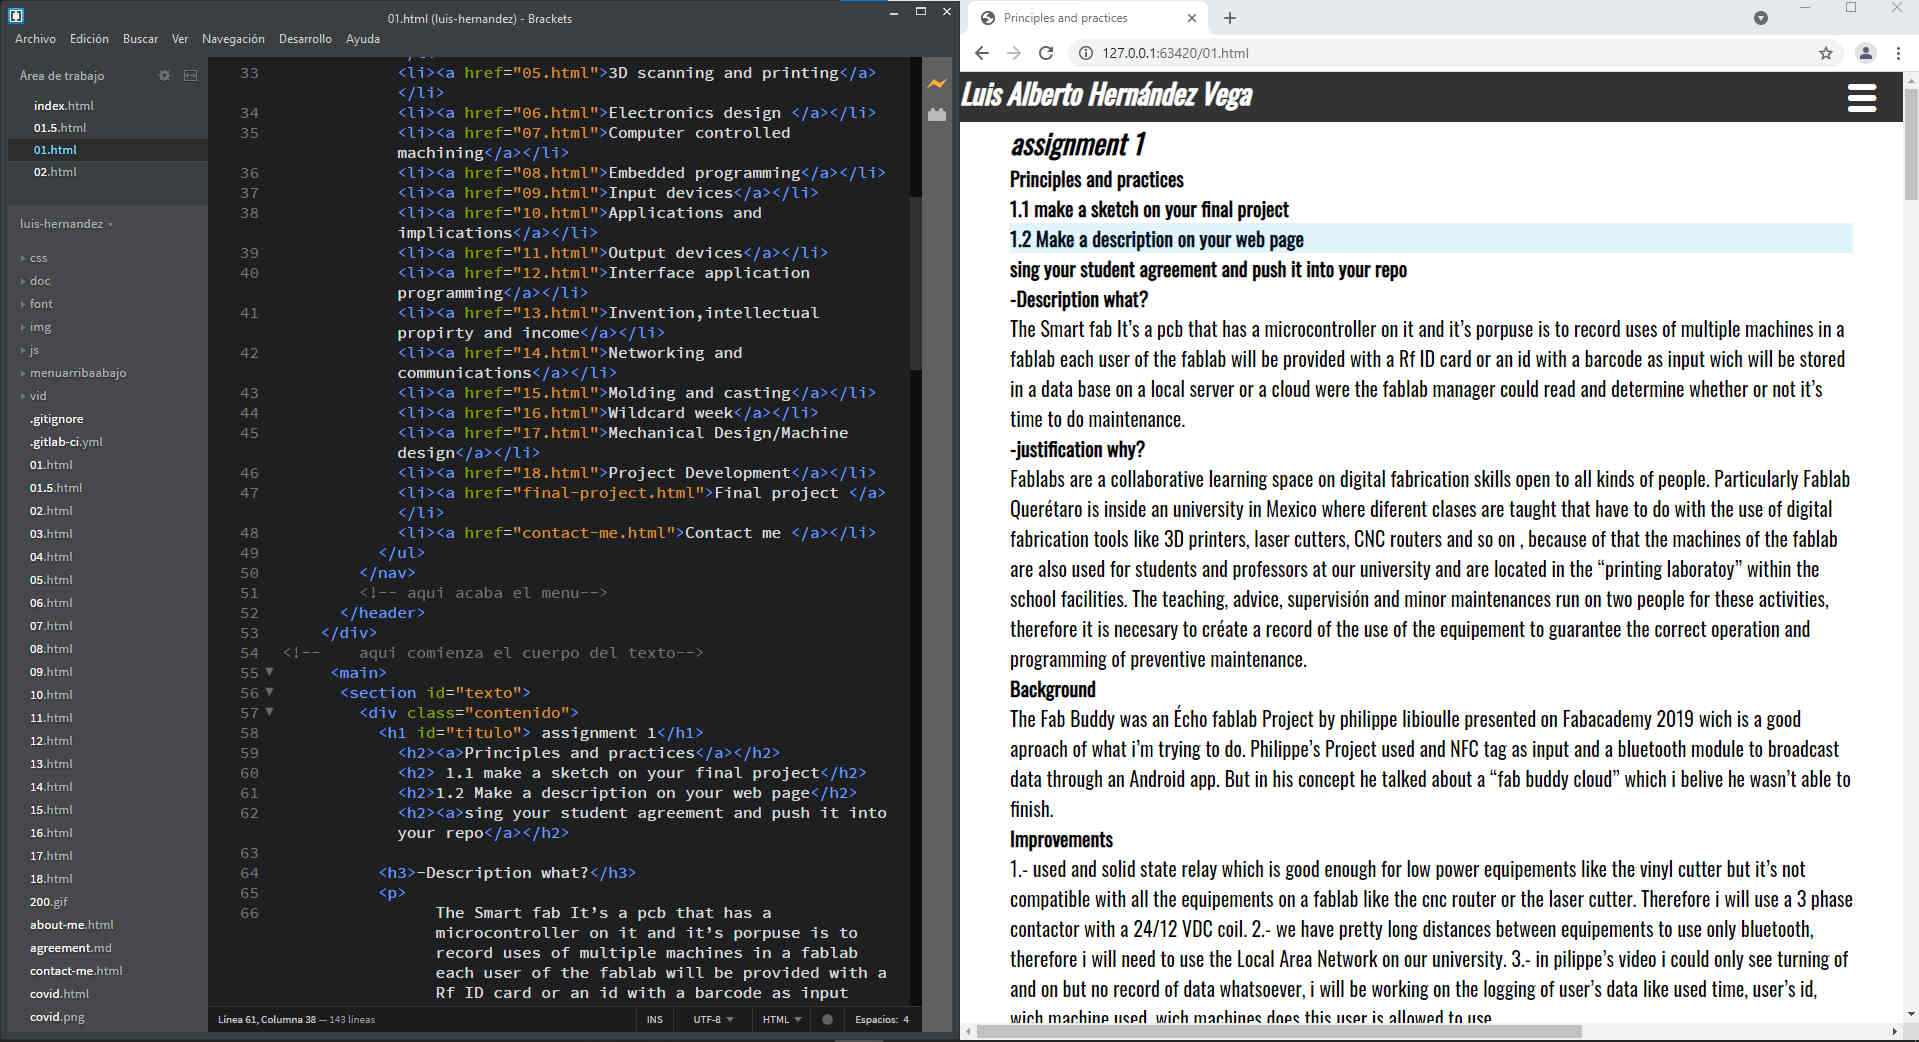
using brackets you can even have some real-time feedback on the code you're writing.
why i stop using java script
This may read like a tantrum but.
with the last picture you can compare what used to be my menu and what acctually is.
Conclusion
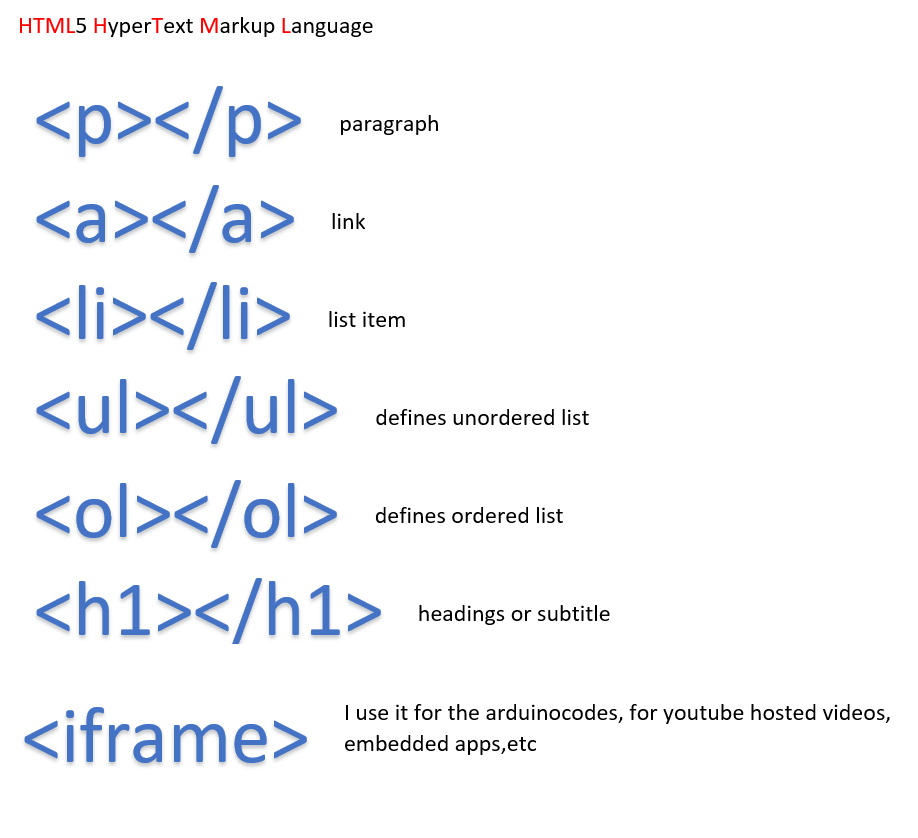
every tag used in this html has it's own attributes wich may vary depending on the tag in question.
i also used a CSS file in my repo just to get a feel of how i use it in html but all of my tags are simples with default fonts families,colors and sizes just every now and then i use some green texts wich is just and html id="green" atribute to call to a comand on css which set the font color to green.
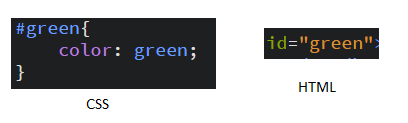
this is how for example i call for a green text
Student agreement
Here you can download my student agreement from my repo Student agreement
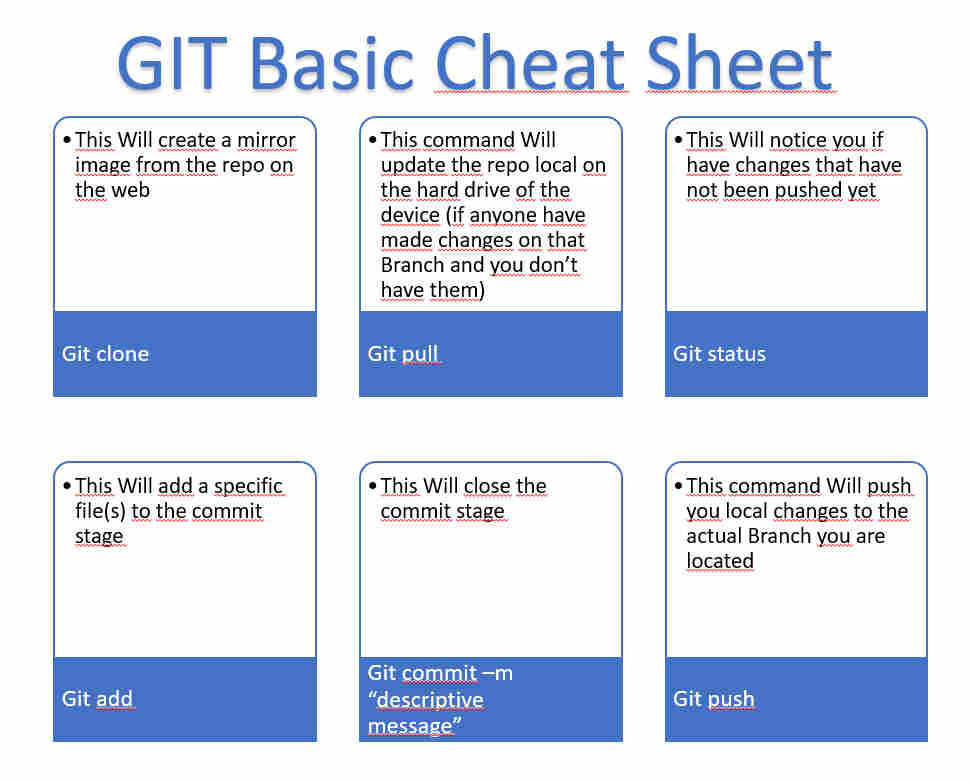
GIT Cheat sheet