group assignment:
characterize the design rules for your in-house PCB production process
https://fabacademy.org/2022/labs/ciudadmexico/cdmx_production.html
individual assignment:
make an in-circuit programmer that includes a microcontroller:
extra credit: customize the design
mill and stuff the PCB
test it to verify that it works
File was downloaded:
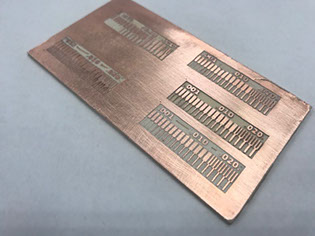
tolerance tests
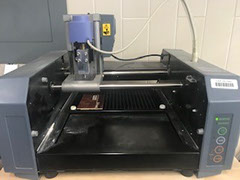
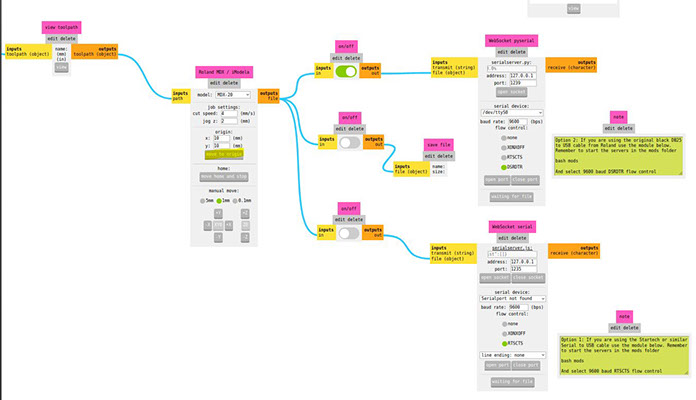
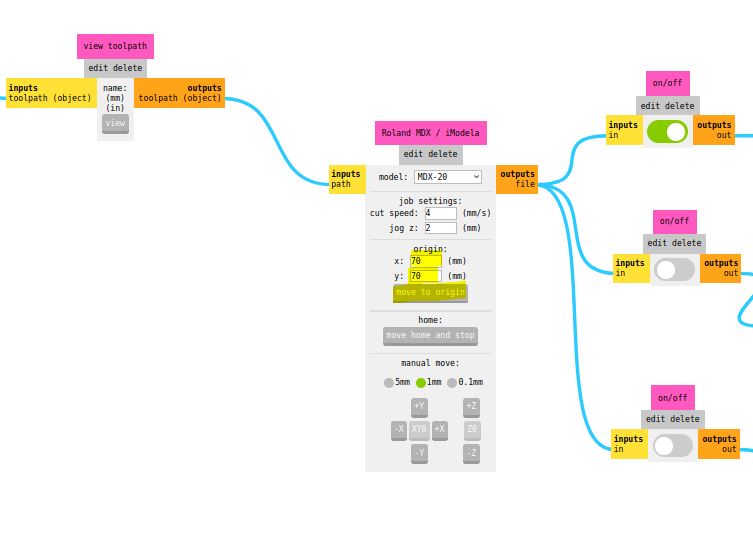
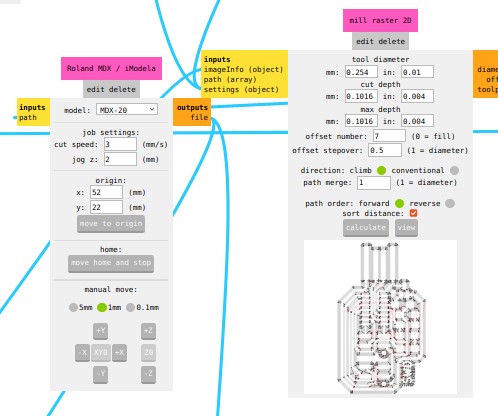
Roland Modela MDX 20
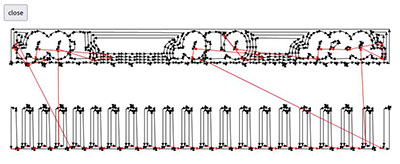
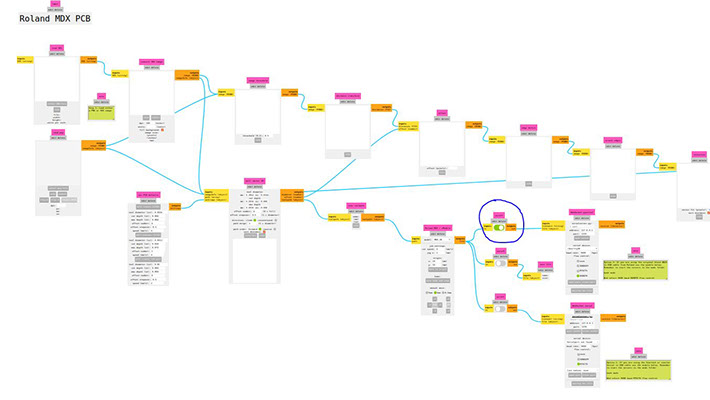
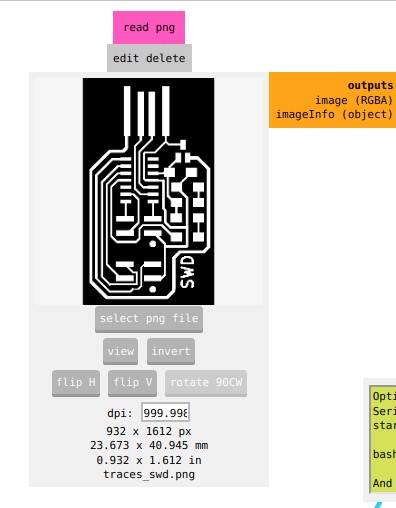
The file is opened to load it inside the mods software with the button select png file at 1200 dpi

We select the cutting tool, which in this case was 1/64" and the offset number that we will give to our machining.

we check the diameter of the selected tool.
We calculate the cut to check the preview.
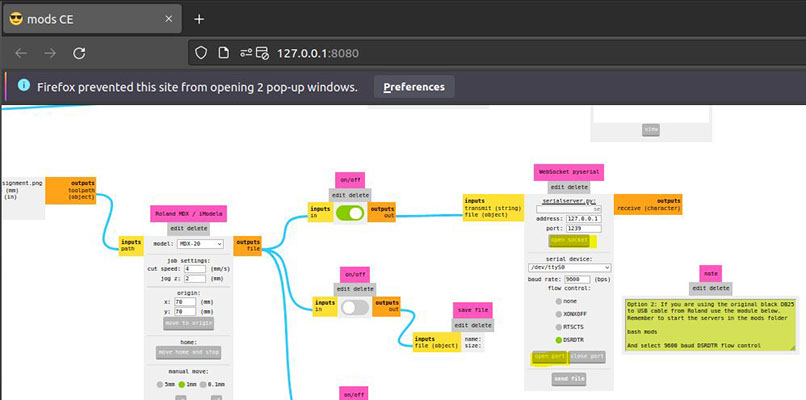
We select the socket and the port and send machining
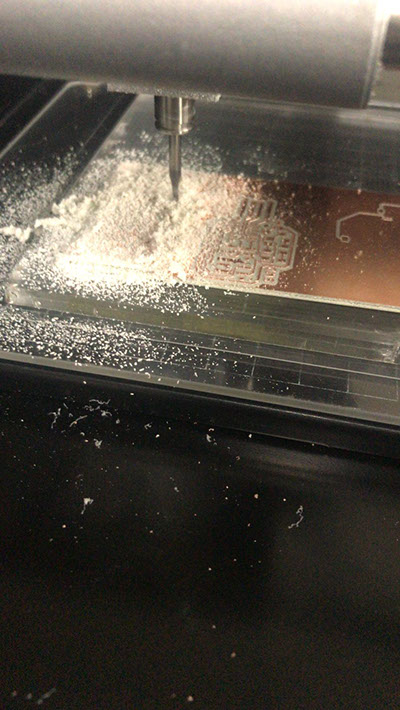
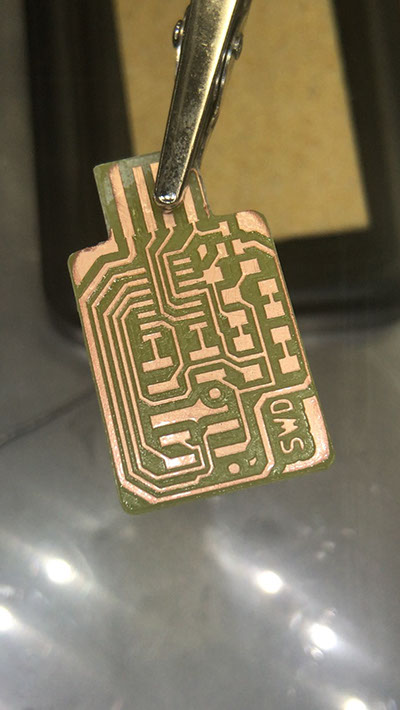
Finally the piece ready and sanded
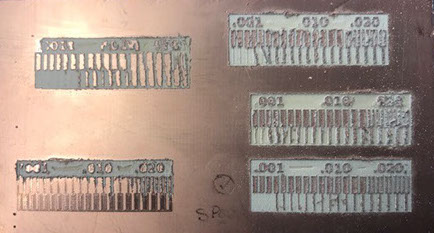
After several attempts it was possible to machine and
keep parts complete
The parameters that we must consider so that the tracks and the texts are complete
- Image at 1200 dpi
- Cutter diameter
- Work space
- Origin of x,y axes
- Z axis height
- Offset number
- Cutting speed
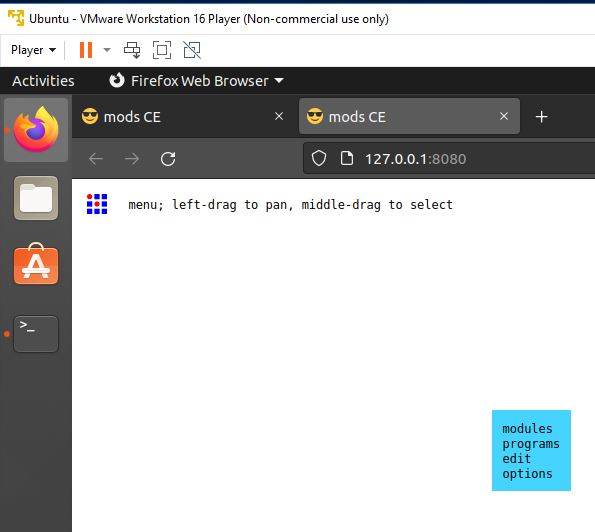
Steps to follow to machine PCB
- Turn on PC
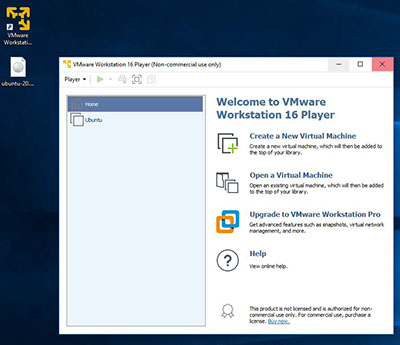
- open virtual machine
- enter ubuntu
- open terminal
- cd keyboard mod
- typing bash mods
- Already in mods, right click and select open program
- select "model mdx mill PCB"
- Connect model "mdx 20"
9. Connect model "mdx 20"
- turn on models
- enable model virtual machine connection
- change serial port/serialport Note: for model mdx 40A save file *.rml to use the model (interface) from windows
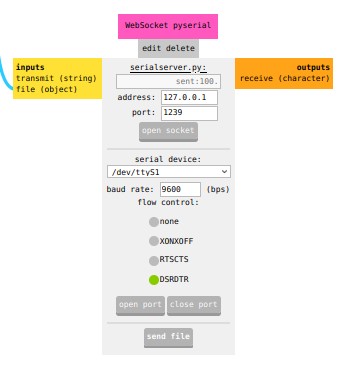
- open socket and port
- move origin to check connection
- place copper plate
- place cutter p/traces (0.1 mil or 1.64")
- move plate center to calculate working height
- move origin to work origin (for machining)
- load file *png (file)
- Select cutter
- calculate cut (parameters, offset and speed)
- verify origin of work
- send or start cut
- Turn on PC
- Open virtual machine
3.- Enter ubuntu
4.- Click to open terminal
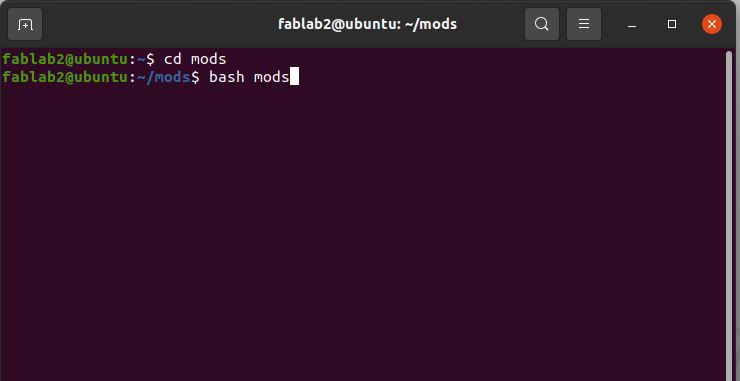
5.- key in cd mods and hit enter
6.- type bash mods and hit enter
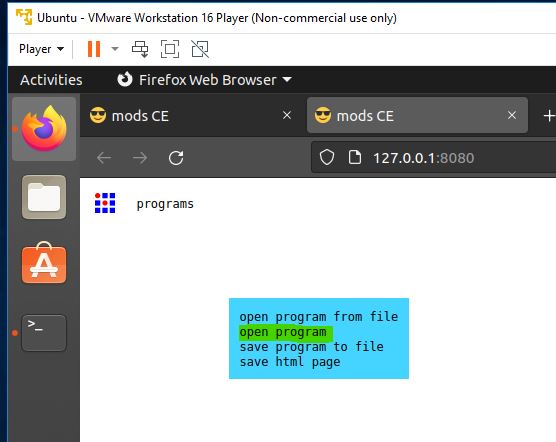
7.- Already in mods, right click and select open program
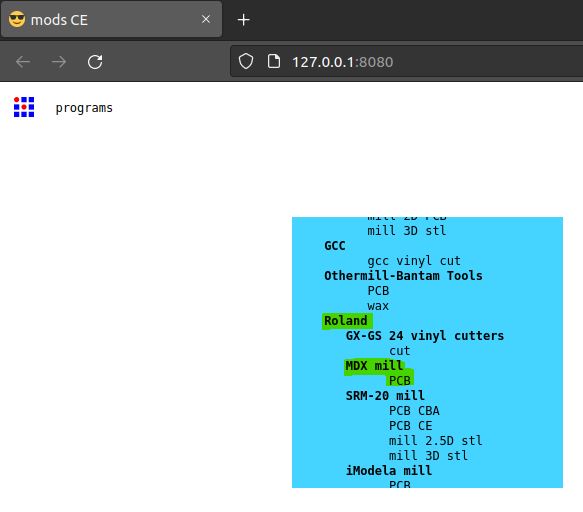
8.-Select "model mdx mill PCB"
9.- Connect model "mdx 20"
-
- Turn on modela
- Enable modela virtual machine connection
c. change serial port/serialport

Note: for modela mdx 40A save file *.rml to use modela from windows (interface)

d.- open socket and port
e. move origin to check connection
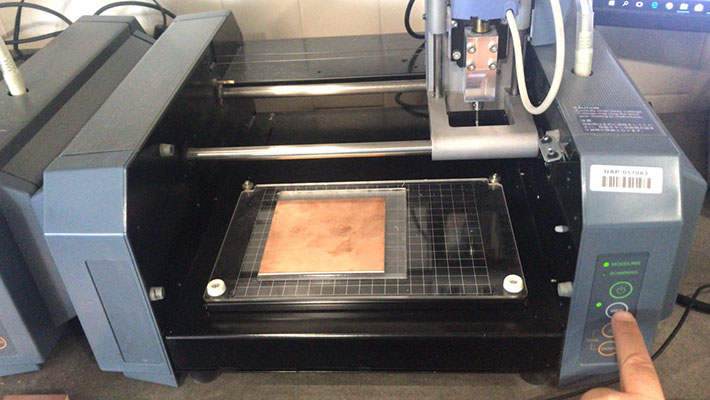
f. place copper plate
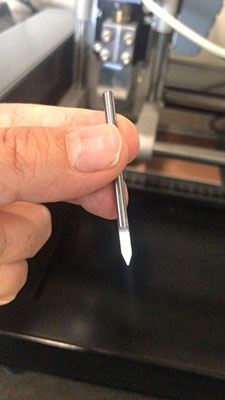
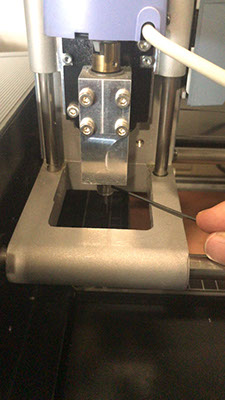
g. place cutter p/traces (0.1 mil or 1.64")

h. move plate center to calculate working height
i. move origin to work origin (for machining)
https://fabacademy.org/2020/labs/leon/students/adrian-torres/samdino.html
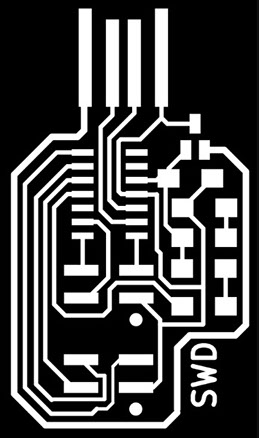

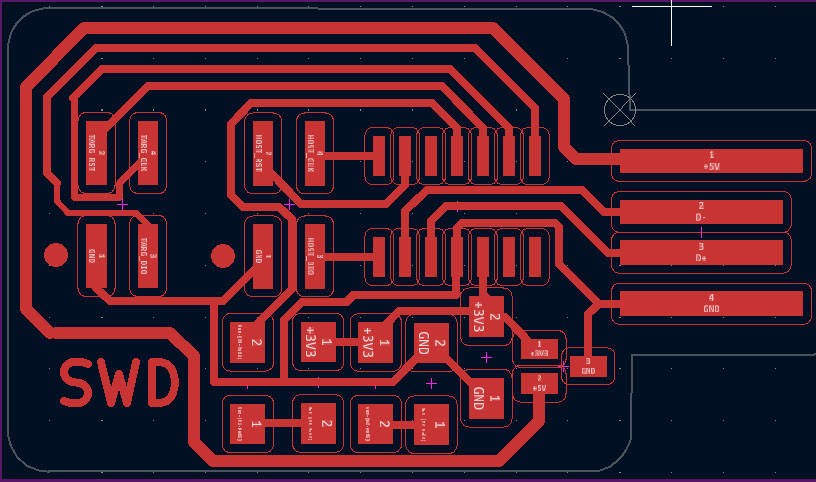
https://fabacademy.org/2020/labs/leon/students/adrian-torres/assignments/samdino/traces_swd.png
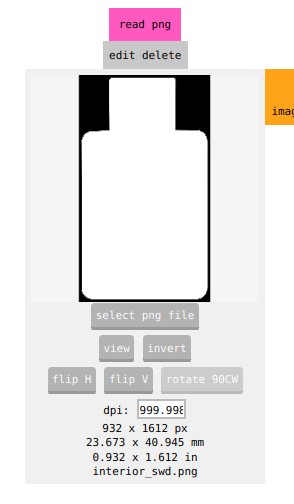
https://fabacademy.org/2020/labs/leon/students/adrian-torres/assignments/samdino/interior_swd.png
j. load file *png (file)
k. Select cutter
l. calculate cut (parameters, offset and speed)
m. verify origin of work
n. send or start cut

To send to cut the contour of our plate we follow the following steps:
https://fabacademy.org/2020/labs/leon/students/adrian-torres/assignments/samdino/interior_swd.png
- load file *png (file)

- Use the same track machining origin for X and Y
- Calculate the cut
- Send file to machine
-crop-u40018.jpg?crc=4234167400)

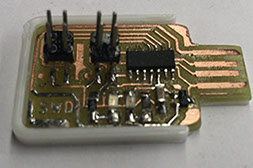
- Final result ready to assemble and solder components

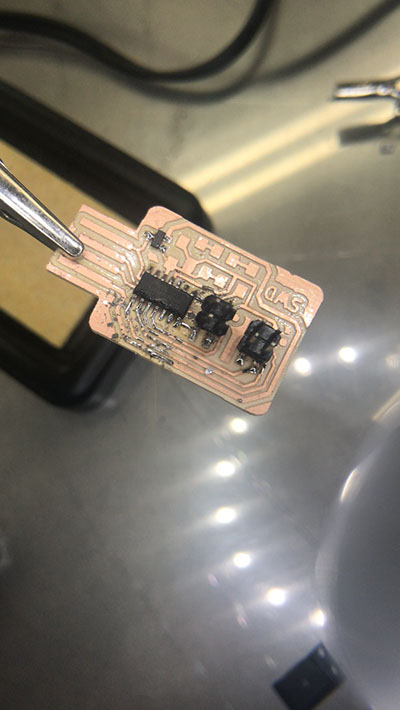


LED Red
LED Green
Resistor 499.0 OHMS
Resistor 499.0 OHMS
Capacitor 10 uF
Regulator 3.3 -0.1 A
AT SMAD IIC
Header to program
other cards
Programmable Header
for our card
Once the pcb is ready with all the components, we program it with the help of another board and the Command Prompt program (Símbolo del sistema)

We locate in our system the EDBG folder

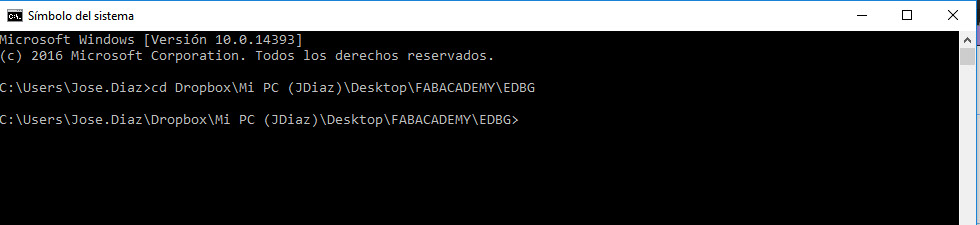
We change directory using cd space and then paste the address of the folder:
Dropbox\Mi PC (JDiaz)\Desktop\FABACADEMY\EDBG
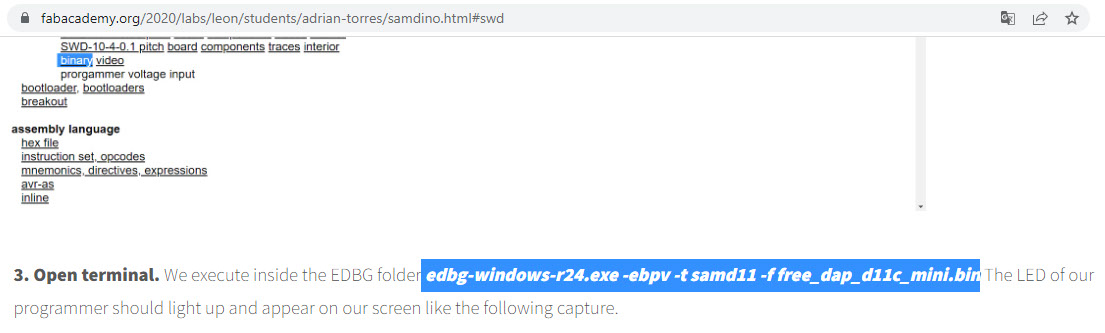
We add the code we got from Adrian Torres' page at FAbLab Leon:
https://fabacademy.org/2020/labs/leon/students/adrian-torres/samdino.html#swd
Comando: edbg -ebpv -t samd11 -f free_dap_d11c_mini.bin
NOTE: edbg It has to be the name of the program as it is in the folder (*.exe)
C:\Users\Jose.Diaz\Dropbox\Mi PC (JDiaz)\Desktop\FABACADEMY\EDBG>edbg -ebpv -t samd11 -f free_dap_d11c_mini.bin
paste the command after the symbol>
edbg -ebpv -t samd11 -f free_dap_d11c_mini.bin


The green LED on the card being programmed indicates that it is
receiving power
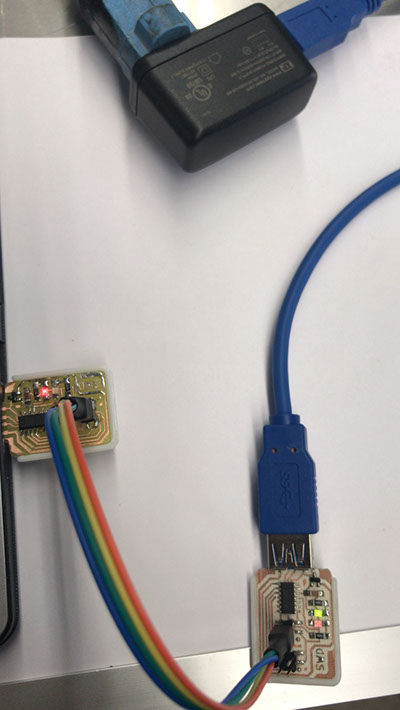
Once the card is programmed, the LEDs will light up