Jose Alegria - Fab Academy
![]()
![]()
![]()
![]()
Molding
and Casting
Assignment
wHAT iS THE ASSIGNMENT ABOUT?
-
Design a 3D mold around the stock and
tooling that you will be using, mill it (rough cut + (at least) three-axis
finish cut), and use it to cast parts.
GROUP ASSIGNMENT:
Review
the safety data sheets for each of your molding and casting materials.
Make
and compare test casts with each of them.
What did I learn:
-
There are a lot of different molding
and casting processes that can be used. Each of them has a very different know
how and has its pros and cons.
1st Step. Setting
up the parameters
As
part of the group assignment, we tried to work with different materials to
expand the possibilities of molding in our lab. I took the rubber mold
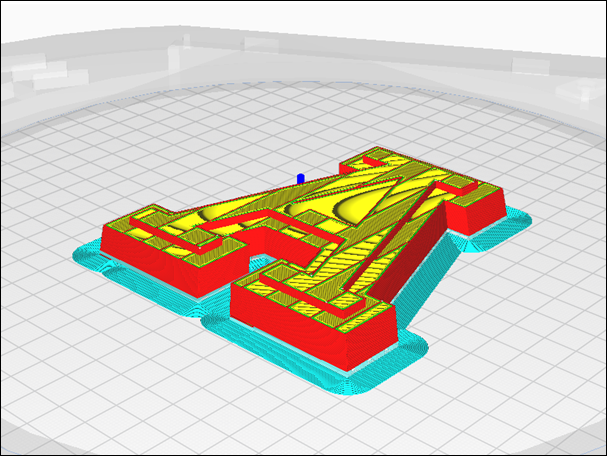
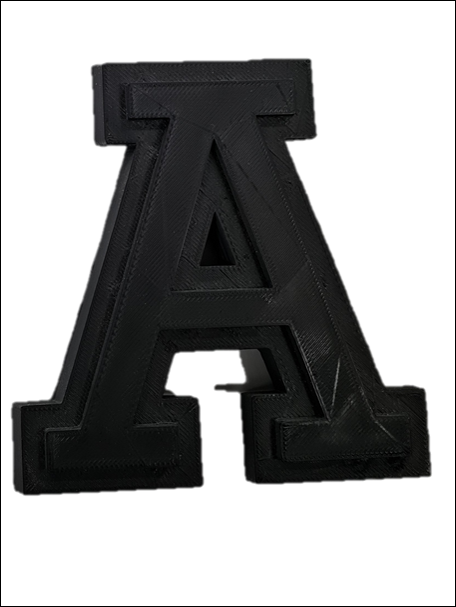
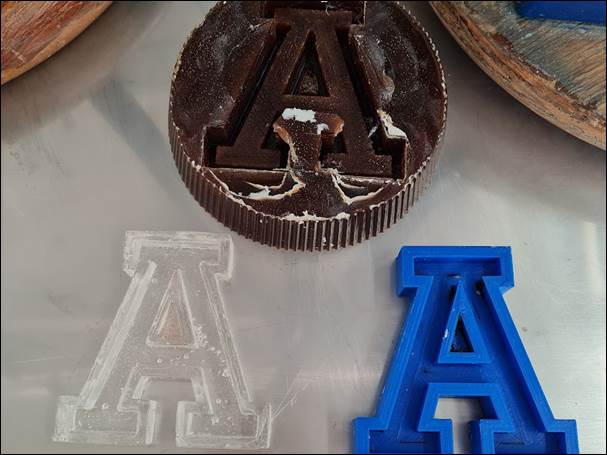
compound. This requires the fabrication of a positive mold for which I decided
to use 3D Printing. I printed our university informal logo, a letter A, there
was no problem in the material needed to make the mold because this process
does not involve temperature nor mechanical forces. Then, I have to make a
negative mold using the rubber compound, for this I will be using a compound
sold by <<Smooth On>> and denominated PMC-770. Once this is done,
we can cast anything with our mold. For this assignment, I tried casting with
plaster.
So,
this is the list of materials I will be using:
-
Positive: ABS 3D Printing (Datasheet)
-
Negative: Smooth On PMC-770 Rubber
Mold Compound (Datasheet)
-
Casting: Plaster
2nd Step. Making
the positive mold
For
this I used a design that was made by my coworkers using the Anahuac University
Logo. This was made with ABS in our Sindoh 3D Wox Printer. The procedure is explained in the 06 - 3D Printing and
Scanning Assignment.
3rd step. MAking
the negative mold
This is the main step of the assignment. Once I
3D printed the positive mold, I started the process to create the negative mold
by thermoforming. This is the procedure followed:
-
Prepare the positive mold and
container with a release agent, this could be of any supplier as long as it
does not damage the materials. The product I applied was the Universal
Mold Release from the same brand.
o
Apply a continuos
coating to model and mold surface and surrounding forms.
o
Brush the release agent to minimize
air entrapment.
o
Apply another coating and let stand
for at least 5 minutes.

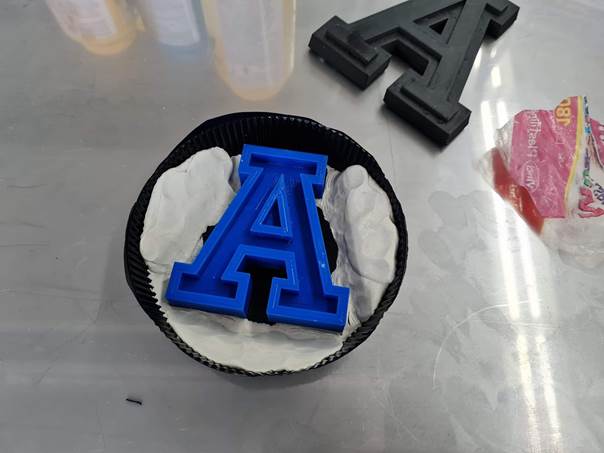
-
Pour both compounds in a 1:1 weight
ratio in a different container
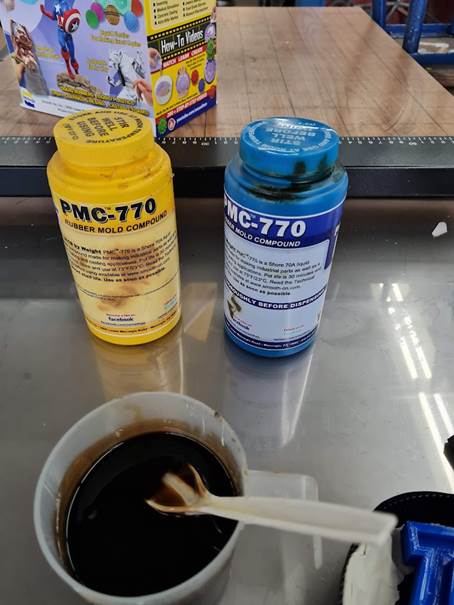
-
Mix it thoroughly for at least 3
minutes.
-
Pour the resulting mix in a single
spot at the lowest point of the container, let the rubber seek its level up and
over the model. The liquid rubber should level off at least 1 cm over the model
surface.
-
Allow the mold to cure at room
temperature for at least 16 h.
-
Release the mold and apply again the
release agent before using it to cast a model.
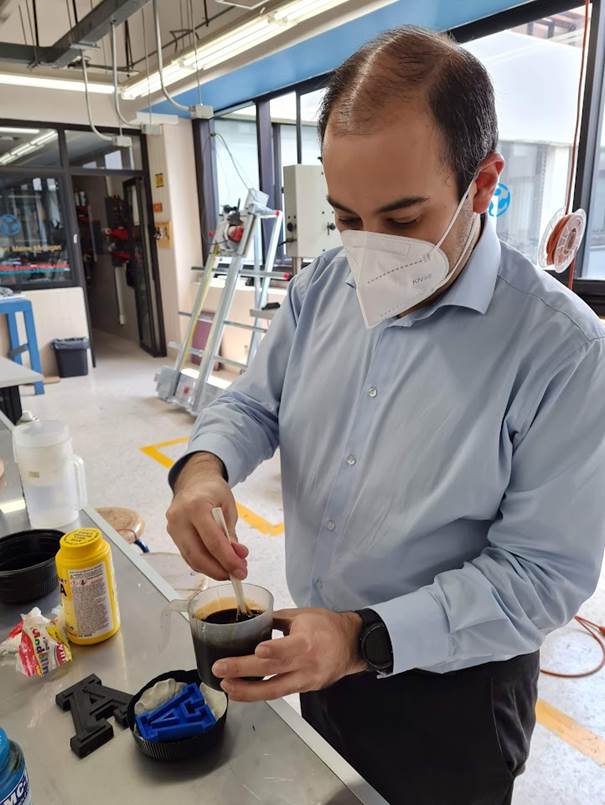
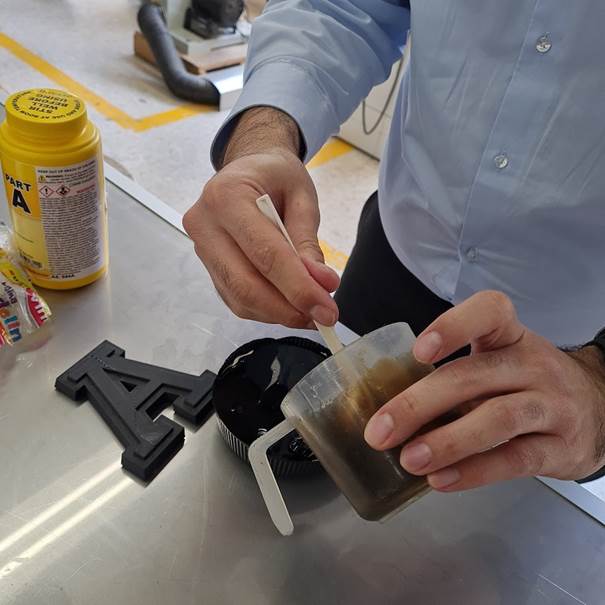
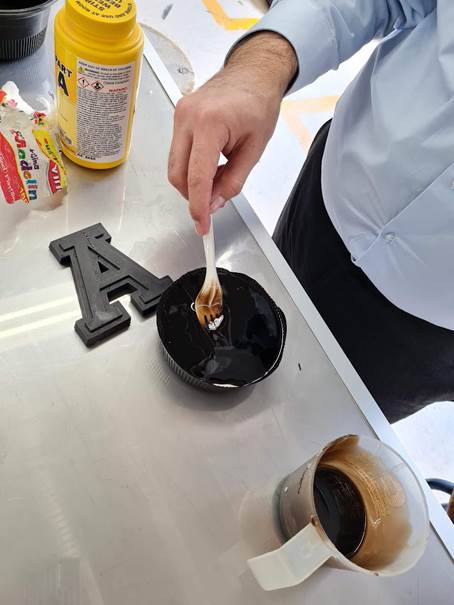
4th step. Casting
Having already
a negative mold, I continued to the casting step of the assignment with a
polymeric resin. The process consists in mixing the resin with an activating
compound to start a chemical reaction. This process can be seen in the
following video.
The
resin-activator ratio should be between 100:1 and 100:2.
Second
casting
I made a second iteration of this
assignment by changing the materials used and the way I made the mold. This
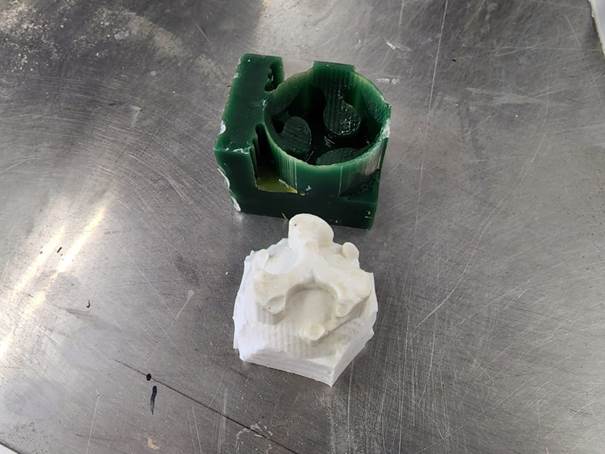
time I used a wax mold instead of 3D printing the negative. To do this I used a
Fablab logo to get the tilted surface I needed for
the assignment. Then, I will be using this wax mold to cast a soft rubber
piece.
1st Step. Setting
up the parameters
For
this part, I was going to make a mold milled into wax, then I will cast a soft
rubber piece out of it.
So,
this is the list of materials I will be using:
-
Negative: Wax
-
Casting: Rubber compound (Poliformas Molduflex)
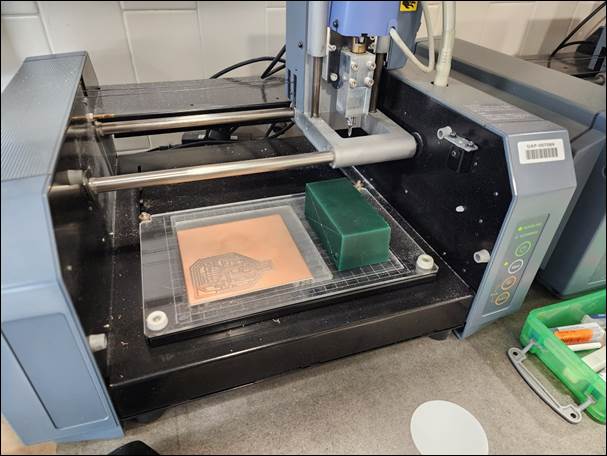
2nd Step. Making
the NEgative mold
For
this, I used the design of the Fablab logo to make a wax
mold, to do this I exported the file as a .stl in order
to be able to create the gcode file that will be used
by the Modela MX-40 to mill the mold.
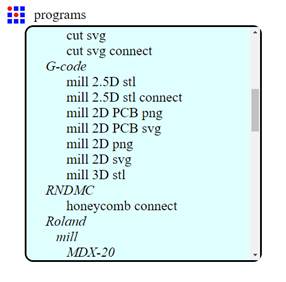
To
do the conversion from stl to the gcode
I used the mods app, then opened the
server program called mill 2.5D stl and finally followed
the steps from a tutorial
made for the Fabacademy by the Kannai Fablab.
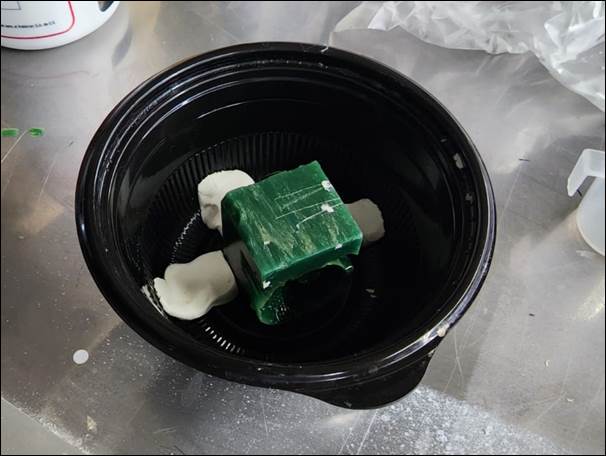
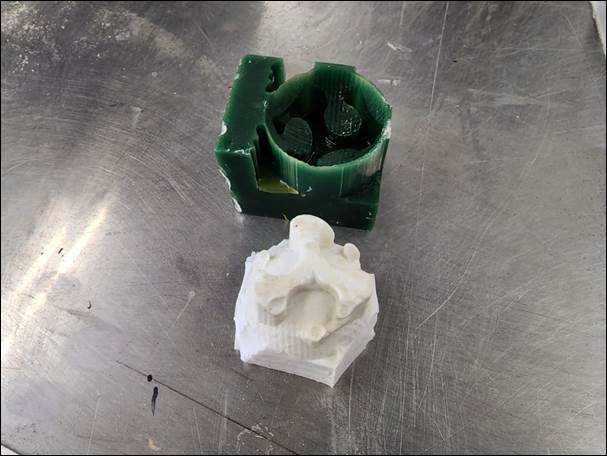
3rd step. Casting
the piece
This is the main step of the molding and casting
assignment. This is the procedure followed:
-
Prepare the negative mold and
container with a release agent. The product I applied was the Universal
Mold Release from the first part of the assignment.
o
Apply a continuous coating to model
and mold surface and surrounding forms.
o
Brush the release agent to minimize
air entrapment.
o
Apply another coating and let stand
for at least 5 minutes.
-
Before mixing the rubber compound you
need to measure the quantities needed, for this I filled the container with
water and measured the height needed to cast the piece I needed.
-
Once I know the quantity I had to set
the catalyzer apart in a ratio of 2%-3%, which means around 100 droplets per
each 100 g of rubber compound to be used.
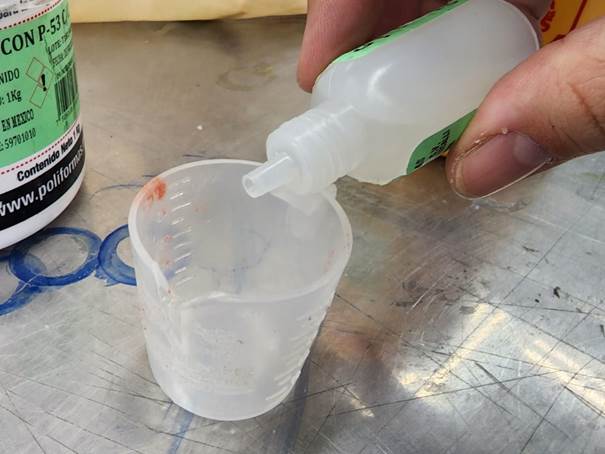
-
Pour both compounds in a 1:1 weight
ratio in a different container
-
Mix it thoroughly for at least 5
minutes.
-
Pour the resulting mix in a single
spot at the lowest point of the container, let the rubber seek its level up and
over the model. The liquid rubber should level off at least 1 cm over the model
surface.
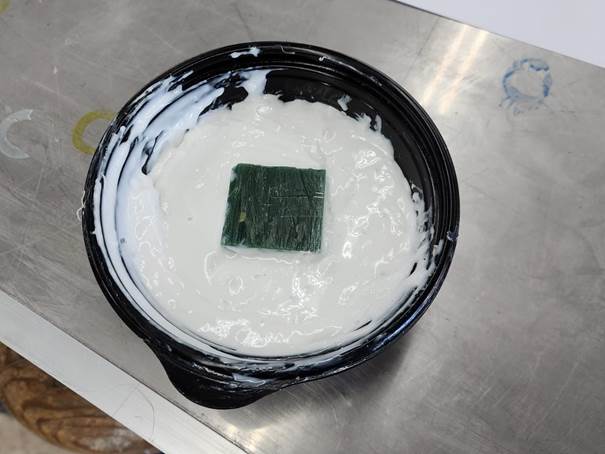
-
Allow the piece to cure at room
temperature for at least 6 h.
-
Release the piece.

-
Cut away the discardable material.
Conclussions
This assignment showed us that there
are many ways to make a mold and cast anything into it. I incorporated the
digital process at 3D printing the original model at first, and by milling the
mold with the Modela at the second iteration.
Nevertheless, the mold fabrication and the piece casting is still manual.
Original
Files
Nueval
Checklist
-
Linked to the group assignment page and reflected on your
individual page what you have learned.
-
Reviewed the safety data sheets for
each of your molding and casting materials, then made and compared test casts
with each of them.
-
Documented how you designed your 3D
mold and created your rough and finish toolpaths for machining, including
machine settings.
-
Shown how you made your mold and cast
the parts.
-
Described problems and how you fixed
them.
-
Included your design files and hero
shot of the mold and the final object.
2022