As my version 0.1 was not working as expected, I quickly moved on an another version, the 0.2. In this version, I redesigned the electronics and made a case for it, I made a small web interface to control and modify the temperature inside the incubator and finally did some tempeh!
Incubator v0.2
Table of content
Electronics
A case for the electronics
Web interface
Our first tempeh
Cabinet
Electronics ●
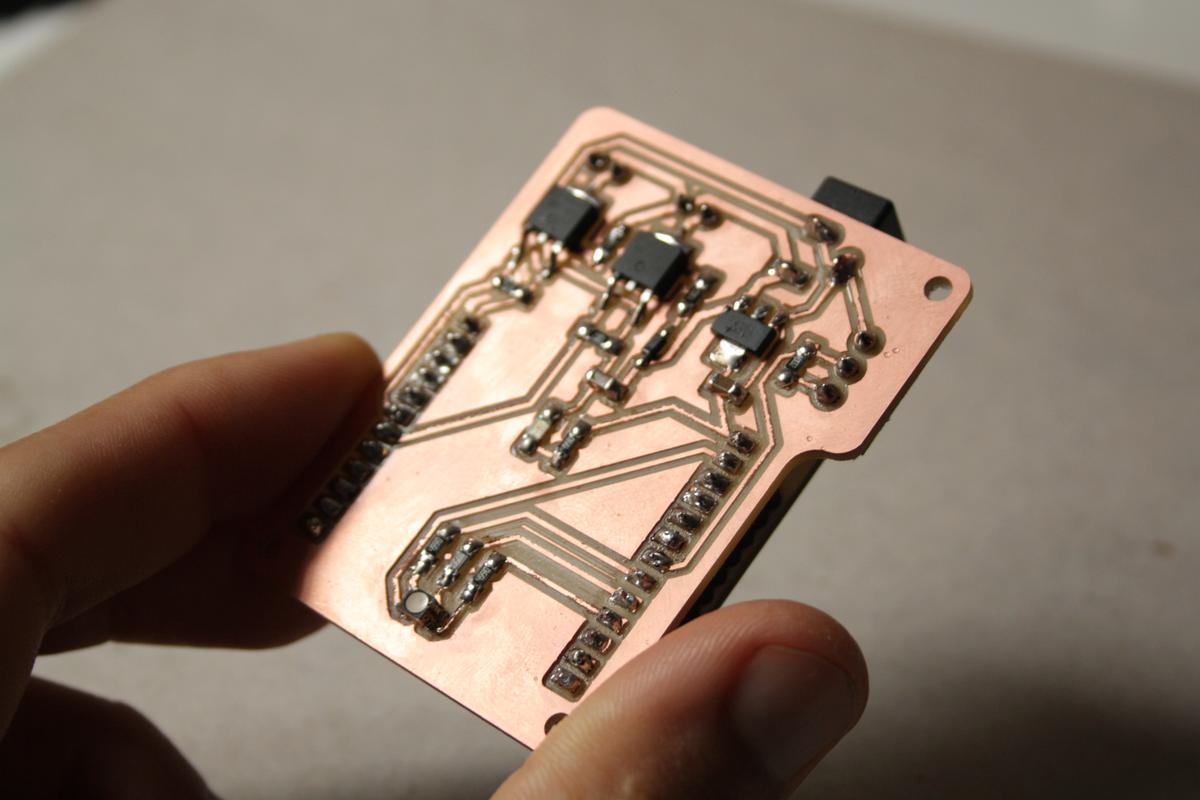
This is the continuation of the electronics of the v0.1.
In the previous version I had some problems with the ESP32 pins I was using. The one I had chosen for the heating pad could not be used as an output and the one I had chosen for the DHT11 sensor could not read values for any reason. I found out which pins to use after a session of testing all the pins and whether or not they could meet my needs.
Also, during my tests, I realised that the DHT11 sensor doesn't really need 5V to work, even though I thought it would be better/safe to use it this way. This means that I can remove some components from the PCB (the level shifter that converted 3.3V to 5V), which simplified the PCB design.
Schematics
PCB design
Robustness and therefore longevity
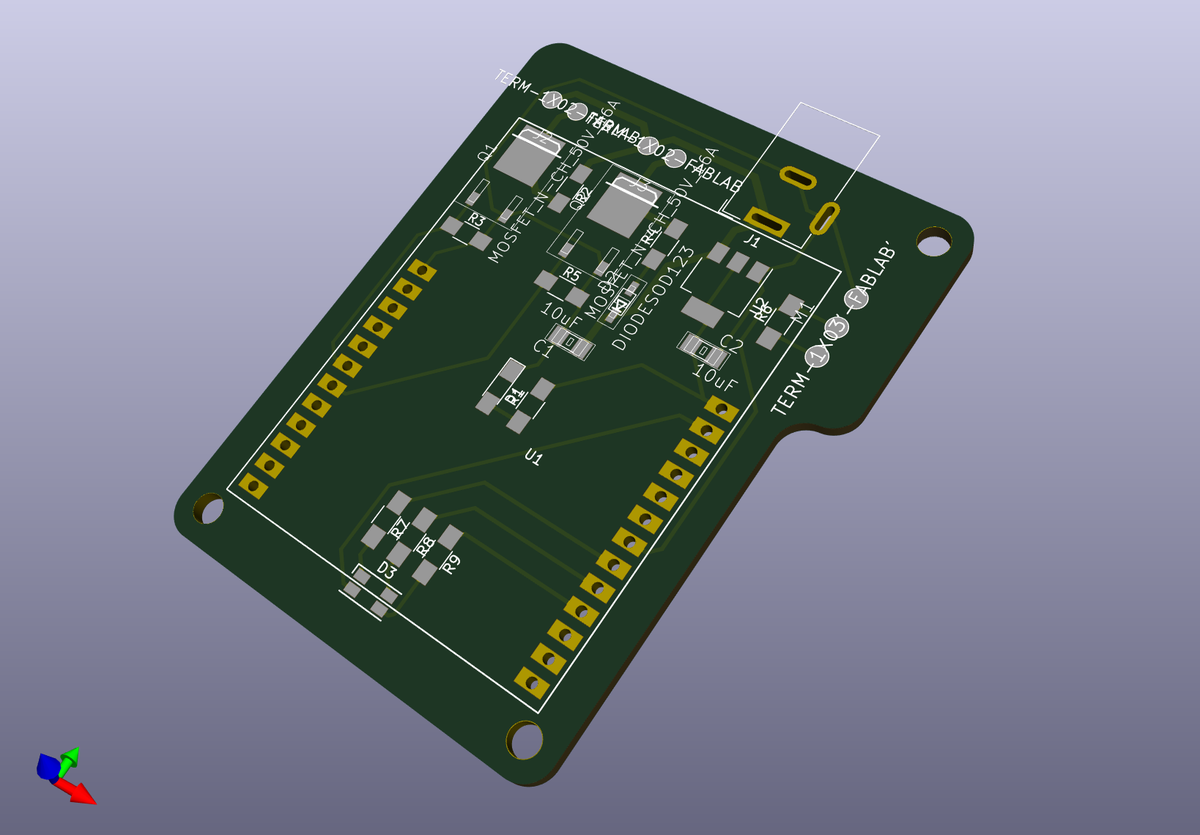
This time, I decided to solder some components on the back of the PCB, as this will be easier to solder and will ensure the robustness and therefore the longevity of the design.
The components that will be soldered on the back are the Barduino (header), the barrel jack, the terminals (heating pad, fan, DHT11 sensor). To ensure the circuit connectivity, I have inverted the footprint of the Barduino and the barrel jack (I don't have to do this for the terminals as I will simply invert the cables).
Fabrication and soldering
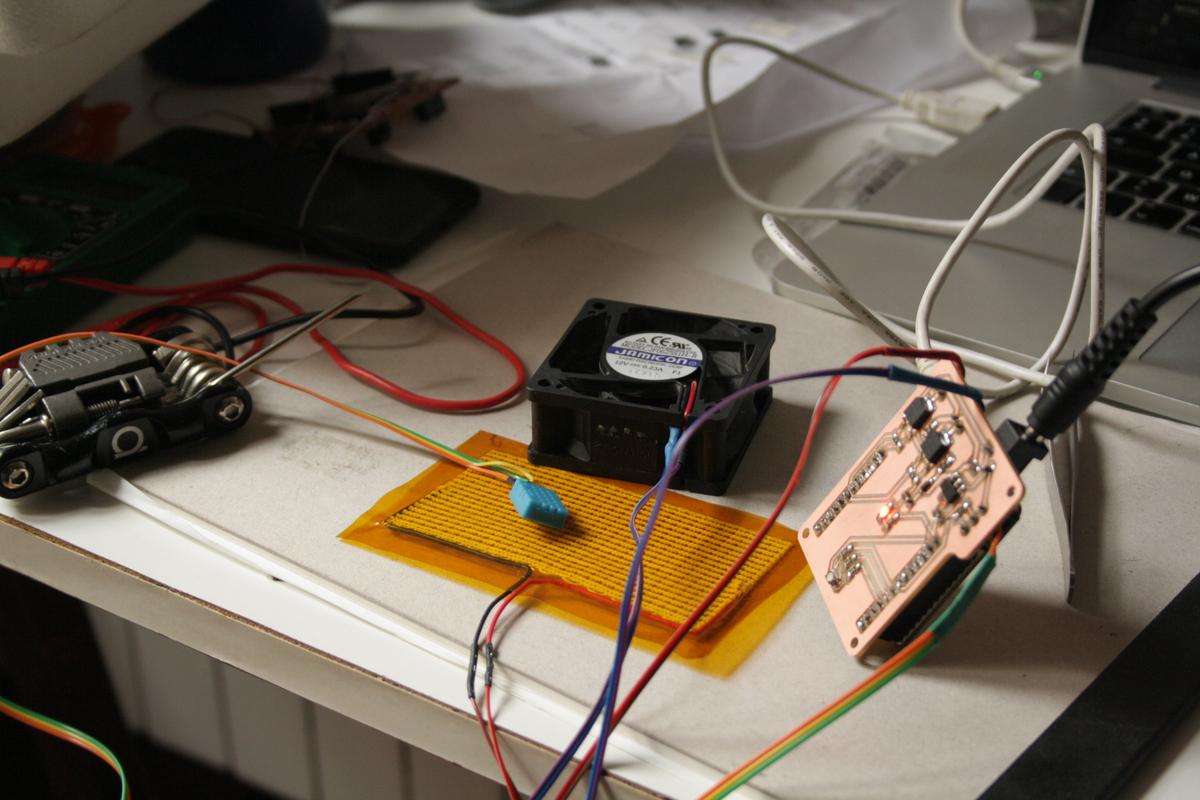
I fabricated this board at the Fab Lab Barcelona using a Roland SRM-20 milling machine. Then I took it home to solder it quietly with a good cup of tea.




Little mistake
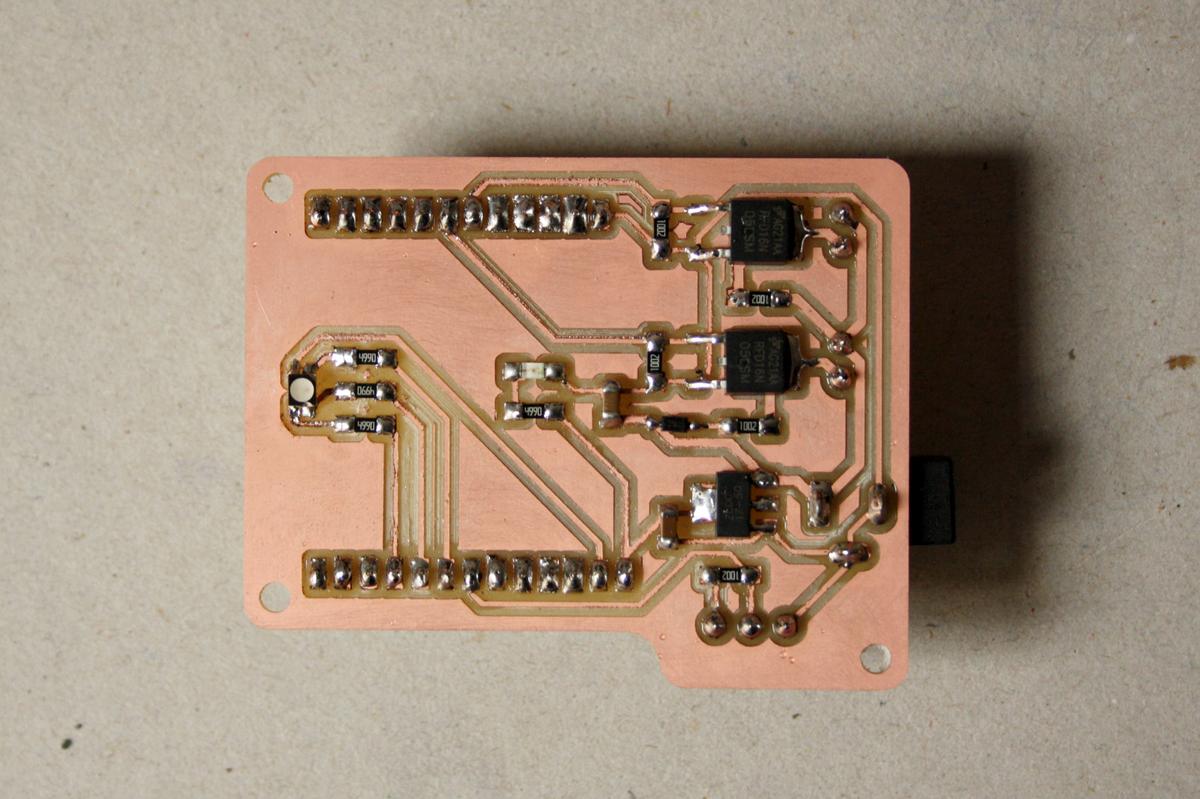
While making the schematics, I called the 3.3 volt line "3V3" and "3.3V", which produced a disconnected line. I had to solder a resistor tab between the 3.3V and one of the DHT11 sensor pads to make it work. I need to correct this in the next version.
Result
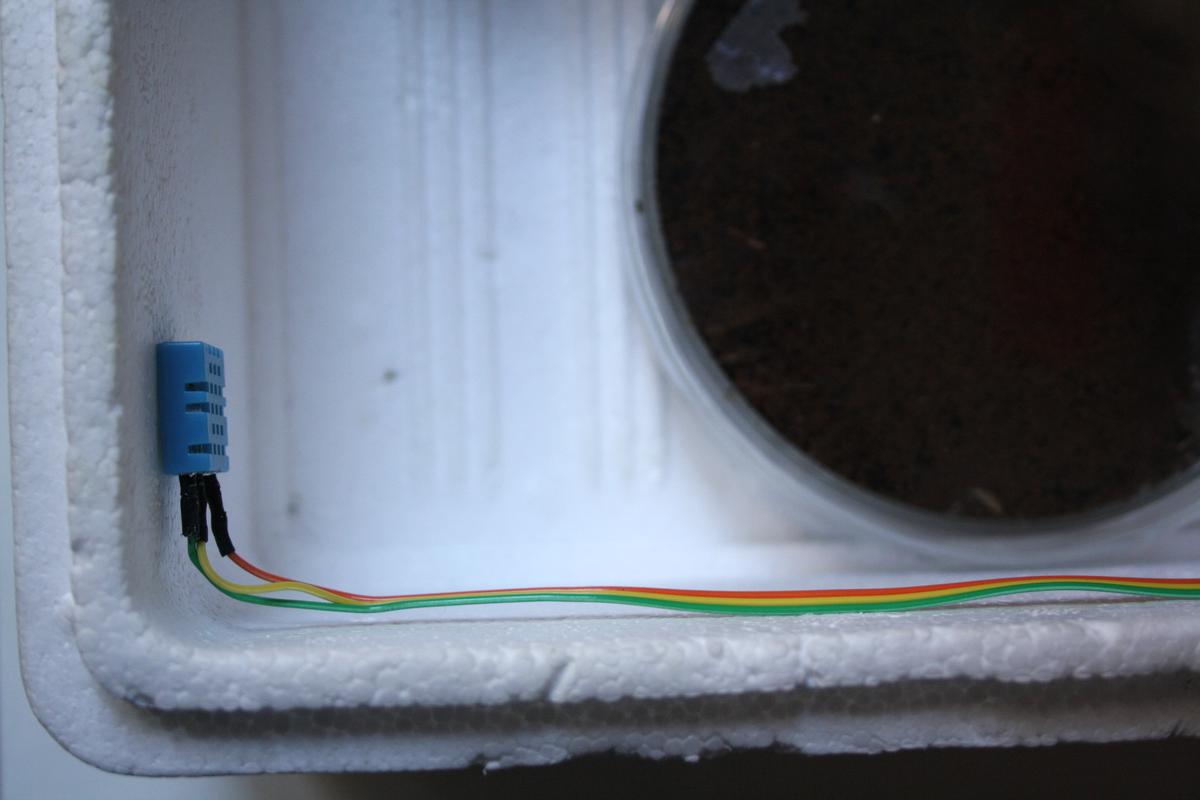
The prototype now works perfectly. The DHT11 sensor measures the temperature and humidity inside the box, the heating pad heats to maintain the temperature at the desired value and the fan circulates the air to distribute the heat properly.


Files
- Design and fabrication files: incubator-electronics-v0-2.zip
A case for the electronics ●
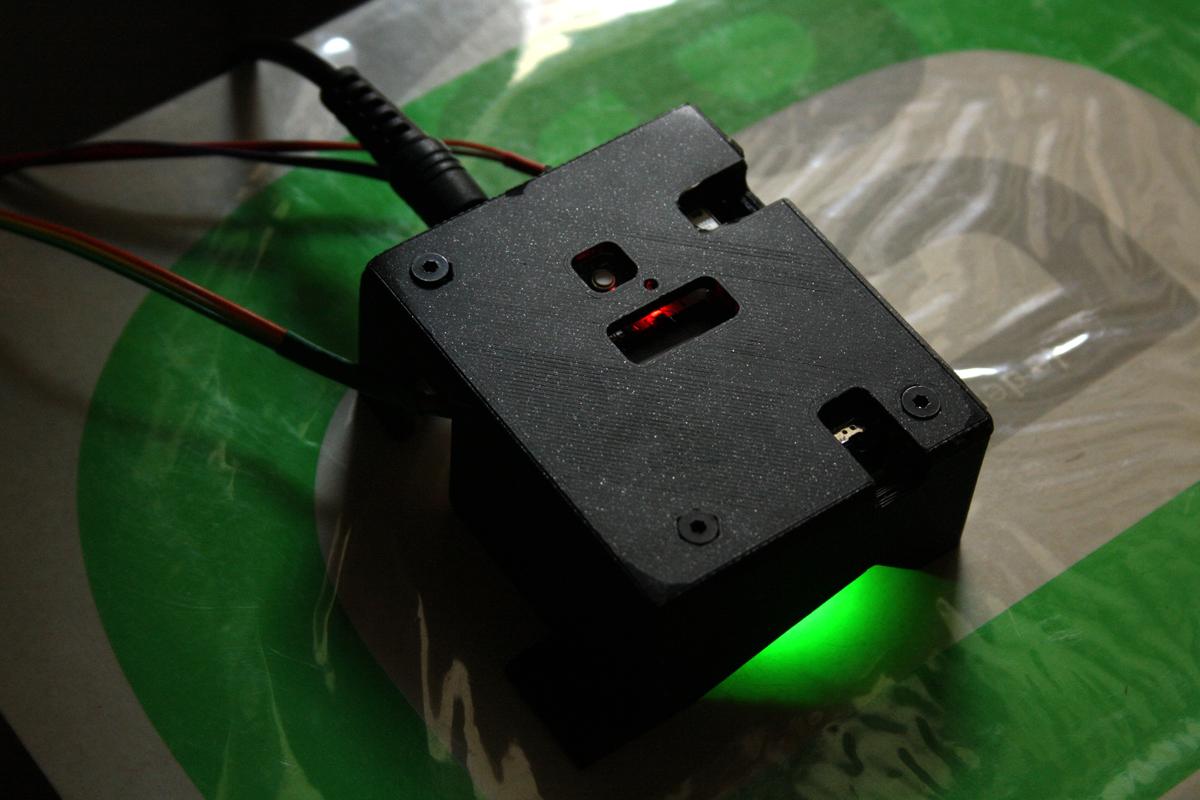
Now that the electronics is working, I need to protect it a little to avoid mishandling that could damage it. To do this, I will design a case which will then be printed in 3D.
Design
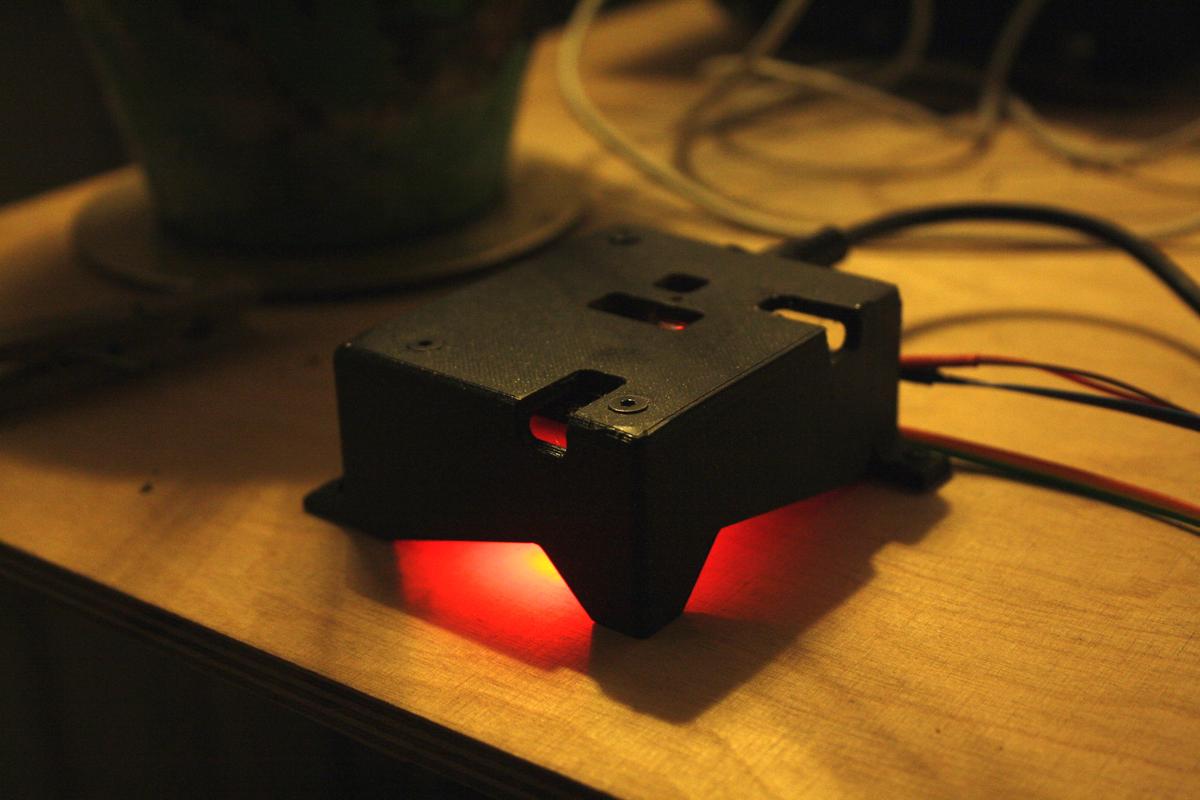
The main idea of this design is to have all the functions accessible while having a light reflection that communicates the state of the incubator (if it is heating up, or if it has reached the desired temperature, or if it is cooling down).
To do: Add technical details
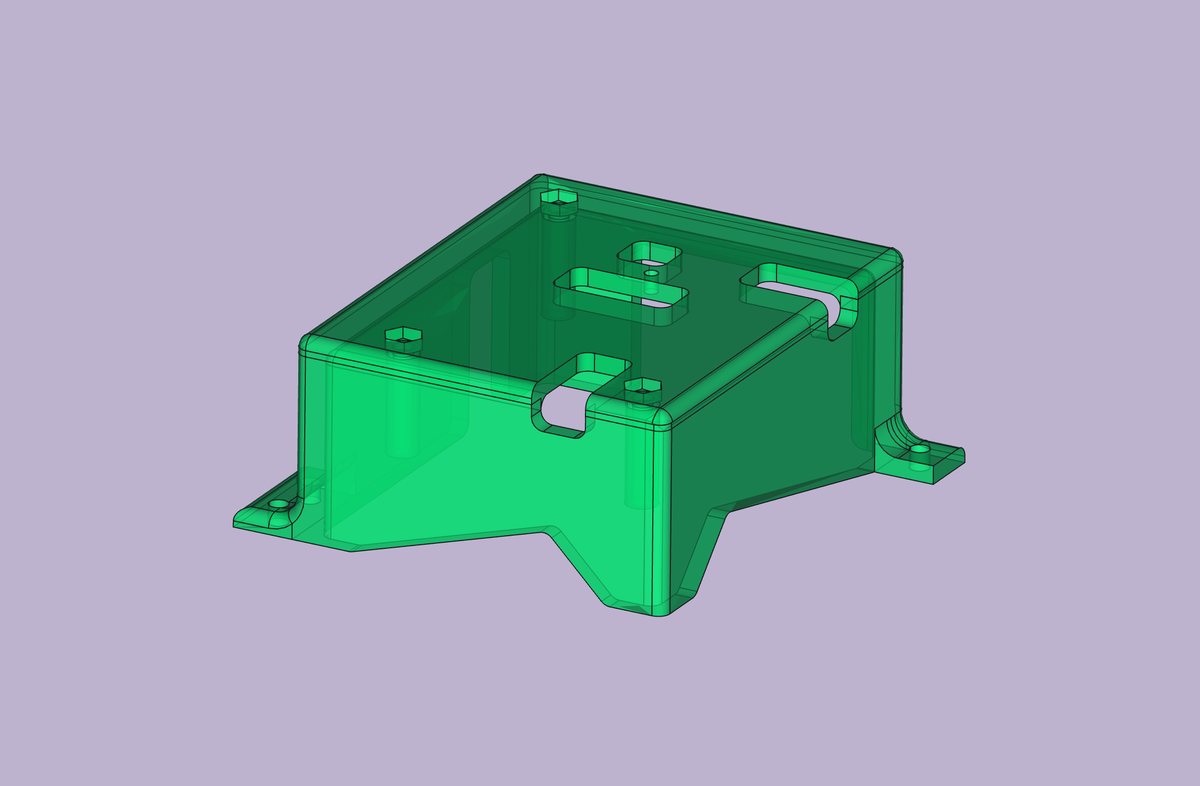
What must remain accessible
- the USB port
- Barrel jack
- Reset button
- Programmer switch
- Terminals (3)
- ESP32 antenna
A way to fix it
Also, we need to find a way to fix the electronics in the case and then the case in the incubator, for this I will use M3 bolts and nuts. I downloaded a 3D model of the M3 nut that I incorporated into my design.
From KiCAD to FreeCAD
Both KiCAD (Electronics design) and FreeCAD (2D and 3D parametric modeler) are open-source and work hand in hand in order to facilitate the use of one after the other. FreeCAD's KicadStepUp workbench allows to import a 3D model from a PCB designed in KiCAD to start designing from it.
Views


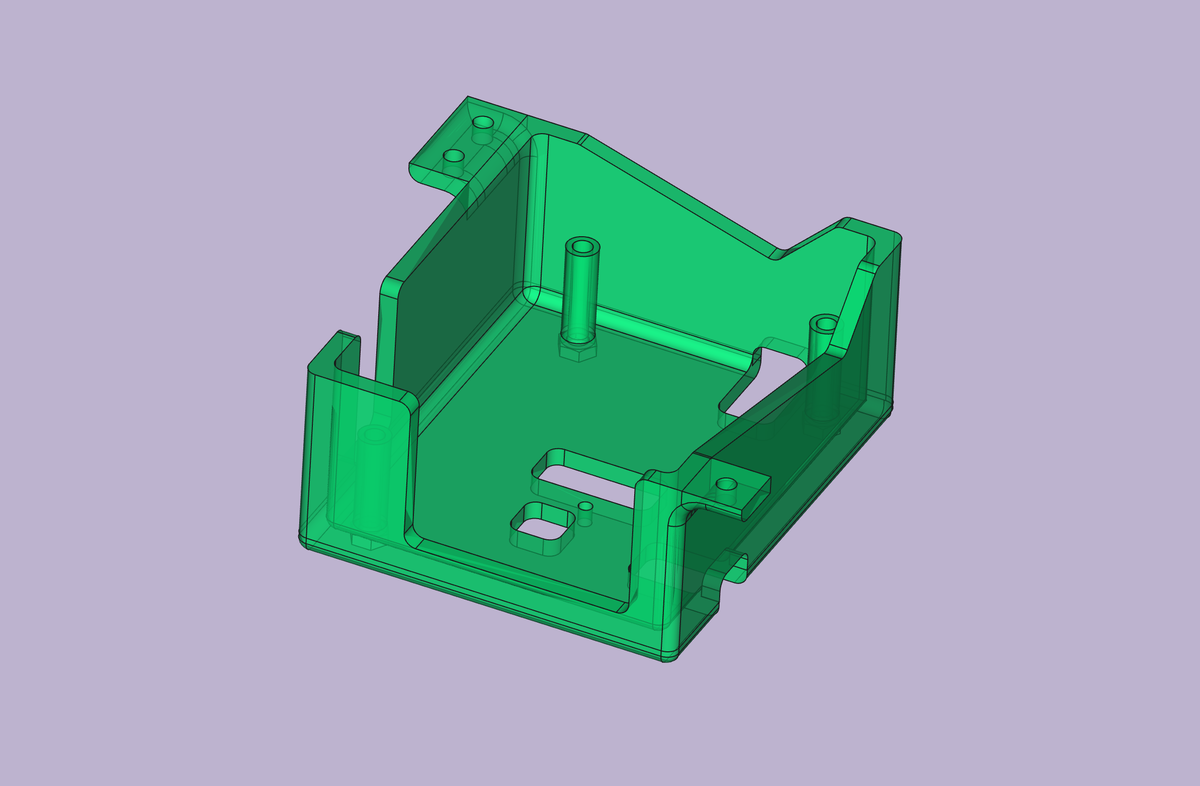
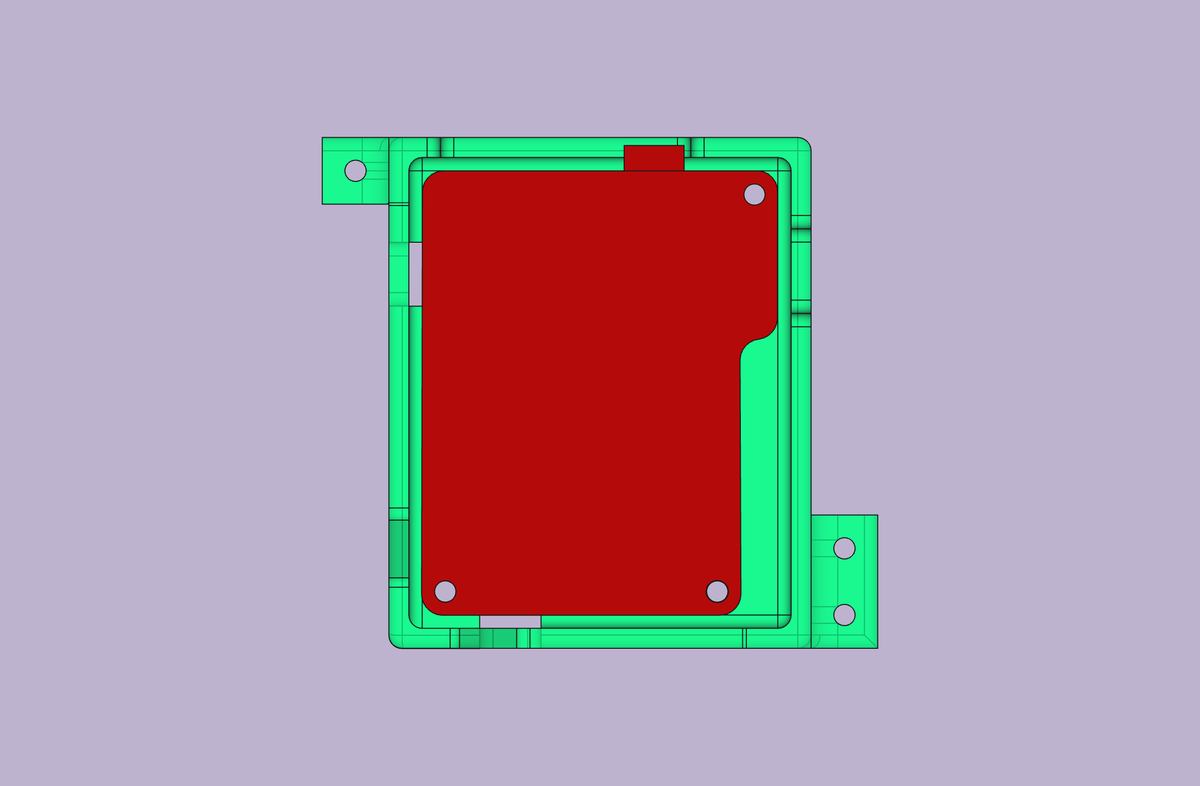
Fabrication
I printed this project at home using our new Mini Prusa 3D printer. I'm always amazed at the final quality of this printer. The only thing I have to adjust is the way I make my supports. They always marked my prints badly, which reduces the quality. The print was done in ~4 hours.
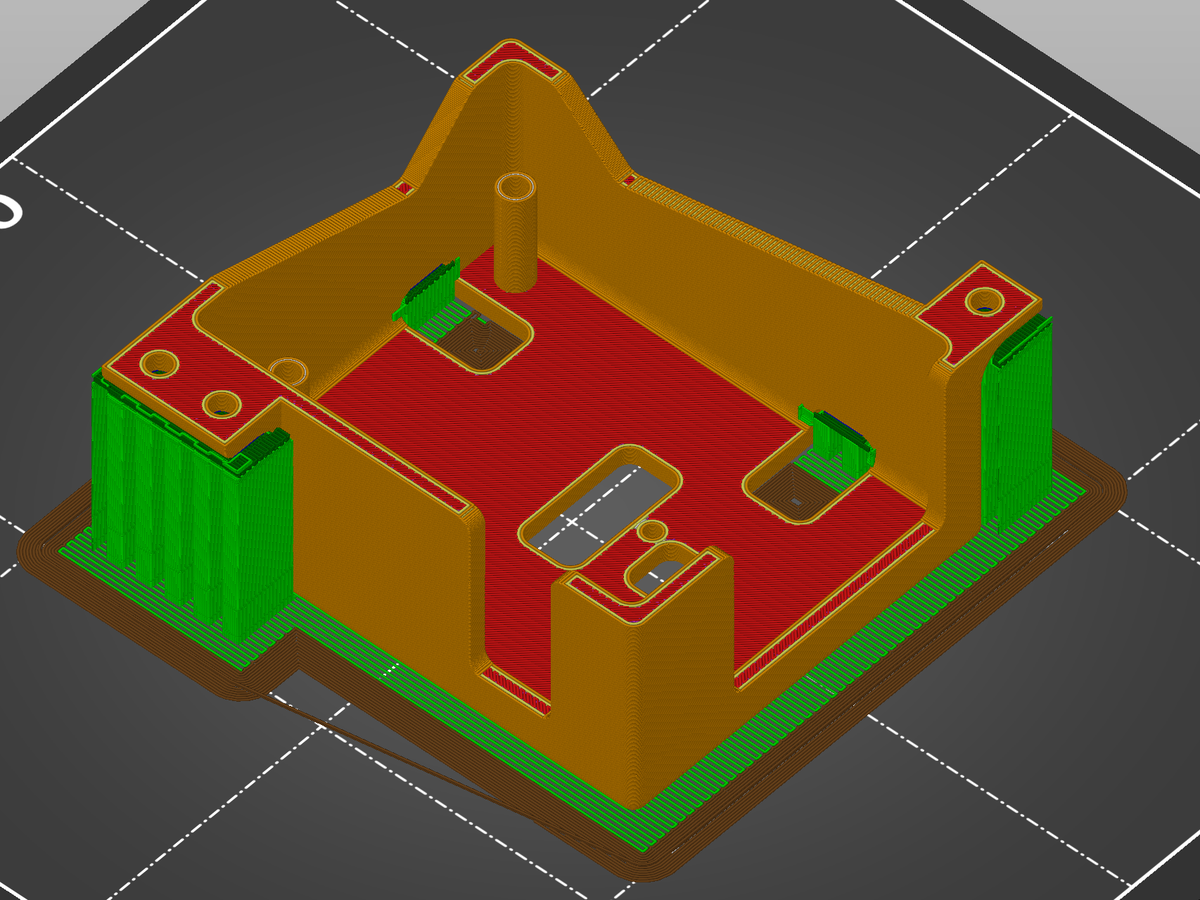

Result
It went so well. The reflection of the light is as I had imagined and my measurements were good! Well, almost good, because I had to cut my USB cable to fit my design.




Web interface ●
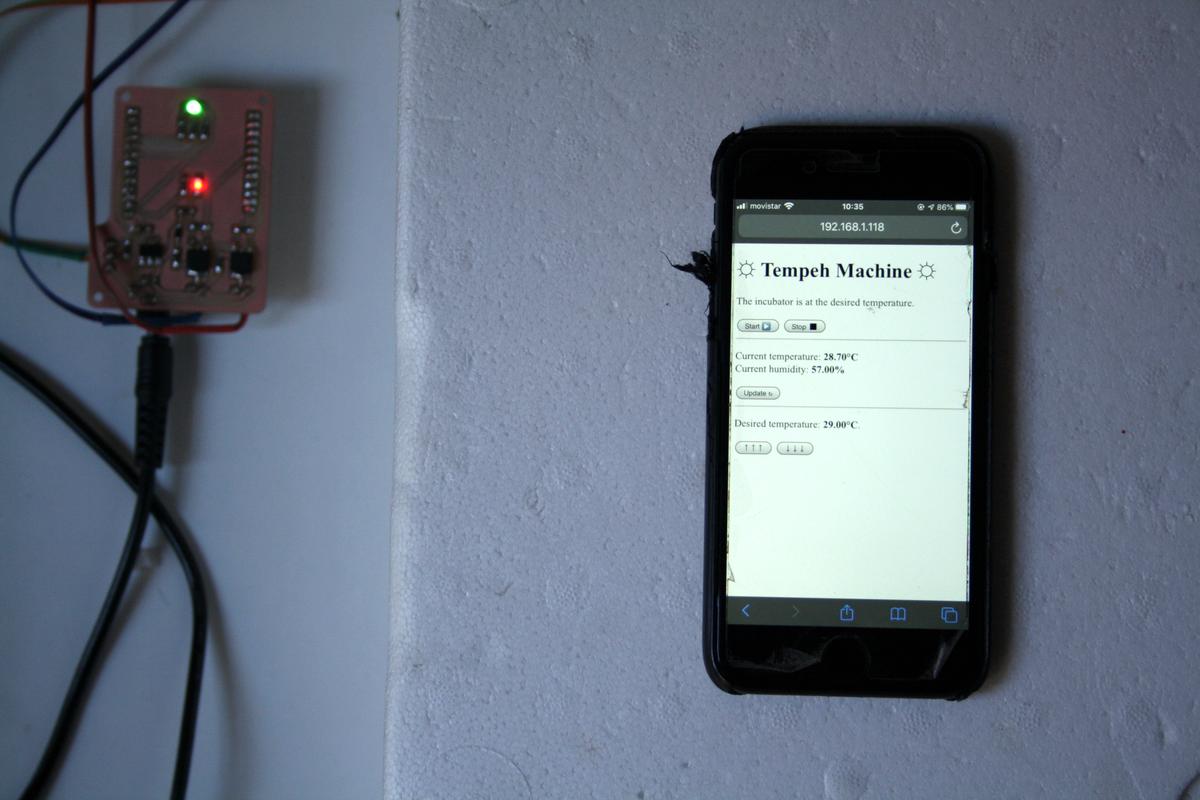
To do: Everything :)
Our first tempeh ●
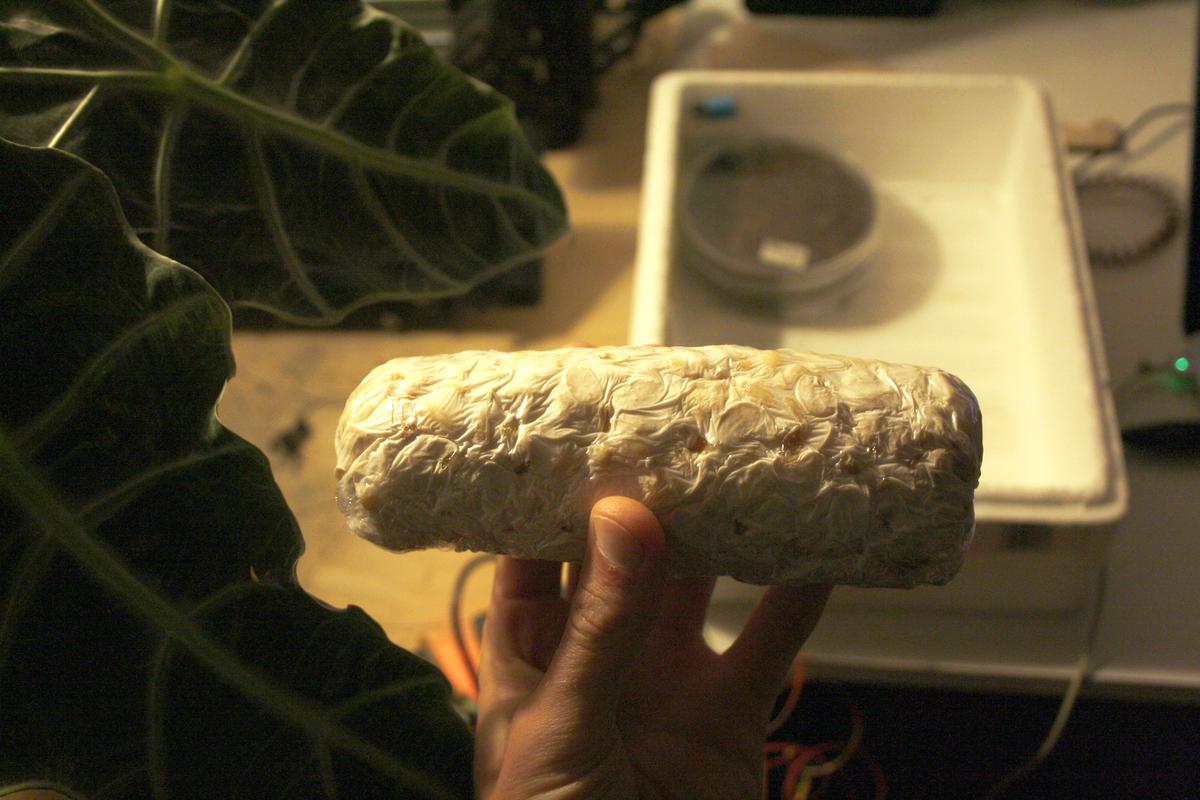
To do: Everything :)

Cabinet ●
To do: Document this part according to Maud's documentation