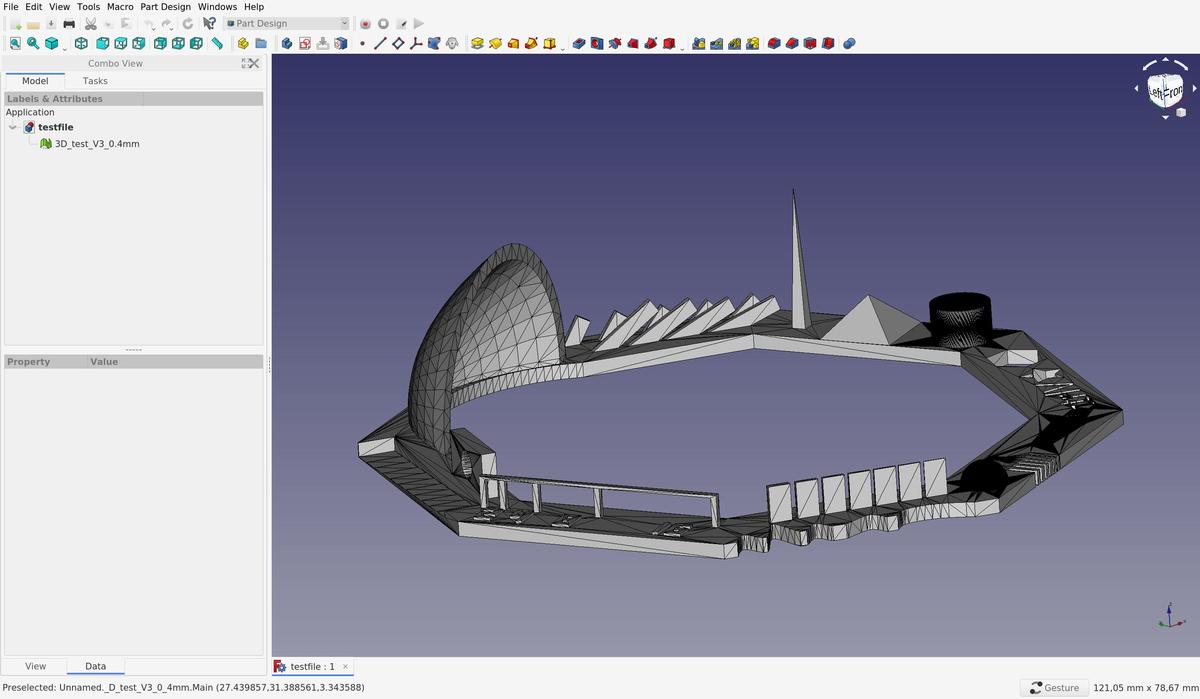
For this week's group assignement, I teamed up with Tue and David. We picked a test file from Thingiverse in order to test different features of one of the 3D printers we have in Fab Lab Barcelona, the Creality3D CR-10 S5 3D.

This file allows us to test these features:
- z-height check
- warp check
- spike
- hole in wall
- raft test
- overhang Steps 50° - 70°
- 2 different extrusion widths: 0.48mm & 0.4mm
Slicing
To be able to print a 3D model, we have to send instructions to the printer, wich are written in g-code and tells the motors where to move. To prepare the g-code, we have to slice our 3D model (.STL), to simulate and anticipate how the model will be printed, according to the printer settings and gravity law.
At Fab Lab Barcelona, a computer with Ultimaker Cura is attached to the machines, with all the presets of the differents printers saved in it. It's therefore easier to directly use it in order to slice our model instead of searching the presets and install them on our personal laptop.
Specific settings that we had to specify
- layer height:
0.25mm - Wall thickness:
0.8mm(= 2 lines) - Infill:
10% - Print speed:
60mm/s(= maximum for this printer)
Printing
The filament we use is a PLA 1.75mm. It's a plant-based material made from starches like soybeans or corn. It needs to be heated at 190-200C° to be used.
The printing was done in ~90 minutes without any troubles.
Results
As we can see in the images above, the definition of the print is quite good, the details are respected and the print angles can be large (in fact more than 45°). Even the small bridges without support were printed correctly. I am very satisfied with this test and the new possibilities that it lets us see.