Workflow of Assignment:
In this week it was a task to do something different irrespective of previous tasks. So I decided to do something in sewing lab on digital sewing machine. I’ve decided to design an embroidery product on corel draw.
Design:
CorelDraw:
CorelDraw is a vector graphics editor developed and marketed by Corel Corporation. It is also the name of the Corel graphics suite, which includes the bitmap-image editor Corel Photo-Paint as well as other graphics-related programs.
As a design program, CorelDraw provides users with different tools to create original images or drastically edit them. Some of the things users are able to do with the program are QR code generation, page layout and adding various special effects.
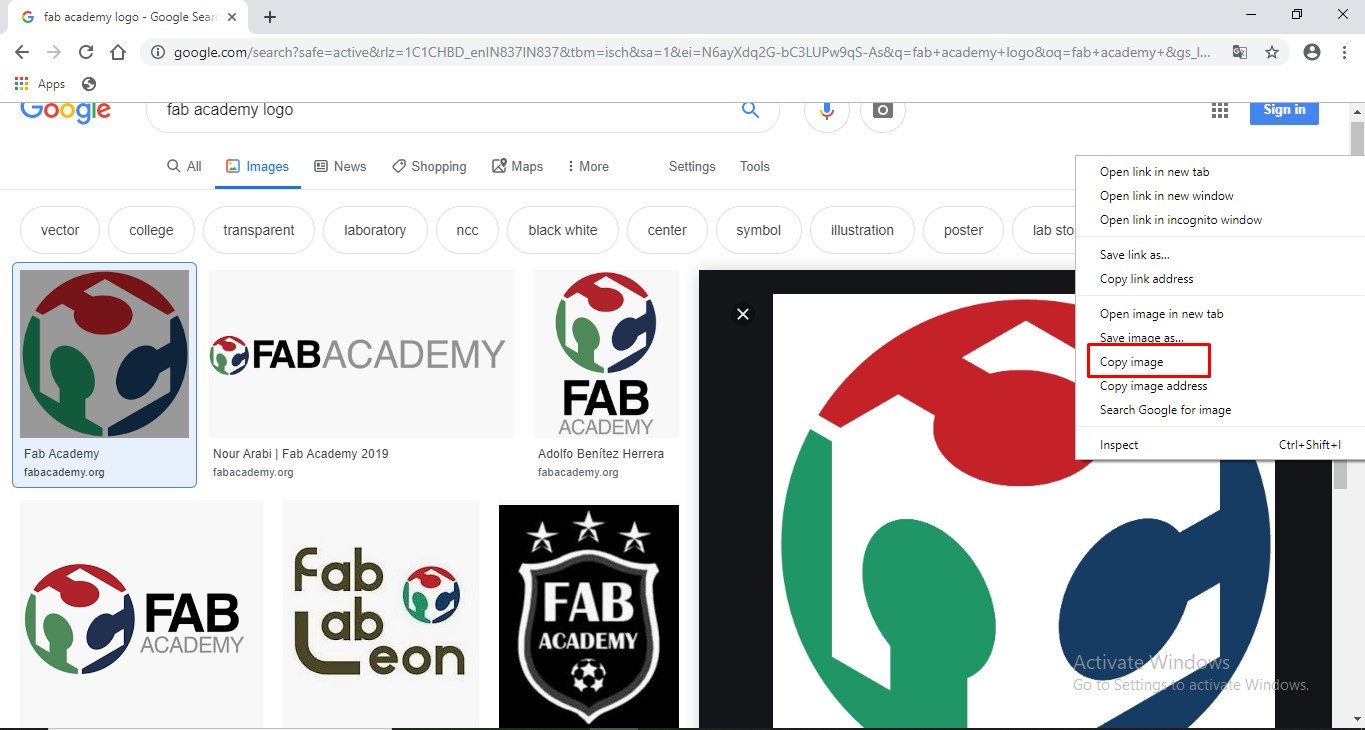
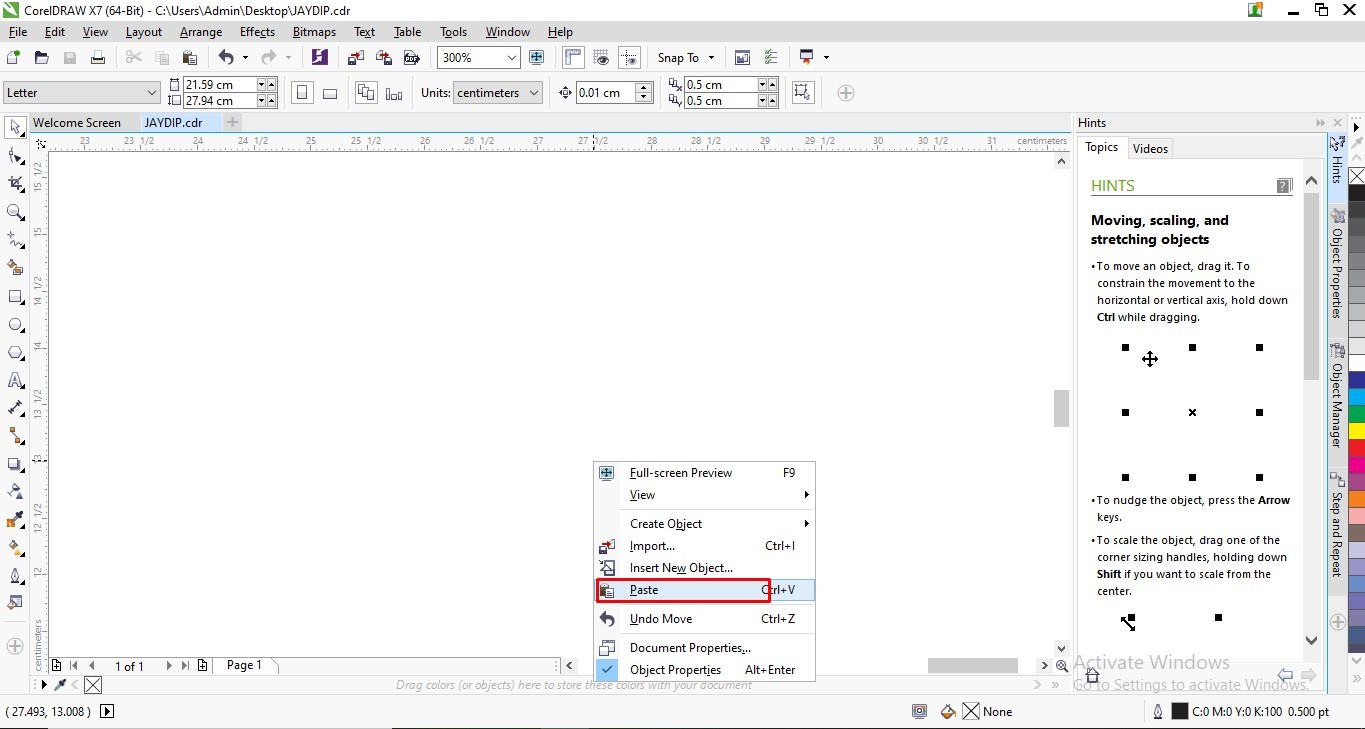
Image Insert
Opened a new file and copied and paste the .jpg image containing logo.
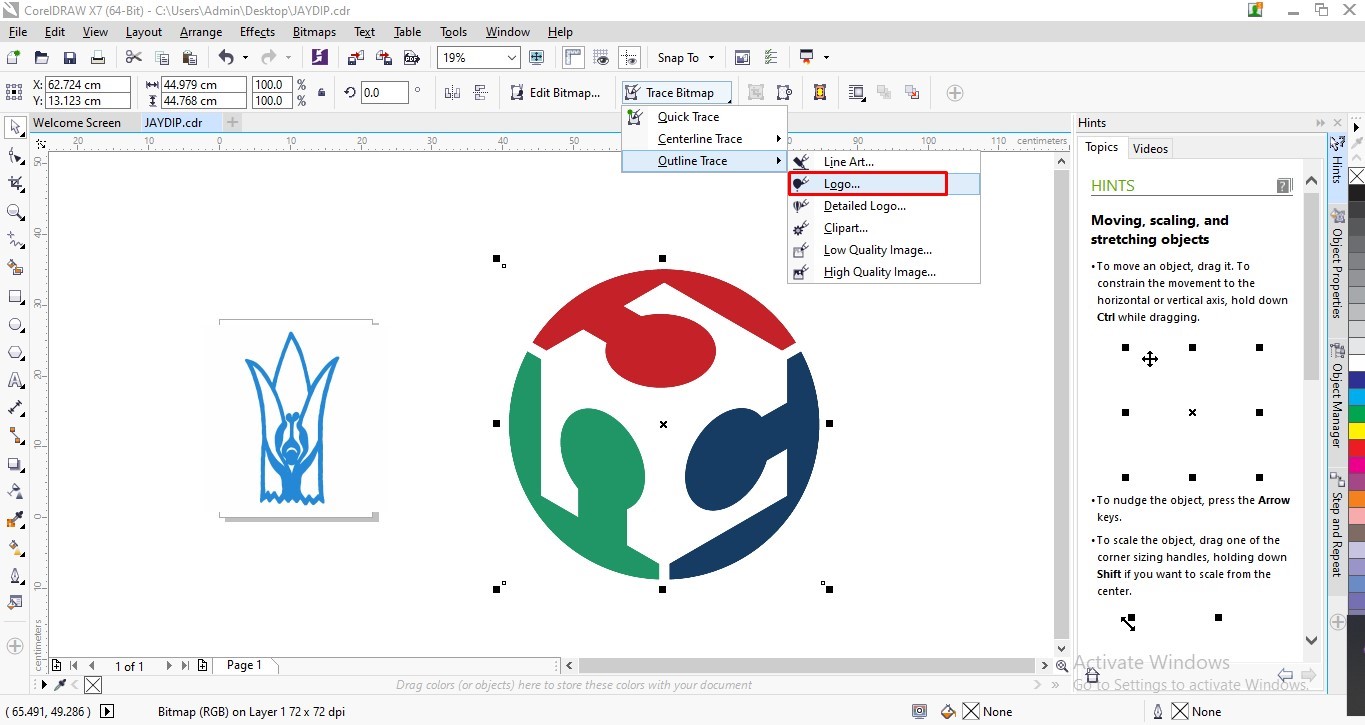
2. Trace Bitmap
A. Trace Bitmap>Outline Trace> Line art:
Selected the entire image and converted it into Line art Bitmap.This Converted vector graphics to bitmaps. It allows us to apply special effects to the object.It is also known as “rasterizing.”
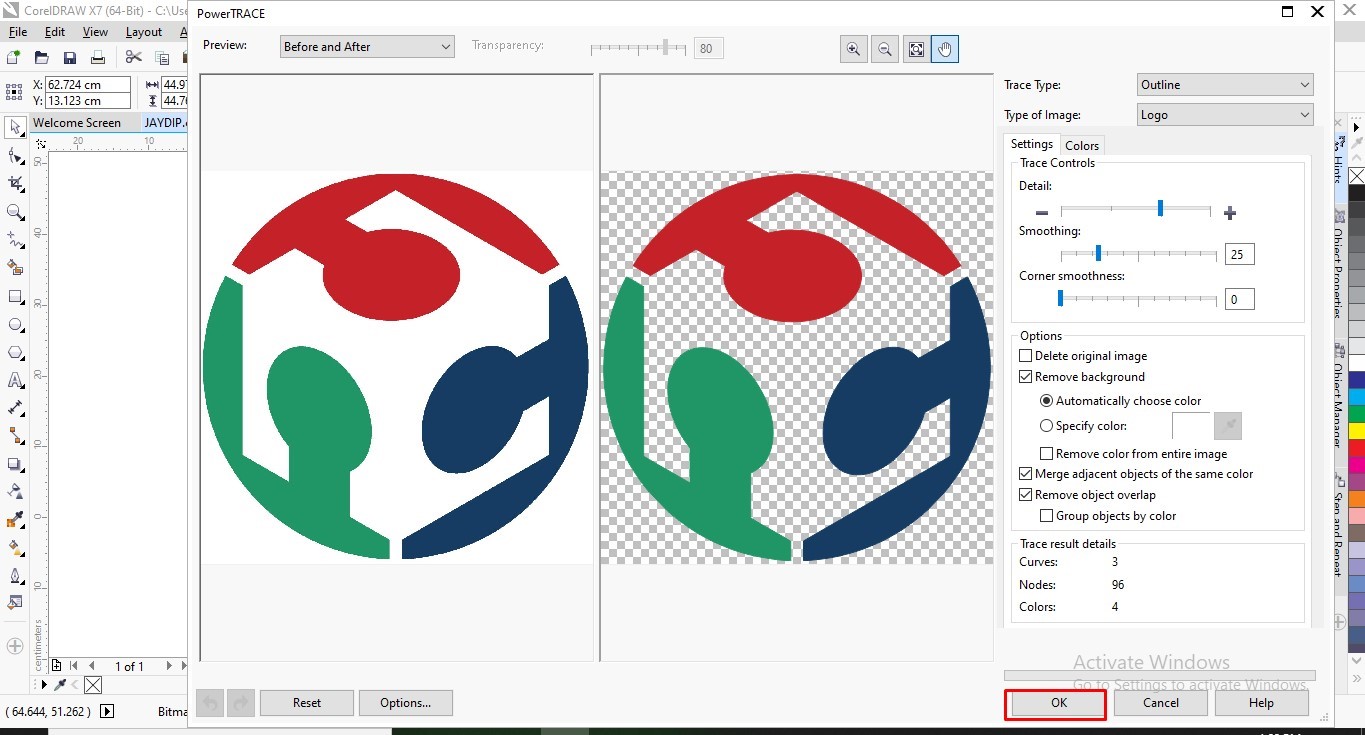
B. Using the same feature removed background and overlaps. Trace result details showed Curves, Nodes and number of colours.
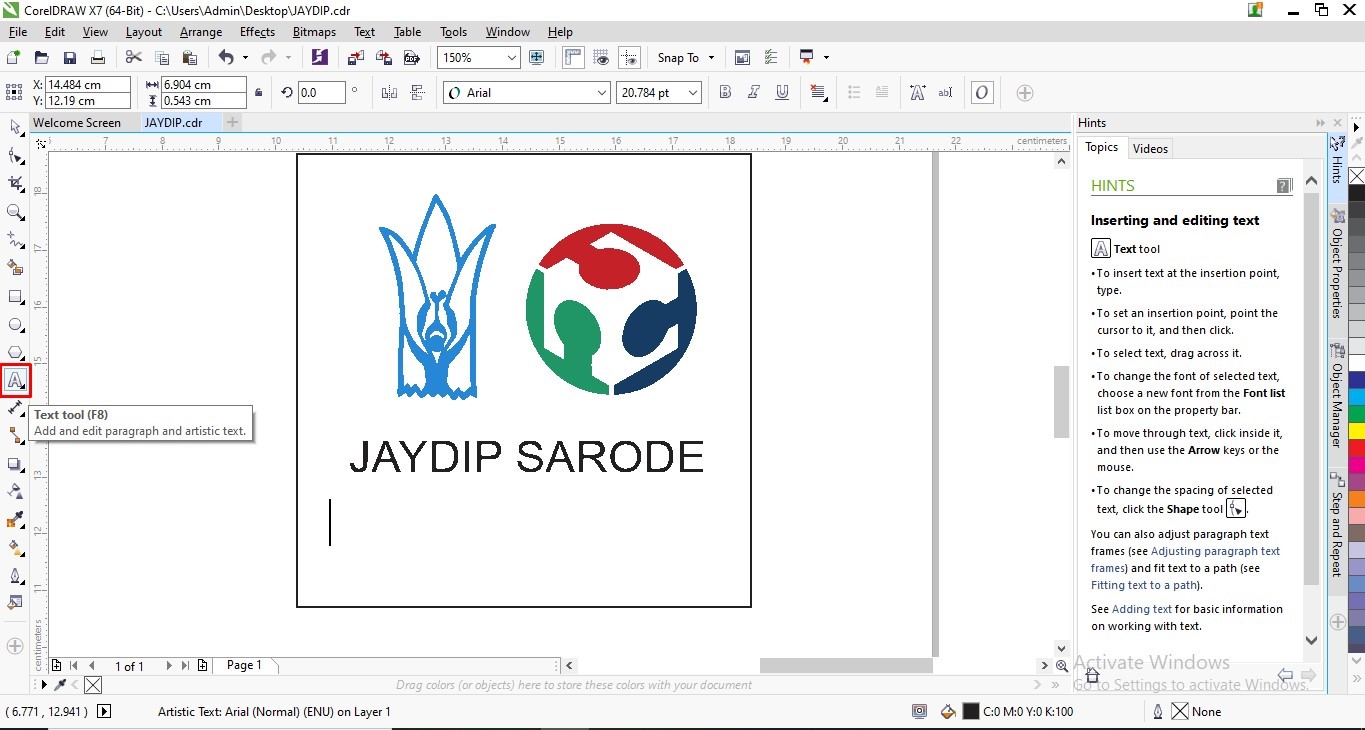
3. Ungroup and Text:
A. Selected the entire image and Ungrouped it after Bitmap by Ctrl U. Deeleted the unwanted text.
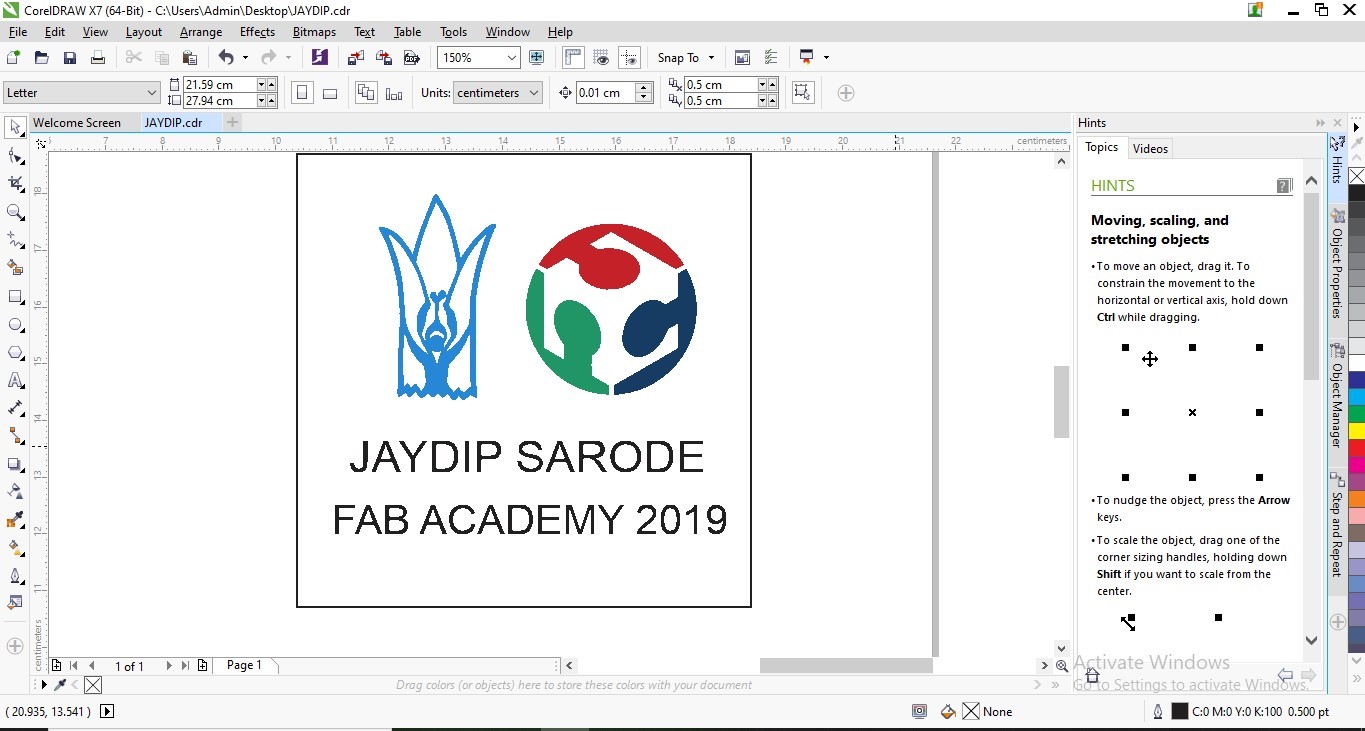
B. Selected Text tool and wrote the message of “JAYDIP SARODE FAB ACADEMY 2019”. Adjusted the size and grouped entire image by Crl G.
Digital Fabrication:
Used DigitizerJr software to convert .JPG image made in Corel Draw to the desired format “JEF” in which CNC embroidery machine works.
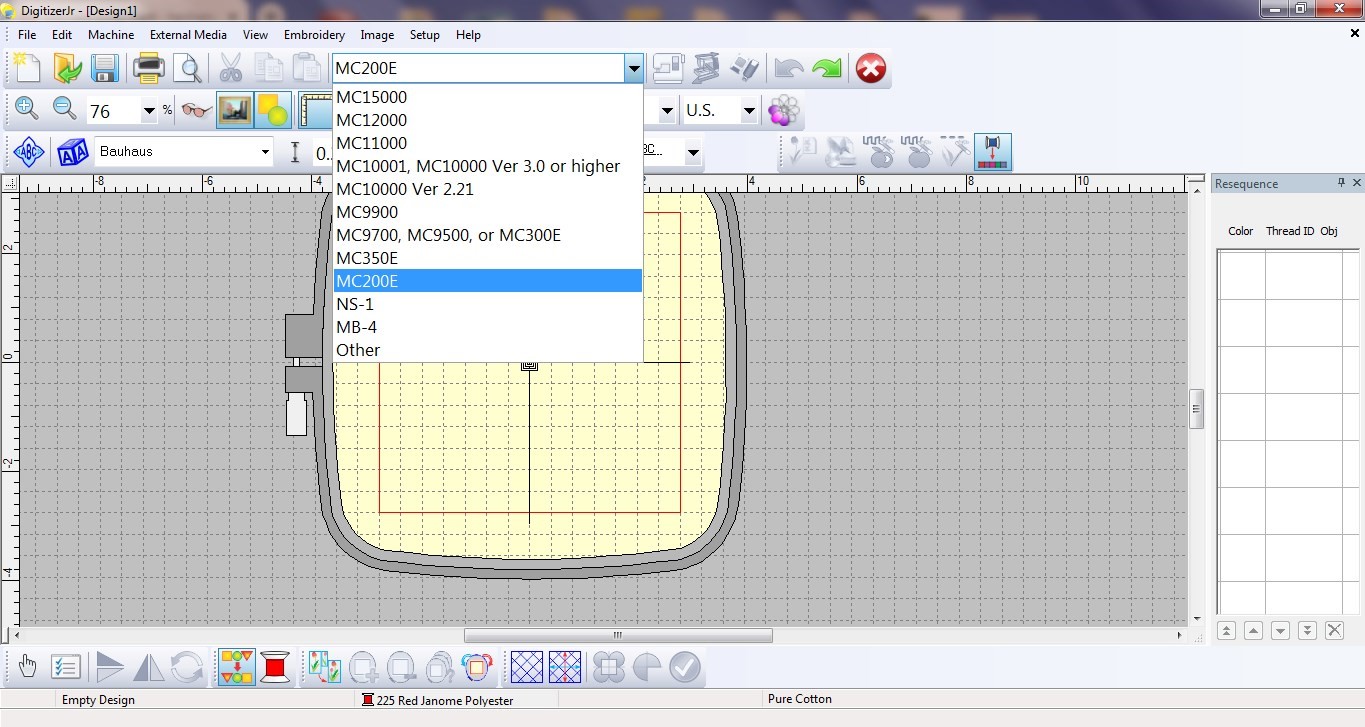
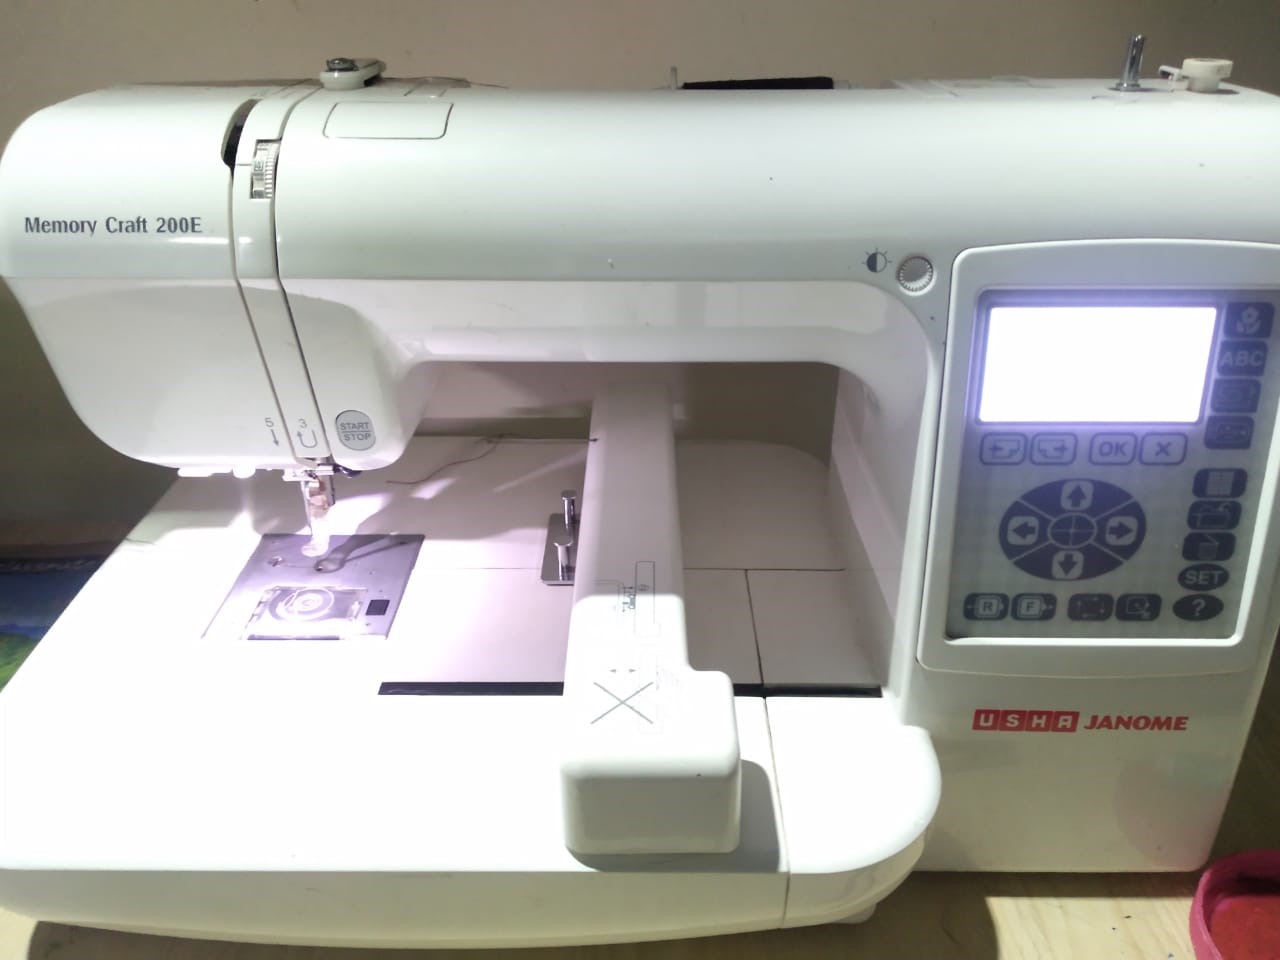
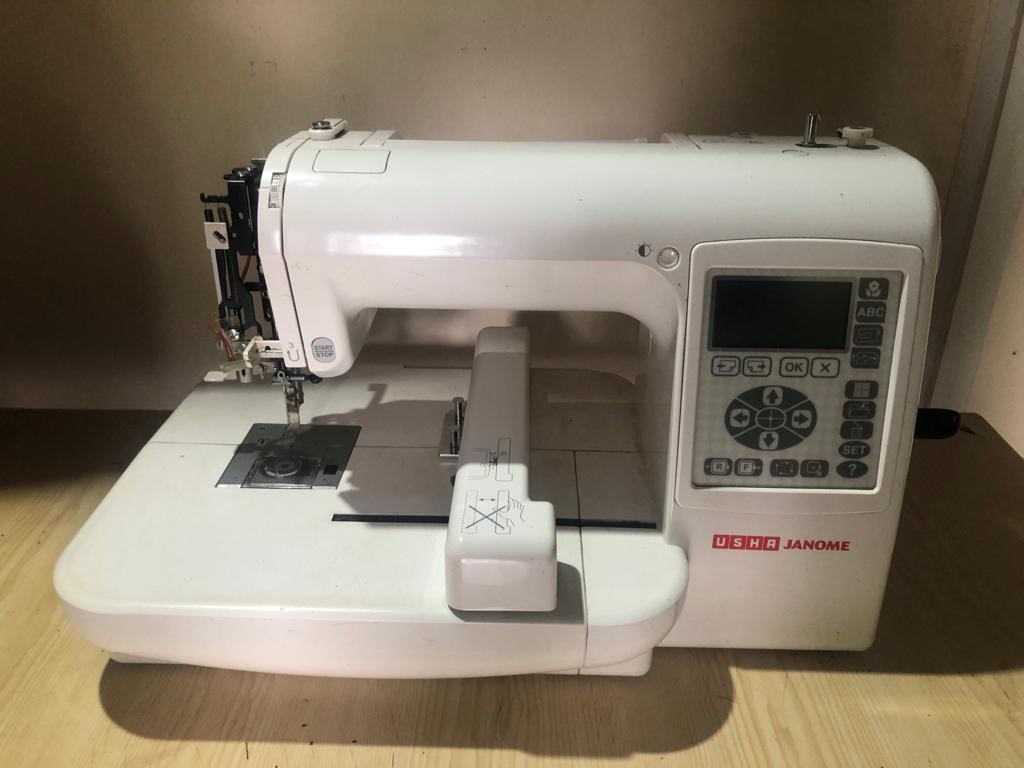
Machine Selection:
At Vigyan Ashram, sewing lab we have Usha MC-200E CNC embroidery machine.Selected the same from the options.The machine only works with physical software key.
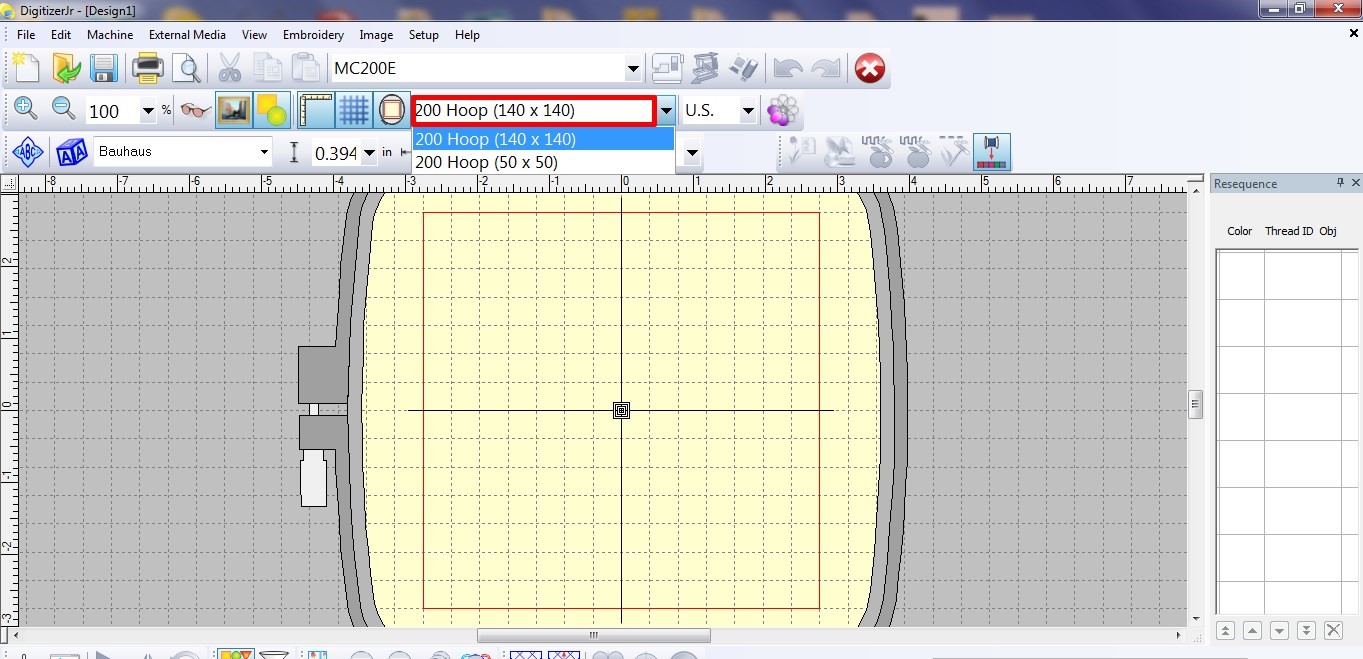
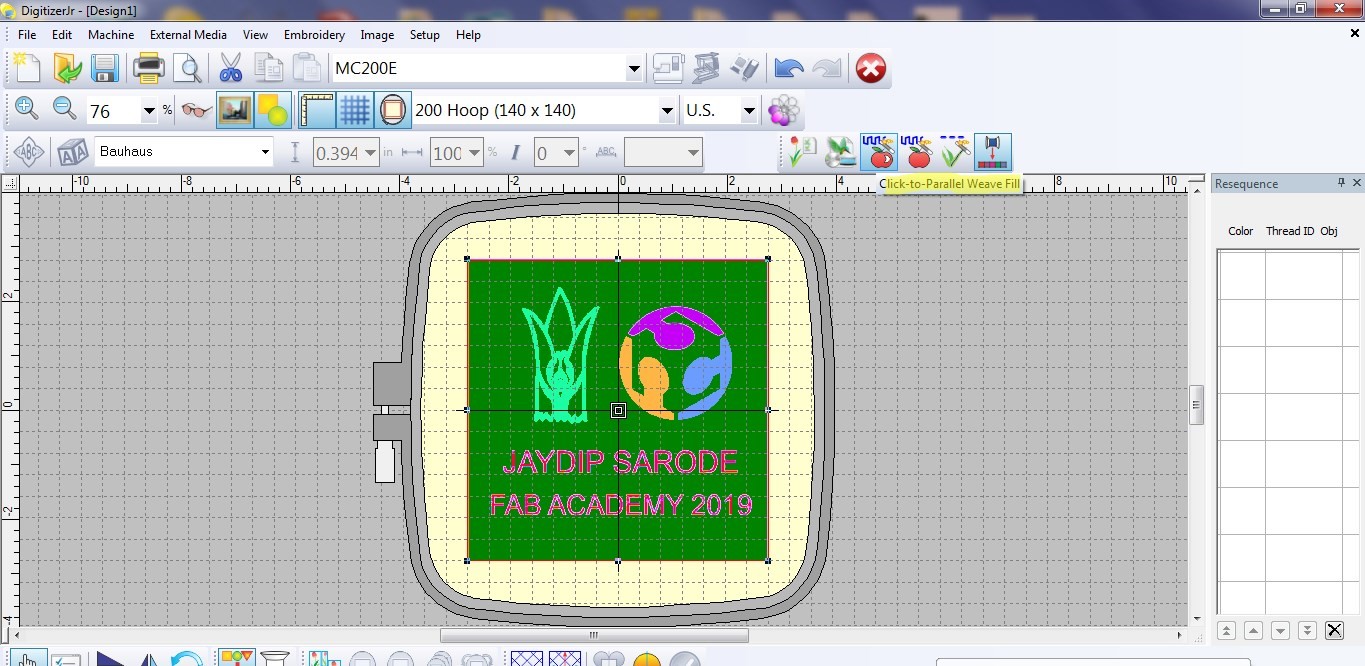
1. Hoop Selection:
Two hoops of different sizes can be selected. I selected the available larger size in the lab of (140X140). The embroidery hoop has a pair of concentric rectangular rings.
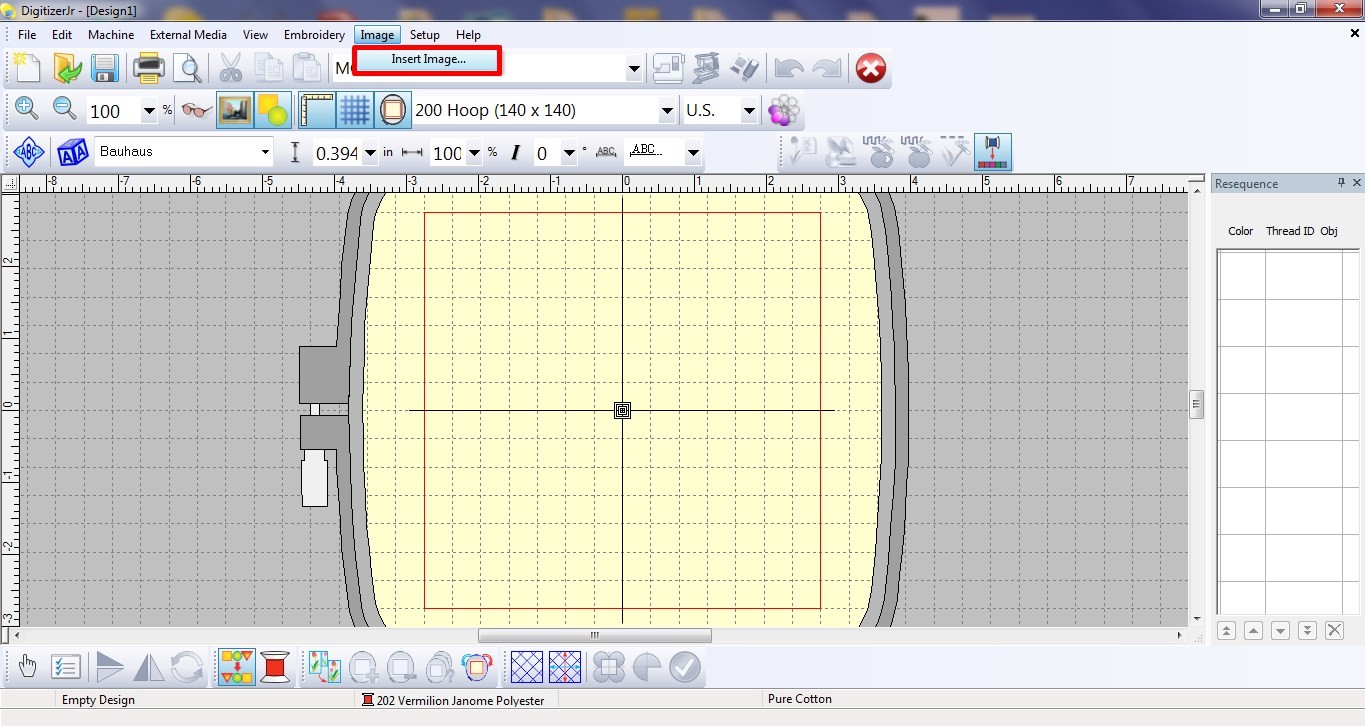
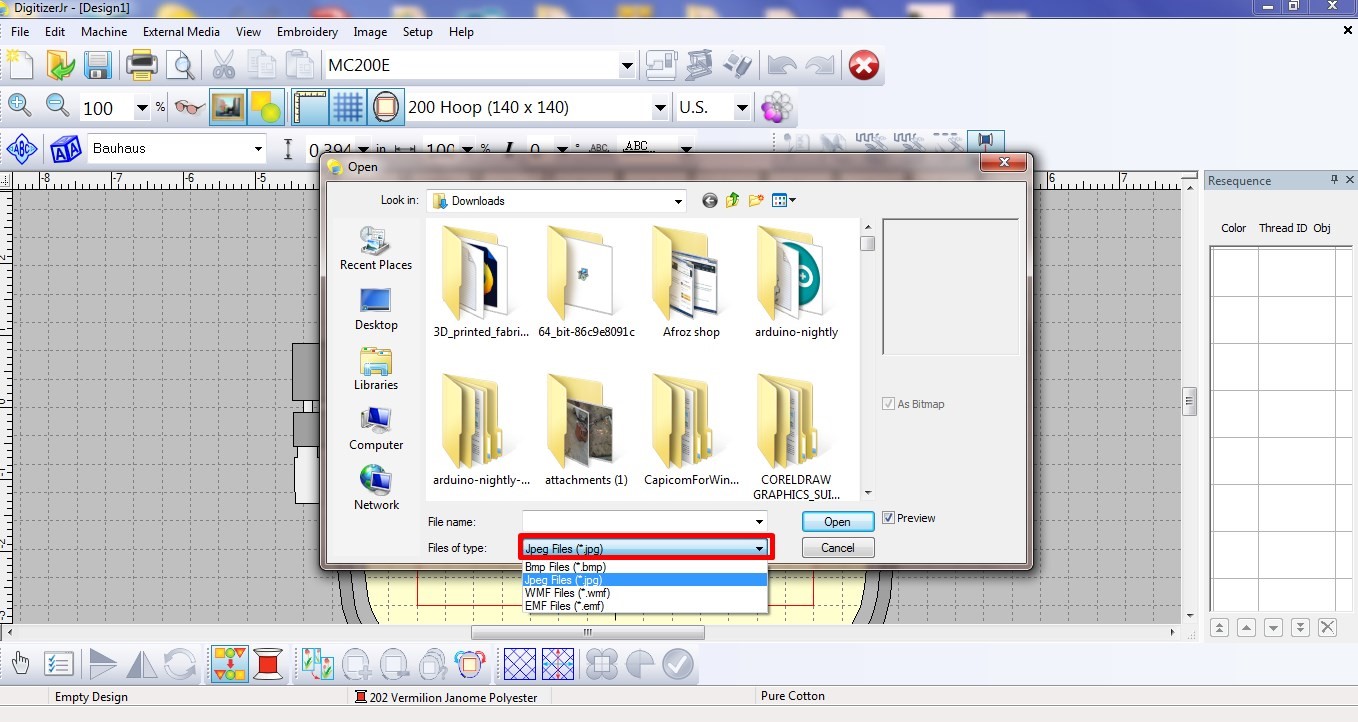
2. Insert Image:
Selected and added image in .jpg format and can be seen on the bed.
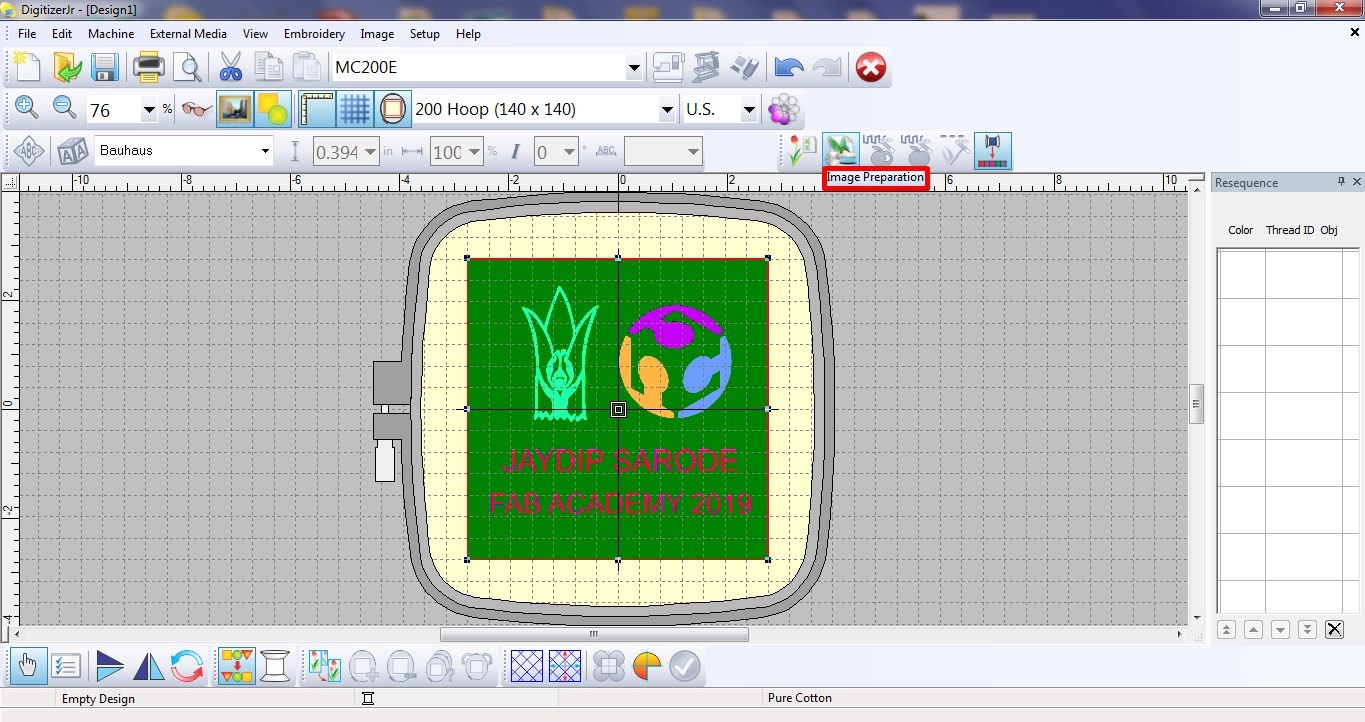
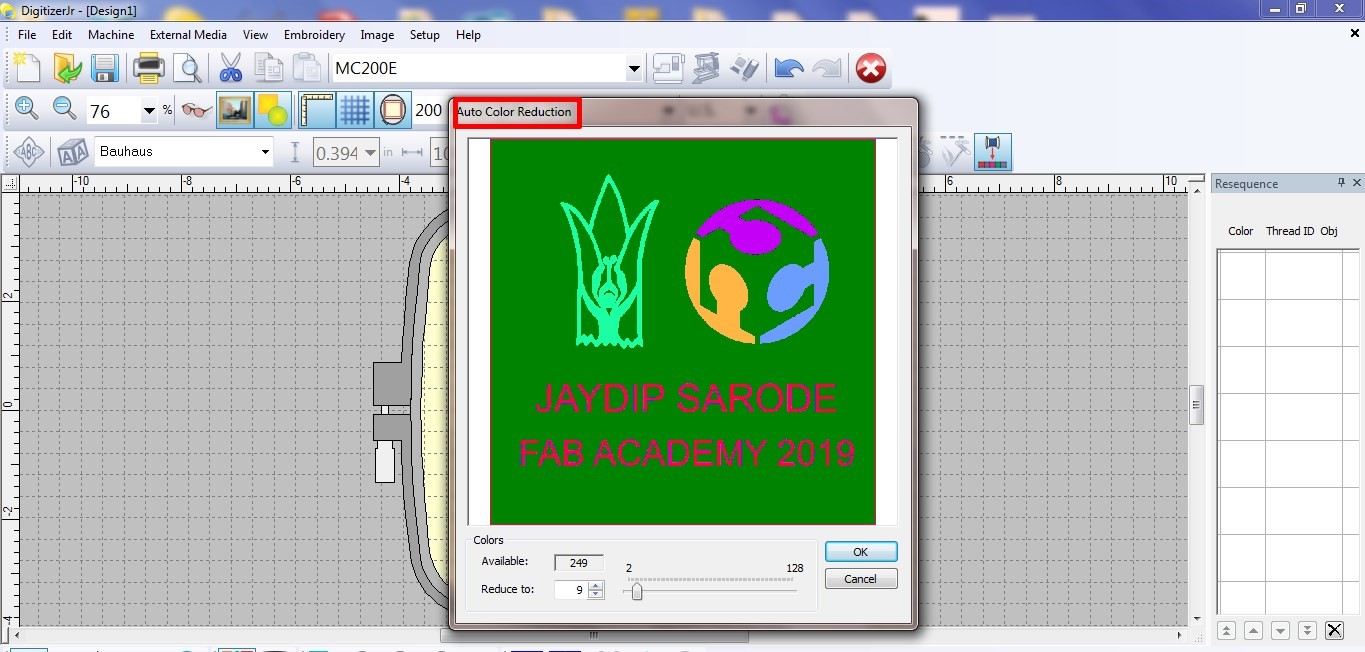
3. Image Preparation and Color Reduction:
This feature was very helpful. It allowed to decrease the number of colours. Orginally, the image had 249 colours. I looked into the sewing lab for the thread colours available and reduced the number to 9.
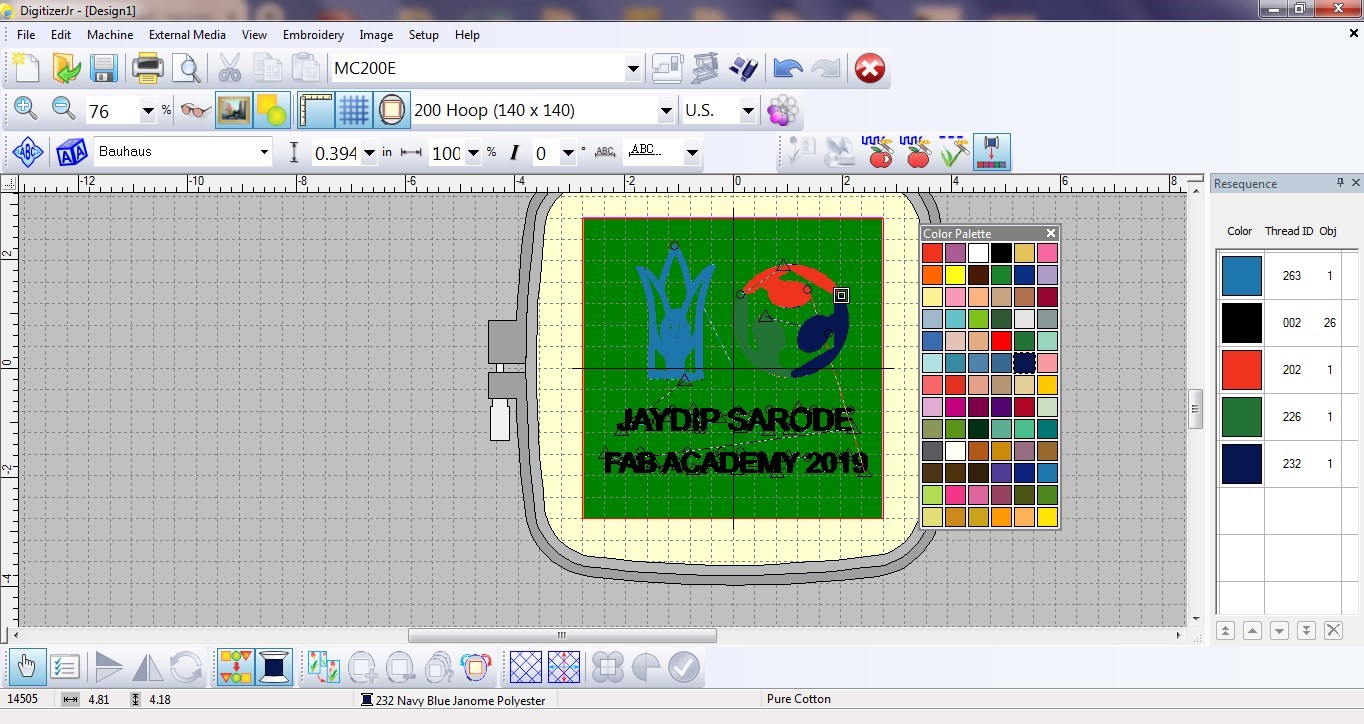
4. Parallel Weave Fill and Thread selection:
Identified simillar looking shades and matched them to the same colour. On the right, selected design shape and it’s colour were displayed.
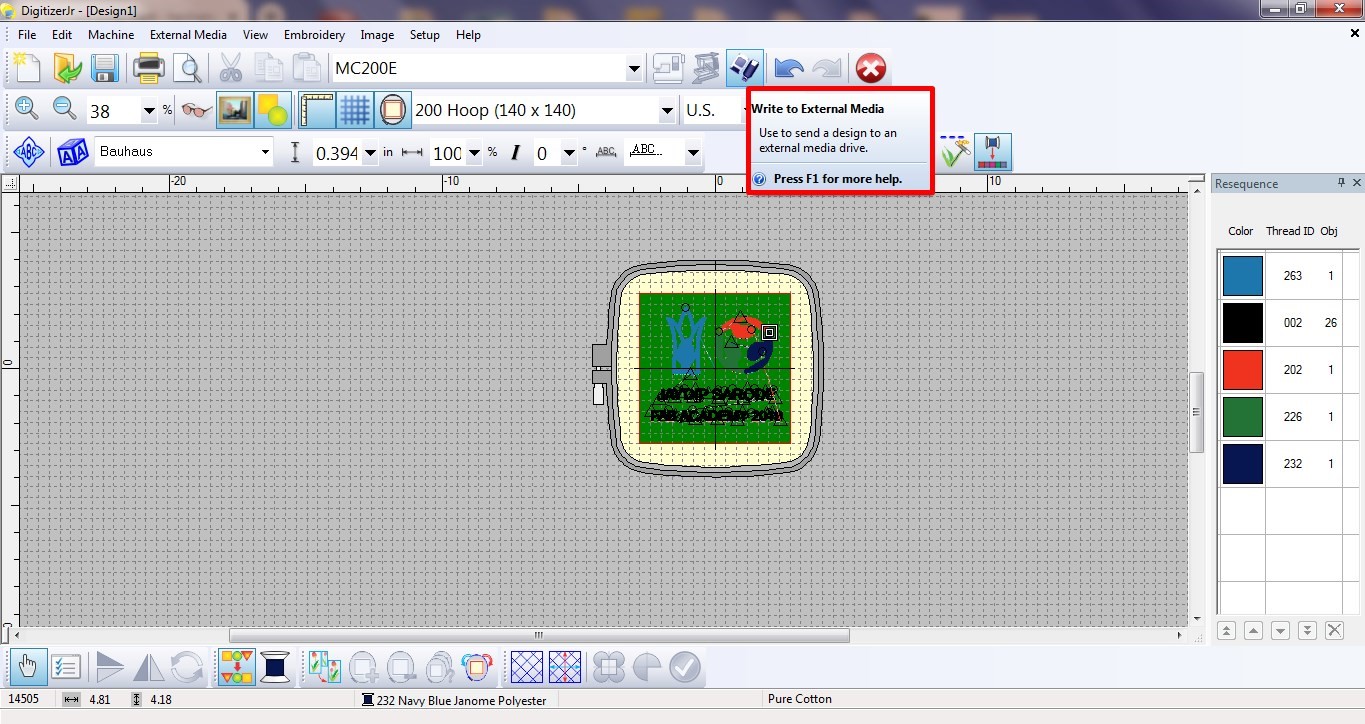
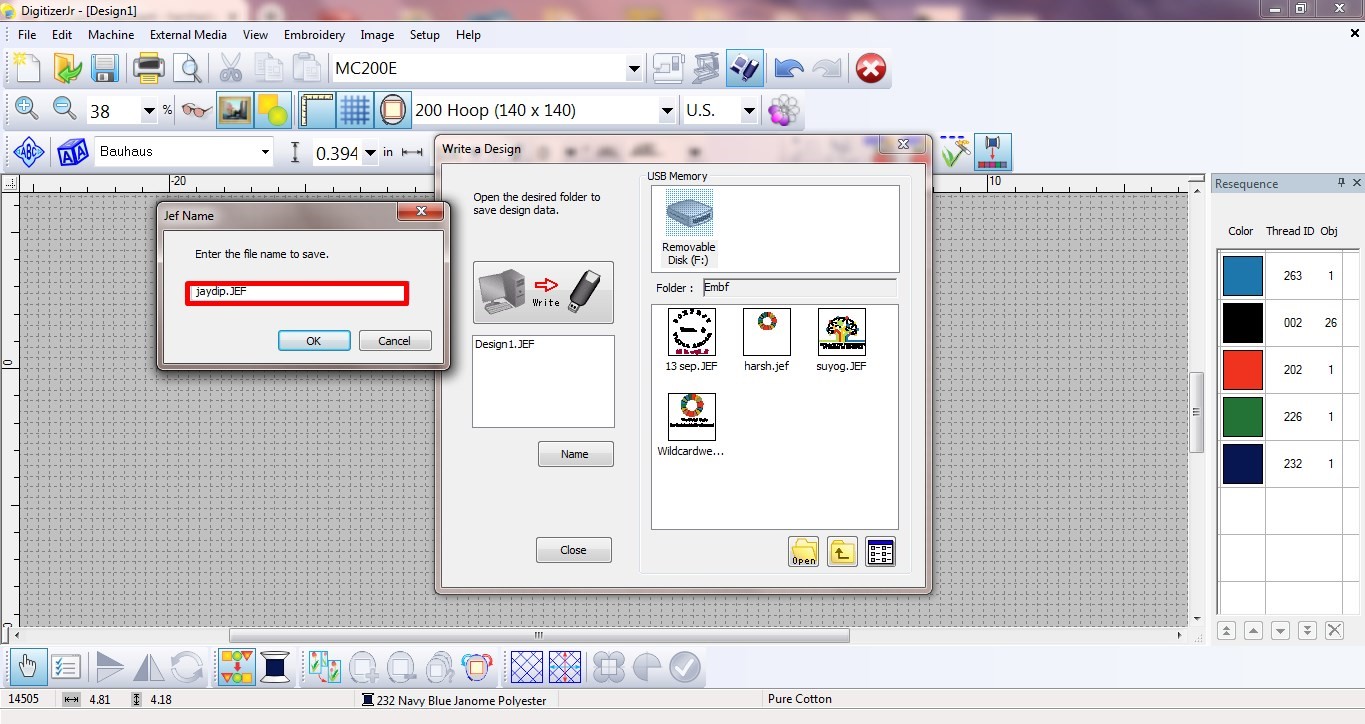
5. Saved File:
The software saved file in “.JAN” format. Also, exported the file in “.JEF” format for the machine USHA MC-200E.
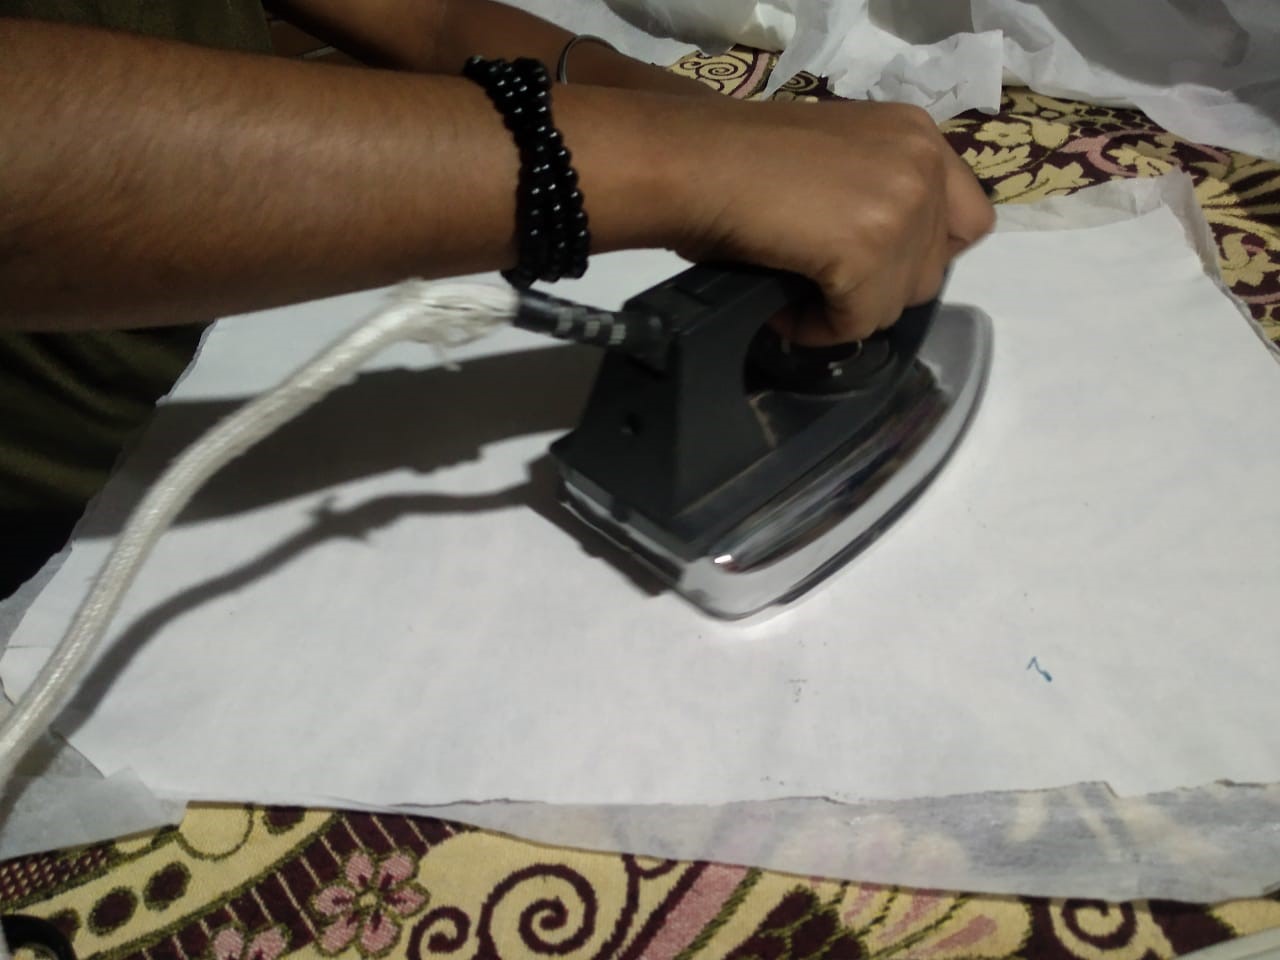
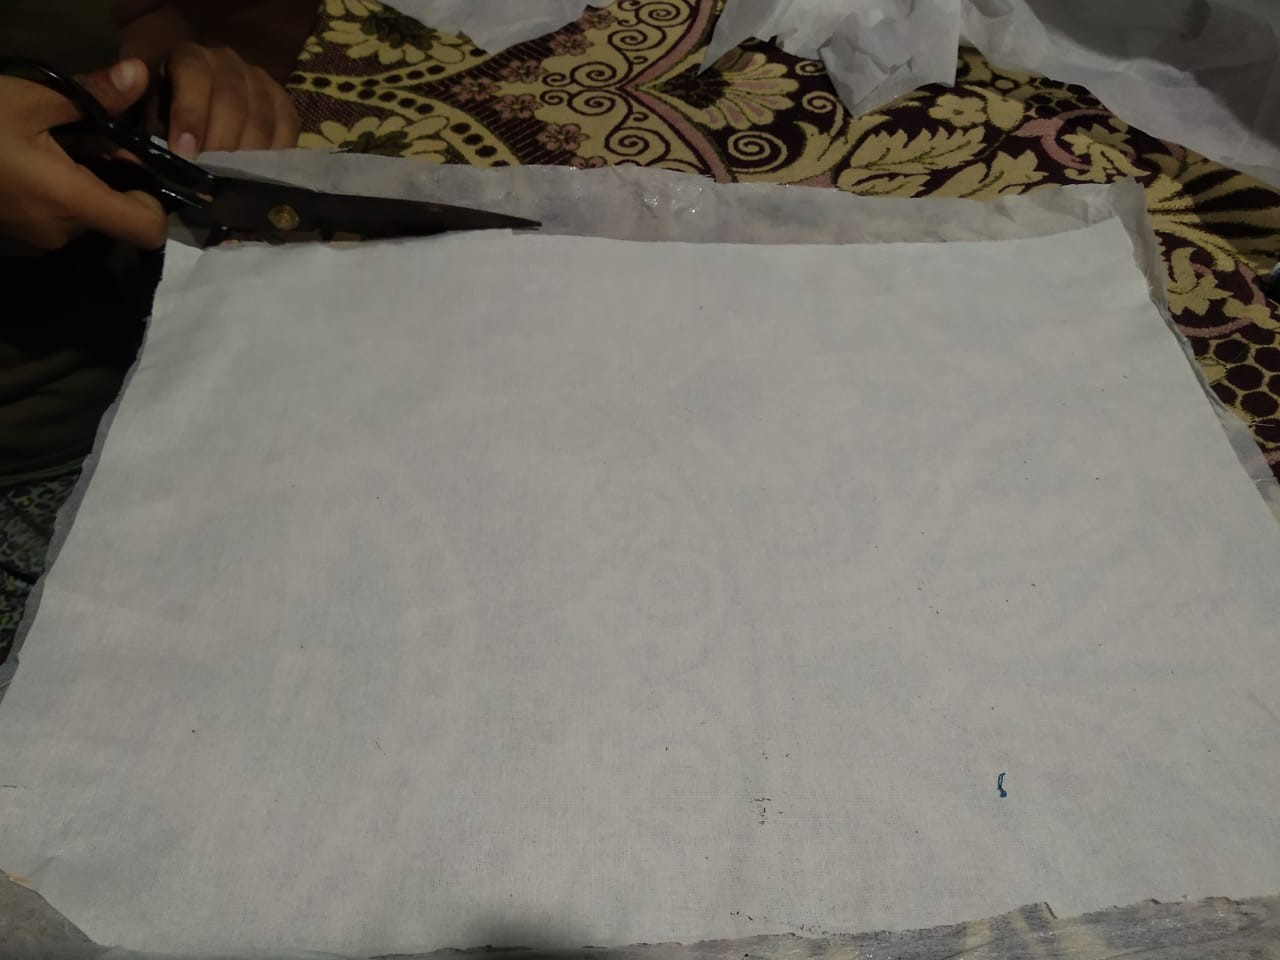
I. Step 1-Ironing and Cutting:
Took a white cloth and ironed it to remove all the wrinkles from the cloth. Cut the cloth into a rectangle.
II. Step 2-Hoop:
Placed the ironed fabric strecthed in the frame. The larger ring has a metal screw for tightening. It really helps in keeping the fabric streched especially when working over a large piece of fabric.
III. Step 3-Design File Selection:
Selected the design file in”.JEF” format and after that the diplay shows time, number of colours, hoop and design size.
IV. Step 4-Thread Rapping in Bobbin:
Thread being rapped into bobbin. The bobbin is placed below the hoop to supply thread from backside.
V. Step 5-Machine Working:
Changed thread reel 9 times for every colour. The needle (Z axis) is at the fixed position and the frame moves in X and Y position. Thread from the needle and bobbin(placed below the hoop) completes the embroidery.

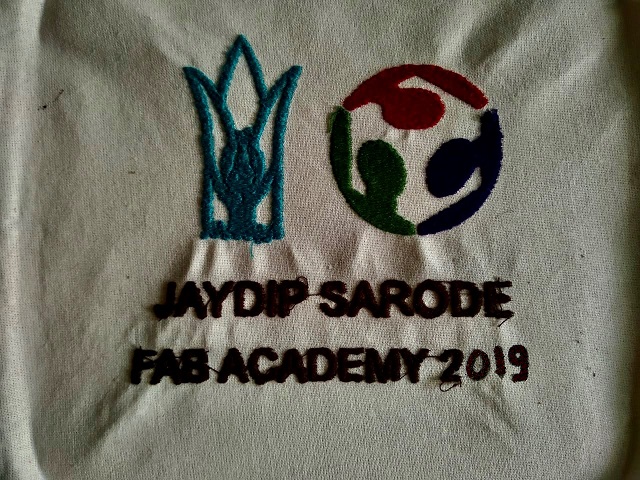
Final Look:
Finally the design was complete an the embroidery looks beautiful. Amazing work:
Troubleshooting:
The machine stopped inbetween and showed the error to Rethread and Start Again. This meant the thread wasn’t reaching the needle properly.
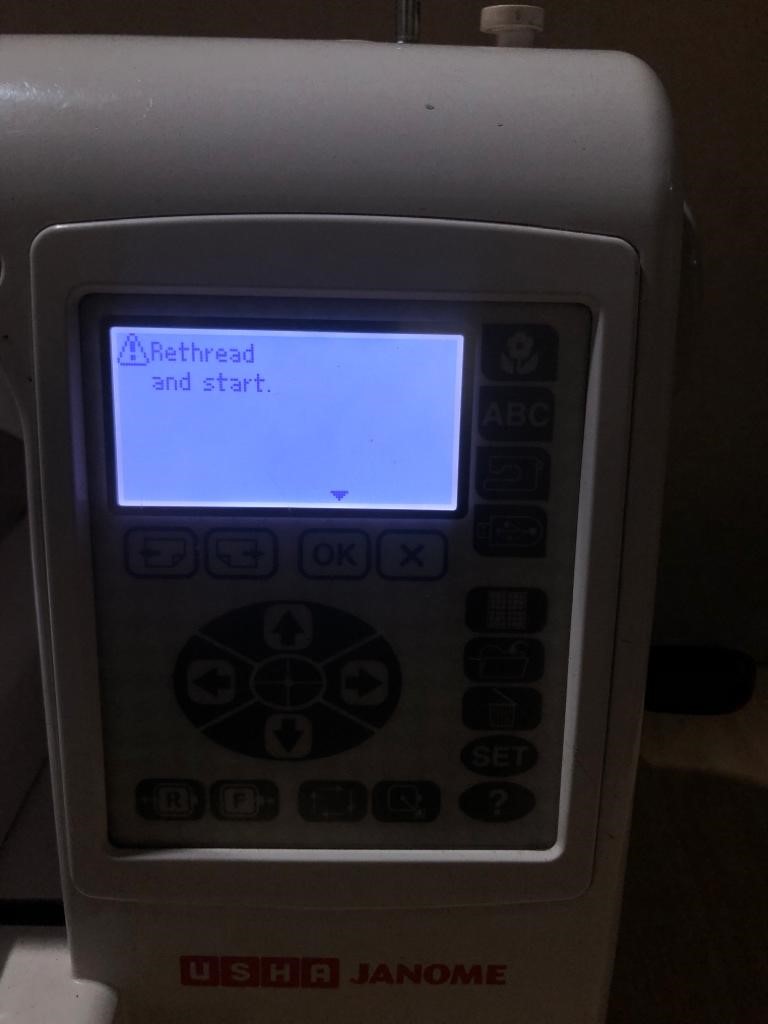
2. Opened the front end of the machine and removed the unwanted thread stuck. Again fixed thread with 5 steps (curves at specific points) mentioned on the machine. And it solved the trouble.
Learning Outcomes:
1. Leaned 'Embroidery' using digital fabrication.