Workflow of assignment
Group Assignment:
There are a lot of materials available in the lab. So, we all decided to distribute material and study individually. Later, we all came together for a discussion.
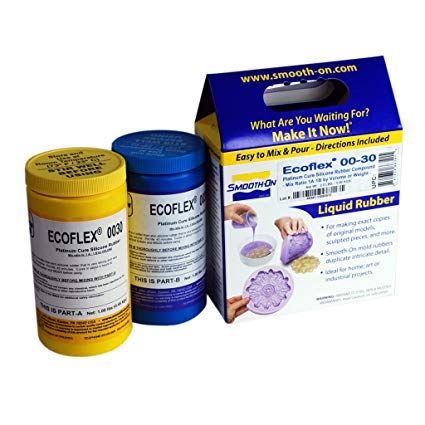
1.Ecoflex Silicone Rubber:
Ecoflex rubbers are mixed 1A:1B by weight or volume and cured at room temperature with negligible shrinkage. Low viscosity ensures easy mixing and de-airing.Cured rubber is very soft, very strong and very “stretchy”, stretching many times its original size without tearing and will rebound to its original form without distortion.
A. Mixed Viscosity:3,000 cps
B. Specific Gravity:1.07 g/cc
C. Specific Volume:26 cu.in./lb.
D. Pot Life:45 minutes
E. Cure Time:4 hours
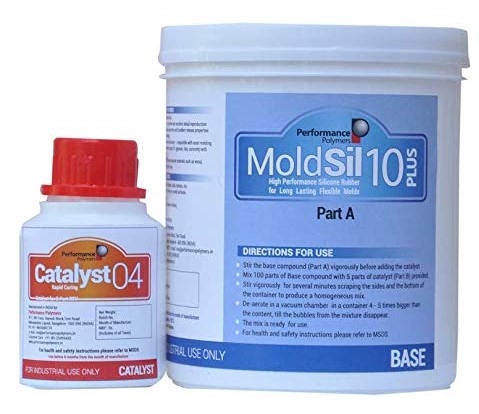
2.Moldsil Silicone:
Is a condensation curing type Silicone RTV, recommended for mold making applications. This is a flowable grade, having high mechanical strength and cures with various catalyst options (depending on the application requirements) at room temperature to a flexible elastomer, well suited for detailed and exact reproduction of artifacts, figures, architectural items and similar objects.
A. Catalyst Options:
a. CAT-24: Slow Catalyst
b. CAT-16: Medium speed Catalyst
c. CAt-04: Rapid Catalyst
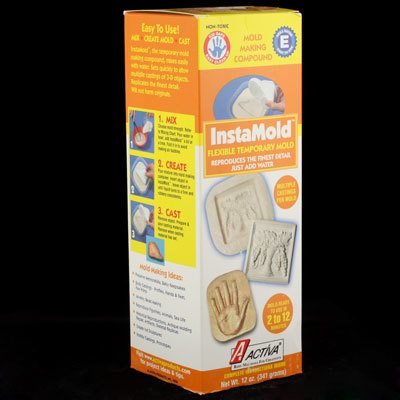
3.Instamold:
InstaMold allows for the most perfect reproductions of all 3 dimensional objects and shapes in a matter of minutes. Mold making compound is activated by water.InstaMold is completely harmless to use for body casting and the material will not adhere to the originals of our casting.
A. Mixing Proportions for Thick Strong Mix: 1 part InstaMold : 2 Parts Water
B.Characteristics: Greater Volume of Mix,Slow Setting,Average Retention of shape & size, Withstands average handling and Retains fine detail
C.Setting time at 70F: 4 - 6 Minutes
4.Epoxy:
Epoxy resins, also known as polyepoxides, are a class of reactive prepolymers and polymers which contain epoxide groups.They react (cross-linked) either with themselves through catalytic homopolymerisation, or with a wide range of co-reactants including polyfunctional amines, acids (and acid anhydrides), phenols, alcohols and thiols (usually called mercaptans). These co-reactants are often referred to as hardeners or curatives, and the cross-linking reaction is commonly referred to as curing.
5.Flexwax:
Perfect for making molds from three dimensional objects by simply melting, brushing it on, and allowing to harden. Molds made with Flexwax can be remelted and used again and again. Flexwax is AP Non-Toxic.
At room temperature, the mold is moderately flexible, so we can allow some shallow undercuts without any problem. Molds made with Flexwax can be remelted and used again and again.

6.Hydro-stone:
Hydro-stone is one of the hardest and strongest gypsum-cement. We are using for casting which produces extremely hard surface. The important thing, always add powder to the water, never the reverse. (Sprinkle the powder into water slowly and evenly.)
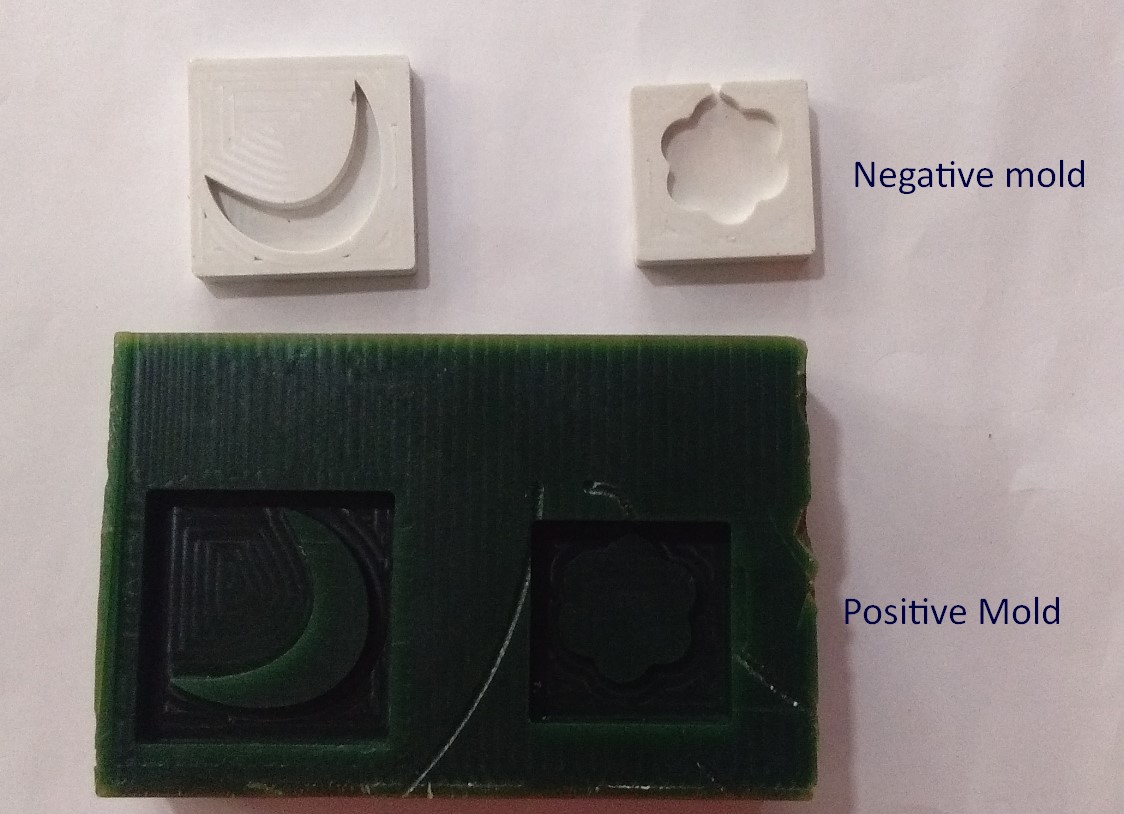
We designed 2 test parts a flower and moon.
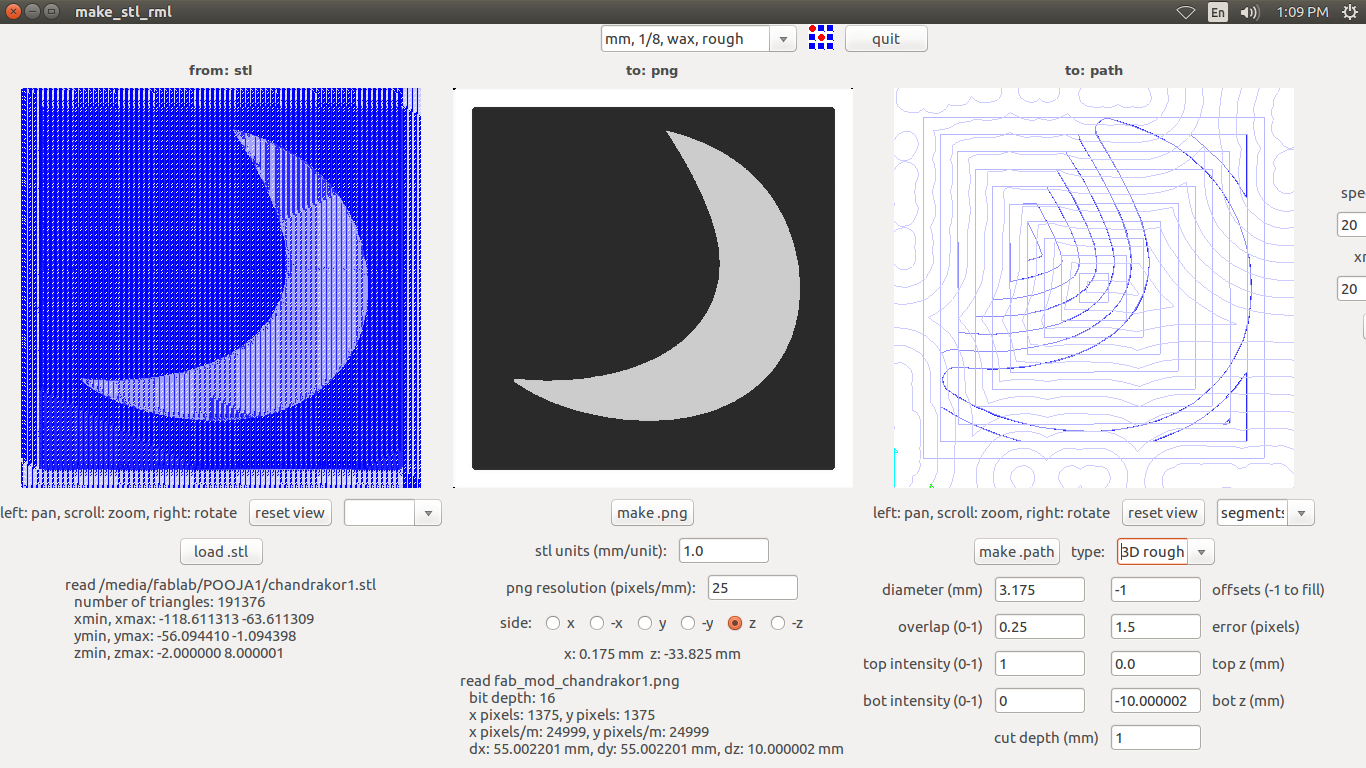
A. Designed the test parts and converted .stl file to .rml in offline Fab modules to be cut on Modella-20.
B.Gave rough and finish cut using end mill 1/8" Square end and 1/8" ball end respectively.
C. Used Moldsil Silicone and CAT-16 hardner for negative mold.
D. After drying the negative mold was ready for casting.
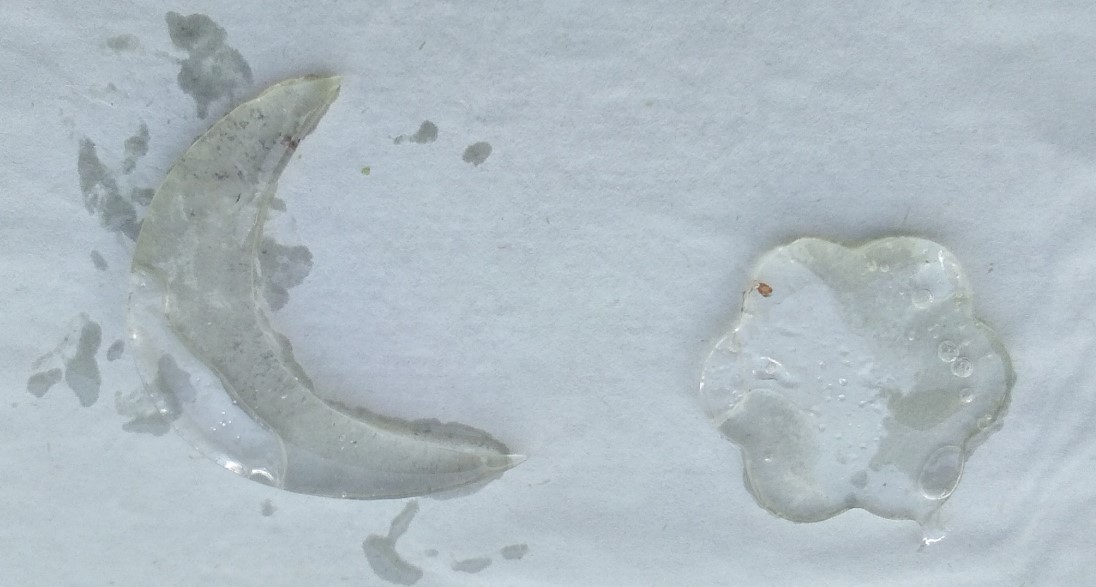
E. Used Epoxy resin with hardner to get the final shape of flower and moon.
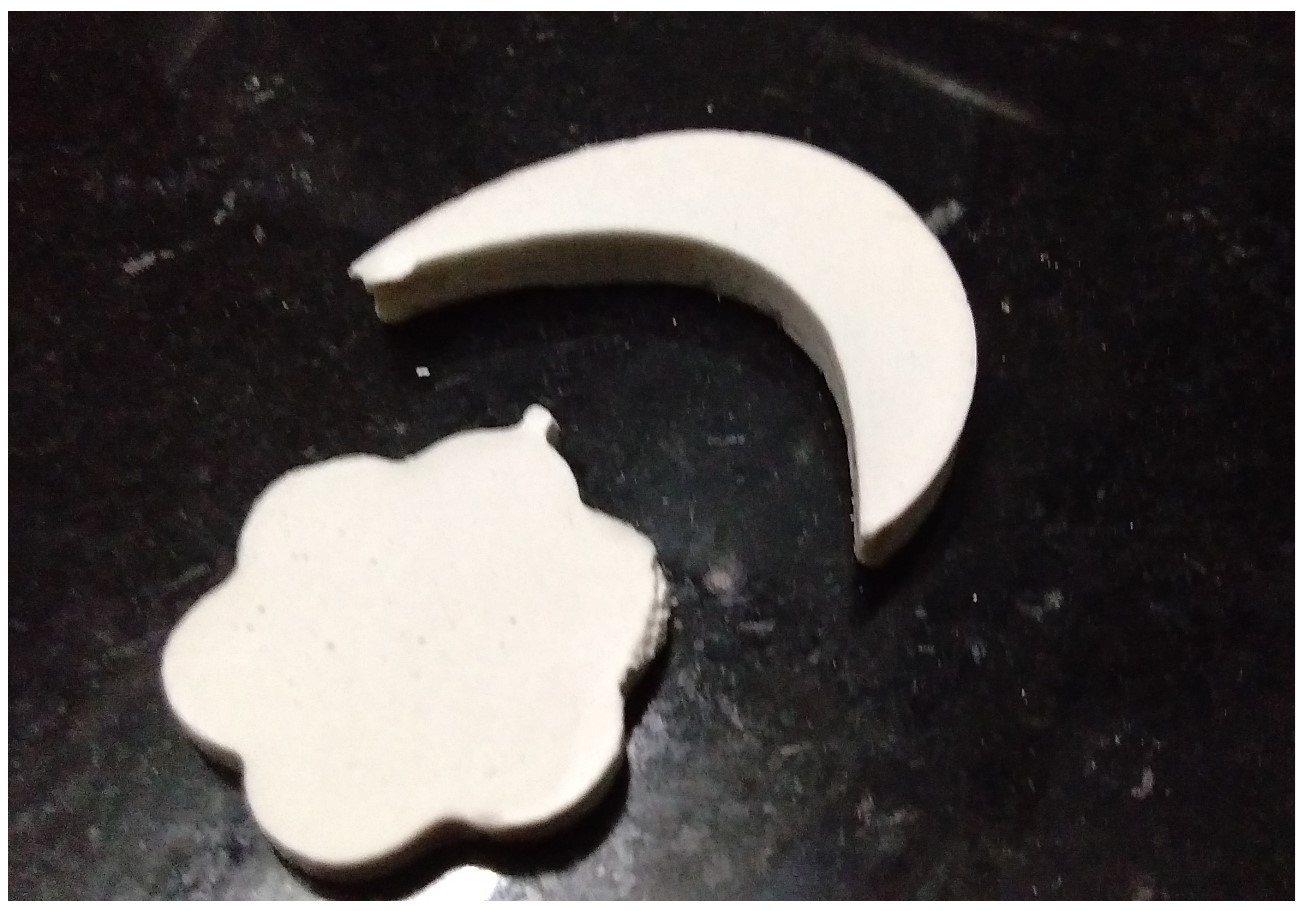
F. Also used hydrostone for casting to feel the difference and observe the properties.
Individual Assignment:
Designing:
I am going to design "Mjolnir" is the weapon of one of the popular Avenger named 'THOR'. I have to design two 2 different design, so I can make my object using these both designs.
For 3D design I would like to go with Solid works.
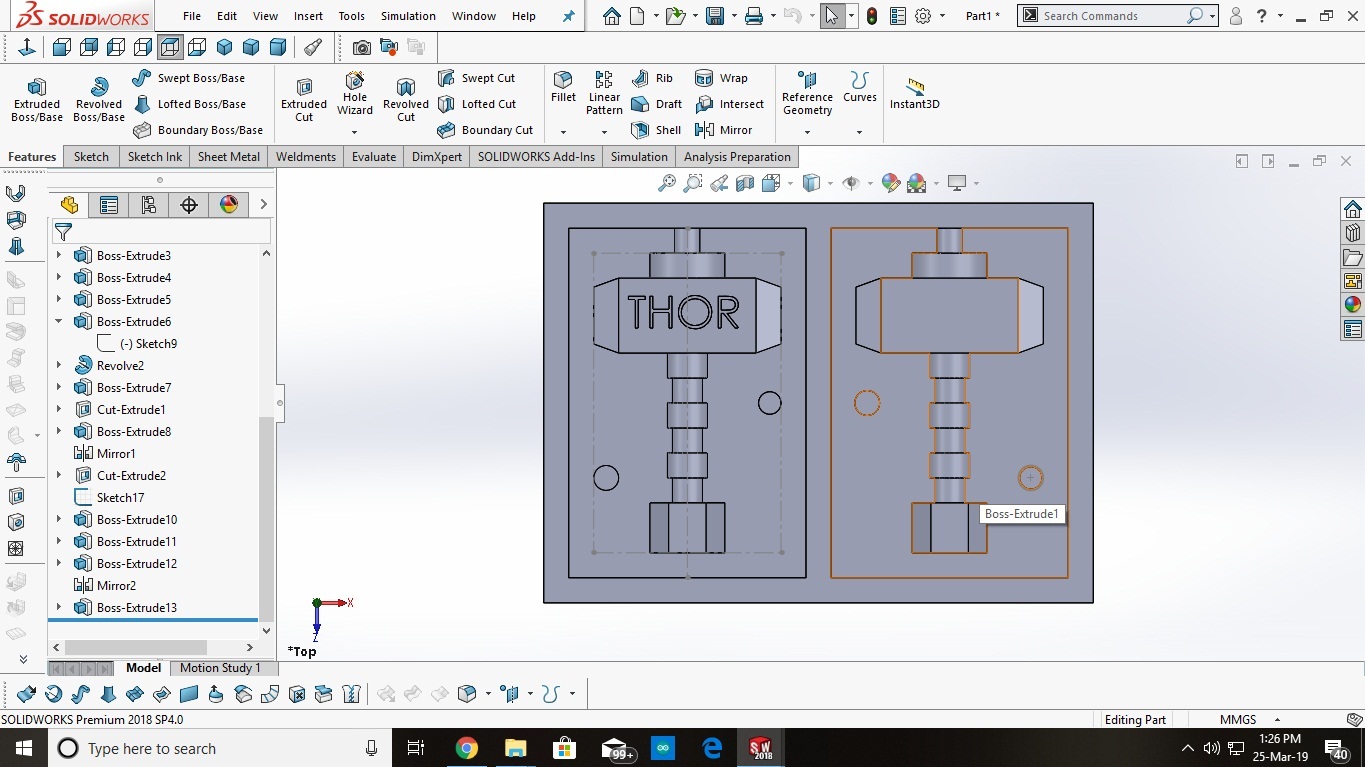
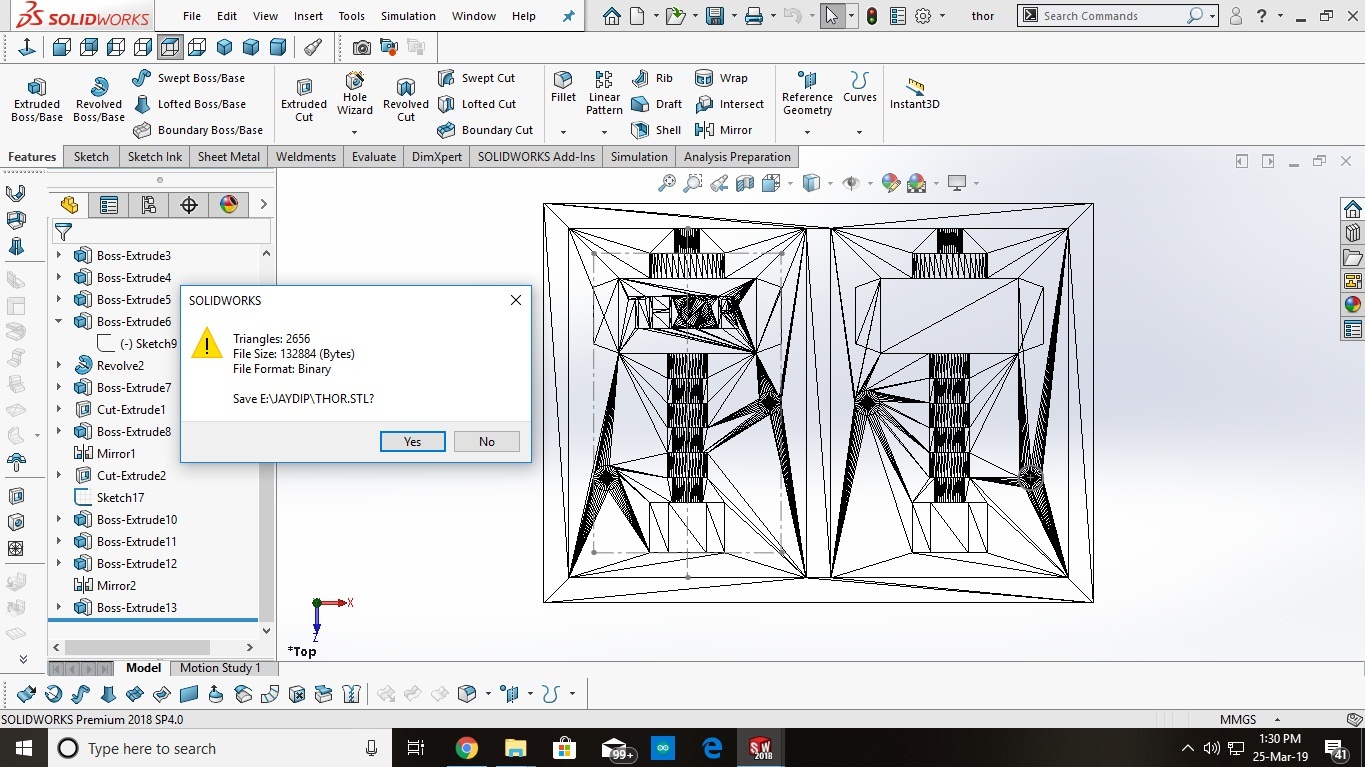
After design completing in solid works, I need to mill it using 'Modella Milling Machine'. But modella machine software don't accept '.DXF' file. So, I have to my design export into '.STL' file.
i.e. File format format of '.STL' file: Binary.
Milling:
Milling is the process of machining using rotary cutters to remove material by advancing a cutter into a workpiece. This may be done varying direction on one or several axes, cutter head speed, and pressure.
Now, designed is completed and Milling part is remaining.
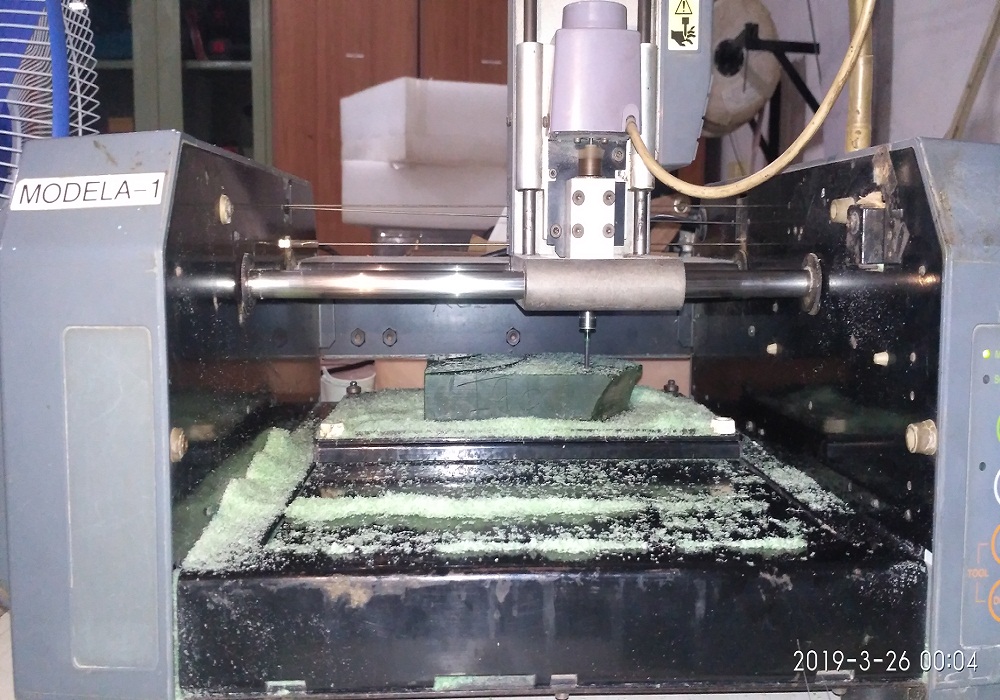
Modella Milling Machine:
Modella is a Desktop milling machine that is capable of milling wood, wax, MDX,and circuit board blanks. It is compatible with most of the 2D and 3D CAD softwares. It has a small bed which moves in the Y-axis, a Tool head which moves in the X-axis and the end effector which moves in the Z-axis.
First up all, I need to clean and plain surface of wax material for good results.
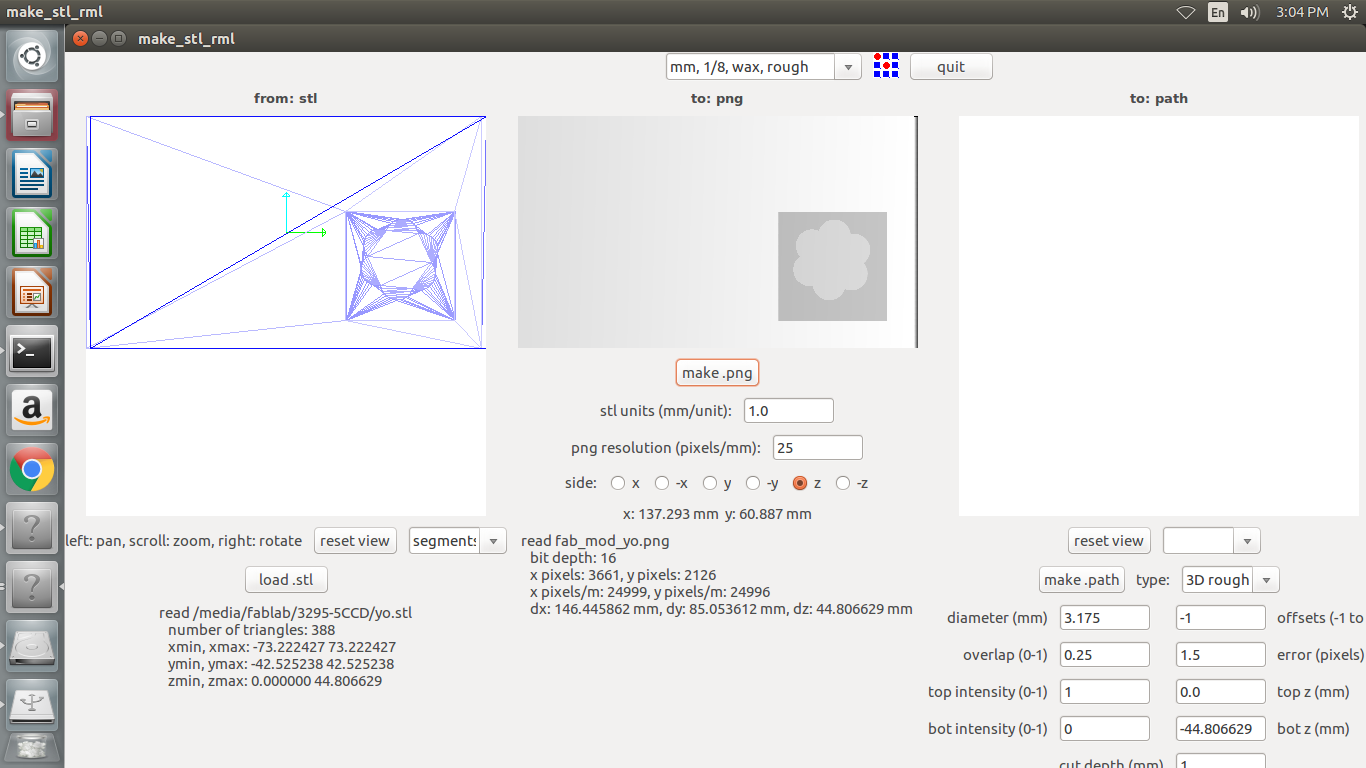
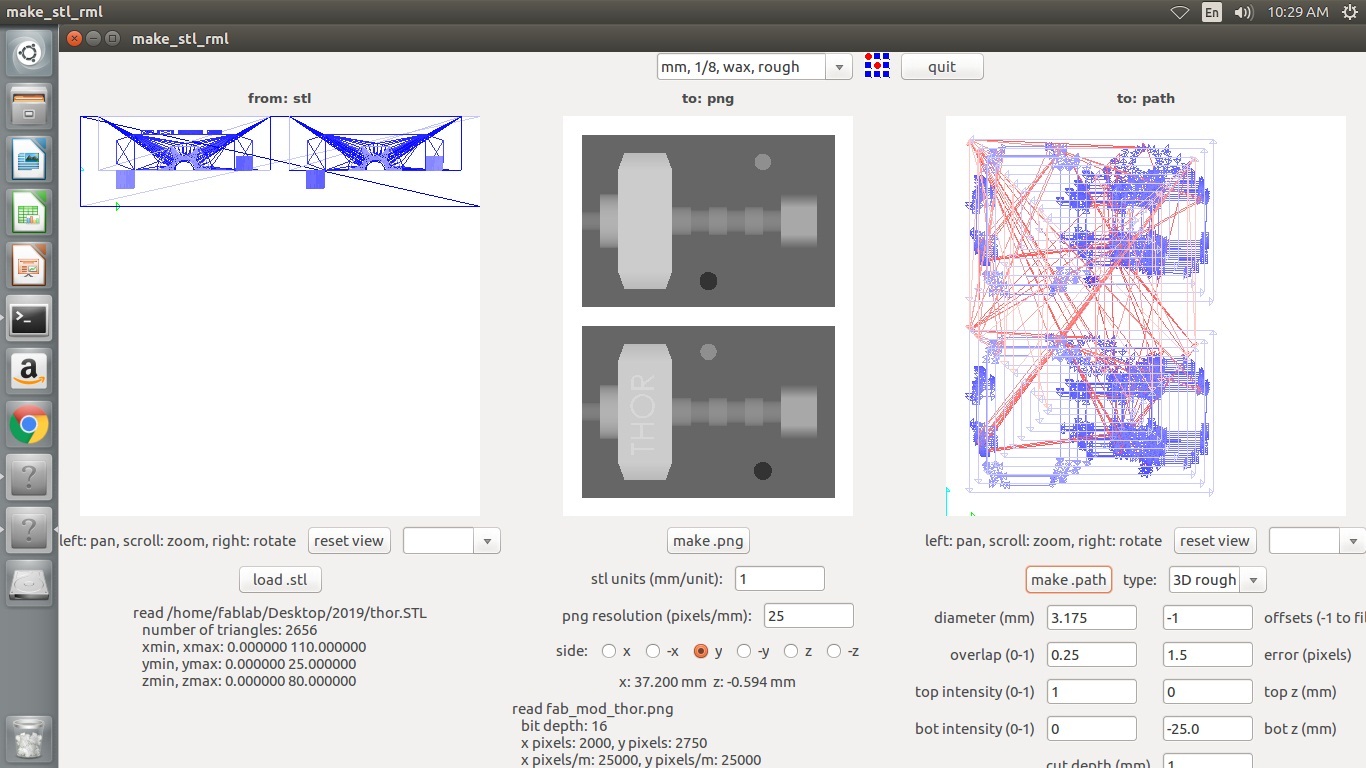
Now, I have to make toolpath for above design using offline 'fab modules'.
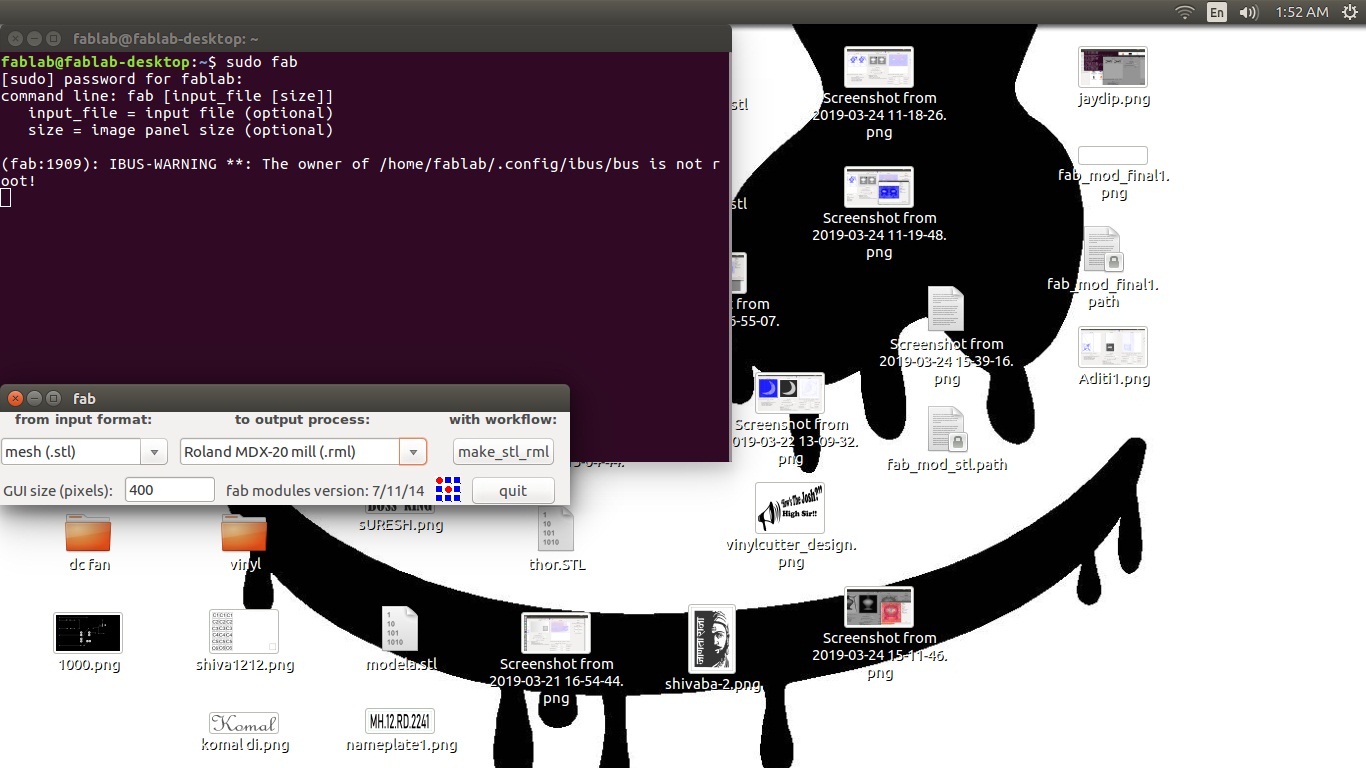
1. Load your ';stl' file.
2. Select 'inches, 1/8, wax, rough cut', because always make rough cut first.
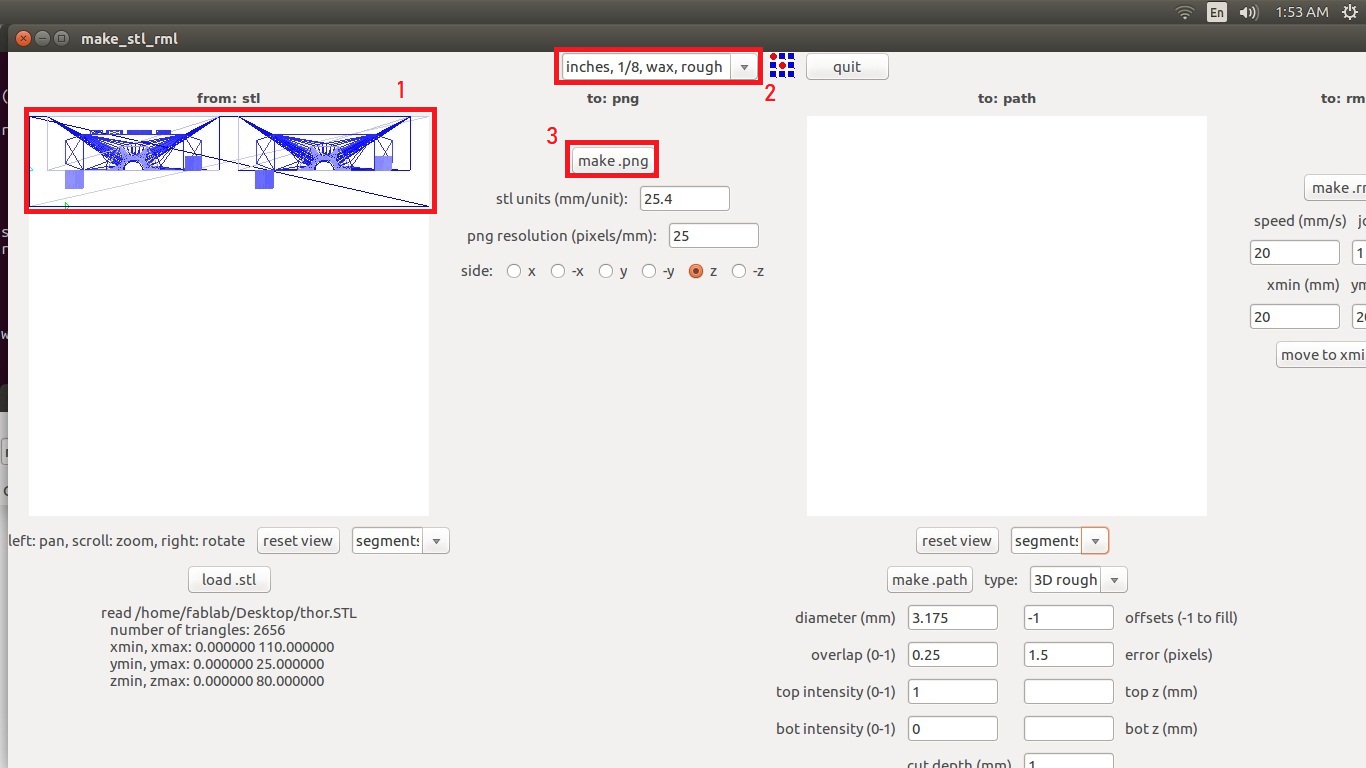
Finally, I successfully generated toolpath, as shown in below:
After making plain surface, I fixed origin and Started milling.

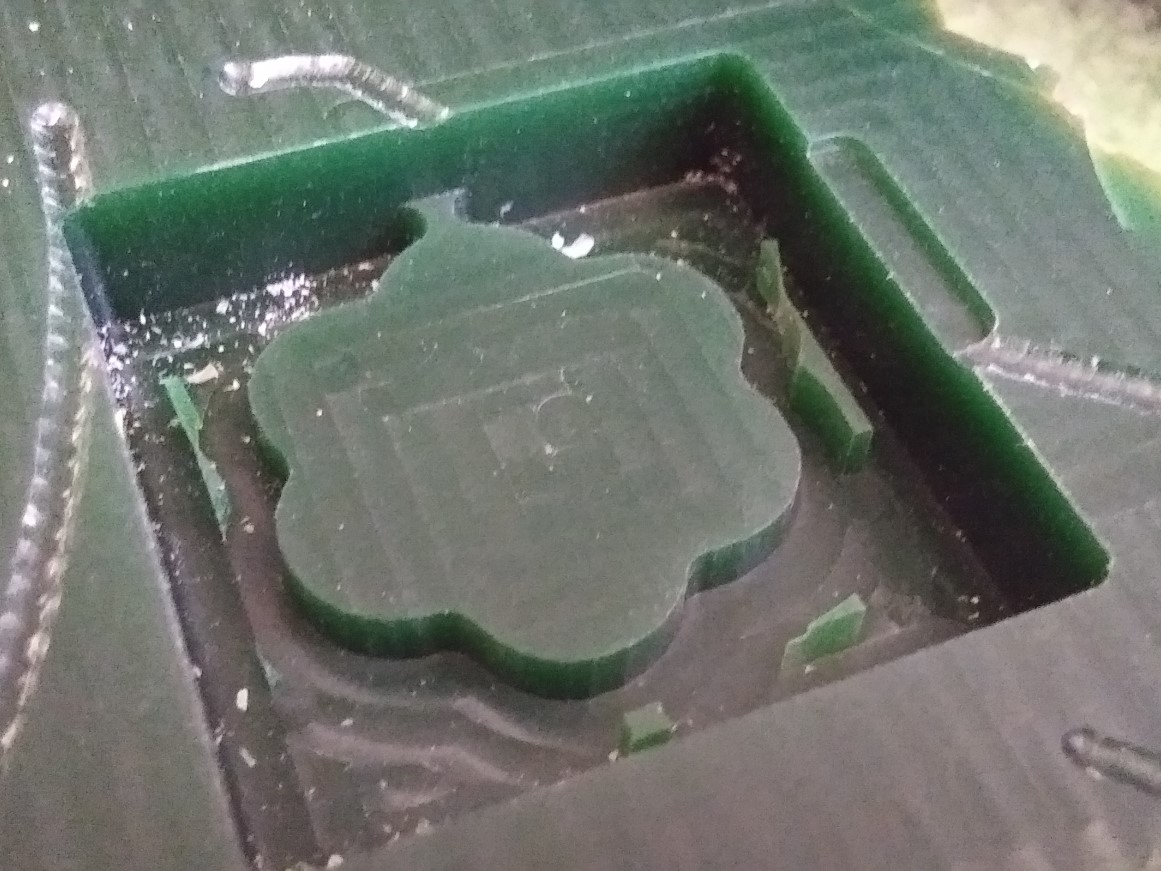
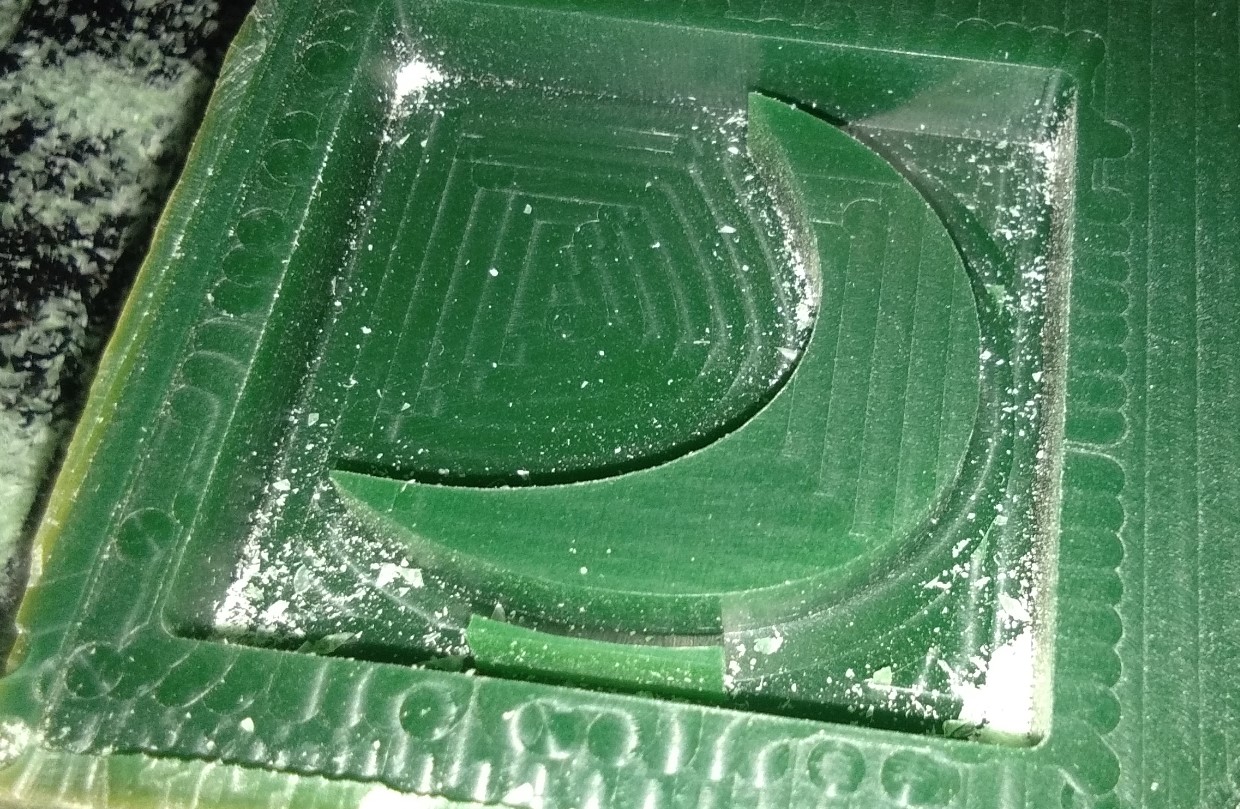
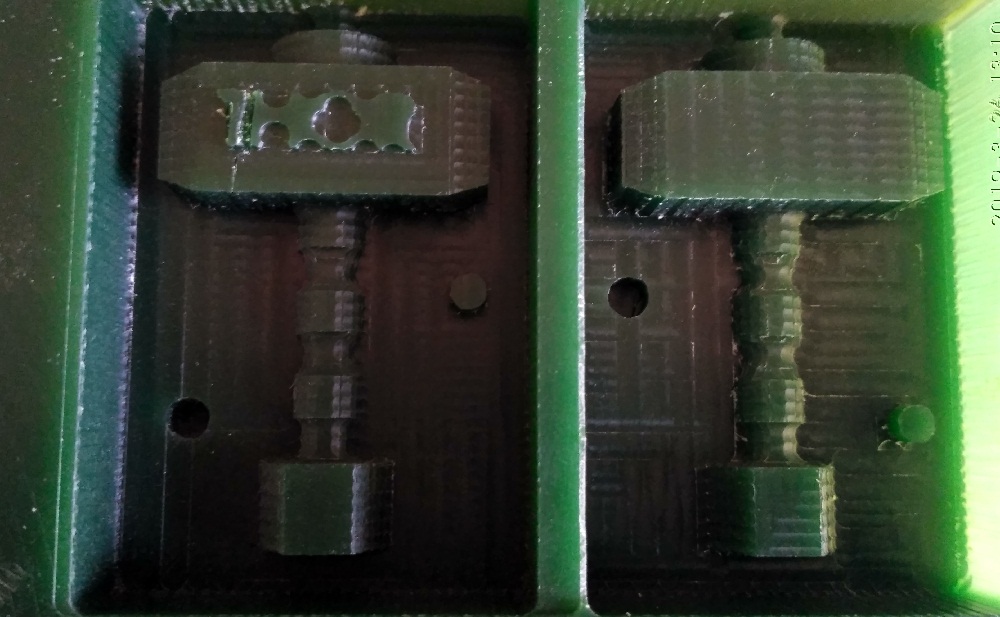
For the molding, 'finish cut' is needed after raugh cut. So, once finished raugh cut, I did finish cut.
After finish cut, my positive mold looks like as shown in below:
Molding:
Molding is the process of manufacturing by shaping liquid or pliable raw material using a rigid frame called a mold. This itself may have been made using a pattern or model of the final object.
Now, I have to make neagative mold using silicon. Following materials are required for silicon molding:
1. Silicon: Silicon is a chemical element with the symbol Si and atomic number 14. It is a hard and brittle crystalline solid with a blue-grey metallic lustre; and it is a tetravalent metalloid and semiconductor.
2. Hardner: A hardener is a component of certain types of mixtures. In other mixtures a hardener is used as a curing component. A hardener can be either a reactant or a catalyst in the chemical reaction that occurs during the mixing process.
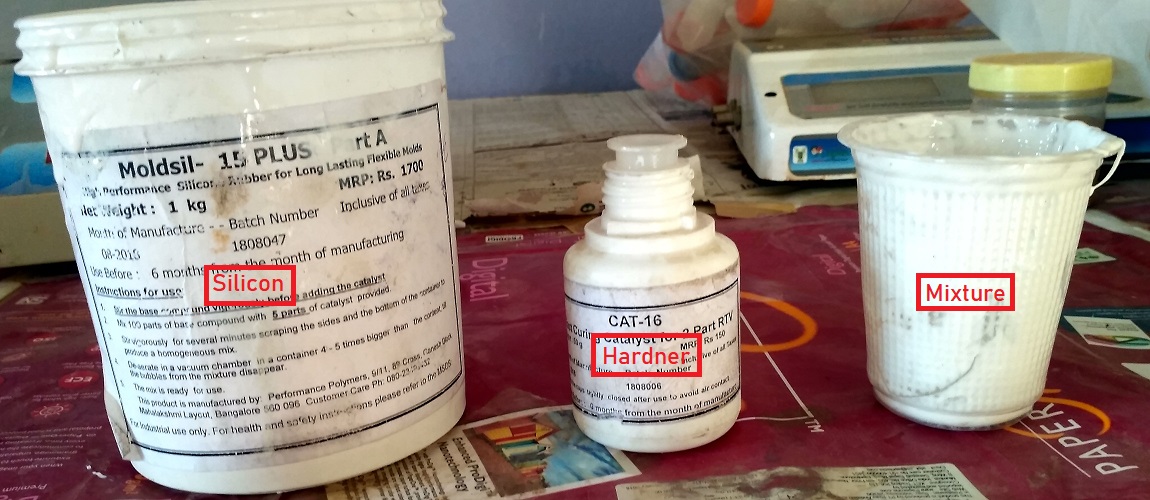
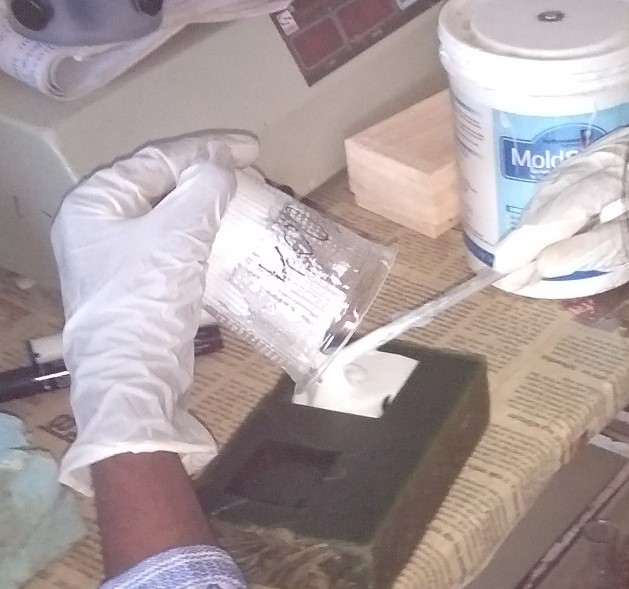
I took 137 grams 'Silicon' and for every 10 grams of silicon 1 gram hardner is used.
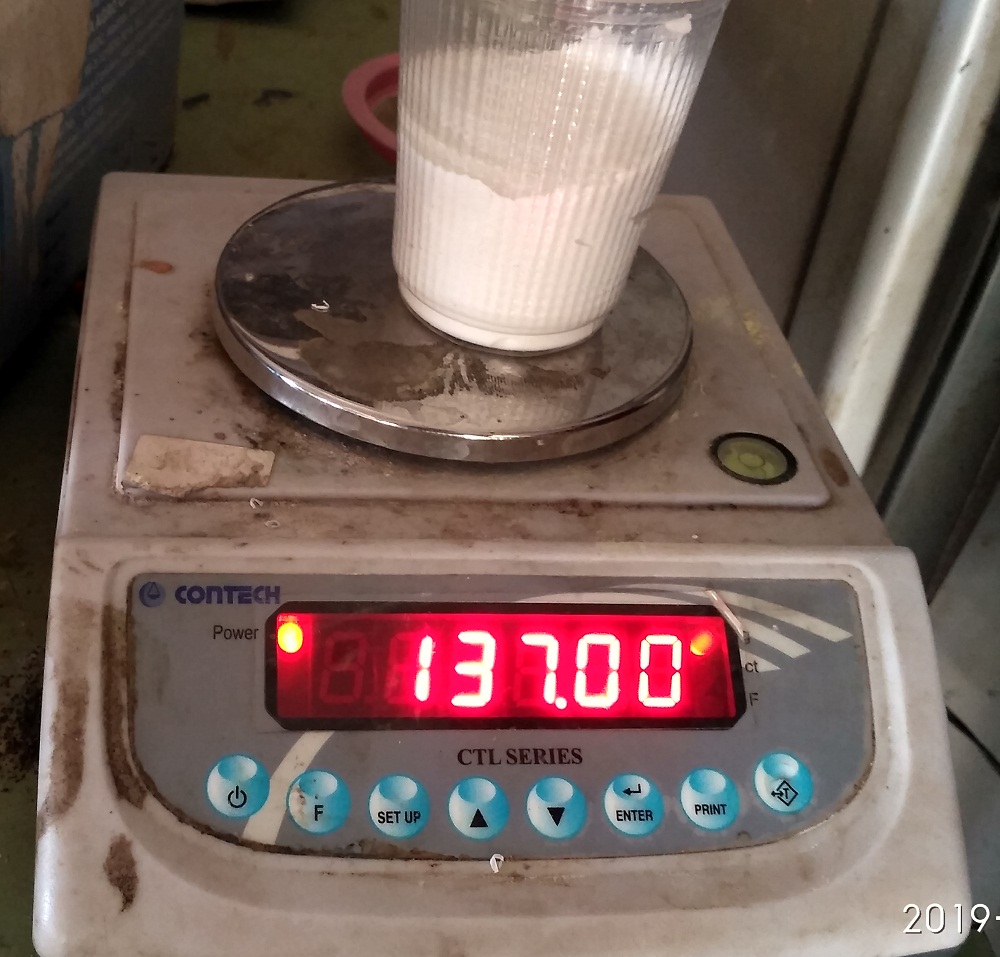
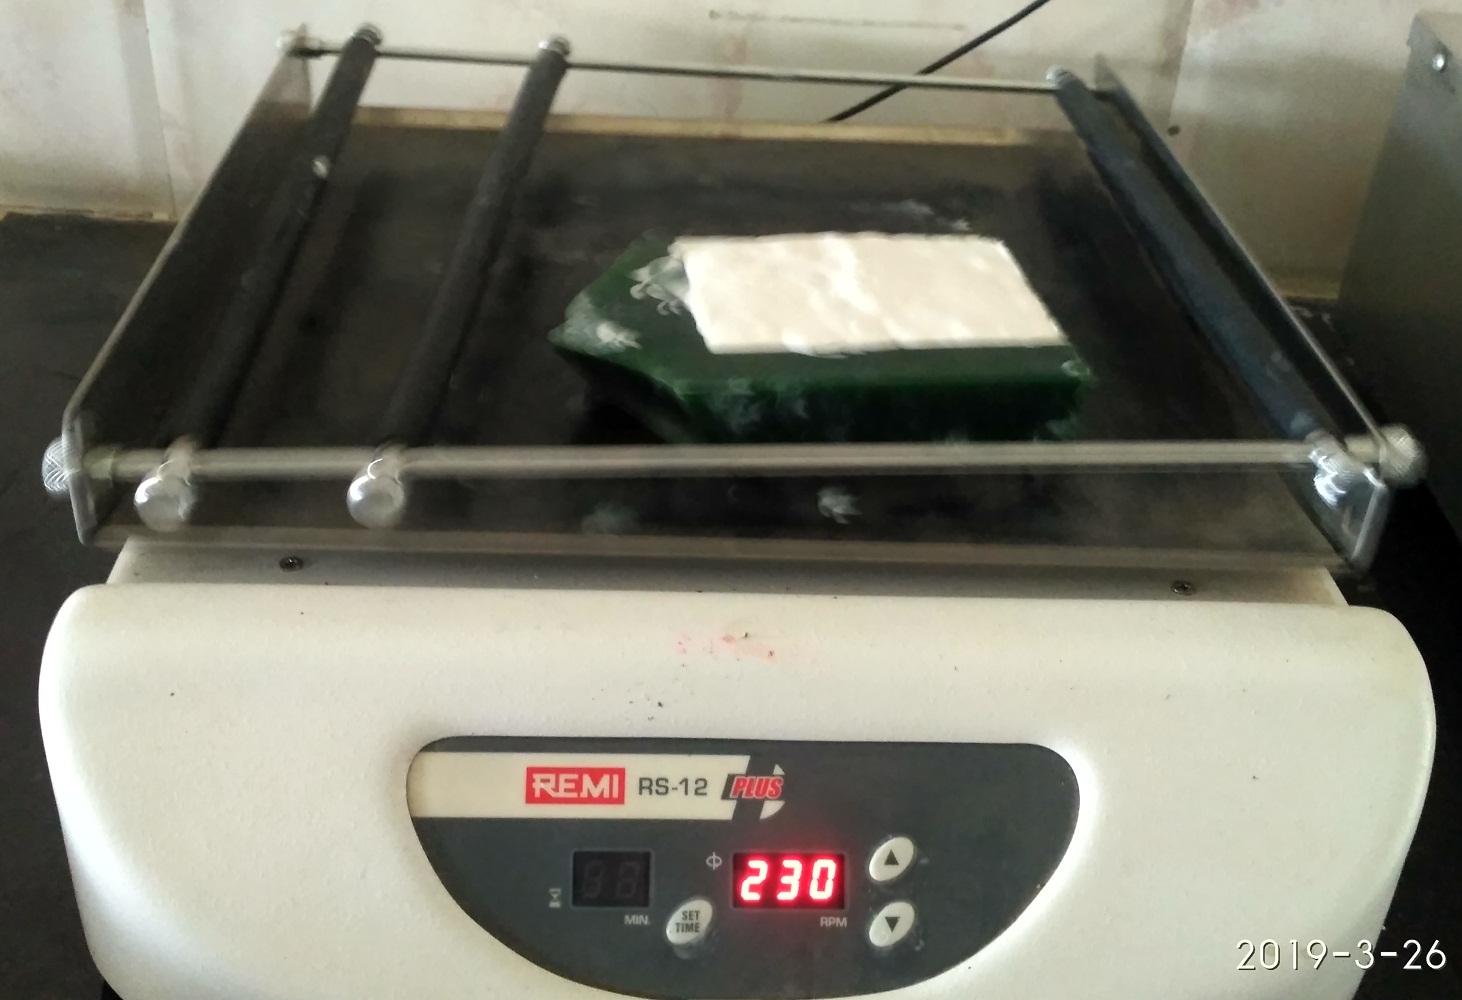
Then, I added 13.7 gram 'Hardner' to silicon. Mixed it properly and mixture pour into wax positive mold. And kept it on shaker for 1 hour.
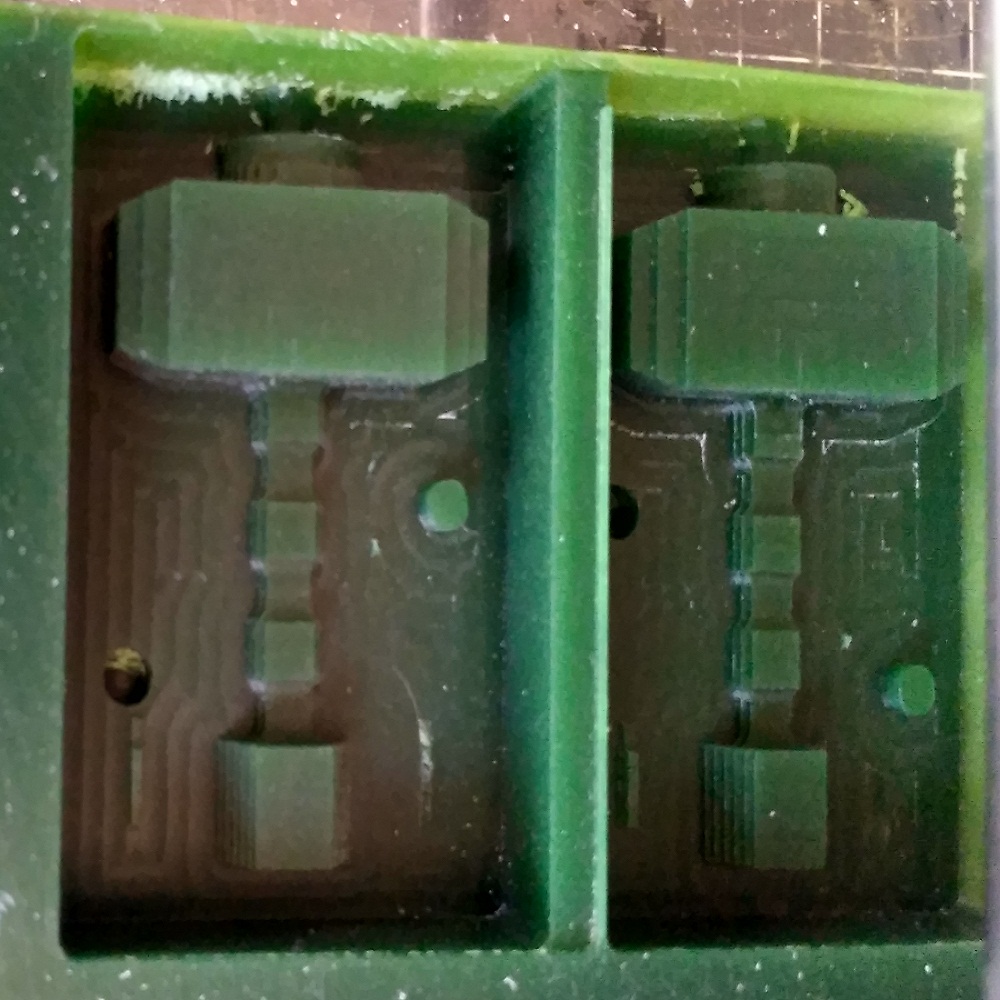
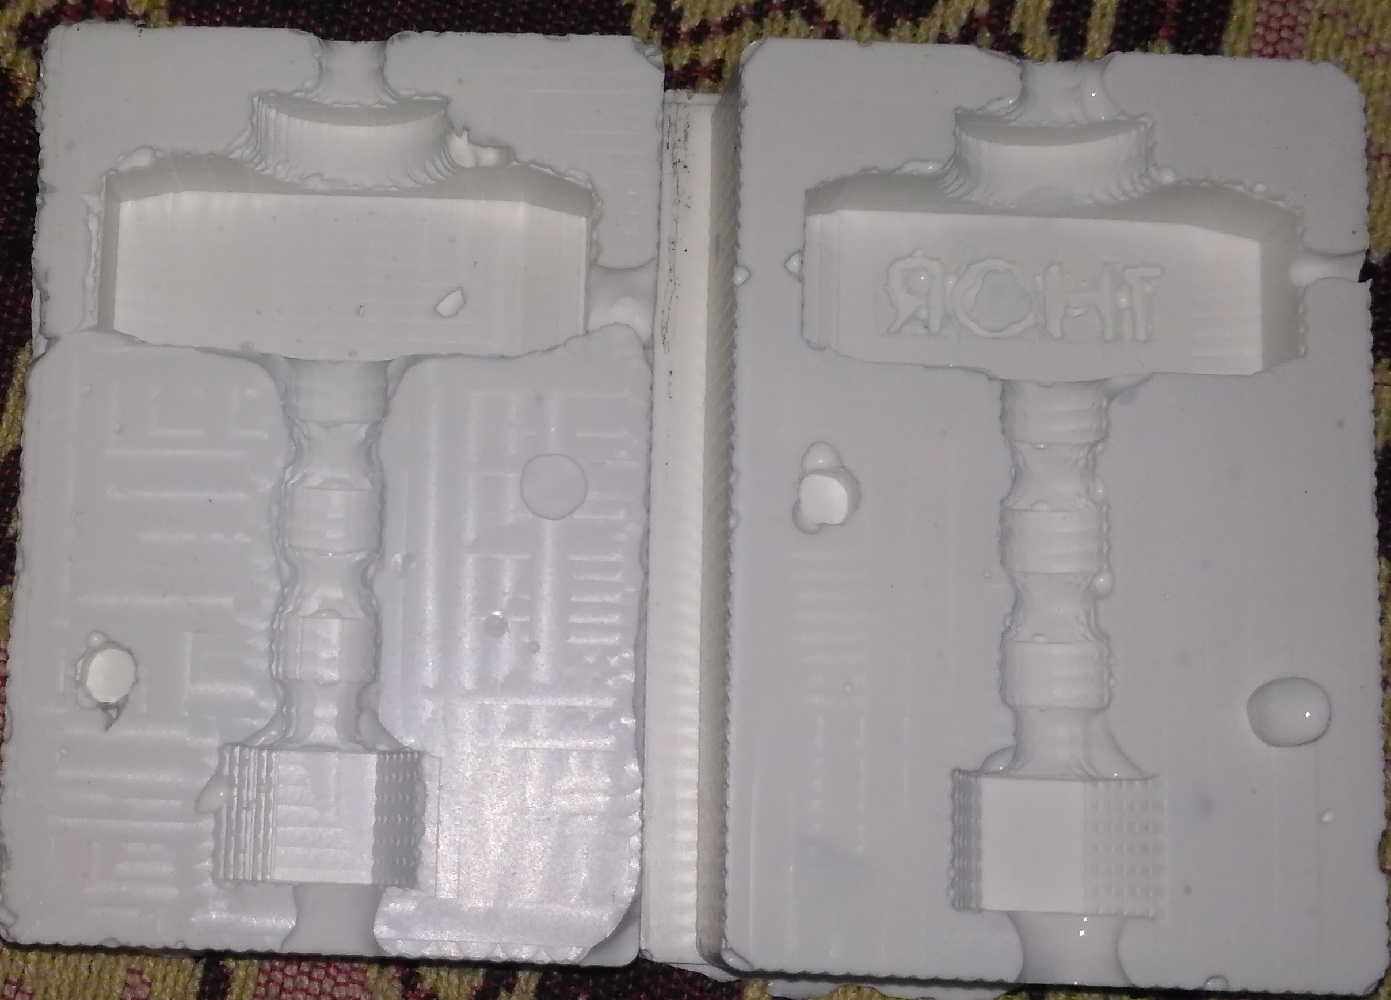
Then, I kept positive-wax mold for fixing silicon-negative mold overnight. And next day, seperated silicon mold from wax. My silicon-negative mold looks like as shown in below:
Casting:
Casting is a manufacturing process in which a liquid material is usually poured into a mold, which contains a hollow cavity of the desired shape, and then allowed to solidify. The solidified part is also known as a casting, which is ejected or broken out of the mold to complete the process.
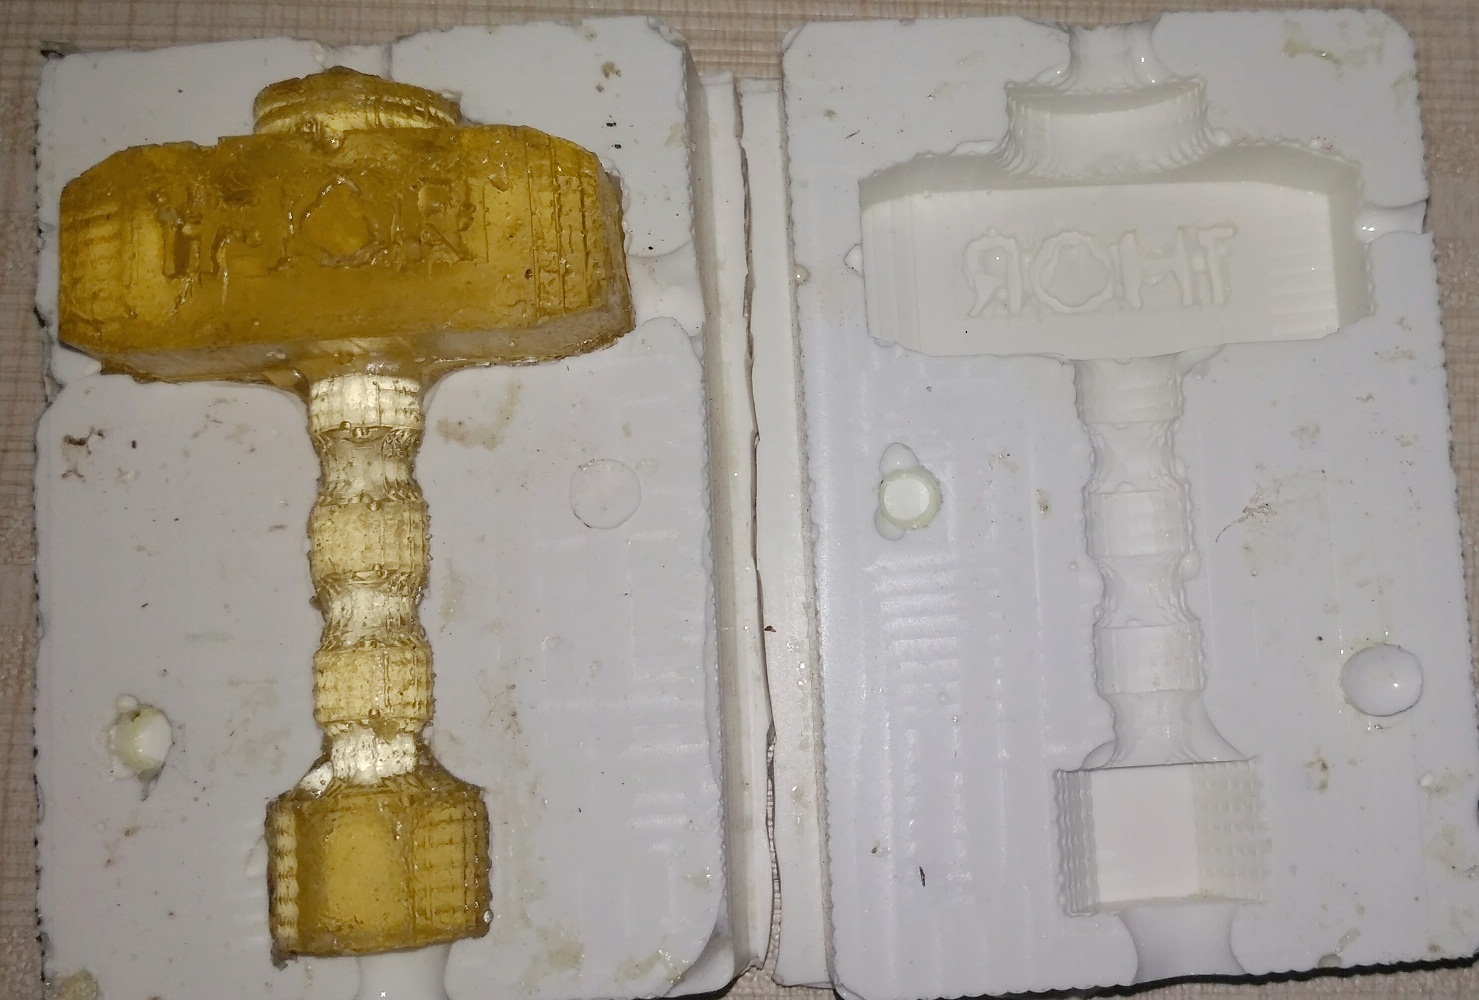
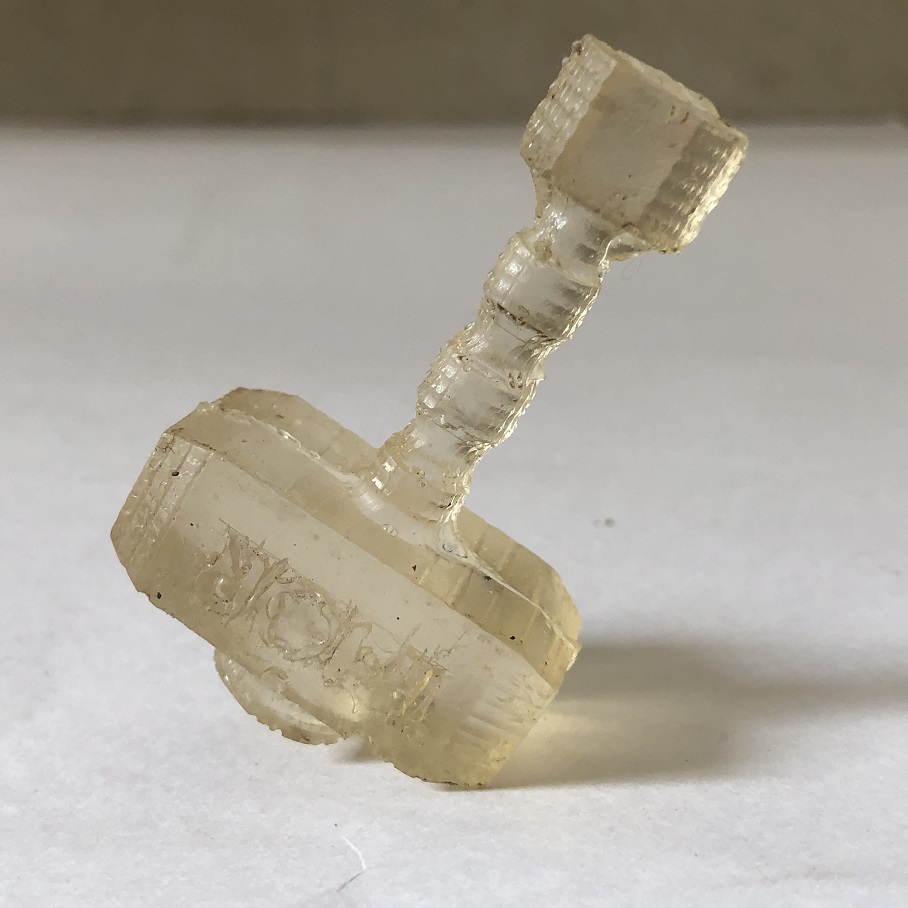
Now, I go for casting. I used 'Resin' material for casting. Also add Cobalt (2%) and Hardner (2%). And then after next 5-6 hour, I got my casting oject.
Safety Precautions While Using Resin:
You've heard us say that ArtResin is non-toxic when used as directed and deemed safe for home use when used in a well ventilated area, but there are some common sense precautions every user should follow.
1. Wear Gloves:
ArtResin in its liquid form is sticky stuff.
REALLY sticky!
Your first line of defense should always be a pair of gloves.
Gloves will protect the user from a sticky mess as well as possible skin irritation.
If you do happen to get Resin on your skin, promptly wash it off with soap and water. You can use handsoap, but an exfoliant to be far more effective at cleaning sticky hands!
2. If ArtResin somehow comes in contact with your eyes, flush with water repeatedly for 15 minutes and do not rub. Promptly seek medical attention!
Although not necessary, you can certainly wear safety glasses if it makes you feel more comfortable.
3. Always work in a well ventilated area.
Wear a respirator if ventilation is poor.
NOTE: ArtResin produces a very low odor which, depending on the sensitivity of the user, may be barely noticeable or not noticeable at all. It's important to differentiate that what the user is smelling is simply that - a smell - and NOT fumes.
Final Shot:
Learning Outcomes:
1. Leaned 3D design in solid works.
2. Understood molding and casting procedure.