
Individual Assignment:
Cut something on the vinylcutter design, lasercut, and document a parametric press-fit construction kit, accounting for the lasercutter kerf, which can be assembled in multiple ways, and for extra credit include elements that aren't flat.
A- Laser Cutting
Software:
Fusion 360
Machine:
Lasercutter
Material:
Cardboard
Steps:
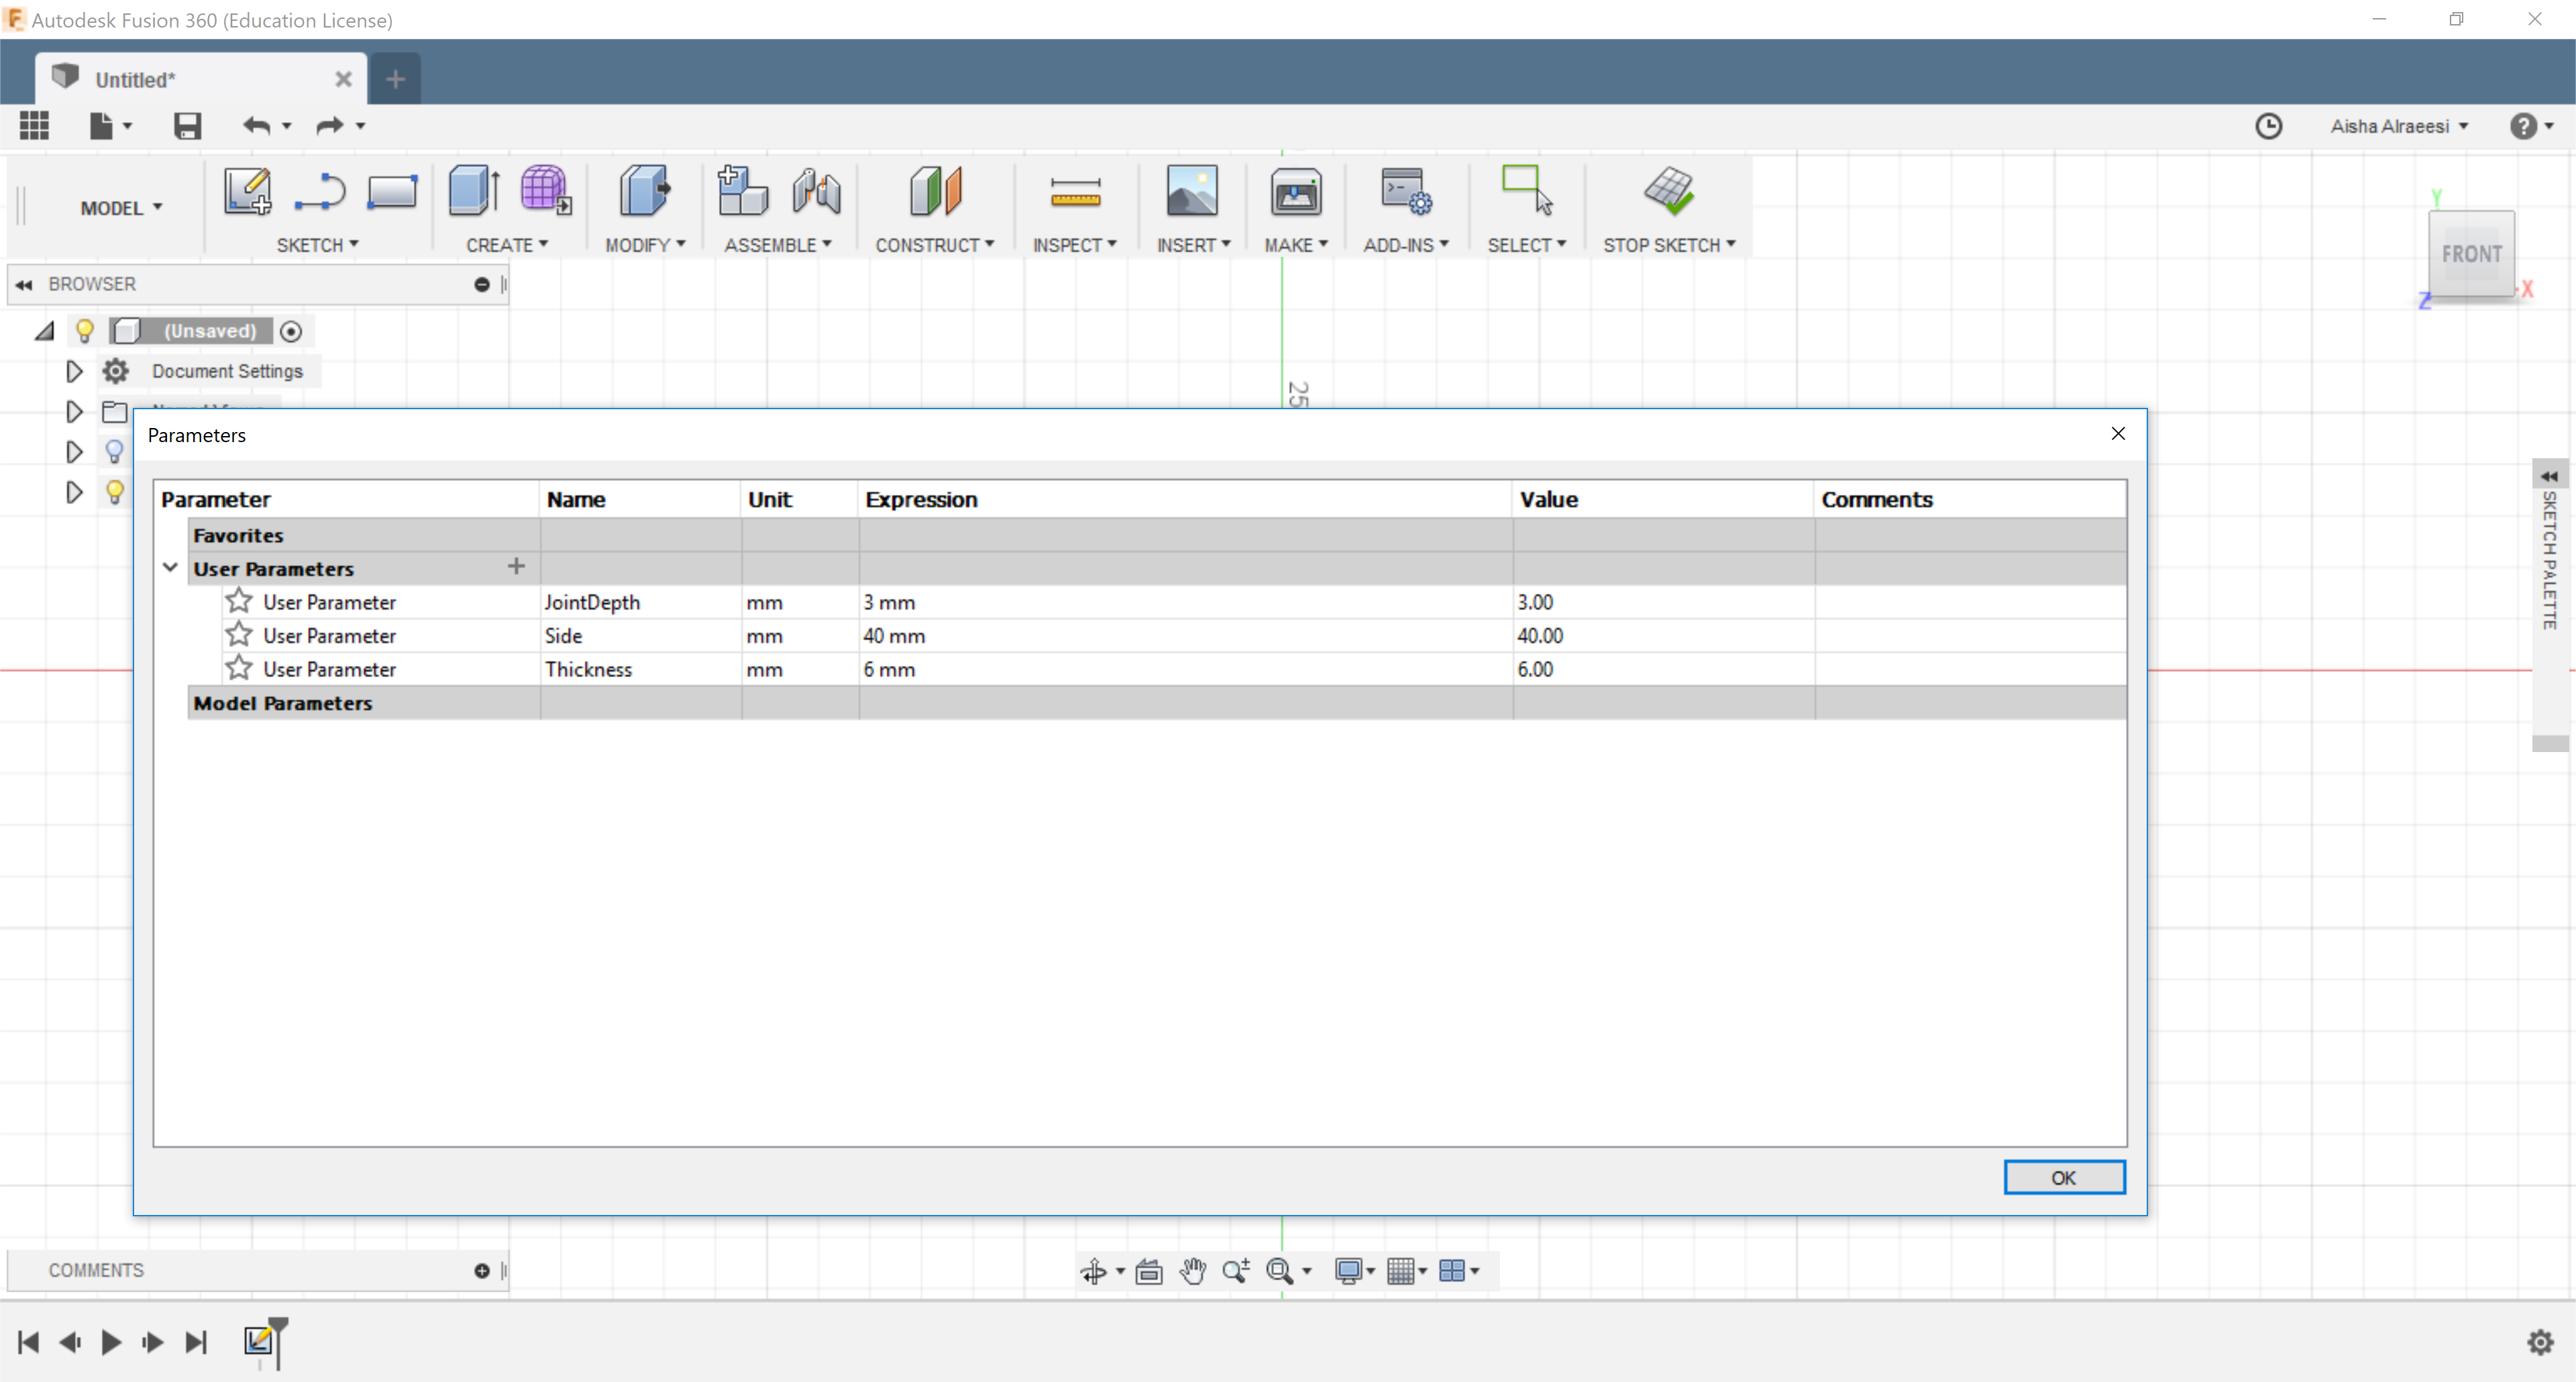
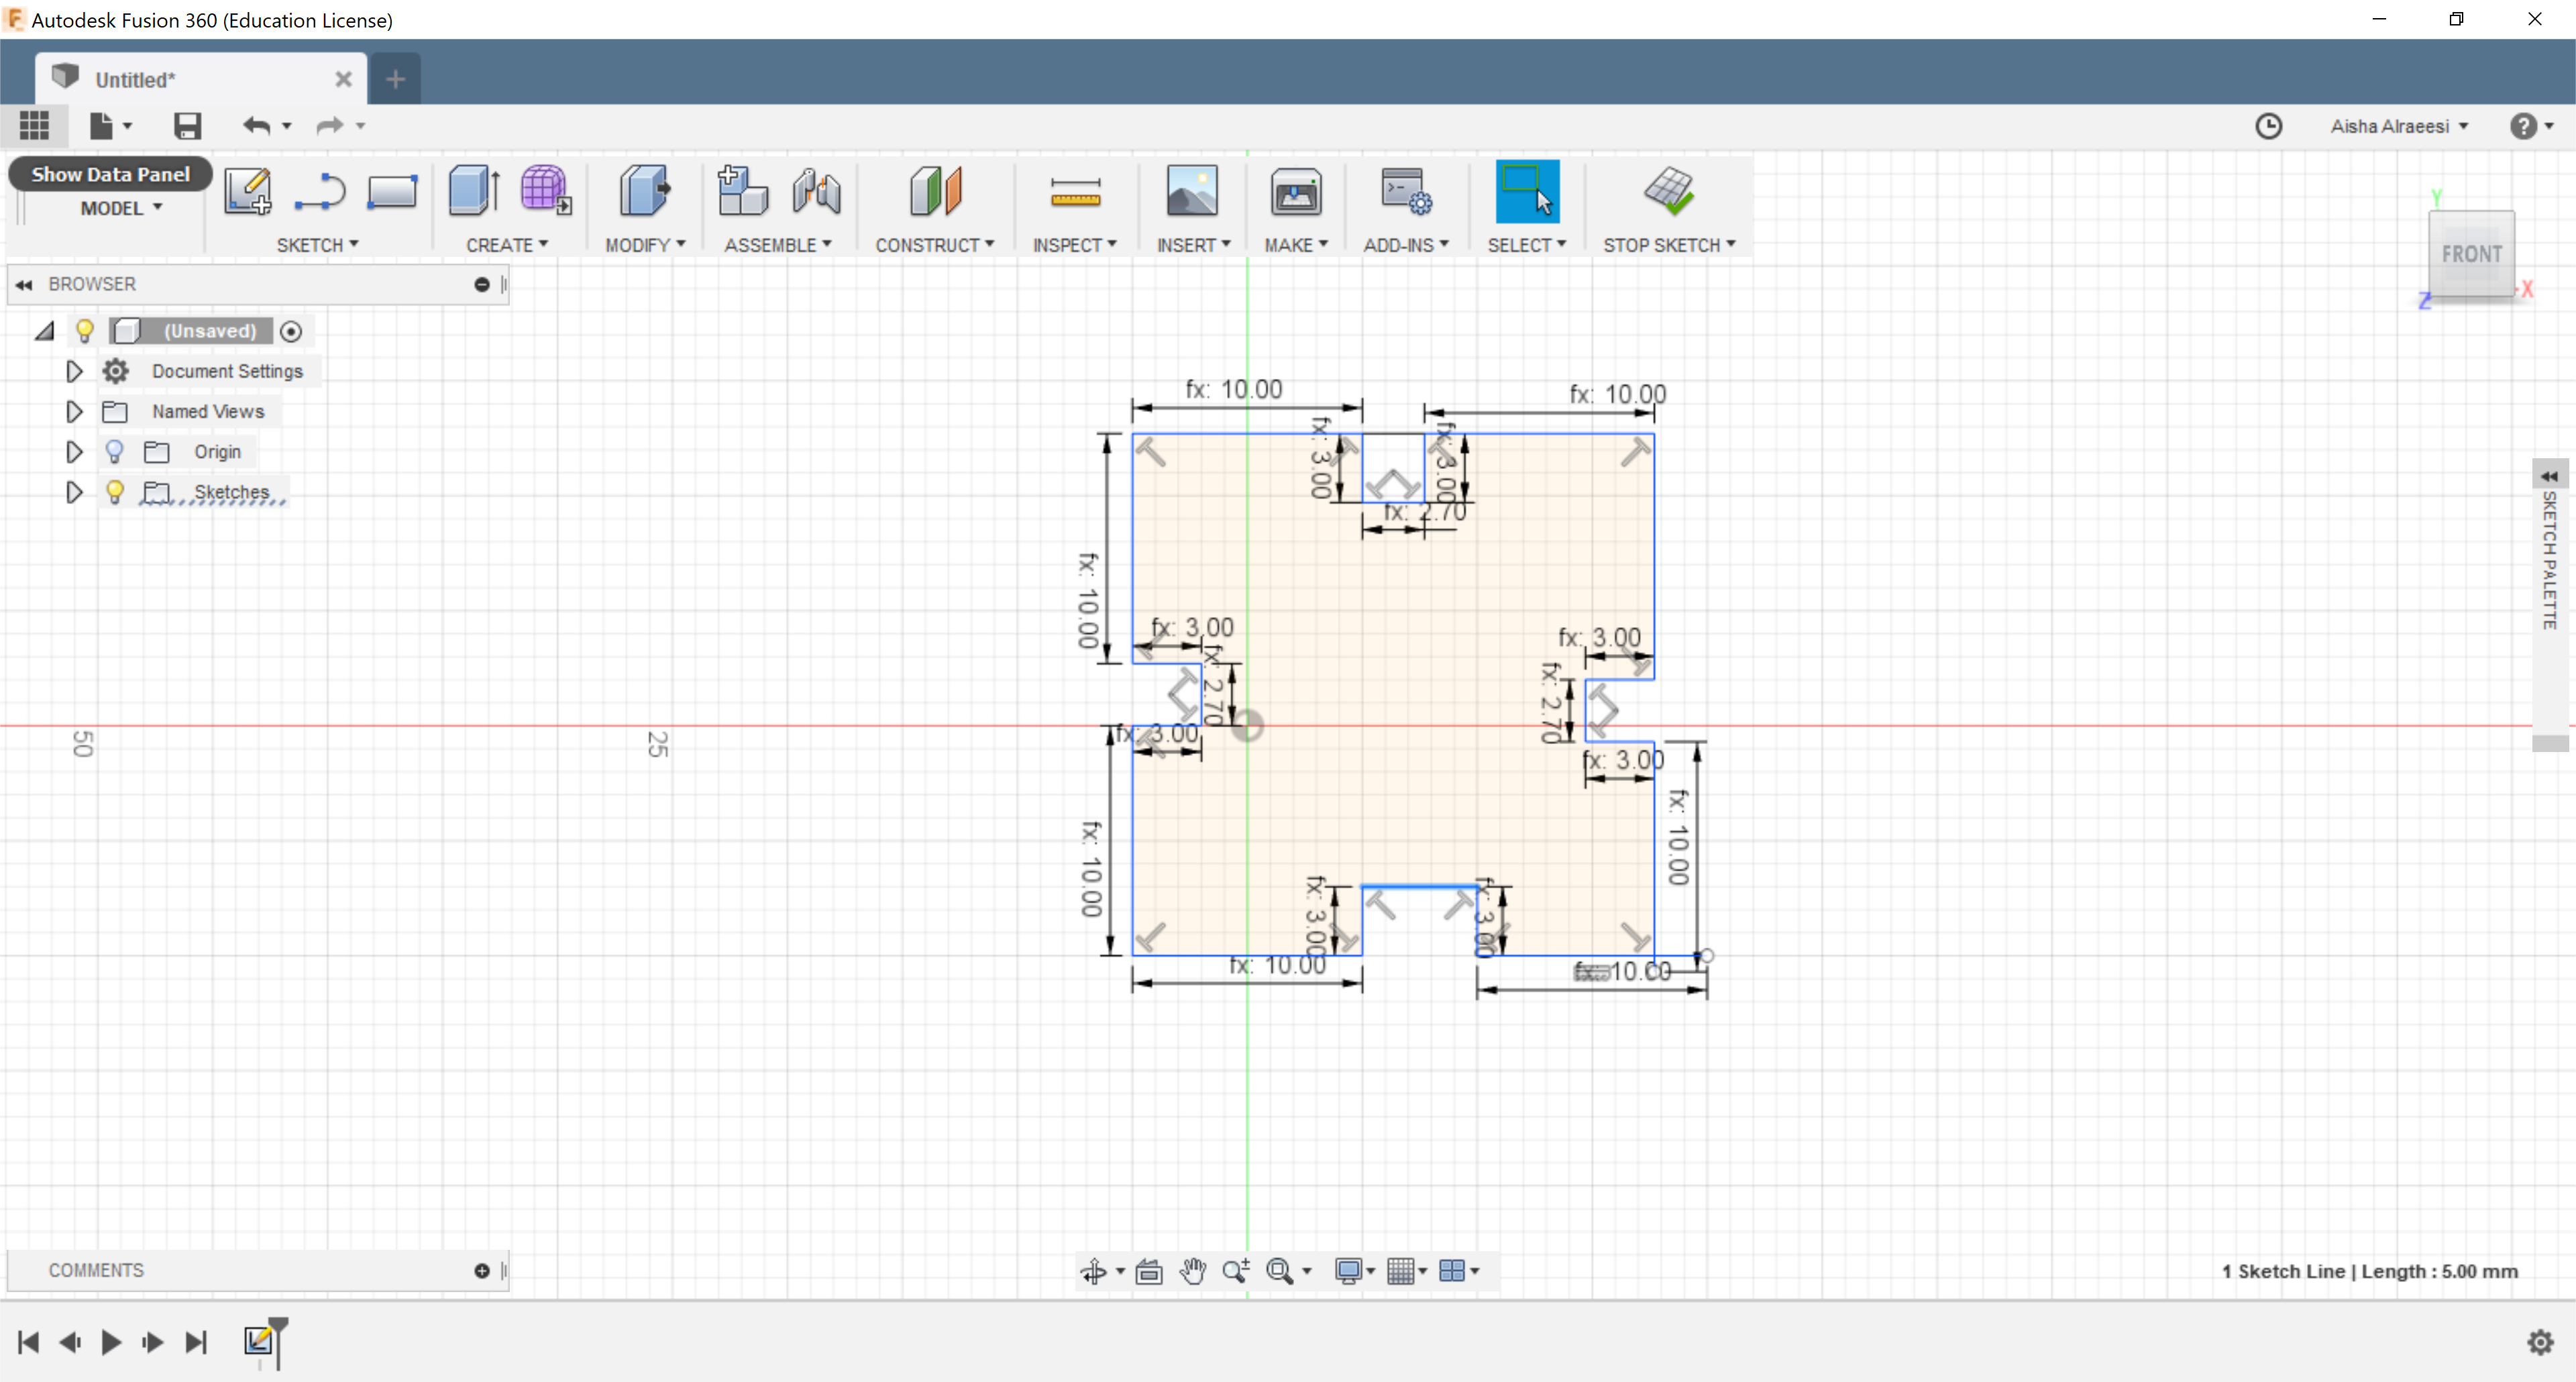
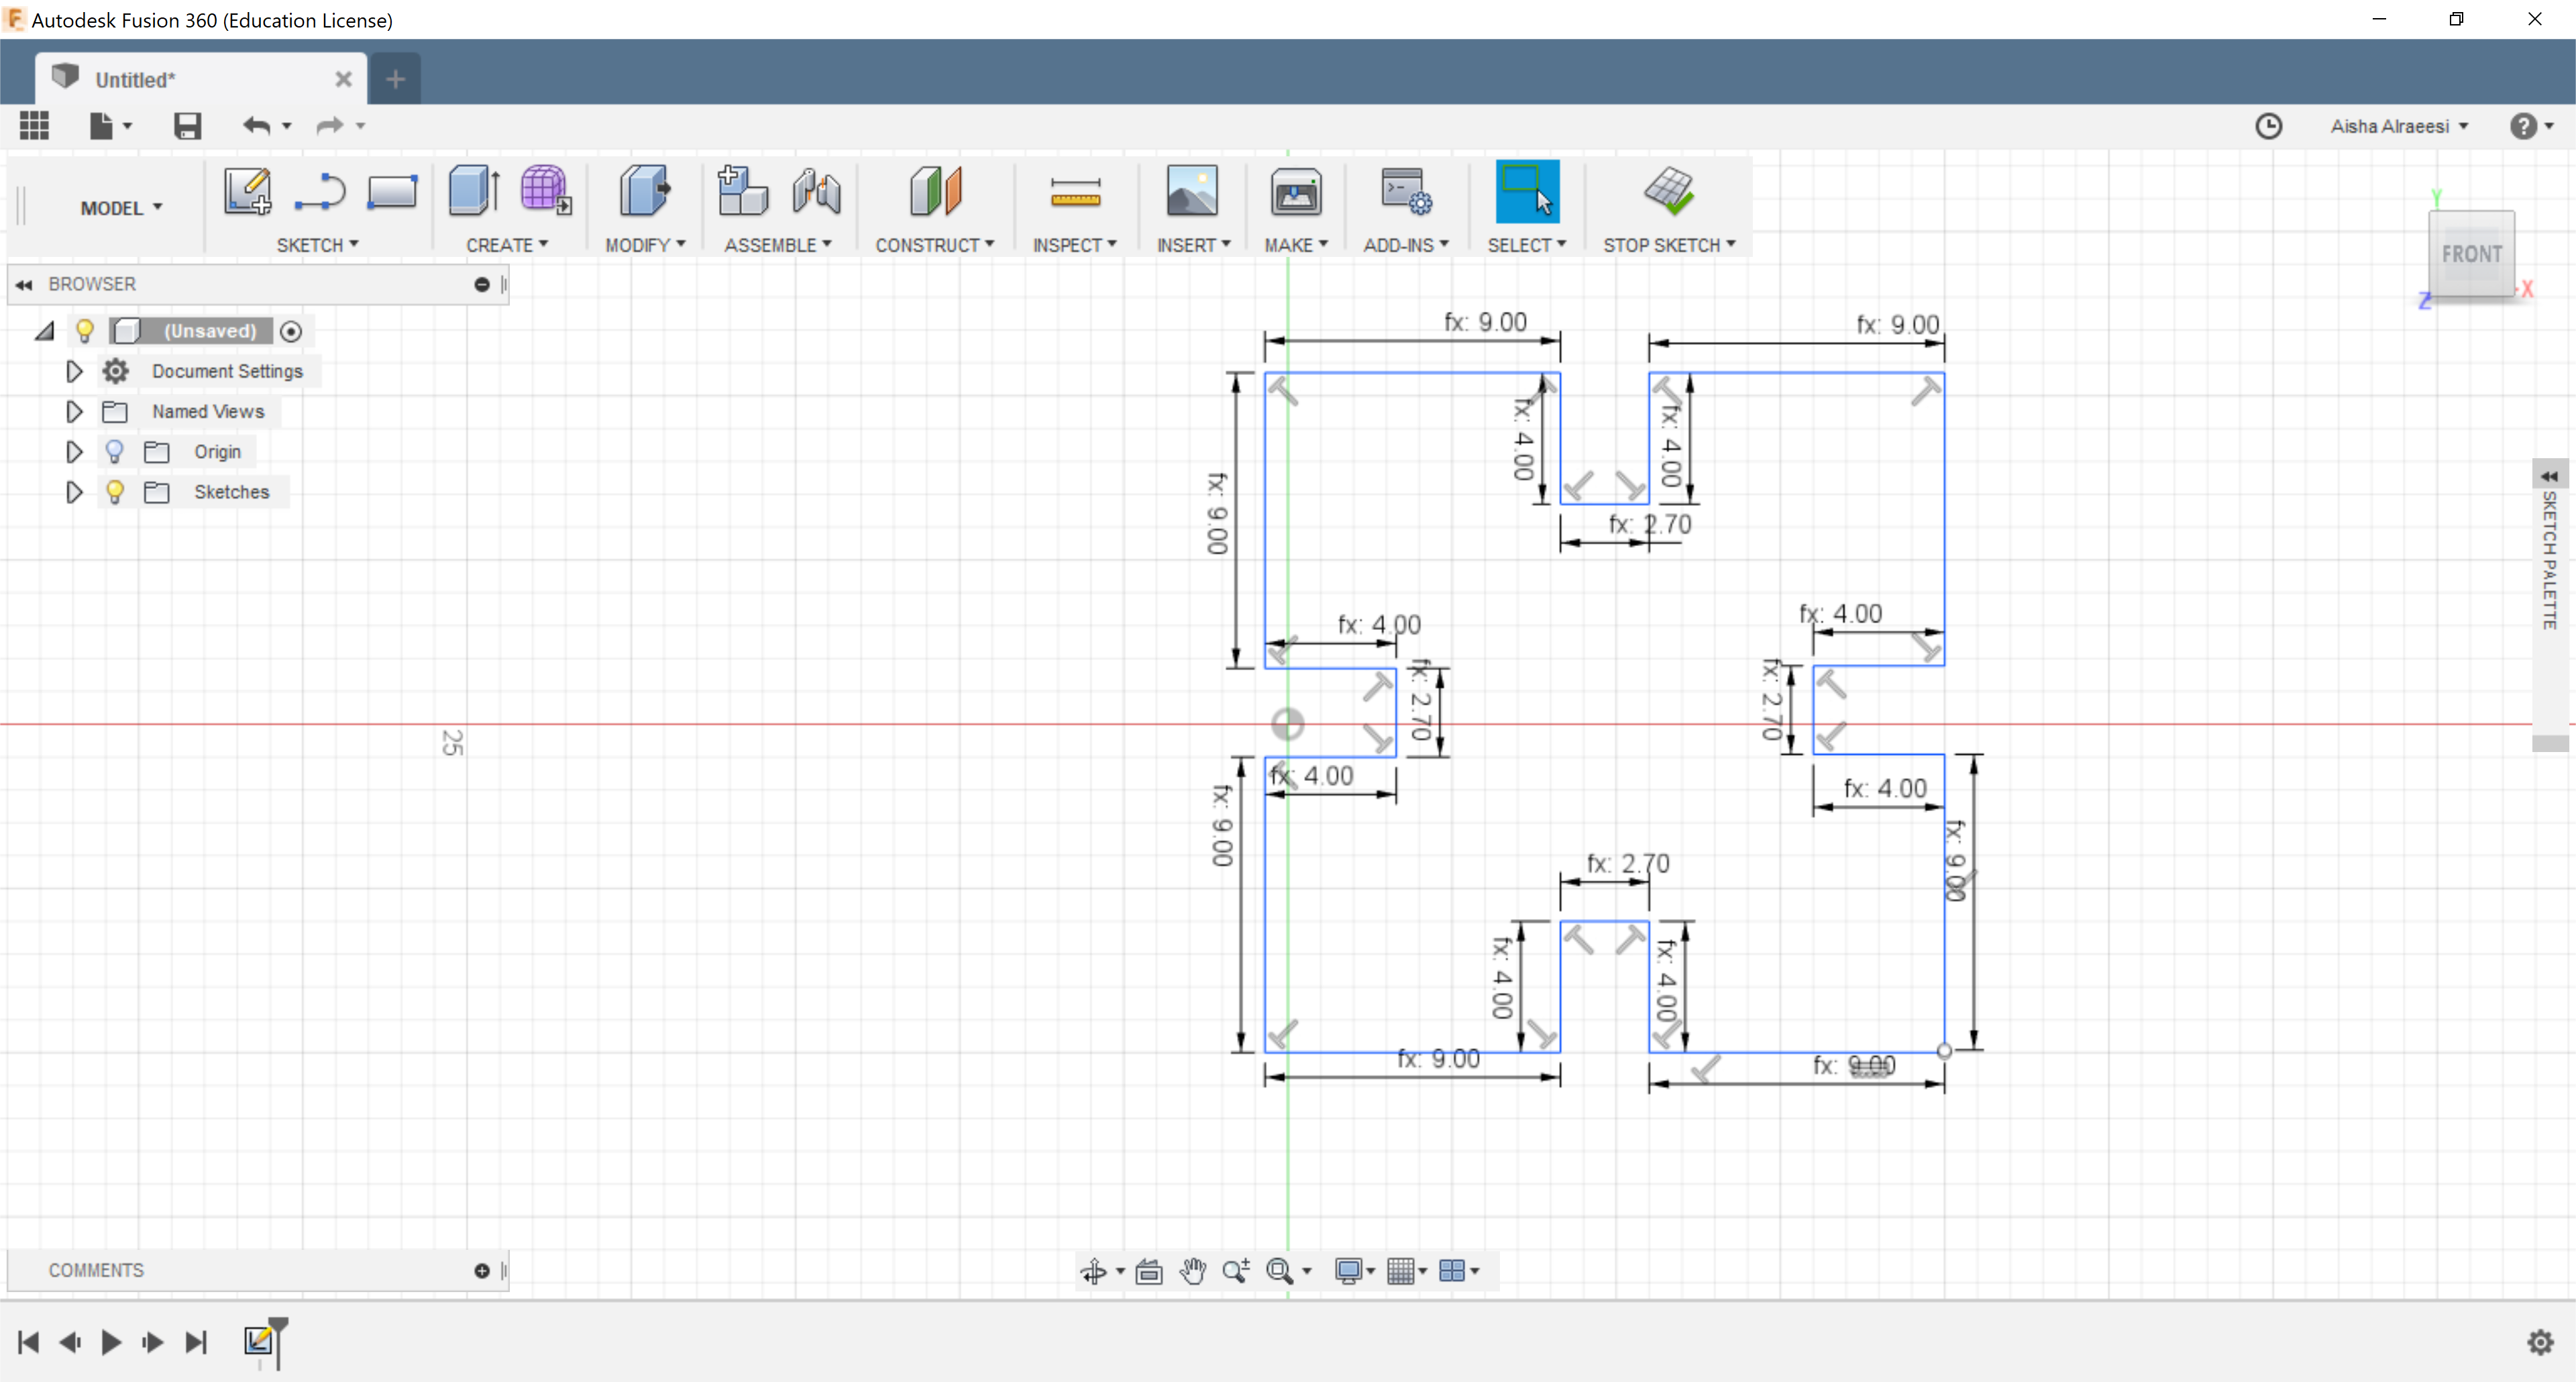
I went for a simple shape that looks like square since I don’t feel yet I am good with complex designs when it comes to using parameters.


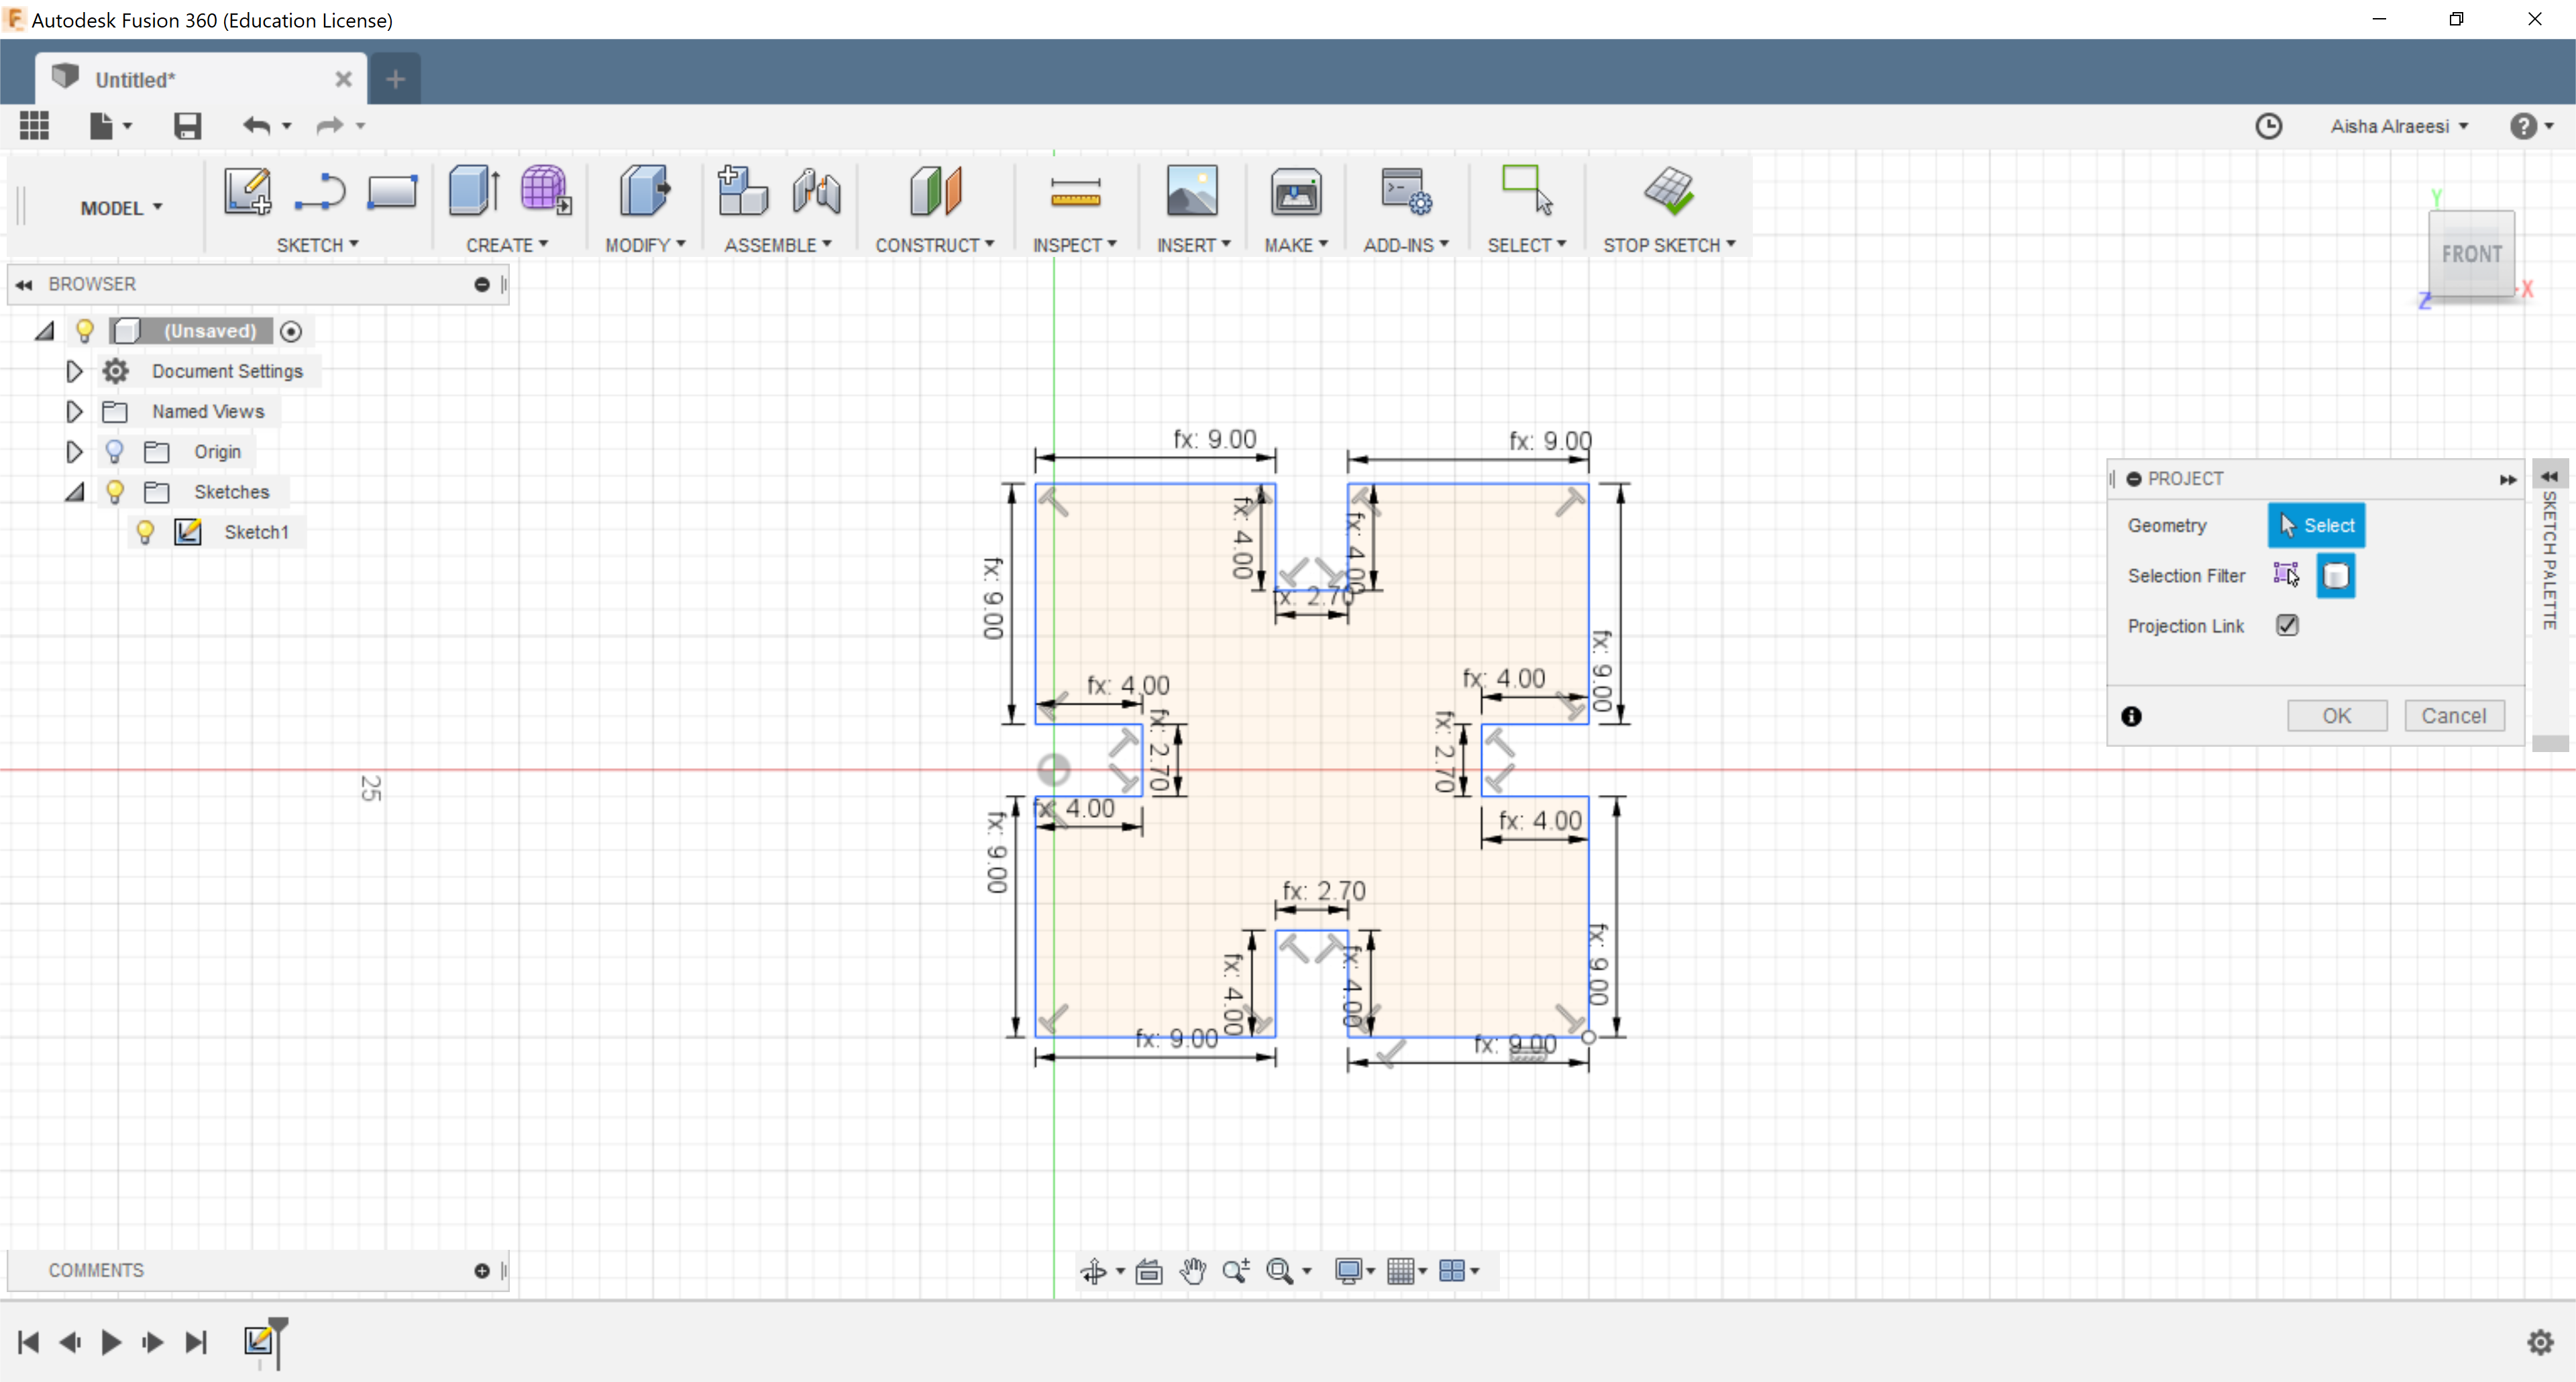


Although it was a simple design, but I ended up with this outcome.

Used another material to practice using the machine.

Challenges:
Cardboard got burned and burned my hand a little bit since I was not aware how to extinct the fire in the machine.

Note: it’s crucial to look at the laser while it’s cutting a material specially the cardboard to avoid the above.
B- Vinyl Cutting
Software:
CoreIDRAW
Machine:
Vinylcutter
Material:
Black vinyl
Steps:
I thought about creating a sticker for my laptop.


Below pictures show machine’s settings.


Used a tape to help me get aligned text when I am going to place it on the laptop.
