

Week 10: Molding and Casting
Assignment
☑ Read the Safety Datasheet
☑ Design a 3D mold
☑ Mill the Wax
☑ Make your Mold
☑ Cast with your Mold
Safety Datasheet
I read through the safety Datasheet from "Smooth-On" Silicone.
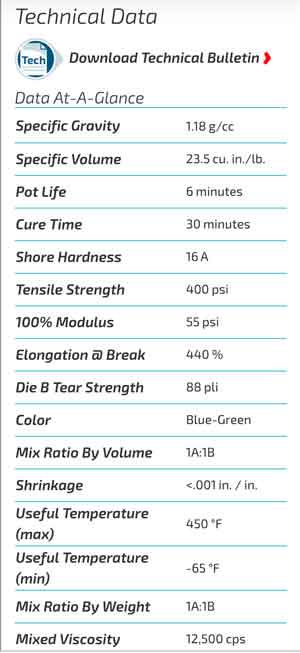
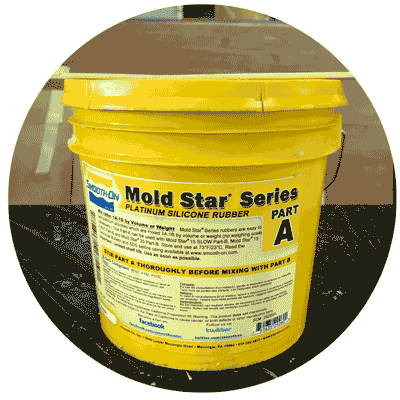
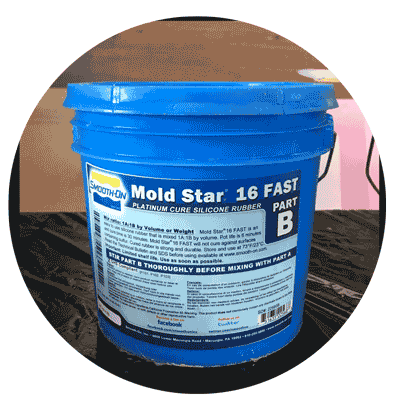
For my mold making material we used Smooth-On's Mold Star 16 Fast.
It is a nice flexible but firm finish.
The Pot Life (amount of time to use after mix) is 6 minutes. The Cure time (amount of time for it to harden) 30min-1hr
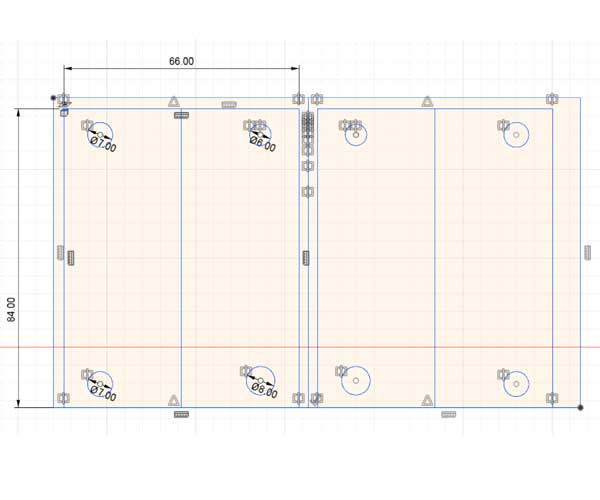
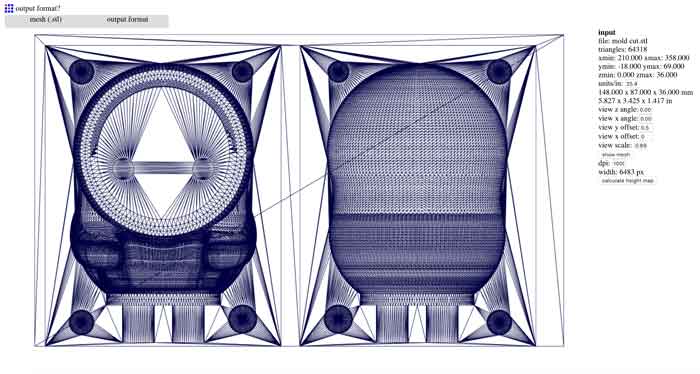
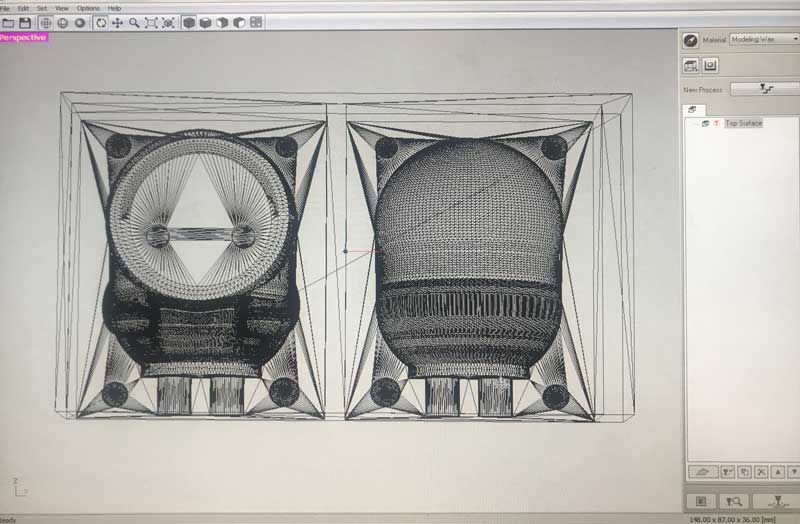
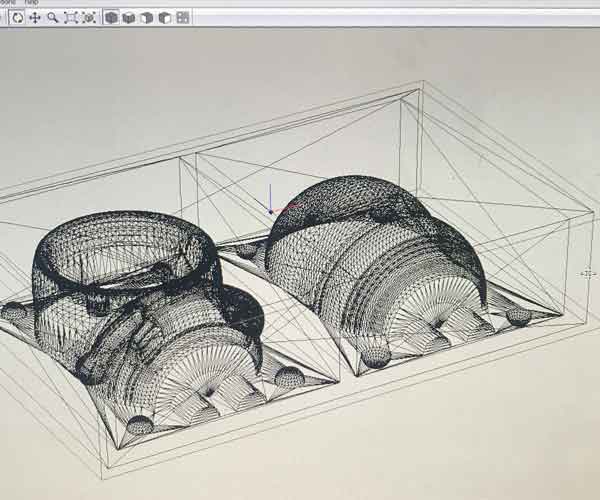
Design a 3D Mold
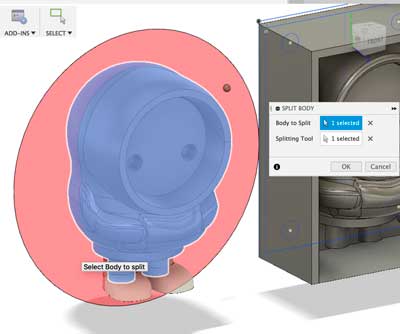
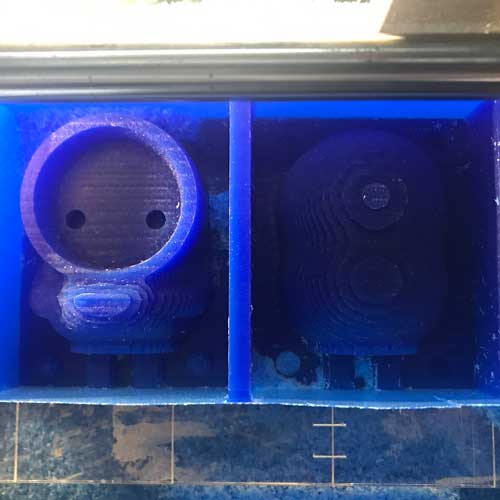
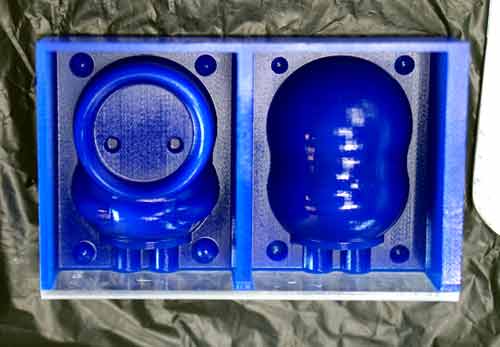
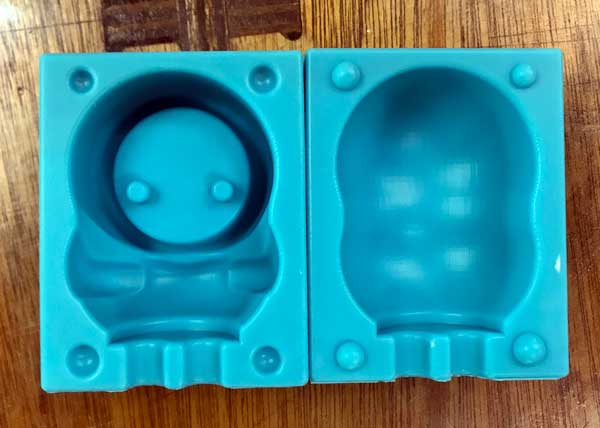
There is quite a bit to check even after making a 3D shape. I was making a two part mold.
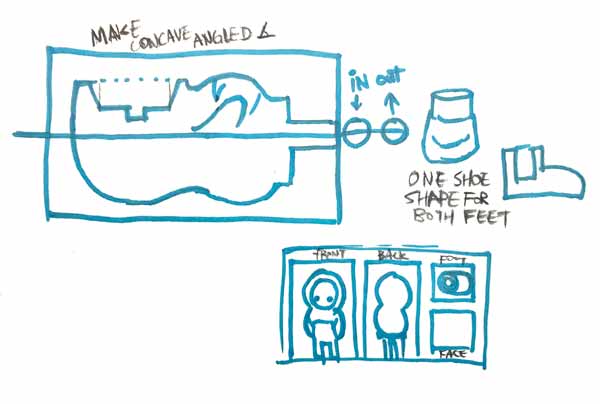
I had to...
- Split the object in half
- Make the pieces fit into the correct measurement on the wax block,
- Make placeholder parts
- Make sure the pieces are set to fit into each other.
- Air vent
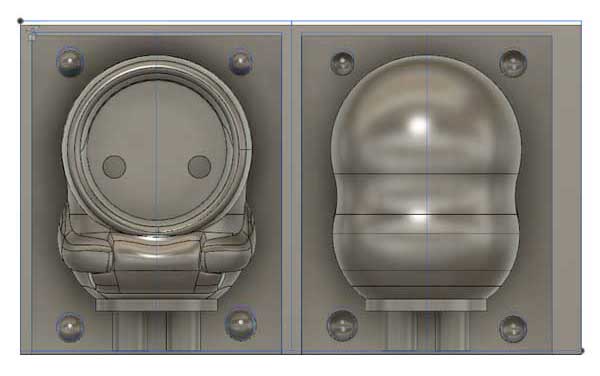
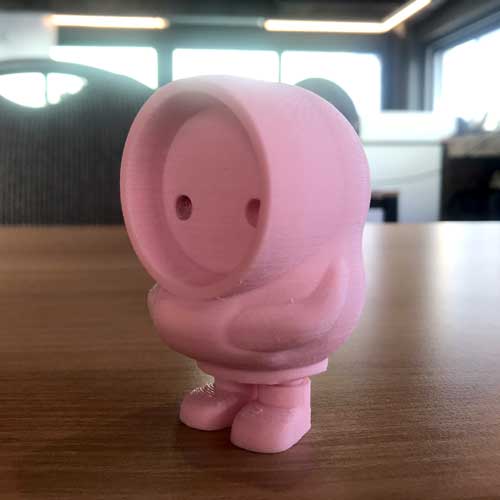 I 3D printed one to check if I liked the form.
Mill the Wax
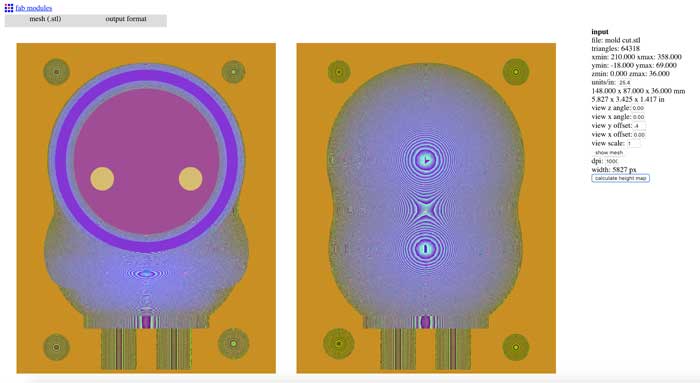
It took about 2 hours for the rough cut calculation.
and it took 1hour and something for the finish cut calculation.
In the end, there were problems when the machine started to cut.
So I had to find a different solution.
Using Modela
I decided to use Modela. No one in the Korean Lab had used modela, so I had to spend a little time researching about it, but it was pretty straight forward, so I was able to set it up pretty quickly.
1.
 Load your stl file
2.
Load your stl file
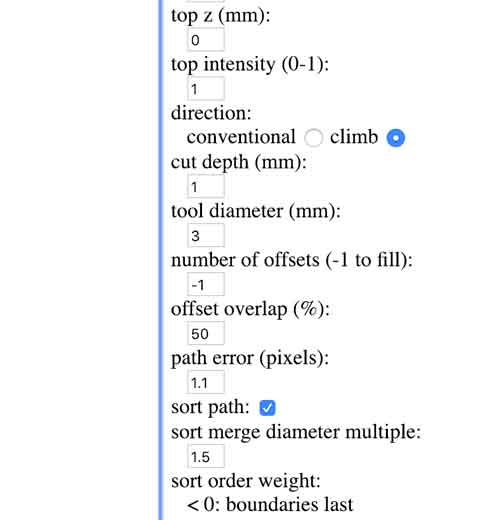
2.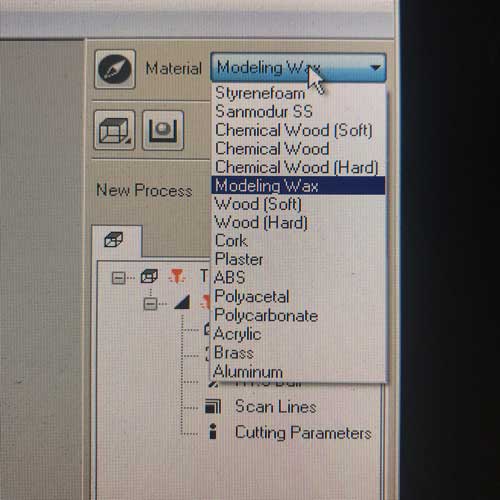 To the right, you can set your preferences for the cut.
Select the material (Modeling Wax) and the orientation of the cut.
Now select "New Process" 3.
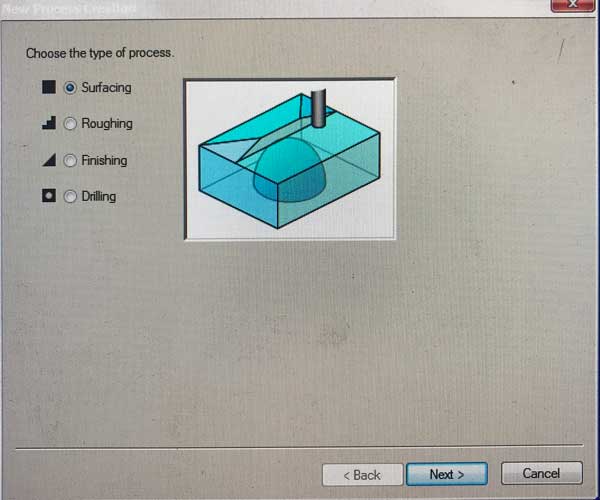


 Select proper preferences according to your needs.
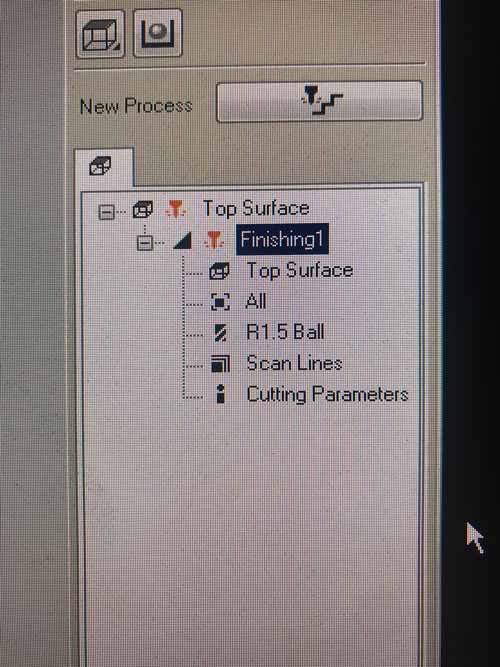
- Select the type of process (for me, roughing, and again finishing)
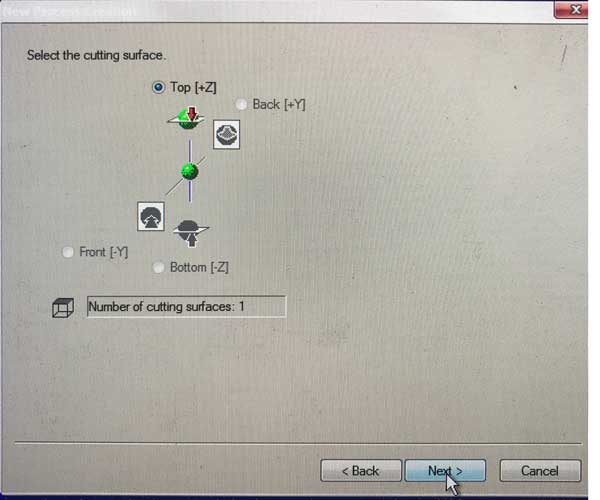
- Select the Cutting Surface. I think you can change this according to your design or the machine, but for me, from the top.
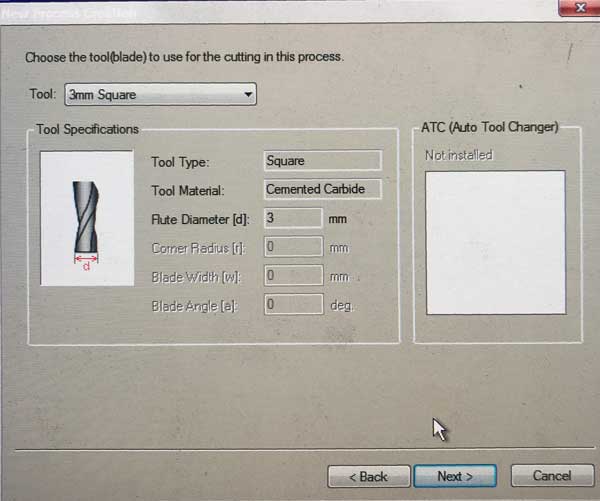
- Select the end mill size and type.
- Select the end mill size and type.
- Select the cutting Area. Usually it is the size of your block or your design
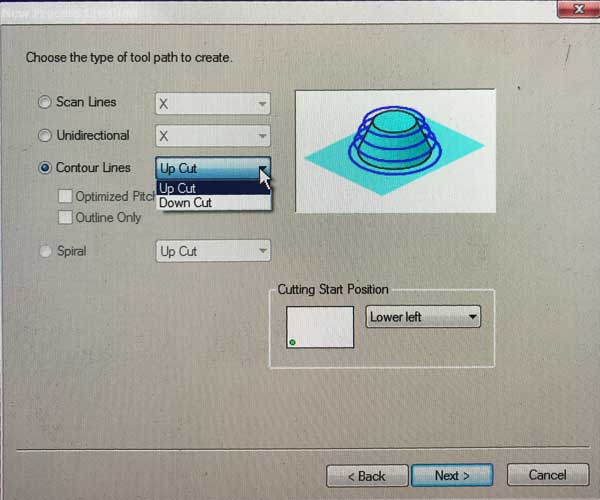
(mine filled the entire block, but you can change it to partial and select the work area) - Select the tool path, and the cut style.
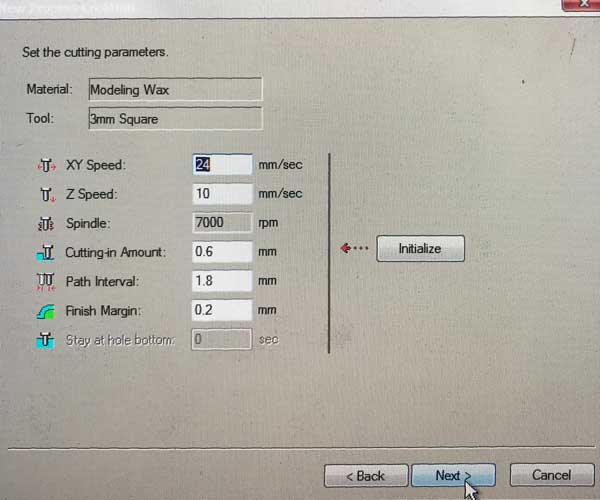
- I think this is the most important part for me to not break the end mill. the speed, and cutting amount
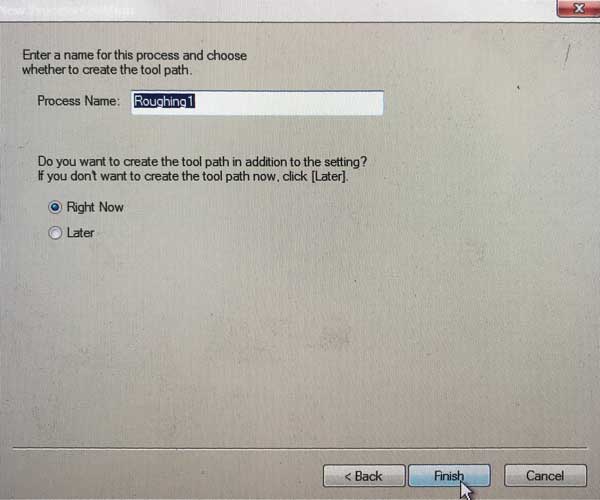
- Save the setting
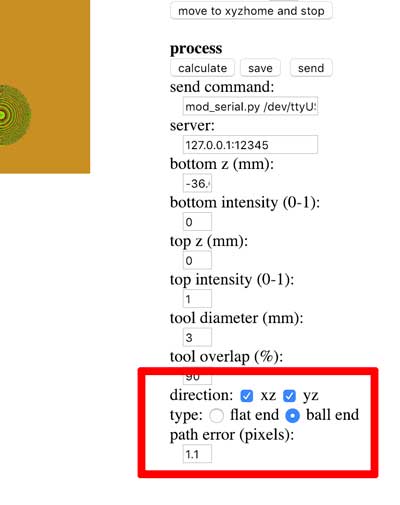
 When you finish, on the right side, your process setting will appear,
and you can make changes here.
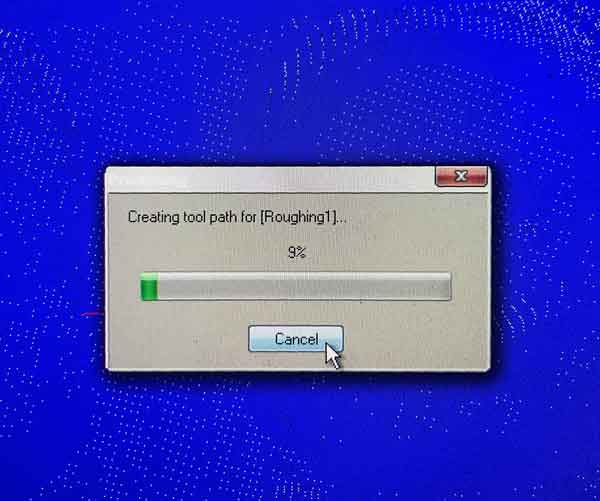
It will now create the toolpath preview. It took a lot less time than fabmodules.
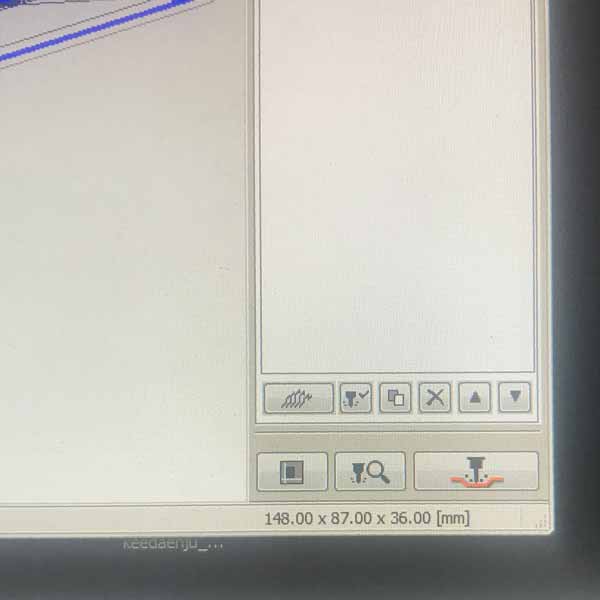
Now select the box button to check the direction and export area.
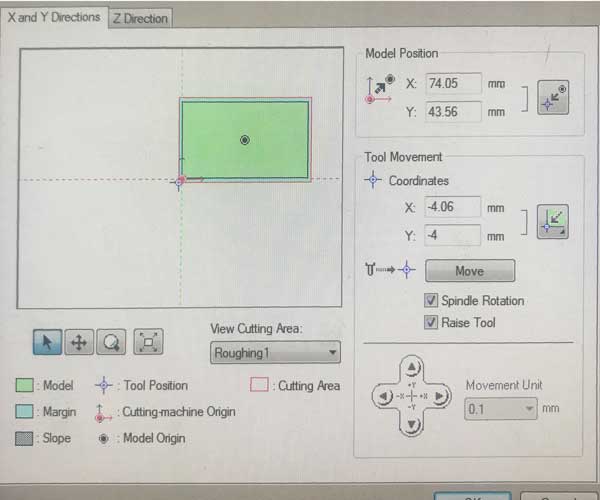
When I started to cut I realized that I didn't factor in the margin that was preset
so it was cutting in a weird area. I realized it quickly and was able to stop it before it was too late.
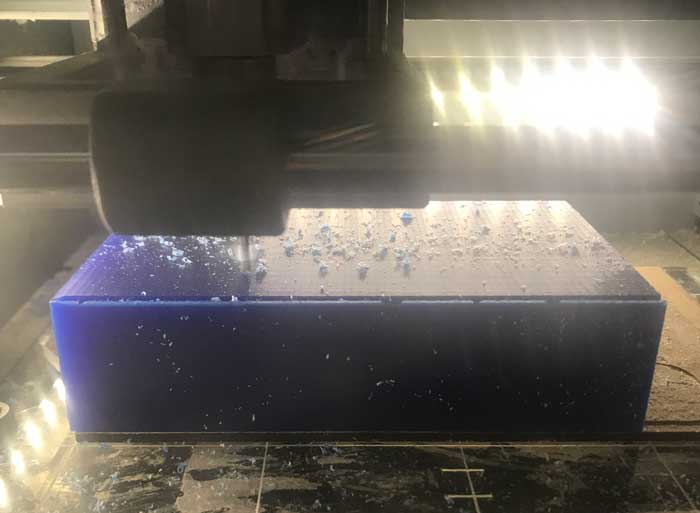
When you are setting your machine, make sure to have check the Z origin on a spot that you won't be cutting away. otherwise, when you change the endmill for finishing cut, you will lose your Z.


One of the good things about one of my sides being so thin was that I could see the cutting progress
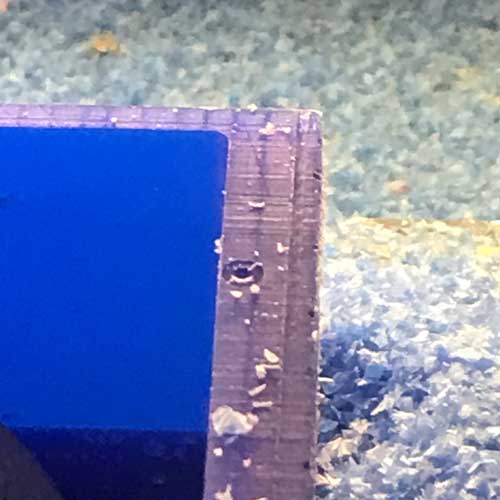
I covered the bottom part up with a laser cut acrylic board separately
so that I could make the mold and extract the mold easily.
Make your Mold
But safety first! Do you have gloves? Do you have goggles?
The product we used was not so toxic or hazardous,
but there are other materials that is super toxic!!!
Make sure to check your Safety Datasheet!

 The material we used were:
- Mold Star Series partA
- Mold Star 16 Fast part B
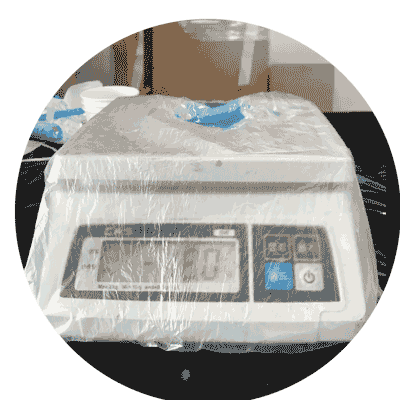
- Electric Scale
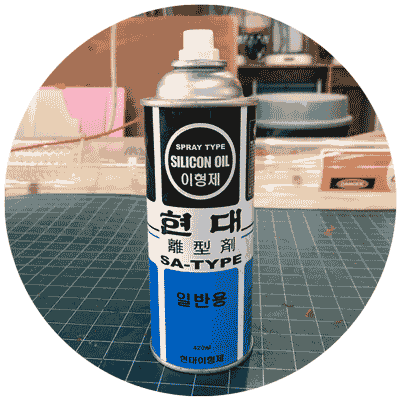
- Silicone oil
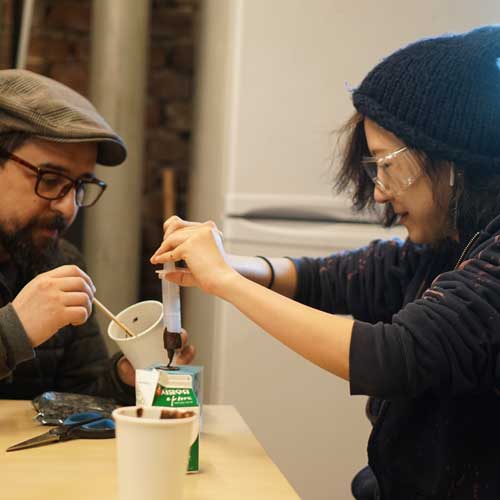
- put small chocolate chips in a microwave safe container
- microwave for 30 seconds
- take it out, stir and repeat
- When it is mostly melted with few little pieces remaining, take it out
- leave it out until the rest of it melts It was not easy because chocolate is a bit messy,
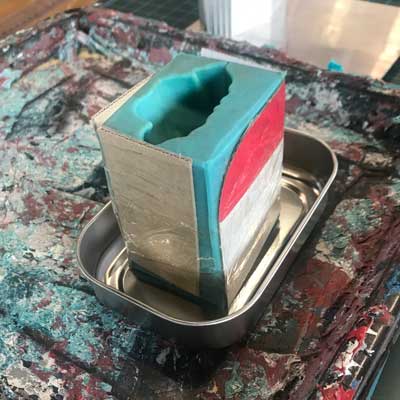
Clean the wax cut.
We need to spray the silicone oil first in our wax, because we need to let it set for about 20 min.
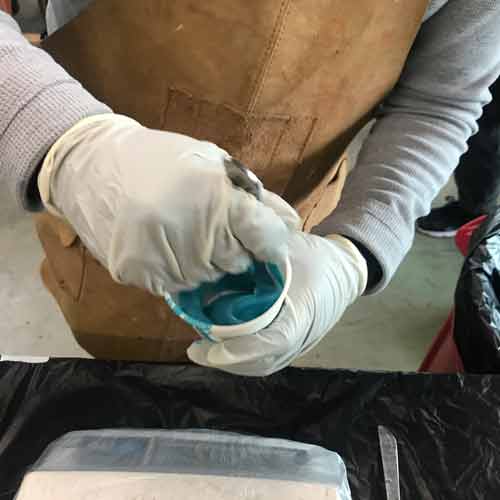
The Mold Star material we had were from last year, so we started out with mixing it in their tubs.
Next we used the electric scale to measure out the mixture. the ratio is 1:1 part A and part B
**It was advised to measure the two parts separately,before mixing.
But I was confident enough to just go ahead by pouring them in one cup.**
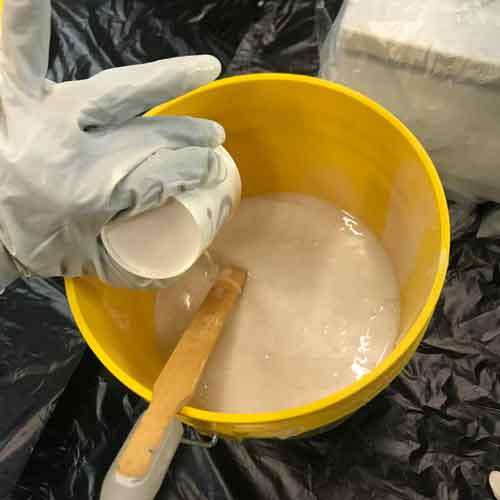
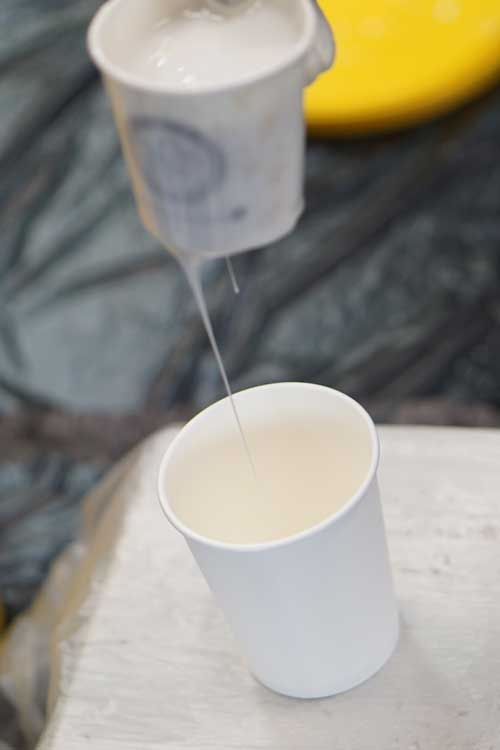
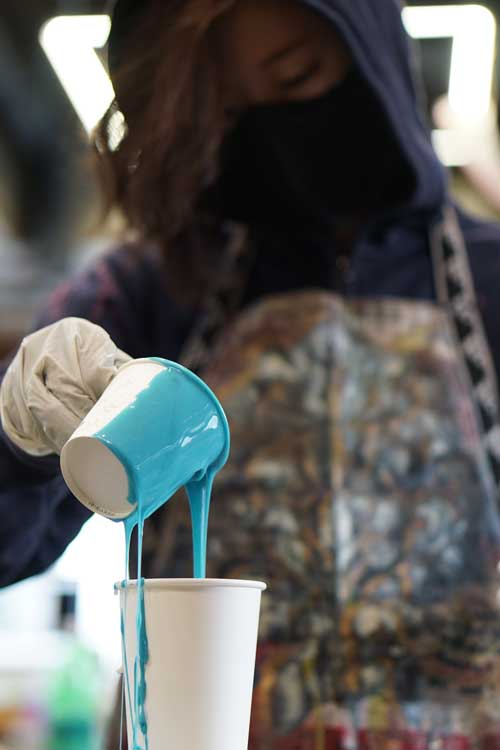
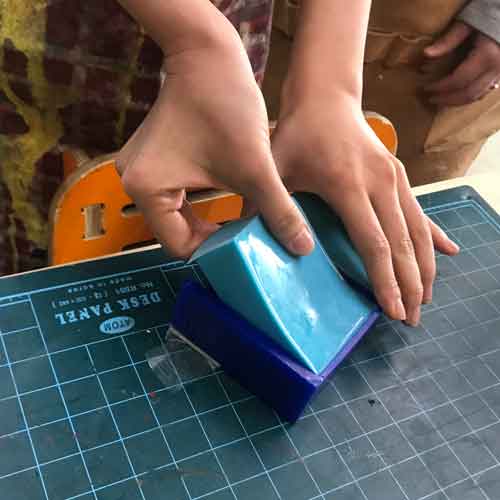
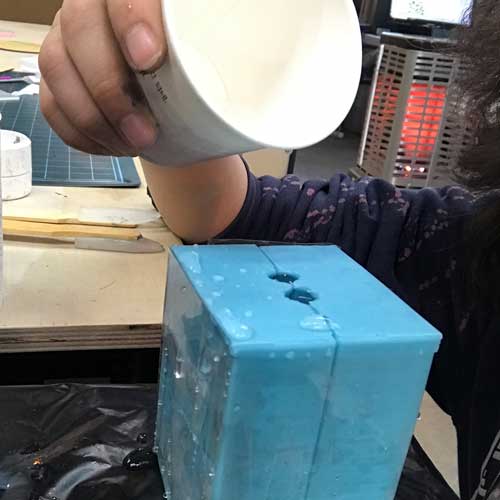
Now the hard part.
You want to mix the solution quickly, thoroughly, without making bubbles.
The pour time is 6 minutes, so you want to do this part quickly.
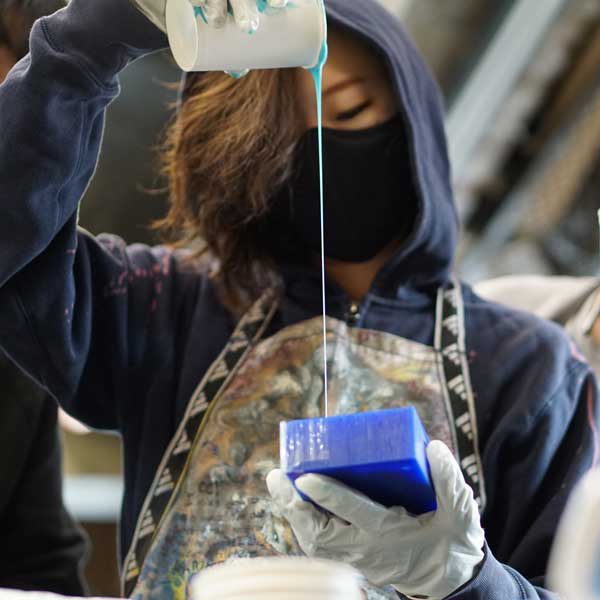
When your mixture is done with no marbling, quickly pour into the wax.
** Notice how thin my pour is**
::this is to break any bubbles that might ruin your mold::
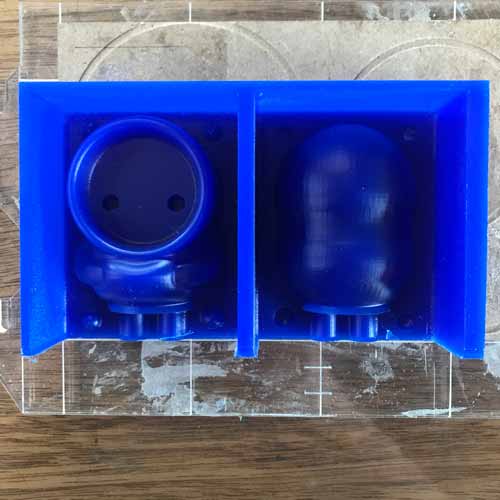
**pour into the lowest part of containment**

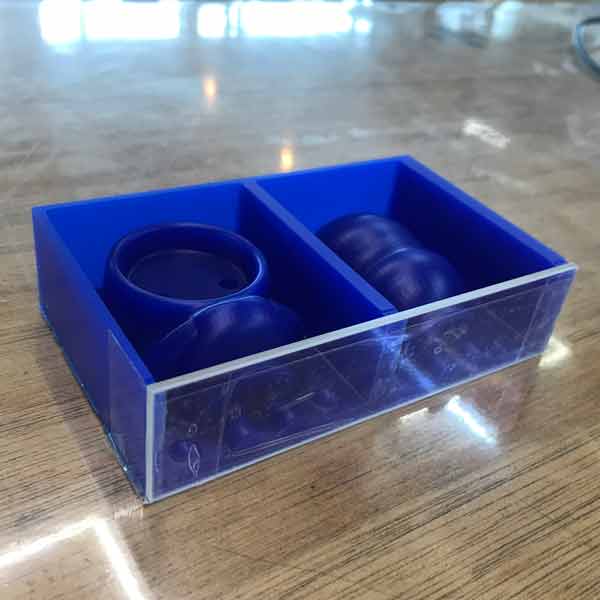
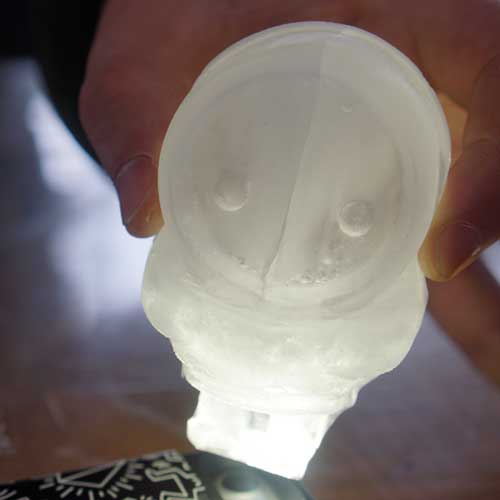
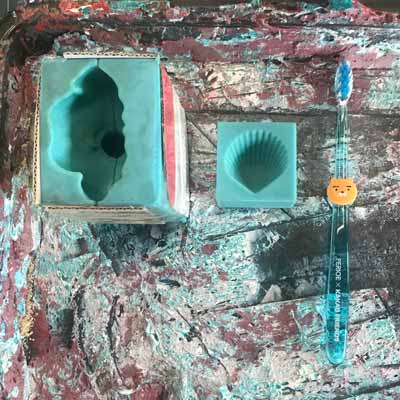
 It was very difficult to get the mold out even with my ingenious plan of having one end of the wax detachable. I should have done it for the other side too, because the distance between the object and the wall was pretty close. thankfully, the silicone material is flexible, yet firm enough to just force out of the wax cut.
Cast something using your Mold
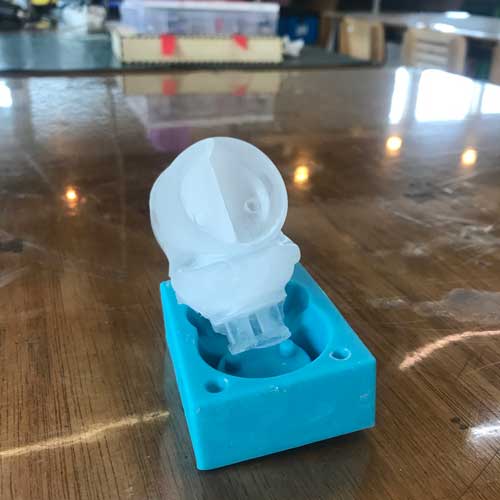
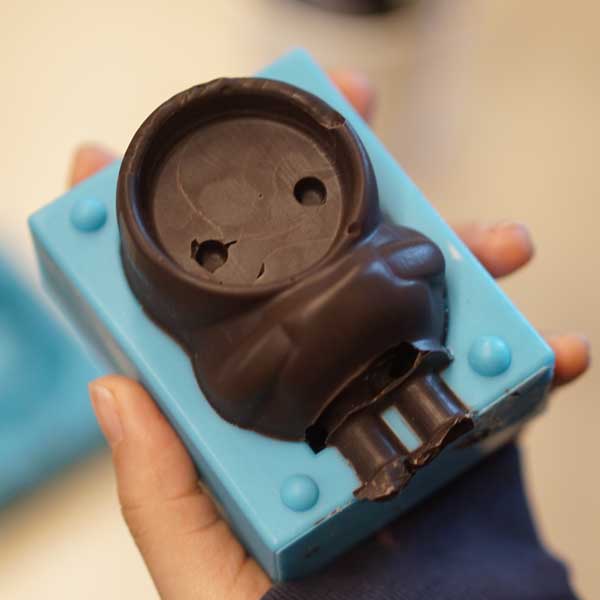 For fun, I tried casting chocolate.
 and it is not runny enough to just pour,
so we used syringe to squeeze the chocolate in to the mold.
I was satisfied with this trial.
**The silicone we used does not have toxins but is not food safe**
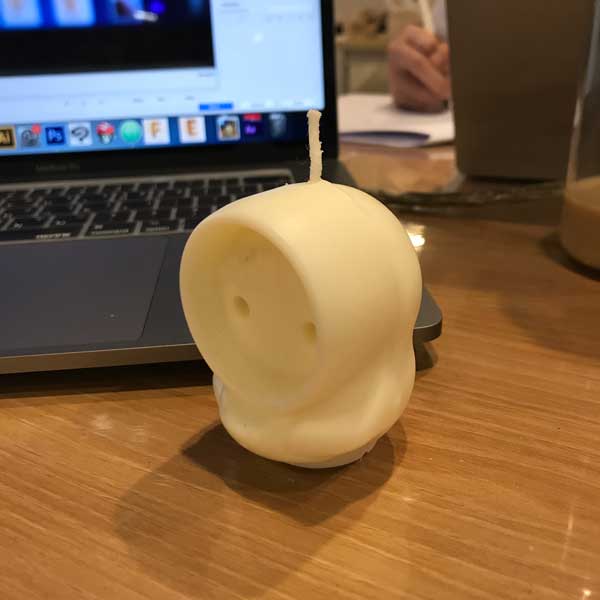 I tried casting a candle with similar method :)
Casting Metal
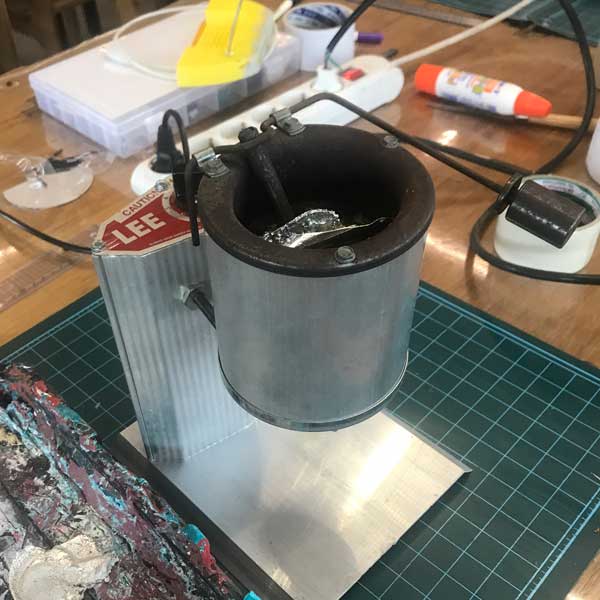
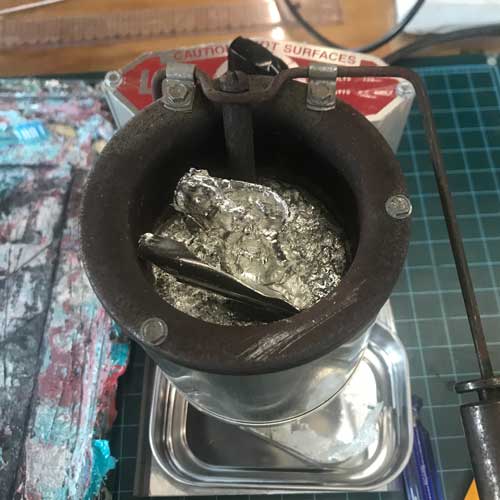
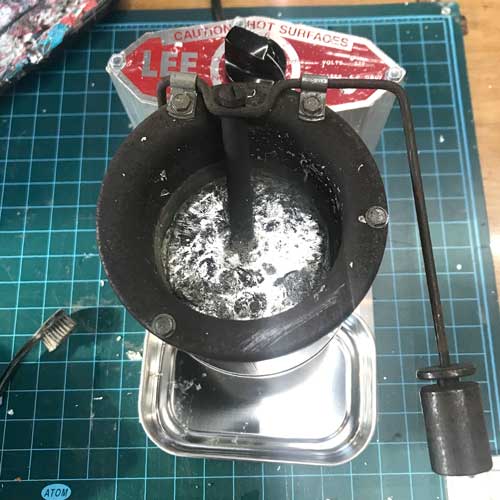
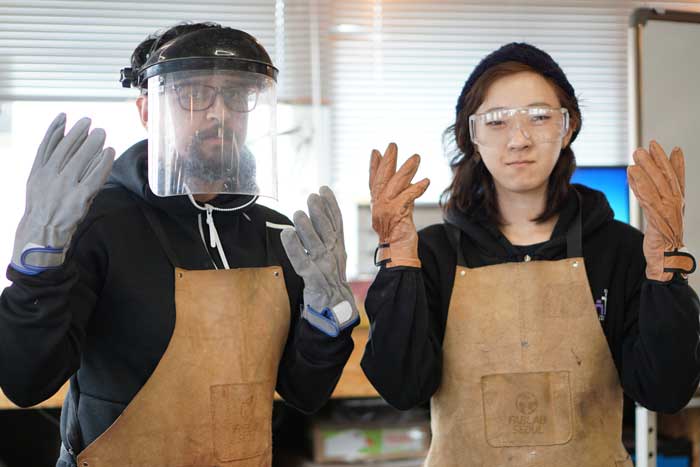
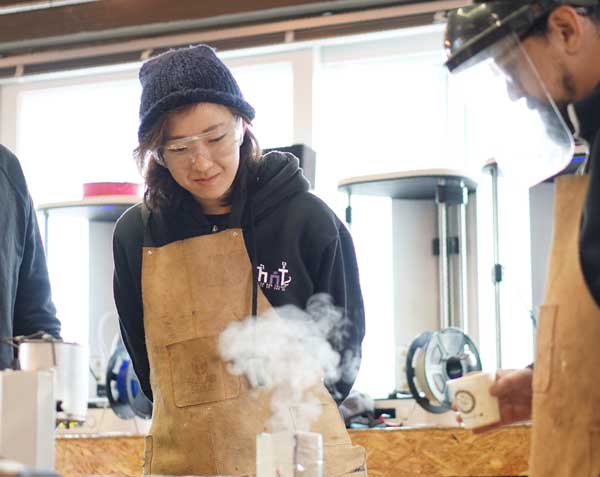 Safety is important!!! You do not want moisture because it turns to steam and pops!
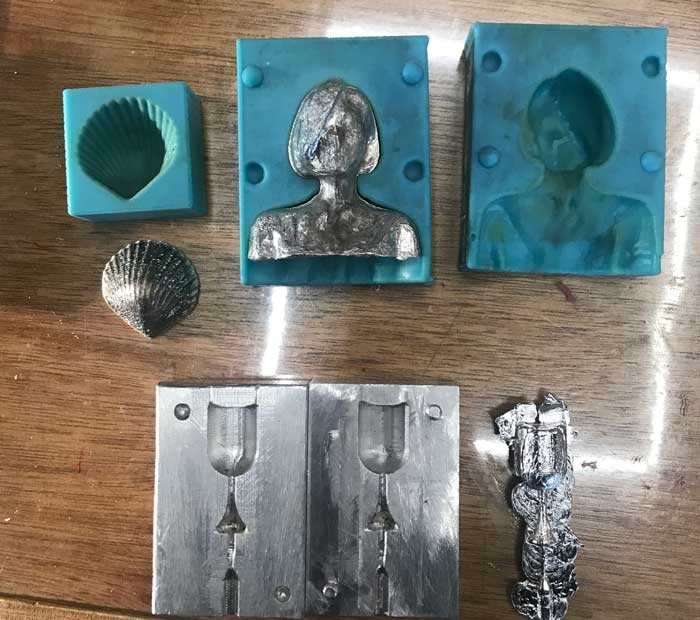
Extra
You should save your chips
cuz you can melt them down
and make another wax block to cut.