17/ wildcard week
This week we need to design and produce something with a digital fabrication process not covered in another assignment include (but are not limited to) composites, textiles, biotechnology, robotics, folding, and cooking. I tried:
1. soft robotics
2. conductive fabrics
3. laser sealed inflatable
4. 3D printing on fabrics
← previous
→ next
⋯ assignment list
🏁/ final project
Soft robotics
Our local instructor Saverio made a silicone gripper during fabricademy. He showed us his documentation and I found that very interesting :D
To make a soft robotic I checked the the soft gripper model from softroboticstoolkit.com and followed this instructables air powered soft robotic gripper tutorial step by step. I downloaded the 3D printing model from the site for test and may design one after understanding how the case will bend.
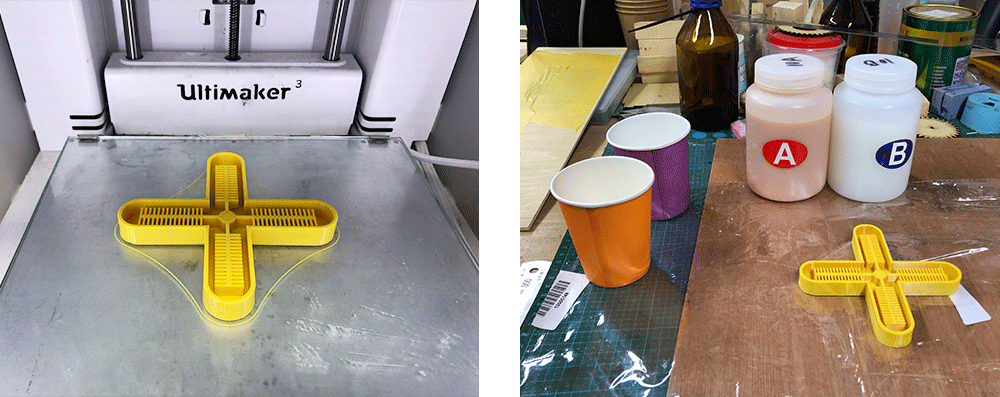
Instead of Ecoflex 0030, we bought soft silicone that was used to simulate human skin from a Chinese online vendor. It is ranked as 0 degree softness in Chinese market. The silicone became solid in around 3 hours under room temperature (25 degree C). The case came out really well, flexible and strong.
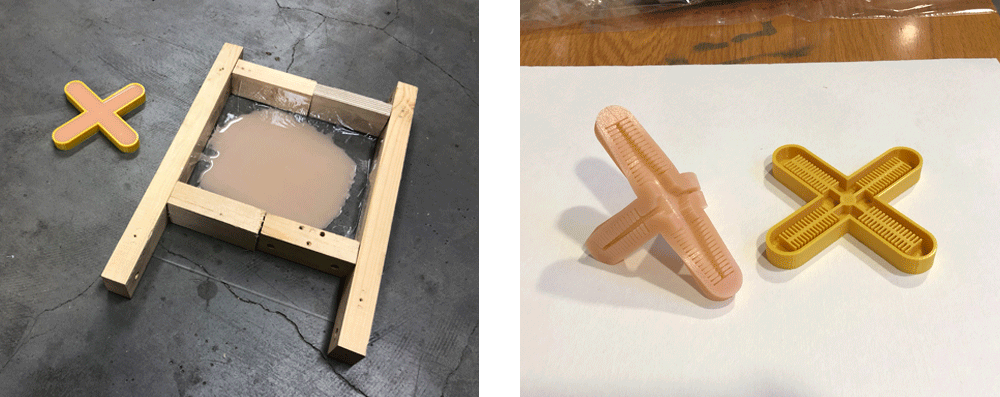
After I took the cast out from the 3D printed mold, I flipped the mold and sticked it onto the seperately casted thin layer with some more silicone.
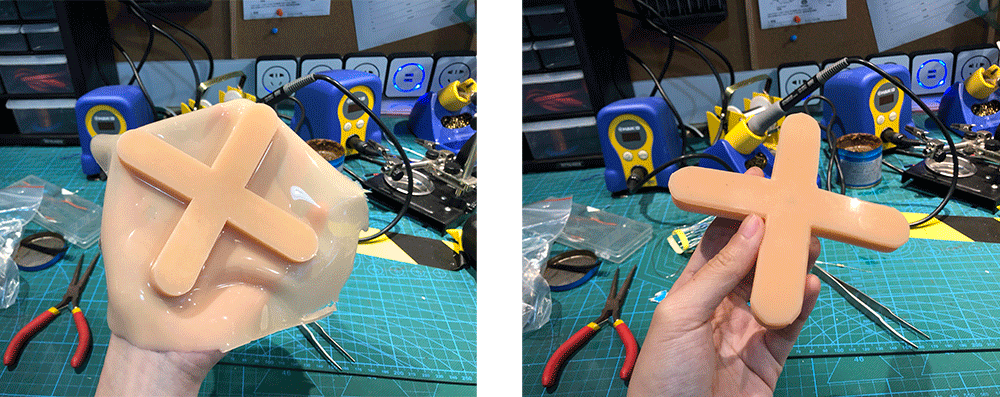
I waited for one more hour for the two parts to combine and dry. Then I cut away the extra material and the gripper is in good shape.
For testing I plugged the needle from top center of the silicone skin into the empty space inside the body and used a syringe to pump in some air. It did not bend :(
There were several reasons: the layer that was supposed to stretch was casted too thick; instead of curving the cast elongated towards the tips on the four sides; the top skin was too thin and the hole where needle get in kept getting larger and leaked :(
I started to make my second case. This time I was more careful about the thickness. I made the bending layer of skin thinner while adding a layer of cheese cloth to the back layer to make sure it would not enlongate.
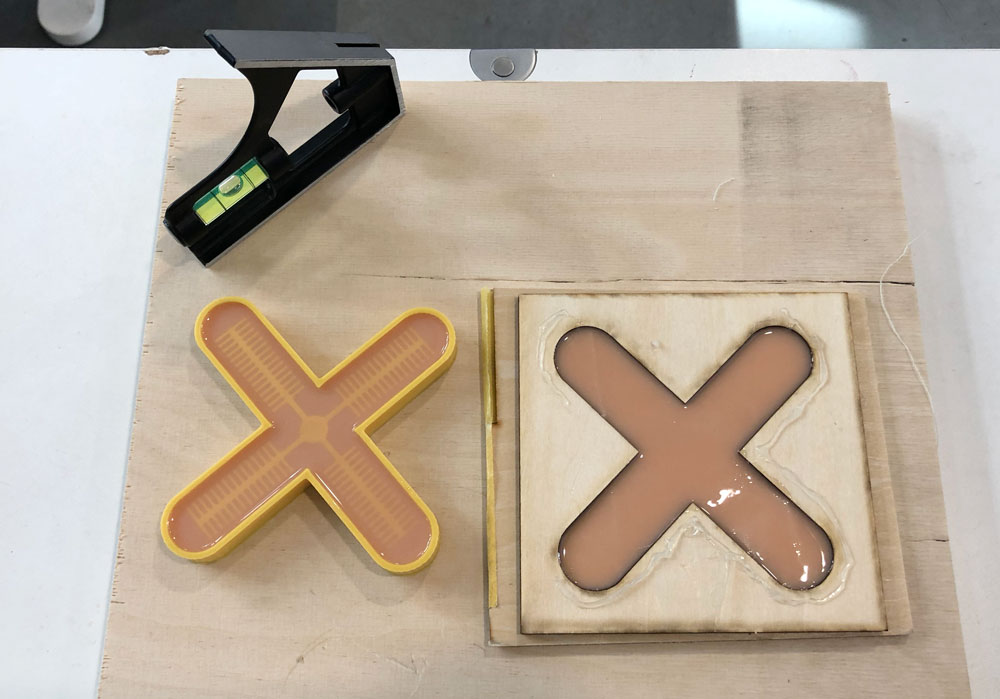
After the two seperate parts dried I combined them with a bit more silicone as I did for the first gripper. I also plugged the needle in from the side instead of top.
Then I tested with air pump. Apple lifting is a success!!!
Conductive fabrics
We have some conductive and resistive fabrics in our lab so I tried to make some simple tests to understand how they work.
I followed the apacitive sensing tutorial on instructables and downloaded the Arduino CapacitiveSensor library for the coding.
"Capacitive sensors work by generating an electric field, and detecting nearby objects by sensing whether this field has been disrupted. Capacitive sensors can detect anything that is conductive or that has a significantly different permittivity than air, like a human body or hand." The capacitive sensor can sense the electrical capacitance of the human body directly or through plastic, wood, ceramic or other insulating material.
This is me testing with two pieces of conductive fabrics as buttons to turn on LEDs.
The next step is to combine the electronics part with fabrics. Here are some links marked for myself:
laser sealed inflatable
When I was checking previous students' project of inflatables, I found Alaali and Alboguijarro using heat from laser beam to seal plastic sheets and making inflatables to be super cool :D I decided to give it a try.
The material I had was transparent plastic bag made from OPP bought from a Chinese online vendor. It was very thin. I followed the previous students' guide adjusting the laser bed to be out of focus and made some test with different speed and power.
Since I did not use any adhesive method in between the layers, the result came out a bit randomly :/ It was very hard to decide a speed and power for this material.
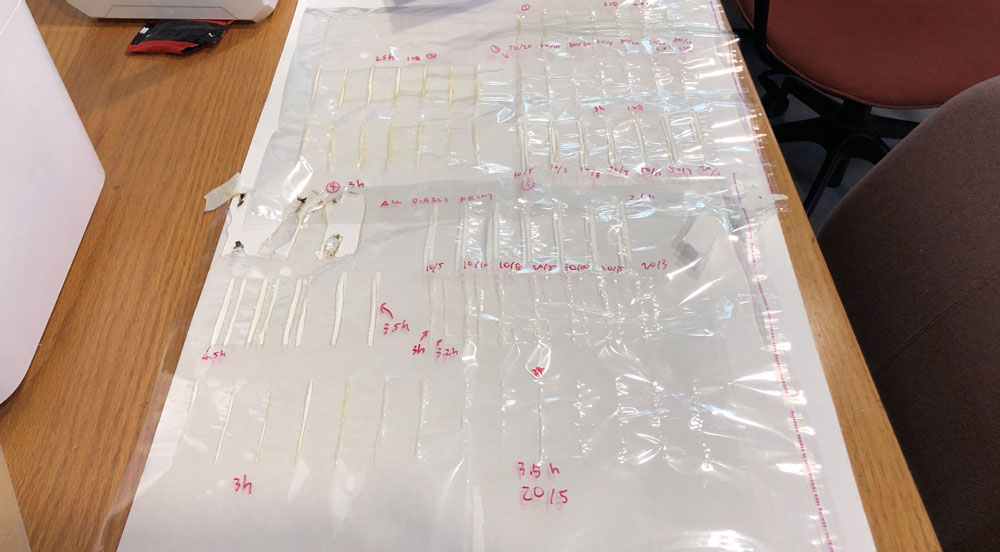
The next day I brought some garbage bags, which could be a better material according to previous student's documentation :D The two layers of garbage bags stuck together closely with almost no air in between, and the sheet could easily lay flat on the plywood base under it because of the electrostatic attraction.
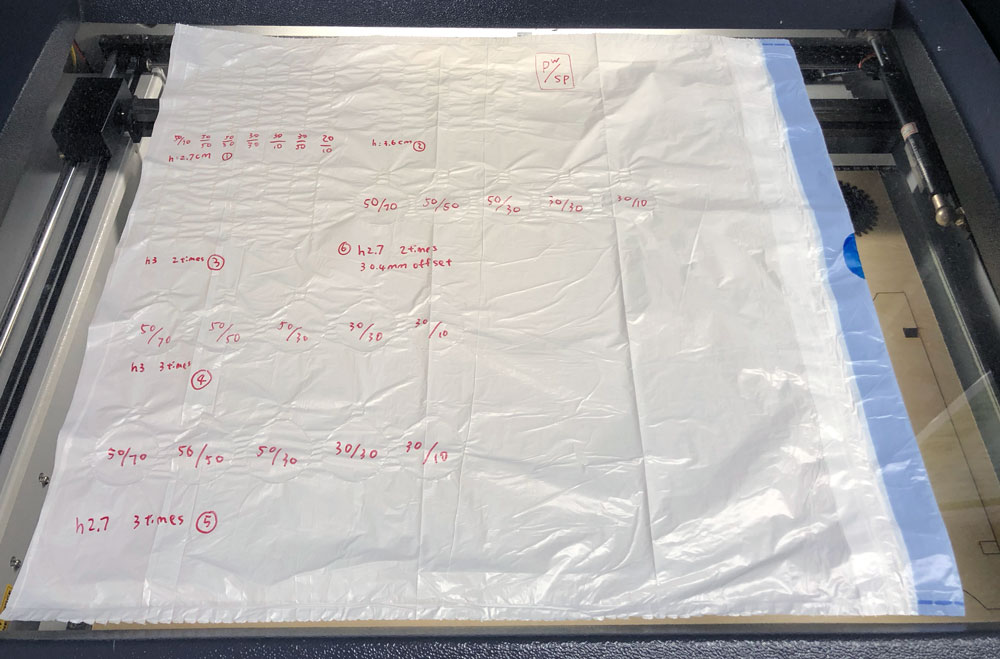
I made some tests with simple line and circle patterns, with different power and speed combination at different Z axis heights. I picked the seal from the small pattern tests and applied the setting to a larger circle test. This time the outline got cut through :/ Maybe the larger curve shape slows down the moving speed a little bit. I made some more tests and finally find the setting that gave good sealing result.
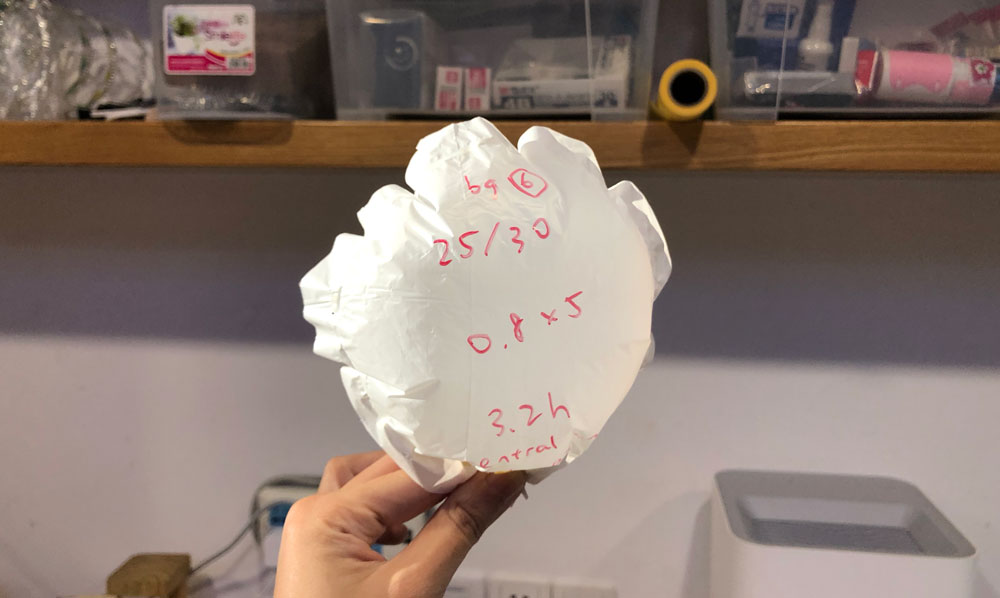
For our machine: use laser cutting power 25, speed 30; laser head to sheet distance 3.2cm; circle radius 14cm; draw outline with 5 times 0.8mm offset.
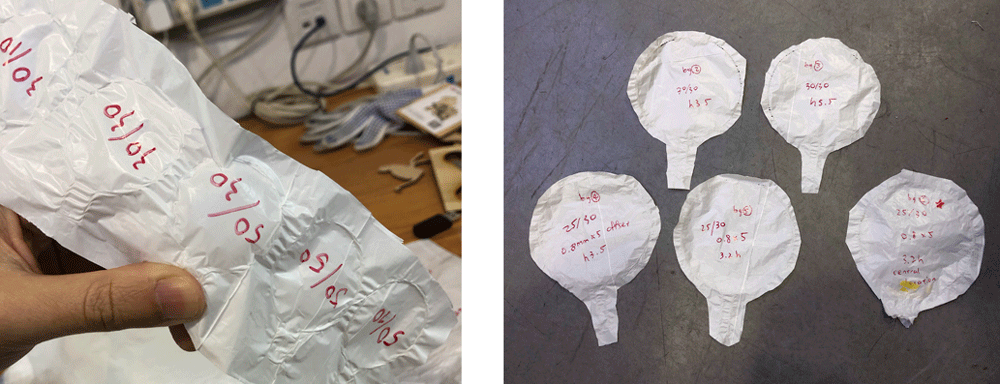
I used an air pump for bicycles with needle head to pump air into the bubble. It sealed well :D
Inspiration for next step: Motions Of Origami-Inspired Artificial Muscles.
3D printing on fabrics
Our lab has got some bendable TPU fillaments this week :D Inspired by a 3D printing on fabrics workshop at Fan5 in Seoul, I decided to test print some 3D structure on a piece of fabric.
In Cura, I changed the post-processing script and set the printer to pause at the layer I would like to add fabric.
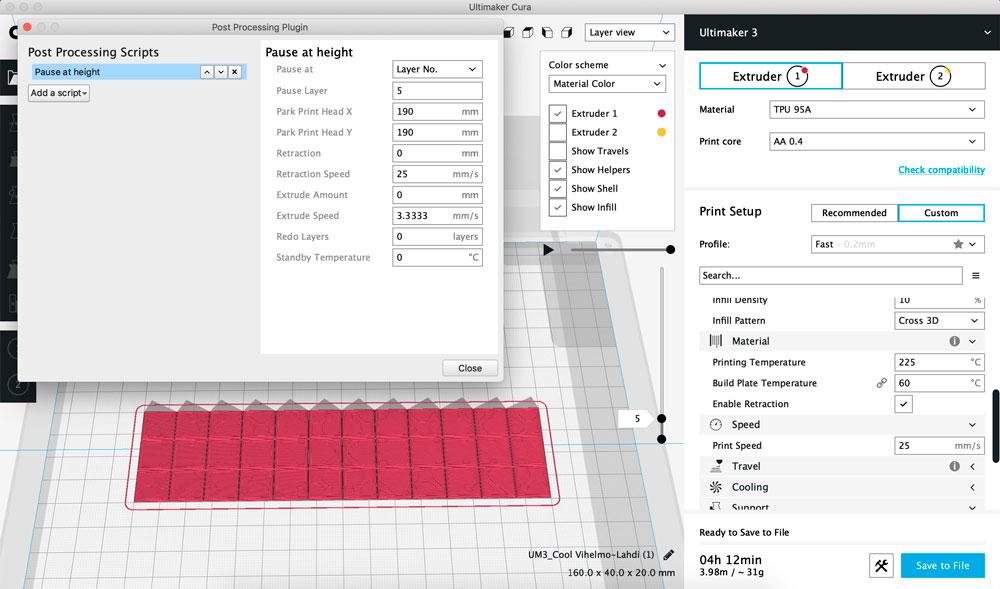
After the printer pause at the set layer, I added a piece of net fabric on to the print, used double-sided tape around the edges to make sure the fabric lays flat, and let the printer continue.
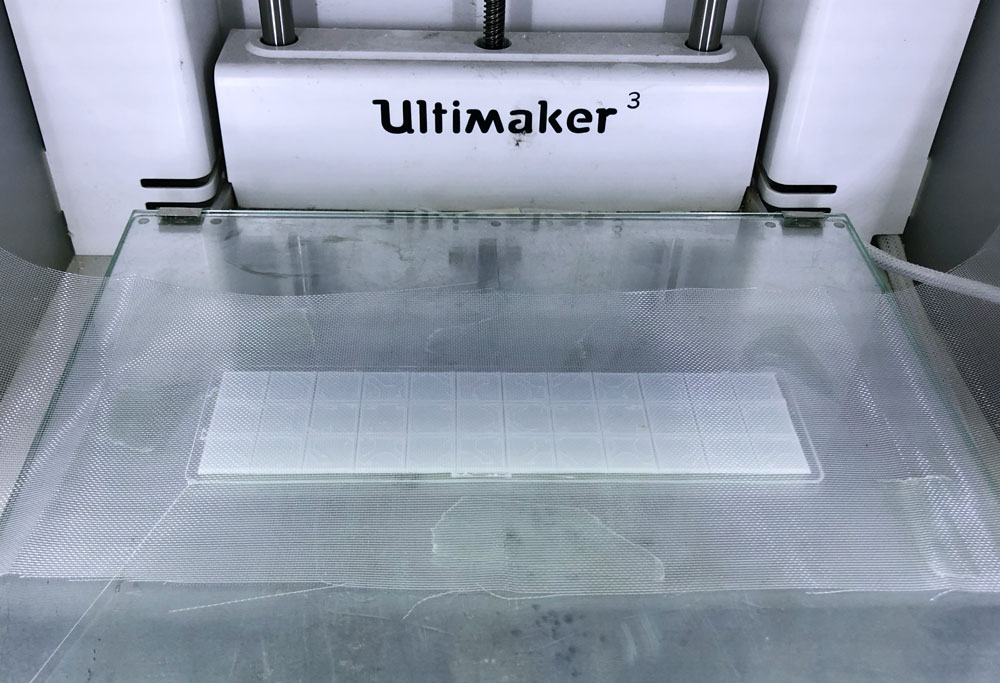
The printer kept printing onto the fabric and the result turned out well :D
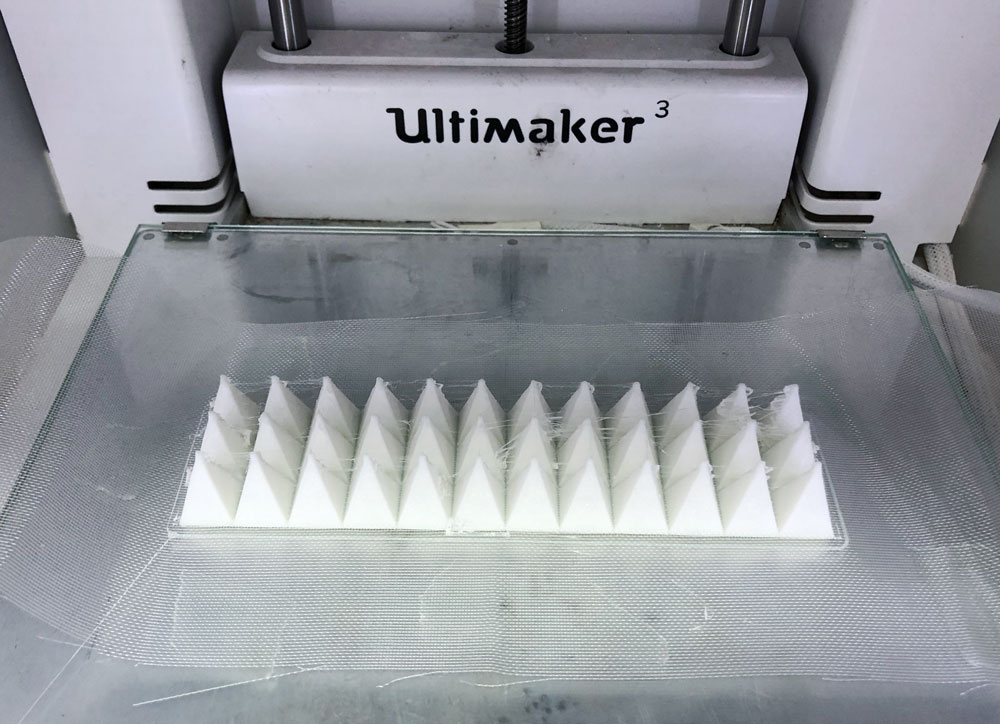
(Updated 05.29.2019)