Week eighteen: Wildcard Week- Composites
This week I took advantage of making the part of my final project that will be in contact with the water, this should be light, hard and waterproof, that's why I used the process to make composites
Group assignment and update
For the group assignment of this week we will do tests with the method of compaction of composites, we will combine different fibers with epoxy resin to obtain a hard, light and resistant material and we will see the differences between the combinations
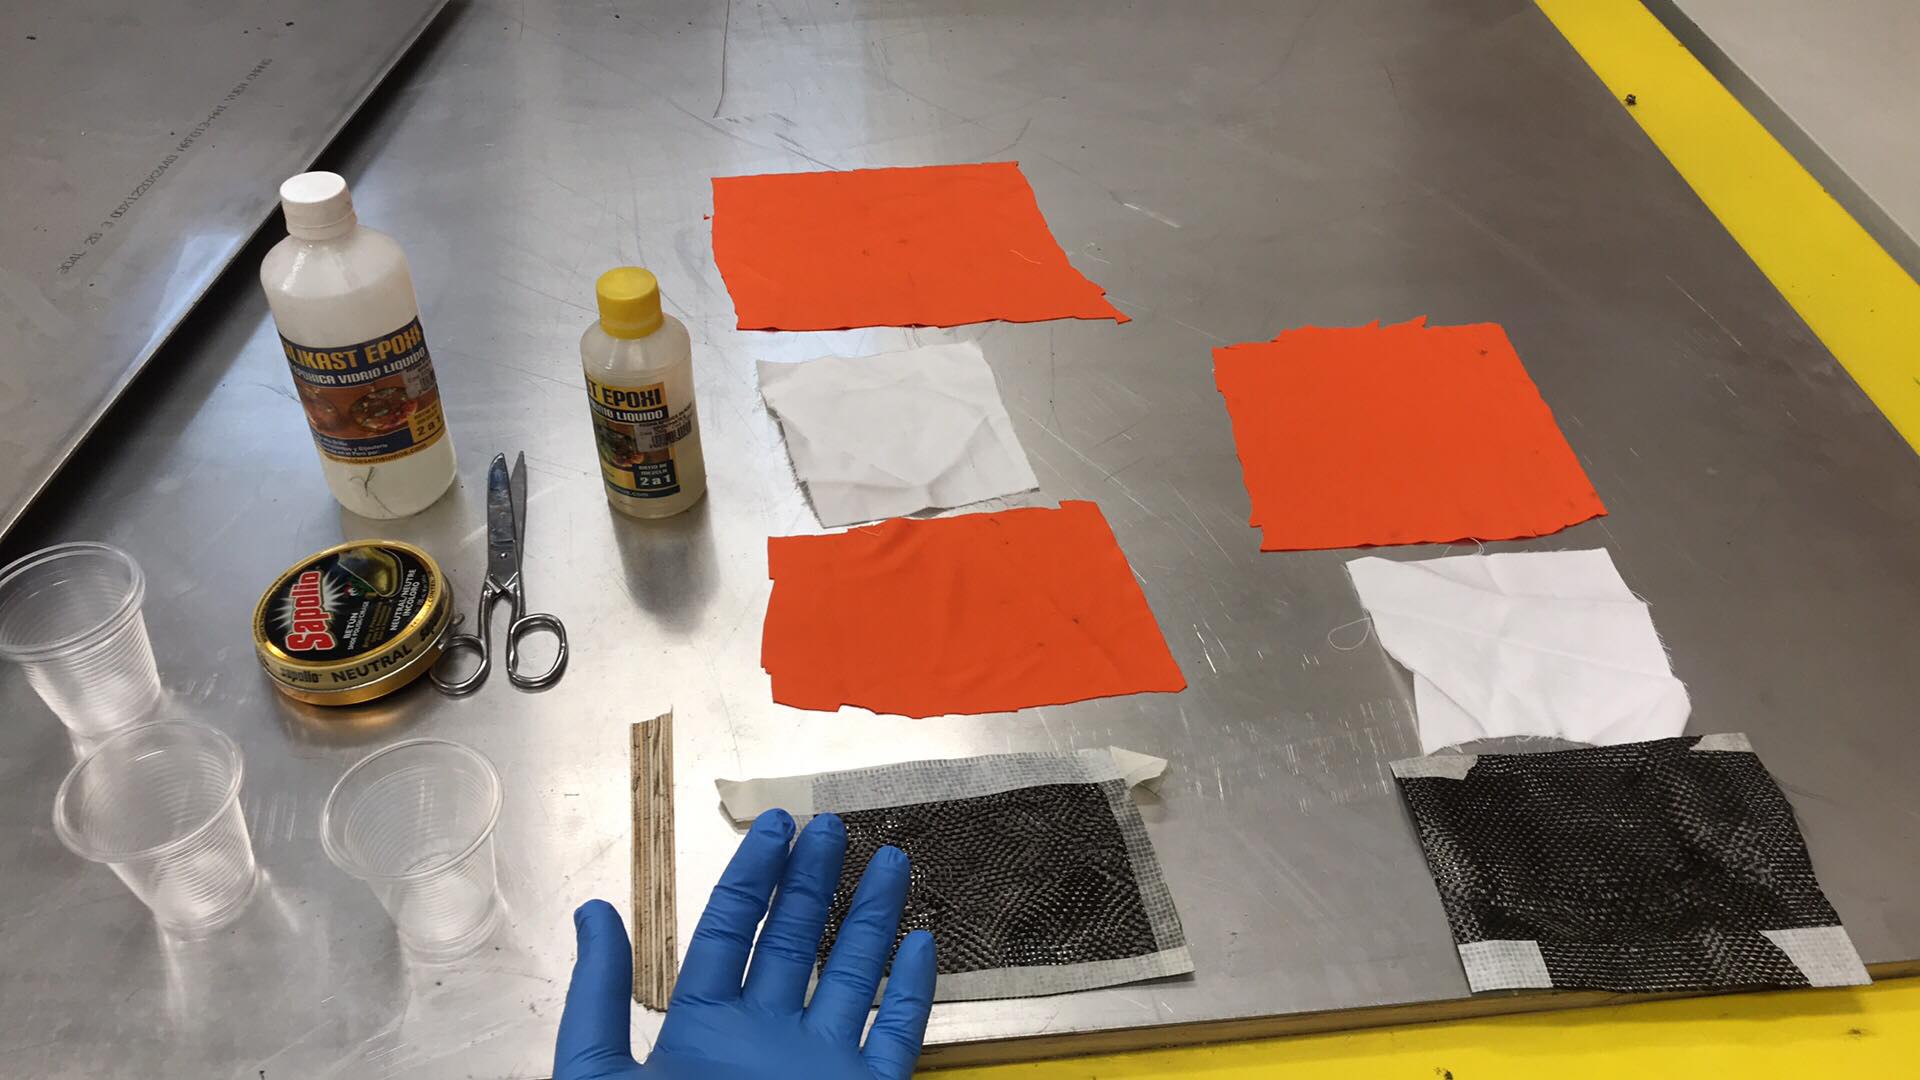
Here all the materials are shown, we have polyester, cotton and carbon fiber
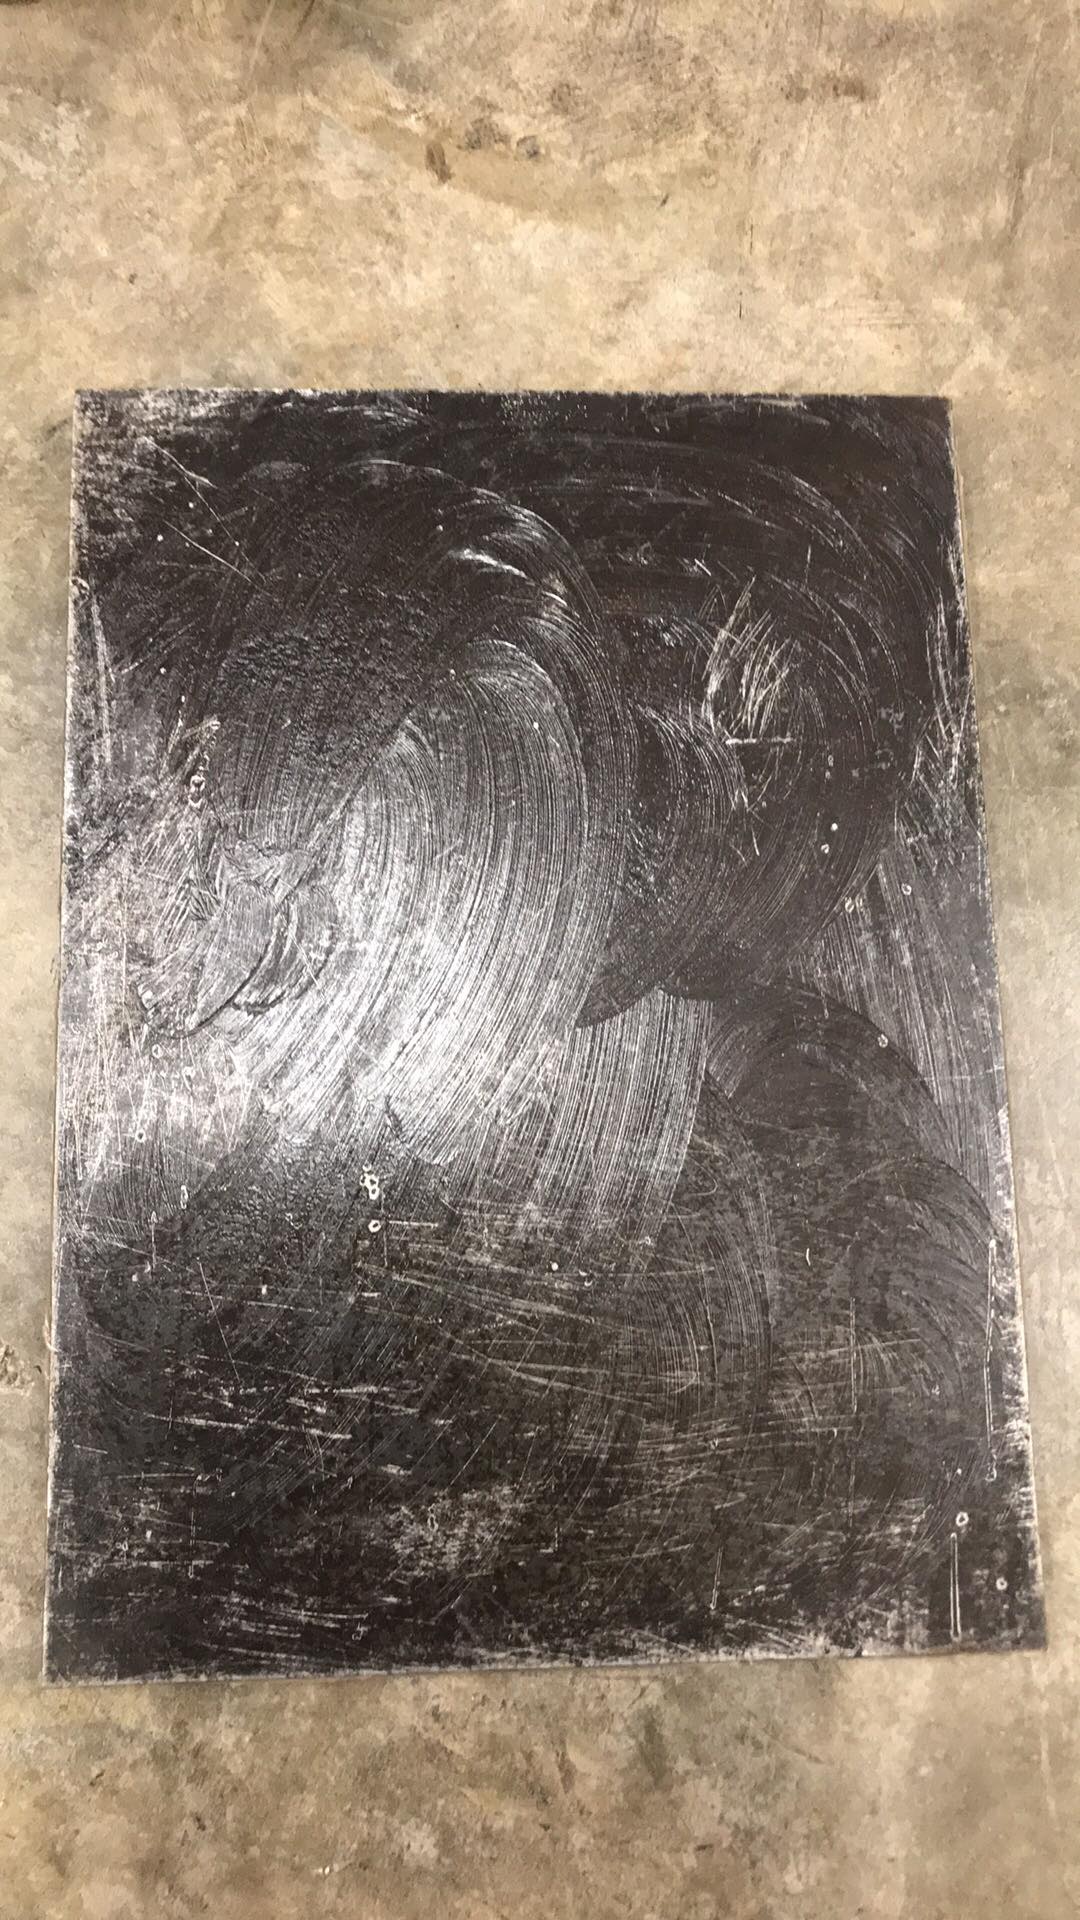
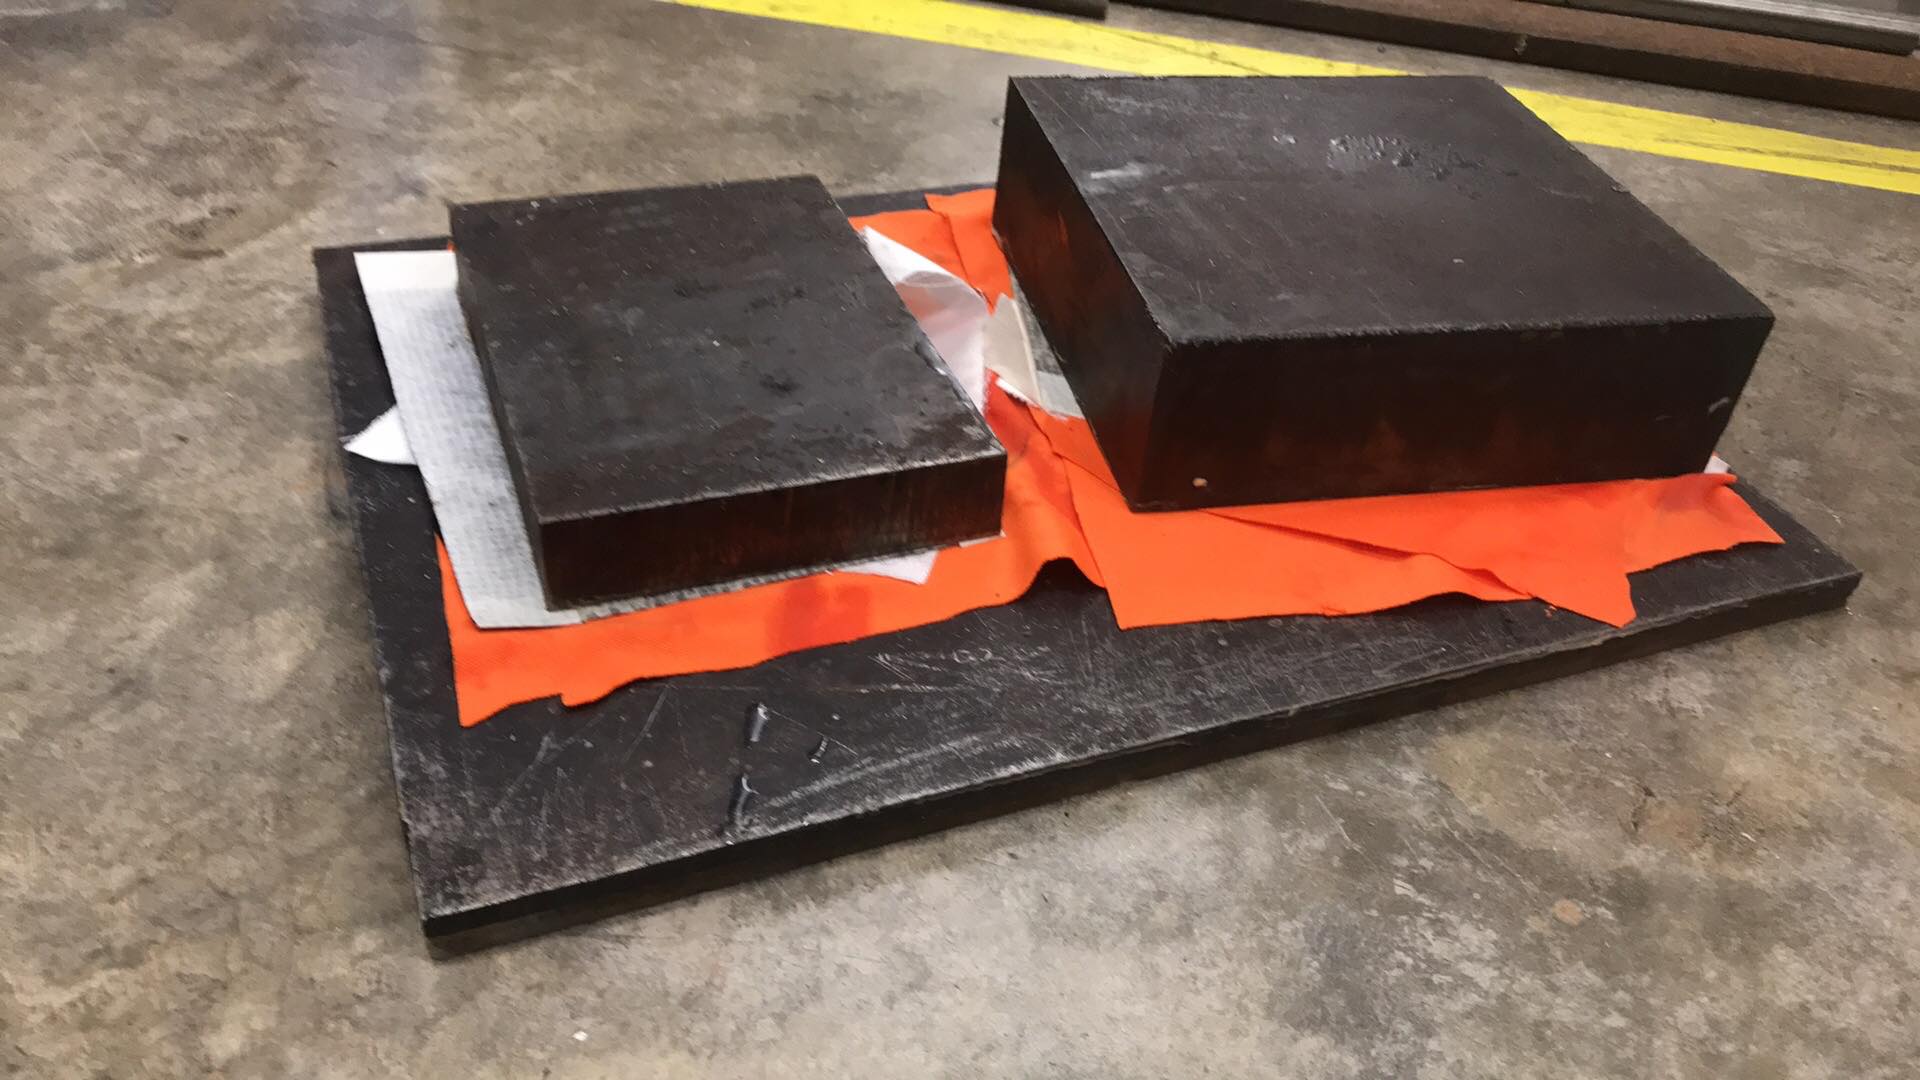
Edwin was responsible for throwing bitumen in the steel plates that we will use to compact the composite, in this way it avoids sticking to the plate
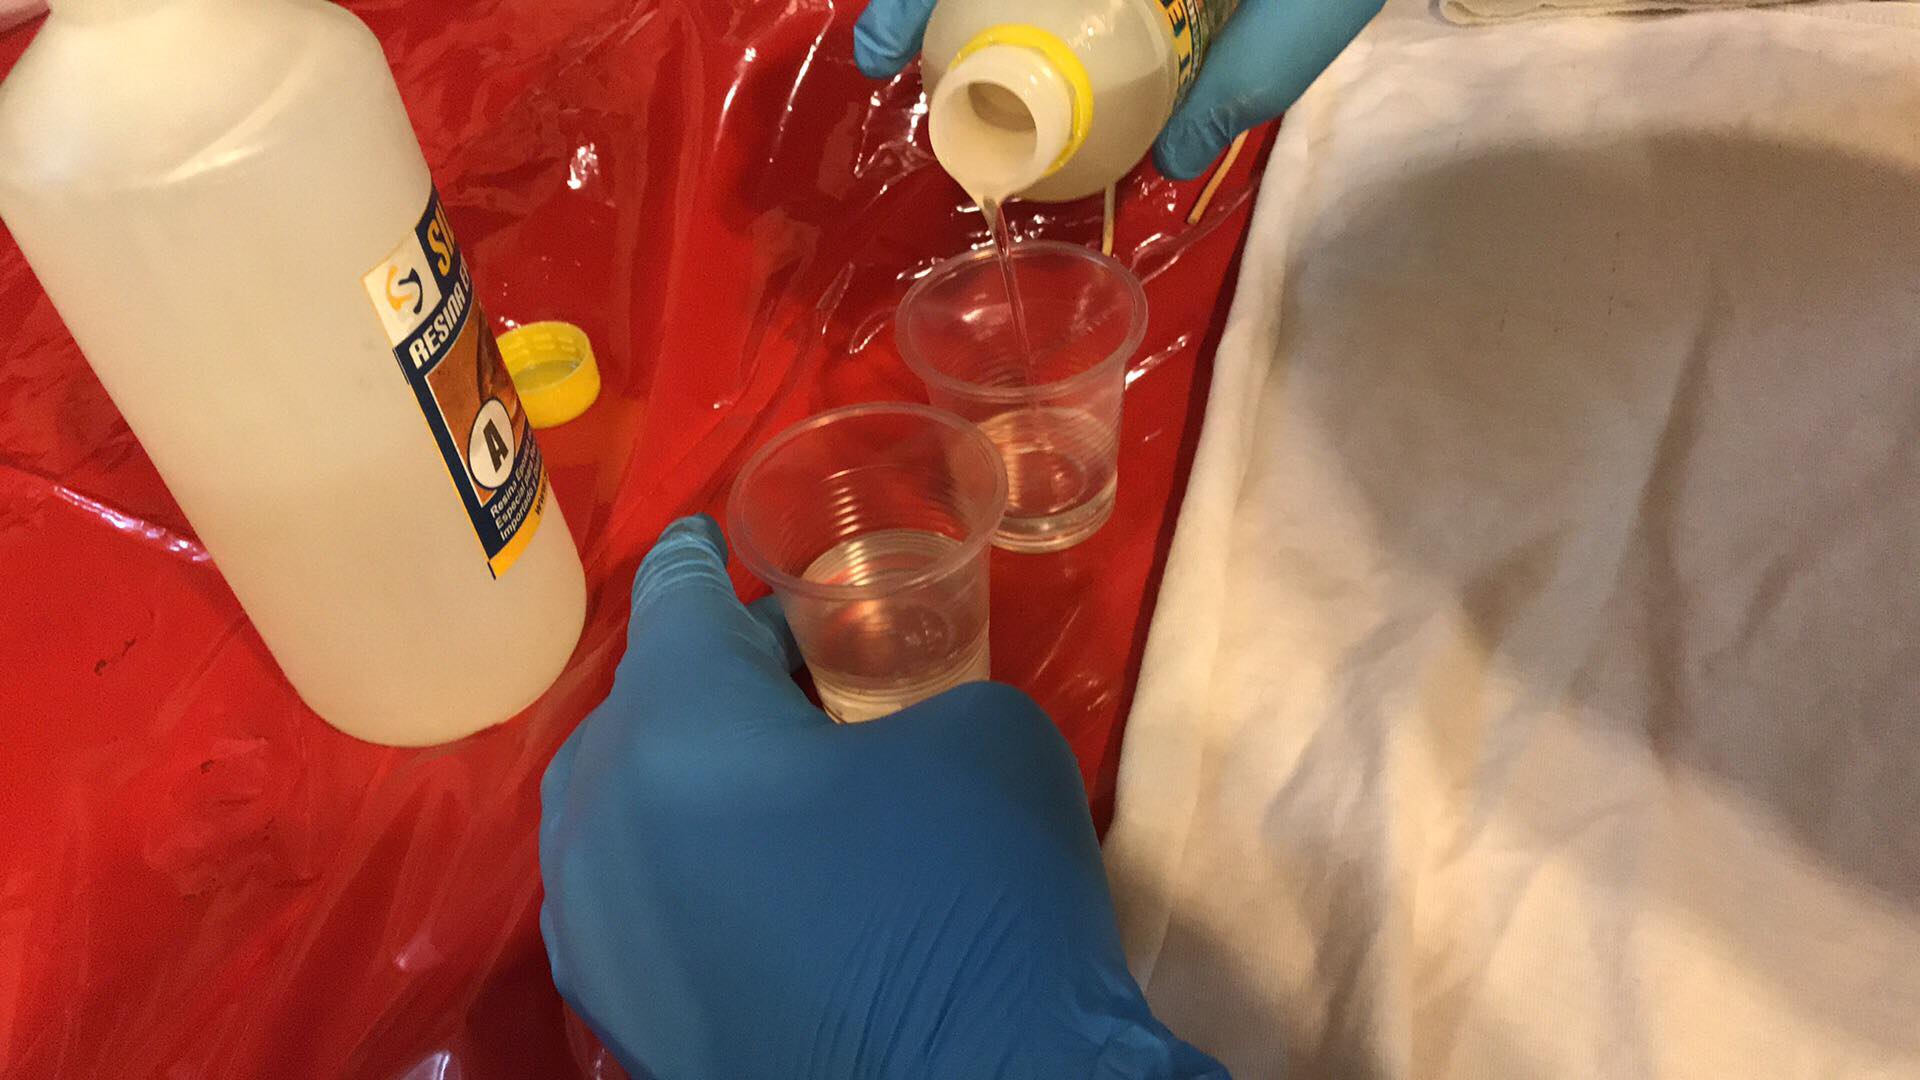
My personal contribution was to mix the epoxy resin with its catalyst in a 2-1 ratio, the chemical reaction will be given between 8-12 hours, more information about safety data sheet of resin in individual assignment
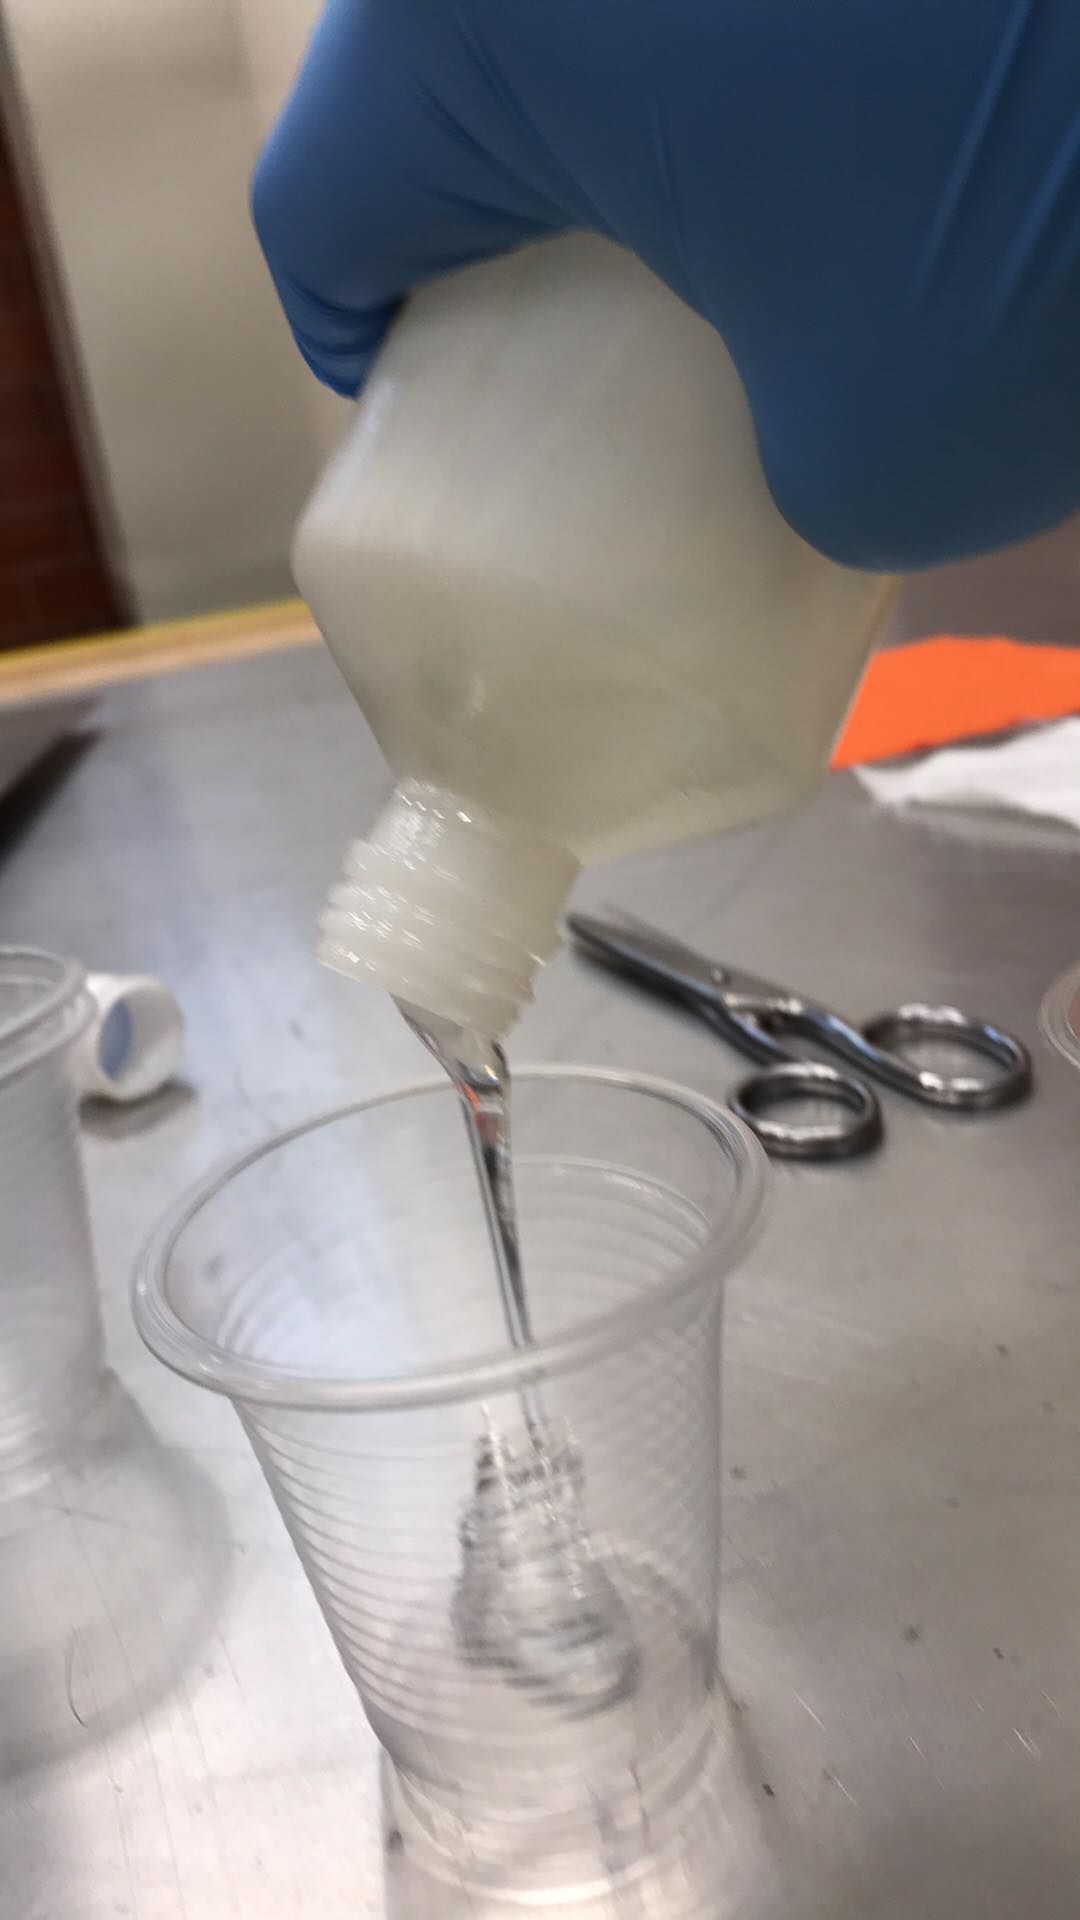
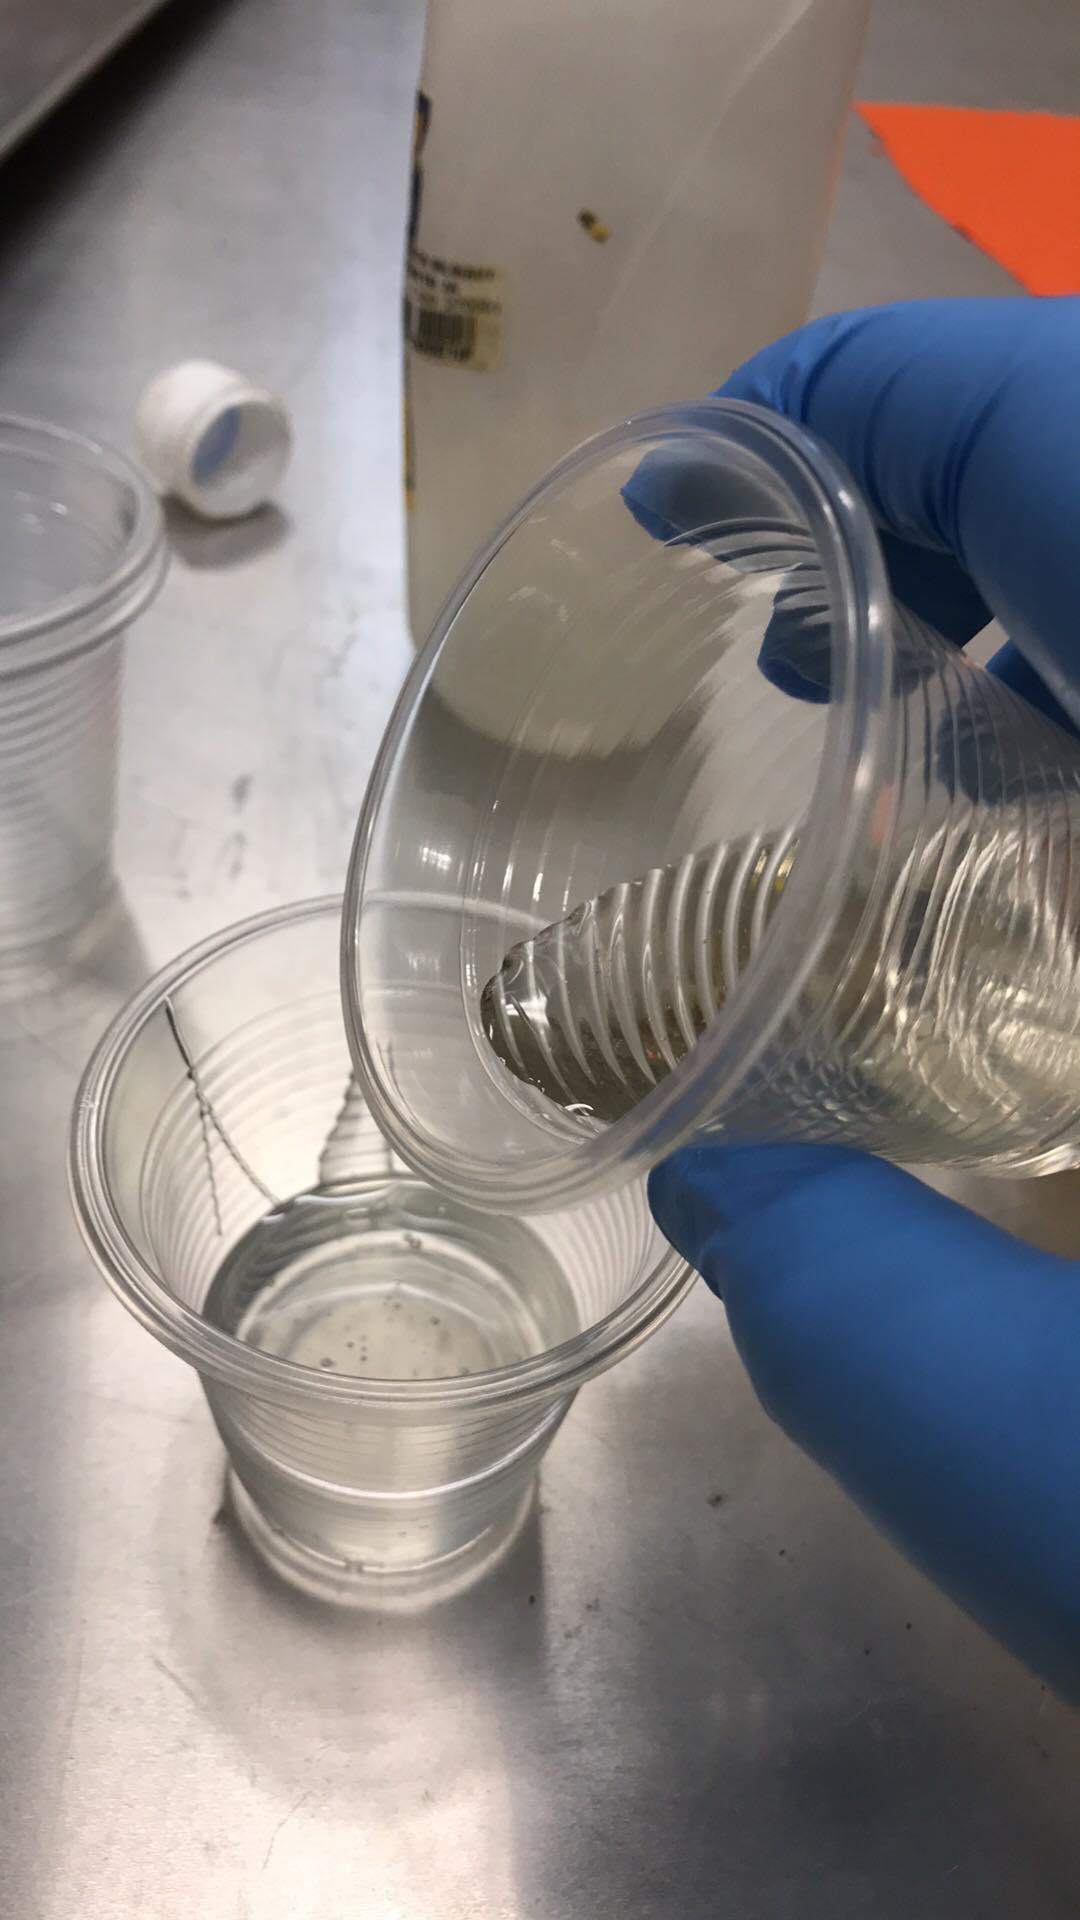
Here I pour half of the other part
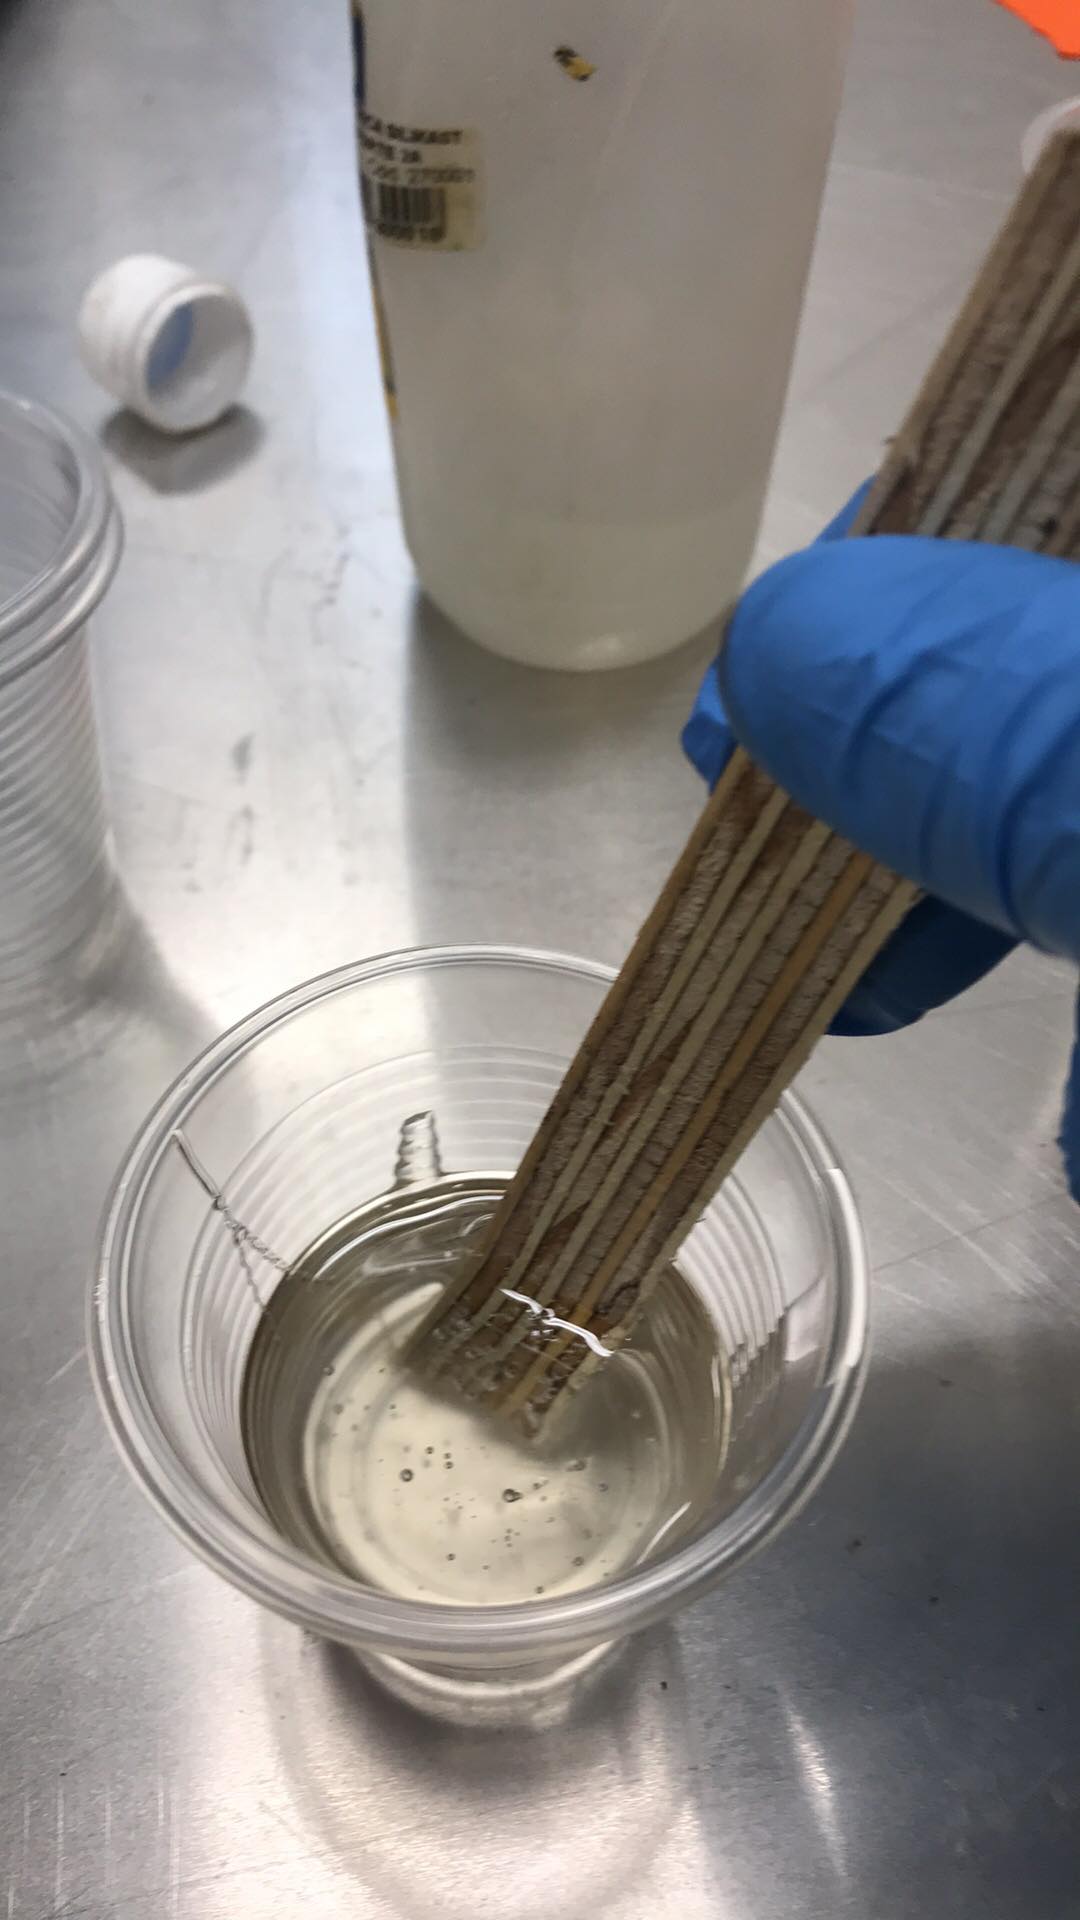
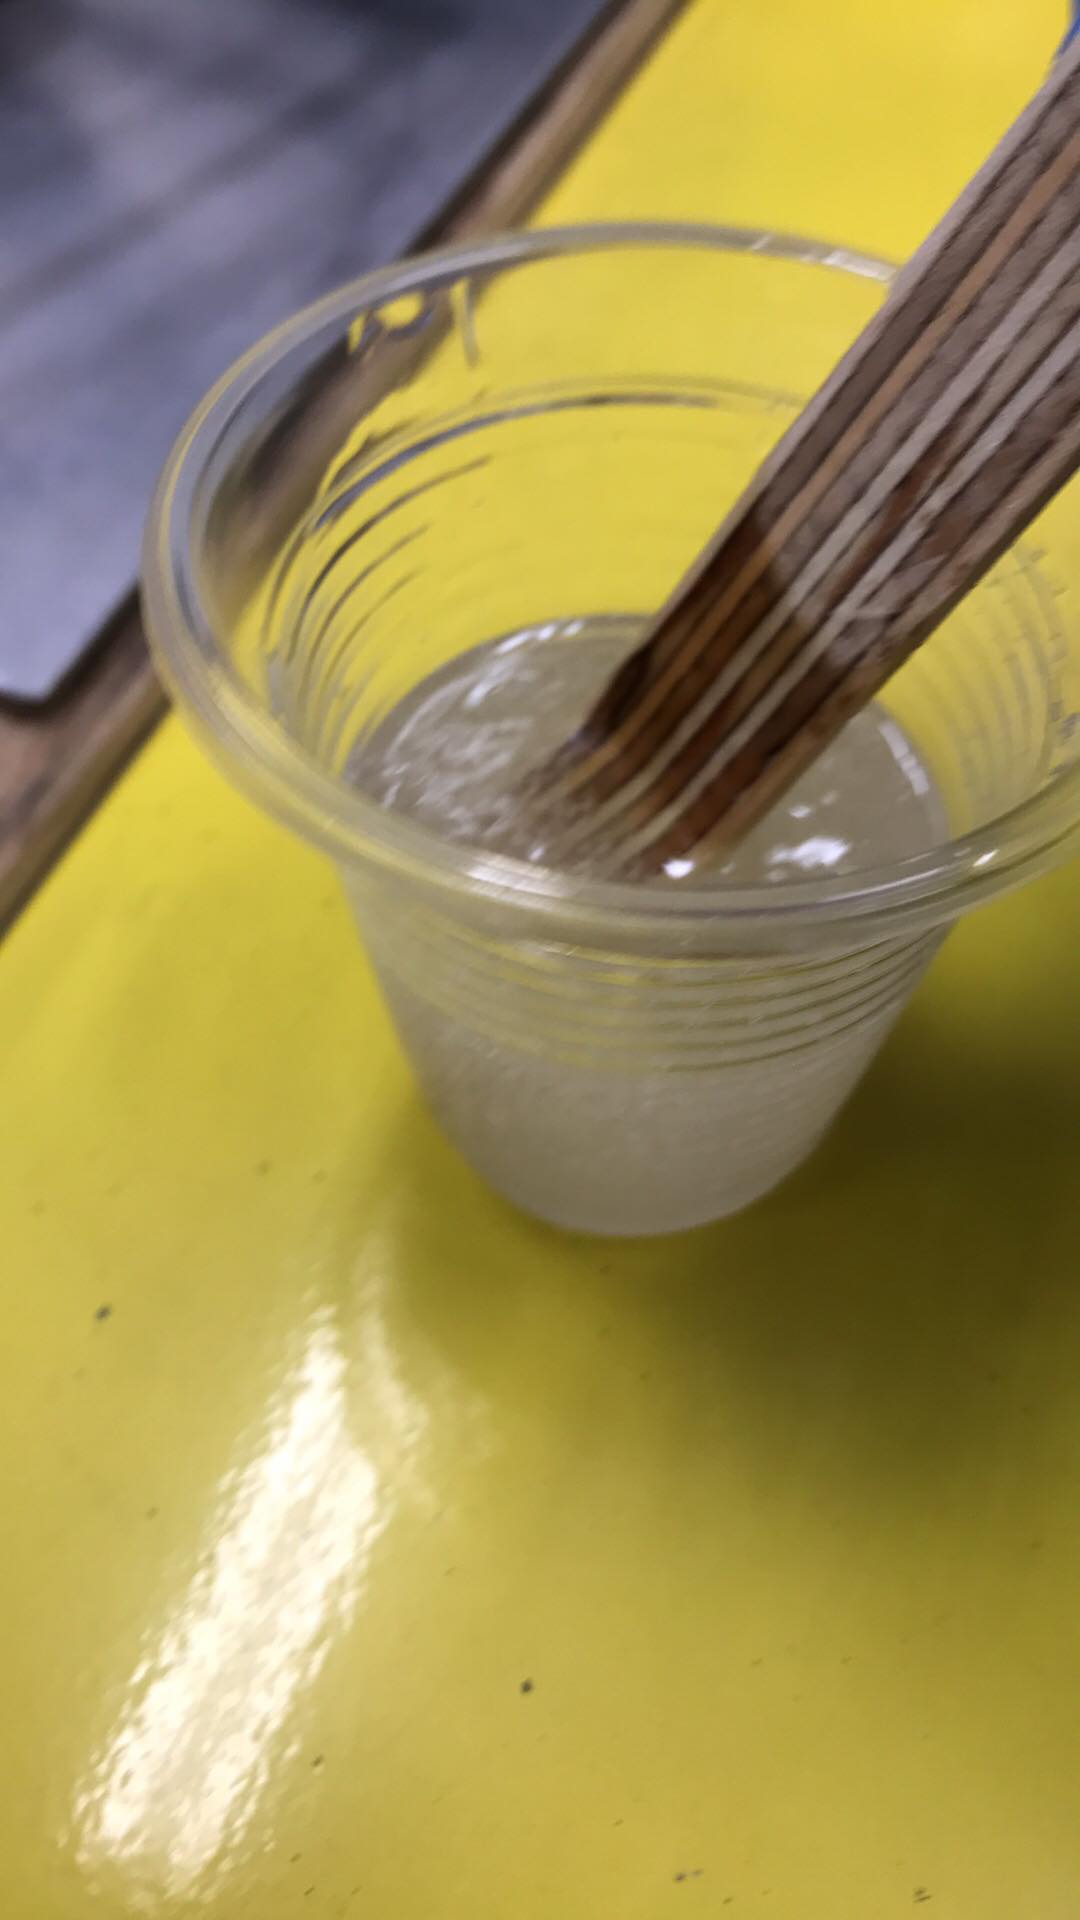
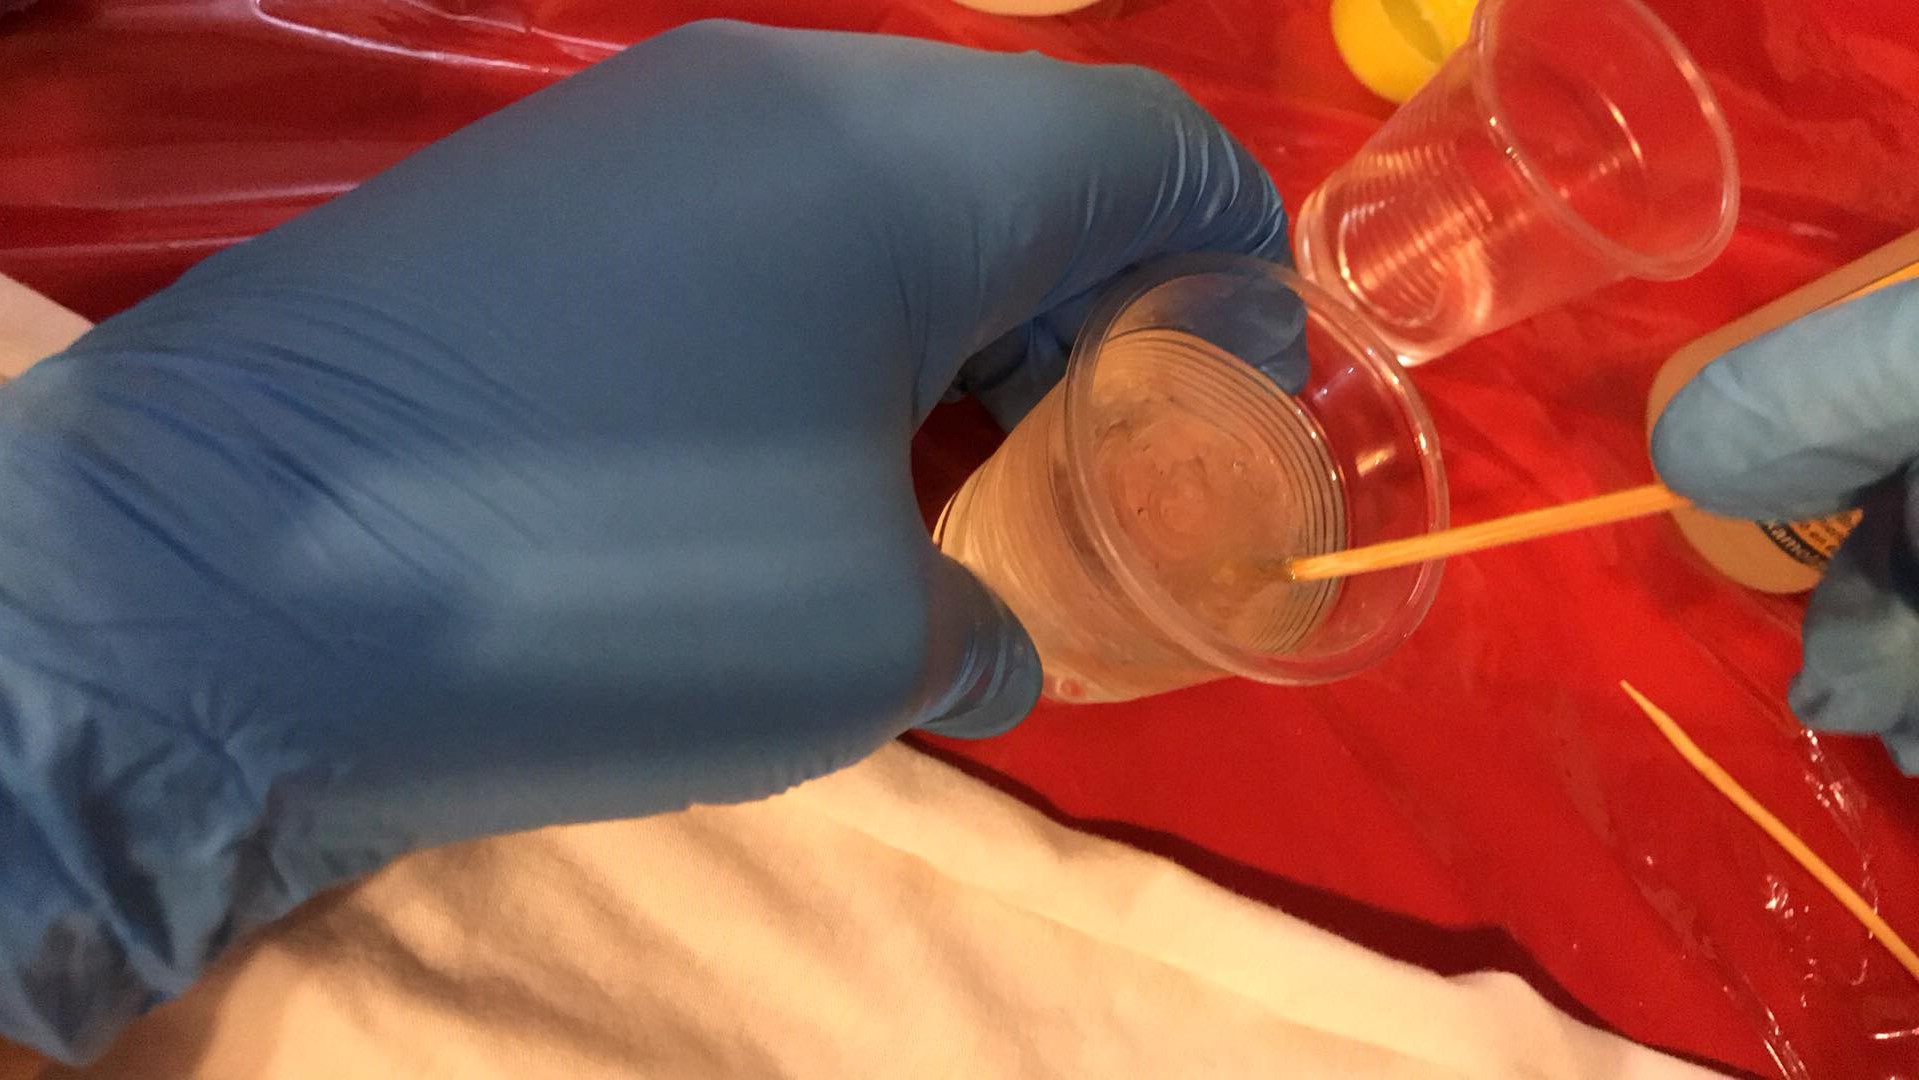
Mix with the help of a stick
The mixture is ready to start making the composite
I throw the mixture to the first layer of fabric
Second layer of fabric with fibers oriented in another direction to provide greater resistance to the composite
Finally the carbon fiber, which also has the fibers oriented in another direction
I made the 3-layer composite, while Edwin the 4-layer composite, we will soon see the differences, which is to place the steel plate on top, to follow the optimal workflow and the resin goes all the way
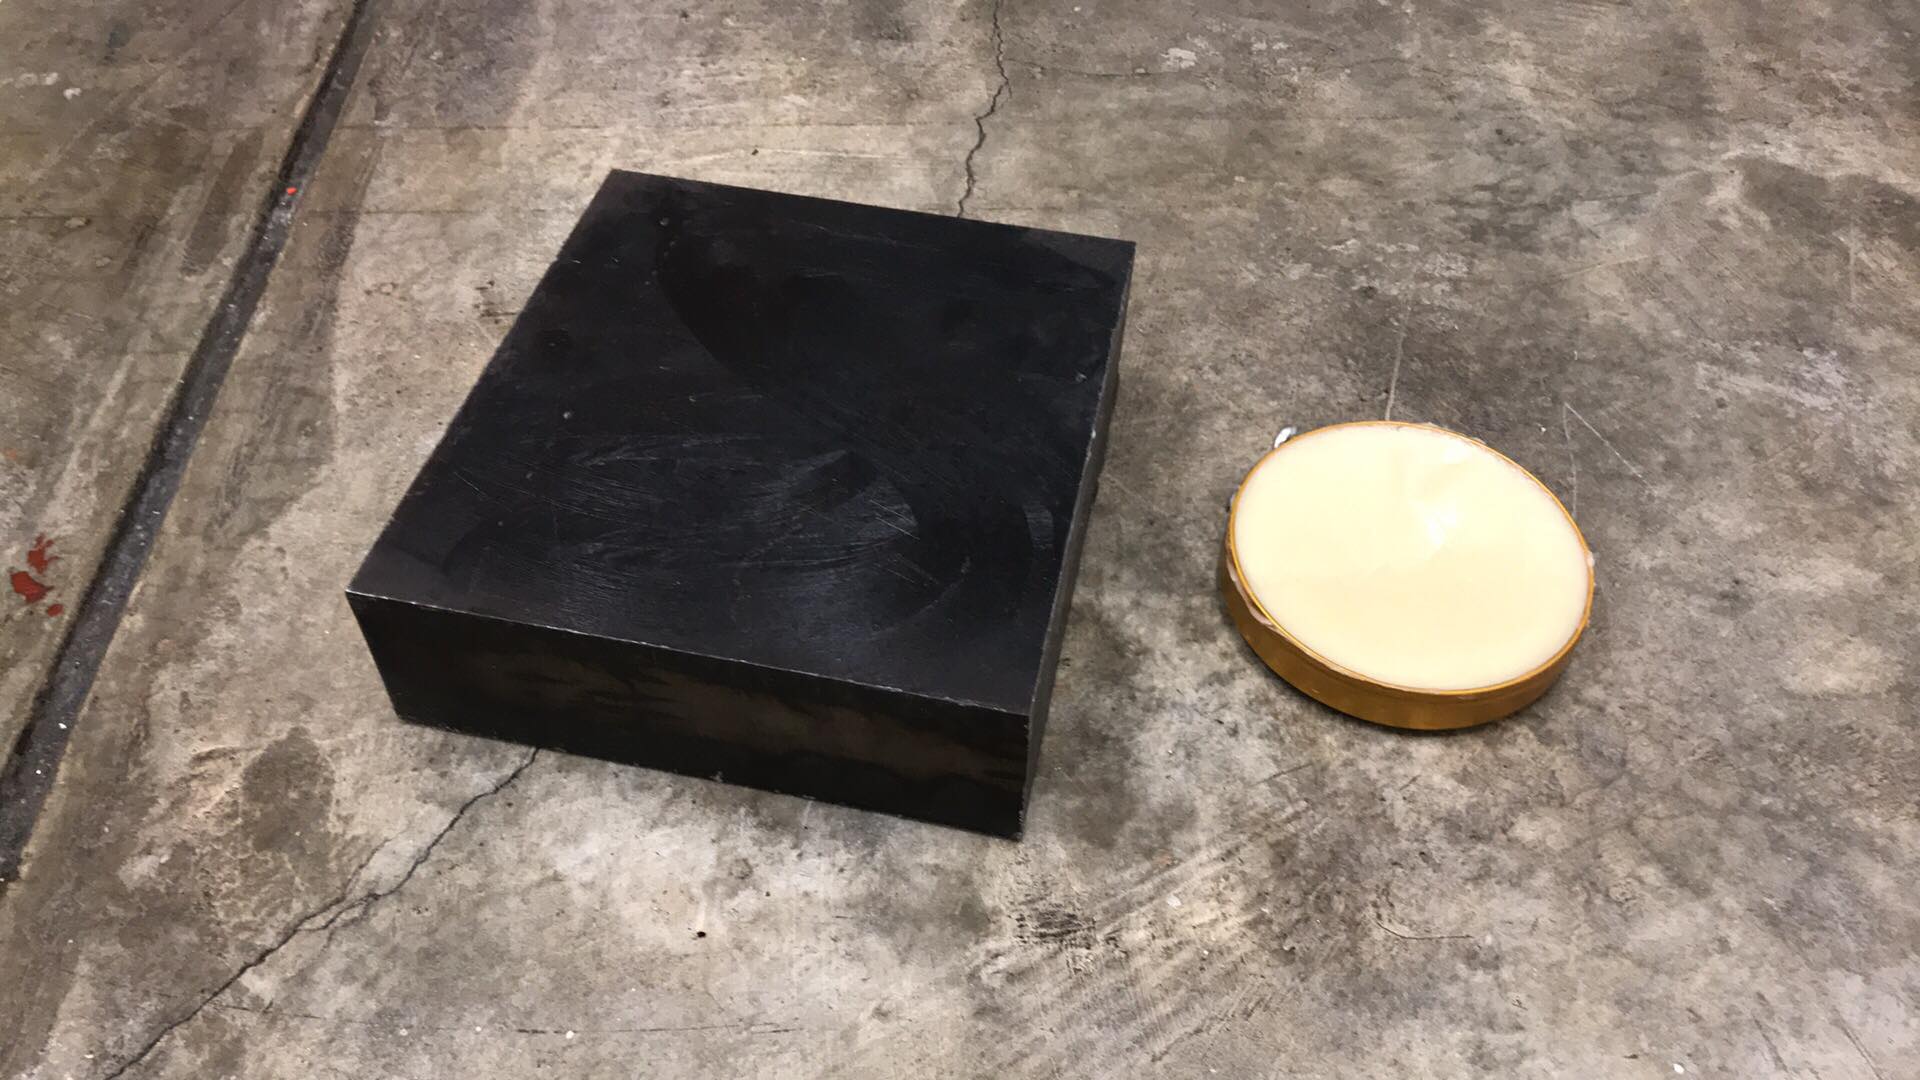
This is the result, we had to leave it for more than 12 hours with the compaction method to obtain it

To see more of our results you can visit the group page, the link is at the end
Finally the carbon fiber, which also has the fibers oriented in another direction
Individual assignment
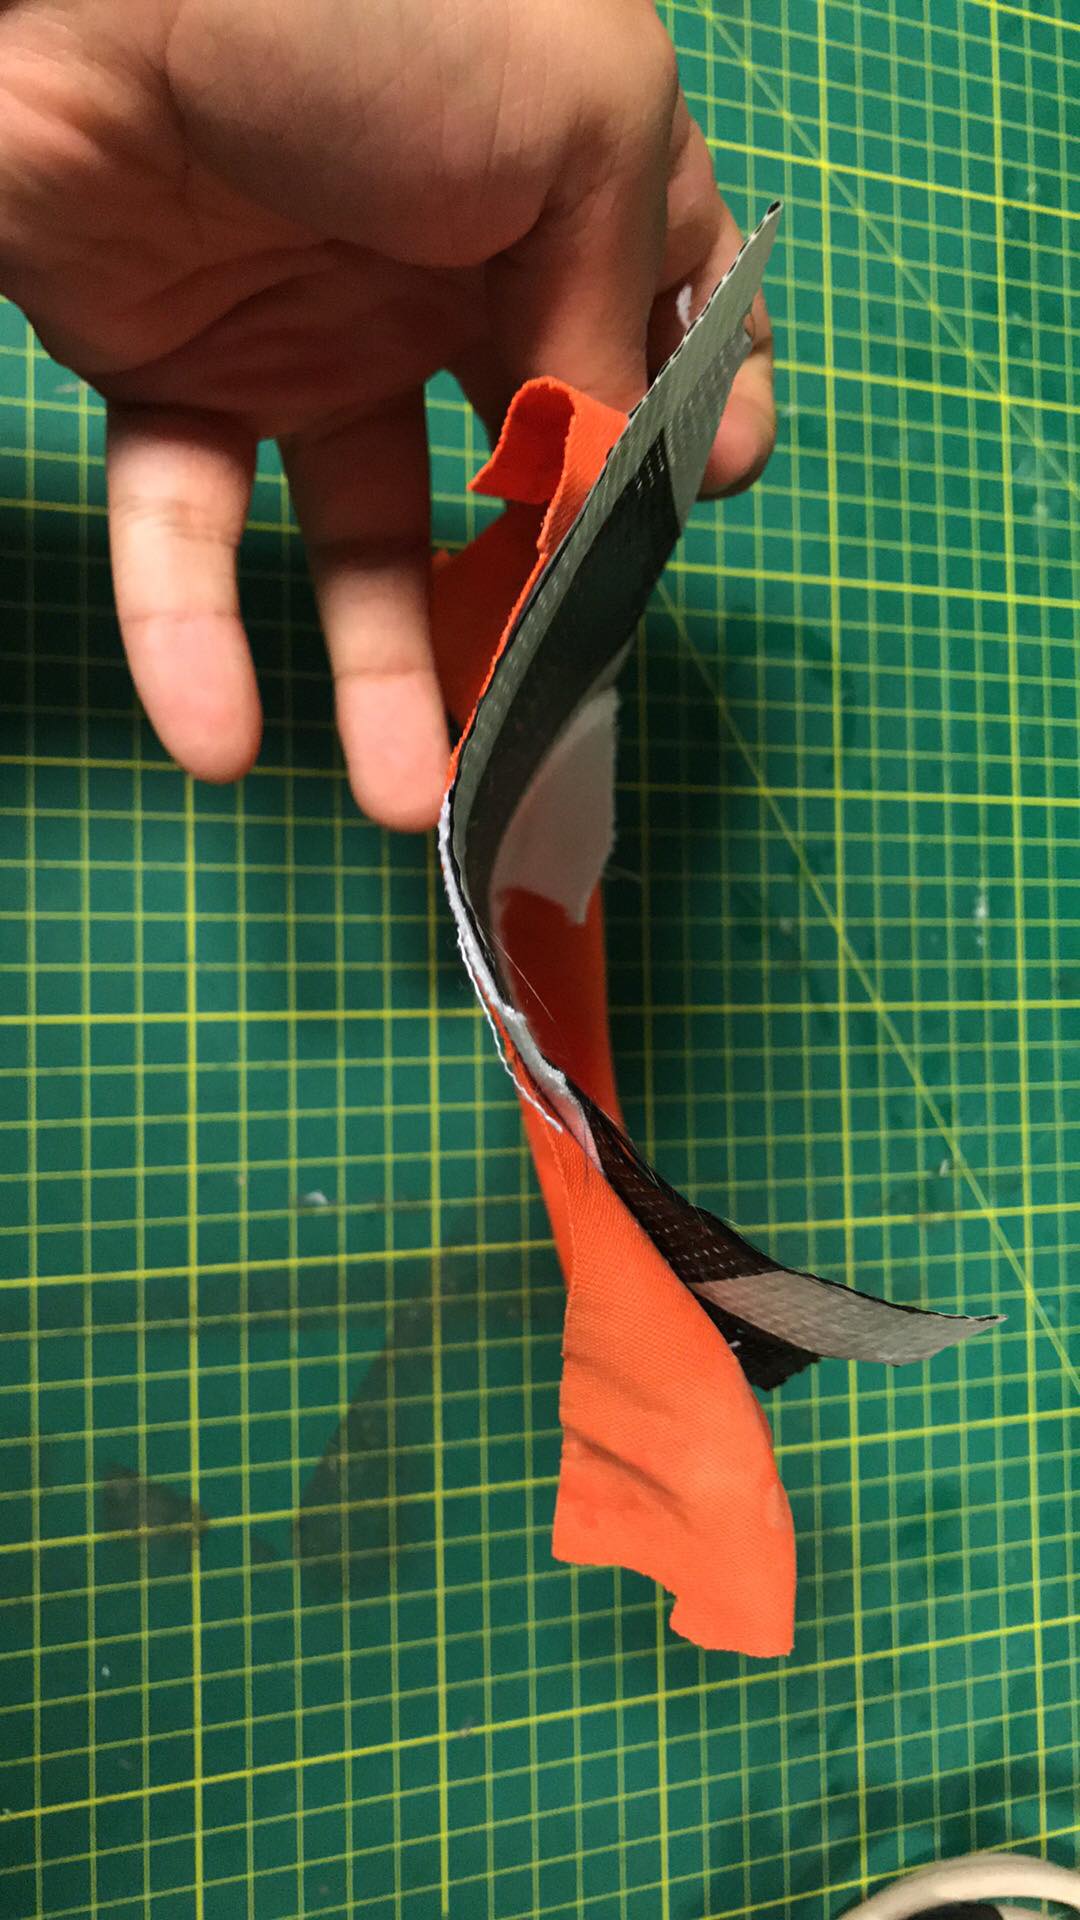
As I mentioned, this assignment is perfect for my final project, because it offers a resistant material, hard and with the right materials, waterproof, in addition to getting the shape of the base that is used, this time unlike the group assignment I did not use a method of compaction with mold, because when using a boat skeleton I did not want the fabric to stick to the holes and be deformed, so instead of using molds I chose to wrap it in plastic film to drain the excess resin and standardize
Design
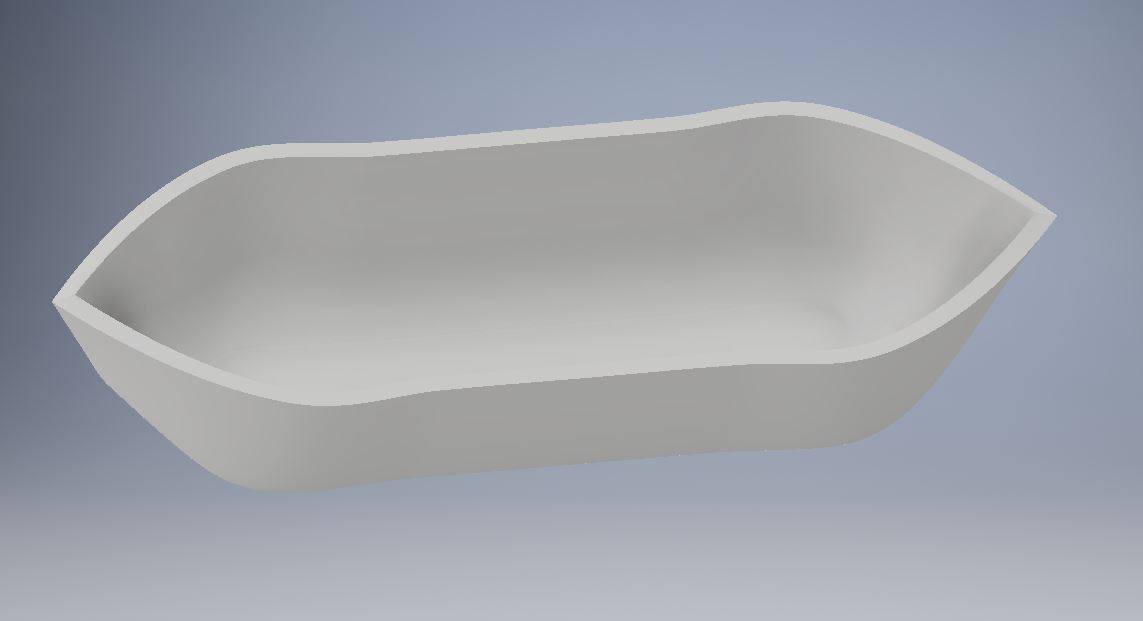
Thinking in my final project i designed the 3D model of the hull in autodesk inventor, then i exported as STL to Slicer for fusion 360 to generates DXF files.
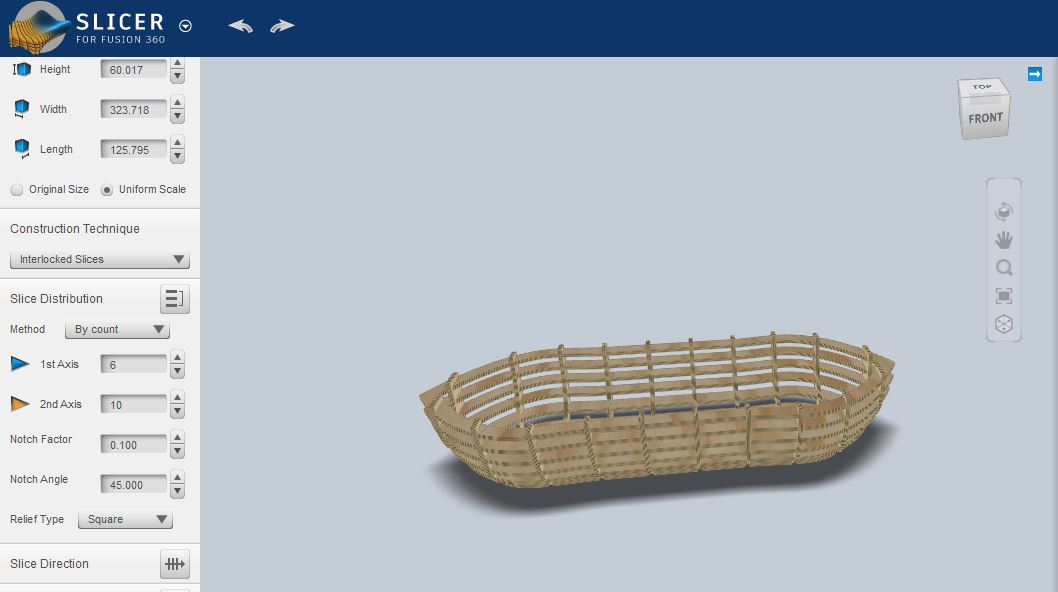
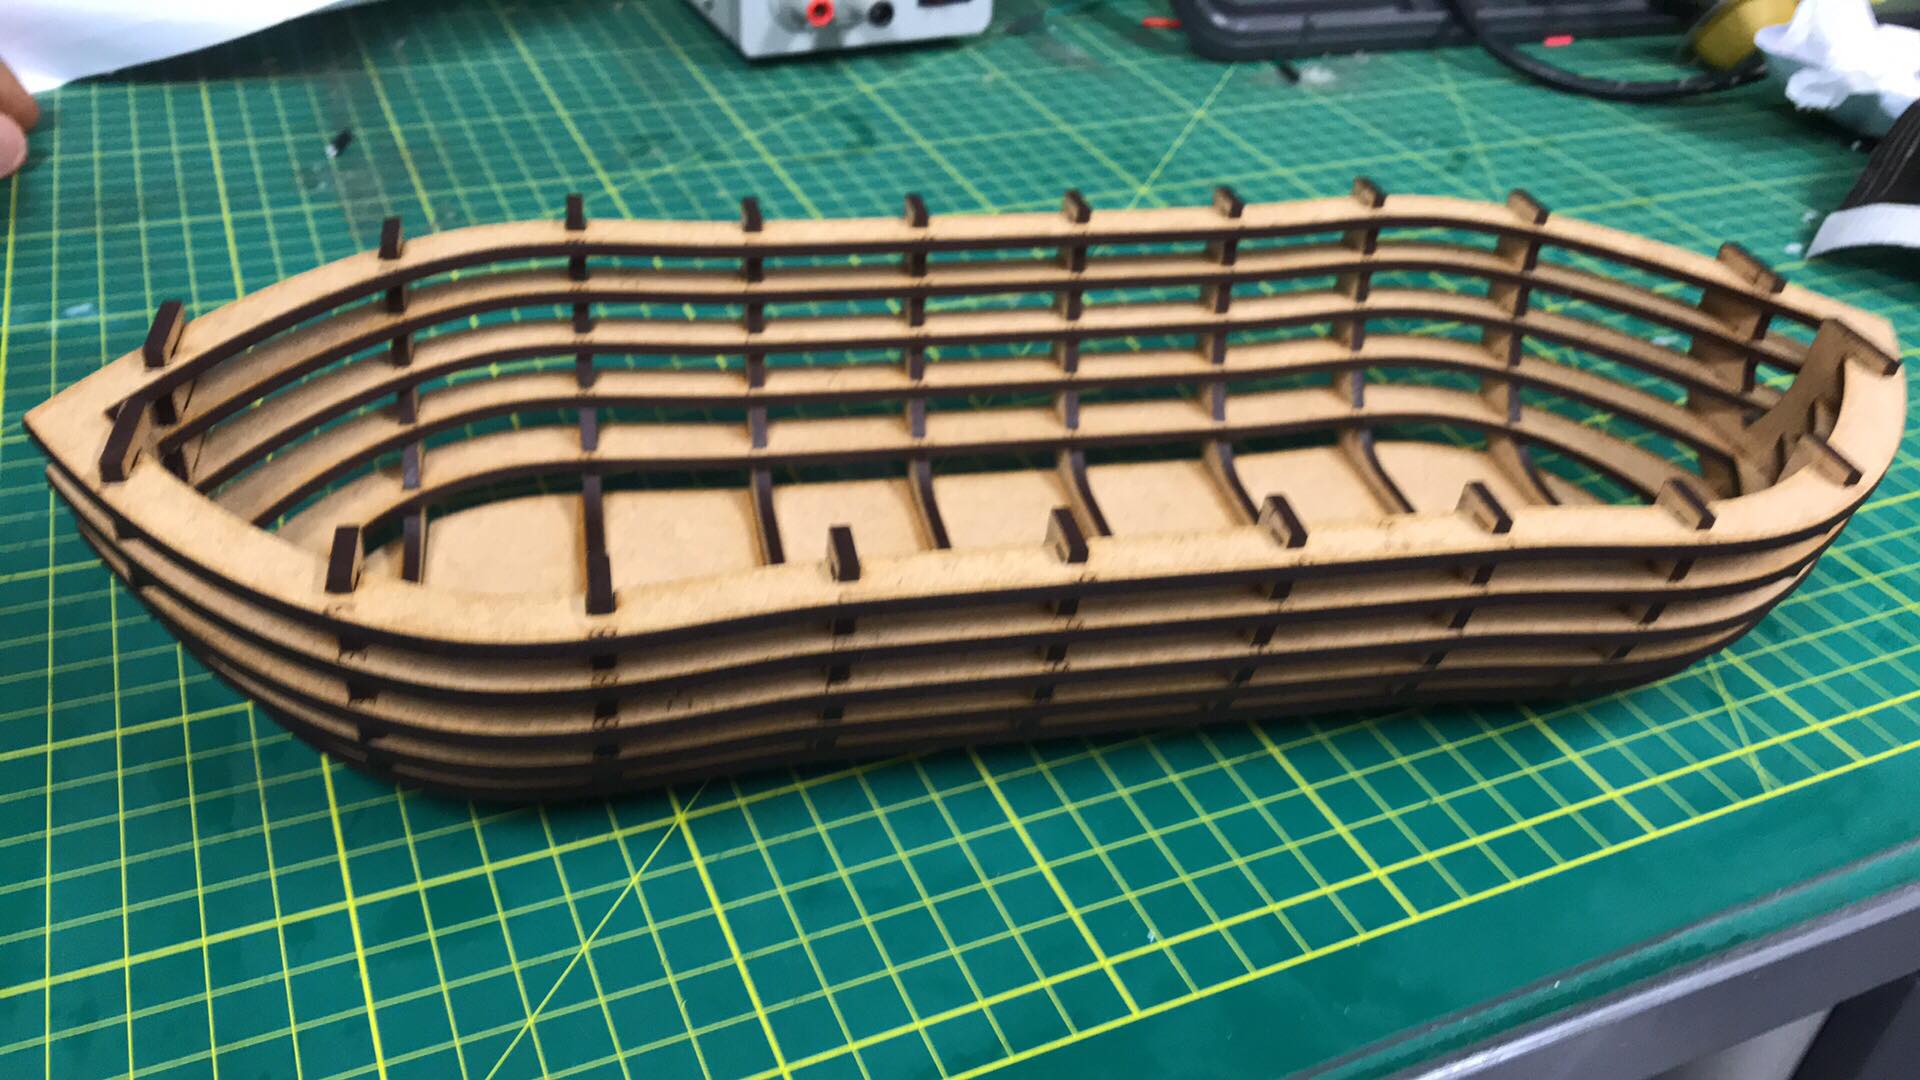
In this software I selected the construction technique interlocked slices since it represents very well the internal structure of a ship and its elements: roda, trancanil, baos, codates and removes. I selected 6 pieces for the first axis and 10 for the second. Here you can see how the result would be
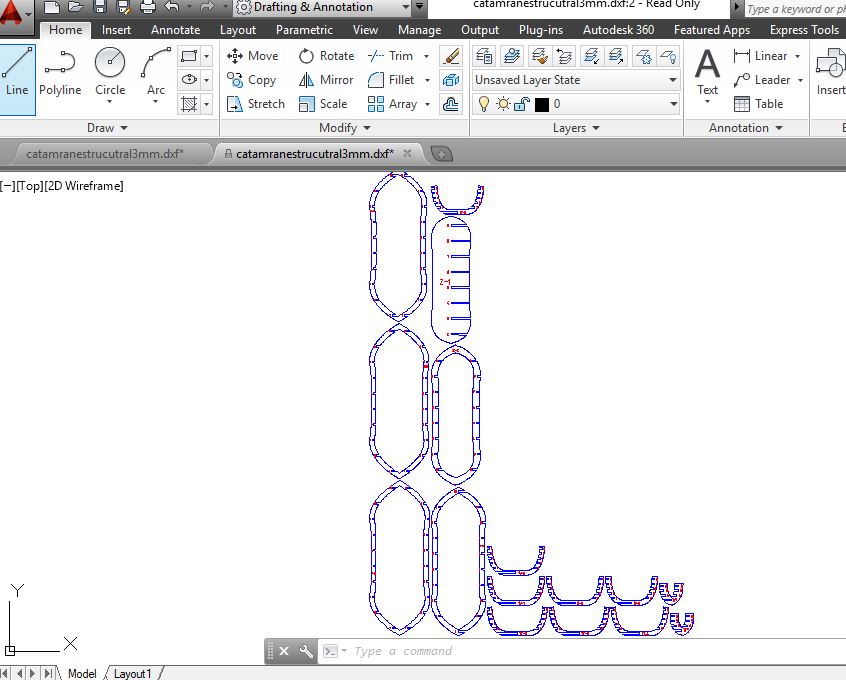
Then, export the files that the software worked on in dxf, for later laser cutting. Thanks to the software I separated with color the orientation marks to assemble the structure of the cutting lines, in the laser cutter I first made the marks and then the cuts
The material I used was MDF with a thickness of 3 millimeters: Therefore I used the following parameters:
Vector
Orientation marks:
Speed: 80%
Power: 100%
Frequency: 100%
Cutting of pieces:
Vector
Speed: 5%
Power: 100%
Frequency: 100%
I could make the marks with raster, but it would have taken much longer, so I decided to use vector with high speed, I reduced the line width to 0.00015 to achieve this
Then I assembled all the pieces with the help of the orientation marks obtaining the following result
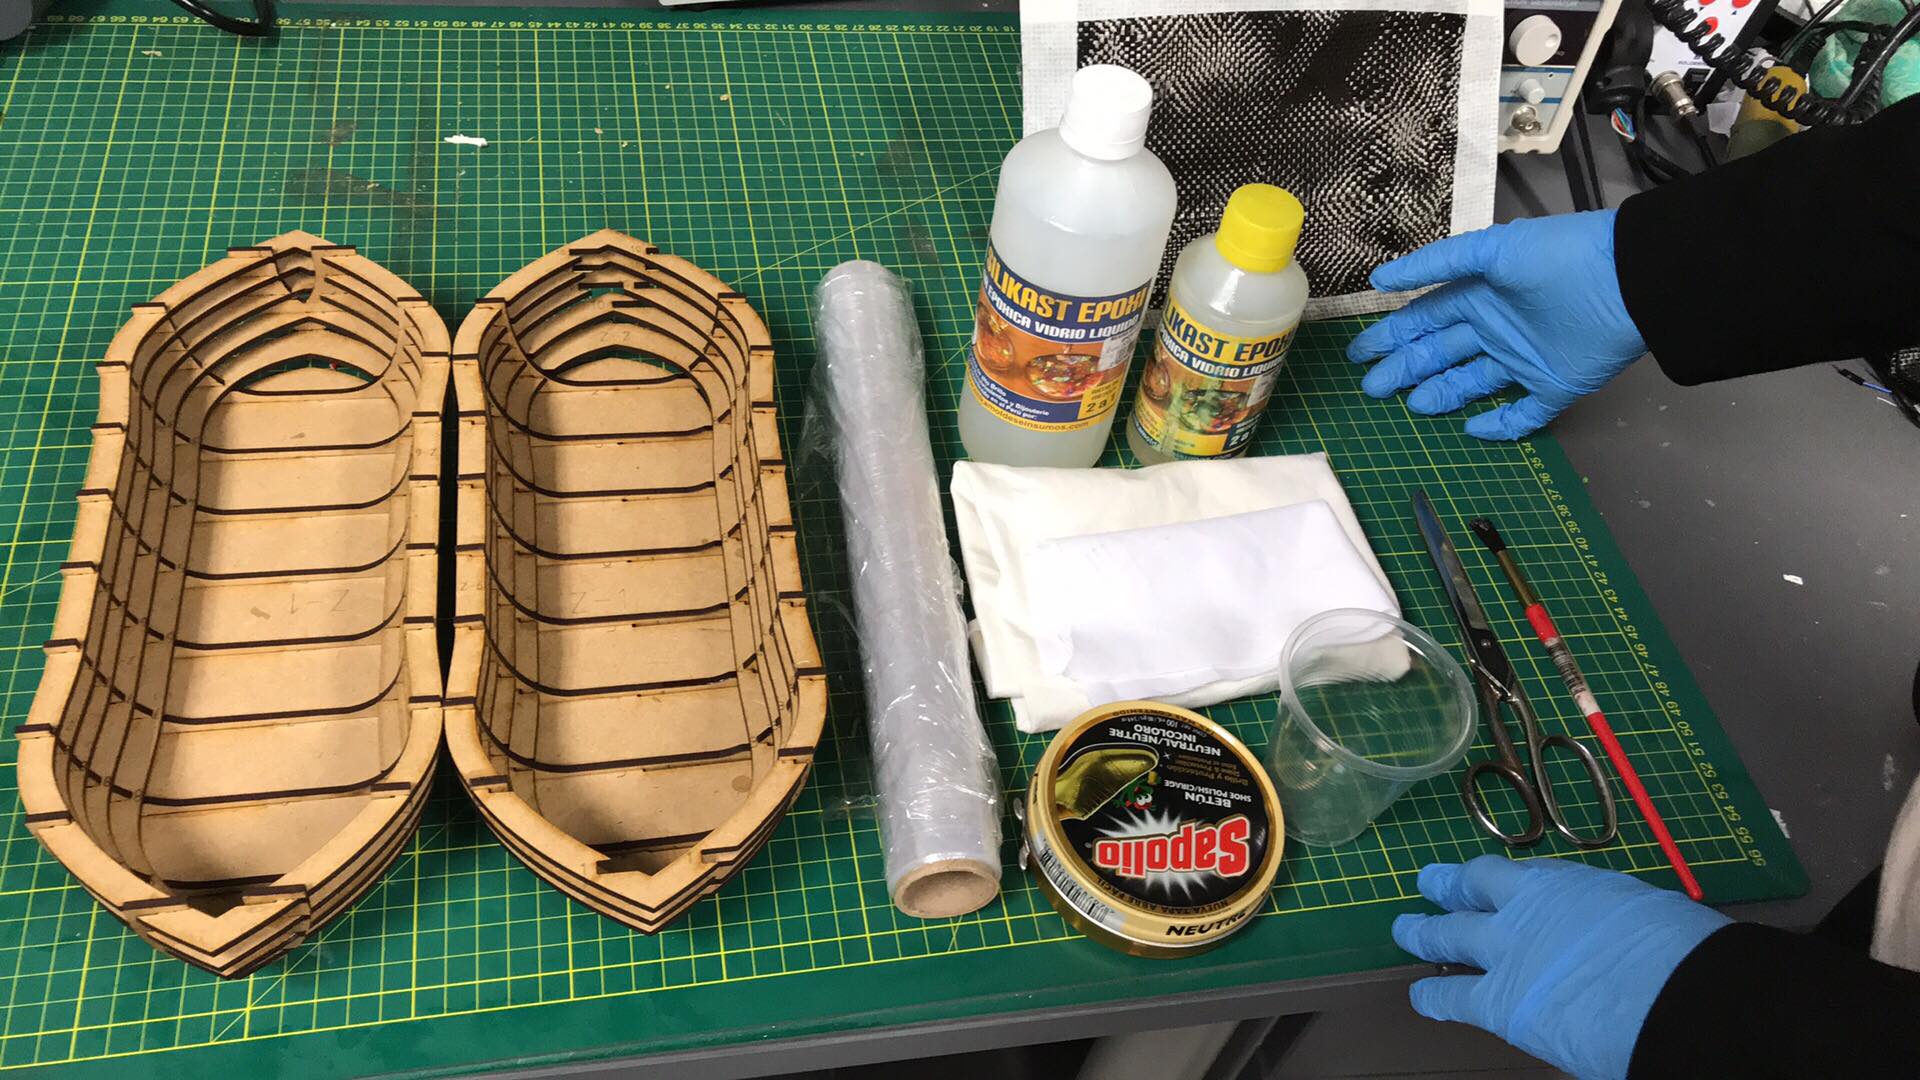
Here are all the materials I used, according to the safety datasheet of the epoxy resin it is advisable to use gloves to protect the skin. Among the materials are bitumen, film, polyester fabric and linen fabric
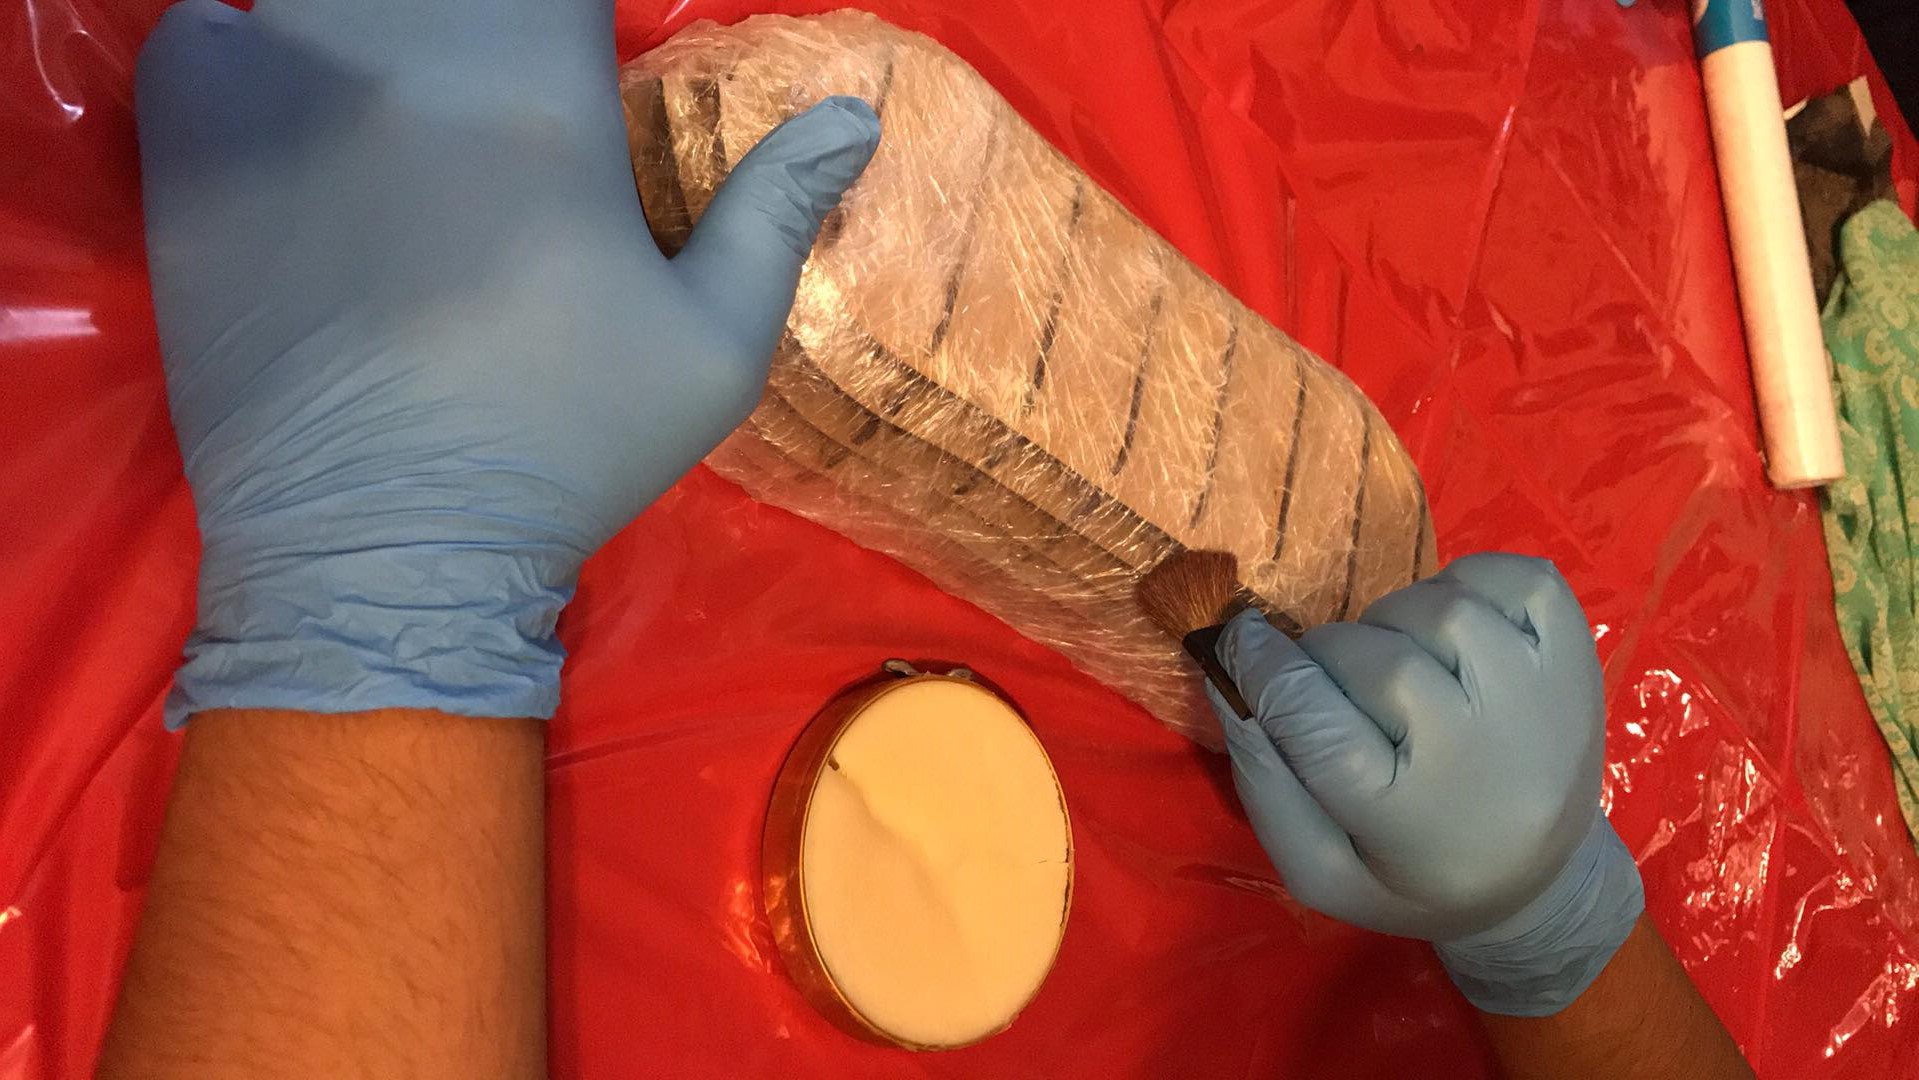
The first thing I did was to wrap the structure with film, in this way I avoid that the resin is in contact with the MDF, since it would be absorbed and swollen, besides this way it will be easier to remove the excess fabric
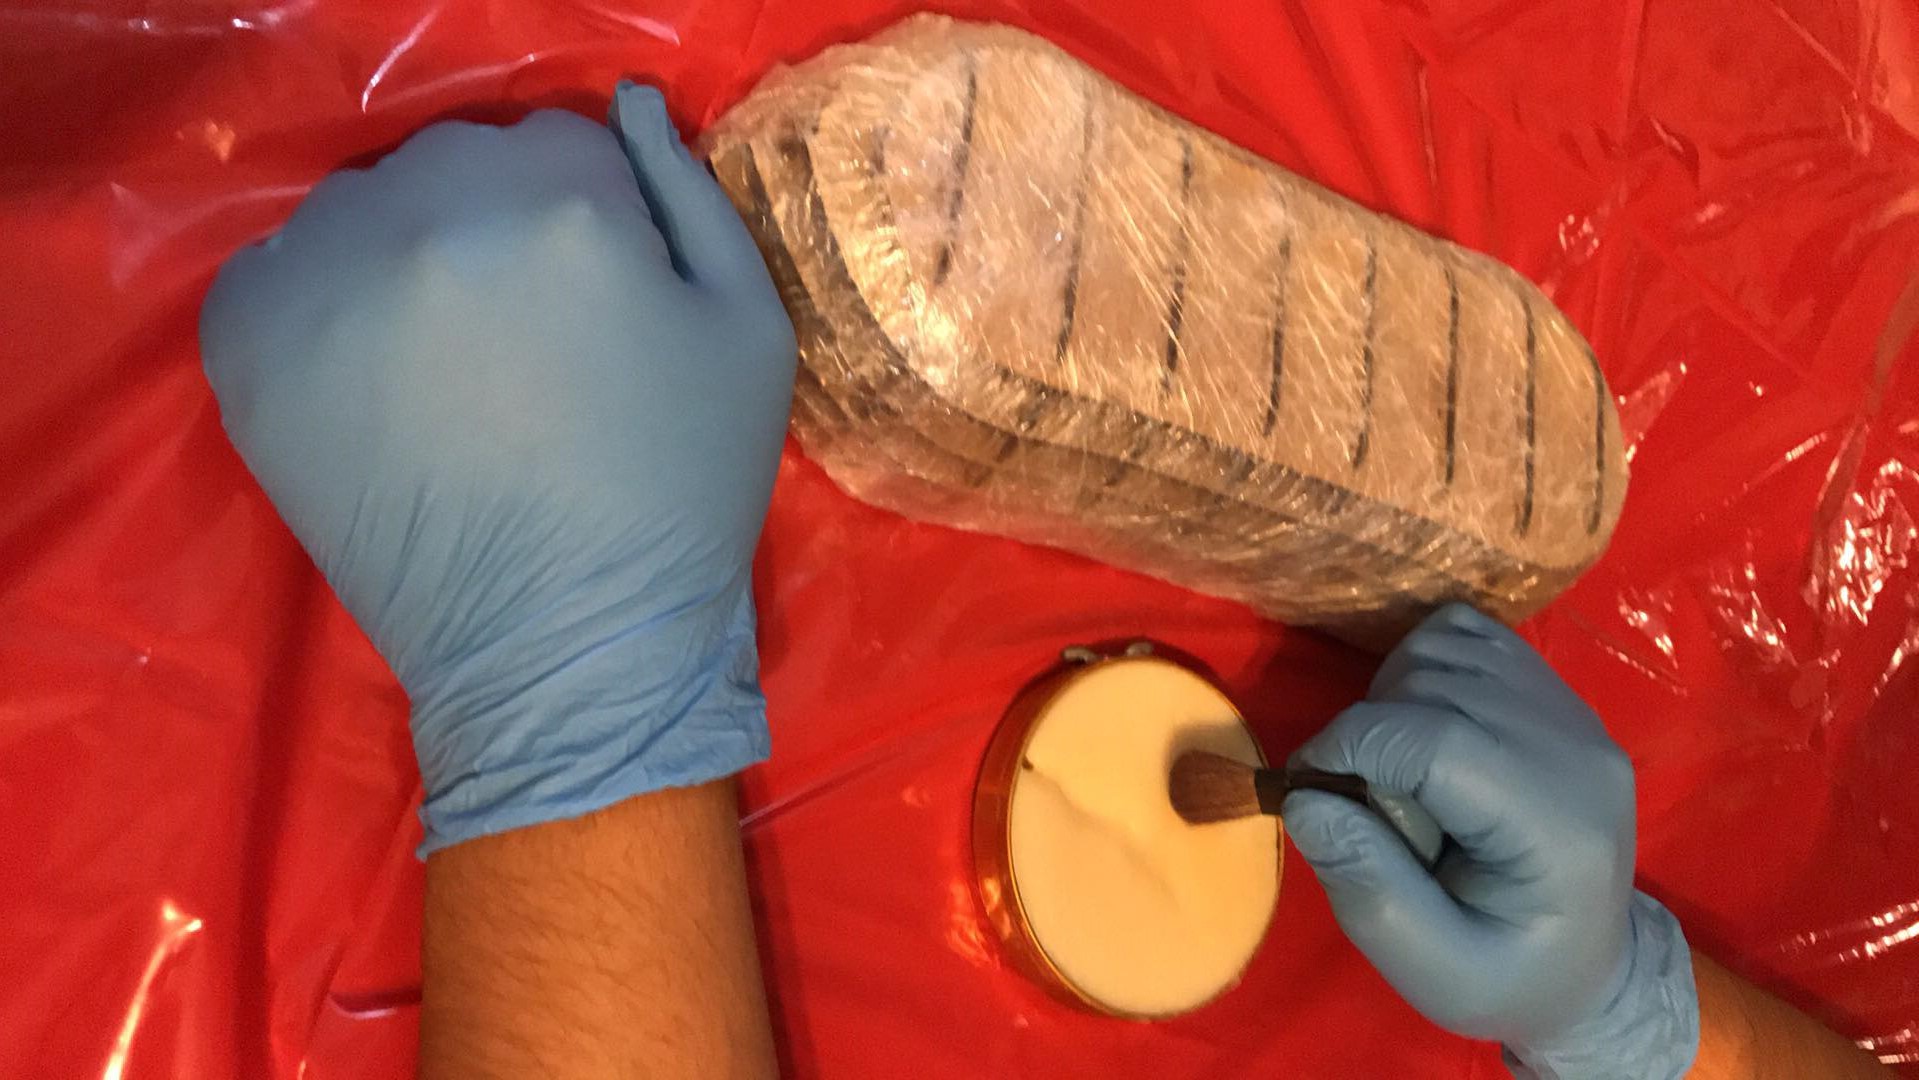
Then, with a brush or brush, add the bitumen to the film, so that it does not adhere to the composite and is easily removed.
Then, I cut a piece of paper to serve as a guide to cut the fabrics, so that it fits perfectly and there is no hole
Here I covered the structure with the first layer of fabric, it is polyester, and I made the necessary folds with the help of a masking tape on the upper part, which will not be part of the composite, I only use it to keep the fabric extended
Result of the first layer of polyester
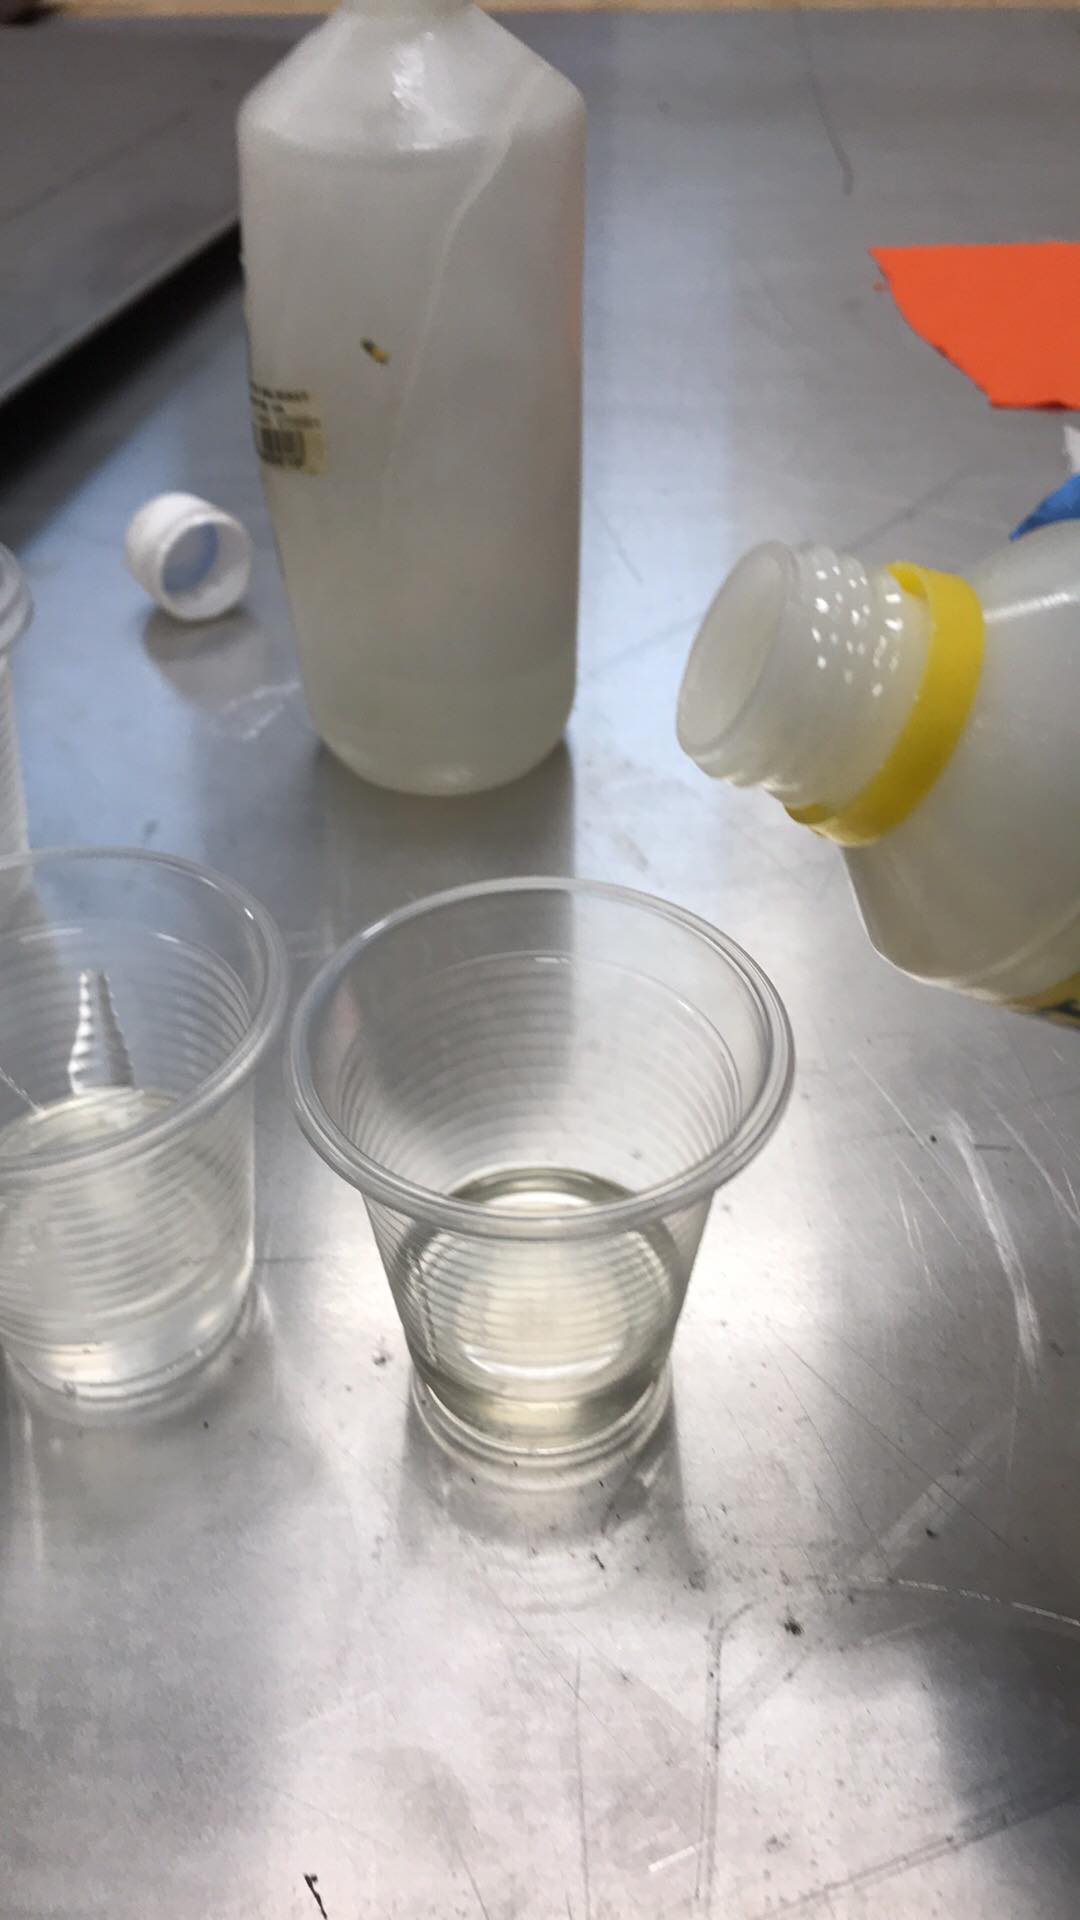
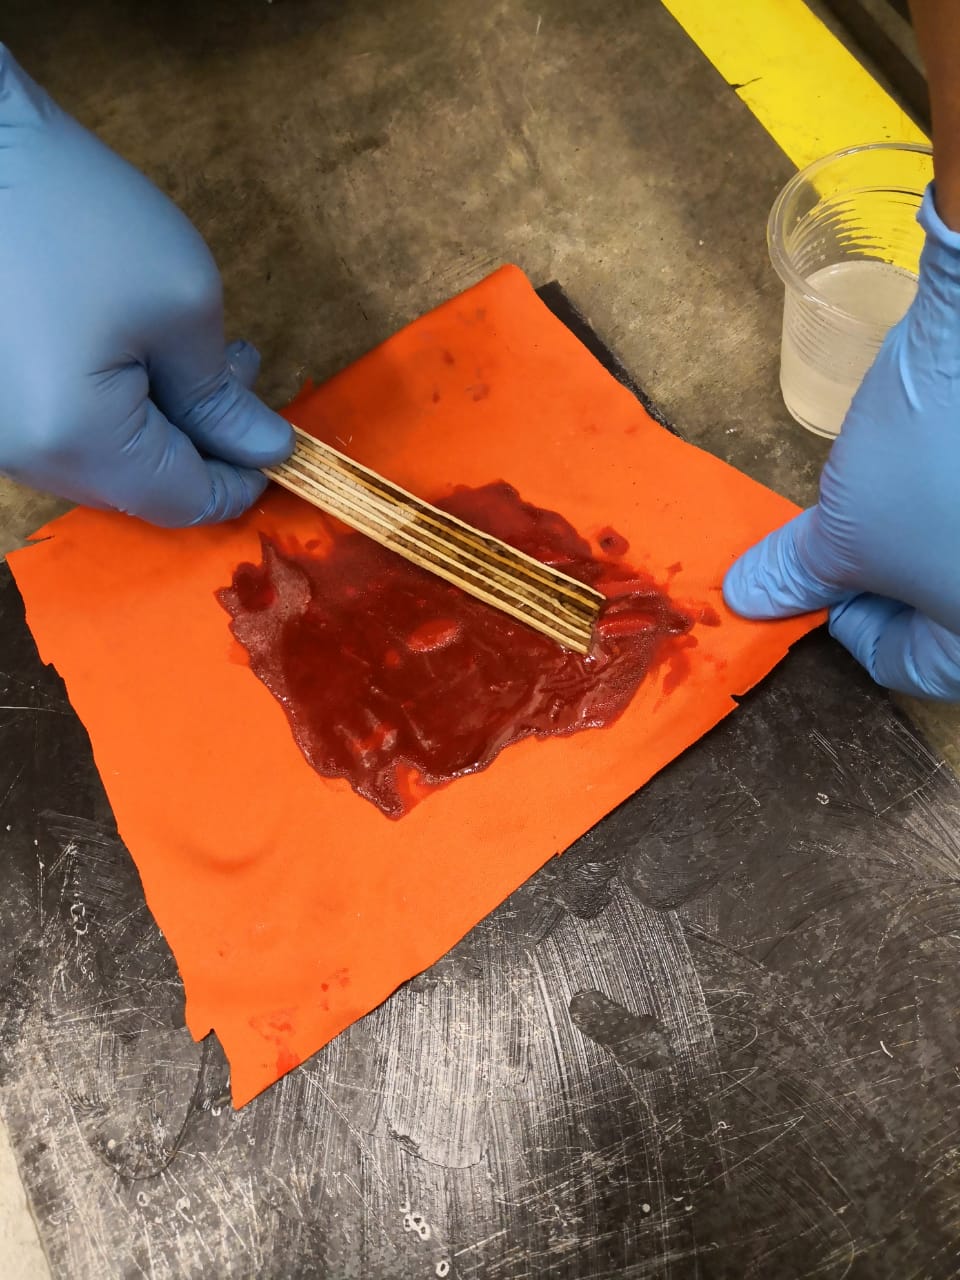
I proceeded to pour the epoxy resin into a disposable cup to start mixing
Silikast epoxy resin should be mixed in a 2 to 1 ratio, and the cure time is approximately 8-12 hours
With the help of a stick I mixed the mixture
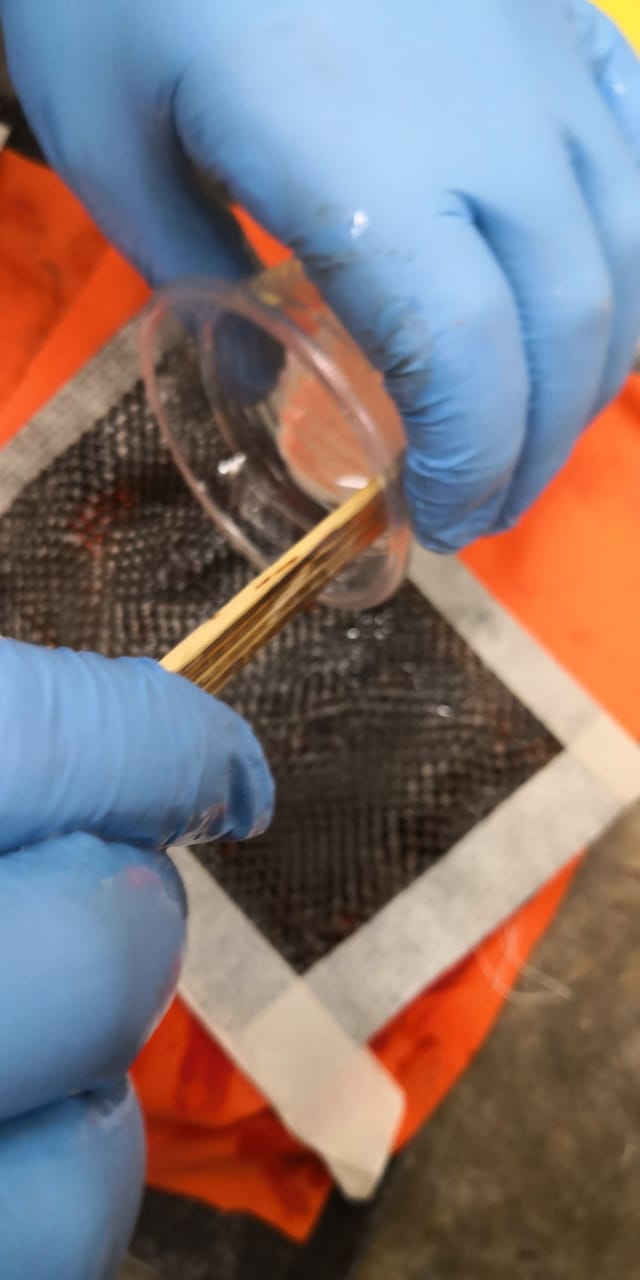
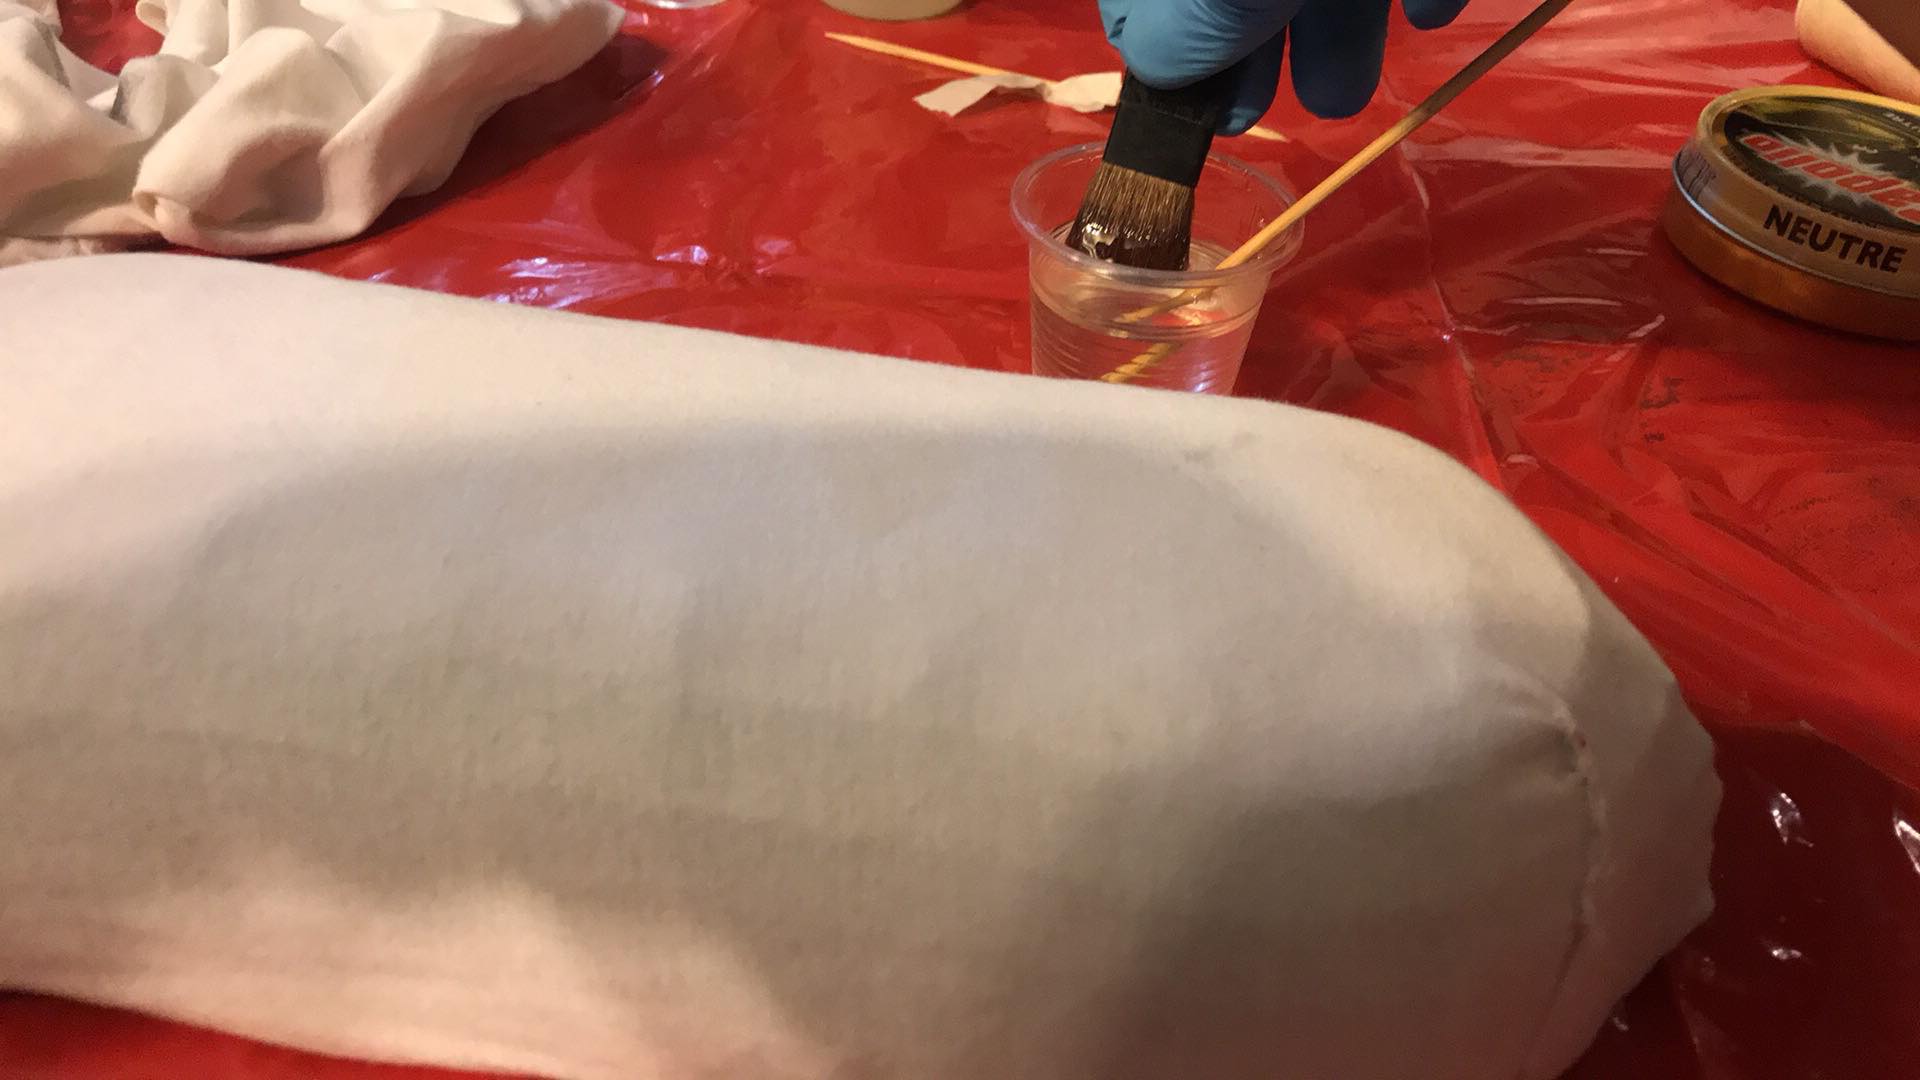
Once the mixture is ready with the help of a brush or brush spread the resin all over the fabric
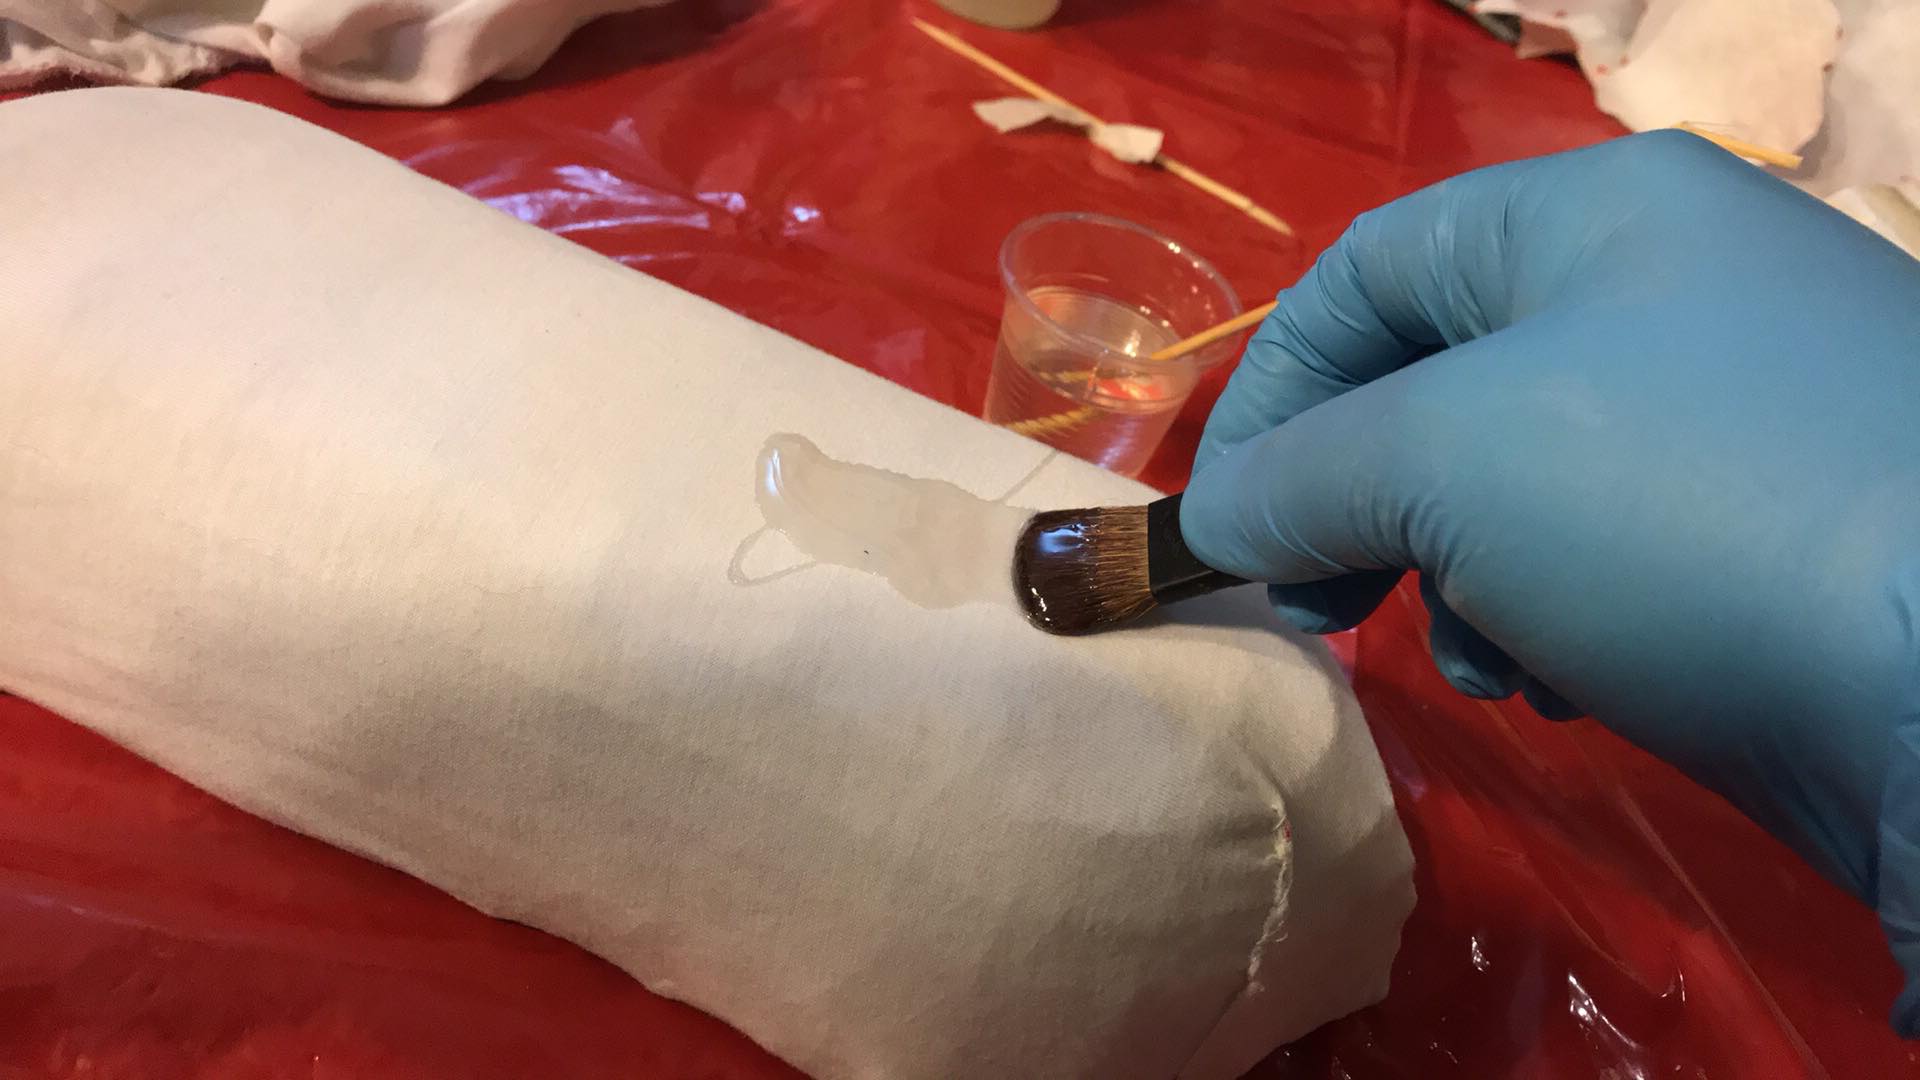
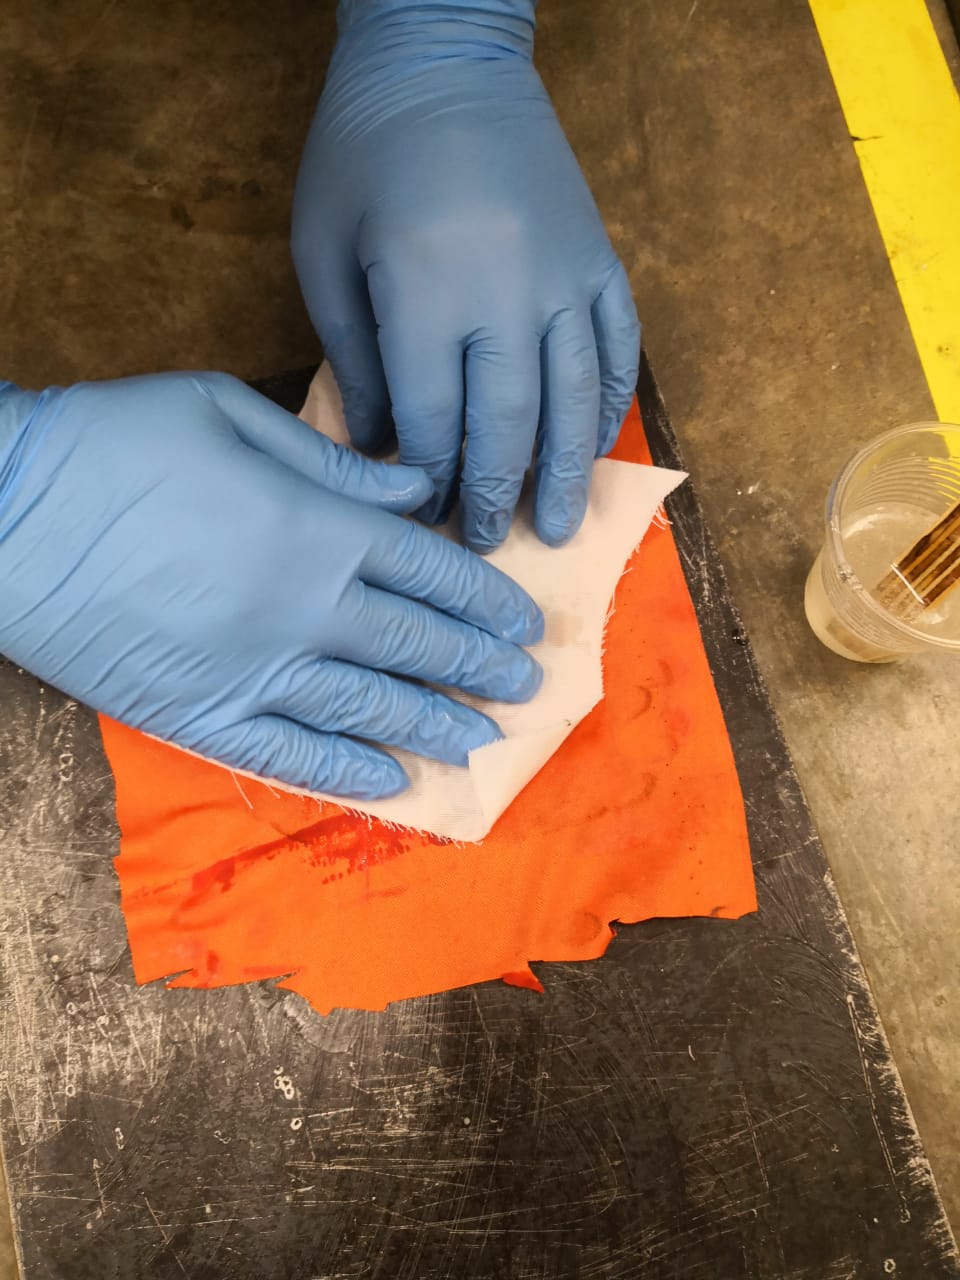
Immediately I placed the layer of linen cloth and continued to apply resin

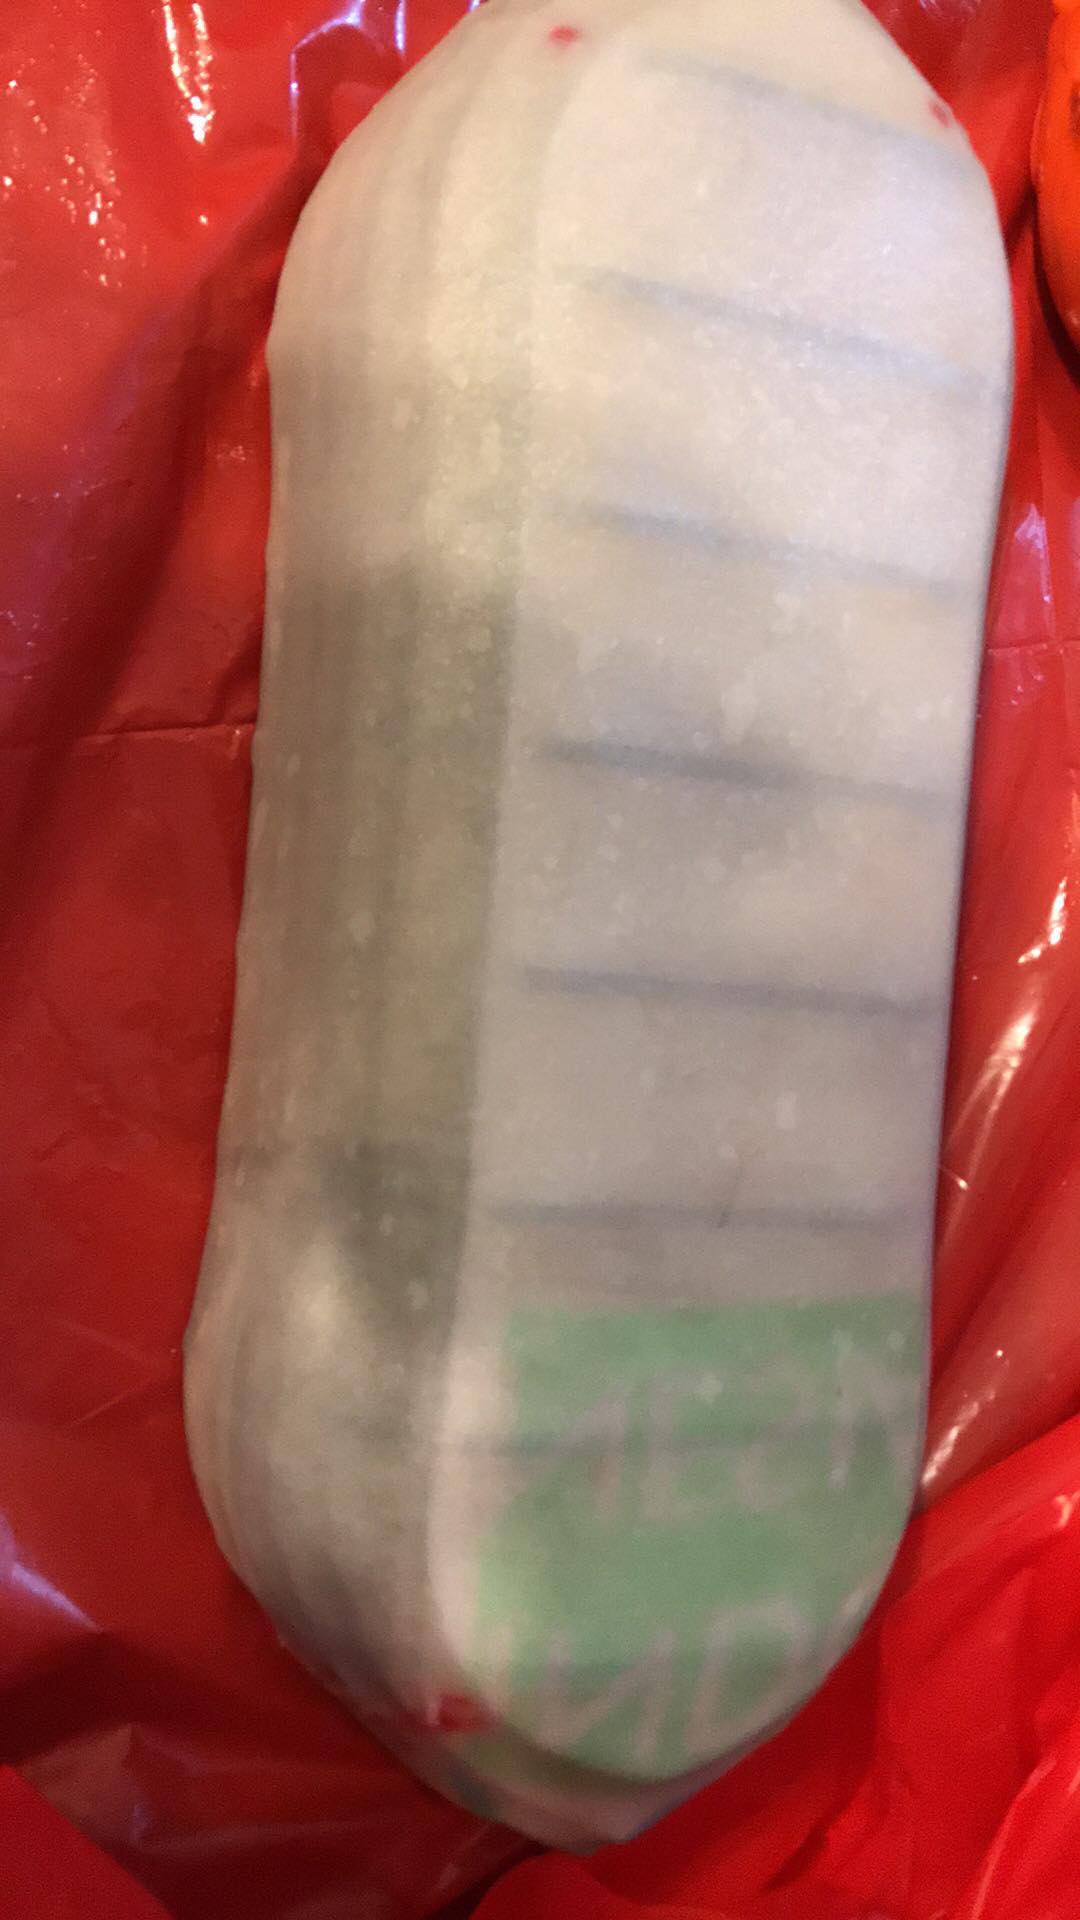
Then I proceeded to cover with film the structure in order to press it and spread the resin evenly throughout the area, in addition to removing the excess resin
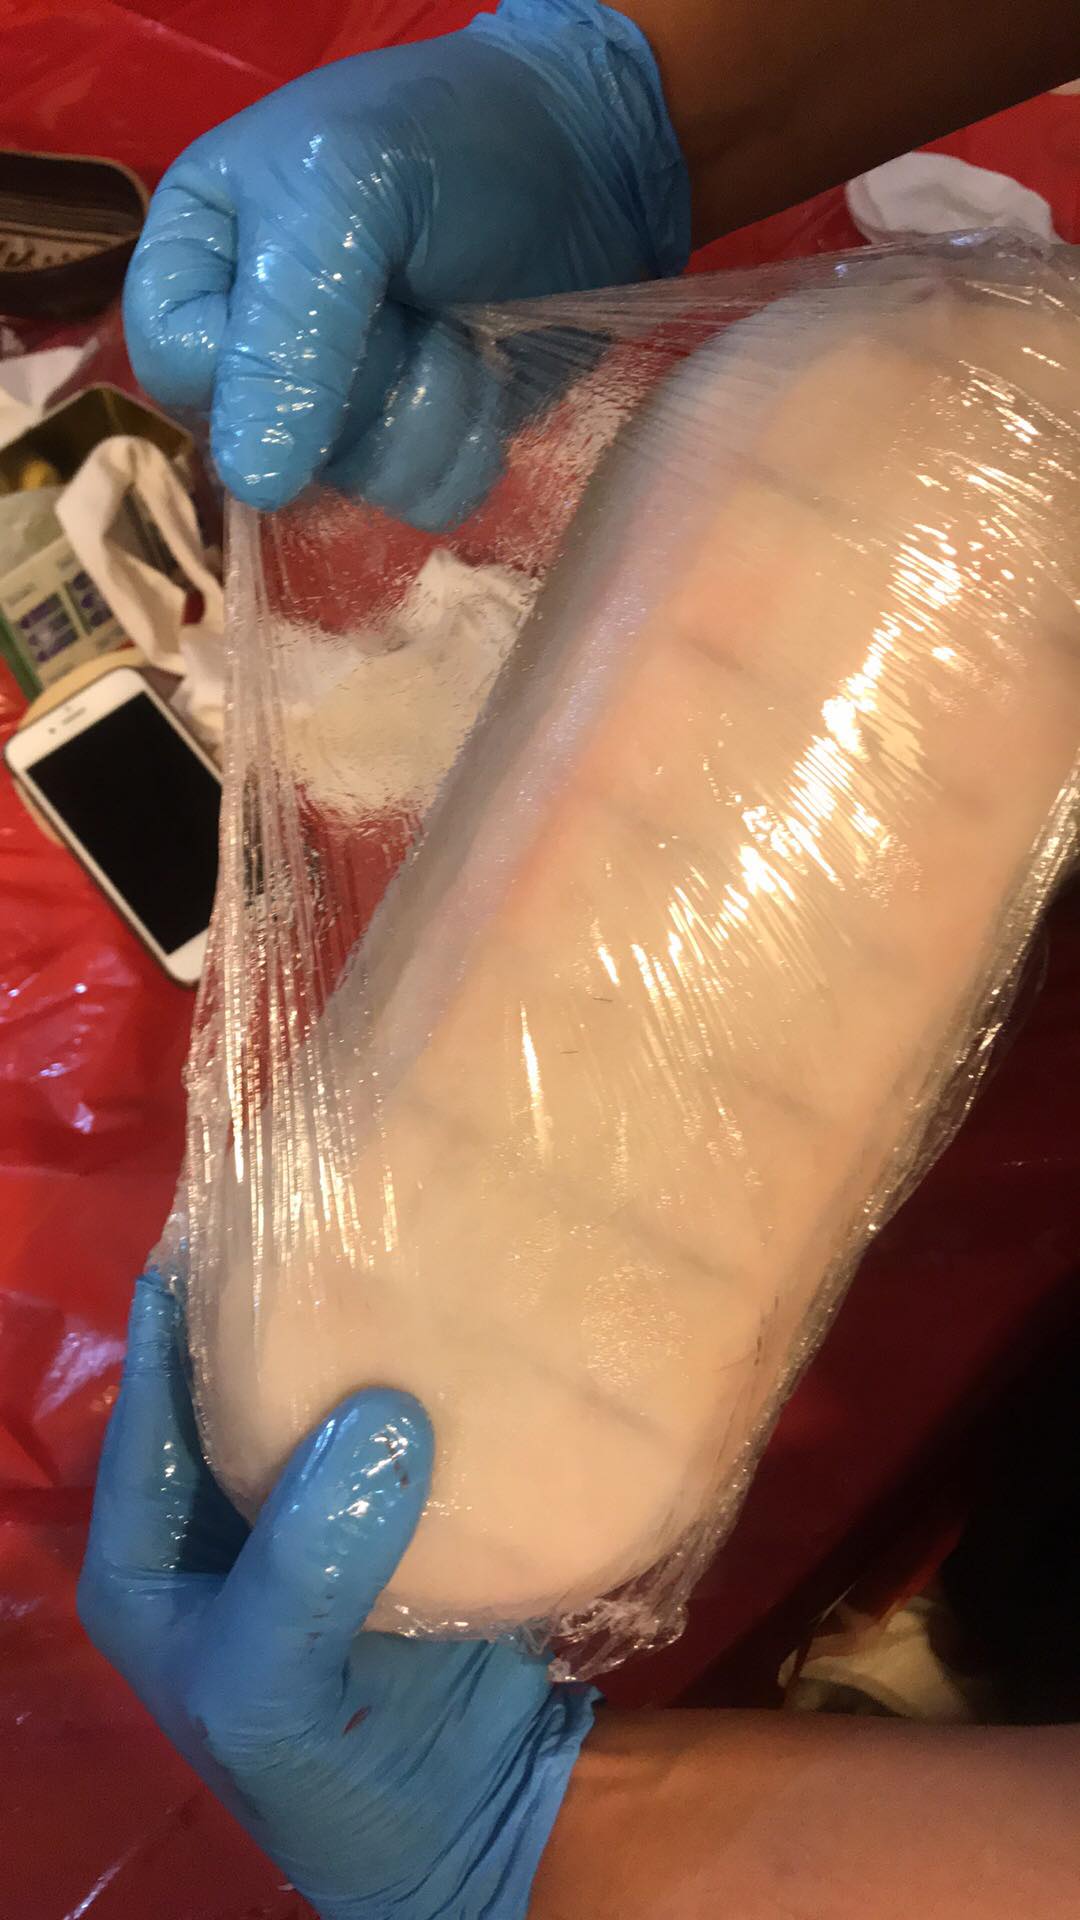
Ready to let the chemical reaction take effect until the next day
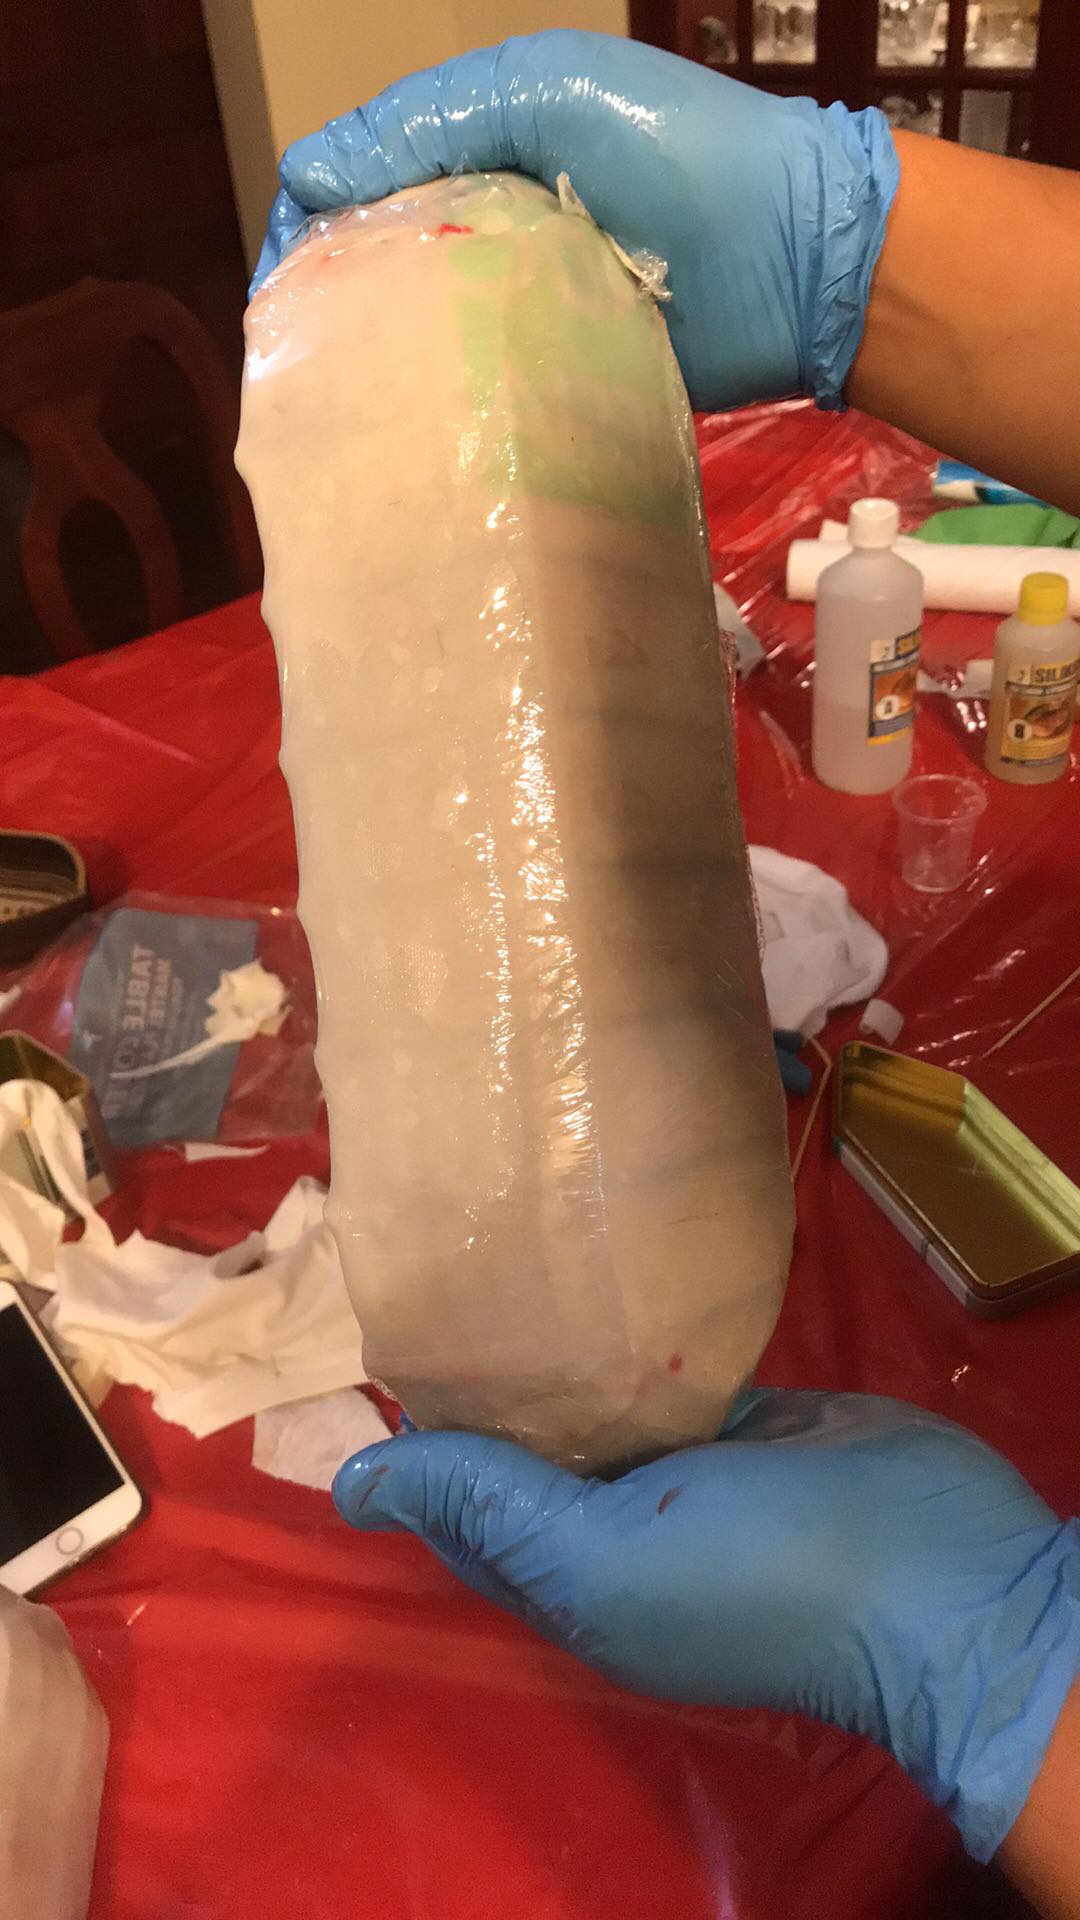
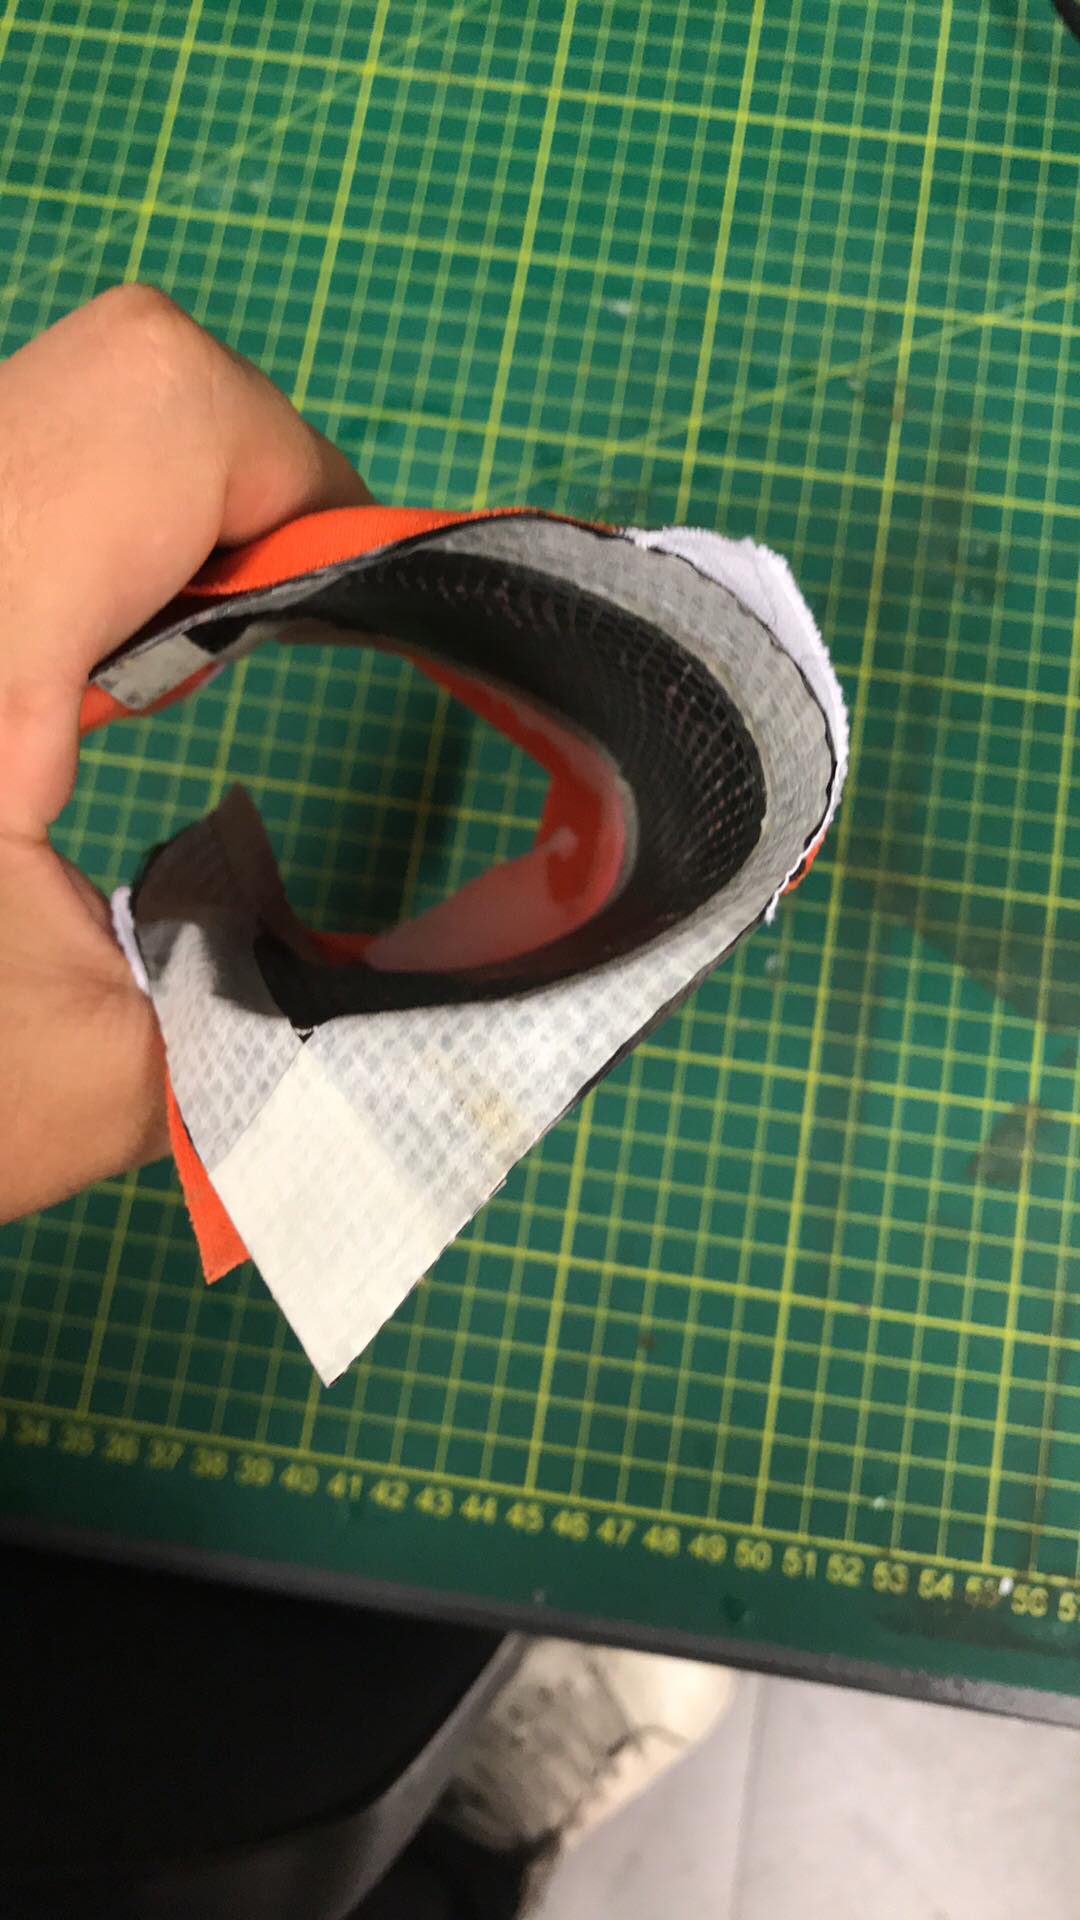
The next day I noticed that the resin had hardened completely, but it took more than 12 hours. I wanted it to be completely waterproof I passed a layer resin more and I waited for the reaction to take effect
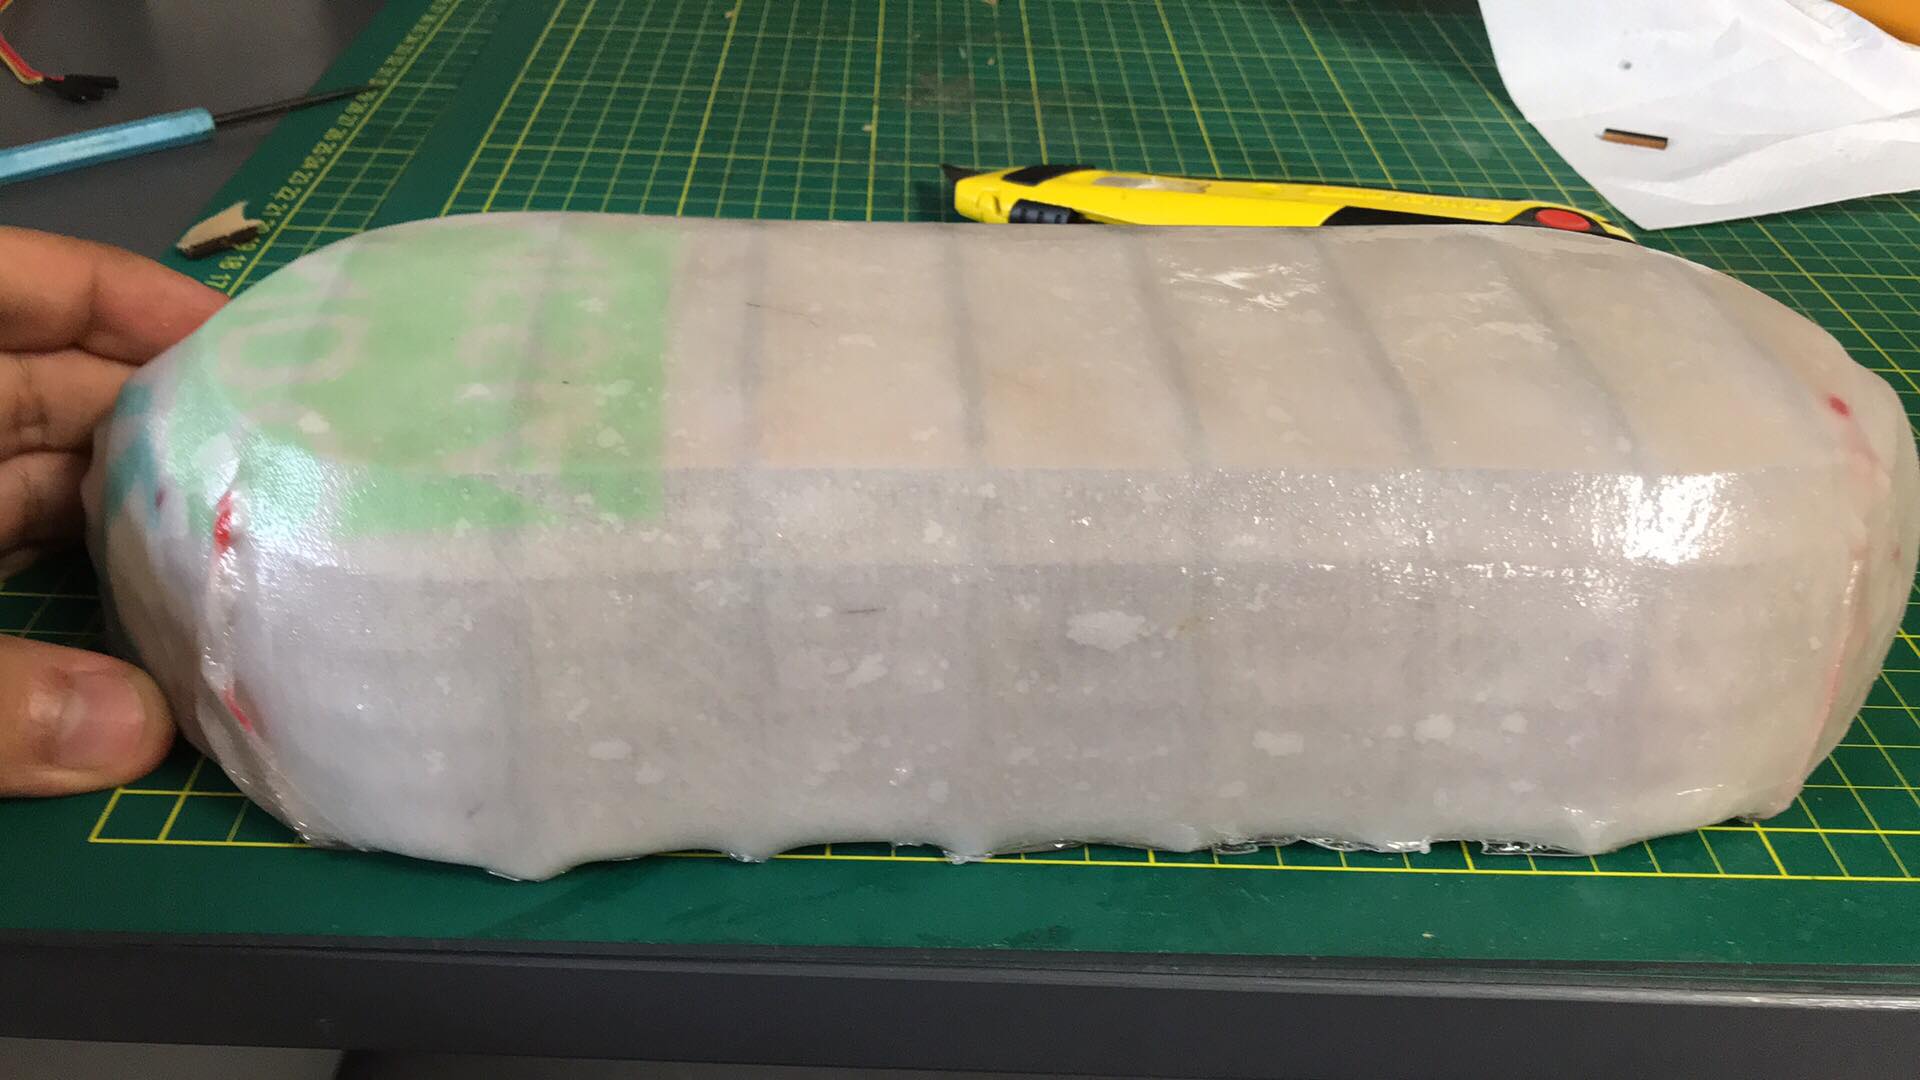
When the resin hardened completely I proceeded to remove everything that is not part of the composite with the help of a pair of scissors and a cutter
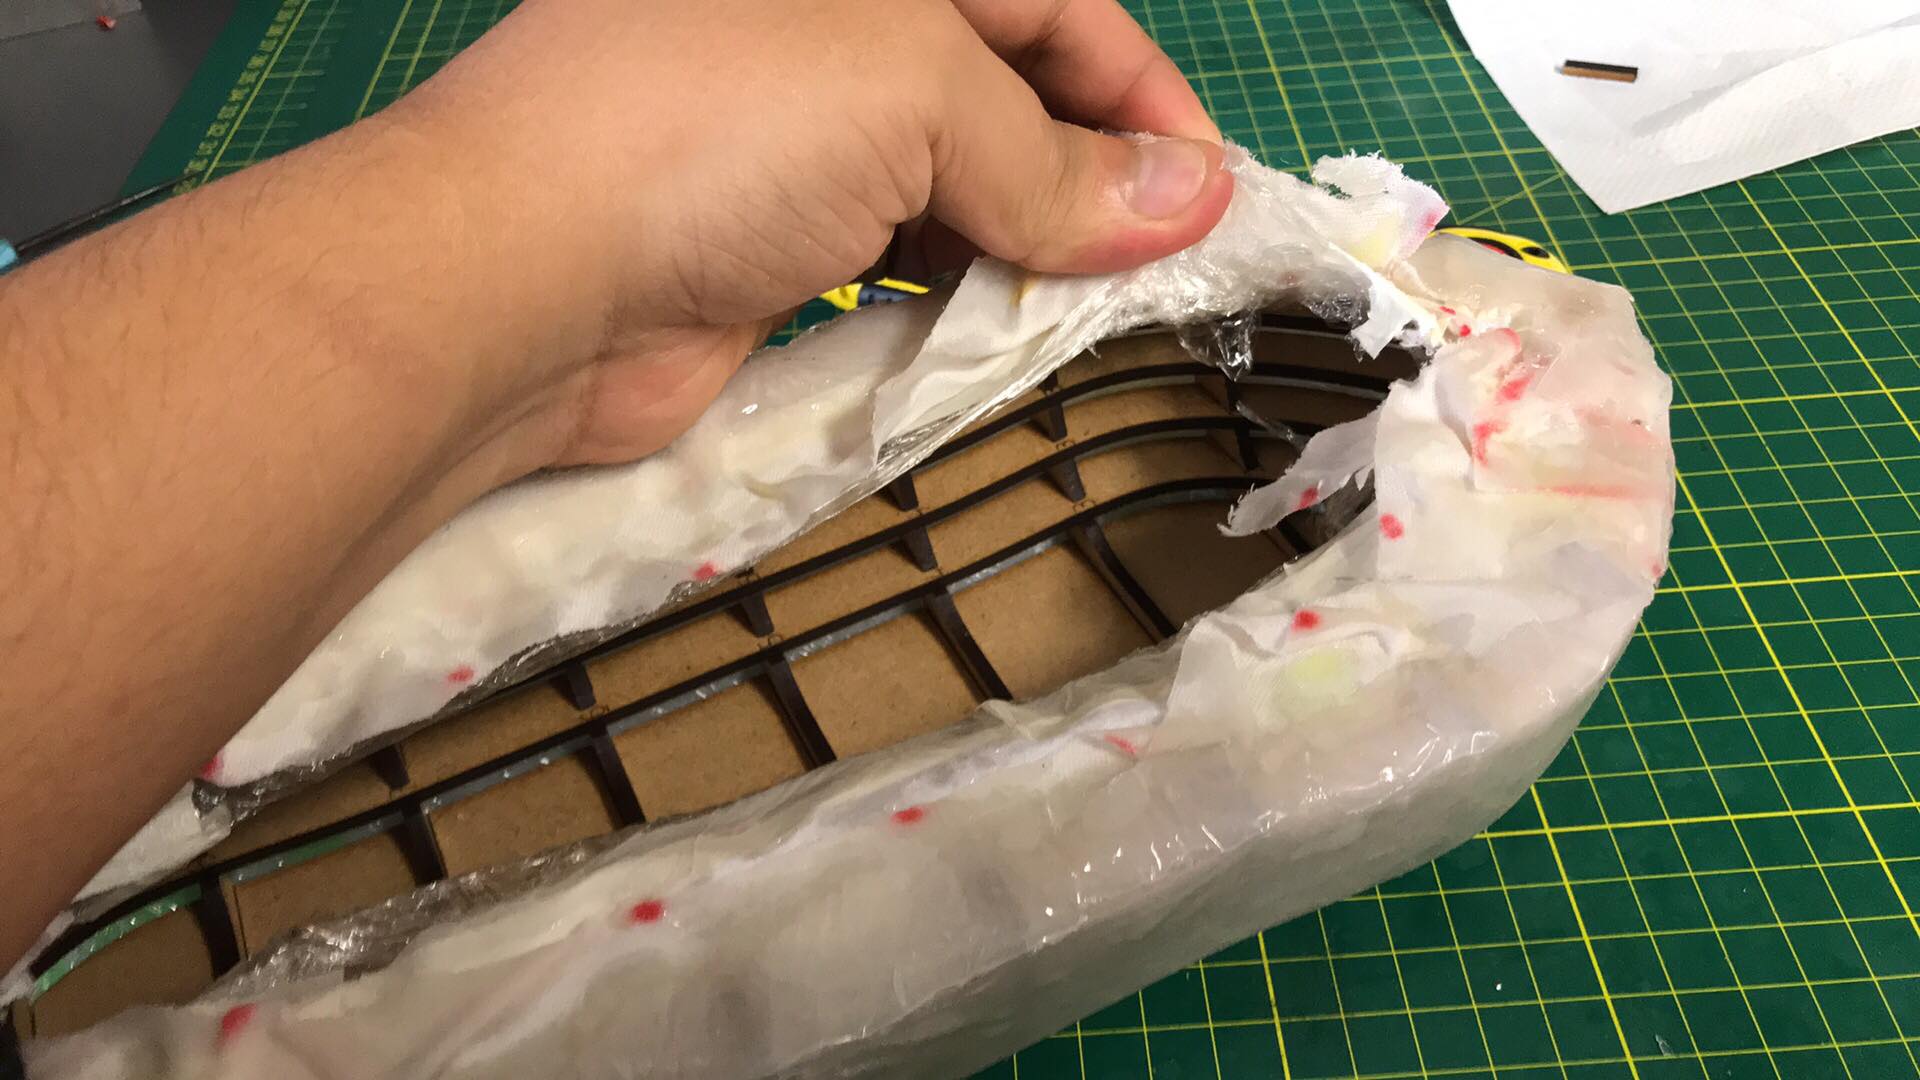
Final result!
Downloads
Inventor design
STL design
Pieces.dxf
Slicer project