experimentation
make it happen
Group Assignment - participants:Josep Marti, Felipe Santos, Alberto Lopez, Diar Amin, Gustavo Abreu
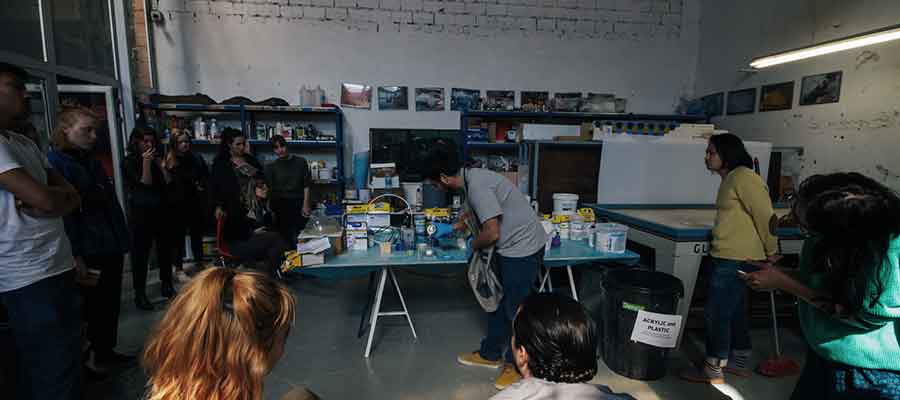
Video showcase of the group assignment - Edu - our instructor was showing us how to work with various materials that are available in the lab. Great intro!
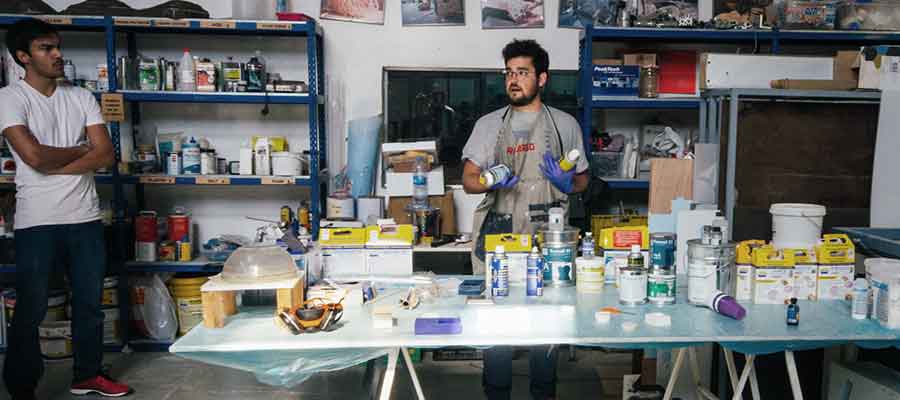
To compare the uses, curing times, mold releases and to have some safety instructions we had a big class where our instructor Eduardo showed us all of our options here in the Fab Lab.
We reviewed the safety sheet, instructions and procedures to be followed with each one of the materials we have available.
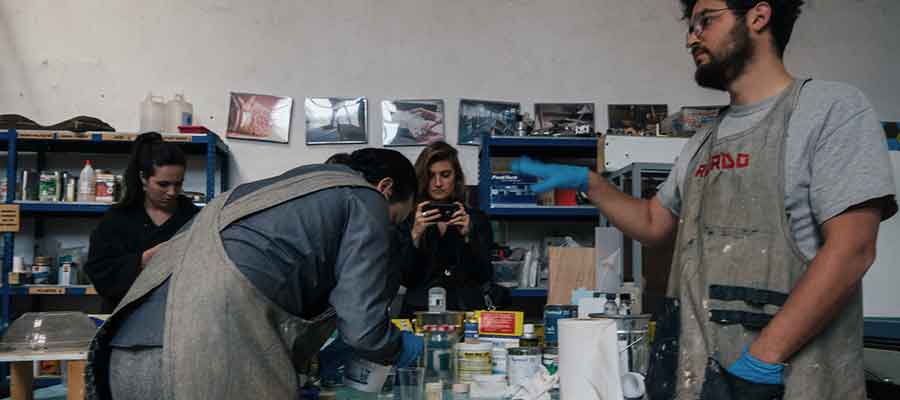
Made some tests with different materials to see how the curing time is really important.
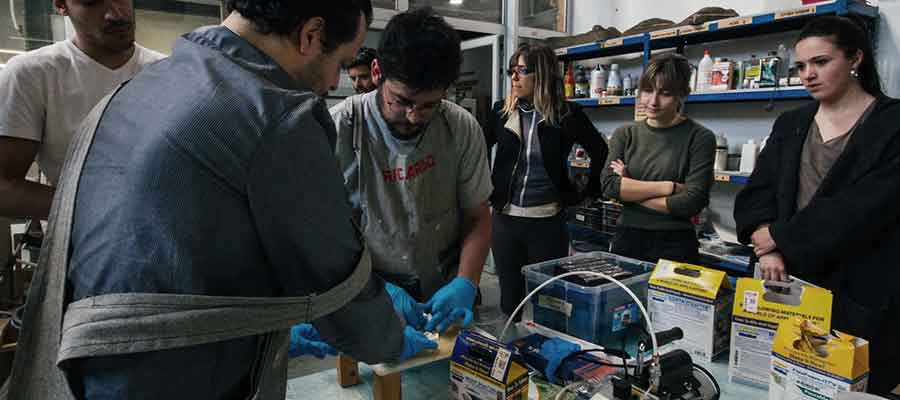
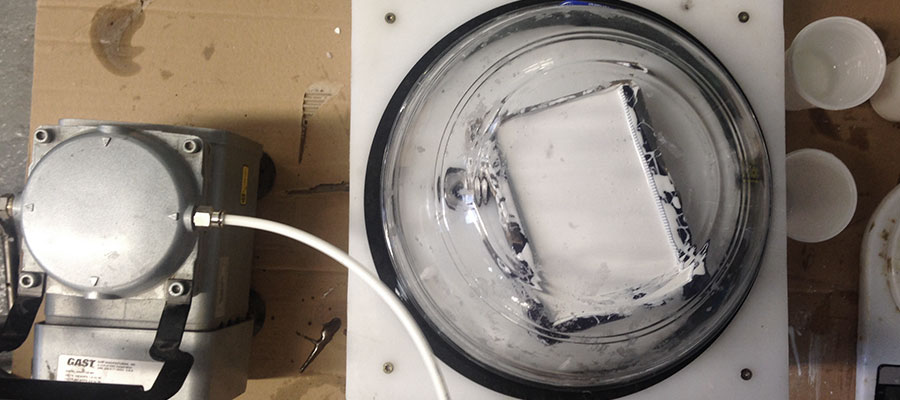
And we learned how to use the vacuum chamber to take the bubbles out of our mixes.
For this week I would like to cast one of my geometries that I have designed. The procedure looks like that: the first mold have to be a positive of the final geometry, made with a modeling wax, easy to mill in our Roland SRM-20 using fab mods as the file manager. For the other materials it is important to check the sheets, manuals and safety guidances that comes with the silicones and pourable foams. So the workflow should be like following: wax mold > casting with silicone (or other material) > silicon mold > cast with other materials. 1. Design a postive mold for milling in a 3D SW - Rhino/Blender 2. Calculate machines paths with fab mods 3. Mill the mold in wax first rough and than fine/finnishing 4. Make a flexible negative mold by pouring in ilicon into the positive wax mold 5. Let silicon cure 6. Take out flexible mold 7. Pour in marble cast
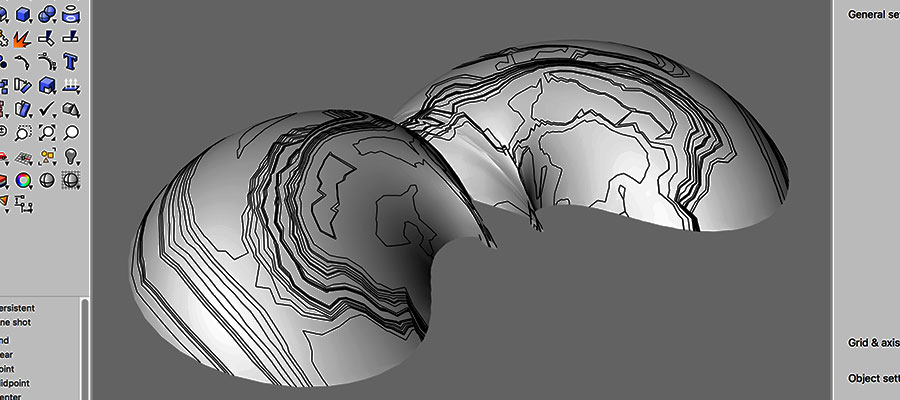
Designed in Rhino/GH, created a pattern on the surface of the geometry - first just pulled curves, I used Karamba for generating them.
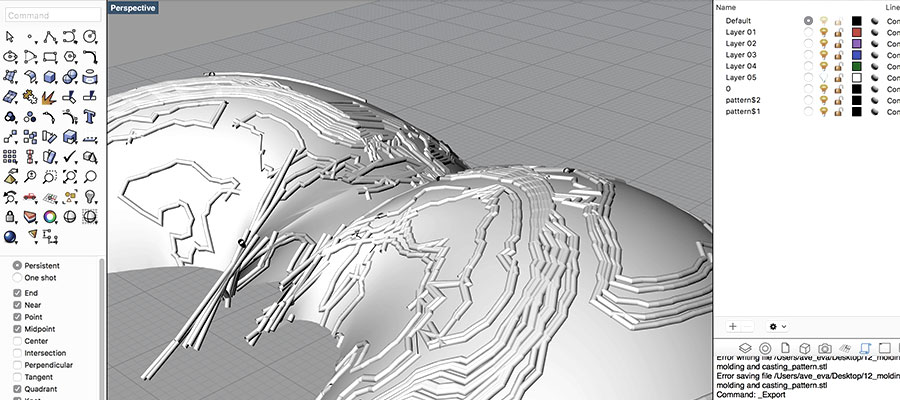
Adding volume to generated curve pattern. I would like to explore resolution of casted output.
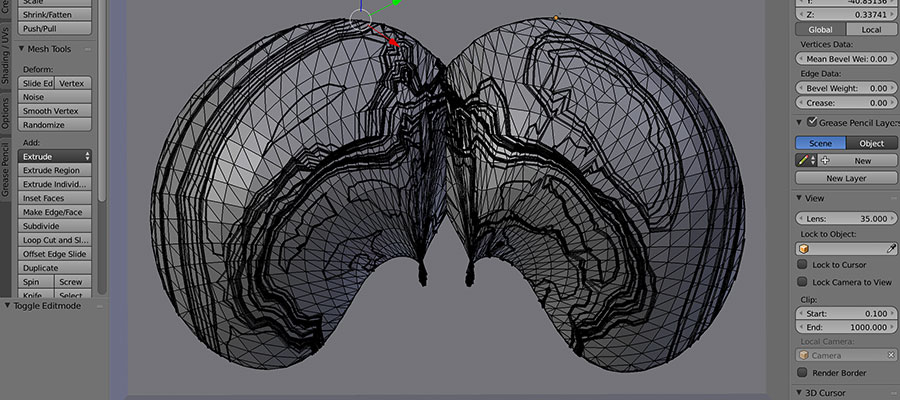
Since Rhino couldnt manage meshing and unifying of the model I exported geometry as .obj and imported it to Blender, which is better for polygonal modelling. As an input for FabModules we expect one single joined mesh.
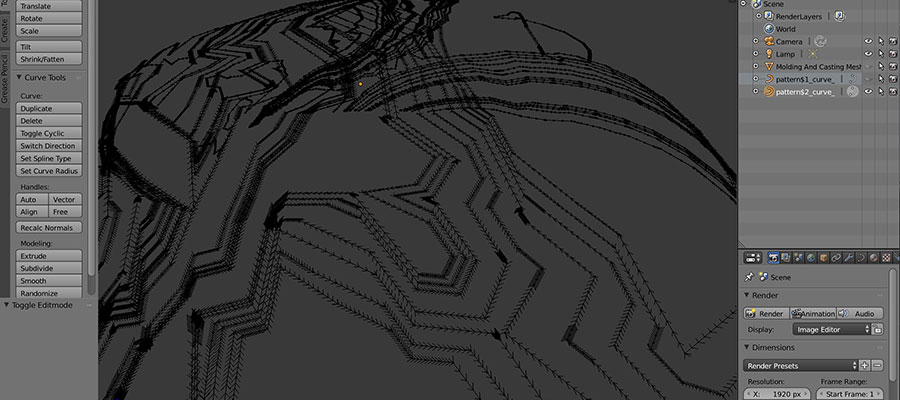
Firstly we checked the vectors direction of curves.
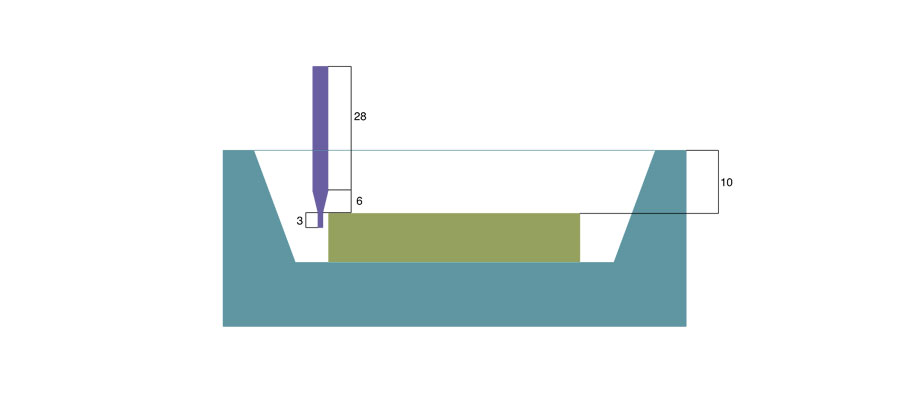
Then after becoming my model I made the positive mould to get after the negative silicon mould. We have to design a box around, and to take into consideration some rules. Its important to keep in mind two things, the depth, the angle of the walls and distance between geometries and walls, remember, the milling machine and the milling bit have a maximum reach point, they have a fixed size, so e.g. if you try to go deeper than the actual reach of the machine it will stop and you won't be able to continue, or if the distance you left between the external wall and the actual model is too small the bit will mill where it shouldn't.
3D preview online
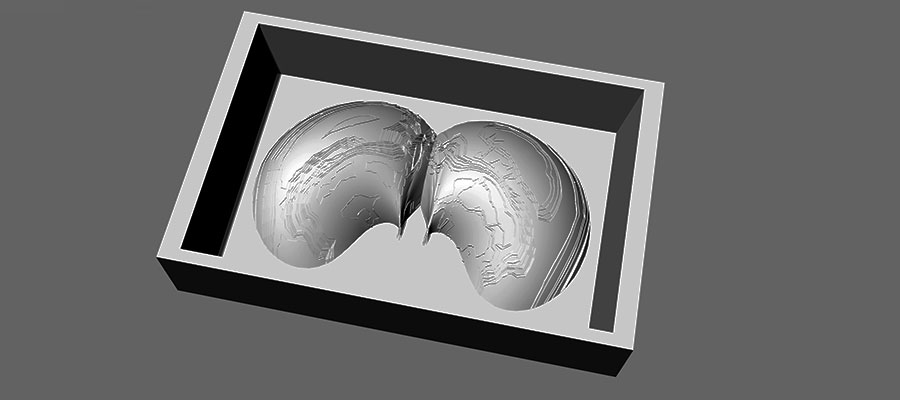
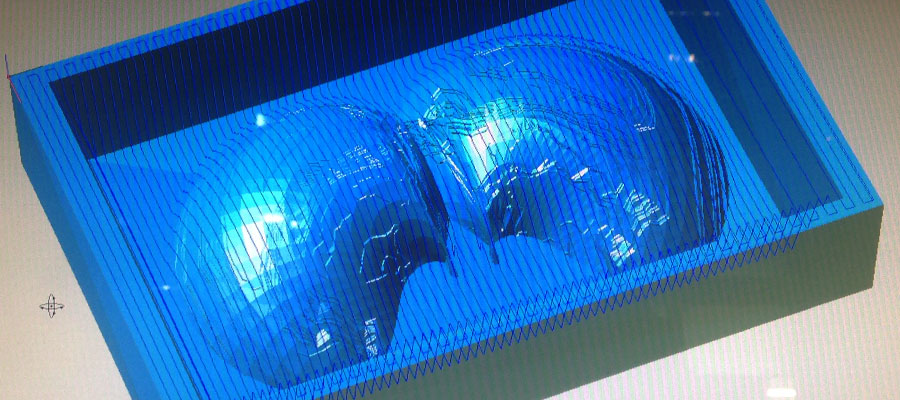
Geometry ready to be milled inside of the box - wax mould for accomodating silicone.

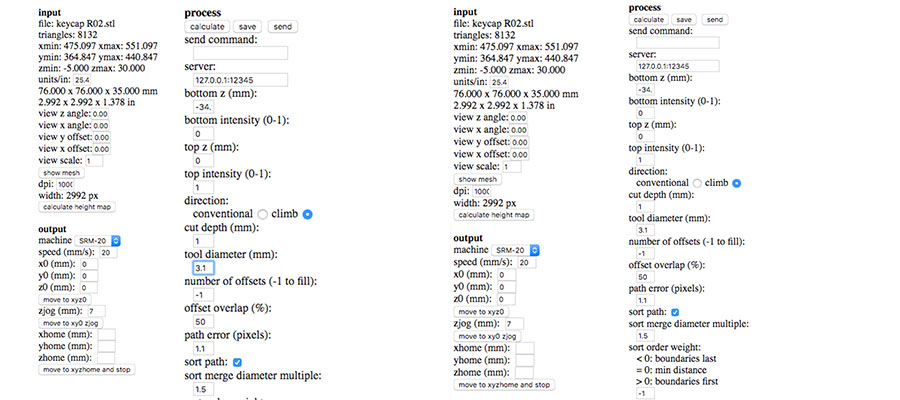
File was uploaded to Fab Mods with required parameters for milling wax. To mill the wax I exported my model as .stl and loaded into fabmodules as a mesh (.stl), the output as a Roland mill file (.rlm) and first we do the process as wax rough cut (1/8). For the roughing we use the 1/8 drill bit (3.175mm / 0.125") For the finishing we use the 1/32 drill bit (0.7938mm / 0.03125"). You can't mill straight walls higher than 3 mm!!!
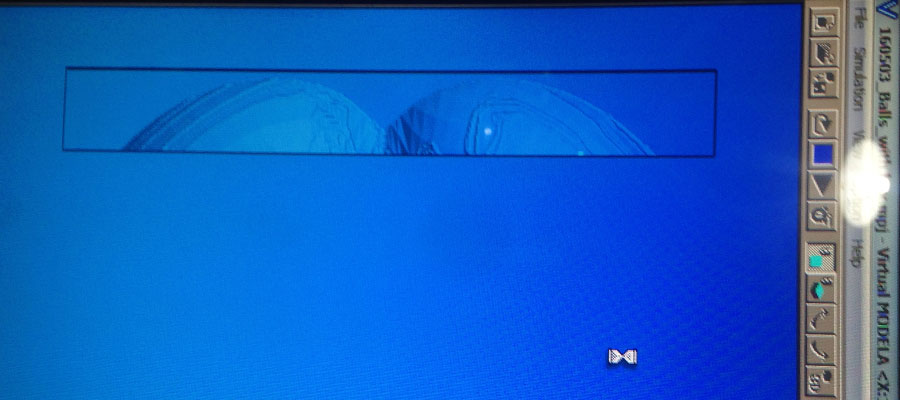
The output is .rlm file that you load on the Roland milling machine. We could see the simulation of paths.
Preparation of the material requires to glue wax to the building bed.
After Rough cut we have to repeat the process with the same .stl and loaded into fabmodules as .stl, the output as a Roland mill file (.rlm) but now we do the process as wax finish cut (1/32). Don’t forget to check for the origin points! Fine cut - finnishing using 1/32 drill bit, after rough cut achieving higher resolution of the output. The video of simulation processing wax milling you can see in the video at the end of this page.
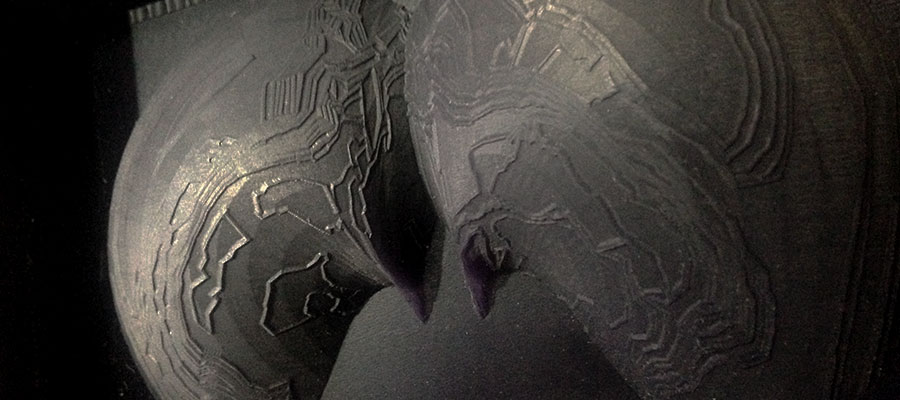
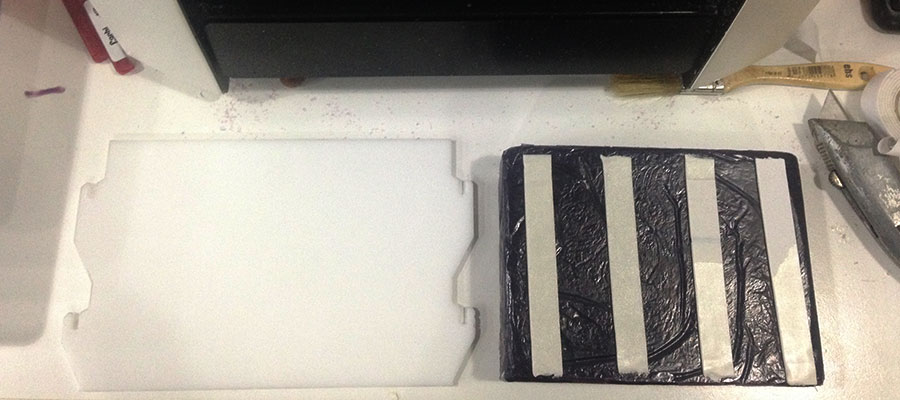
Wax mold after we took it out of the milling machine - cleaned oc. We could re-use the leftover wax dust to melt it and create a new waxpiece. So dont trash it!
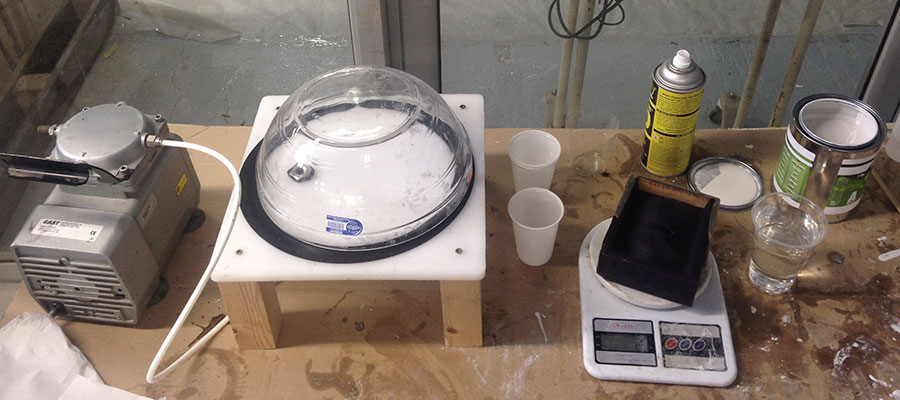
Gathering all the materials and tools we will be using on this process is essential due to the fact that we have to be fast and this procedure is really messy. So we need: * Base molding material (silicone, pourable foam, etc.) - Parts A and B; * Paper towel; * Scale; * Mold release agent (check if it will react with your base molding material); * Vacuum pump; * Plastic cups; * Nitrile gloves (the latex ones can react with our molding materials). For casting the mold I chose a white silicon rubber. The process of making it is simple, but you have to be accurate: First put gloves > Set your weighing scale to 0 > Pour the silicon and the catalyzer into a mixing cup (follow the mix parameters) > Mix for 3 min approx. > Pour the mix into your mold (with a brush apply a the first layer) > Put the mold into the vacuum to get rid of the bubbles > Let your mold cure. This are the parameters that the producer (FormX) gives: Formsil 25 Pro Silicon Rubber Mixing Ratio: Formsil: 100/ Catalyzer: 3 Working time:30 min Setting time: 4 hrs Strength: 25A You can apply it with a brush/chopstick or by pouring.
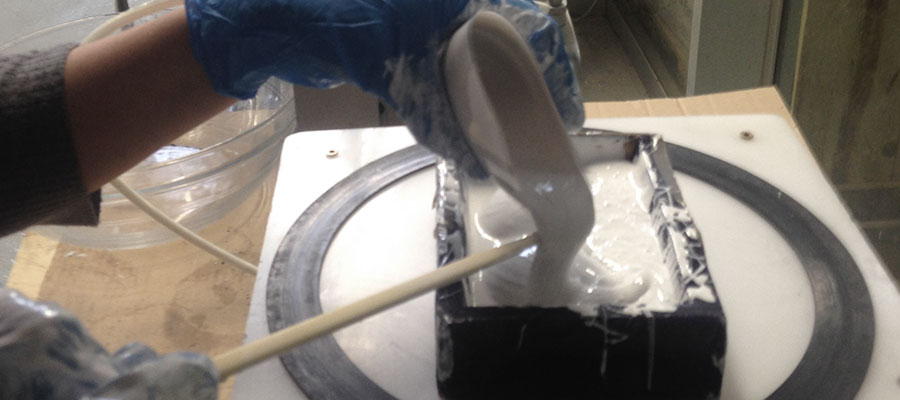
Check for the rough volume of your wax mold to calculate how much silicone you will need. (putting water to the wax mold and than back to the plastic cup). Mix carefully the two parts in plastic cup, this is a very fast process, than bring it to the vacuum chamber to pull the bubbles out of the mix. Pour the mix into your mold and bring it to the vacuum chamber again to get rid of the bubbles. This makes a more uniform mold. Bubbles are causing errors.
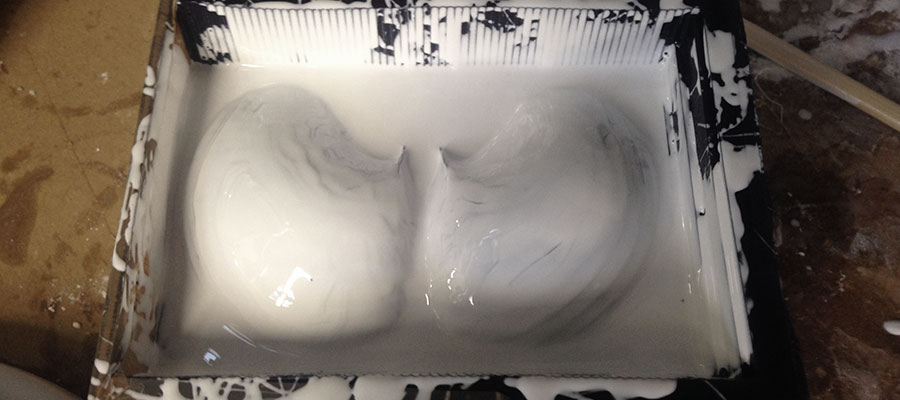
Silicon in the wax mold. Carefully spread it out across the volume surface to avoid creating air bubbles.
Silicon in the wax mold. Filling up.
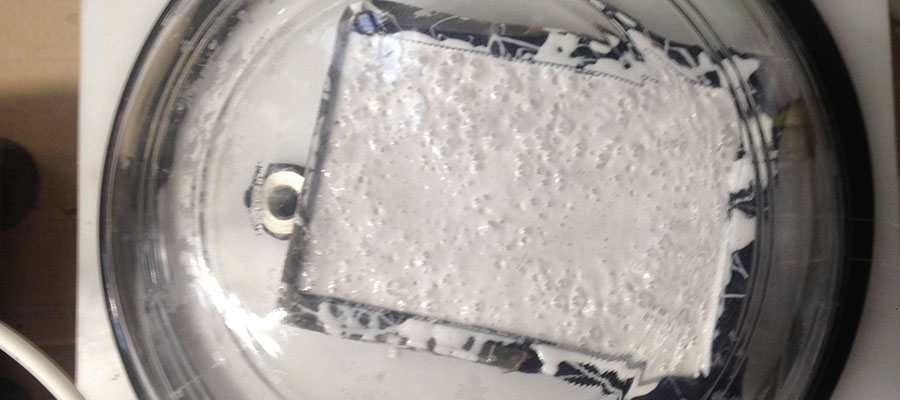
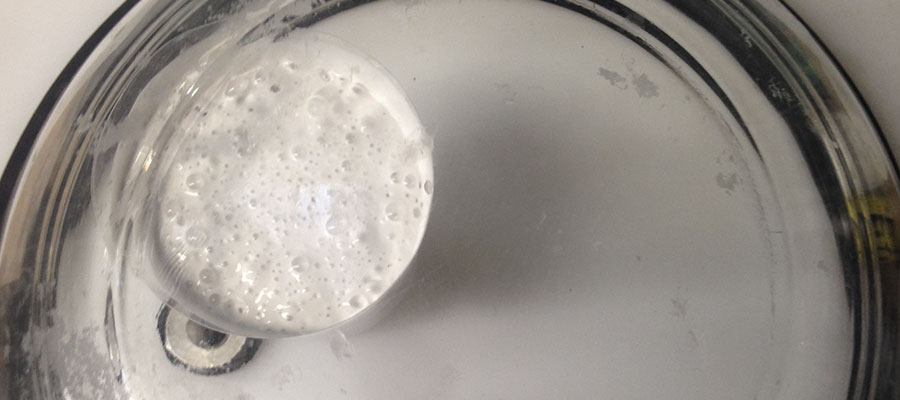
Than bring it to the vacuum chamber again to pull the bubbles out of the mix.
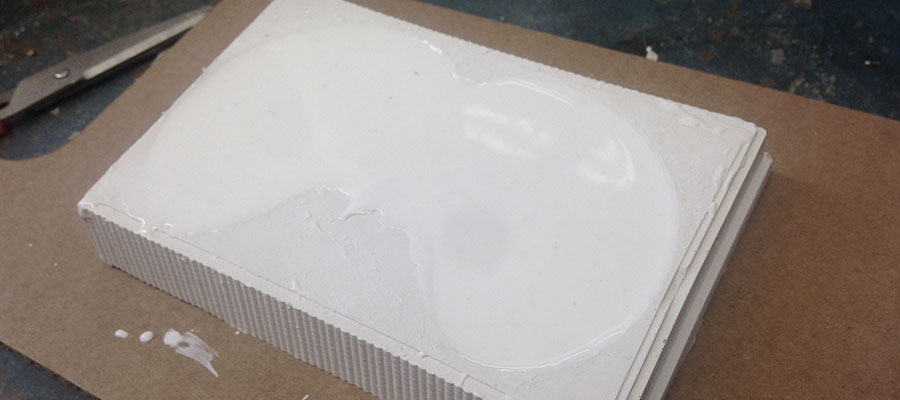
After a while we achieved to get smooth top surface and this is the sigh that we got rid of all the air bubbles in our silicon mold.
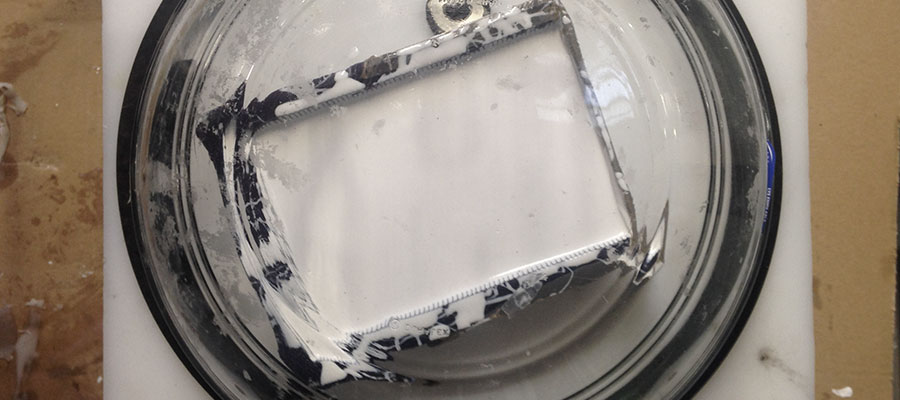
Now we can take it out of the vacuum chamber and let it chill for a few hours to let it cure.
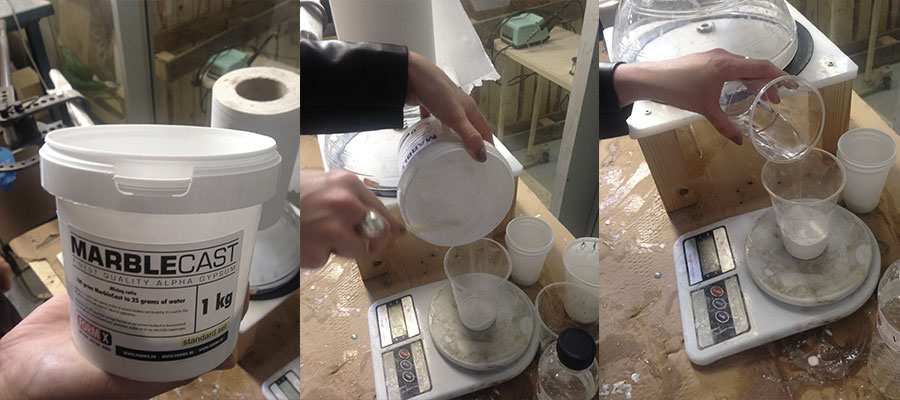
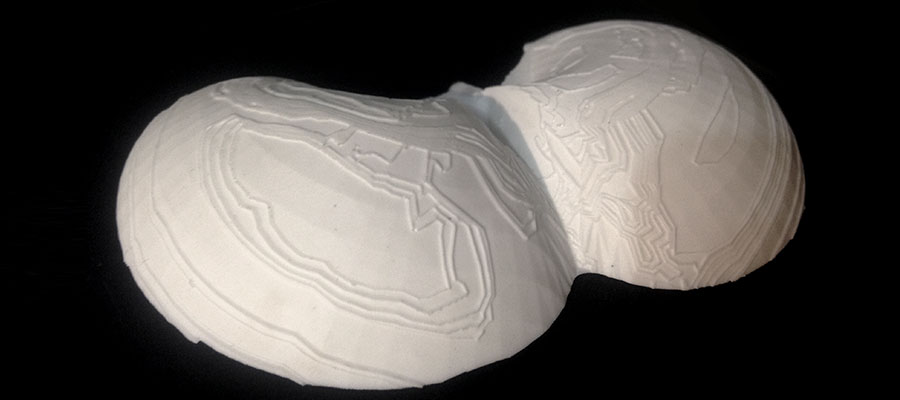
For casting I used a material called Marble Cast. Is a great material, I love it, and is perfect for my pieces, it gives you a ceramic texture. This material is an alpha-crystalline gypsum and is used in the production of statues , decorative objects and works of architecture and interior design. When you se that the mixture is homogeneous (more or less 2 min of mixing), you can start pouring into the mold, my suggestion is to first give a small layer to all the surface so you cover any hard spot, and then, pour all the material.
For full cured pieces wait an hour or more. This are the parameters that the producer (FormX) gives: MarbleCast standard Mixing Ratio: MarbleCast 100/ Water 25 to MarbleCast 100/ Water 30 Soaking time: 30 sec Mechanical mixing time: 1 min Work start: 10 min Work end: 13 min Setting time: 30 min