Interface & Application Programming

I decided to use MIT app inventor to create an application which can communicate with Bluetooth HC-05 and cintrol a servo.
You can go to MIT App Inventor Page by this Link
You have to login with Your gmail account and you are set to go to make an app.

Once the you are in it shows the design page you can select the the types of blocks its basic simple gui drag and drop.
I used some List pIcker and change their attributes uploaded some Image for the app added a Slider so thatI can control servo movements.
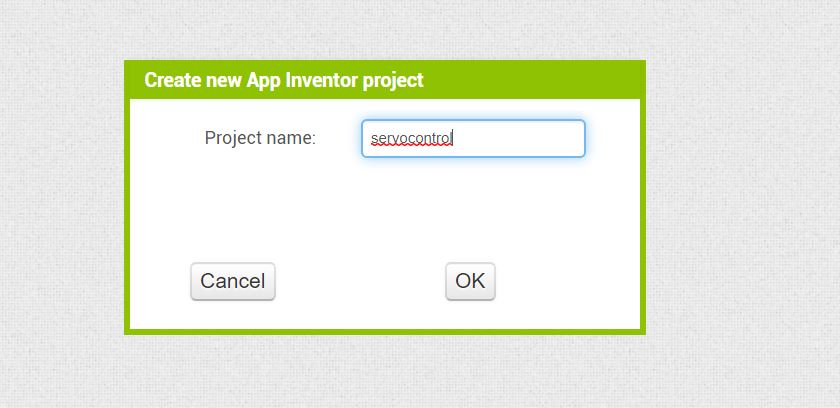
naming the project
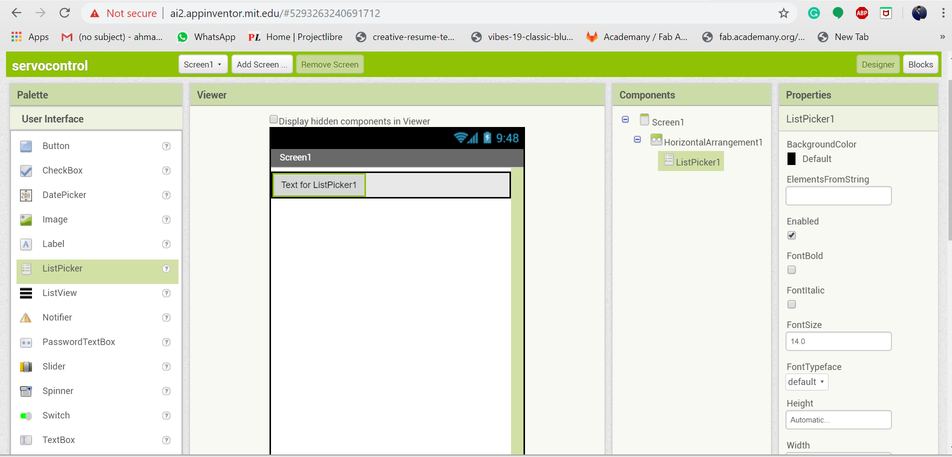
selecting gui blocks
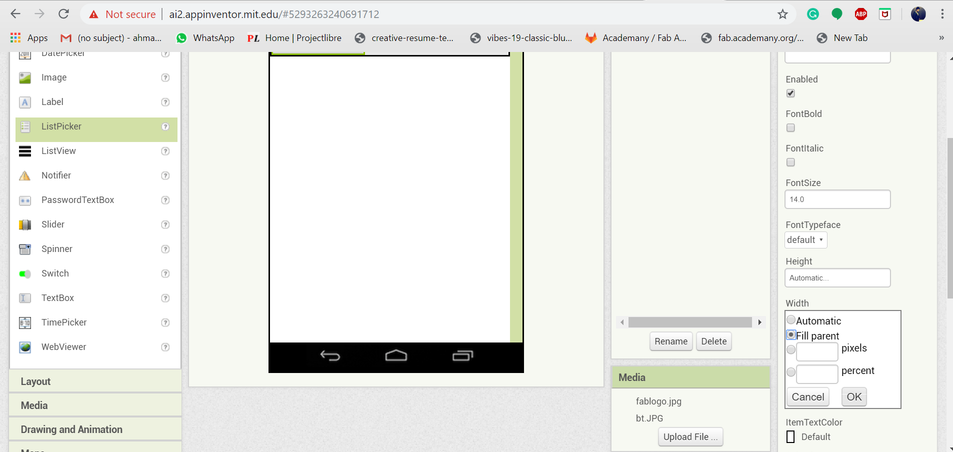
Playing with their attributes
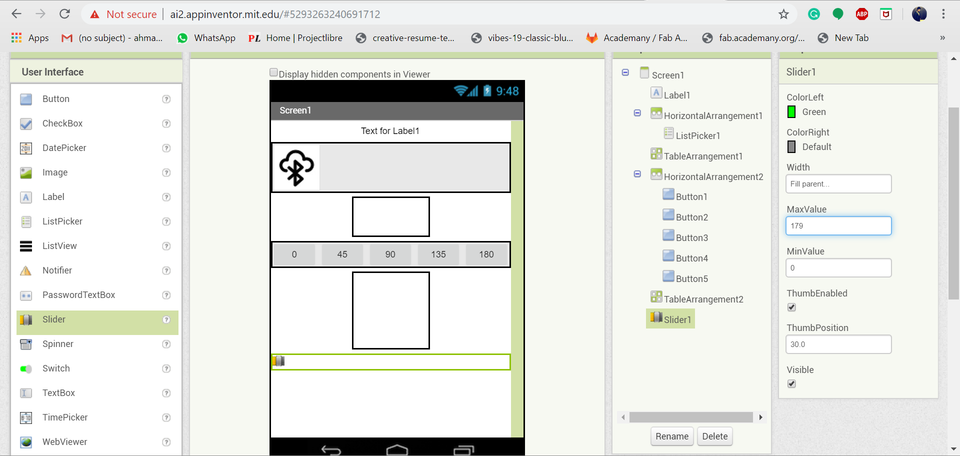
Adding a slider and defining the angle positions
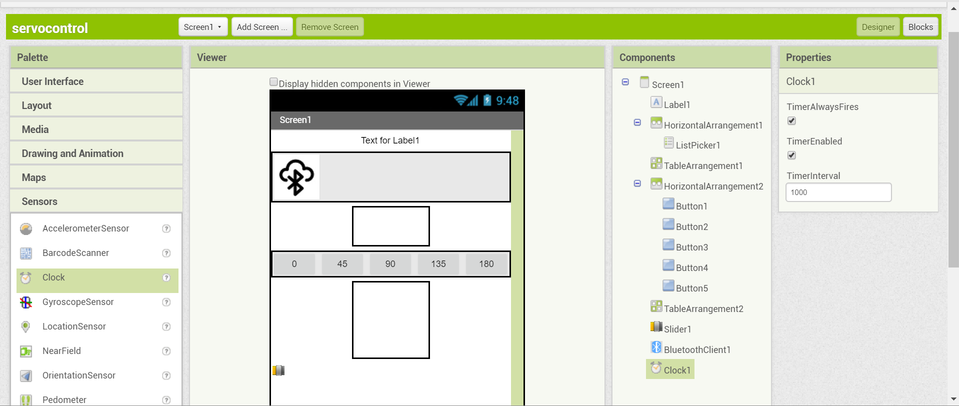
For connectivity you have to select bluetooth client and Clock
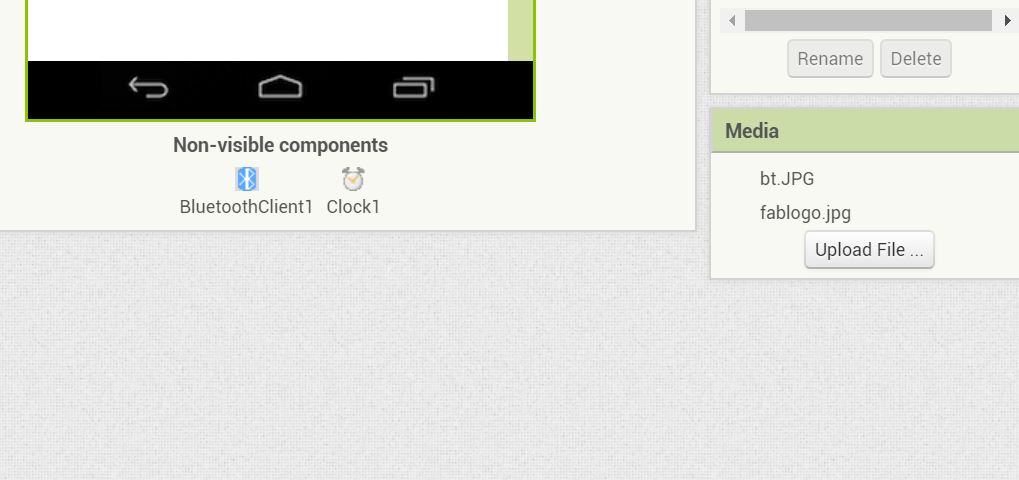
It will not be visible on the GUI but will be in the dropped down box.

The Main Part Connecting the Blocks


The block are the main bulding part of the Application they are just snapfit.
The sound on the correct snap is awesome. The main advantage is you get to know that if a block is not fitting that means It's not meant for that purpose.
It's very simple for a beginner in coding like this.
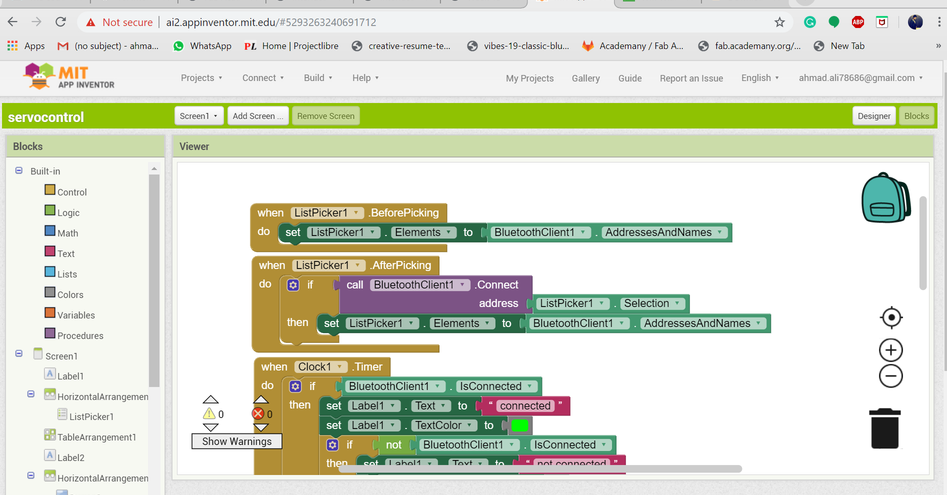
The block for bluetooth and clock
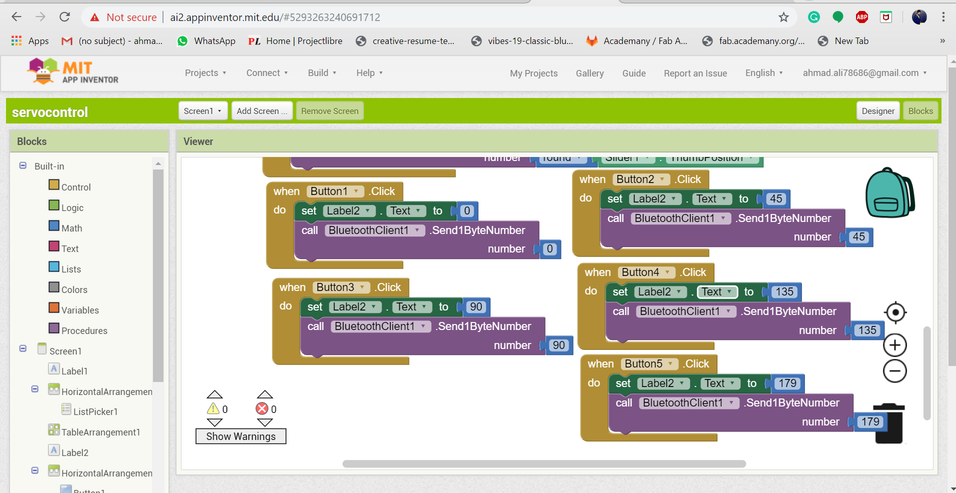
The block defining what value the Bluetooth will send to map it accorrdingly.
Then I hook Up the arduino circuit with HC05 and Servo since my output device board was servo board I was planning to do this but it didn't work in the last week therefore I went for the arduino, I took the simple servo and wrote a simple code to sweep servo accordig to serial bluetooth Data its receiving-
                             #include < SoftwareSerial.h >  // TX RX software library for bluetooth

                                            #include < Servo.h > // servo library 
                                            Servo myservo; // servo name

                                            int bluetoothTx = 10; // bluetooth tx to 10 pin
                                            int bluetoothRx = 11; // bluetooth rx to 11 pin

                                            SoftwareSerial bluetooth(bluetoothTx, bluetoothRx);

                                            void setup()
                                            {
                                              myservo.attach(9); // attach servo signal wire to pin 9
                                              //Setup usb serial connection to computer
                                              Serial.begin(9600);

                                              //Setup Bluetooth serial connection to android
                                              bluetooth.begin(9600);
                                            }

                                            void loop()
                                            {
                                              //Read from bluetooth and write to usb serial
                                              if(bluetooth.available()> 0 ) // receive number from bluetooth
                                              {
                                                int servopos = bluetooth.read(); // save the received number to servopos
                                                Serial.println(servopos); // serial print servopos current number received from bluetooth
                                                myservo.write(servopos); // roate the servo the angle received from the android app
                                              }


                                            }
                                                                    
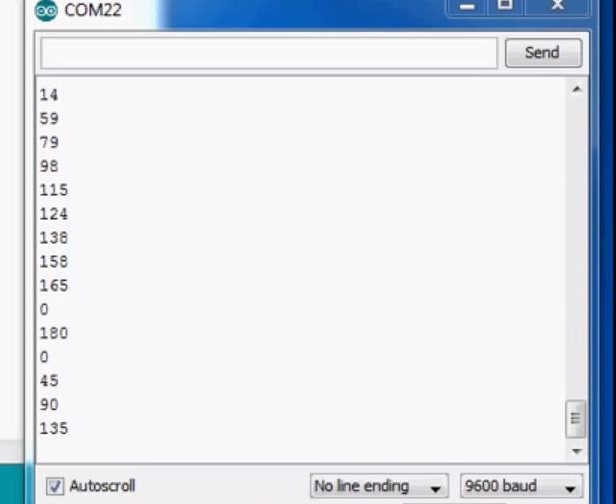
The Data was being Displayed on the Com-port.
Now you have two opions Either Youscan The QR Coe from your Phone and the app will be build in the phone or you Can download the .apk file I downloaded the apk file the video below shows the testing of the app.

Challenges Faced

The problem I faced that Once the bluetooth is connected it starts moving in the first command but as I slide for the first time It moves but for the other command the data is being displaye serially
But the Motor is not moving although the gears inside are moving I figured the out the current reaching was not enought so the inner gears were stuck However I did not have the time to correct it as I have more assignments to complete so I moved on to the next assigment.


Using Processing

You can dowload processing From this link.

Add the control libraryCP5 from the Library section so that It's functions can be used

Functions used explained-
  • (size(300, 400))-to create a window of any size
  • (background(150, 0,150))- To give background Color
  • void/ draw()- to draw on the window
  • cp5.addButton<- using CP5 library to add a button
  • .setPsoition and .setSize- To set the position of the button and size of it

I wrote A simple code to turn the Led on and OFF using the Buttons
                                        import controlP5.*;
                                        import processing.serial.*;
                                        Serial port;

                                        ControlP5 cp5;
                                        PFont font;

                                        void setup()
                                        {
                                          size(300,400);
                                          printArray(Serial.list());
                                          port = new Serial(this, "COM4", 9600);
                                          
                                          cp5 = new ControlP5(this);
                                         
                                          
                                          cp5.addButton("ON")
                                            .setPosition(100,50)
                                            .setSize(100,80)

                                            ;
                                            
                                            cp5.addButton("OFF")
                                            .setPosition(100,250)
                                            .setSize(100,80)

                                            ;
                                        }
                                        void draw()

                                        {
                                          background(150, 0, 150);
                                          
                                          fill(0,255,0);
                                          text("LED Control", 100, 30);


                                        }
                                        void ON()
                                        {
                                          port.write('1');
                                        }
                                        void OFF()
                                        {
                                          port.write('0');
                                        }
                                

The Gui looked like this-

To connect it with our cicuit we need to define the COM port and the BaudRate in the code - Initialize the Serial port
 Serial port;

Give the com port and set baudrrate i.e. the speed of data transmission
 port = new Serial(this, "COM(Number)", 9600);

To write the Data on the port
 port.write('ON');


Download processing files from here-

I used My input board that I made in my Input Week's Assignement for making the Processing application to work. I hooked out the HC-SR04 and put in the led at the ground and the TRigger pin the TRigger pin was connected to PB4 of ATtiny 45 so I wrote another code such thet if '1' serial value is sent then the LED should be on and If '0' is sent then LED should be OFF basically to make the processing application work.
The arduino Code is given below-

                                    
                                    #include < SoftwareSerial.h>
                                         SoftwareSerial mySerial(0, 2);//rx,tx 

                                        void setup() {
                                          pinMode(PB4, OUTPUT);


                                           mySerial.begin(9600);

                                        }

                                        void loop() {

                                          if (mySerial.available()) {

                                            char val =  mySerial.read();

                                            mySerial.println(val);

                                            if (val == '1') {
                                              digitalWrite(PB4, HIGH);
                                              mySerial.println("Led is ON");
                                            }

                                            if (val == '0') {
                                              digitalWrite(PB4, LOW );
                                              mySerial.println("LED is OFF");
                                            }


                                          }
                                        }


Testing by serially sending the Values voia Serial Monitor

The final Outptut-

You can see the working--- Plz ignore the sound

Group Assignment

This week group assignment was to Compare as many tool options as possible. Here is the snapshot of various interfaces, programming languages and tools we looked at as a group. You can refer to our group page for more details. Here is the attached summary of what we tried as a group.

  • Cloud
  • AWS
  • Azure
  • Google
AWS is the market leader on Cloud and have wide varities of services available. AR/VR
Various games engine- Unity
Cloud Options like AWS Sumerian
Conclusion Need programming background like C# for Unity, good for creating immersive experineces.
Programming languages- Python
Java
Scala
Node.JS
Conclusion- Python is most widely used programming language, Scala is quite difficult for a beginner level. Java is more object oriented and procedural language where Python is functional language. But now Node.js is widely framework for creating full stack applications.

MIT App Inventor One of the easiest language to develop the interfaces

Learning Outcome

This was one of those week's which shall help me great deal in future, even after the Fab Academy. I learned a lot through processing, how to add libraries, create buttons, font, color for the same, setup serial port for connections and sending characters to operate the hardware.
Also the ability of MIT App Inventor to create the Applications so easily blowed up my mind the perspective of making an app has always feared me before starting this week but Im happy at the end I learned a very lilttle bit and made something out of it.
Also the ability to connect Arduino and Processing to achieve GUI that has been created. I wish to work on similar projects in near future.
Very new and fresh experience for me and I look forward to upcoming weeks.

Top