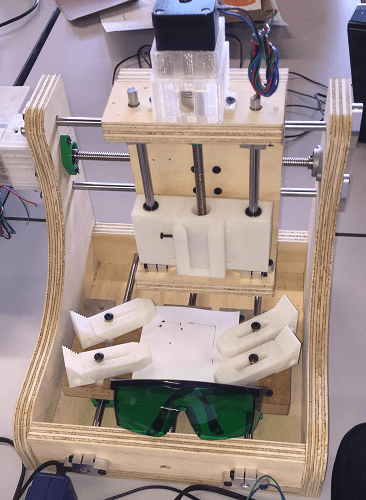
This week I designed the pieces we would set on the CNC's work plate to hold the material in place.
Design 01:
Design 02:
Once both were finished we printed several out, they came out perfect.
I also designed the supports meant to slide through the paths on the working table to hold the material that is to be worked on.
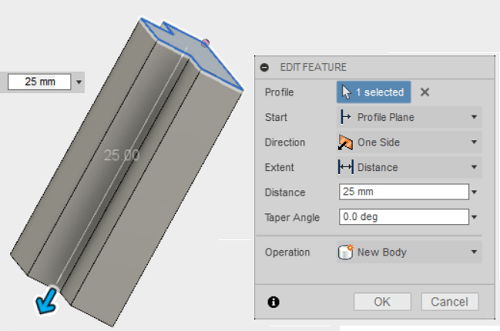
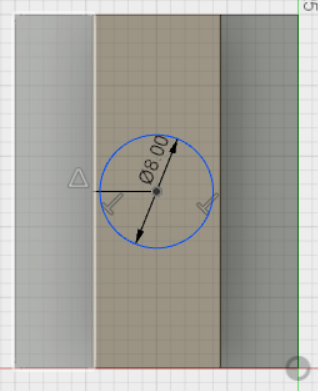
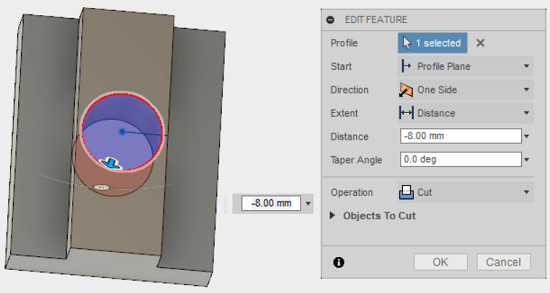
And printed them for our prototype.
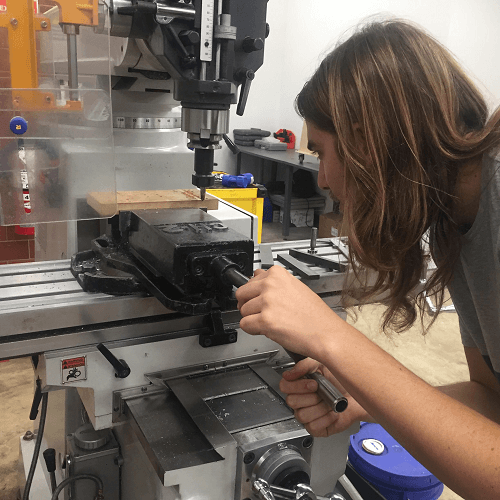
I also helped by making the lower table for the CNC.
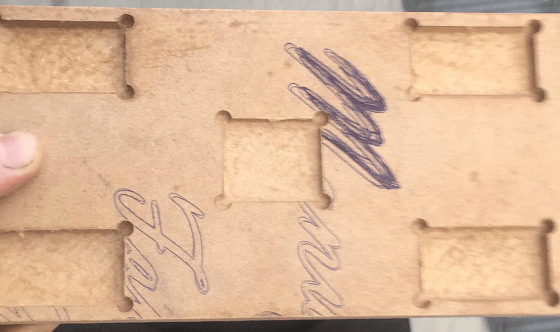
Which needed some drilling.
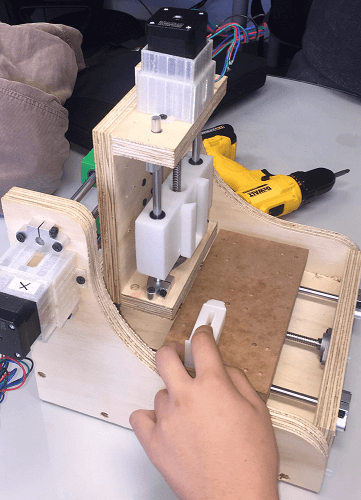
Me and Carlos assembled the machine as all the MDF pieces started fitting together, with each endless screw connected to a Stepper Motor which would allow us to control an axel. We managed to set up the whole CNC and the 3 axes were ready. Next, we connected the wires to their drivers and their drivers to a Satchakit Fabricio made in order to be used as the machine's brain and a 24Volt source as its energy source. Once everything was ready we were able to use an opensource code to control our CNC. The dovetail design on the tool fixture let us change between an endmill and a laser (which needed special glasses to be worn while working since it throws off a blue light).
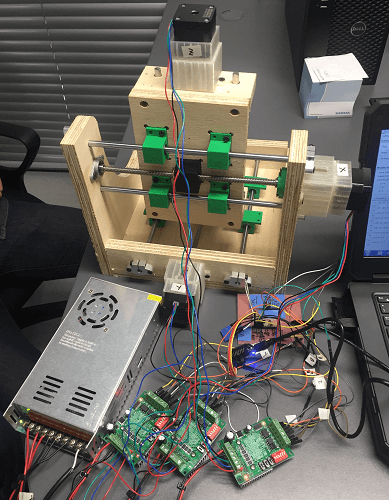
You can look at the whole assembly in much more detail On our lab's group page.
Download the original files from the links below:
3D Designs file for tightening and fixing device #1 for the CNC: Fusion 360 (.f3d file)
3D Designs file for tightening and fixing device #2 for the CNC: Fusion 360 (.f3d file)