Assignment 15:
Machine Design
Group-Task:
- actuate and automate your machine
- document the group project and your individual contribution
Work
You find the complete documentation at our Group-Site
In this part of the assignment we wanted to make our robot move. Therefore we chose two Nema 23 stepper motors because they are big enough to handle even big arms. Before connecting them to our frame we tested them out to check their controlling options. See below our test station.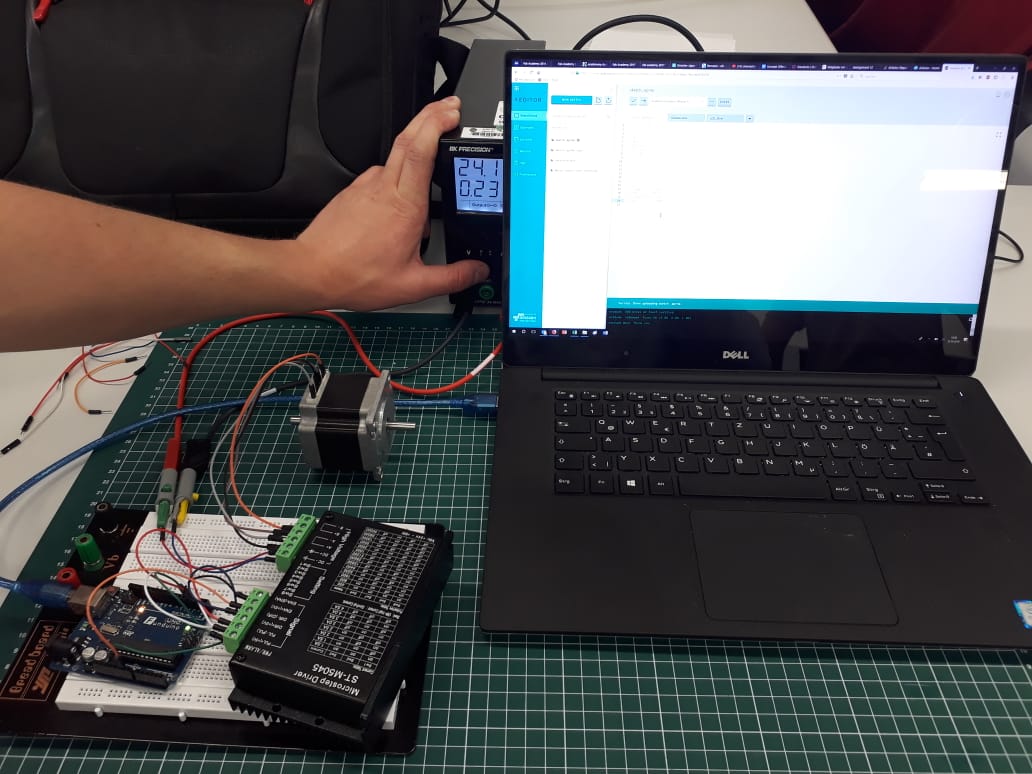
First we tried out some settings at our motor and the additional microstep driver. With this you can handle 200 to 50.000 steps per round and set the power of the motor up to 4.5 ampere. Find below the Arduino program with a simple direction change after 1600 steps. >br>
int i=0;
boolean dir=false;   //direction controll

void setup()

{
pinMode(2, OUTPUT);    //power
pinMode(3, OUTPUT);    //direction
pinMode(4, OUTPUT);    //step signals
digitalWrite(2, HIGH);
digitalWrite(3, LOW);
}

void loop()
{
  i++;
digitalWrite(4, LOW);
delayMicroseconds(1);
digitalWrite(4, HIGH);
delayMicroseconds(1000);

if(i>1600){

  i=0;

  if(dir)     //change direction after 1600 steps
  {
dir=false;
digitalWrite(3, LOW);
  }
  else {
    dir=true;
    digitalWrite(3, HIGH);
  }
}
}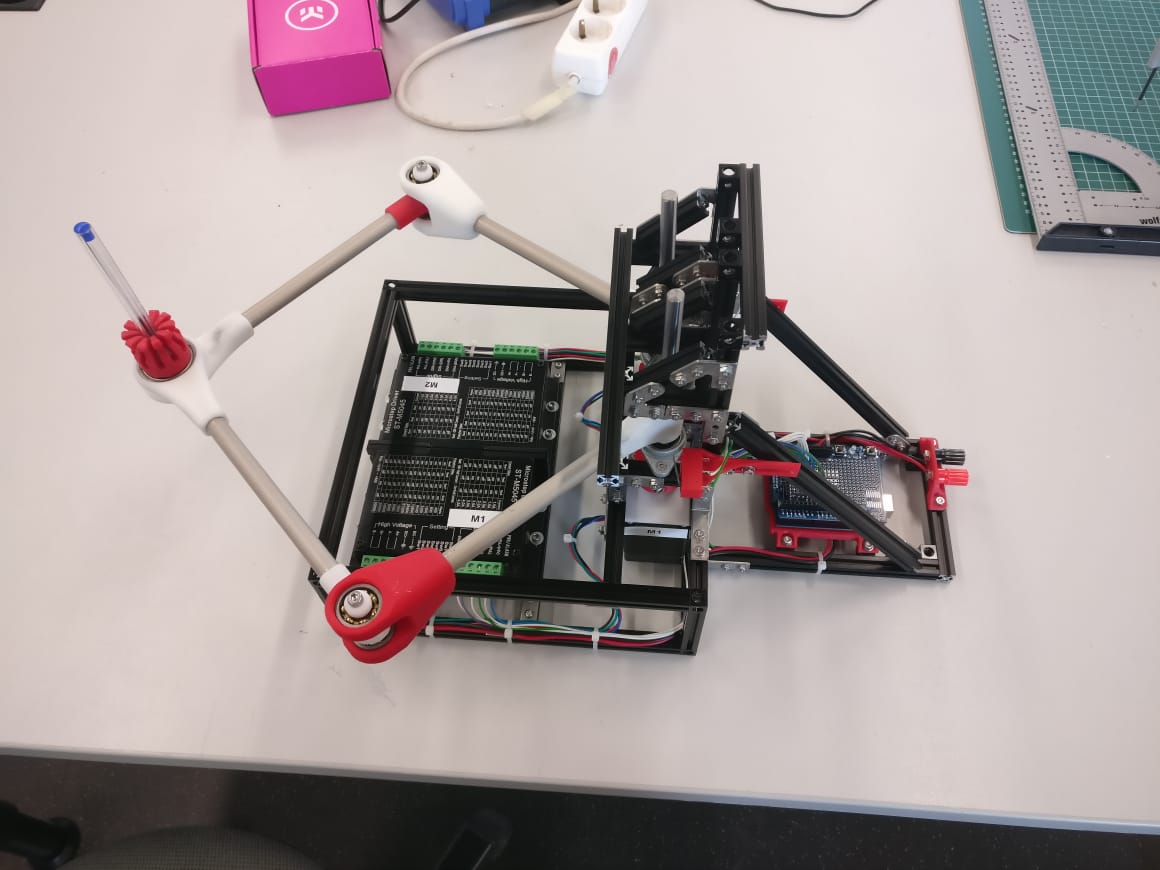
My college Peter wrote the first program to make the two motors move so let´s take a look at the firt try:
As you sethe pencil is swinging around so we had to upgrade the software and hardware. So first we tried out some different settings for the motor settings with more ore less power and with different resolutions. That makes the results just a few steps better. So we tested the delay between two step signals and measured a frequency of 19Hz. That is quite slow so we optimized the software to make the calculating workload less. That makes the results a lot more precise.
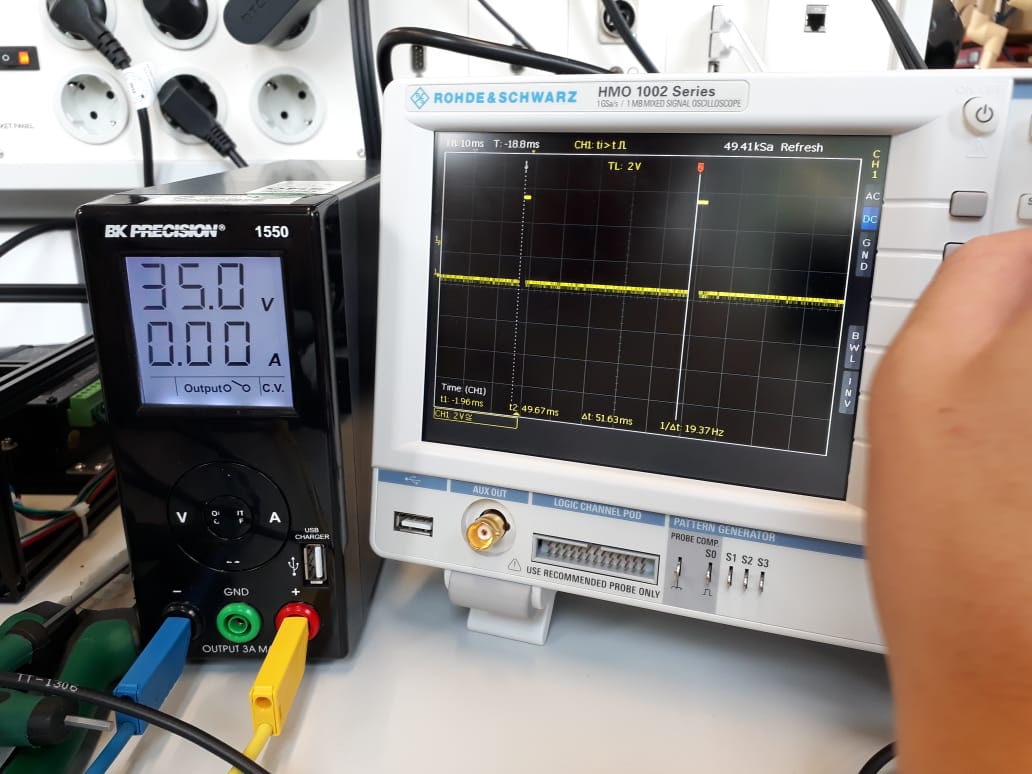
See here the difference between the first try and the second one after some setting changes and software optimizations.
The circle we wanted to draw wasn´t realy round so we had to install a homing routine. Therefore I printed the end stop holdings the last week.
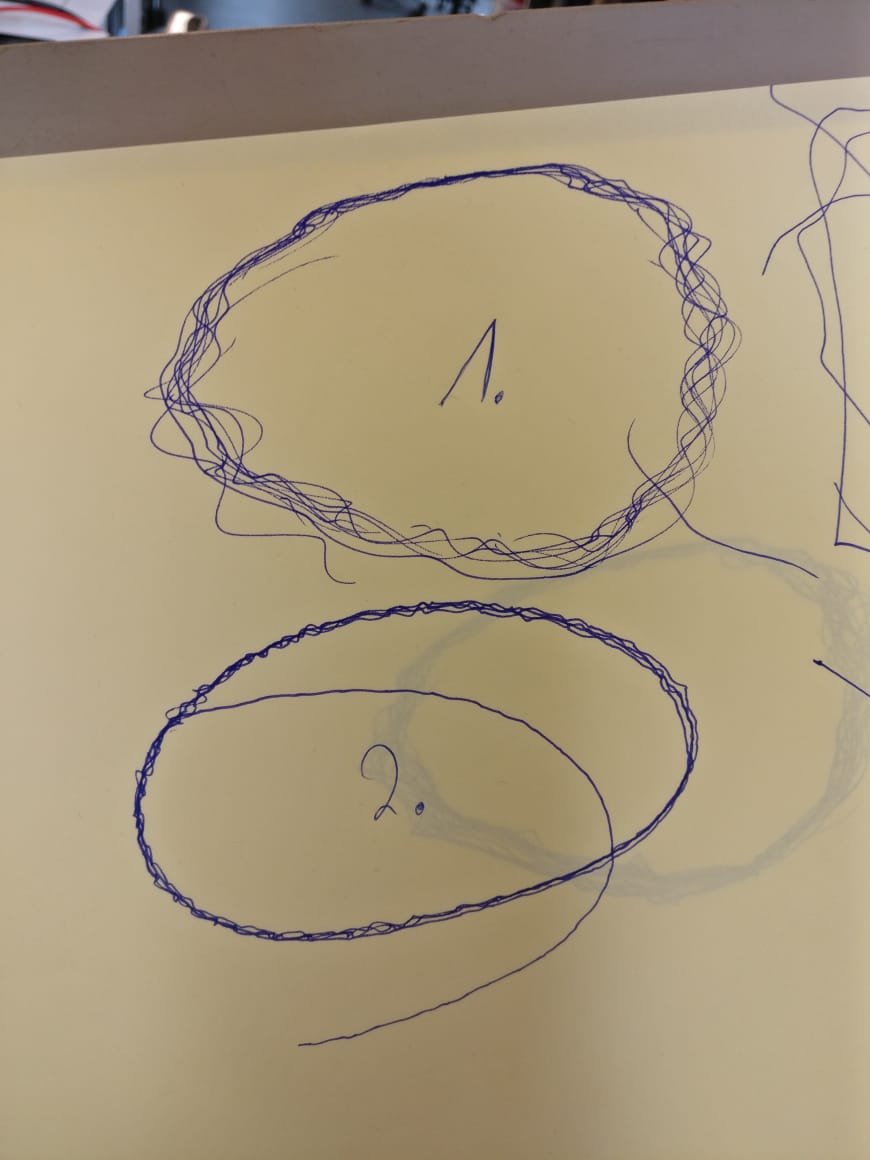
The circle we wanted to draw wasn´t realy round so we had to install a homing routine. Therefore I printed the end stop holdings the last week. Together we implemented the routine. See the process in the video below.
After the homing process our circle looks pretty good so in the next step peter implemented the direct control of the robot via touchpad.
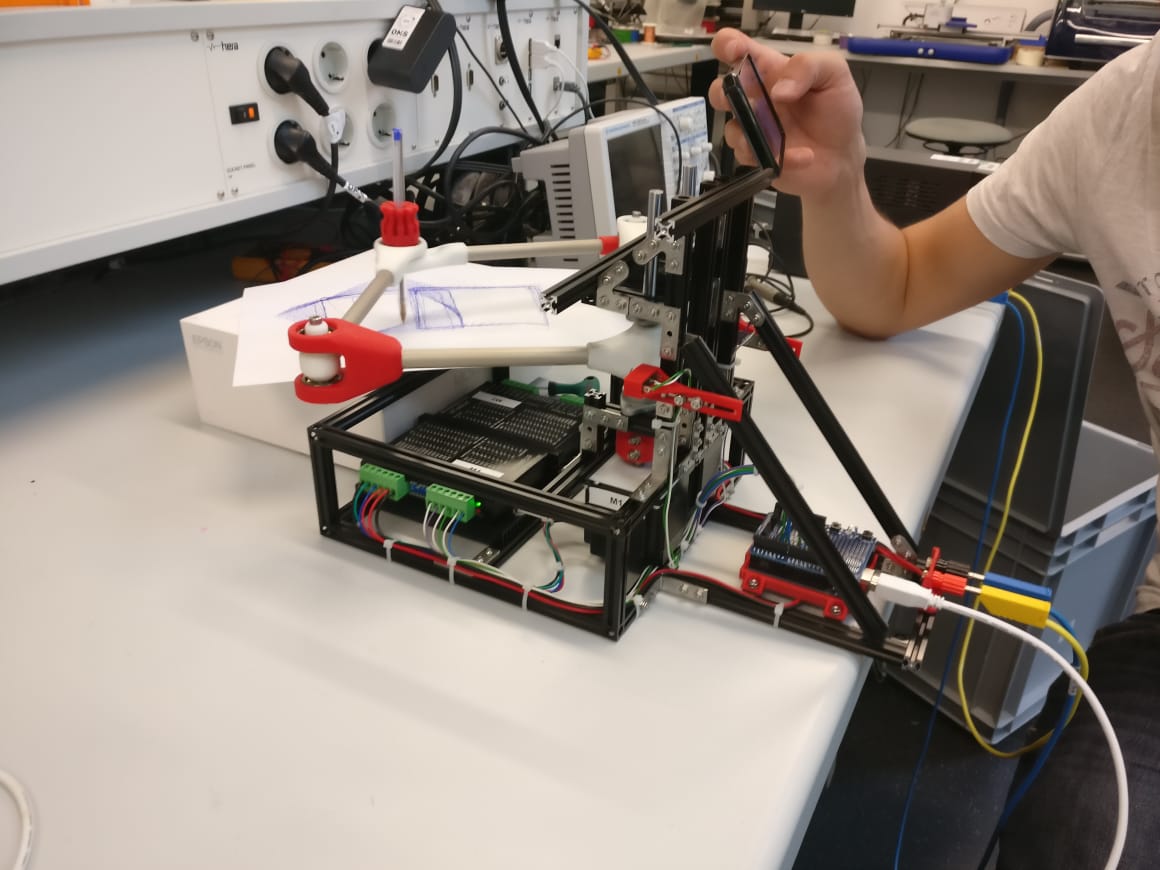
See here the finished machine with the changed clutches.
Downloads
| Nema23 datasheet | download |


