week_16 mechanical design, machine design
Tasks
make a machine that makes with "gestalt nodes"
File
download the files
in this assignment i worked together with ronald. while i was going into the mechanics, adjusting the lathe for the new motor and making the parts fit and/or improving the design in some places, he designed the marvelous adapter for the lathe.
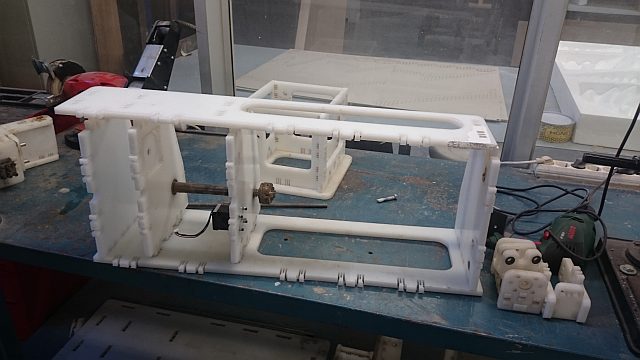
we found all the pieces for a lathe in the fablab and want to retrofit it to be able to grind a helix into a steel cylinder. together with ronald and the advice of ferdi we gonna tackle that task.
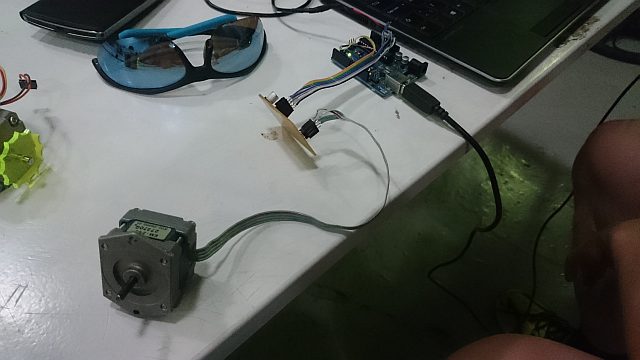
originally it has a strong DC motor but we want to be able to precisely control the rotation. we have a spare stepper motor and tested it to see if it works - it does!
to be able to mount the motor we have to mill a profile with the footprint in a new location. to be able to adjust the tension of the transmission belt we make long holes, this gives us more flexibility in readjusting the position of the motor if the belt stretches.
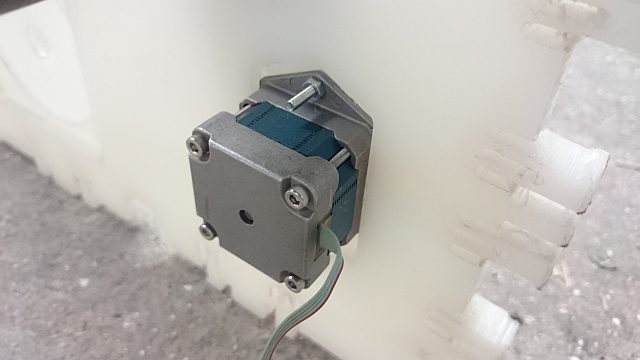
once the footprint of the motor was milled into the board i was able to mount it, i had to make an extra path because the tolerance was too tight. now it can slide freely.
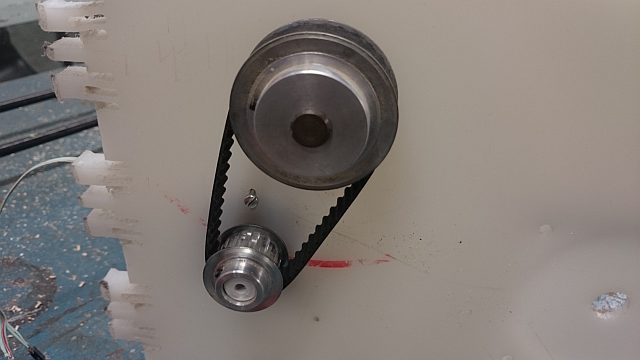
now, by sliding the motor up and down to a desired position, it's possible to tension the belt properly which results in better transmission of the forces and higher accuracy.
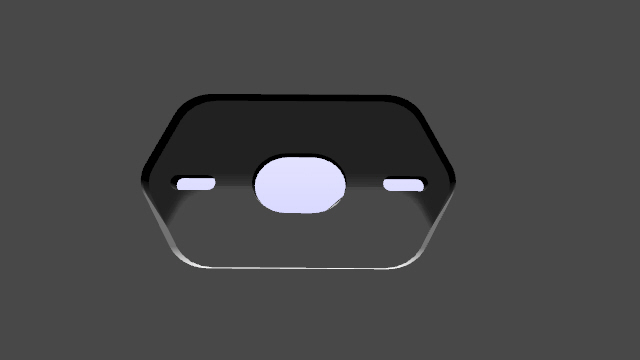
also visible in the picture: we had to print an adapter to fix the gear on the motor, it's not fully developed yet, it's still too loose on the axis because the hole came out slightly conical instead of cylindrical.
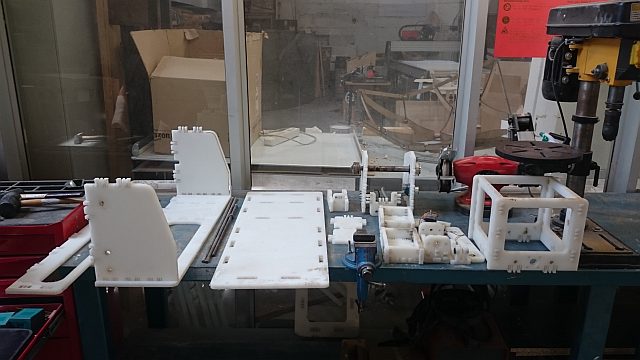
after milling it is time to reassemble. first we cleaned all the pieces and checked with the model which part goes where (not all the pieces in the pic above are part of the lathe).
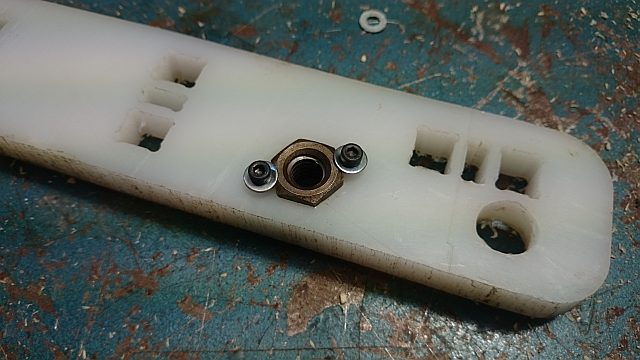
during the reassembly we found some space for improvements like locking the nuts since they are difficult to reach after the assembly.
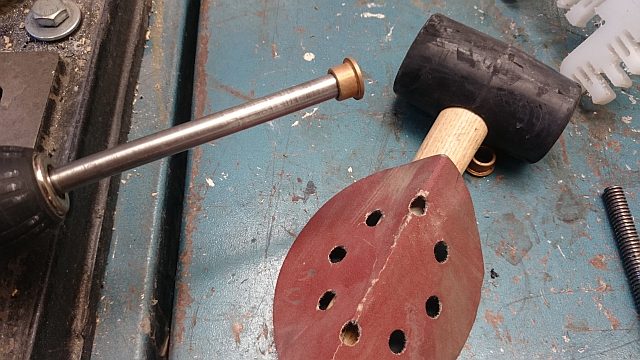
since the bushings didn't slide very nicely onto the rods i put the rods into the drill and carefully sanded the ends. it's important to use a rubber hammer to move the rods into position... no force should be necessary to assemble these parts, it's very precise and therefor easy to be damaged.
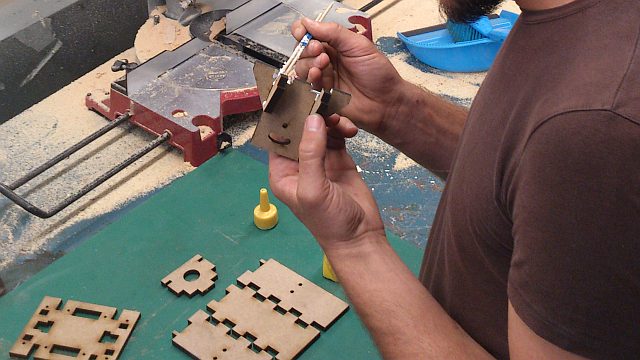
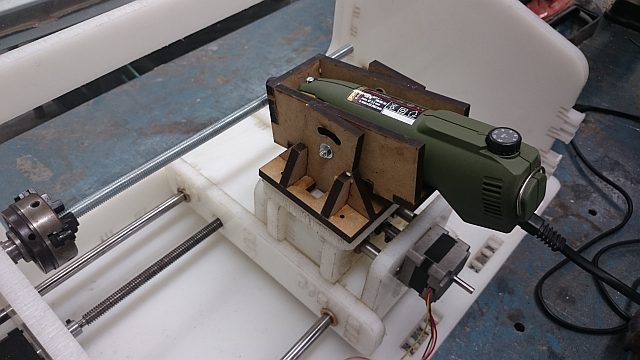
together we designed a new version of the adapter for the mini drill, which will replace the cutting tools originally intended for the lathe. using this will reduce the forces within the lathe sgnificantly because the tool is actively cutting into the material. to be able to put the tool in the right position, the adapter can be rotatet on an axis to allign the toolhead with the hight of the central axis of the material, the first (3D printed) version of the adapter had a fixed height.
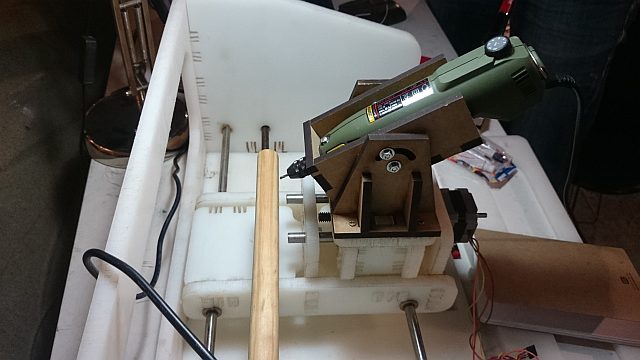
since the distance between the base plate of the adapter and the holder for the tool was too short, we didn't have anough angle to allign the toolhead with the axis of the material, the toolhead was still too hbigh. so ronald changed the design slightly. now we were ready to go into the gestalt nodes.
first we checked all the motors by connecting a node to them and then running the nadya's "single_node.py" code. all the motros worked but...
... we had some mechanical problems all the way through.
first, because the motor wasn't turning, we had to reconfigure the connections of the cables, going through a variety of possibilities. we were not sure if it was an electronic problem or mechanical. so i disconnected the motor from the helical rod and we ran the code again. the motor worked properly. checking the site of the people who worked on the lathe initially in the Fabacademy 2012 revealed that there have been problems of that kind right from the beginning.
we wanted to try the result anyway, with two motors at least. so we connected two nodes and the nodes to two motors. running the x/y plotter code and the result was sufficient.
another strange mistake, maybe the motors are too weak?
after discovering all these issues we wanted to test it anyway - and discovered another problem.
the clamping element is not strong enough to hold a 20mm wooden cylinder, we would have to design a centering element on the opposing side of the clamping element.
conclusion
it was a great chaallenge but we would need more time to really make it work. basically i think the best thing to do would be to rebuild the whole lathe, starting with the files and repairing certain parts, for example some snapfits. the existing lathe would be a great model to improve upon.
the lathe as a machine would be a really amazing machine as an addition to a fablab!