MOLDING AND CASTING
The activity of this week is to design a mold, manufacture and perform the memory dump to obtain a product.
STEP 1: DESIGN MODE
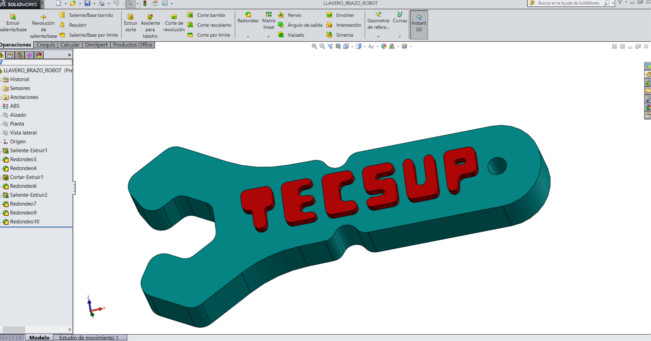
For me design a three-dimensional mold, for this use the program "SolidWorks " as can be shown in the figure, it is a small key of one party, which has the name of the place where I work. The final product debiese be as follows:
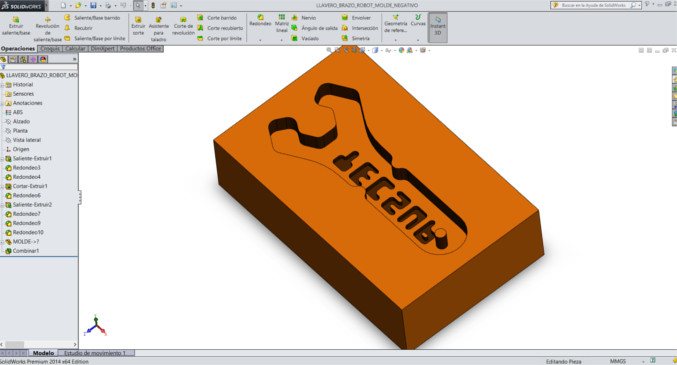
To do this, create the positive mold as the MODELA milling penetrates the material with the cutting tool. As it would be designed mold that shown in the figure below:
Once this is done, the file created should become a compatible file MODELA milling for this file is exported with " .stl " format. It should be considered that the file extension must be in lowercase to be recognized by the FAB Modules.
PARAMETERS
Diameter: 1.587 mm
Overlap: 0.25 mm
Top intensity: 1
Offset: -1
Error: 0.9 pixels
Top z: 0.0 mm/p>
Bot z: -17.8 mm
STEP 2: MAKING MOLD WAX
MODELA milling machine to do this activity was used. For placing parameters in the software of the machine I suggest reviewing the tutorial found on the following page:
http://fabacademy.org/archives/2015/doc/moldes.html
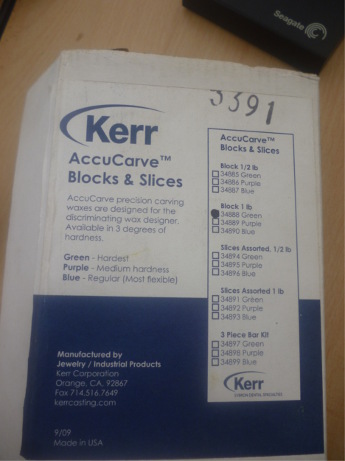
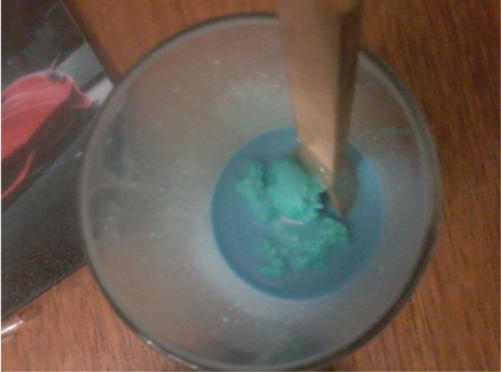
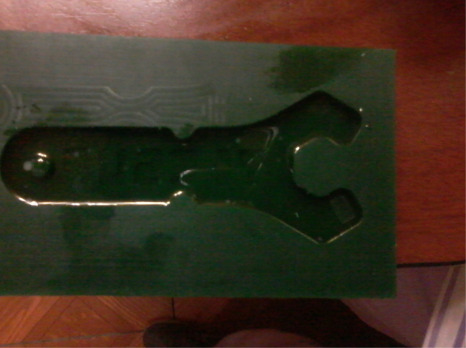
The material to be machined shown in Fig. As shown is a machinable wax green.
In my case using a 1/8 inch milling cutter for machining the mold. The mold clamping is performed with the use of tape "double face ", as this allows you to set the pan in the work area of the router.
STEP 3: OBTAIN THE PRODUCT
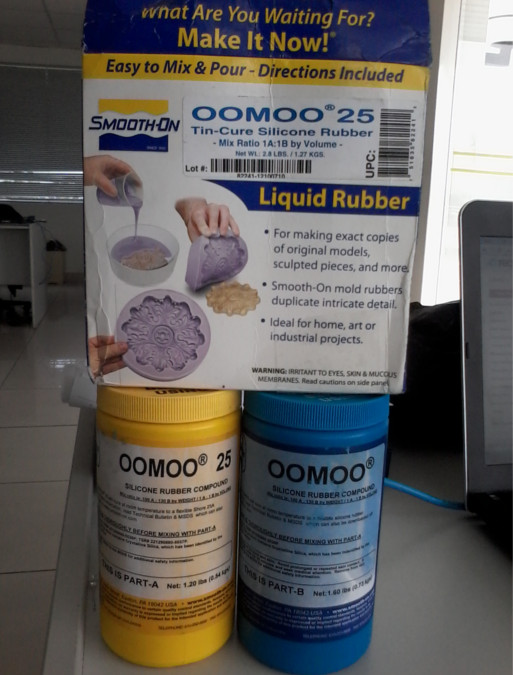
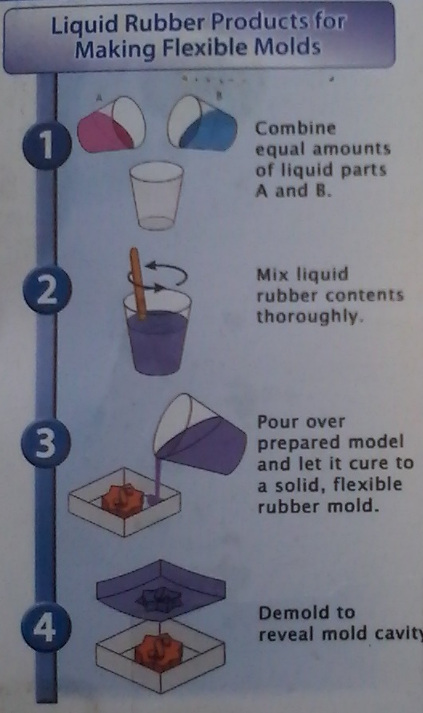
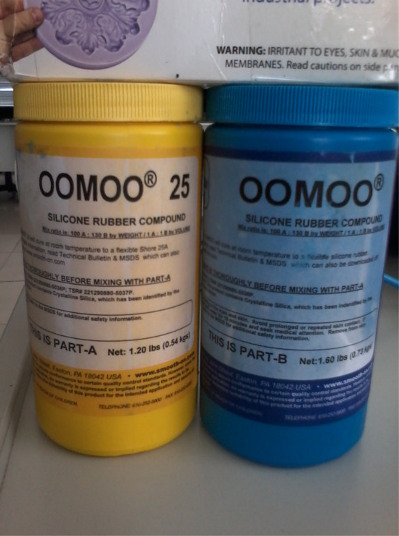
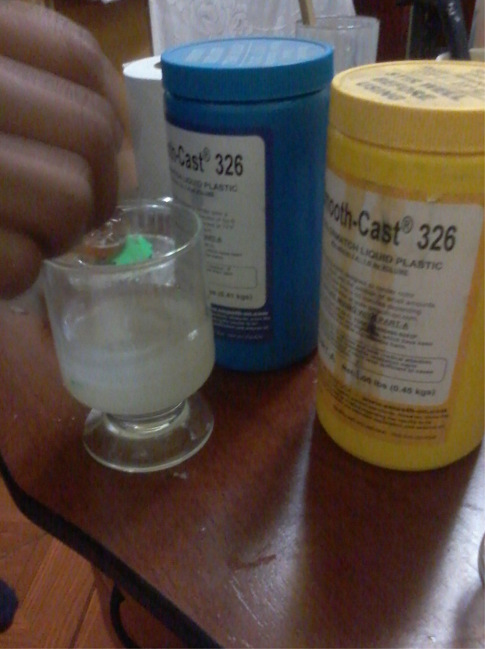
After obtaining the wax mold and machining, we proceed to make the casting, which was available for two different materials to work: one of them was the "Liquid Rubbed " and other material was "Liquid plastic".
For this part it was necessary:
• Using gloves
• Using lenses
• Area for mixing
• Recipients
• Object for mixing
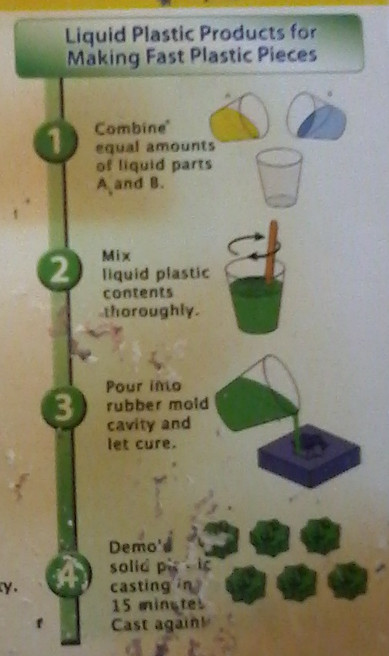
For the first material but I followed the steps that appear on its cover. The instructions said to be mixed in equal quantity and evenly. But my surprise was that one of the materials and the liquid was not. So I did the mixing of materials, but never could combine in a uniform manner. Checking the expiry date of the materials, I realized that they were defeated, so he could not make the negative mold.
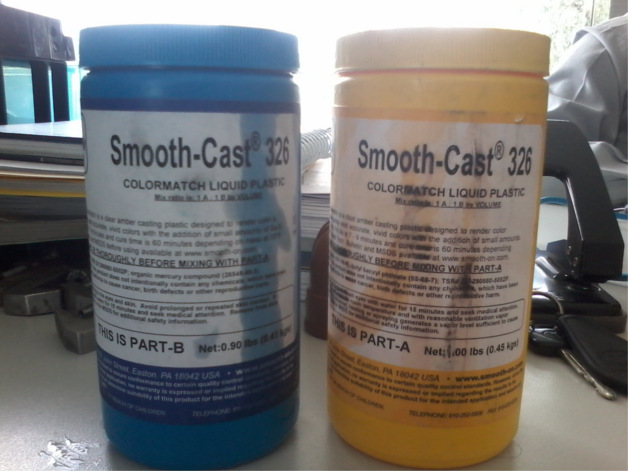
In view of what happened before working with the second choice of material that was available, which was the liquid plastic. The procedure was the same as in the previous case.
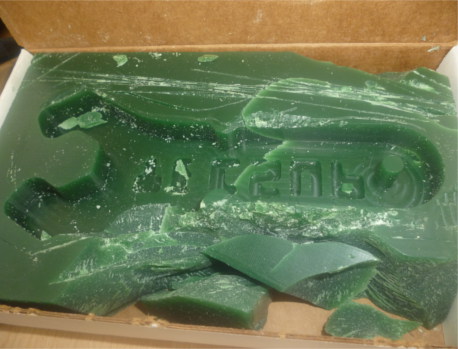
Once the mixture proceeded to pour into the mold of wax. After that, it was just a matter of waiting for the compound to solidify.
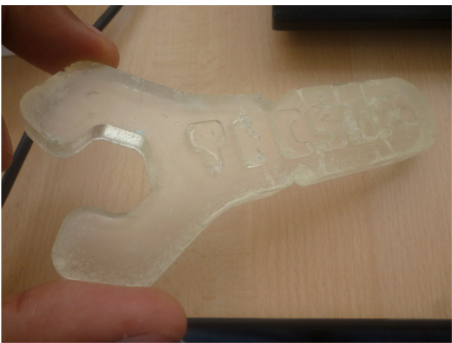
After drying time, we proceeded to remove the product. The downside was that it had to destroy our mold, but the good thing was that we got our final product, which is shown in the following figure.
 Download
- Design Molde:
Download here
