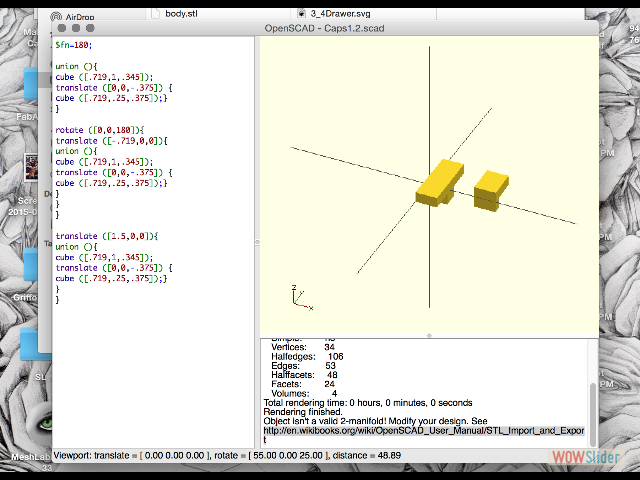
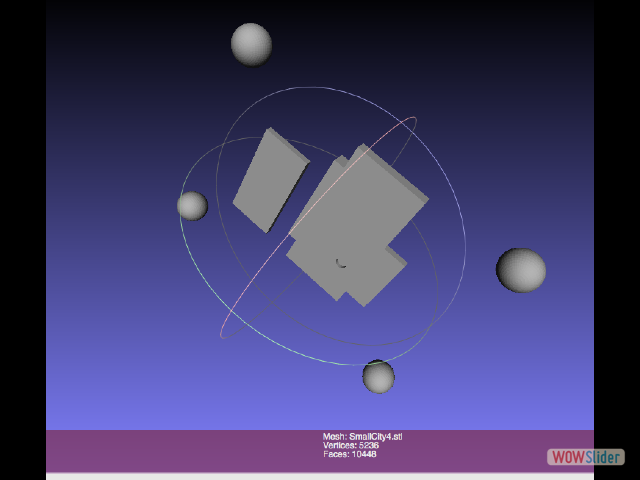
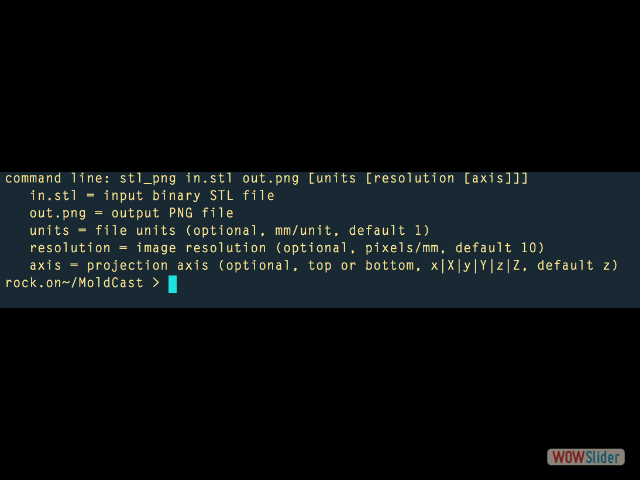
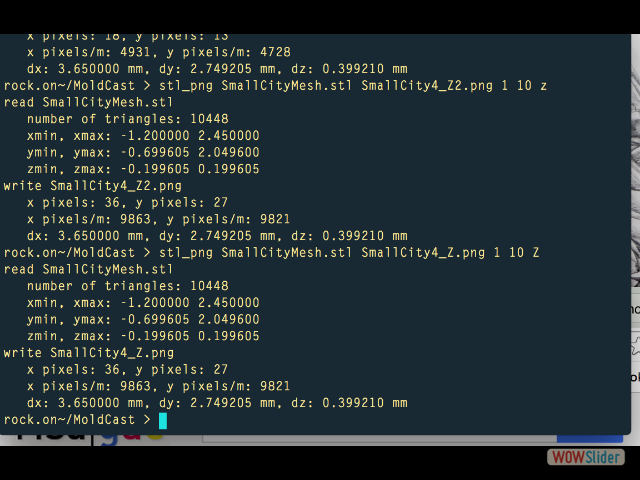
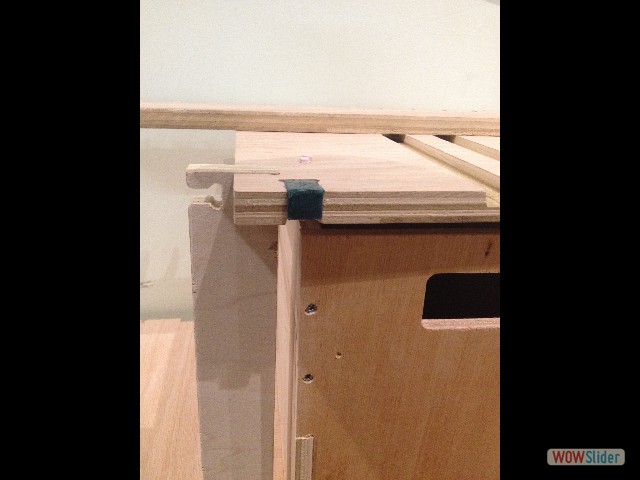
My goal for molding and casting week was to make caps to finish off the exposed notches on my drawer piece. At first, I designed in openScad. From there, I exported as an .stl, which I brought into MeshLab (1st time using that software) so that I could export and .stl as a mesh. From there I created the png file with grayscale by using a program Shawn wrote called stl_png, which converted the mesh object to a png image. It was important that the .stl file and the stl_png program were in the same folder.
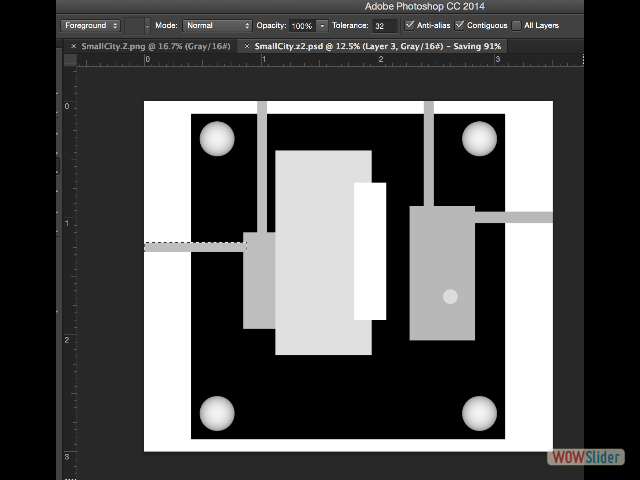
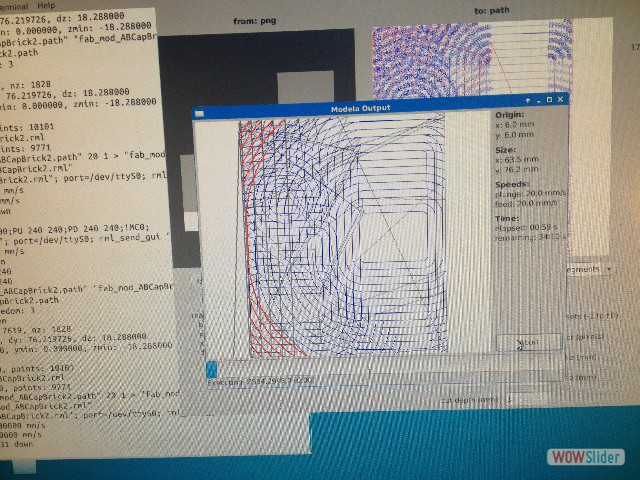
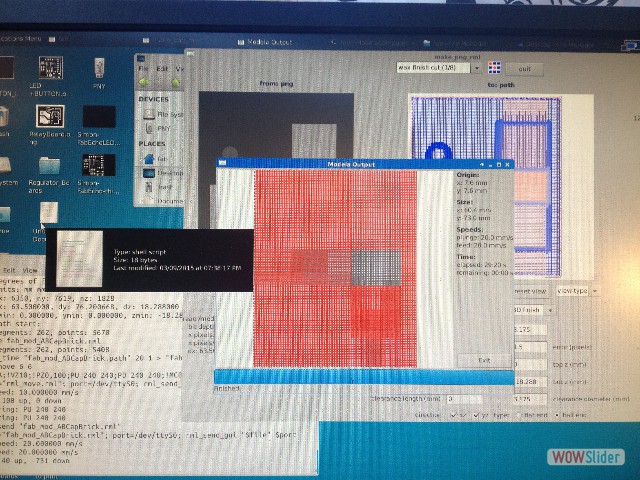
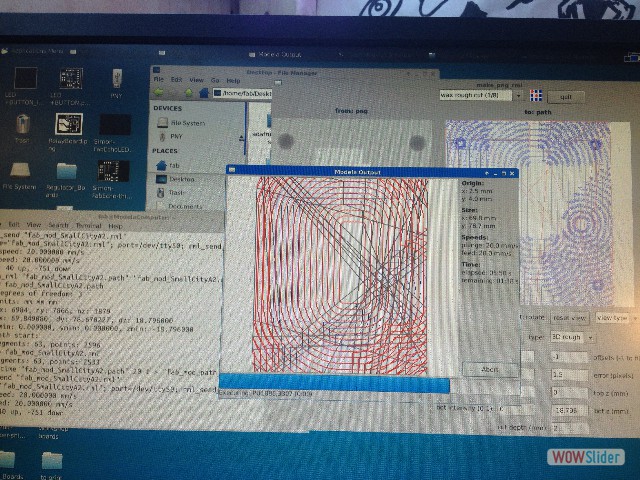
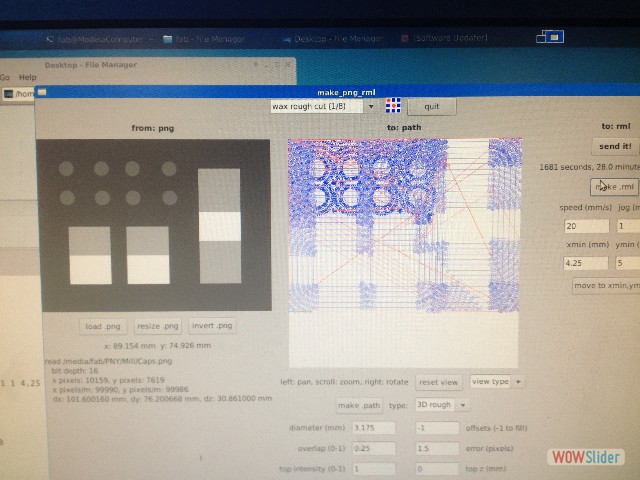
The first challenge arose because I had not shaped the entire piece in openScad, meaning I had not put the box the mold rests in surrounding the object. I did this in Photoshop. Yet the fabmodule would not load my .png file. At first I thought it might be too high a resolution. Then I thought it might be my color profile. Finally, Shawn suggested that it was the way I was compressing the png export from photoshop. Turing compression off fixed this issue. After resolving this, I was ready to mill. My mill file was very high resolution so generating the .rml code to interface with the Roland Modela from the .png file took a very long time, at least 15 min.
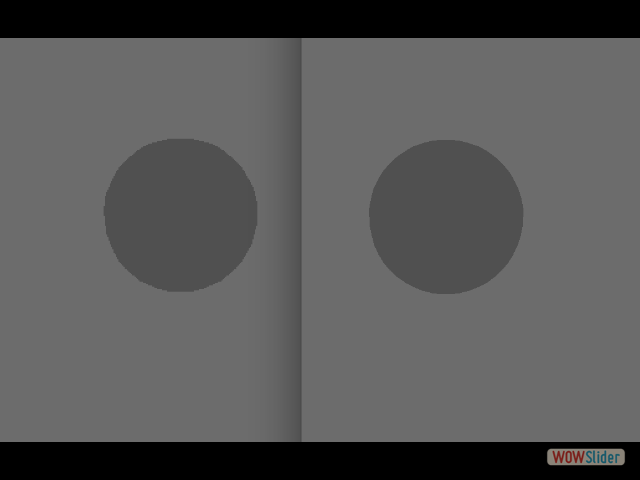
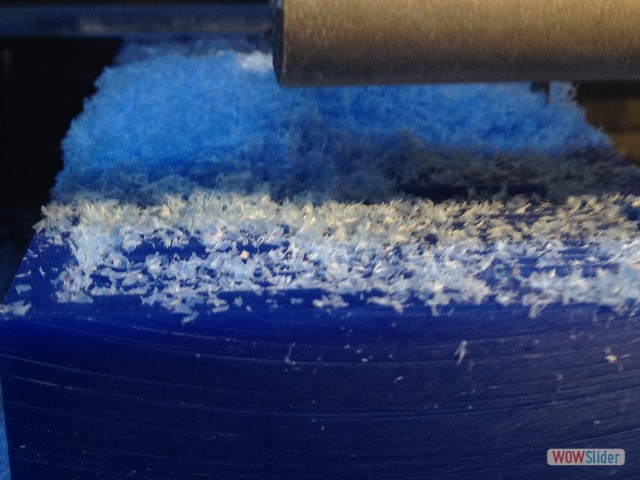
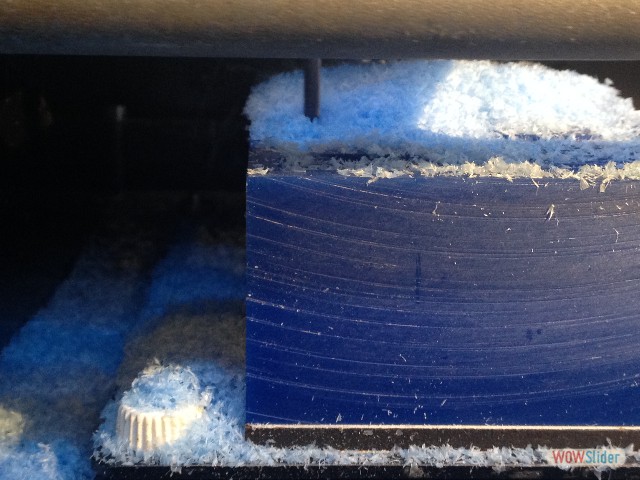
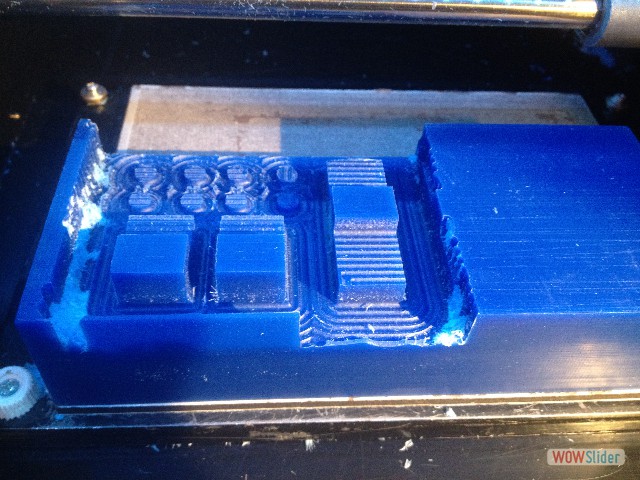
When I set the machine to the depth of my object, I failed to realize the dark grey was the bottom of the object but not black. I has set the z depth to the depth of my object versus the box that surrounded it. So I quickly realized my initial mold would not be deep enough. Though sadly it was too late and I was already on my finish cut. Luckily, I could turn the block over and restart, setting my depth once again.
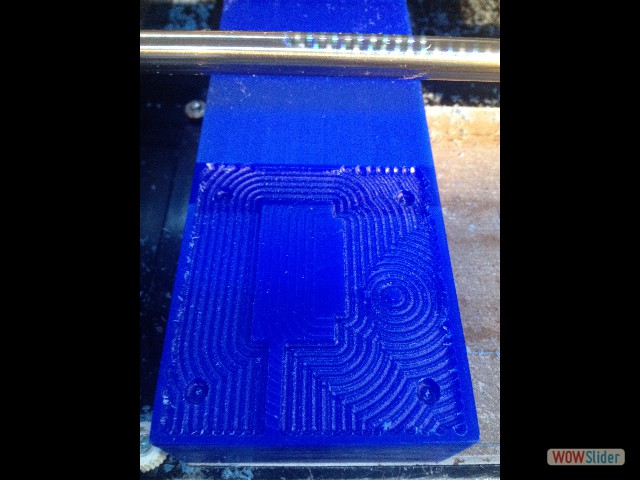
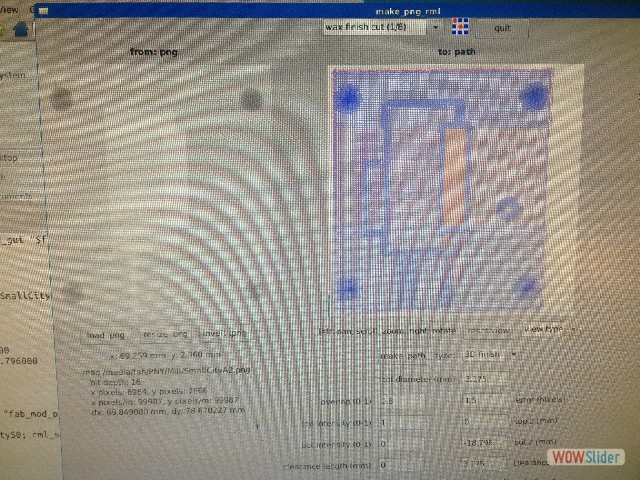
It was good to be familiar with the x/y axis setting and z calibration for jumping right into the milling. For both the rough and the finishing pass I was using an 1/8th inch ball nose bit. I adjusted the finish milling to overlap .8mm, which gave a very smooth finish with minimal line texture.
jquery photo gallery by WOWSlider.com v7.6m
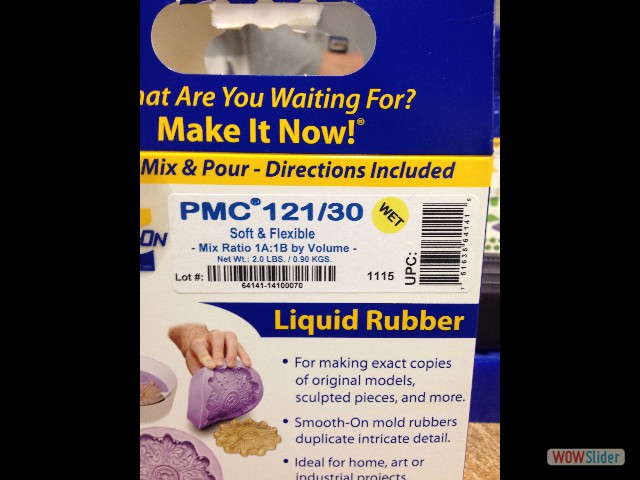
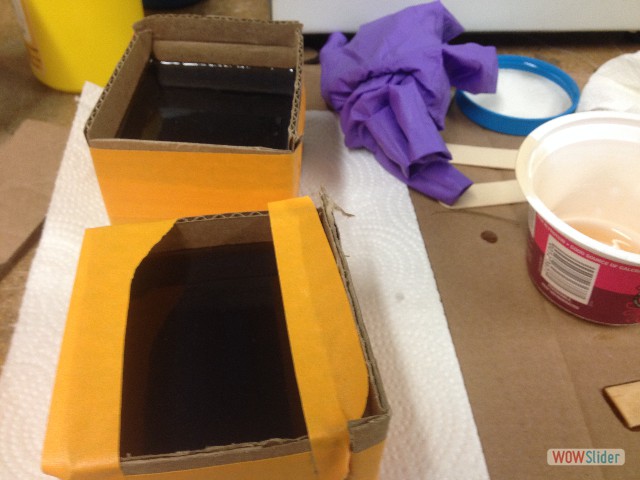
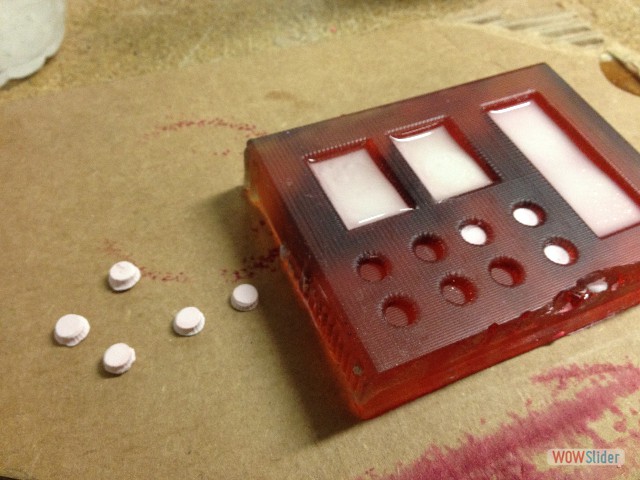
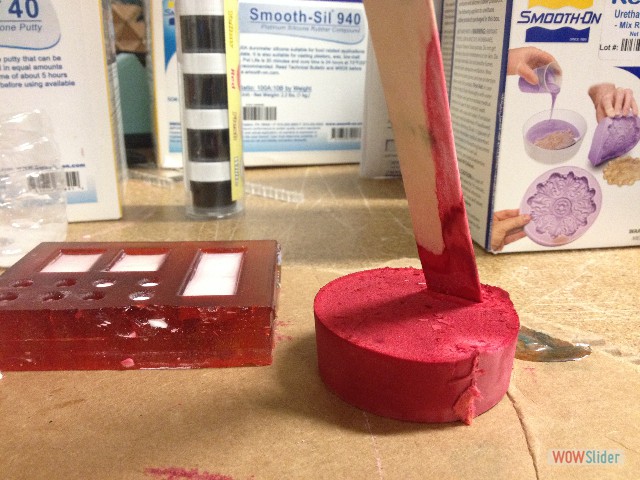
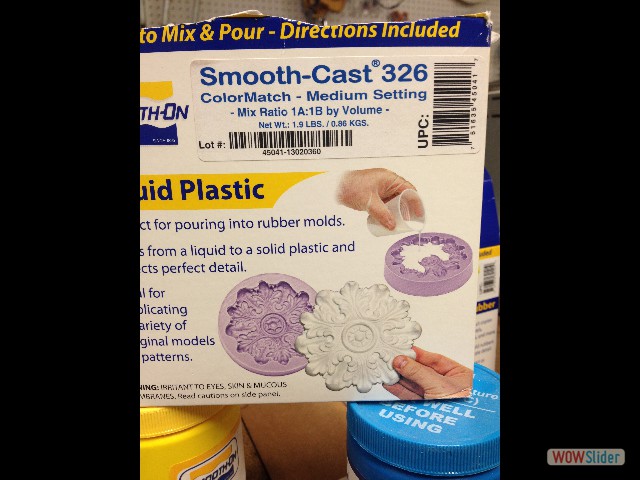
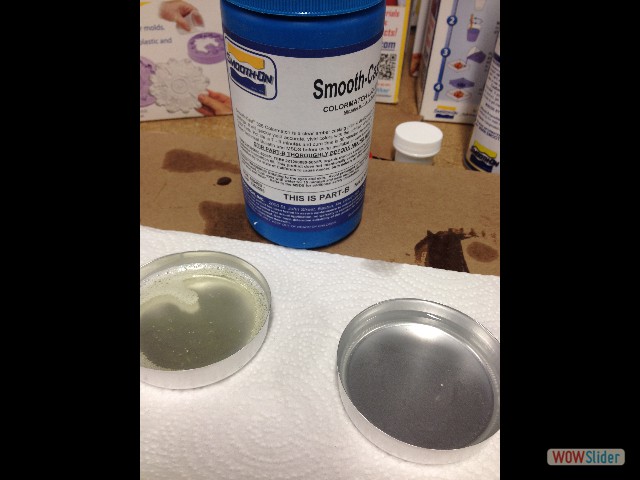
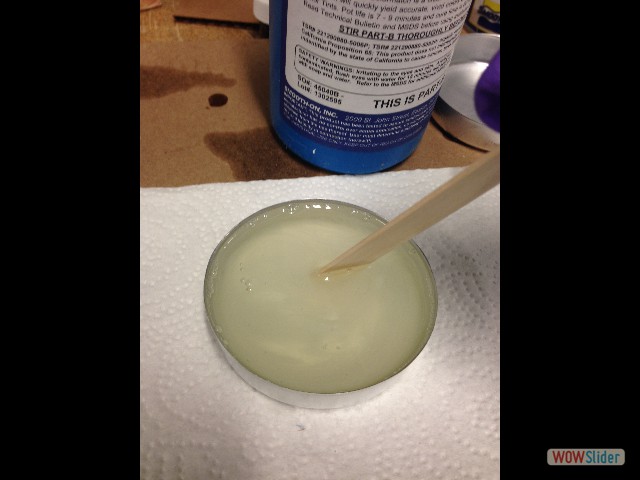
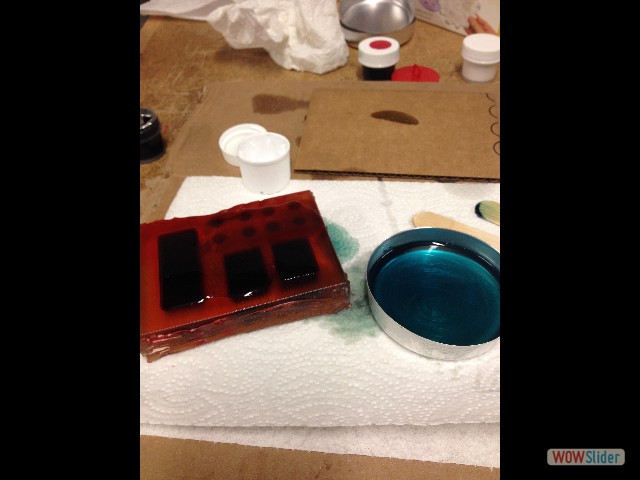
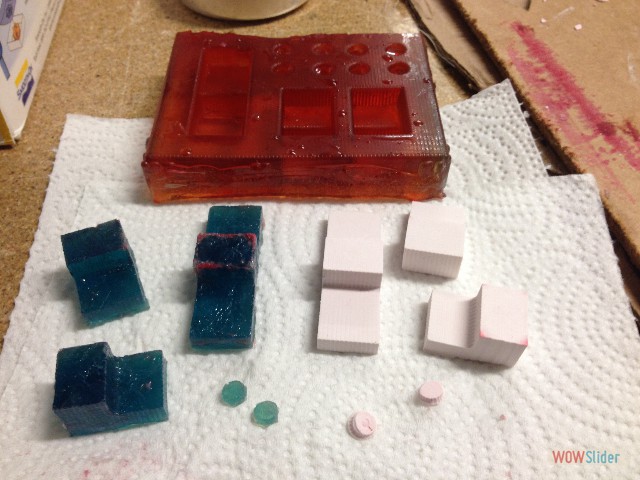
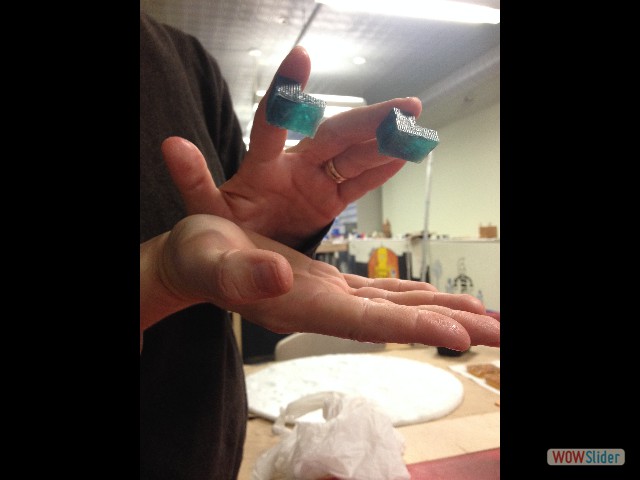
I used the SmoothOn to cast the mold in rubber. This part went really smoothly (no pun intended) and the mold turned out really well. My first cast from the mold was in hydrostone. Although I mixed it as suggest on the bucket (32parts to 100parts) I thought the mixture was very watery. I dyed some of it with the dyes for other SmoothOn products to see if it would work. Sadly, it turned out like red chalk. I recast the drawer caps in a thicker hydro-stone mixture of almost 1-1. These pieces came out fine, but fragile. I was ready to test with plastic. The SmoothOn Liquid Plastic that I used was able to take color. I may have used too much color though because the result was very sticky. I did another test and am awaiting those results now.
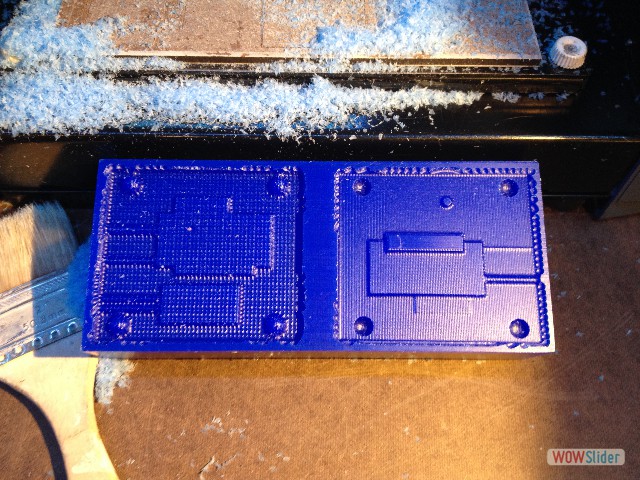
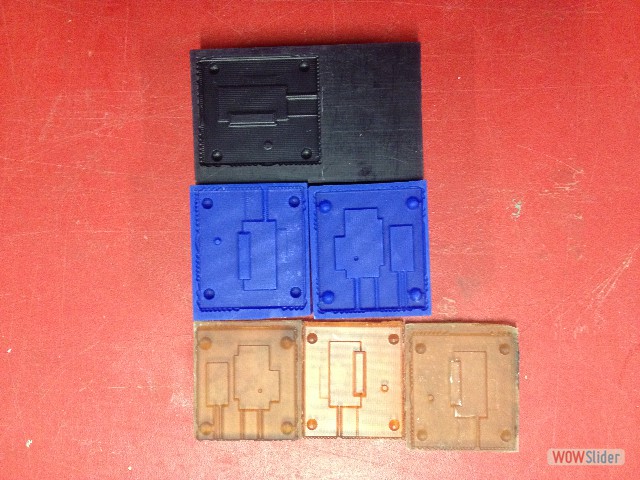
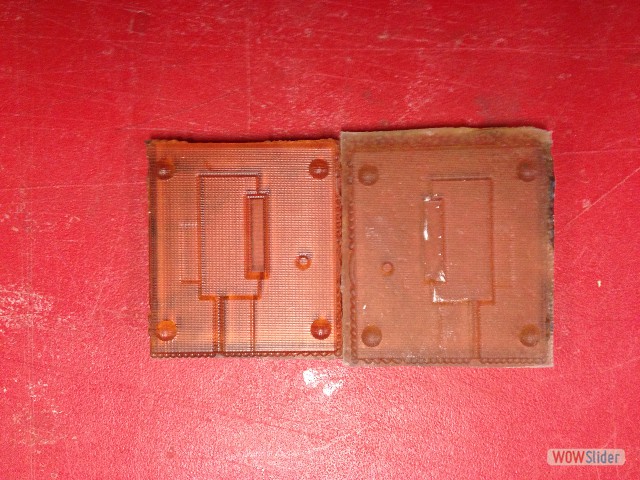
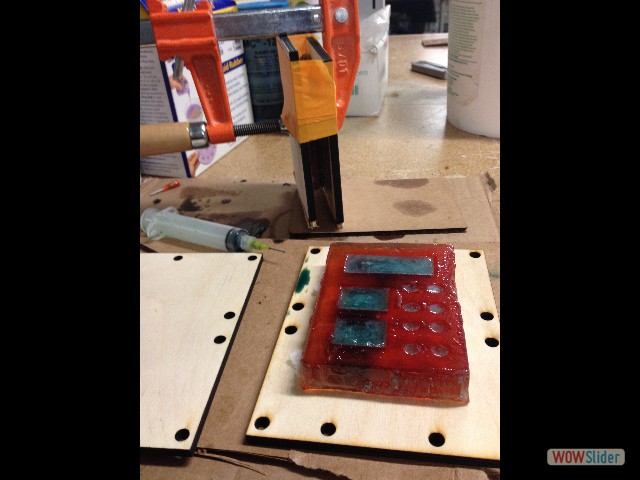
I also made a two-part mold through the same workflow as mentioned before. I a curious about using molding and casting for jewelry, and wanted to try some concrete and resin pieces. I designed my pieces to be a series of pressed together concrete rectangles, and one that would be cast in resin. After working through the photoshop png issue, I ended up restarting and drawing in the back of a box in OpenScad. I also added columns that should be used for filling and airflow. This worked fine and I was able to mill the pieces, although again a high-resolution image, it took a long time to turn the file into code for the .rml for the machine. This piece was very thin though so the rough wax cuts went very quickly and the smoother finishing cut took a long time to translate as well as cut.
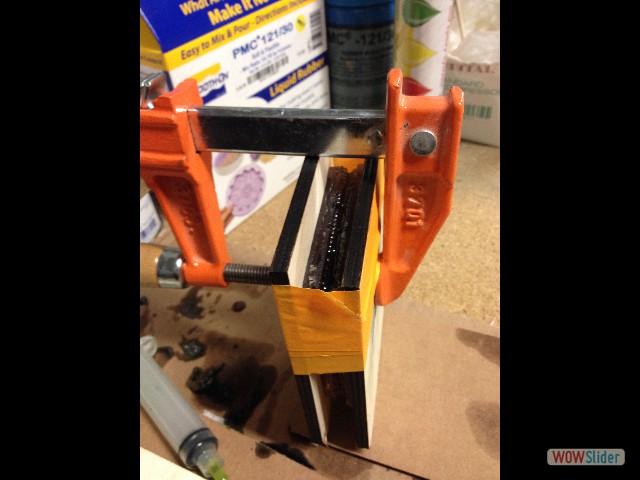
I have not made a successful cast using my two-part mold. Injection needles became a critical part of filling it yet I am still working through accurate measurements of the two parts for the plastic. Each time my measurements are off, the plastic does not dry or is tacky. I have not tried in concrete yet, which will be my next step. This is still a work in progress.
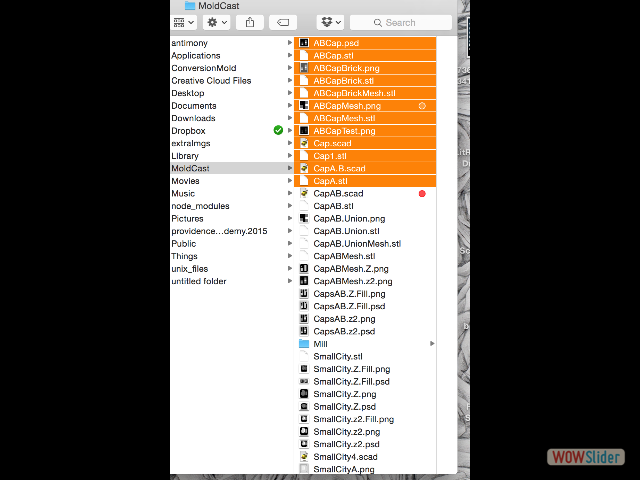
relevant files:
 1
1 2
2 3
3 4
4 5
5 6
6 7
7 8
8 9
9 10
10 11
11 12
12 13
13 14
14 15
15 16
16 17
17 18
18 19
19 20
20 21
21 22
22 23
23 24
24 25
25 26
26 27
27 28
28 29
29 30
30 31
31 32
32 33
33 This work is based on the digital fabrication concepts taught through FabAcademy out of MIT at the AS220 campus