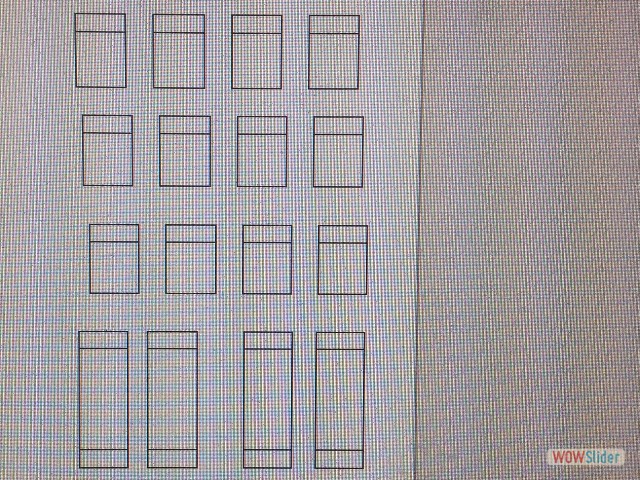
I thought I was doing well with my time management this week, especially with reserved time on the ShopBot for Sunday and files ready to go. As straightforward as a process might seem, for me it never goes quite as smoothly as intentioned. For workflow this week, I designed in Inkscape, saving one file with cloned shapes as an .svg file to make adjustments to it as needed, and another for the unioned shapes to save as a .dxf file or .pdf file. This I learned from our pressfit class!
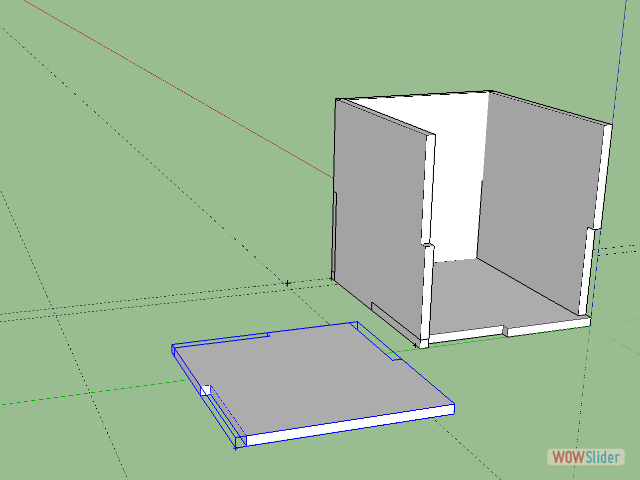
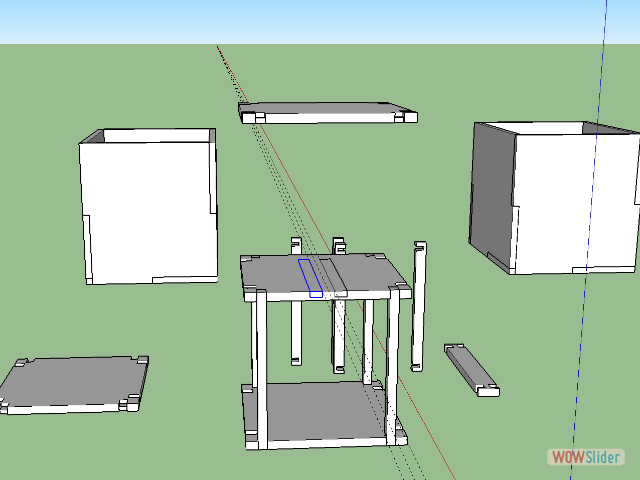
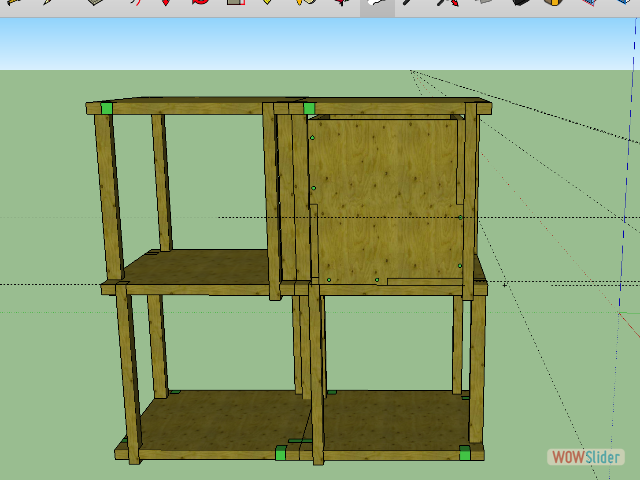
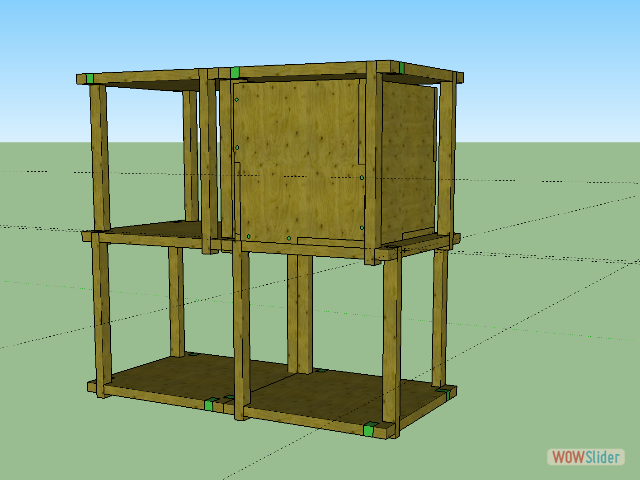
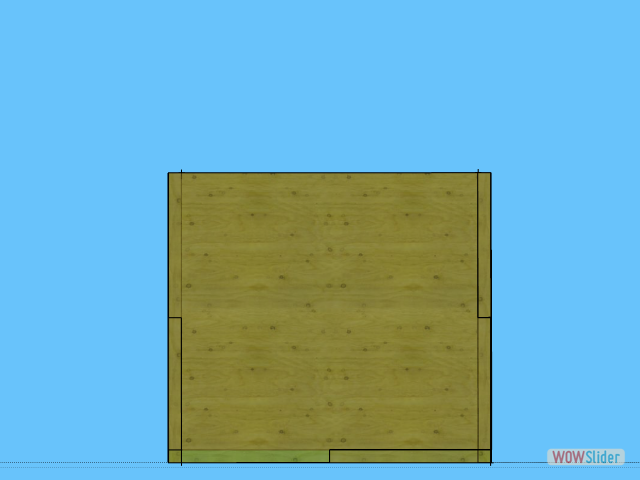
Another important aspect of the workflow was creating the 3D model in sketchup. This became a very important step for solving a number of design issues and thinking through the model in space. Being able to turn the model around and fit the drawer in the provided space helped me realize design flaws such as where the support pieces would work best in the structure, and where they would get in the way.
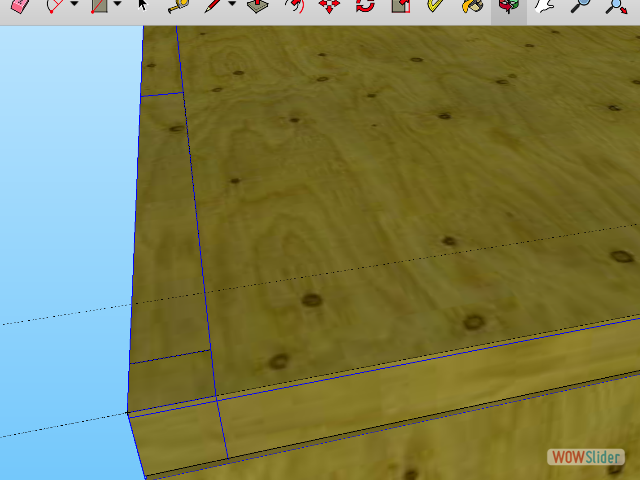
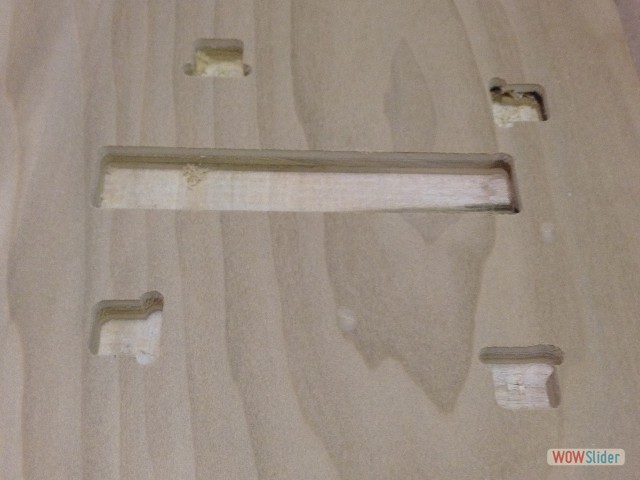
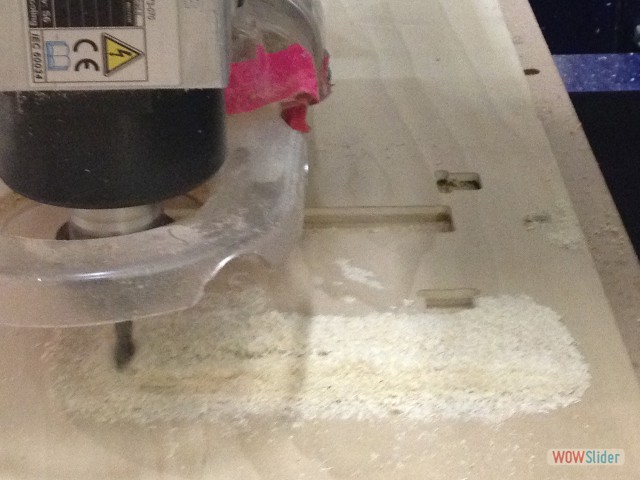
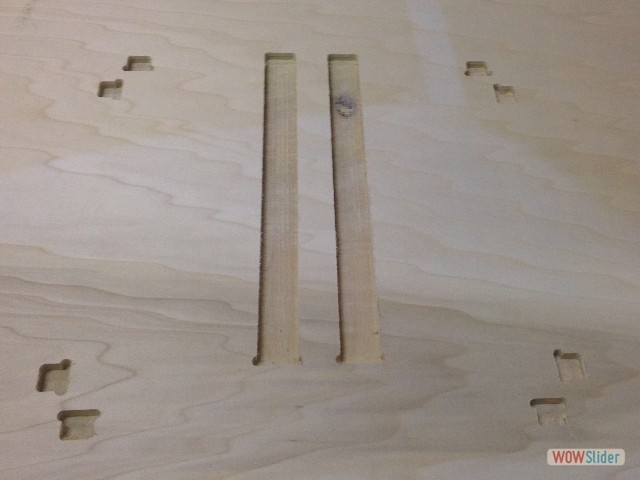
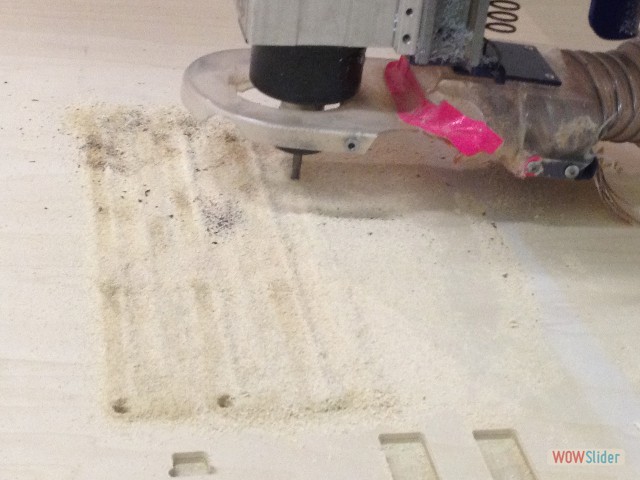
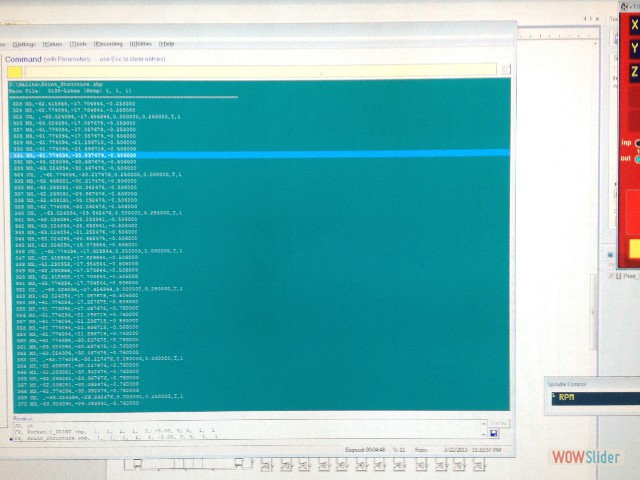
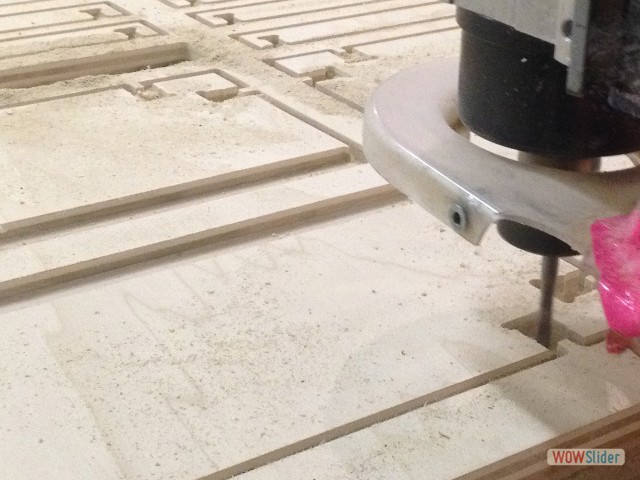
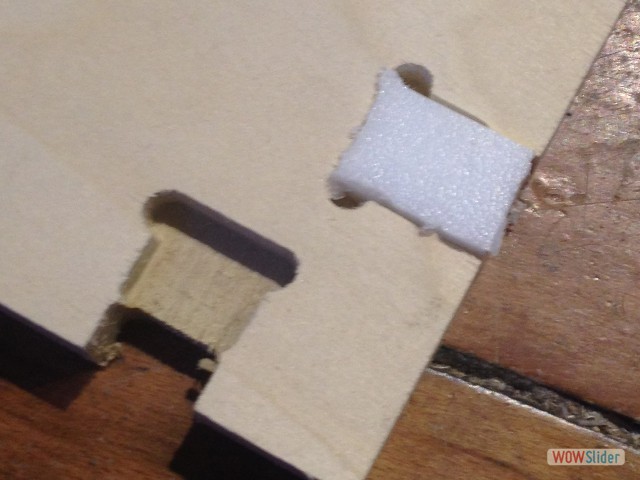
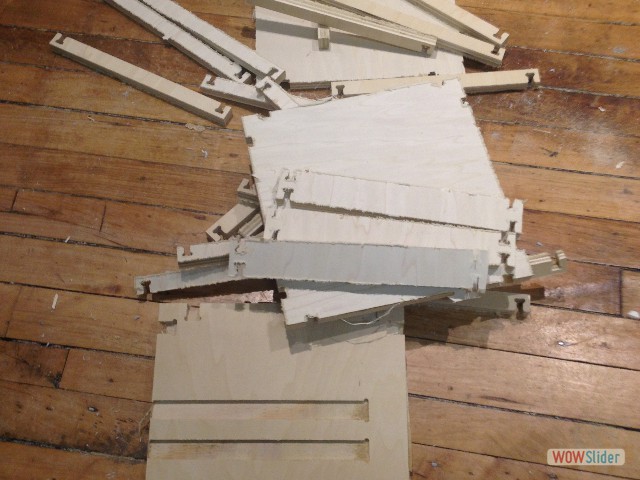
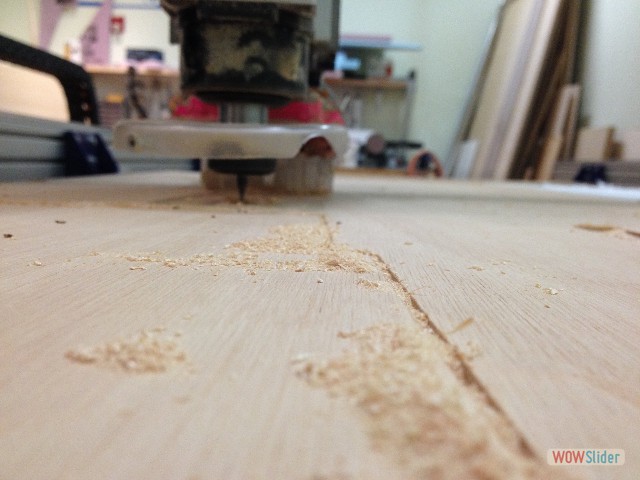
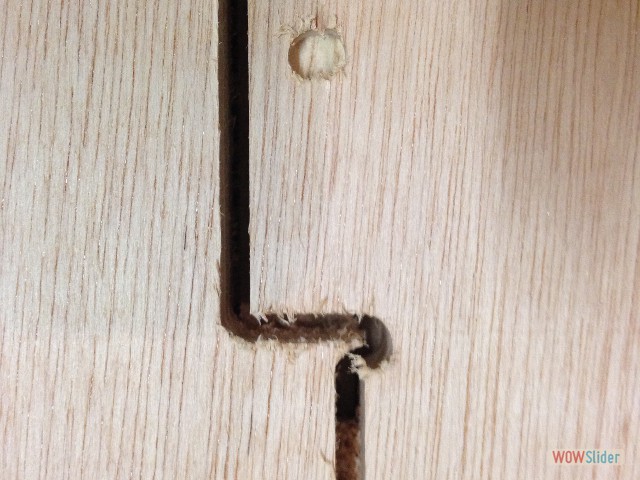
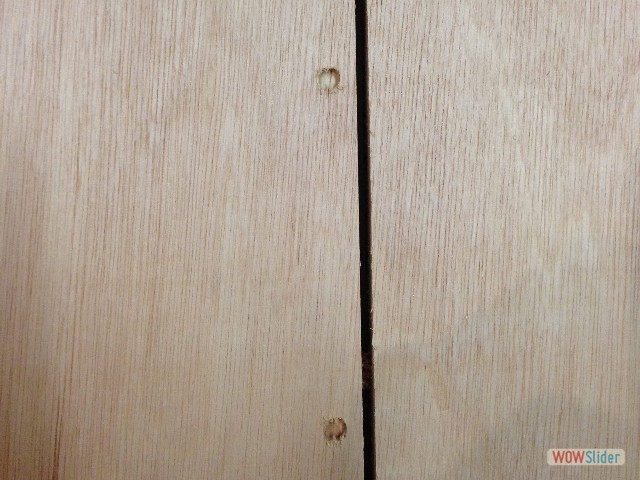
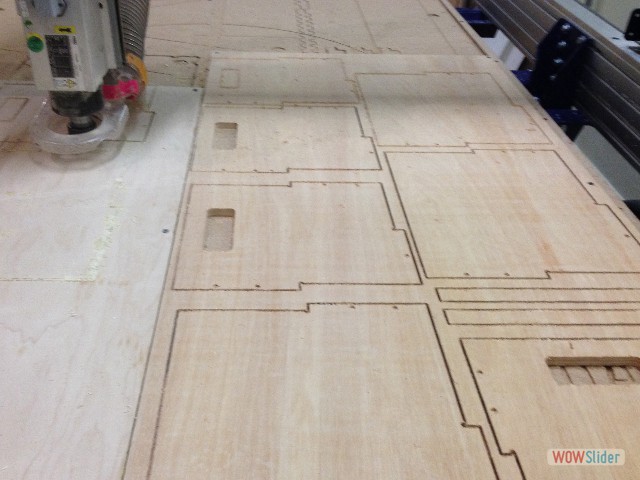
The machining did not go as planned. My first test demonstrated that the thickness of my wood was just thicker than the piece I initially had measured, making my first cuts off a few 100ths of an inch. After re-working my designs, the cuts came out much better and I remembered to add the fillets necessary to make the piece pressfit together. Then came the waiting as person after person cycled through the Shopbot, tweaking and reworking their designs.
Some of the takeaways from this initial work on the CNC were:
1. Know which piece of wood you are using before creating the unioned files. The smallest difference in thickness can totally screw up the entire work.
2. Use V-Carve. The program is great for dog-bones and nesting, as well as multiplying forms.
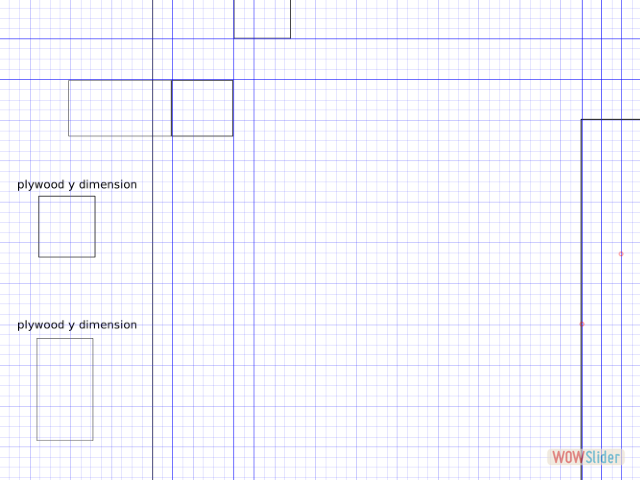
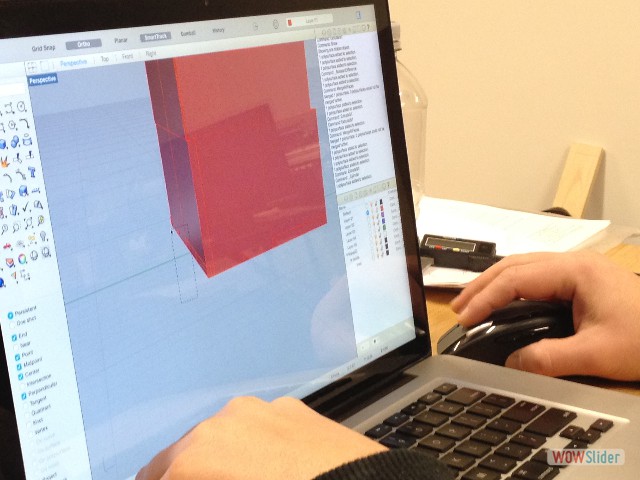
3. DO NOT EYEBALL your measurements. When I designed my drawers in inkscape, I used the grid to make things line up. Well, they were off by just enough to make the drawers not go together seamlessly. It wasn’t until Kenzo redrew them as a quick sketch in Rhino that I could trust the sizes were accurate and would fit together.
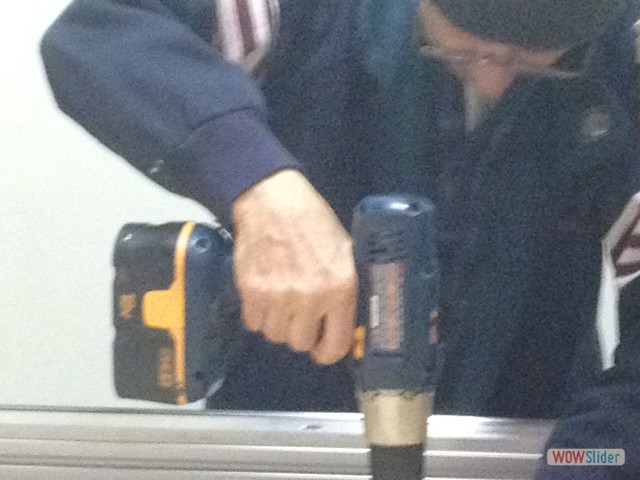
4. It was also important for me to be in the room alone or semi-alone. Each step involved translating fractions into decimals and being ready with the stop button, making sure the machine would clear all screws, clamps, etc….a serious focus and presence of mind. This is something I have a hard time with in a bustling room. The days I was able to come in and work with less distractions made for a much more smooth process.
slider javascript by WOWSlider.com v7.6m
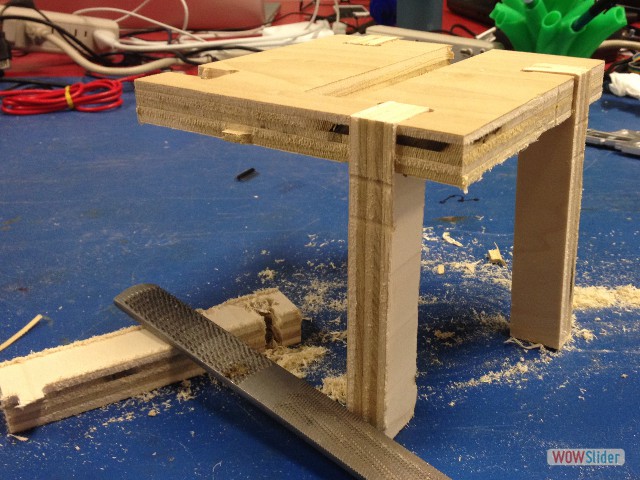
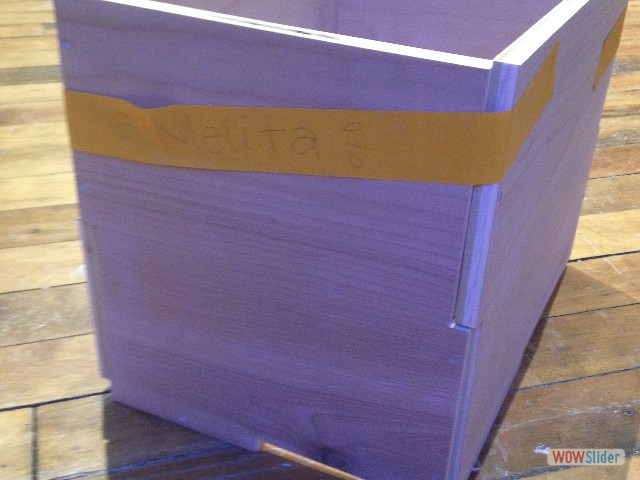
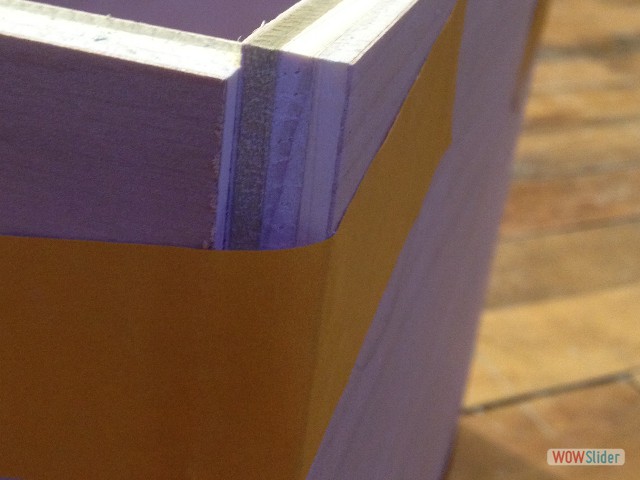
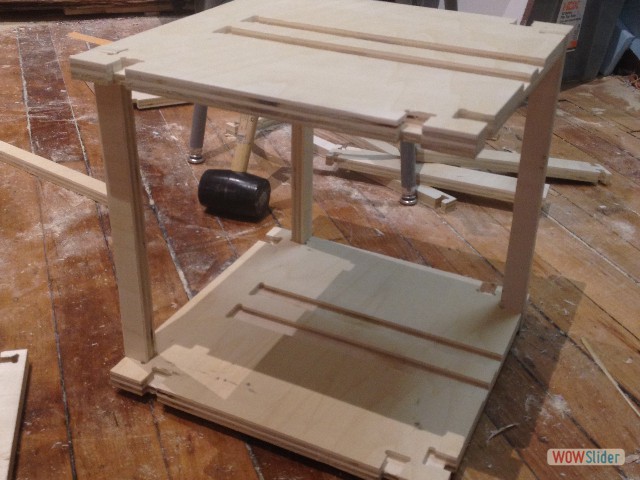
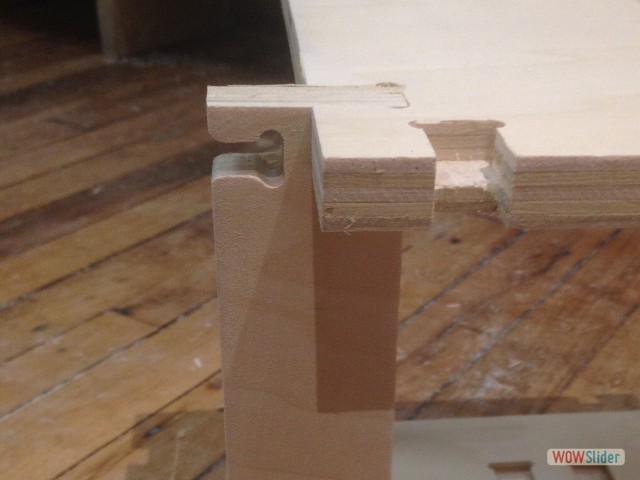
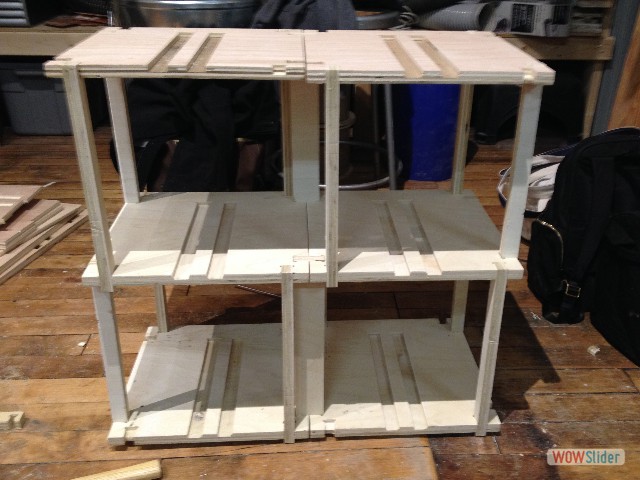
Although this is still a work in progress, I was happy with how strong and minimal the drawer structure turned out to be. Eventually I would like to retry the design in a more flexible material, such as a plastic as Shawn suggested. While the final piece fit the constraint I gave myself of being modular, it was not easy to snap together as intentioned. Rather, the pressfit required much effort with the mallet. Additionally, I wasn't sure how I would feel about the gaps in between the drawers. When designing the unit, I had thought that perhaps I would have the drawers stick out further that the support to be flush with each other. This is something I would definitely make happen in the redesign, as well as making the front panel clean without showing hardware details. While the hardware details were intentional, it really complicates the whole piece and could have been configured much more efficiently.
In trying to balance getting the work finished each week as well as learning new techniques and tools, I have not had time to learn rhino. The mistakes I made by eyeballing the joints could have saved much time, wood and headache if I had used a program like antimony, rhino or autocad.
During molding and casting week, I am going to try making caps for the shelves to give the pieces a more finished look.

relevant files:
 1
1 2
2 3
3 4
4 5
5 6
6 7
7 8
8 9
9 10
10 11
11 12
12 13
13 14
14 15
15 16
16 17
17 18
18 19
19 20
20 21
21 22
22 23
23 24
24 25
25 26
26 27
27 28
28 29
29 This work is based on the digital fabrication concepts taught through FabAcademy out of MIT at the AS220 campus