Many years ago I had bought an Arduino kit to try and learn simple input/output programming. The board sat in a drawer and didn’t see the light of day until this week. Having finished the basic programming of my board last week, this week offered some time for experimentation. I used this week to keep trying out the arduino language in an attempt to make headway on how to set up constants, variables, pin identification and loops, and familiarize myself with the C language.
I also looked over the datasheet for the ATtiny24A/44A/84A. It was some of the duller reading I have ever done but I can see the value of knowing where to look for things. I personally liked the flow charts from the box diagrams to the synchronization readings to the schematics of the circuitry. It was also interesting to look at some of the obvious differences between the ATtiny84 and the Arduino Uno or the ATmega. The ATmega has more memory with up to 4/8/16/32K Bytes of in-system flash v 2/4/8K, and almost twice as much EEPROM and SRAM. Shawn also walked us through the differences of each types of memory storage such as compressed program data, stashed data from last program operation and calculating memory. There were many similarities between the boards as well, such as internal oscillators and operating voltage of 1.8V – 5.5V. And, both can last 20 years at 85ºC or 100 years at 25ºC, a bit of information I had not even thought about.
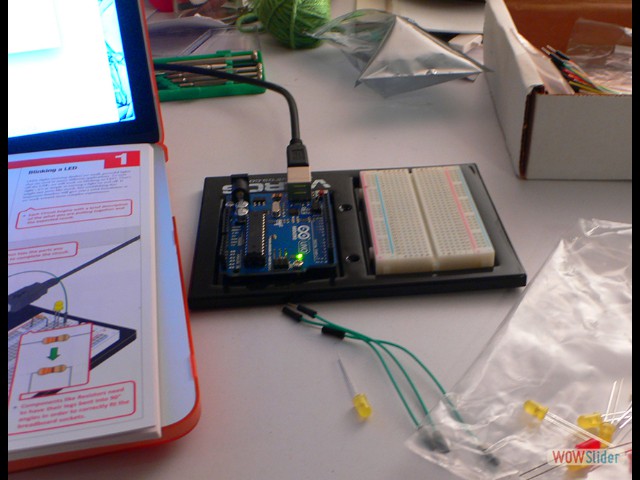
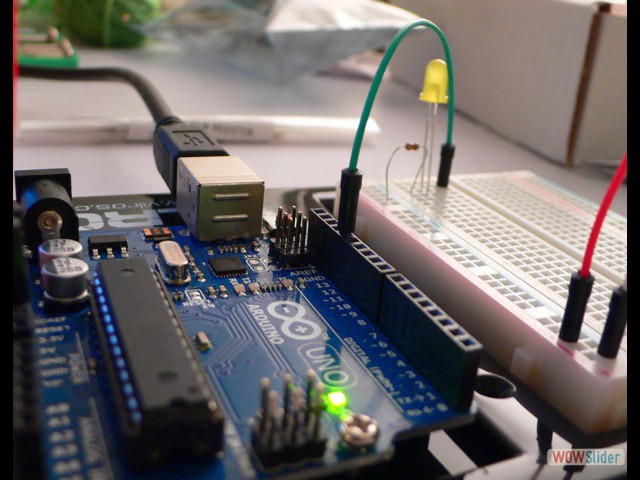
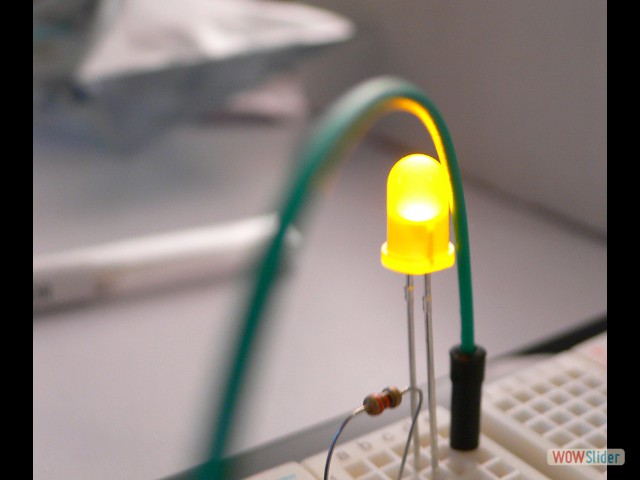
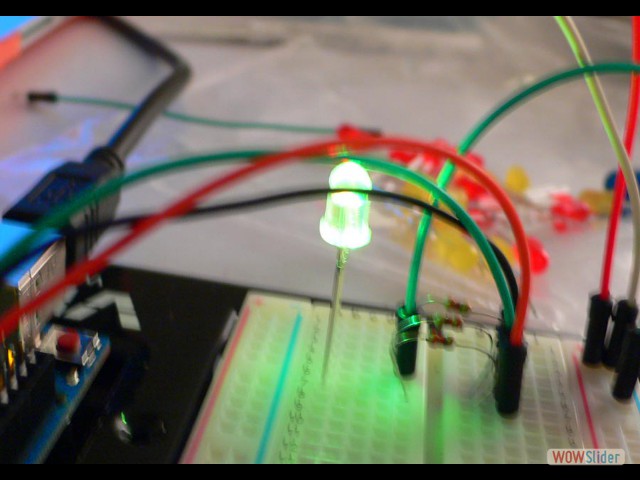
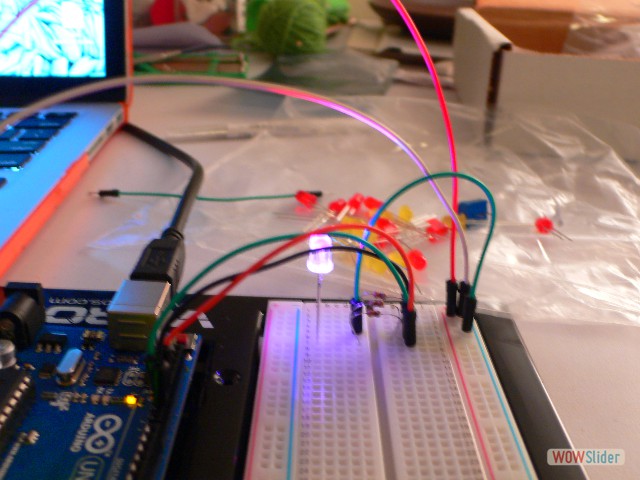
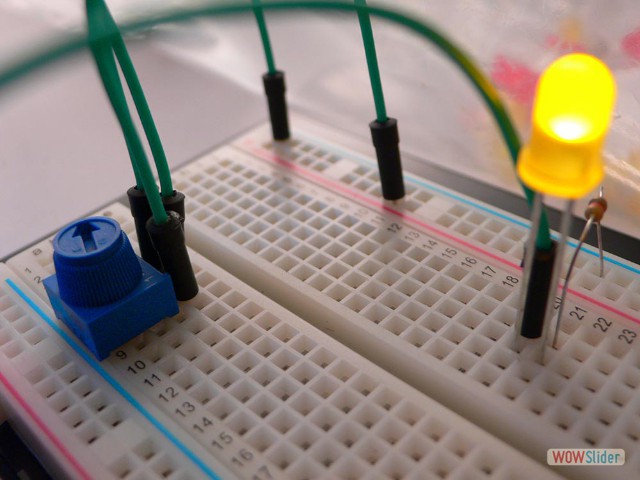
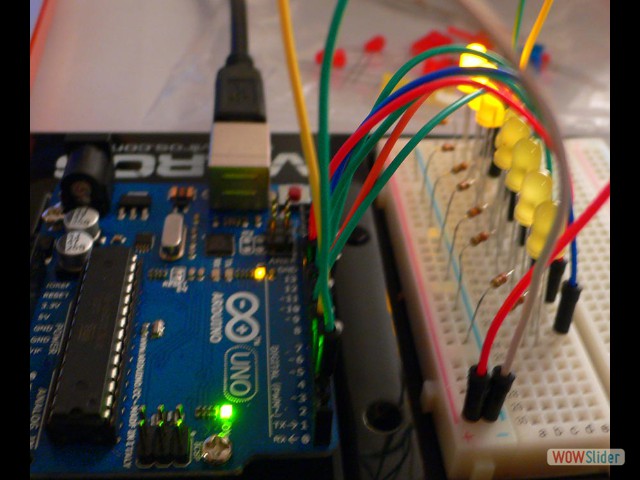
In starting in on the arduino programming, I used a breadboard so that I could take apart the components and try other circuits. We had a good discussion in class as to whether or not there was any benefit to problem solving on the breadboard. While most of the components for the Arduino board were thru-hole components, for me it was interesting to see what worked and how the program was set up, without having to redraw and mill new board circuitry each time! I was most eager to get to using the potentiometer as I think I am changing my final project to incorporate an analog-digital input (using the potentiometer) and digital output. The arduino code I worked with read the potentiometer input and output it digitally as blinking speed.
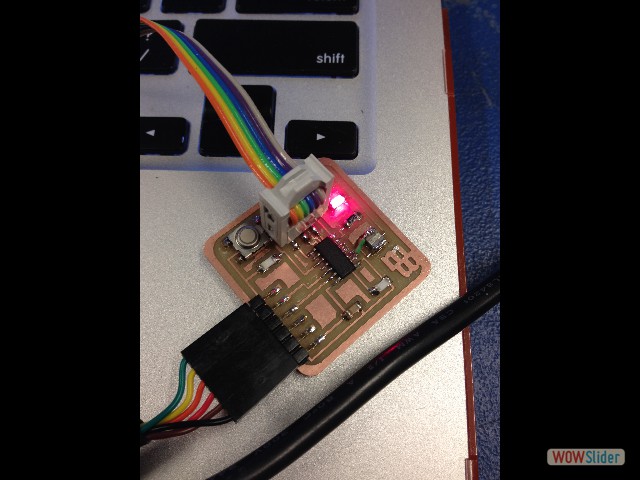
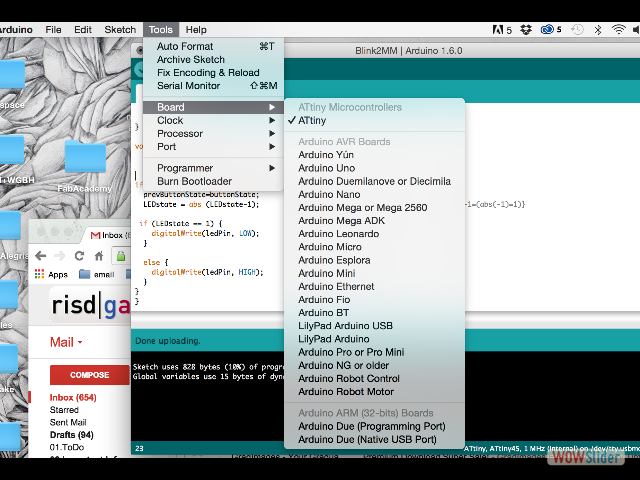
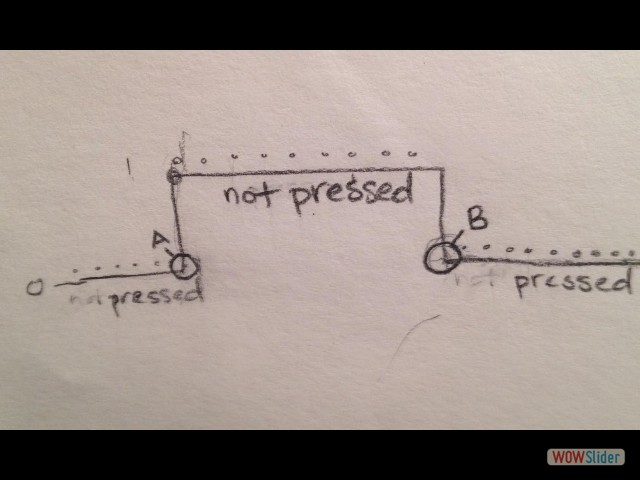
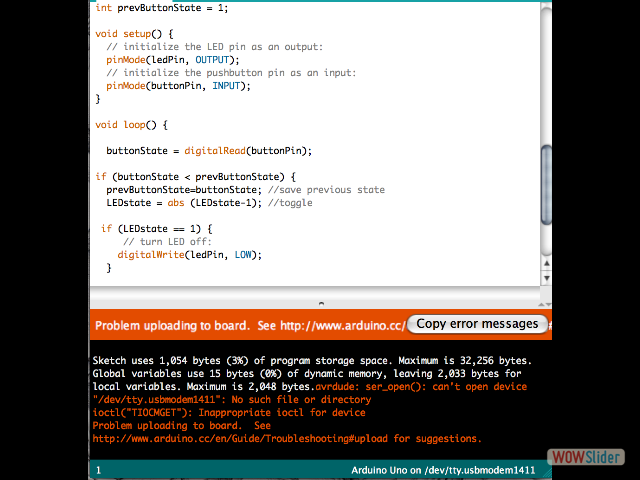
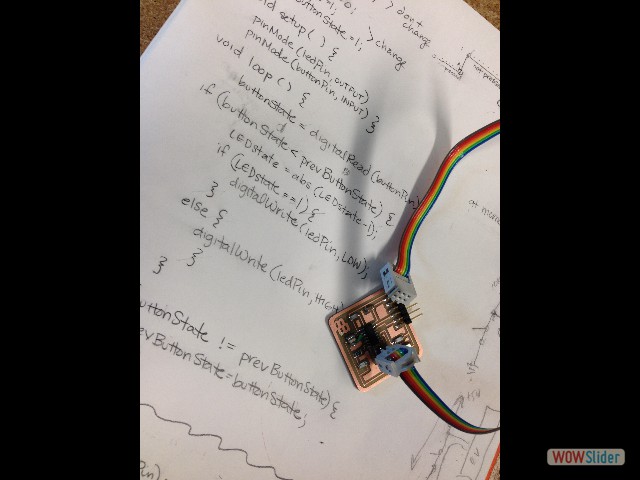
In class, I wanted to create a program to push the button on my FabATtiny84A and turn the LED on, and then push the button to turn the LED off. This seemed like a straightforward problem to me, but the more things I tried, the more I realized how complicated it was. The main challenge was that button up or down wasn’t just the previous button state that was being read as the program executed the functions. It read at every millisecond the program ram, meaning digitalRead was: ButtonUp ButtonUp ButtonUp ButtonUp ButtonUp ButtonDown ButtonDown ButtonDown, etc. Ultimately, Shawn helped me figure out how to code LEDchange only when the previous state did not equal the current state (!=). So the work involved a lot of trouble shooting, and figuring out what to do when you hit a roadblock with an error message that seems to be written in gibberish.
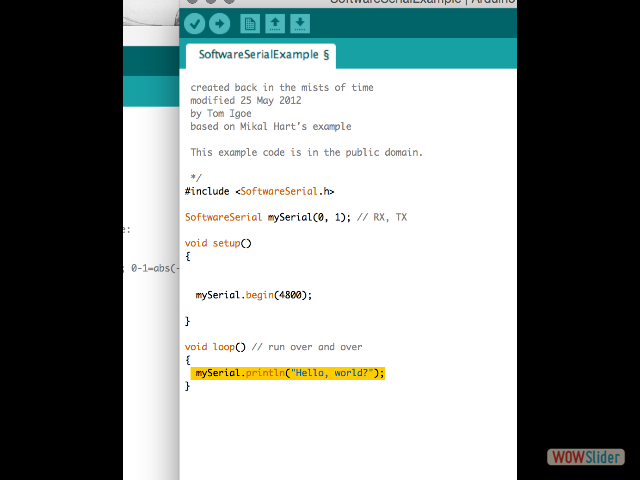
We also did added a SerialPrintln output to the program to help figure out where some of the glitches in my program were. Being able to actually see the text in 0/1 was pretty cool for a newbie like me. I was hoping to have more time to do some C coding language tutorials that I found on lynda.com and hope to in the near future.
relevant files:

 1
1 2
2 3
3 4
4 5
5 6
6 7
7 8
8 9
9 10
10 11
11 12
12 13
13 14
14 15
15 This work is based on the digital fabrication concepts taught through FabAcademy out of MIT at the AS220 campus