This week, I finally had to commit to learning a better 3D modeling tool. I continued to have trouble outputting an STL file in SketchUp, so after many hours of plugin downloading, relocating, unpacking, searching, I decided it was time to move on. I opened Rhinoceros. It seems that many of the artists I know are working in Rhino which can lend itself to engineers, industrial designers and modelers alike. The learning curve was not initially quick enough for me to really jump into it. I spent at least three hours watching tutorials only to try and find tools in my free Mac version that were not available, or at least I could not figure out how to access them.
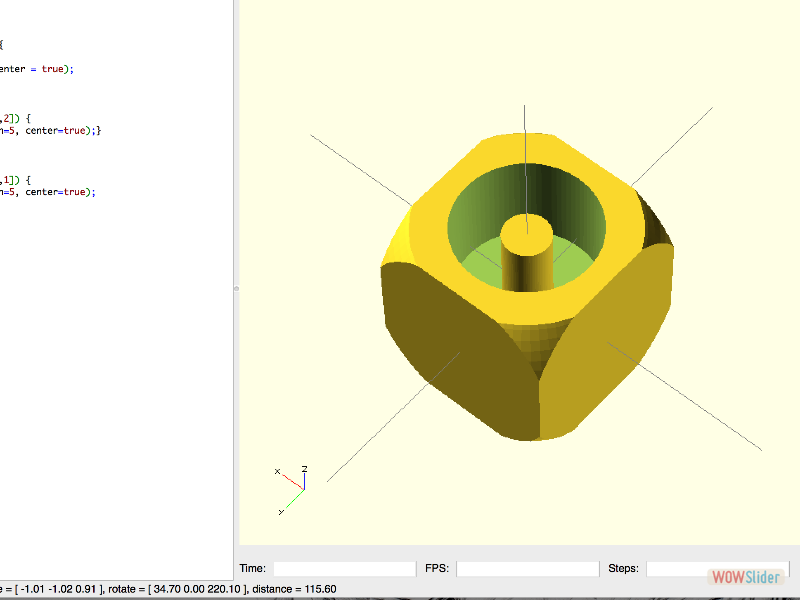
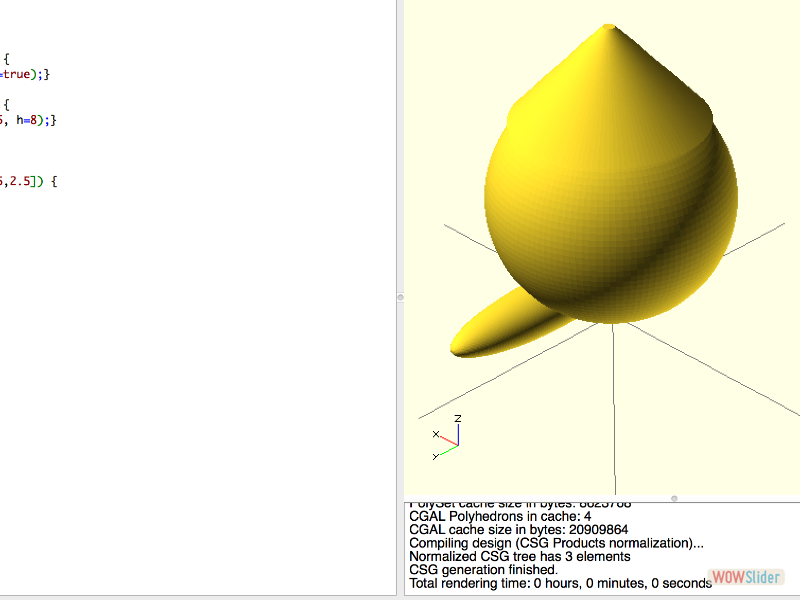
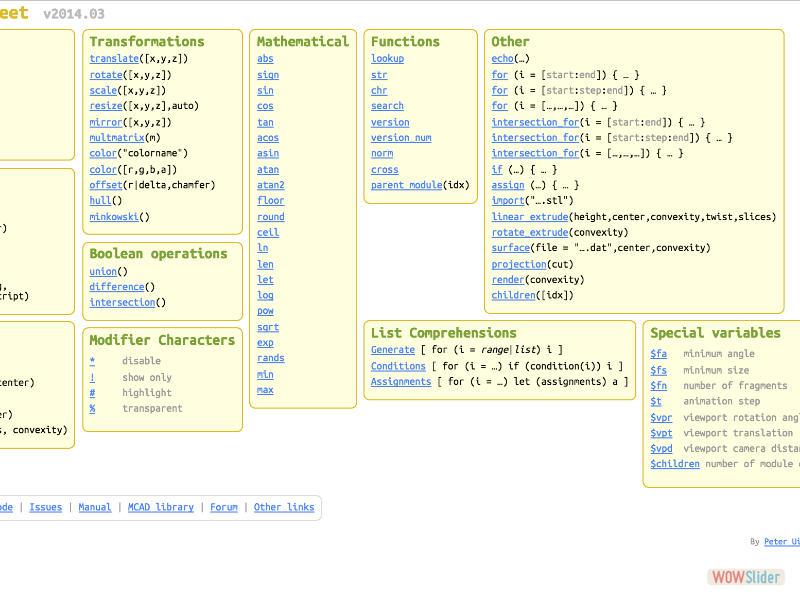
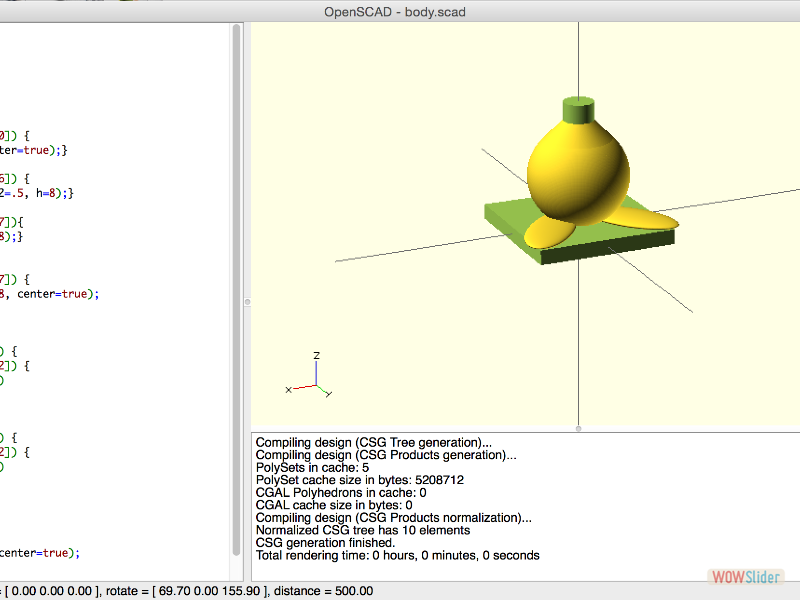
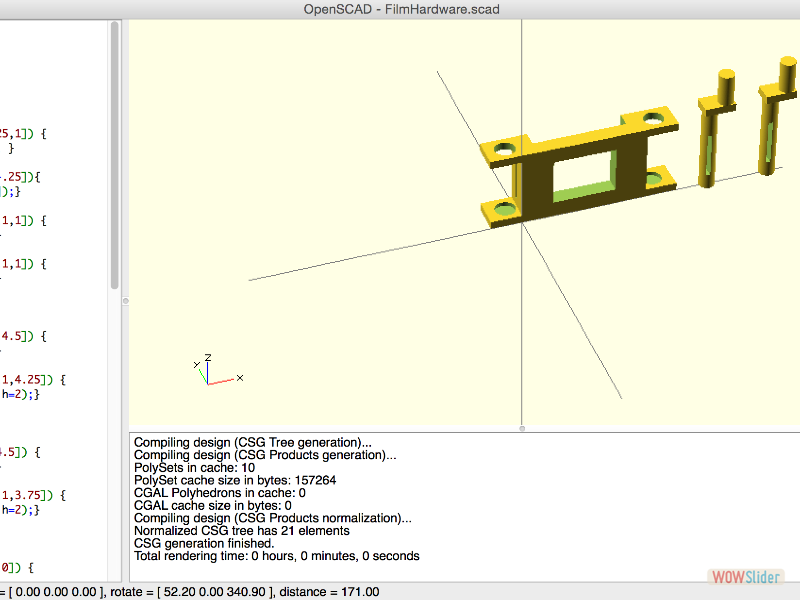
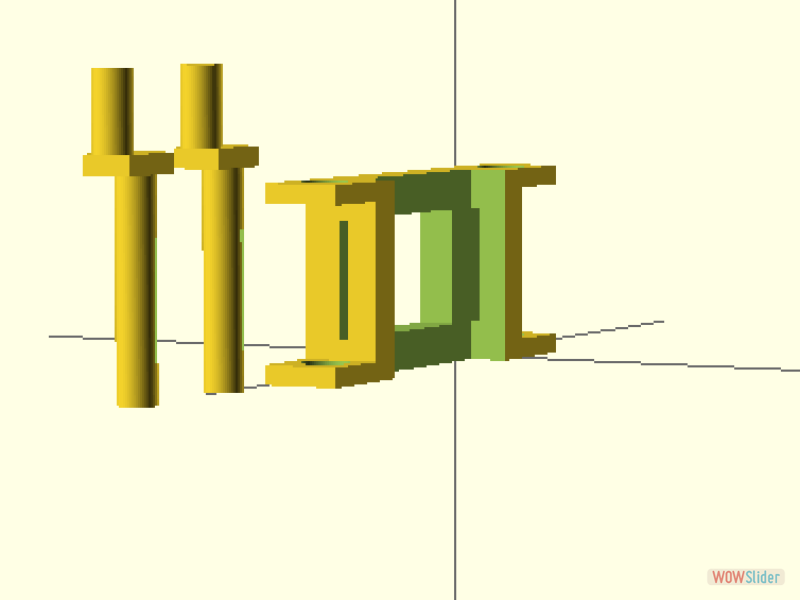
I settled on OpenSCAD, partially because Shawn had recommended it, and also because it was straightforward enough that I could count on things ending up where I wanted them to by programming them immediately on the x,y,z – 3D plane. The learning curve was fairly fast and soon I was programming shapes that intersected and unionized. I highly recommend this as an early 3D modeling interface and think it would be a great one for kids as well. It signals a refresher for my sin and cos fomulas as well.
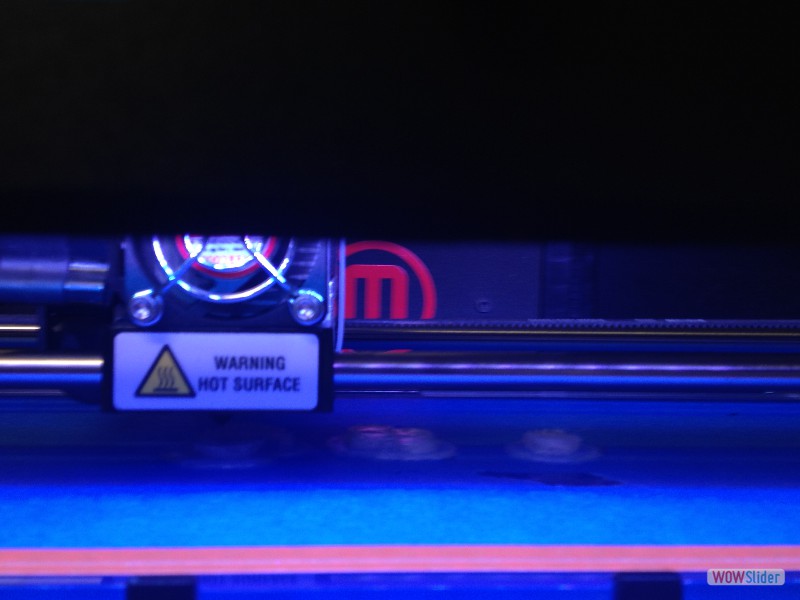
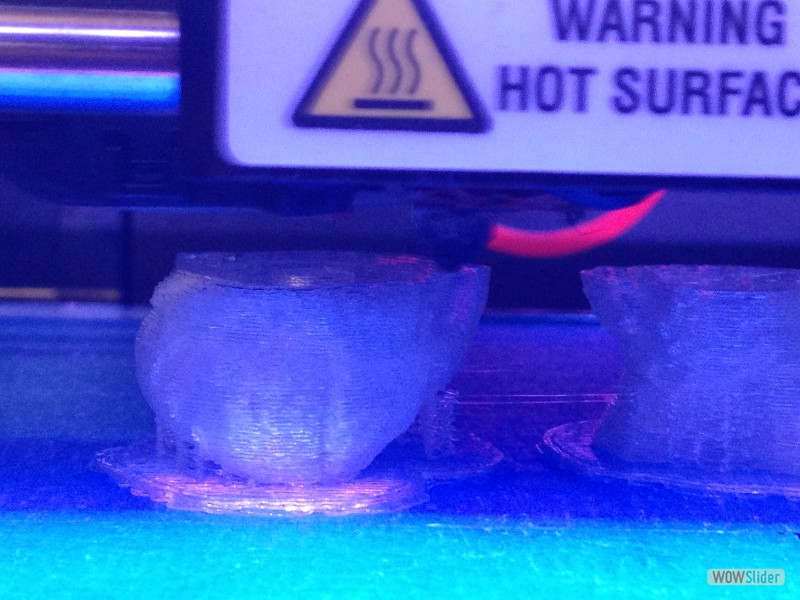
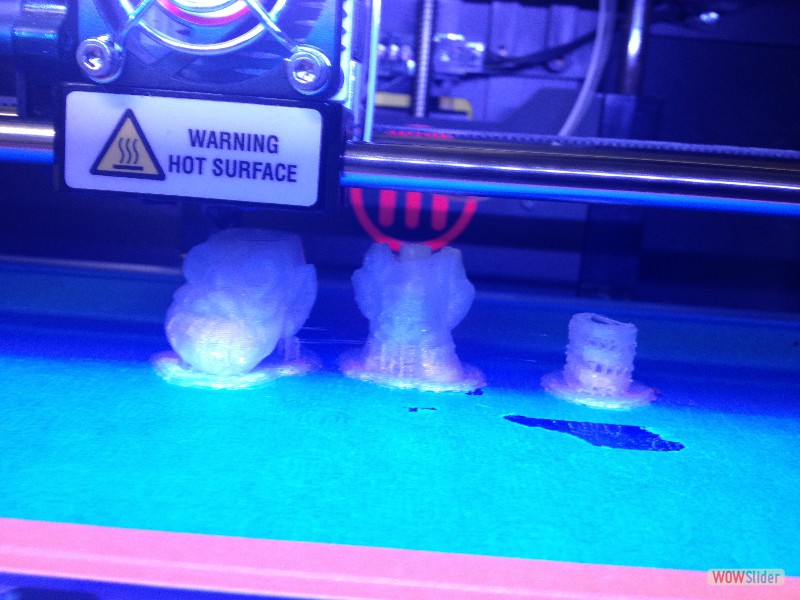
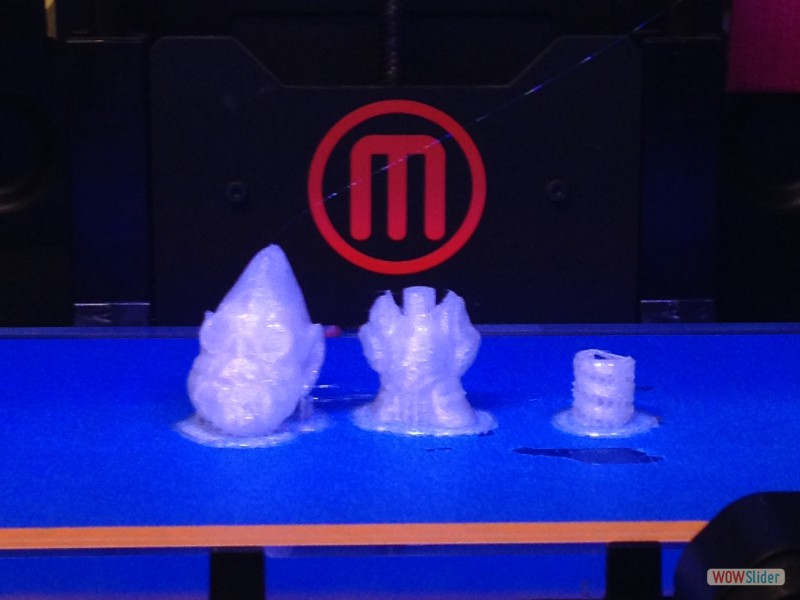
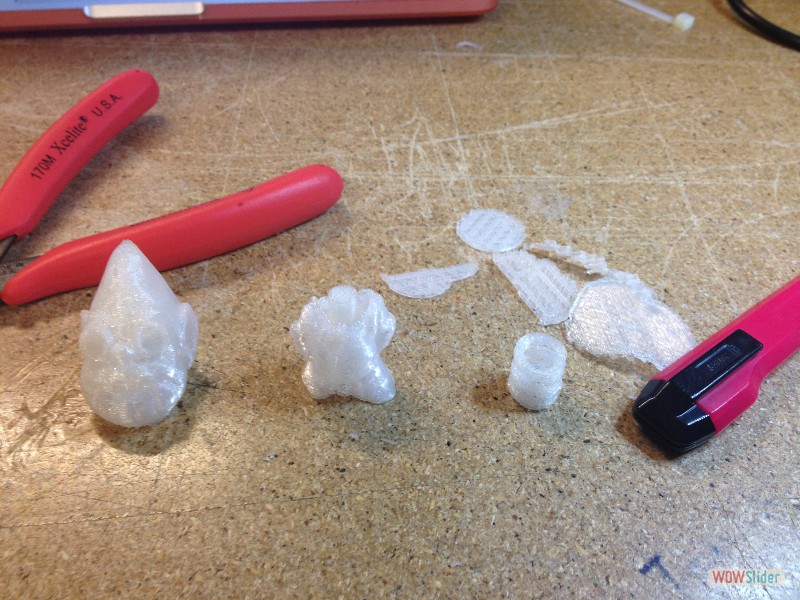
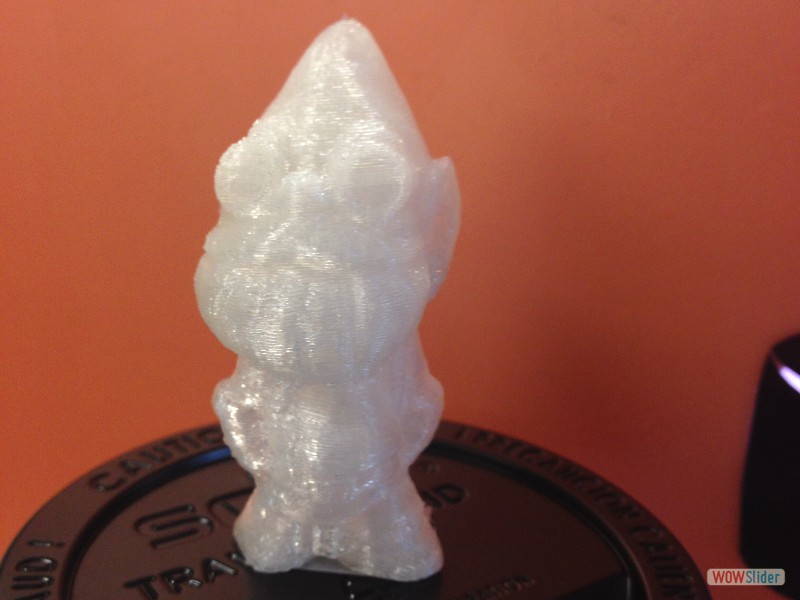
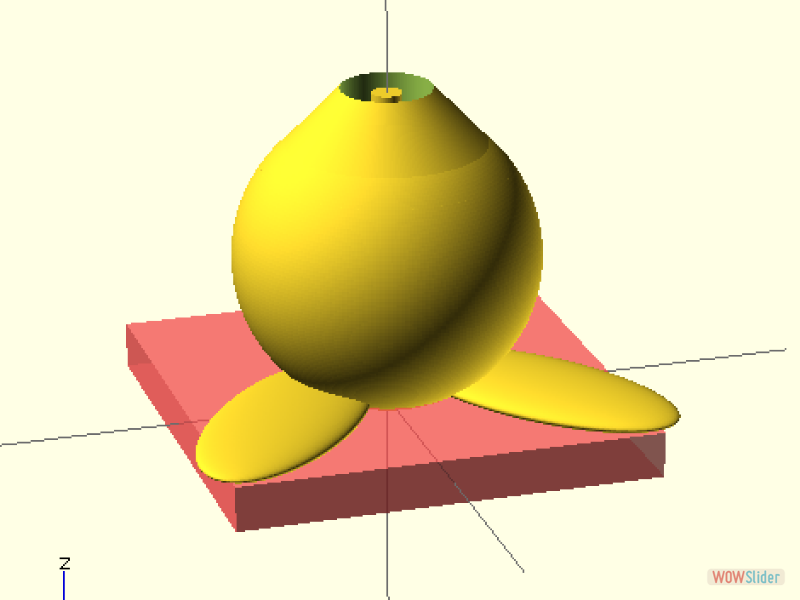
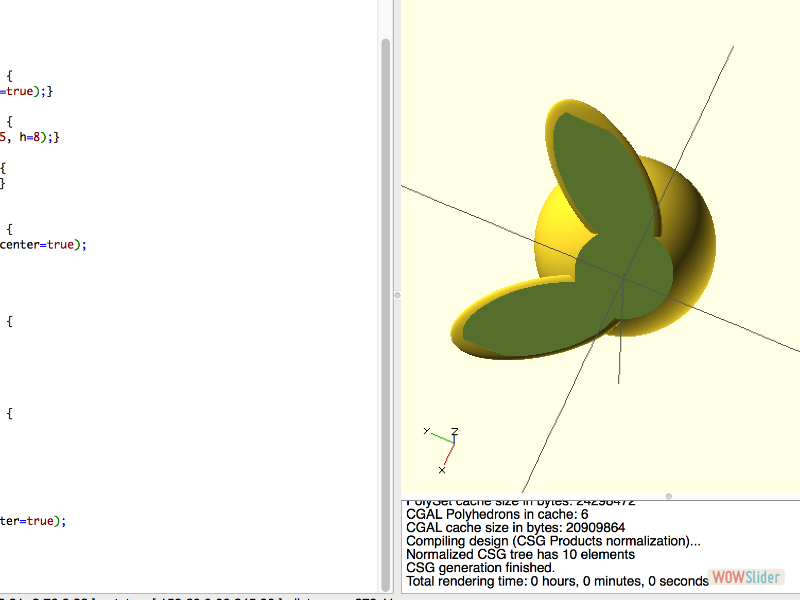
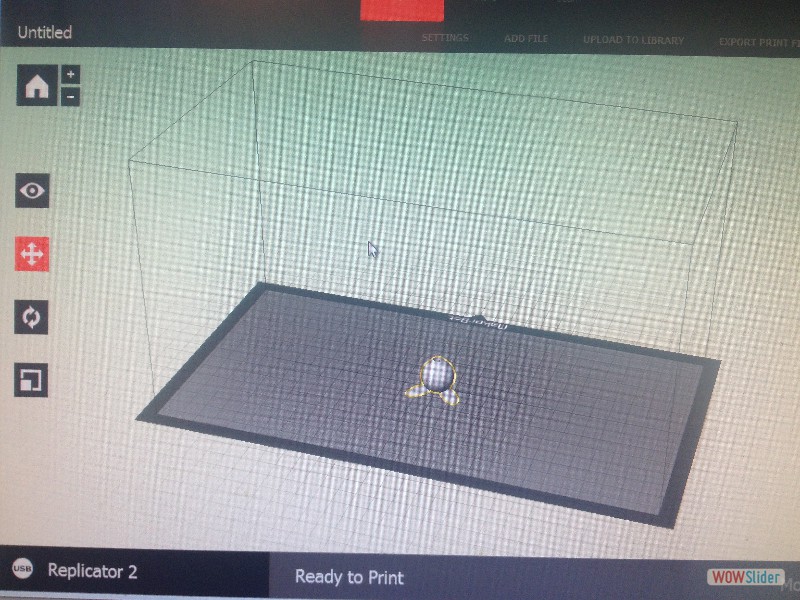
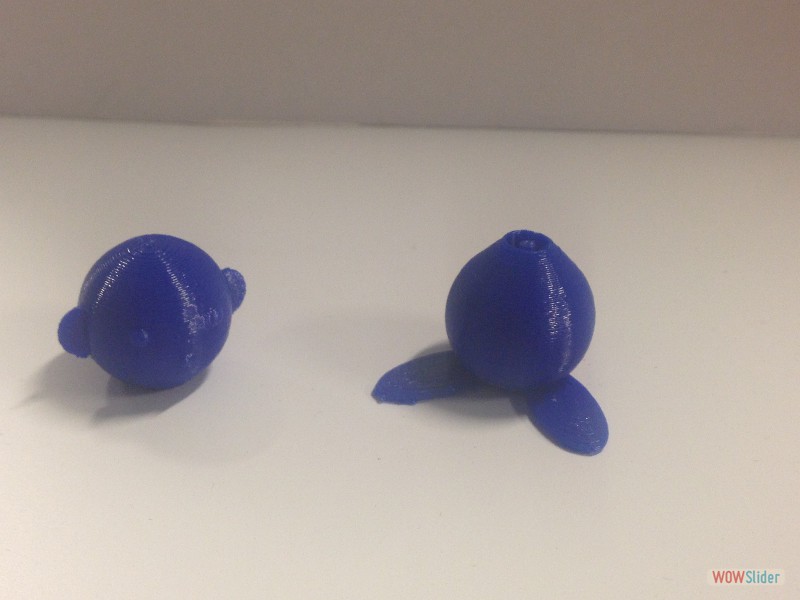
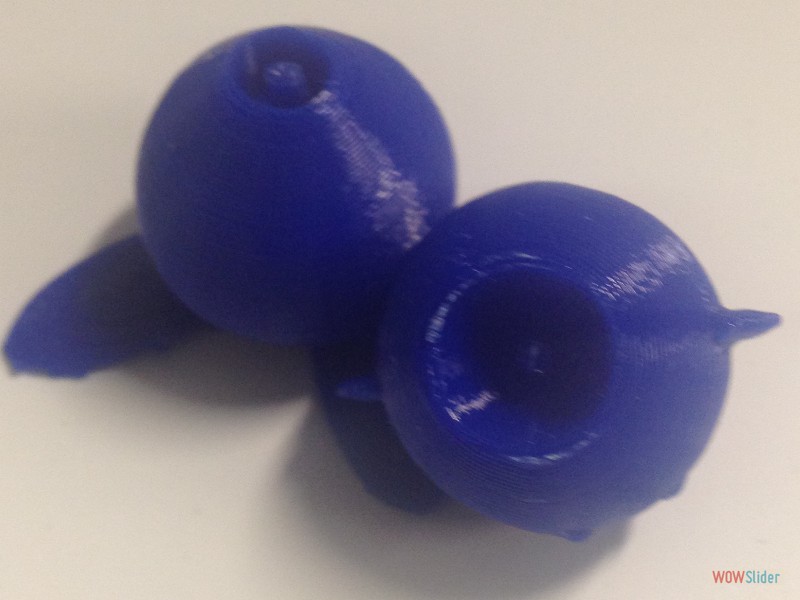
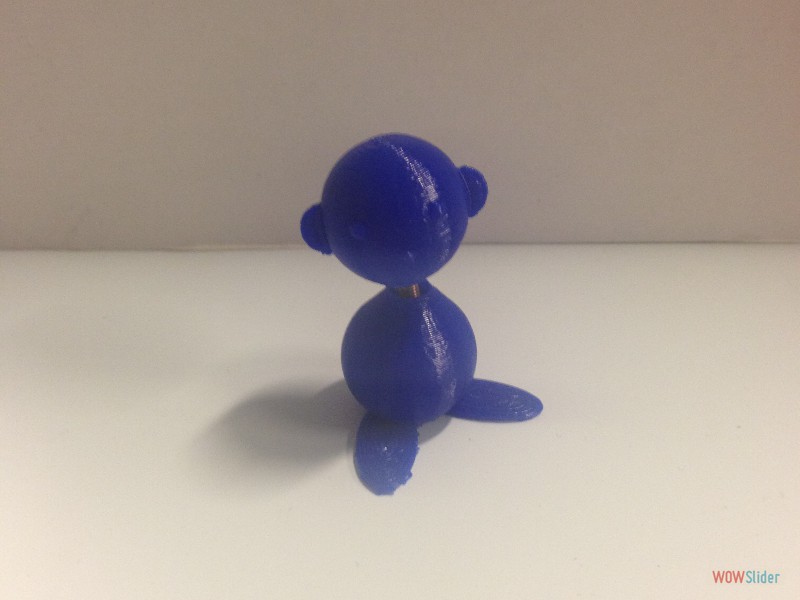
I wanted to try making a little bobblehead for a bike, and initially the design was taking awhile (sketchup attempts). I decided to jump right in and try the 3D printer on our first work day, before I had a chance to finish the design, so I downloaded a bobblehead gnome from Thingiverse. Using this file, I was able to work with the Makerbot software to manipulate the size, learn to change the filament, and trouble shoot the printing…with help from all my classmates of course. This gave me a good idea about the final parameters for the design I was working on. Over the next few days I created the little bobblehead to 3D print. The hard part was the spring. While the first parts were printing, Shawn worked with me in OpenSCAD to figure out how to make a spring. We settled upon a coding but I did not end up getting to print it out. Luckily, there were springs around that I could use in the meantime.
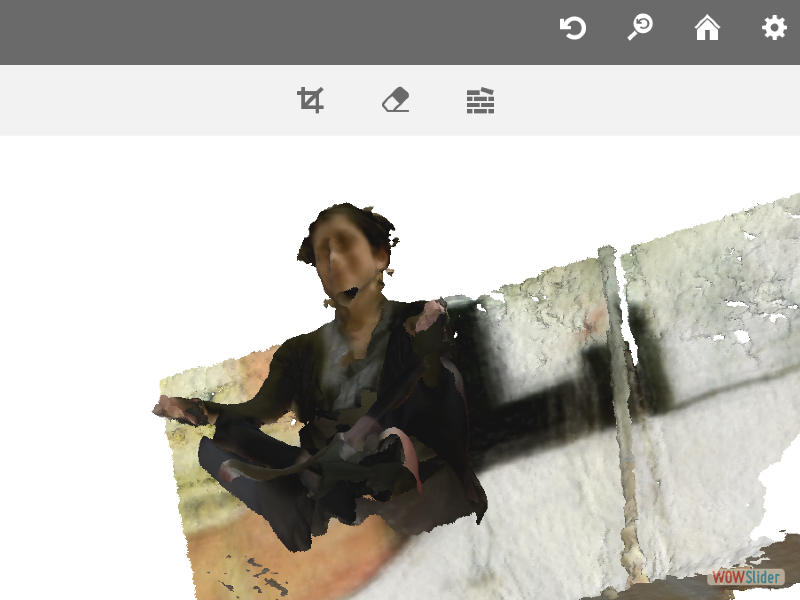
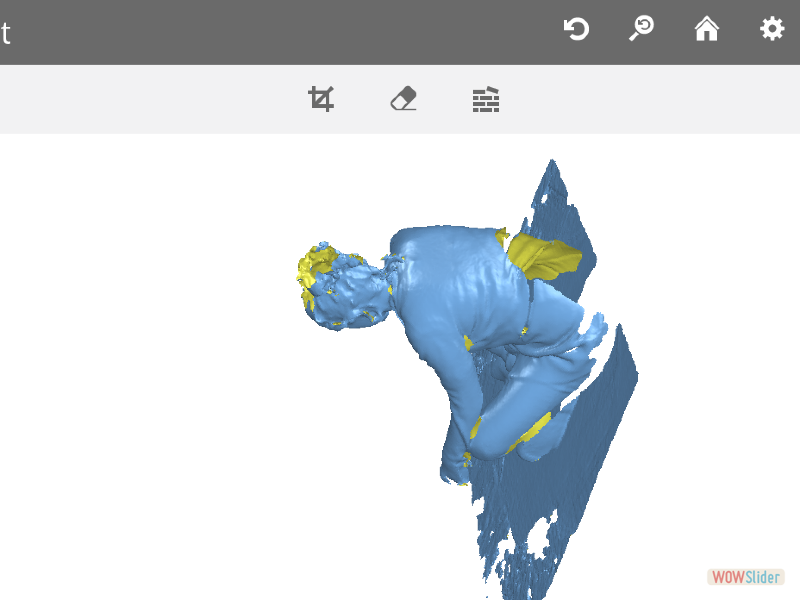
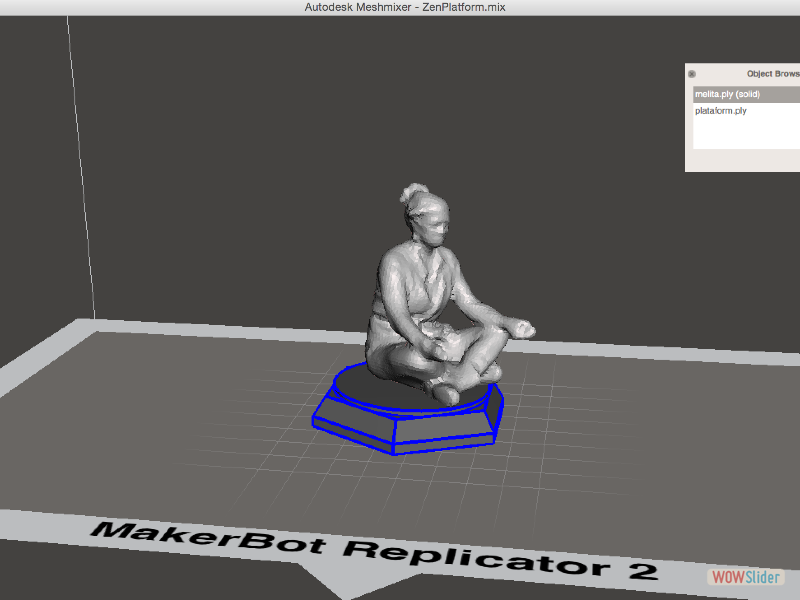
I was also very excited to begin the scanning. Through an NSF equipment and capacity building grant, the lab where I work acquired an Arctec Spider white light scanner which I am just learning to use. Between the Cubify Sense handheld scanner we have in the lab and 123D Catch software, I am curious about the differences. The price differences are enormous ($1– $22,000) and I wonder if the resultant image is as well. I had brought in some natural history objects from work and managed to image a squirrel skull from 123D catch. I also posed in a seated position while Avi captured a meditating me to print. Avi was very slow and thorough as she moved around me and thanks to his methodical approach, I was able to get a pretty good overall scan of my body.
responsive slider jquery by WOWSlider.com v7.6m
It was then time to learn Meshmixer. I pulled in both the .obj file of the squirrel skull and the .ply file of myself. It took a surprisingly long time to correct the files and ready them for .stl exports for the Makerbot. This was mostly due to holes in the scanning. There was quite a backlog on the printers, and while we have two machines, Replicator (single) and Replicator 2, many pieces took over an hour to print. I was surprised that my bobble head took only 32 minutes and my seated self only about 30. While I waited, I designed a more fitting 3D printer object, which had nested parts that would be nearly impossible to sculpt using subtractive methods.
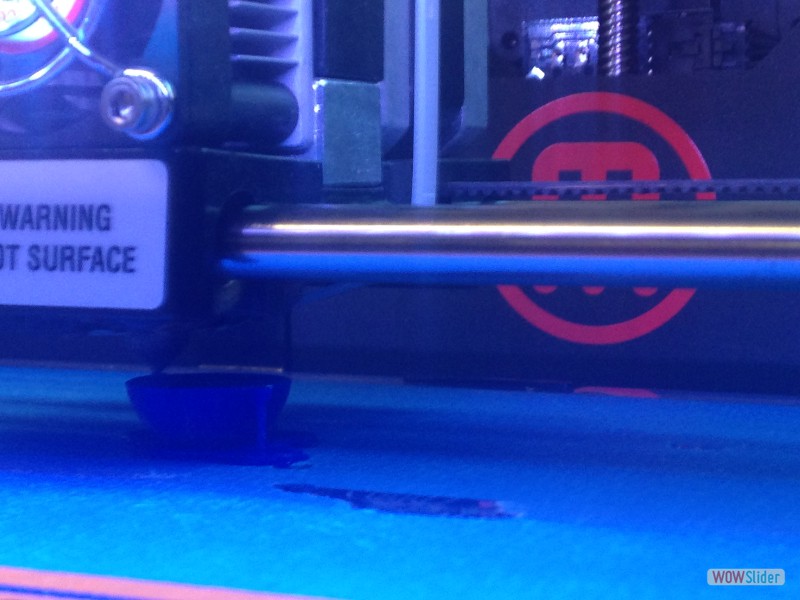
Some problems that came up with the printer were that the settings in my downloaded version of the Makerbot software would not save. It kept switching back to ABS filament versus PLA. It seemed to only save for me when I printed directly from the desktop associated with the machines. Then, the temperature in the Replicator would not get hot enough and the plastic seemed flexible and weak. Also, we were having some trouble getting the filament to intake and feed to the extruder tip until Kenzo took it apart and showed me what was actually pulling the filament in. He speculated that perhaps the gear was dirtied up, yet upon inspection, it wasn’t so bad. Either way, he worked his magic and was able to get it printing again.
relevant files:


 1
1 2
2 3
3 4
4 5
5 6
6 7
7 8
8 9
9 10
10 11
11 12
12 13
13 14
14 15
15 16
16 17
17 18
18 19
19 20
20 21
21 22
22 23
23 24
24 25
25 This work is based on the digital fabrication concepts taught through FabAcademy out of MIT at the AS220 campus