A few years ago, I had no idea what a capacitor was, much less what it looked like or did. The only time I had used a soldering iron was to complete small paper surface poetry boxes with wire frame. This week certainly revolutionized the way I use those tools.
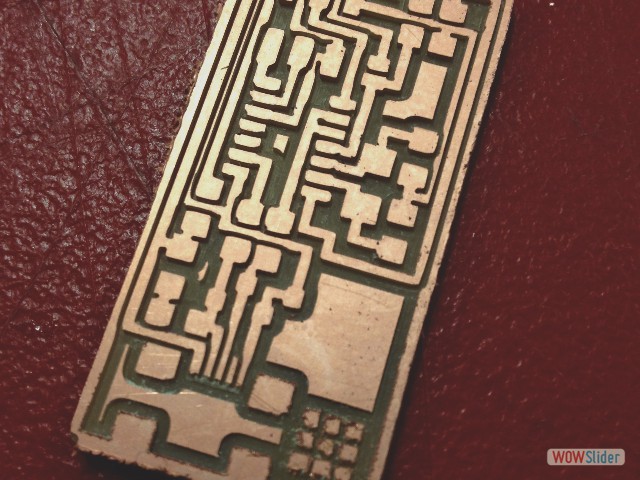
Shawn started by giving us an overview of electronics, familiarizing us with the vocabulary of the week: resistors, diodes, ohms, hertz, volts, amps, traces, etc. We each were able to pick and upload a board design from the Fabtutorials as .png files. The milling machine cut the traces with a 1/64 bit and the cut out the board with a 1/32 bit. While there was a bit of a bottleneck on the machine, it was nice to chat with the Providence cohort, hear some of their life stories, set out our components and watch each person work out the settings on the Roland Modela. Jenny and I were up last, waiting to cut our boards. We tried to be efficient by doing the traces for both of us first and following up with the cutting. Sadly the night did not end well, as in a rookie move I broke a bit and the bit was loose and cut right through Jenny’s. It was definitely time for bed!
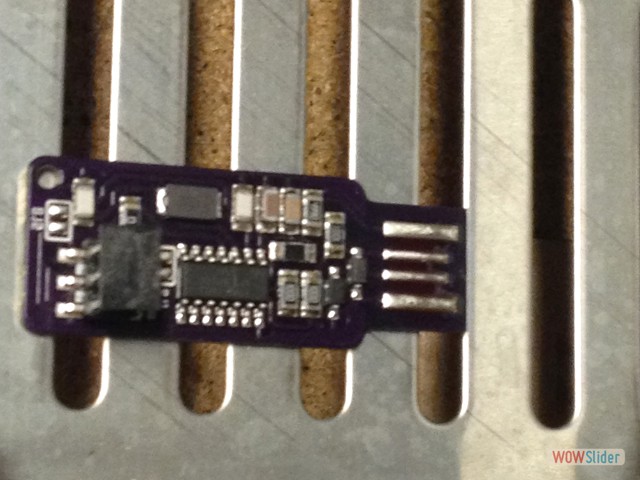
When I returned to the shop, I finished cutting out my circuit board and began the soldering. This part of the project was really enjoyable, especially all the great magnification and lighting equipment in the shop (as I am used to straining my eyes in a poorly lit room when I work on detailed things). I was looking forward to testing it in our next class. Yet that proved to be much more challenging than anticipated.
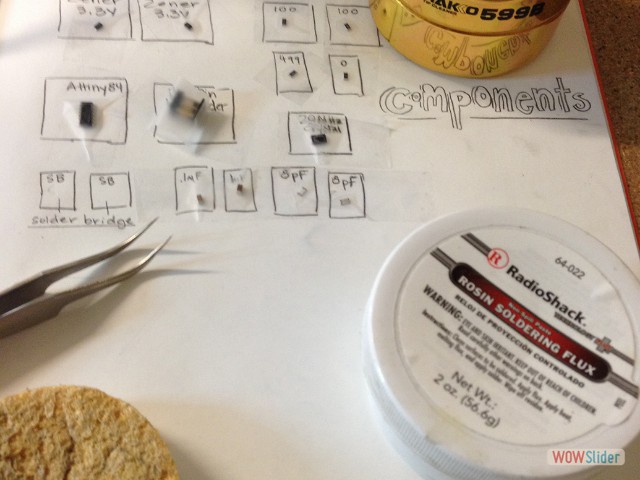
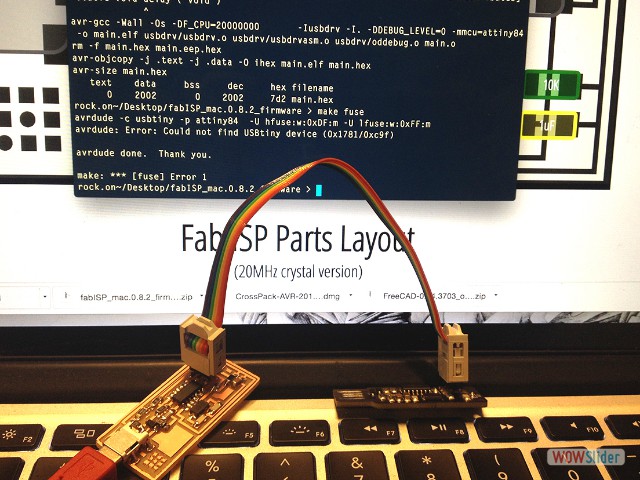
When I initially plugged in my board into the avr to test it, I was not able to program it. In fact, it couldn’t even read it. I went back to look at the parts, and Shawn took a look as well. He found out I had mixed up my capacitors. I went about removing the wrong components with the brainding and adding in the right pieces. This time, the board was recognized and “flashed” but still could not be read by the usb port. Many people were having a hard time with that exact step. I checked my ground, and all the connections on the header pin, which all seemed to be working fine. I checked all my solder joints, adding some where it seemed scarce and making sure the connections were electrically sound. Shawn kept trouble shooting, suggesting many different things to change and alter. Still no luck.
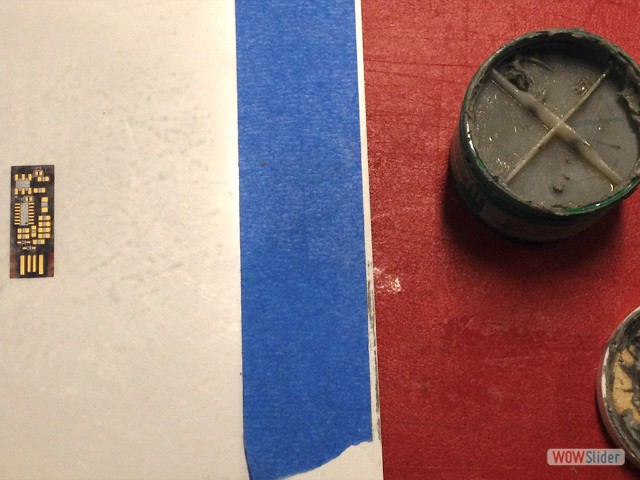
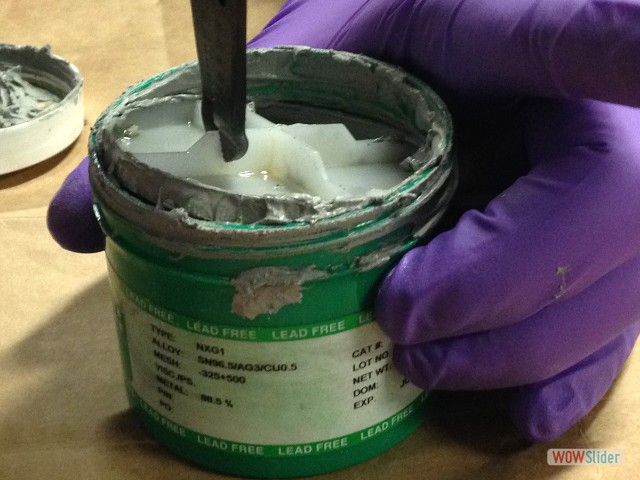
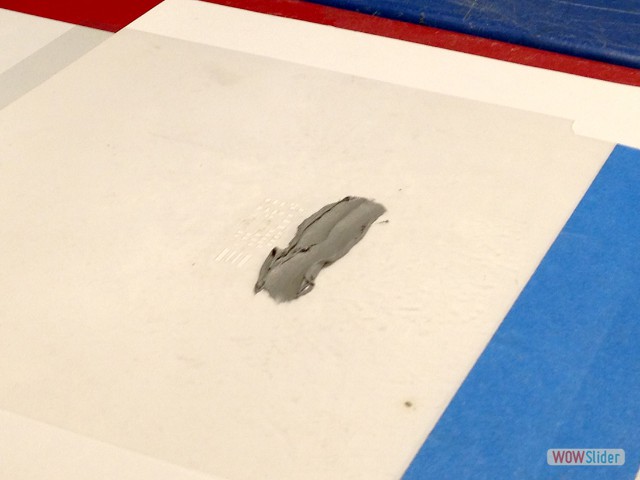
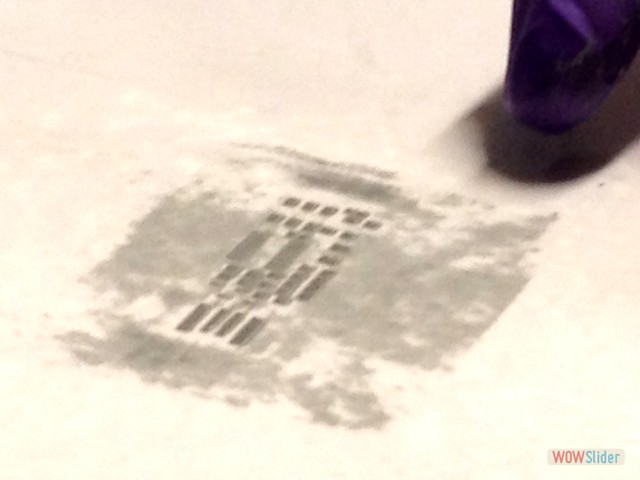
Around this time, Kenzo, whose board had been working the entire time, received a lesson from Nadia on silk-screening the traces. We all had a chance to try this route and it was hugely successful. Having done a bit of silk-screening before, it all felt very familiar! The stuffing of the board was also very straightforward and we put the new boards in the “toaster” oven to cook. Our boards took about 8 min. to melt the paste and have well-soldered connections. This was a very fast process. It also ended-up being the only board I was able to get working by the end of class.
I tried three different types of ISP ATtiny84 microcontroller boards: David’s design, Shawn’s design and Andy’s Design. Of those, I was only get one to work so far. I kept trouble shooting the entire night to no avail. I could continue to trouble shoot by changing the header pins and then the microcontroller although at this point the little circuit is looking a bit worse for the wear. The software download and use seemed a bit of a hidden mystery to me, which I need to spend more time on. I had no idea what all the text that was being spit out meant, and was simply typing the proper instructions into the command line: make clean, make hex, make fuse, make program…
Nadia was an awesome assistant this week. He moved from person to person, talking through the make .rml process, assisting with the set up of the firmware on our computers, testing and trouble shooting our boards, and filling me in on his antics in Neil’s lab. I was struck by how valuable a patient teacher is as he and Shawn slowly went over each step many times, carefully inspecting each component and not judging (as least not showing judgment) when a very simple concept such as the naming of the capacitors was explained and re-explained. Nadia also added a few physics insights about the capacitors and the buildup of electrons that was very interesting. I have a lot to be grateful for as such a beginner student this week!


 1
1 2
2 3
3 4
4 5
5 6
6 7
7 8
8 9
9 10
10 This work is based on the digital fabrication concepts taught through FabAcademy out of MIT at the AS220 campus