 Francesca Mereu
composites
Actually, this was one of the weeks I’ve been most looking forward to. Composites have always intrigued me, and the opportunity to make one myself kept my head busy for a couple of weeks beforehand. I had all kinds of wild ideas to build. Starting from a model of shoes or a lamp to a coffee tray. However, weighing in my tooling options and my experience, the voice of reason made me choose something simpler. I decided to go for a fashion tray to use in the fablab to complement to a fab-bar made in the last assignment. So here in Cascina we are going to experiment with natural fiber composites: cotton, linen and sackcloth.
Making the mold
3D mold design: STAR TRAY
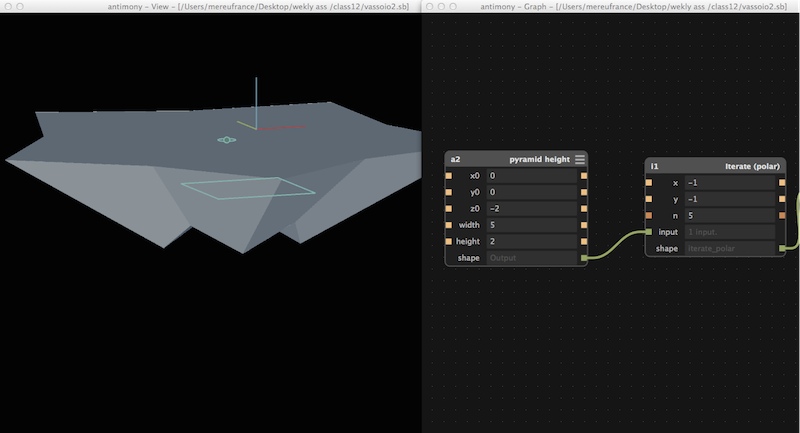
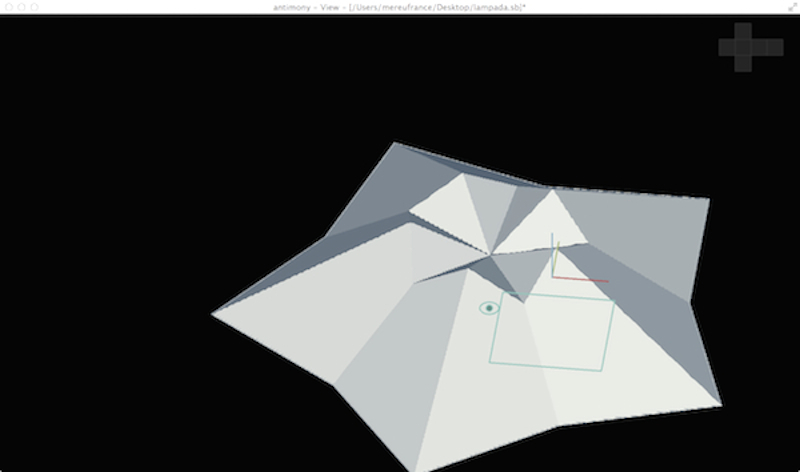
I drew a model in Antimony measuring 20x20x3 cm which I compound with a box measuring the same as my foam and exported to stl. It was very interesting how is easy modify my first sketch of a lamp and trasforming it in a tray!
preparing the foam
This step is optional but I just wanted to have the same amount of foam as my design. Actually you only need to worry about your material being at least big enough to contain your design.
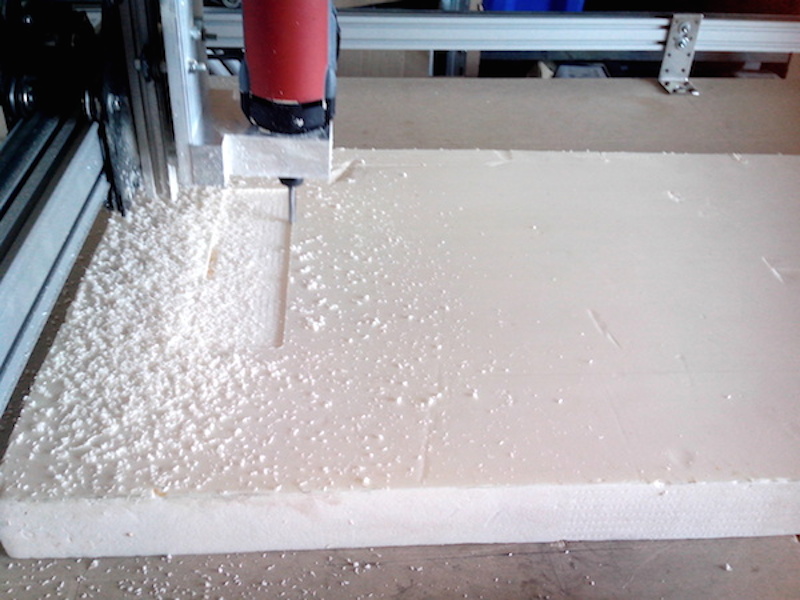
milling the foam
The first step to make a mold for my composite object is milling the piece by the cnc machine. With the stl file I moved to the VETRIC CUT 3D. Cut3D which is actually the same as Partworks 3D that comes shipped with the Shopbot to produce the toolpaths. There are 3 types of toolpaths you can produce: Roughing that will remove most of the material quickly, finishing that will produce the final accurate surface and finally cutout if needed. For sackcloth you don’t need superb detail, here you are the settings that I used.
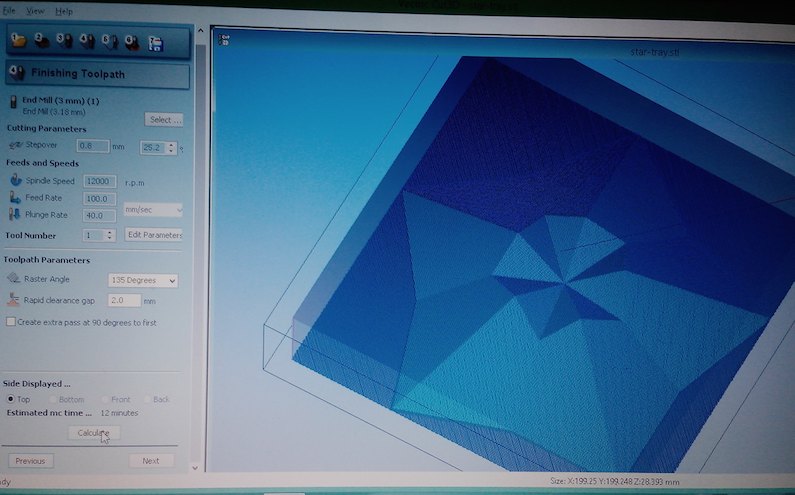
It is nice that Cut3D gives you an estimate of time that it will take to mill:
Roughing Toolpath
-Ball Nose (6 mm)
Cutting parameters:
-pass depth: 10.0 mm
-stepover: 6.0
Feeds and Speed:
-splindle speed: 5000 r.p.m
-feed rate: 100
-plunge rate : 30.0
Toolpath parameters:
-rapid clearance gap: 5.0 mm
-machining allowance: 1.0 mm
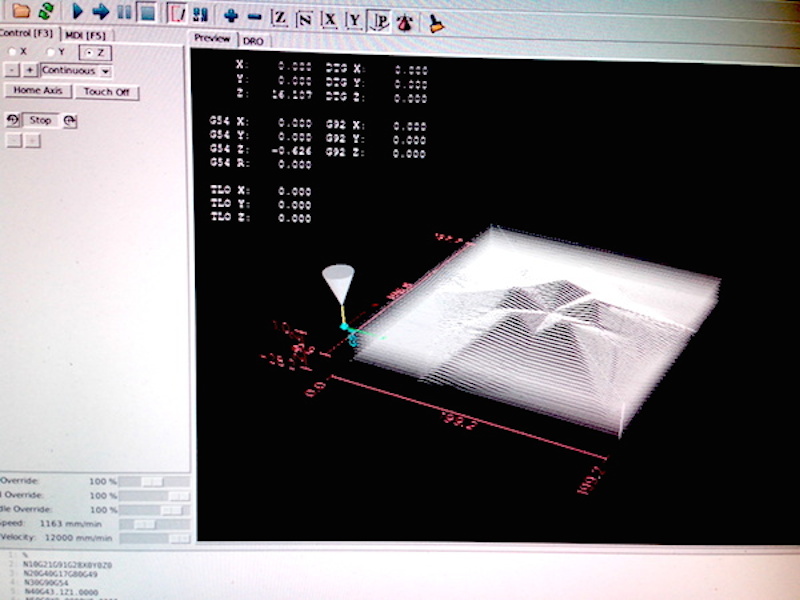
Then I move the code in the software for control machine: Linux cnc ShapeOko. LinuxCNC is a software system for computer control of machines such as milling machines, lathes, plasma cutters, cutting machines, robots..etc. The program is based on 7 differents steps and is quite intuitive to follow the process. The real first step is to define the size and orientation of the mold. Going forward with the process the program will ask you the Roughing toolpath. So we’ll define the tool dimensions and as well how the machine will “draw” our mold in the rough finishing. The options are both in x and y direction.
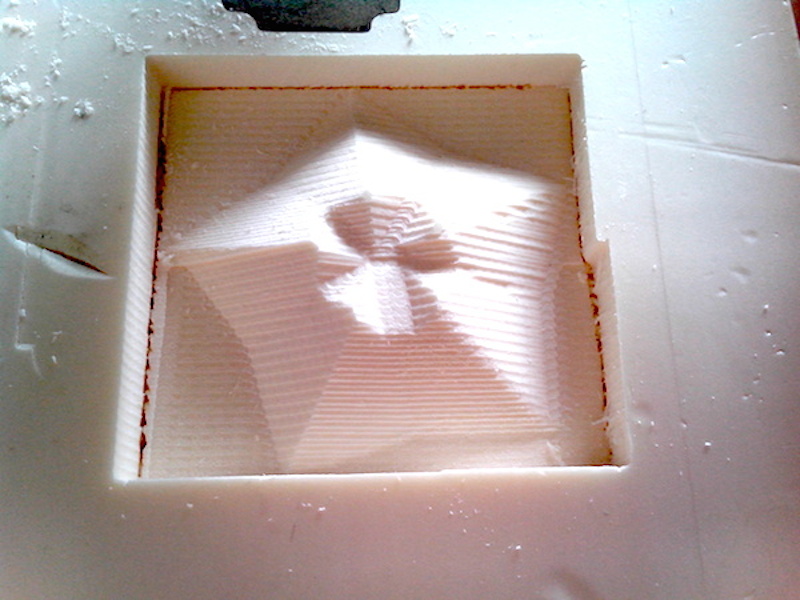
Then is necessary fixing and preparing the foam for milling machine. First of all our foam is rigid expanded polyurethan. To fix properly you have to use a double sided tape on the bottom of the foam. Than fix it to the base.
Since my finishing toolpath settings were a bit rough I sanded a bit the surface. It’s probably not necessary because the fabric I am using is quite thick.
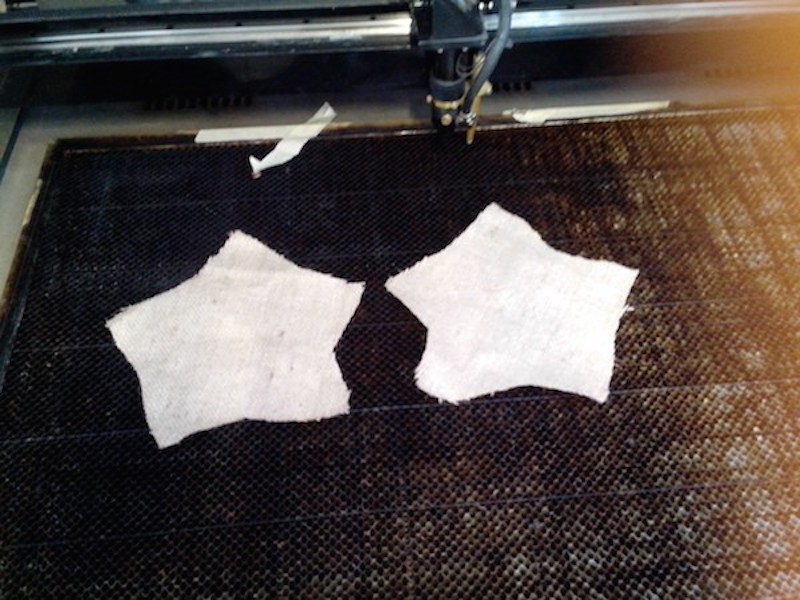
I cuted a couple of pieces of sackcloth about 25x25 cm
Composite part(s) cast
The next step is to use epoxy resin. The term epoxy has been widely adapted for many uses beyond fiber reinforced polymer composites. Today, epoxy adhesives are sold in local hardware stores, and epoxy resin is used as the binder in counter tops or coatings for floors. The myriad of uses for epoxy continues to expand, and variates of epoxies are constantly being developed to fit the industries and products they are used in. In the realm of fiber reinforced polymers (plastics), epoxy is used as the resin matrix to efficiently hold the fiber is place. It is compatible with all common reinforcing fibers including fiberglass, carbon fiber, aramid, and basalt.
Just prepared a mix of two parts of resin and one part of hardener. It does not really need to be ultra precise, just eyeball it. I mixed it well ( for about 45 seconds) because it is important: resin does nothing, hardener does nothing, mixed they form the epoxy.
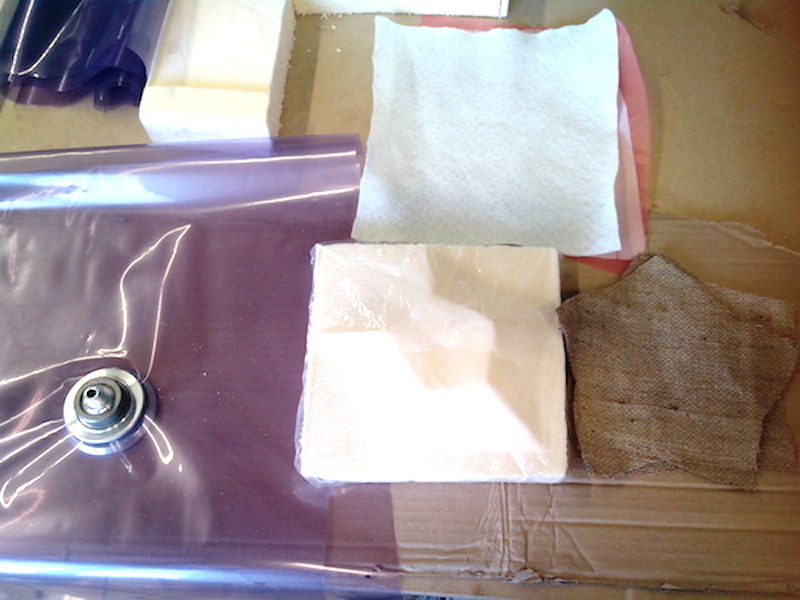
My layers were set up as following:
-foam mold
- food film
- impregnated fabric
- impregnated fabric
- food film
- felt breather.
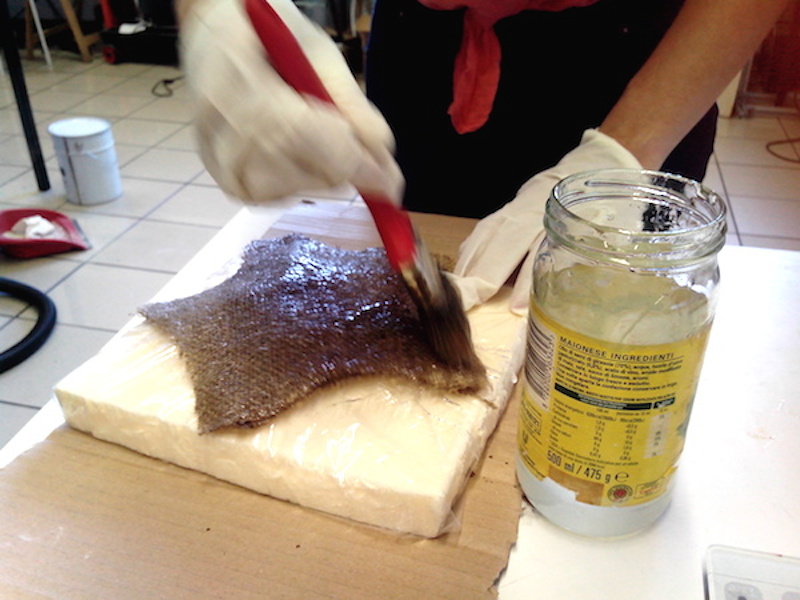
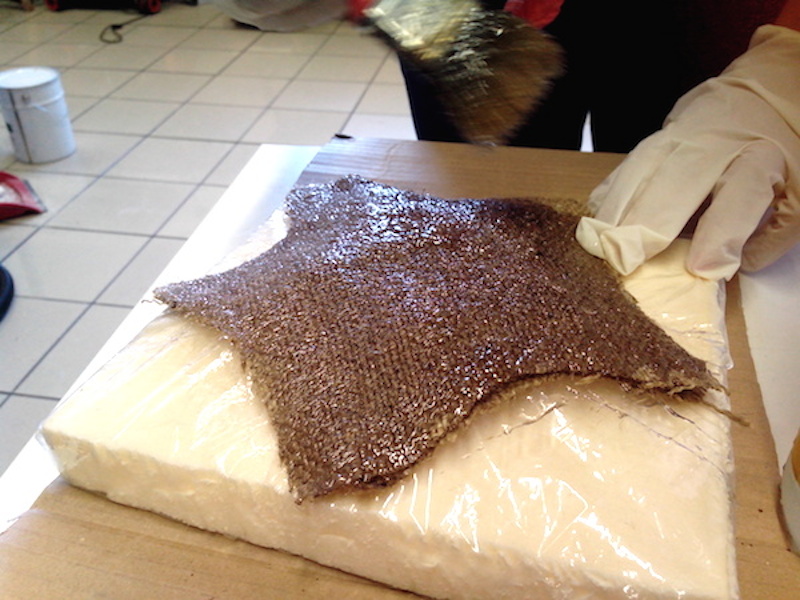
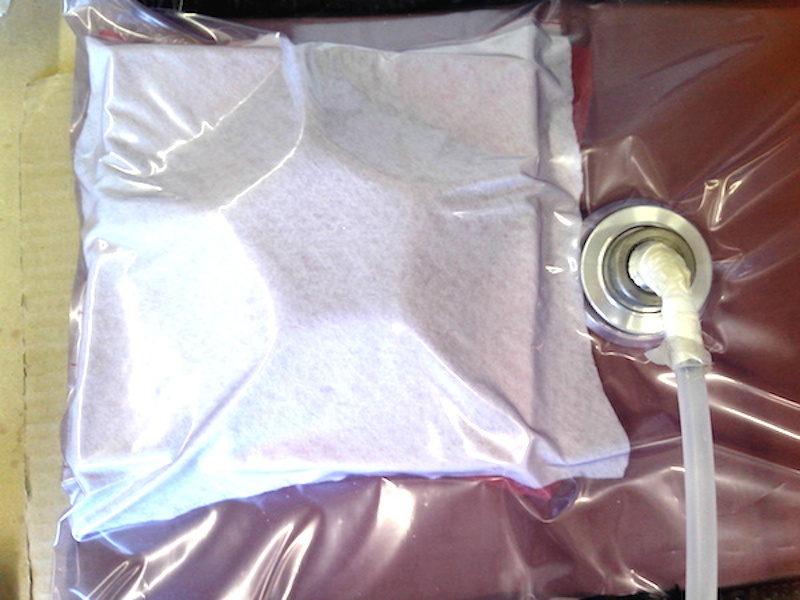
The application of the resin is easy. After having several (three) layers of material one on top of the other we can start to distribute it all along the surface. Than I put it on top of the foam using another layer of fabric in between. I press and I’m now ready to put everything inside the vacuum bag.
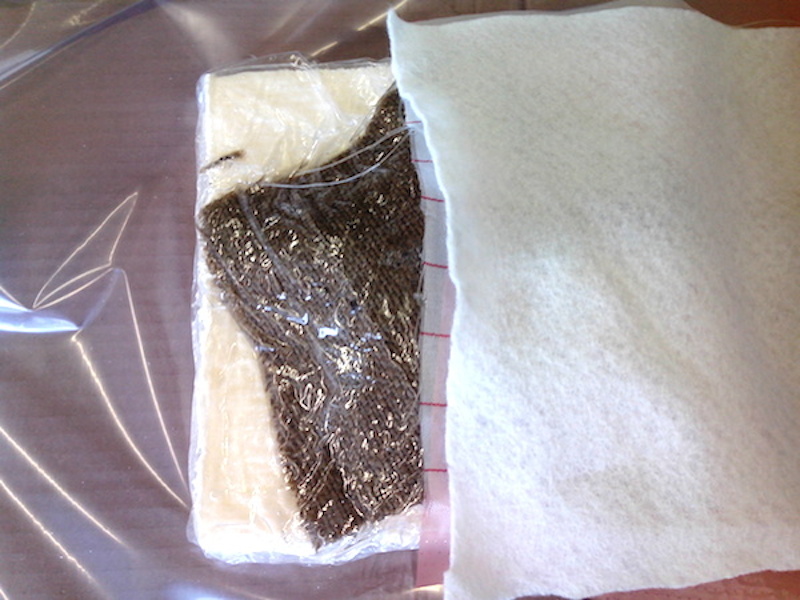
Vacuum bagging (or vacuum bag laminating) is a clamping method that uses atmospheric pressure to hold the adhesive or resin-coated components of a lamination in place until the adhesive cures. (When discussing composites, “resin” generally refers to the resin system—mixed or cured resin and hardener—rather than unmixed 105 epoxy resin.)
Modern room-temperature-cure adhesives have helped to make vacuum bag laminating techniques available to the average builder by eliminating the need for much of the sophisticated and expensive equipment required for laminating in the past. The effectiveness of vacuum bagging permits the laminating of a wide range of materials from traditional wood veneers to synthetic fibers and core materials..
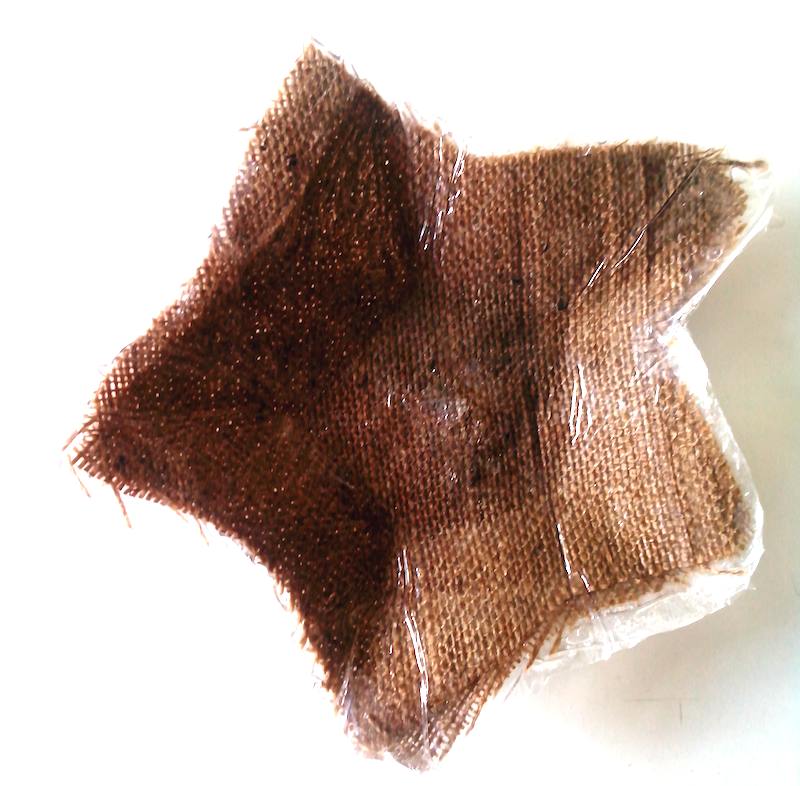
That’s the results: