 Francesca Mereu
molding and casting
This week’s assignment is to design a 3D mold, machine it, and cast parts from it.
Description
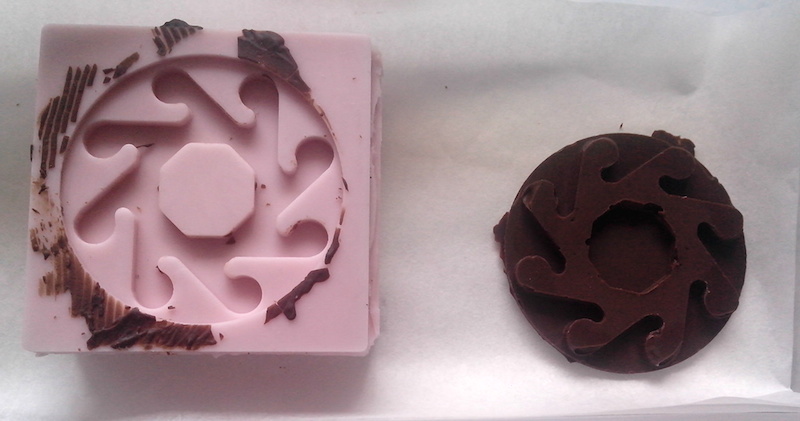
My idea for this week is to run a chocolate mold of my shoes-logo using the technique of molding and casting, this will allow me to get a helpful object that can be use for the packaging of the shoes.
Manufacturing process by which a liquid material is usually poured into a mold, which contains a hollow cavity of the desired shape, and then allowed to solidify. The solidified part is also known as a casting, which is ejected or broken out of the mold to complete the process. Casting materials are usually metals or various cold setting materials that cure after mixing two or more components together; examples are epoxy, concrete, plaster and clay. Casting is most often used for making complex shapes that would be otherwise difficult or uneconomical to make by other methods.
Modeling the piece
The assigment of this week is to make a mold from a wax counter mold , this allows us to deposit different materials for its high temperature resistance, long lasting resin from drying for metal figures until fast-drying resins for plastics.
First thing to do:
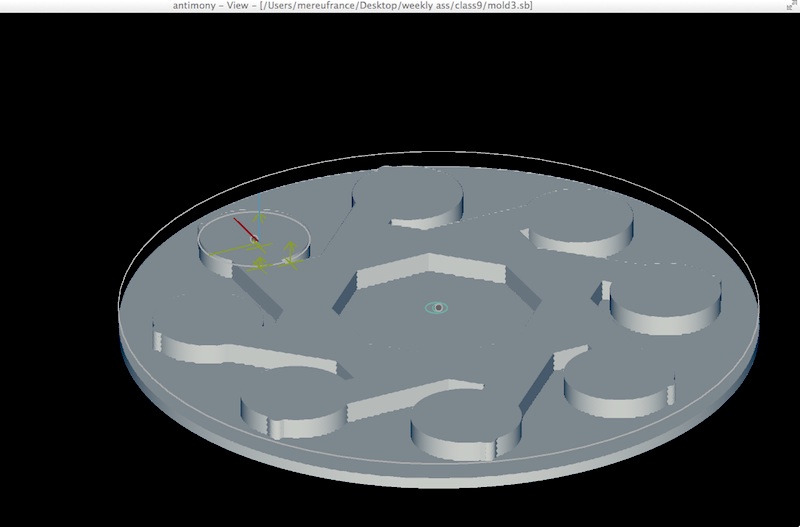
- Create the positive model. I did it using Antimony software, and then exporting to .stl
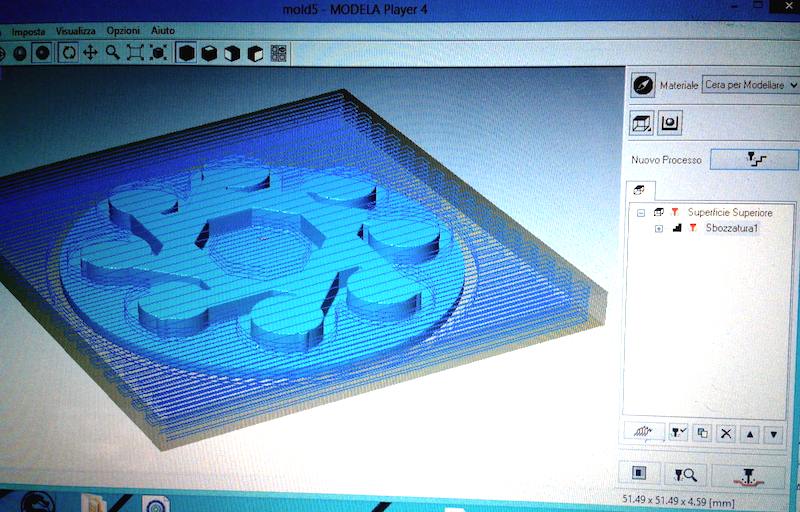
- Milling the wax block. I used the Roland Monofab SRM-20, site in the Fablab Cascina, with the Modela player software, and a tool of 3 mm of diameter.
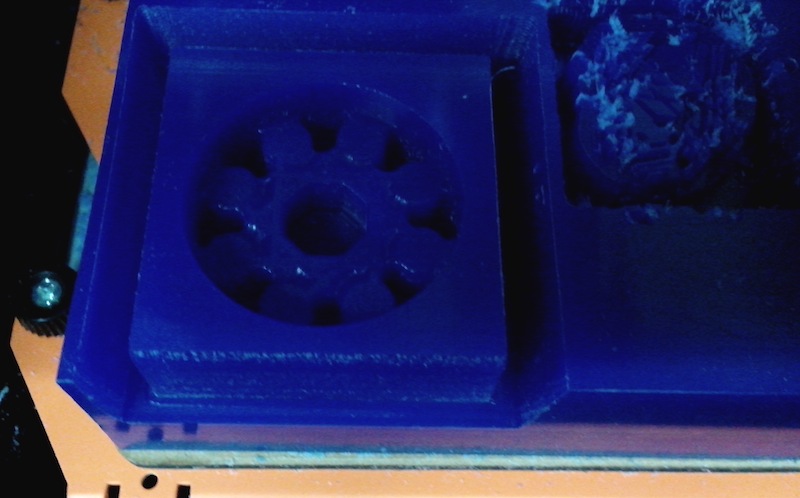
- When the wax block was modeling is posible to use it as hard mold, as positive.
Soft Mold:
For my project I will use a soft mold so we need to follow the next steps:
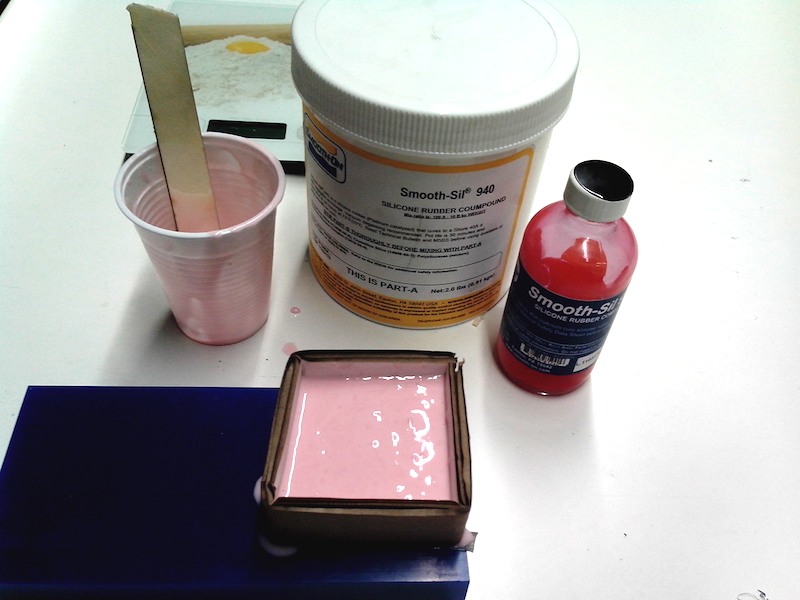
- Prepare all the material that will need for the process (mix material and safety equipment)
- I use for the soft Mold process Smooth -Sil 940 ( Silicone Rubber Compound) -
- For the mix, the proportion it has to be (part A-part B) 100:10 (volume)
- Once the rubber is mixed (Dry and Wet), is time to put it carfully into hard mold until the material reaches the top of the mold.
- Try to take it out all the air inside the mold, for this you can hit “slow and very carefully” the molod against the table.
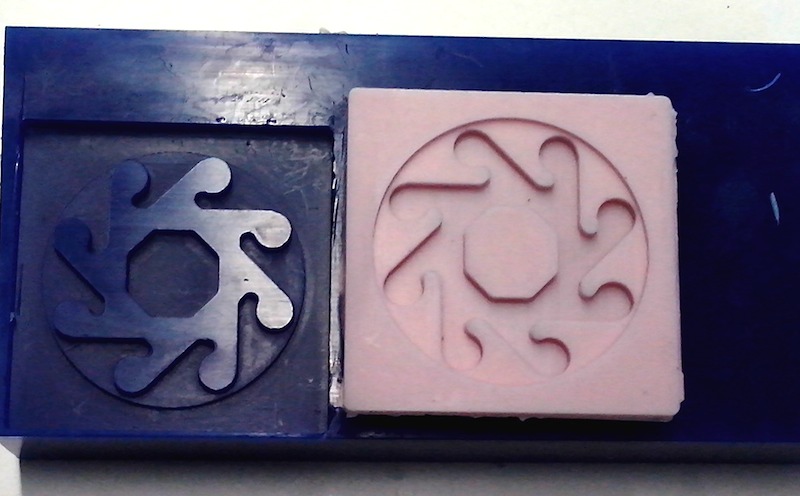
- Now we are ready to take out the final piece but not before to wait for 24 hours.