 Francesca Mereu
Computer-controlled cutting
This week assignment was to create a press fit kit to be realized using cardboard and the laser cutter. The kit should allow to create different objects and be parametric on the material thickness and quality. Furthermore we were asked by our instructor to design and produce stickers of different sizes to be cut on the vynil cutter.
Press fit kit
For this part of the assignment I researched several designs, for both press-for joints and creations made with this technique. I found out that many interesting objects have been built this way, from statues, to dinosaur figures, doll houses, lamps and so on.
On the technical side I found that many variations of the press-fit joint are available. An interesting fact is that some of them are also used for fitting industrial products and construction materials. Anyway my interests for design researchs going to explore many possibilities of forms, figures, colors, materials, suggestions.
Concerning press-fit cardboard objects I found a lot of examples of decorative objects, so I thought it would be interesting to explore some design that could be instead used for several projects or at least for prototyping.
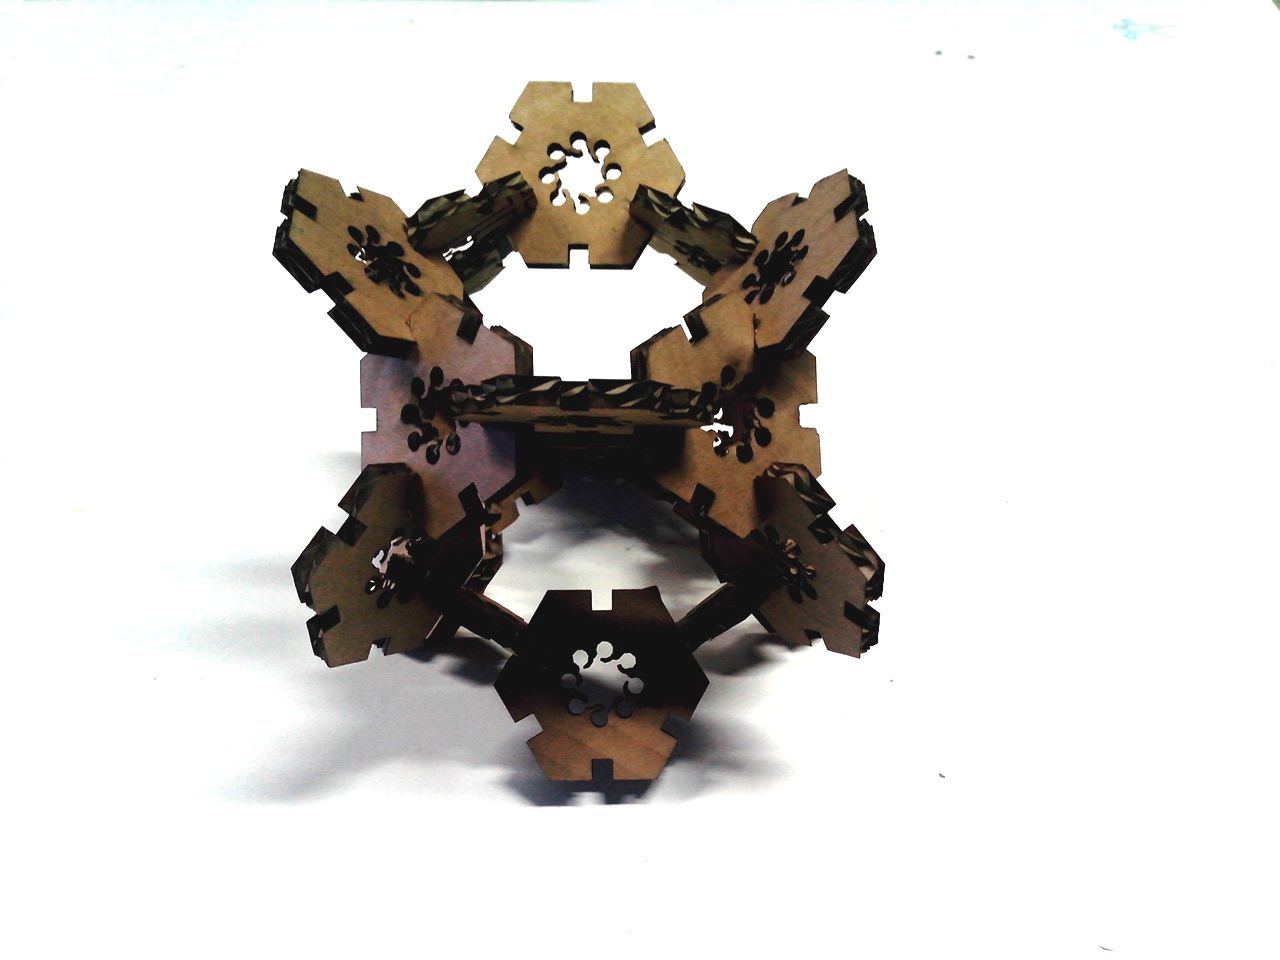
The press fit “molecular kit”
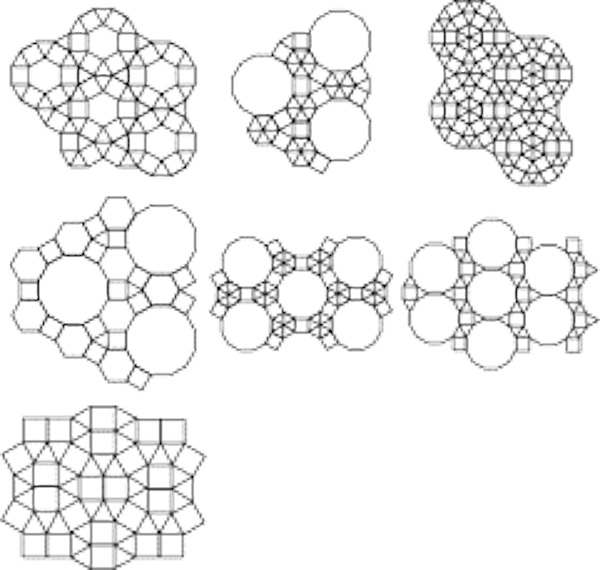
My concept is to create a press-fit kit allowing to prototype a decorative molecular structure, like a construction kit composites by modular pieces. The molecular structures are inside in the elements of the nature. A lot of designer like M.C Escher and Bruno Munari were fashinanting with this forms and elements. Particulary I fascinated from M.C Escher’s works, dutch graphic artist, who is known for his often mathematically inspired woodcuts, lithographs, and mezzotints. These feature impossible constructions, explorations of infinity, architecture, and tessellations. During my researches I tryed a Bruno Munari works, a molecular compositions silmilar to my work.
That’s an example of tesselations:
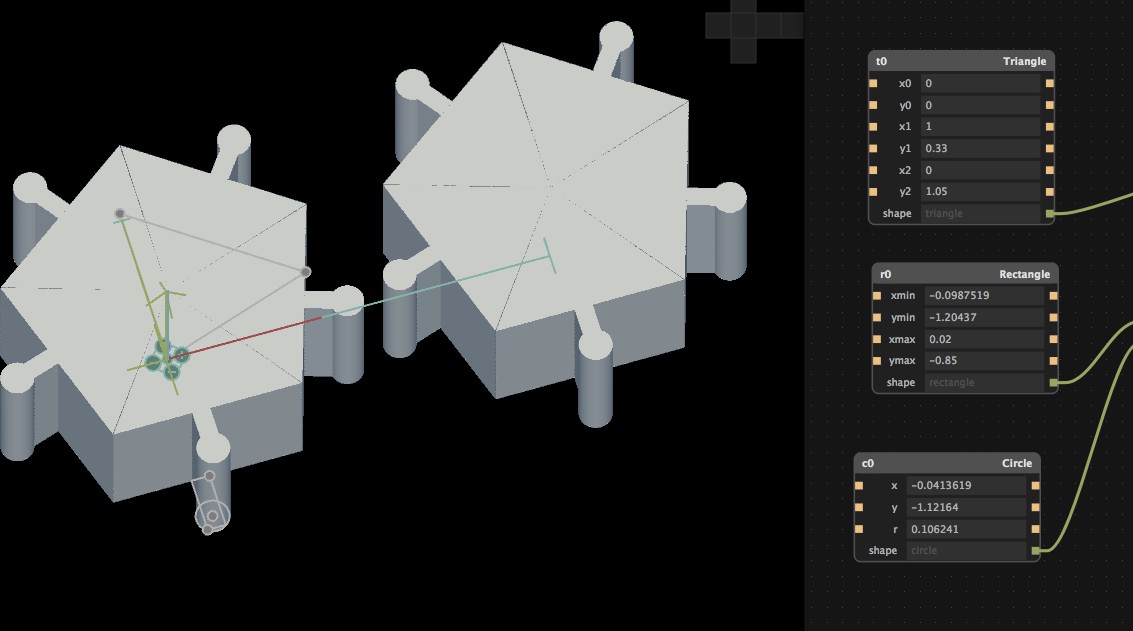
As suggested by my instructor I decided to design the press-fit dashboard kit using Antimony to study the the different connections of all parts, and each element of the modular kit.
First Test
Because we will inevitably have to tweak a press-fit design to match the materials and equipment at hand, my design should be created so that the width of slots and notches can be changed parametrically. It’s also important to chamfer (i.e. cut at a 45 degree angle) the edges of the press-fit notches. Without a proper chamfer, we may not be able to slide the pieces together to get an effective joint.
Inkscape is a great open source vector drawing program, but I usually design with Illustrator. When you designing for the laser cutter, thin red lines cut and black/grey values are engraved.
Cardboard for the dashboard kit.
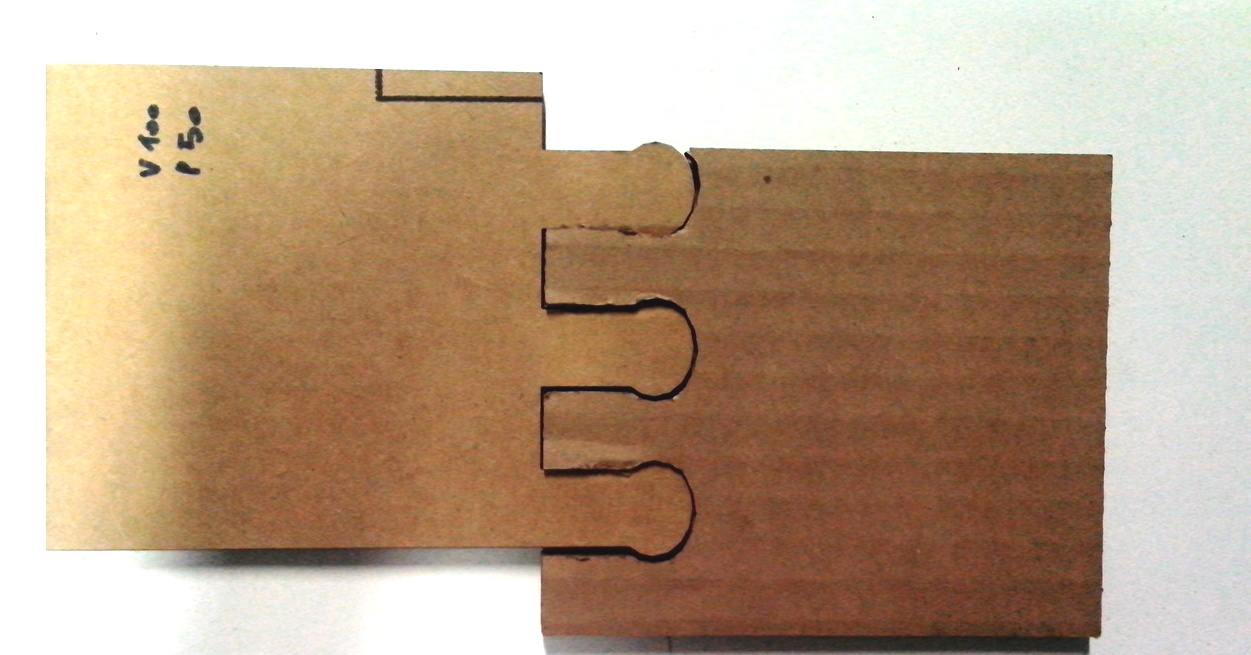
Using this design with cardboard has proven to be a challenge. I have used IKEA carboard
That’s a first test with this cardboard;
height: 5,07 mm
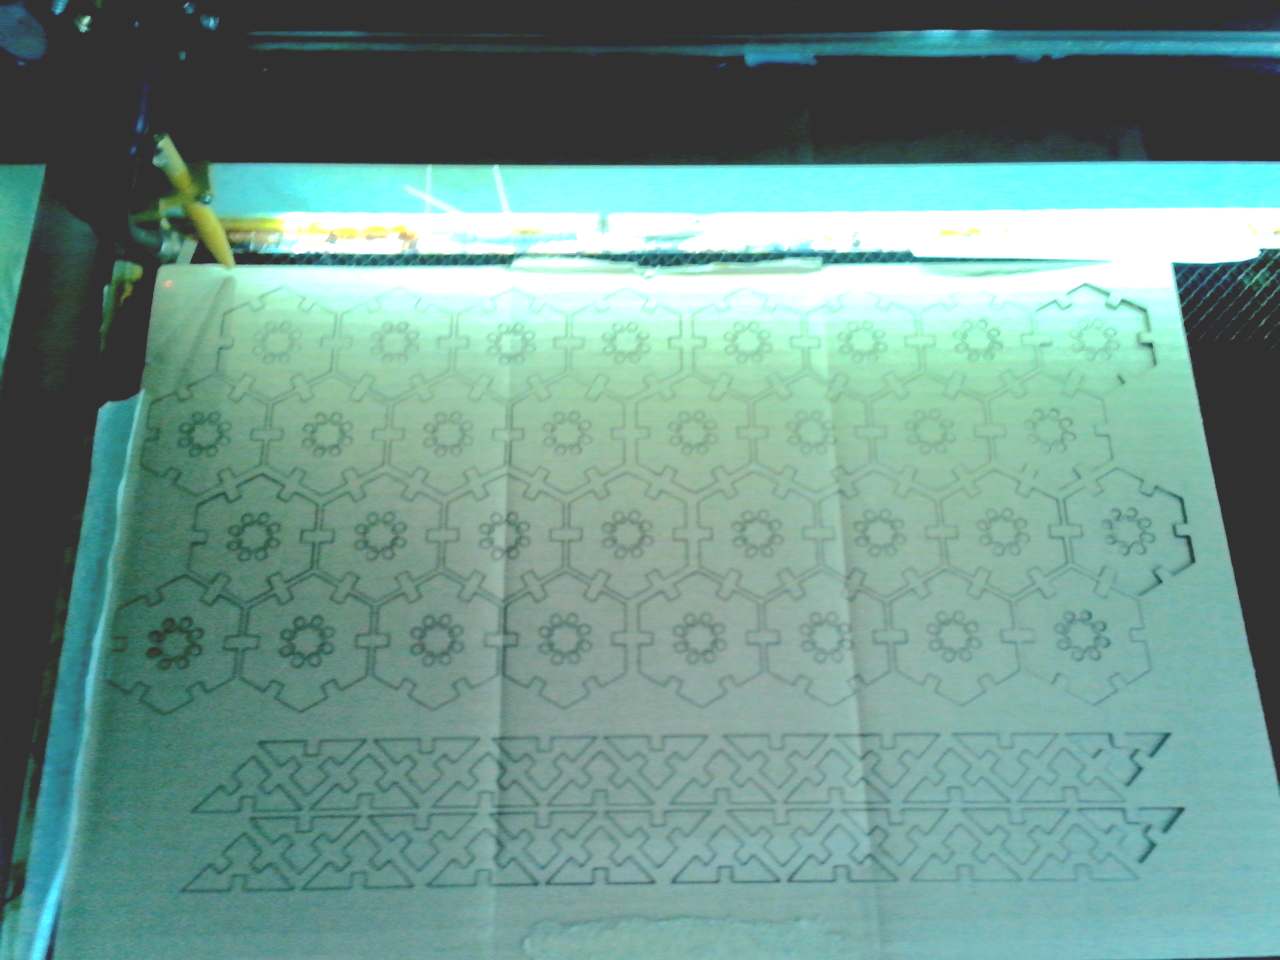
Calibrating the machine
For the IKEA cardboard we have used the following parameters:
Machine: FullSpectrum Hobby 5th gen 90W machine
Speed: 100, Power: 40
The material is very irregular so each test need to be repeated many times, especially for configuring cutting power. For instance the standard settings also used by my collegues for their project with similar boards, wasn’t sufficient to cleanly cut the other board which was of the same thickness but with a different rigidity. I think that using 50 as power setting would provide better results for this specific kind of cardboard. Unfortunately we didn’t have more available to try this setting.
Speed: 100, Power: 50
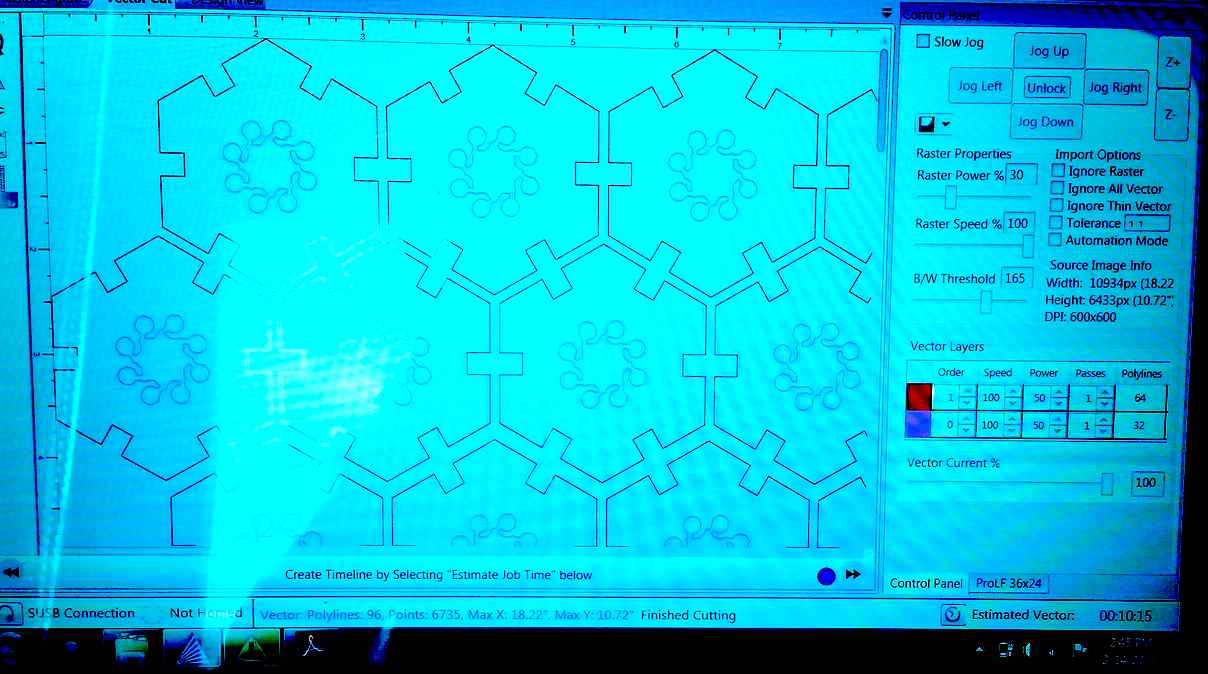
Calibrating the lasercut
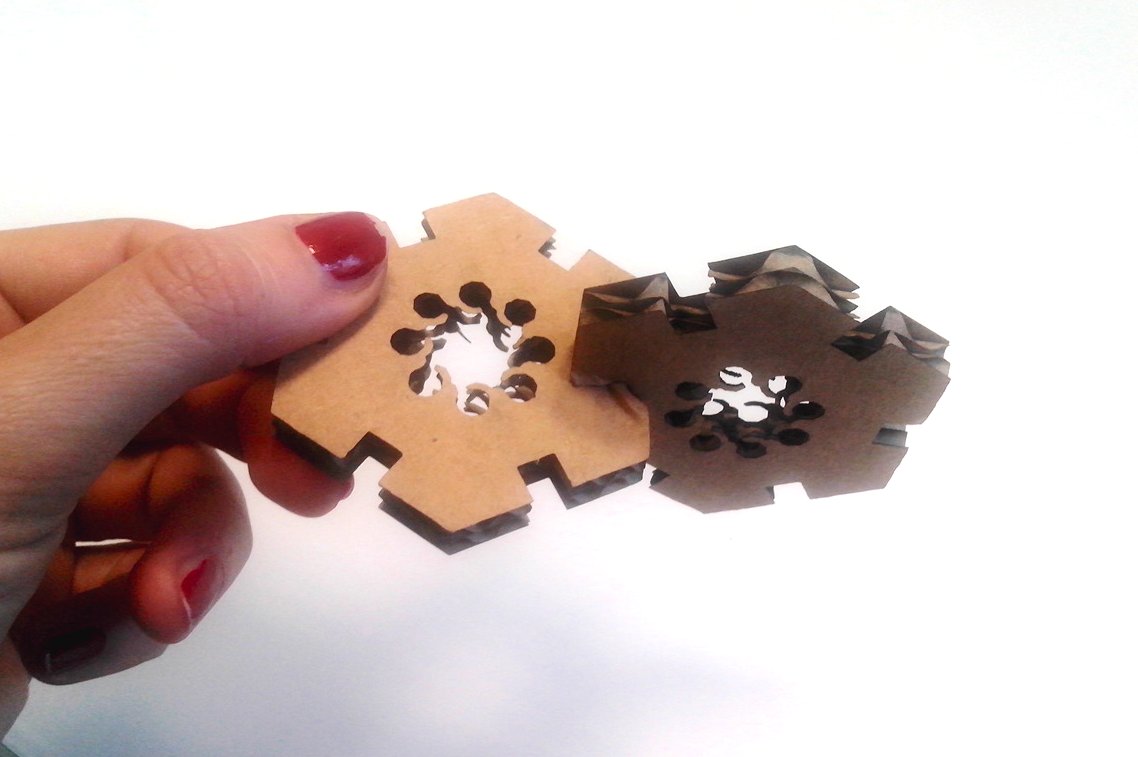
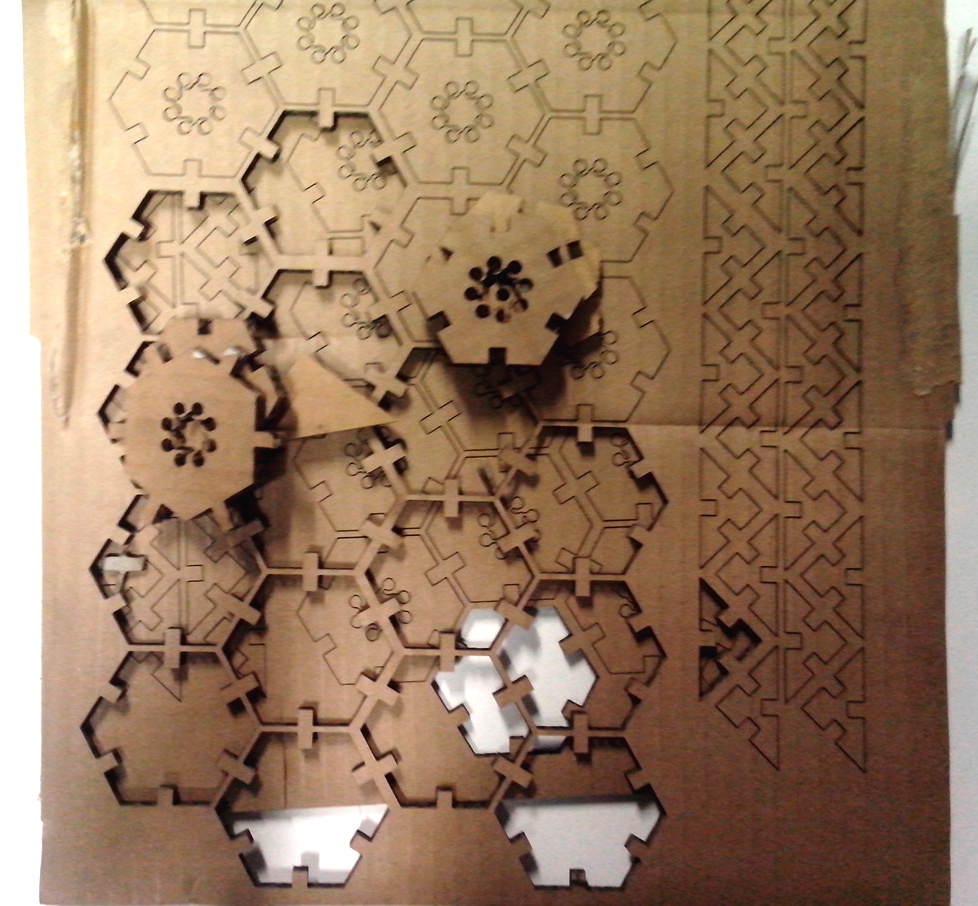
Results achieved and lesson learnt
The major issues I found are related to my choice of using press-fit joint with an horizontal design for cardboard and some minor problems with the software I used. I opened an issue on Github for this and the author promptly fixed it.
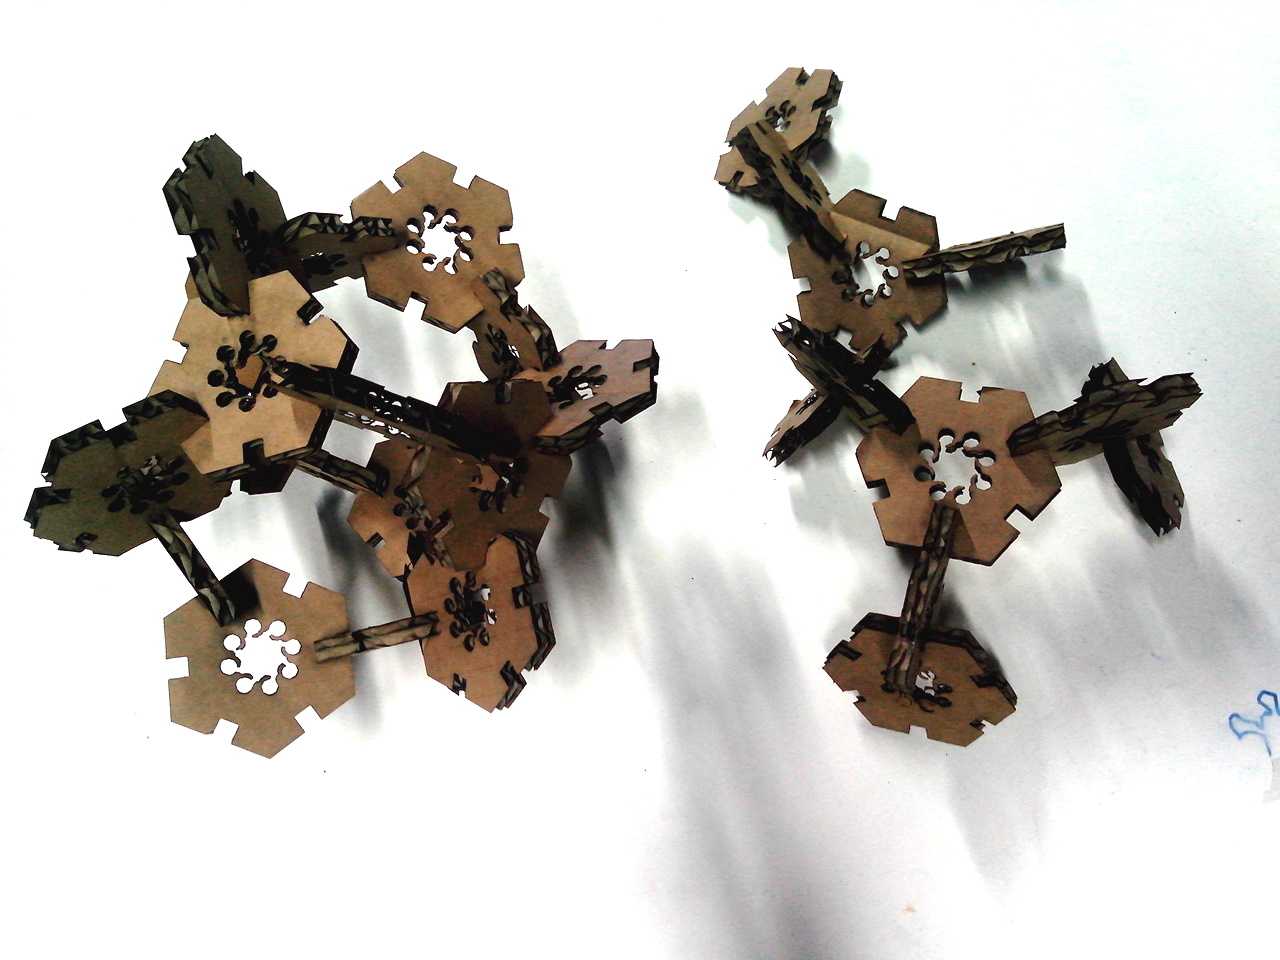
But I ‘m very satisfactory for the good results, a part any changes to design that I would like to do for better results. I’d like to design another modular structure with a pentagon figure and different connections. Anyway there is some pictures of these results:
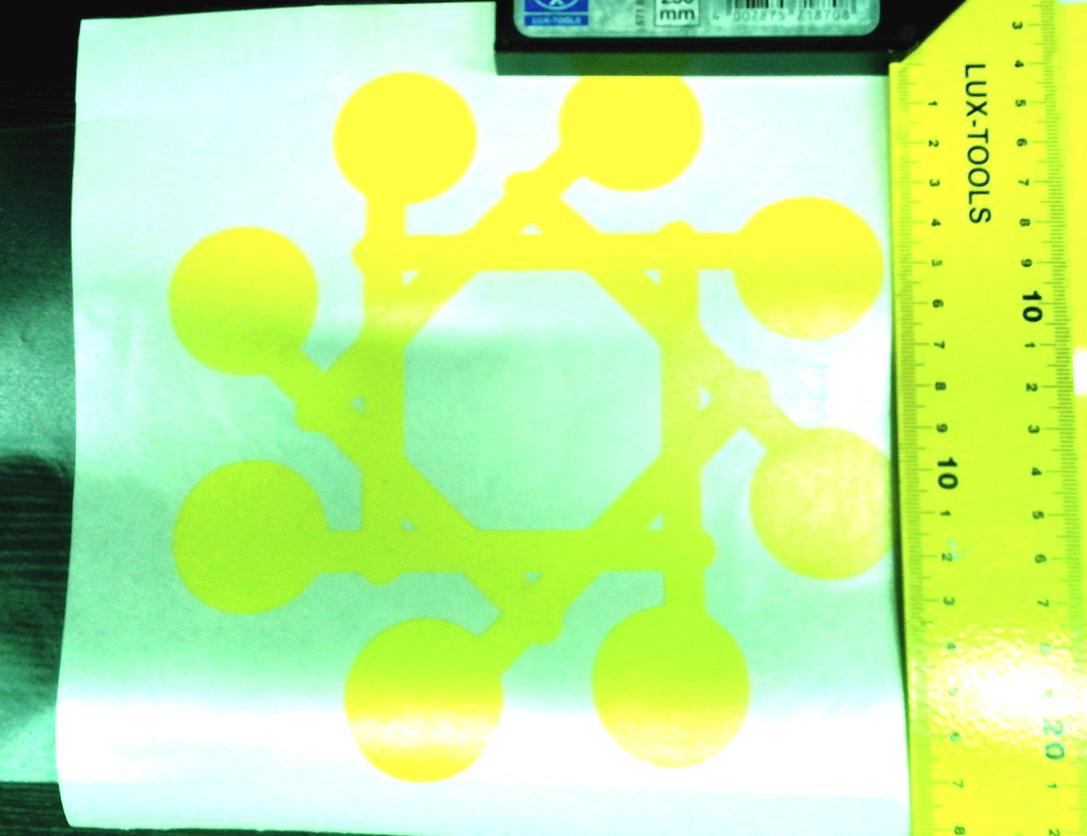
Making vynil cut stancils
During the week I mostyl used the laser cutter, but luckily found some time also to explore the possibilities given by the vynil cutter. I managed to find several pattern and created some stickers for my laptop.
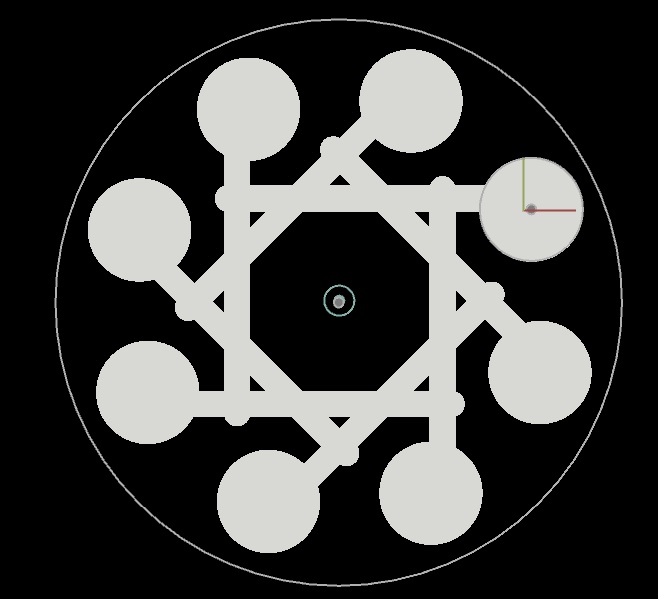
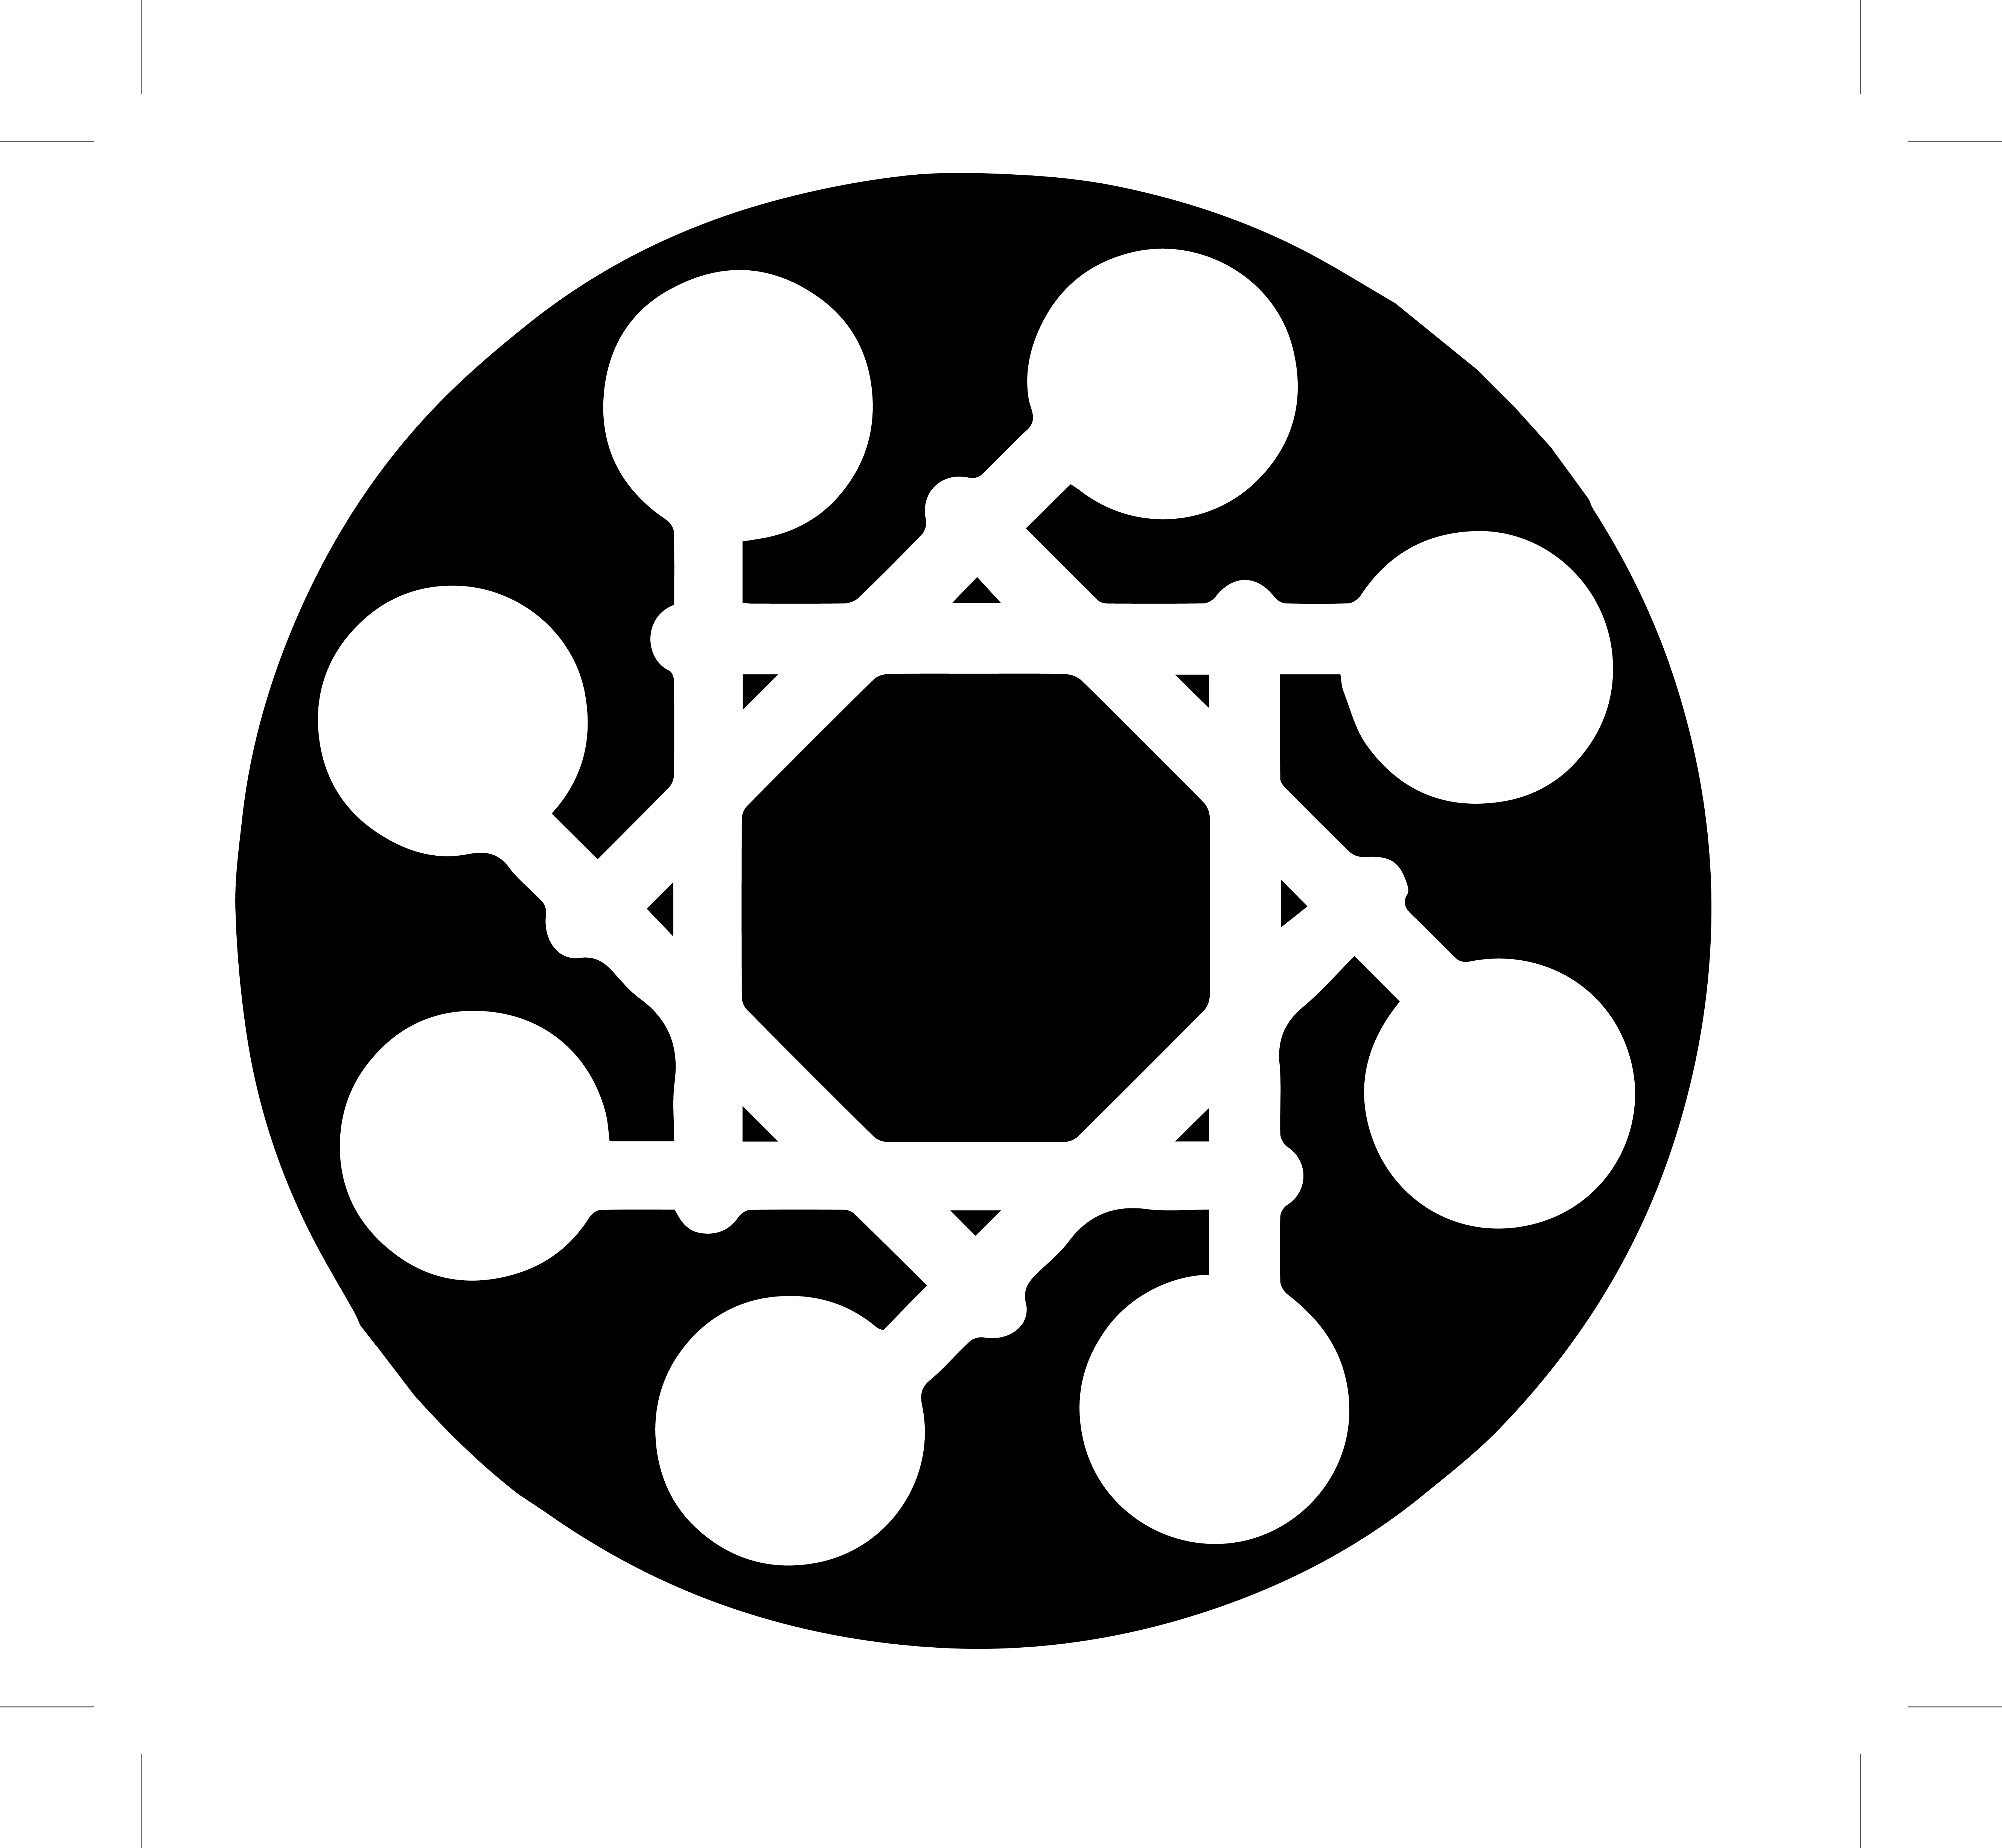
The design of the pattern was created by Antimony.
I used the fab modules to process the files to be able to cutting. Fab modules is a very good sources.
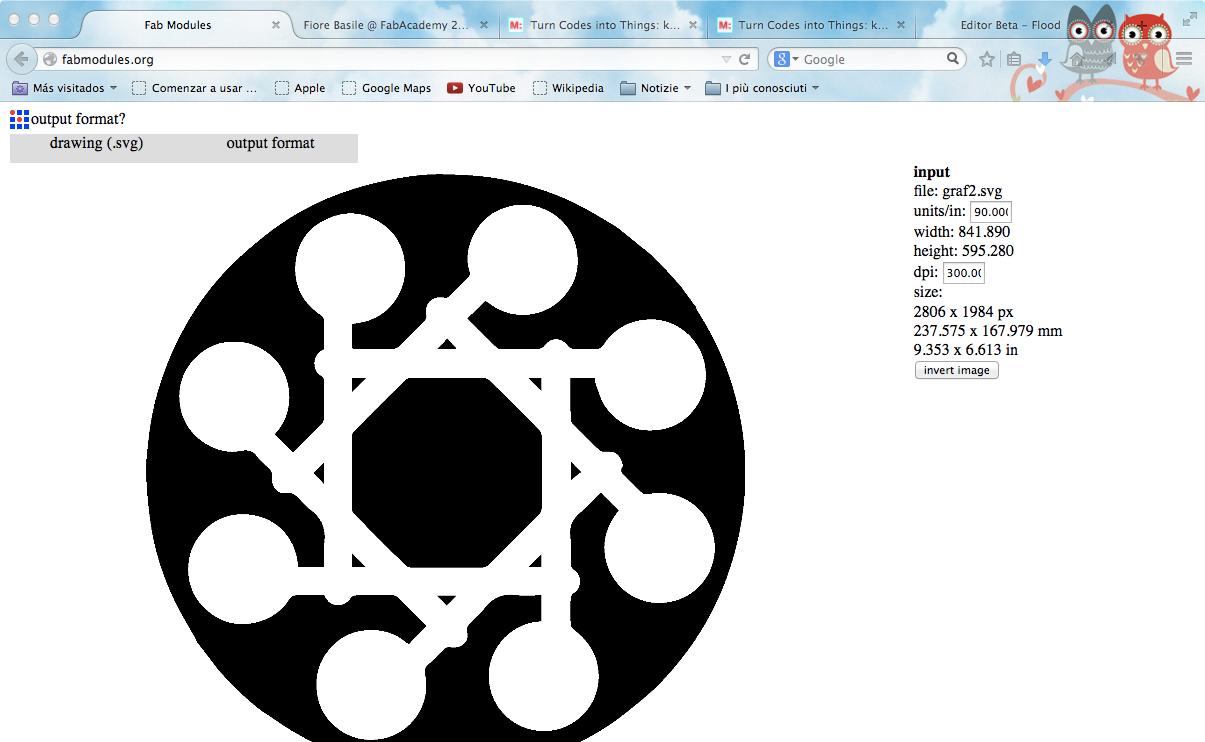
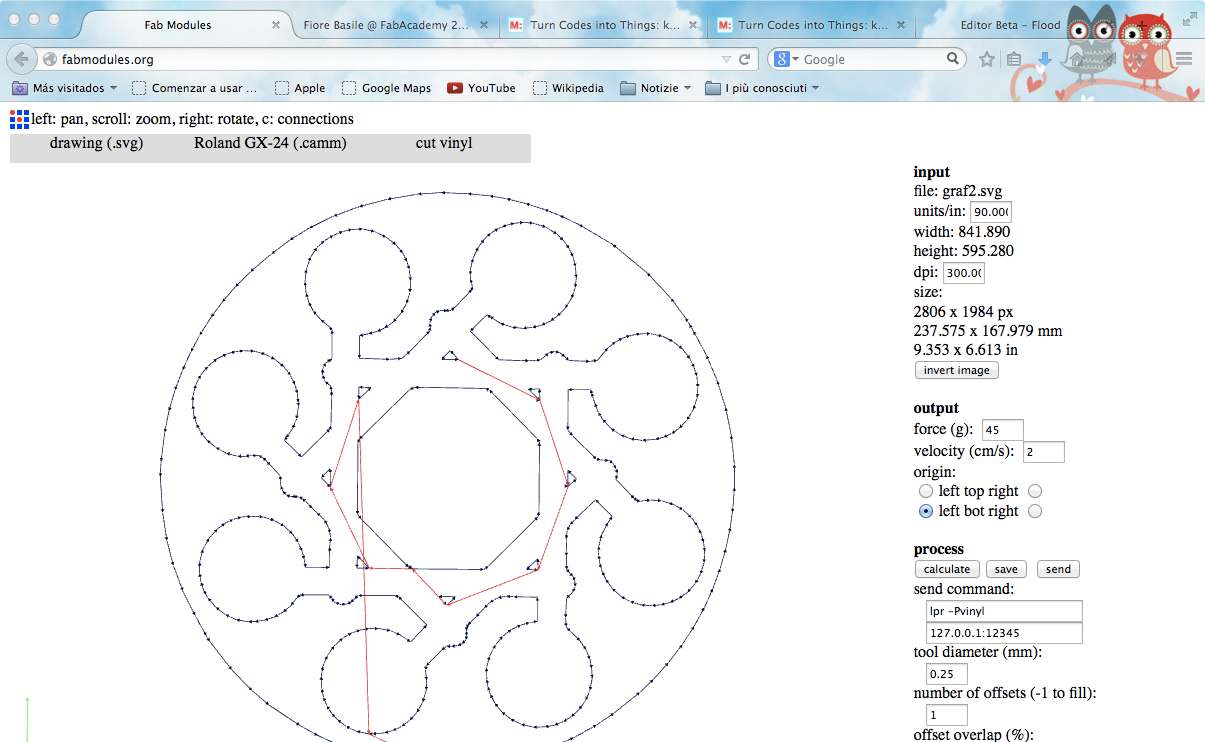
The stickers where created starting from JPG files, but they were converted into SVG files for processing, by Inkscape because is better to vectorialize the image for a good cutting. I was able to create files at high resolution which resulted in a very good trace result.
I really liked the simplicity and immediate results offered by the large vynil cutter available in the FabLab Cascina, much more advanced than the small A4 cutter I had used previously in the FabLab Sardegna Ricerche. The ability to cut in different parts of the material and to exactly know the area available for cutting allowed me to reuse the same vynil for several tests.