3D printing and scanning
ASSIGNMENT UPDATE (3D printing) - 30th of June 2015
I have failed to mention the 3D printer's technology I have used for this week's assignment. At the University I'm responsible of the two 3D printers available: one open source FDM printer (RepMan v3.0) and one professional inkjet printer (Projet660). Obviously, for the assignment I have used the FDM technology using ABS material and printing it at 240º C. On the other hand, the actual 3D scanned object was printed initially with the inkjet technology. As we can see the finish is remarkable and with colored logos included. The huge advantage of this technology is the full color printing, but on the other hand the downside can be the fragile material: cast. Even so, using the inkjet printer we are able to materialize full color and functional prototypes. The results are speaking for themselves: the presenter project.
ASSIGNMENT UPDATE (3D scanning) - 3d of April 2015
I went back to print the 3D scanned object and found out that the 123D Catch generated an unprintable open mesh. This open mesh was available in many different formats, but it wasn't a watertight and couldn't be printed. Obviously, I have tried (and succeeded) to retouch it in 3D max and make it watertight. Since the object was a mesh, containing more than 20 000 faces, I have encountered Z positioning error. Couldn't move it to the right Z height and the generated gcode wasn't quite as expected. The scanned object was a little bit off and the generated printable layers where starting in the air. I have overcome this issue by moving the object to a negative Z height and from the generated gcode manually eliminate the unwanted first layer. I have printed the object half size for material saving purposes.
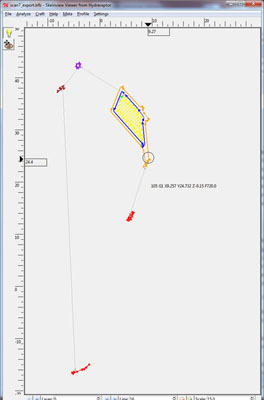

On the other hand, from the 123D Catch preview the scanned object looked just ok, but the actual *.stl file was way off and without any details. The under chin of the object simply wasn't existent. The overall experience was a good one and learned a lot from all the mistakes (generated by the program or by myself), but I personally can't recommend 123D Catch for daily use. Had a good fate in Autodesk, but this time this fate failed.

ASSIGNMENT - 25th of February 2015
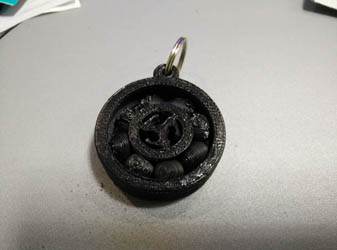
This week's assignment was to design and print an object what couldn't be made using subtractive processes. Since I have some 3D technical modeling skills I waned to design something useful and attractive, none the less I needed to model it in a parametric environment for an easier tolerance adjustment. The actual 3D model to design it occurred to me during the class, when Neil mentioned something about "bearings would be a nice model for this exercise". And I was thinking: why not design a fablab bearing keychain? Sounds simple and it would be a nice object to print.
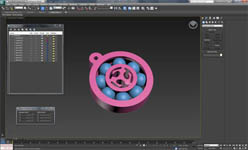
First of all, I have started to model the keychain in 3D Studio following these steps:
• draw a torus with radius1 12,5mm and radius2 4,875mm
• draw a sphere with a radius of 4,625mm and move it to the center radius2 of the torus (12,5mm of the initial 0, 0 point)
• make seven instance copies of the sphere and distribute them inside of the torus. Having instance copies allows us to change one parameter in one sphere and all of sphere's will change the specified parameter
• draw cylinders for the inside and outside ring of the bearing, 10mm radius and 20mm radius respectively. And finally, draw cylinders for the key ring as well
• import fablab logo (*.ai format), extrude it and subtract it from the middle cylinder
• use proboolean for the subtraction operations and we have the newly designed keychain
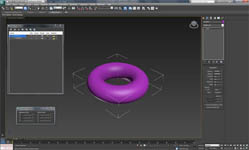
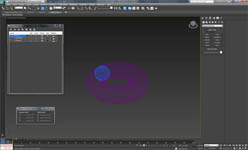
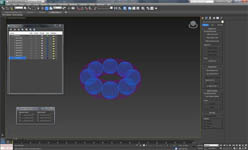
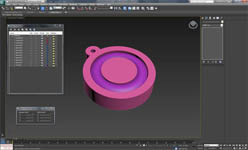
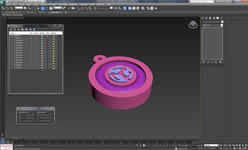
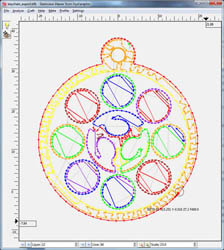
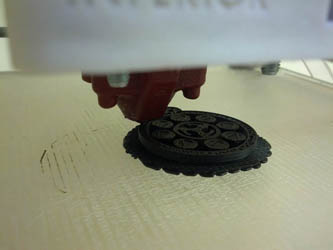
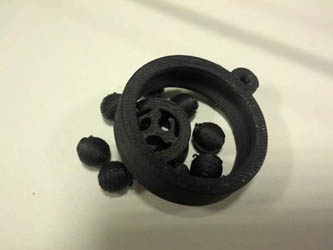
First attempt was a little bit of failure because of the "huge" gap between the balls and the two rings, inside and outside. Initially I have left 0,5mm gap between wall's, but that turn out to be a huge tolerance and the balls just kept falling out from the rings. Readjusted, by augmenting the sphere radius and leaving only 0,25mm gap between walls and the print turned out just fine.

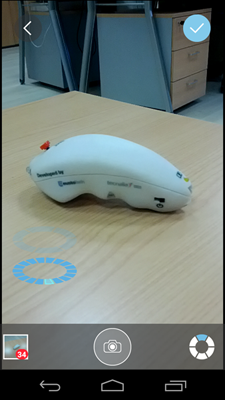
My fabmentor suggested to digitalize for this assignment a token of my final project, but unfortunetly I don't have an actual goose game available at hand and I had to find another object to scan. This object of choice was an internal project developed by us: Presenter, basically an RFiD integrated remote PC controller. The final design of the presenter was modeled by myself in Rhino a couple of years ago.
For the method of scanning I choose the 123D Catch software from AutoDesk on an Android phone. The process was pretty straight forward: taking photos of the object in every angle and leave the software to upload and calculate the scanned mesh. The only important detail to take in consideration was to have a steady hand when taking all the photos. Another detail to consider is to be connected to a WiFi network, because of the huge amount of information sent over the net.
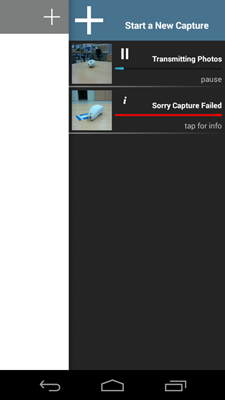
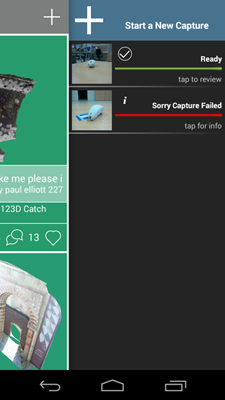
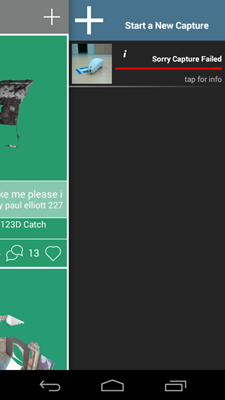
The first attempt was a failure and the software couldn't calculate the mesh correctly. Even so, it spent more than an hour uploading the photos (45 photos) and almost an hour to try and calculate the mesh. Finally informing a Sorry Capture Failed error.
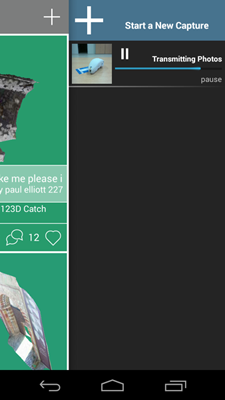
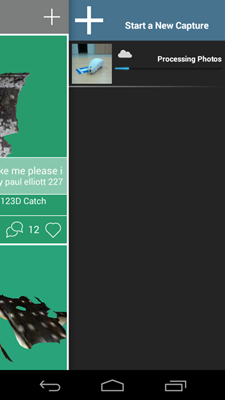
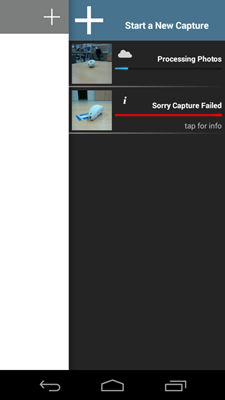
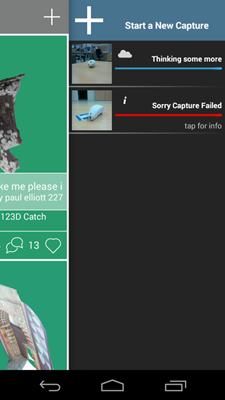
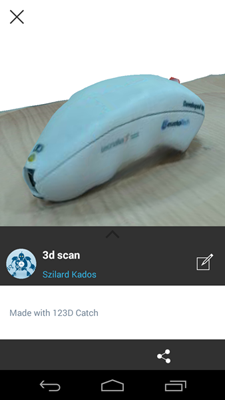
I didn't gave up and went back for a second try. I took the snapshots (34 photos) and uploaded the files for further mesh generating. The upload was quite fast (about 30 minutes), but the mesh generating attempt took a much longer time (about an hour). But finally it worth it! The mesh generated well and had the object scanned.
