2015-05-15
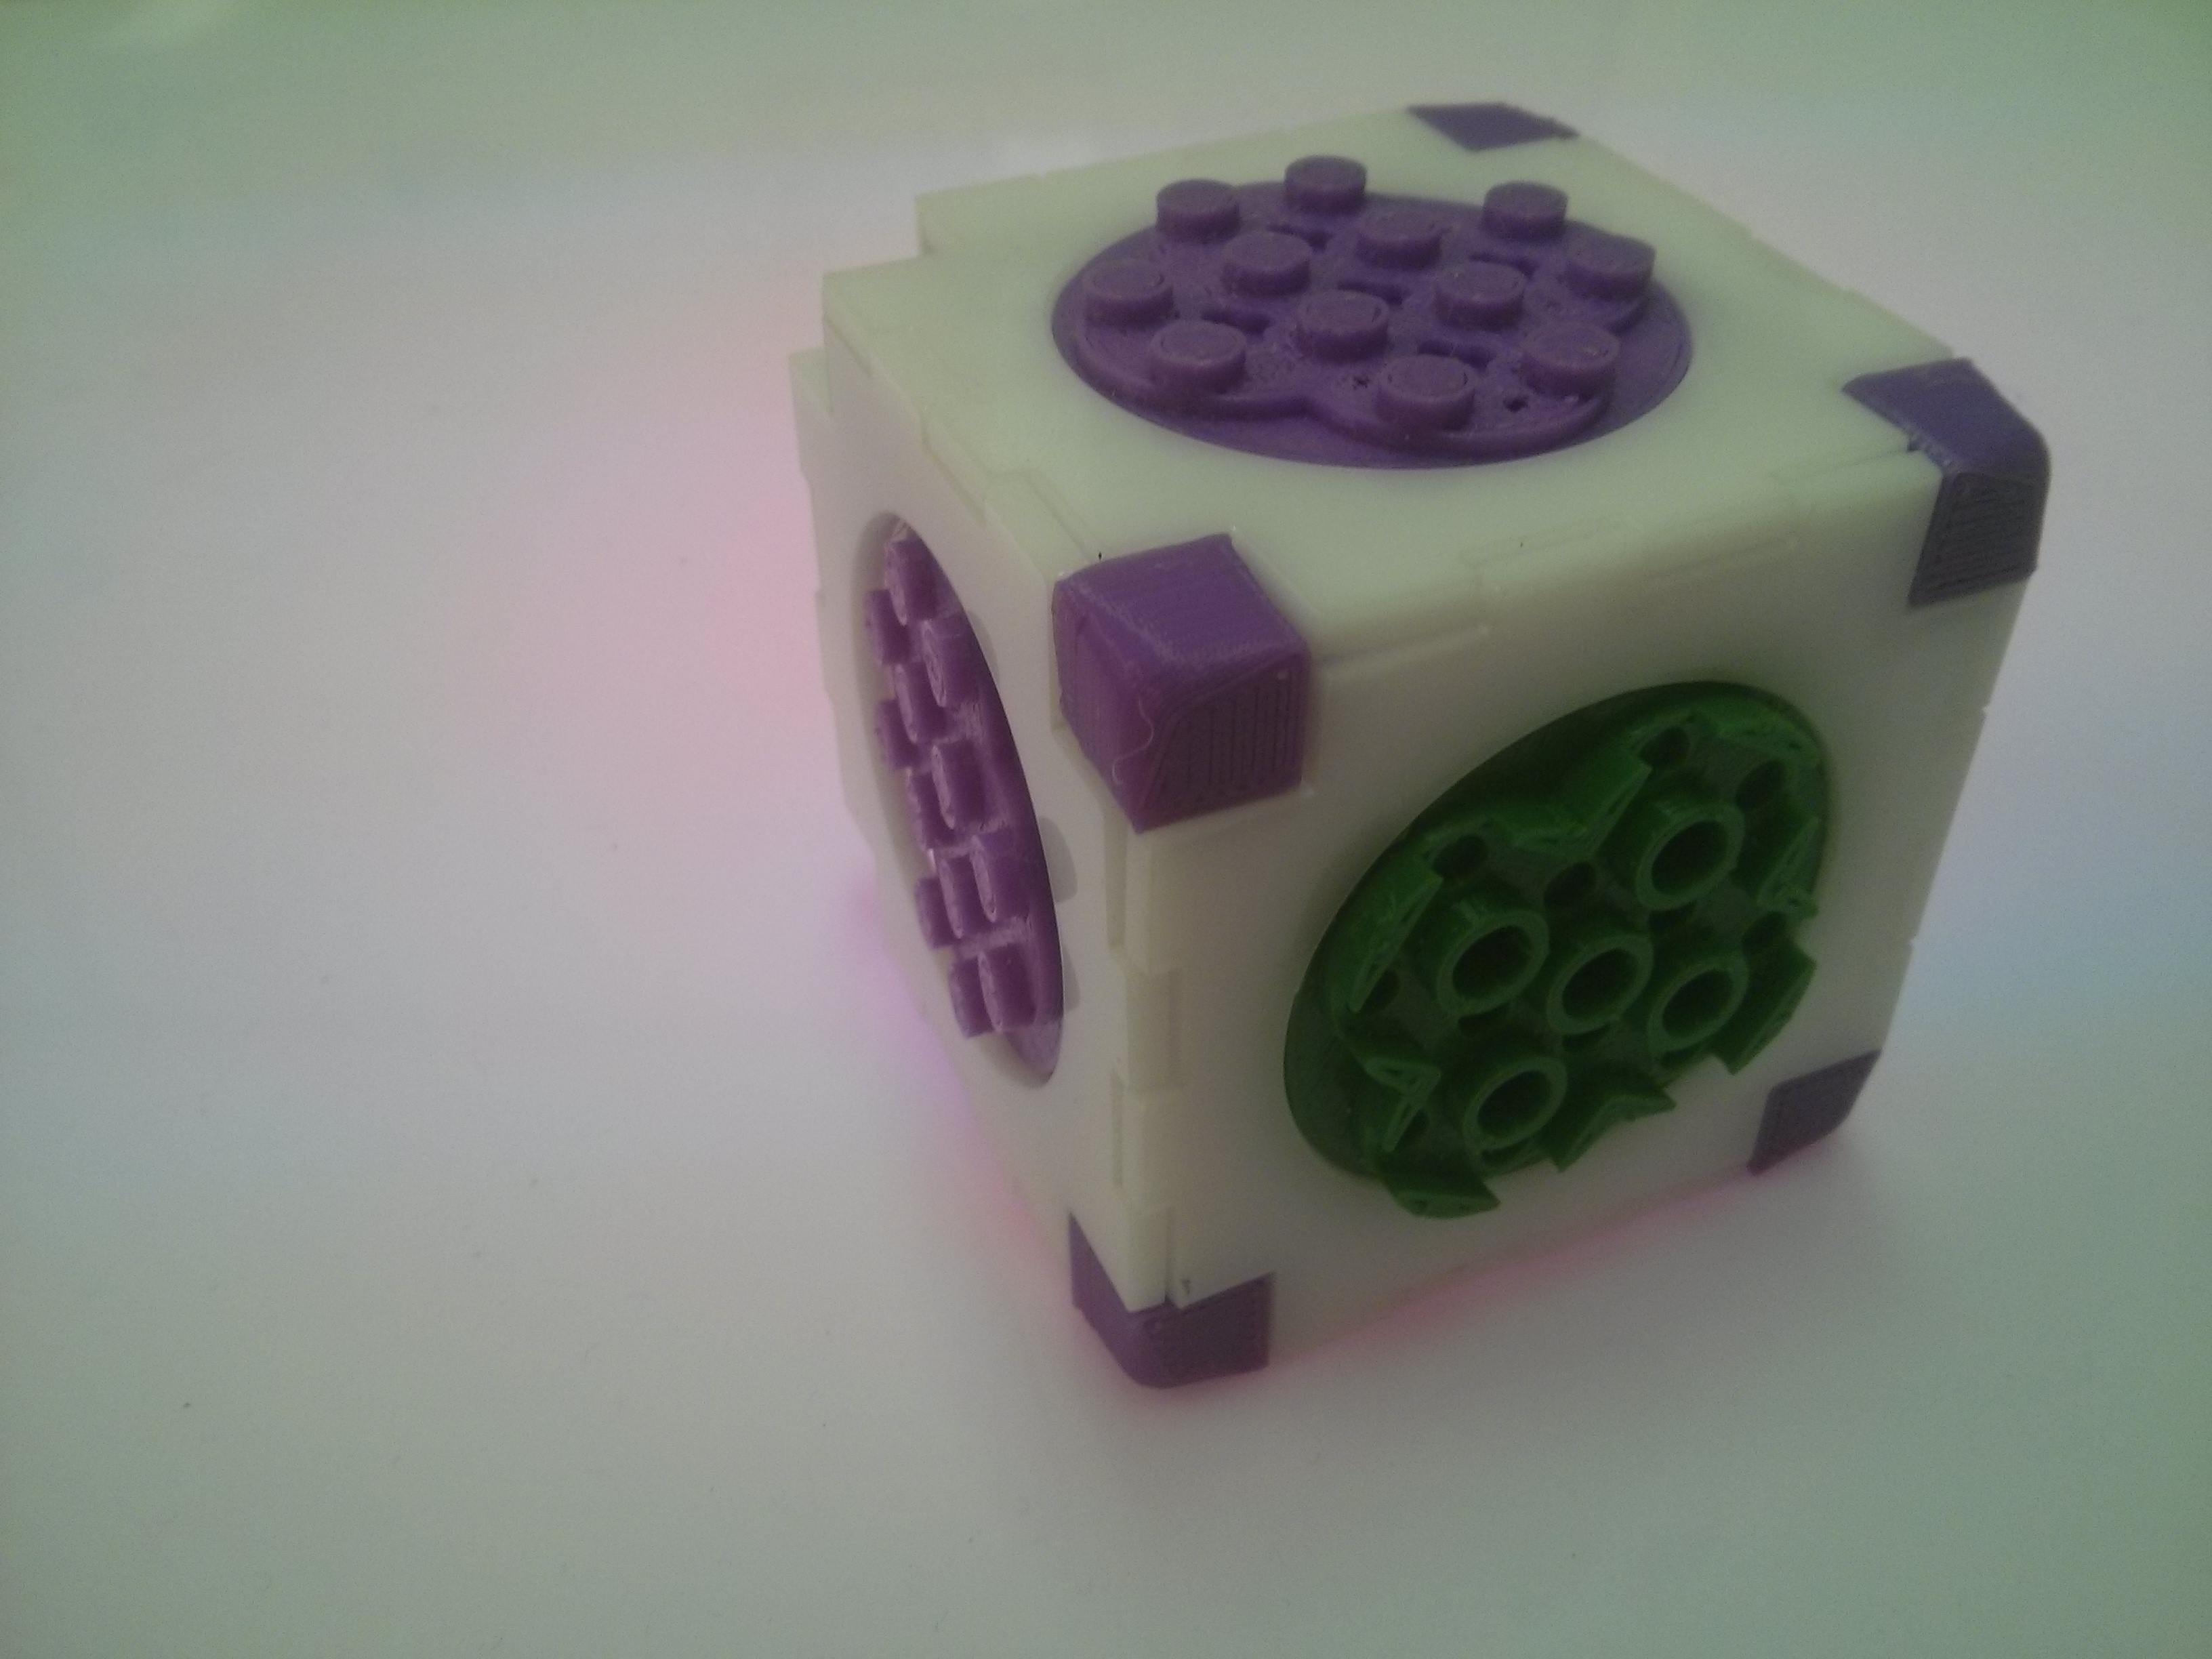
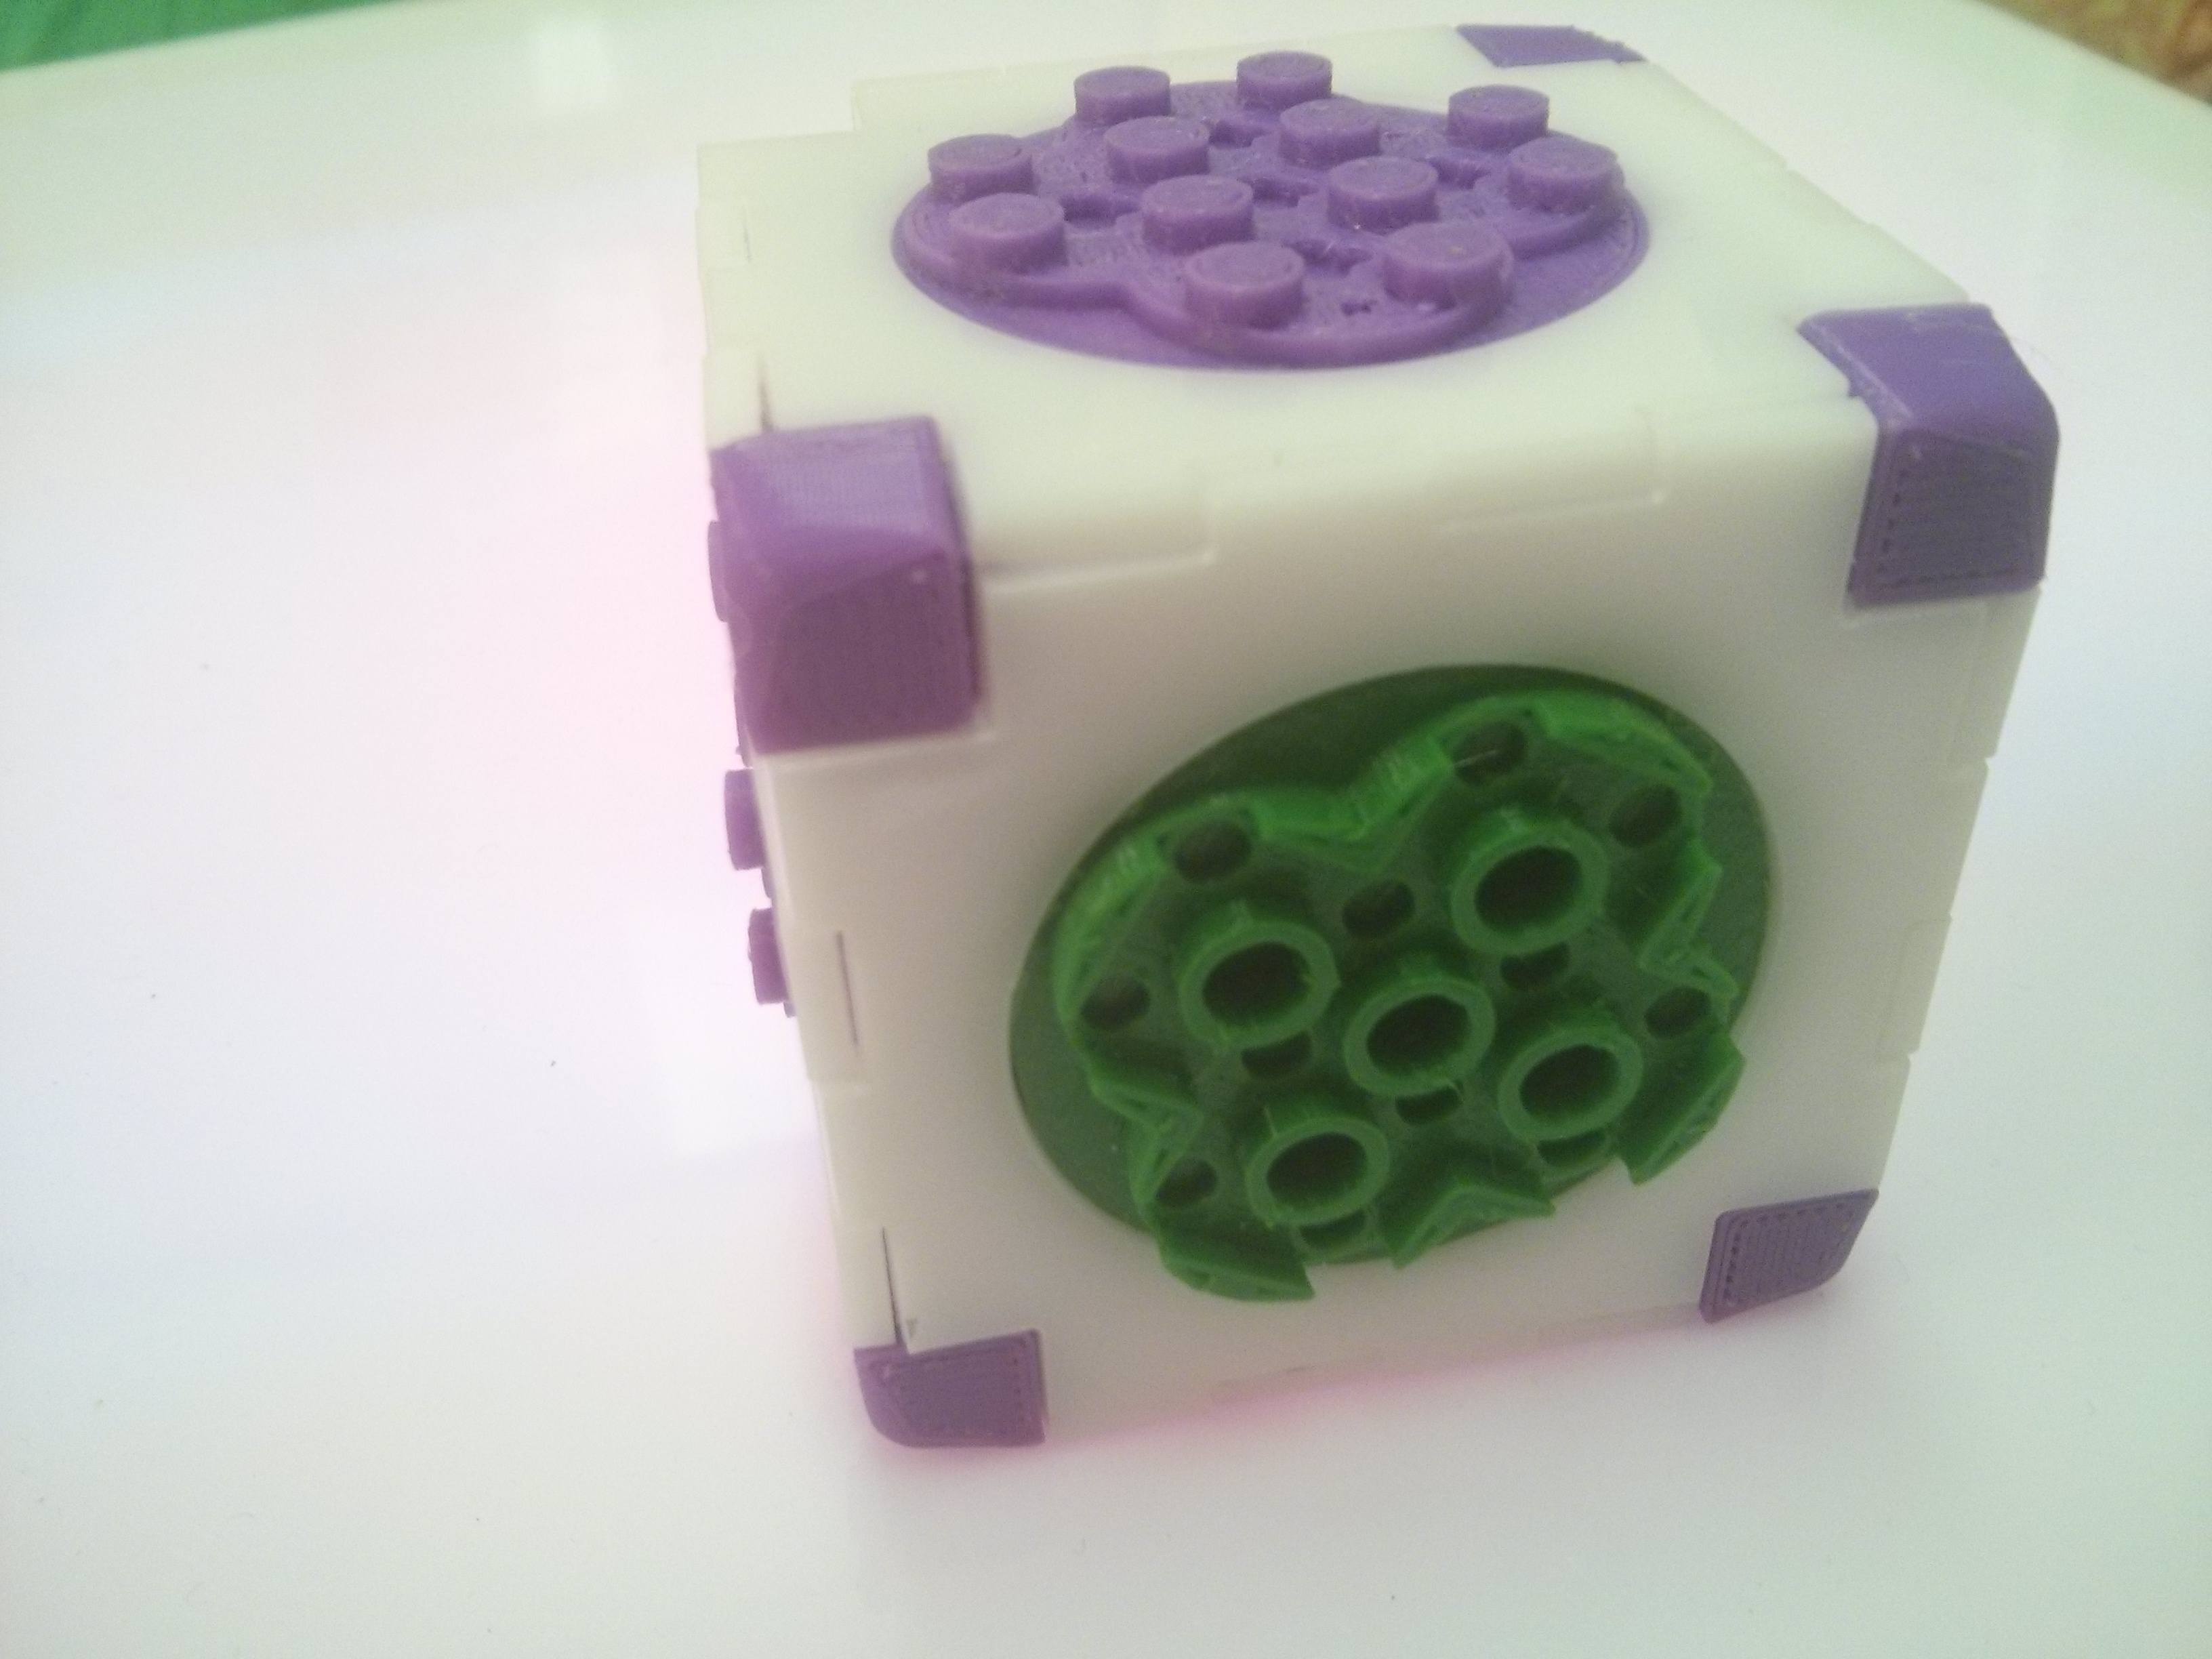
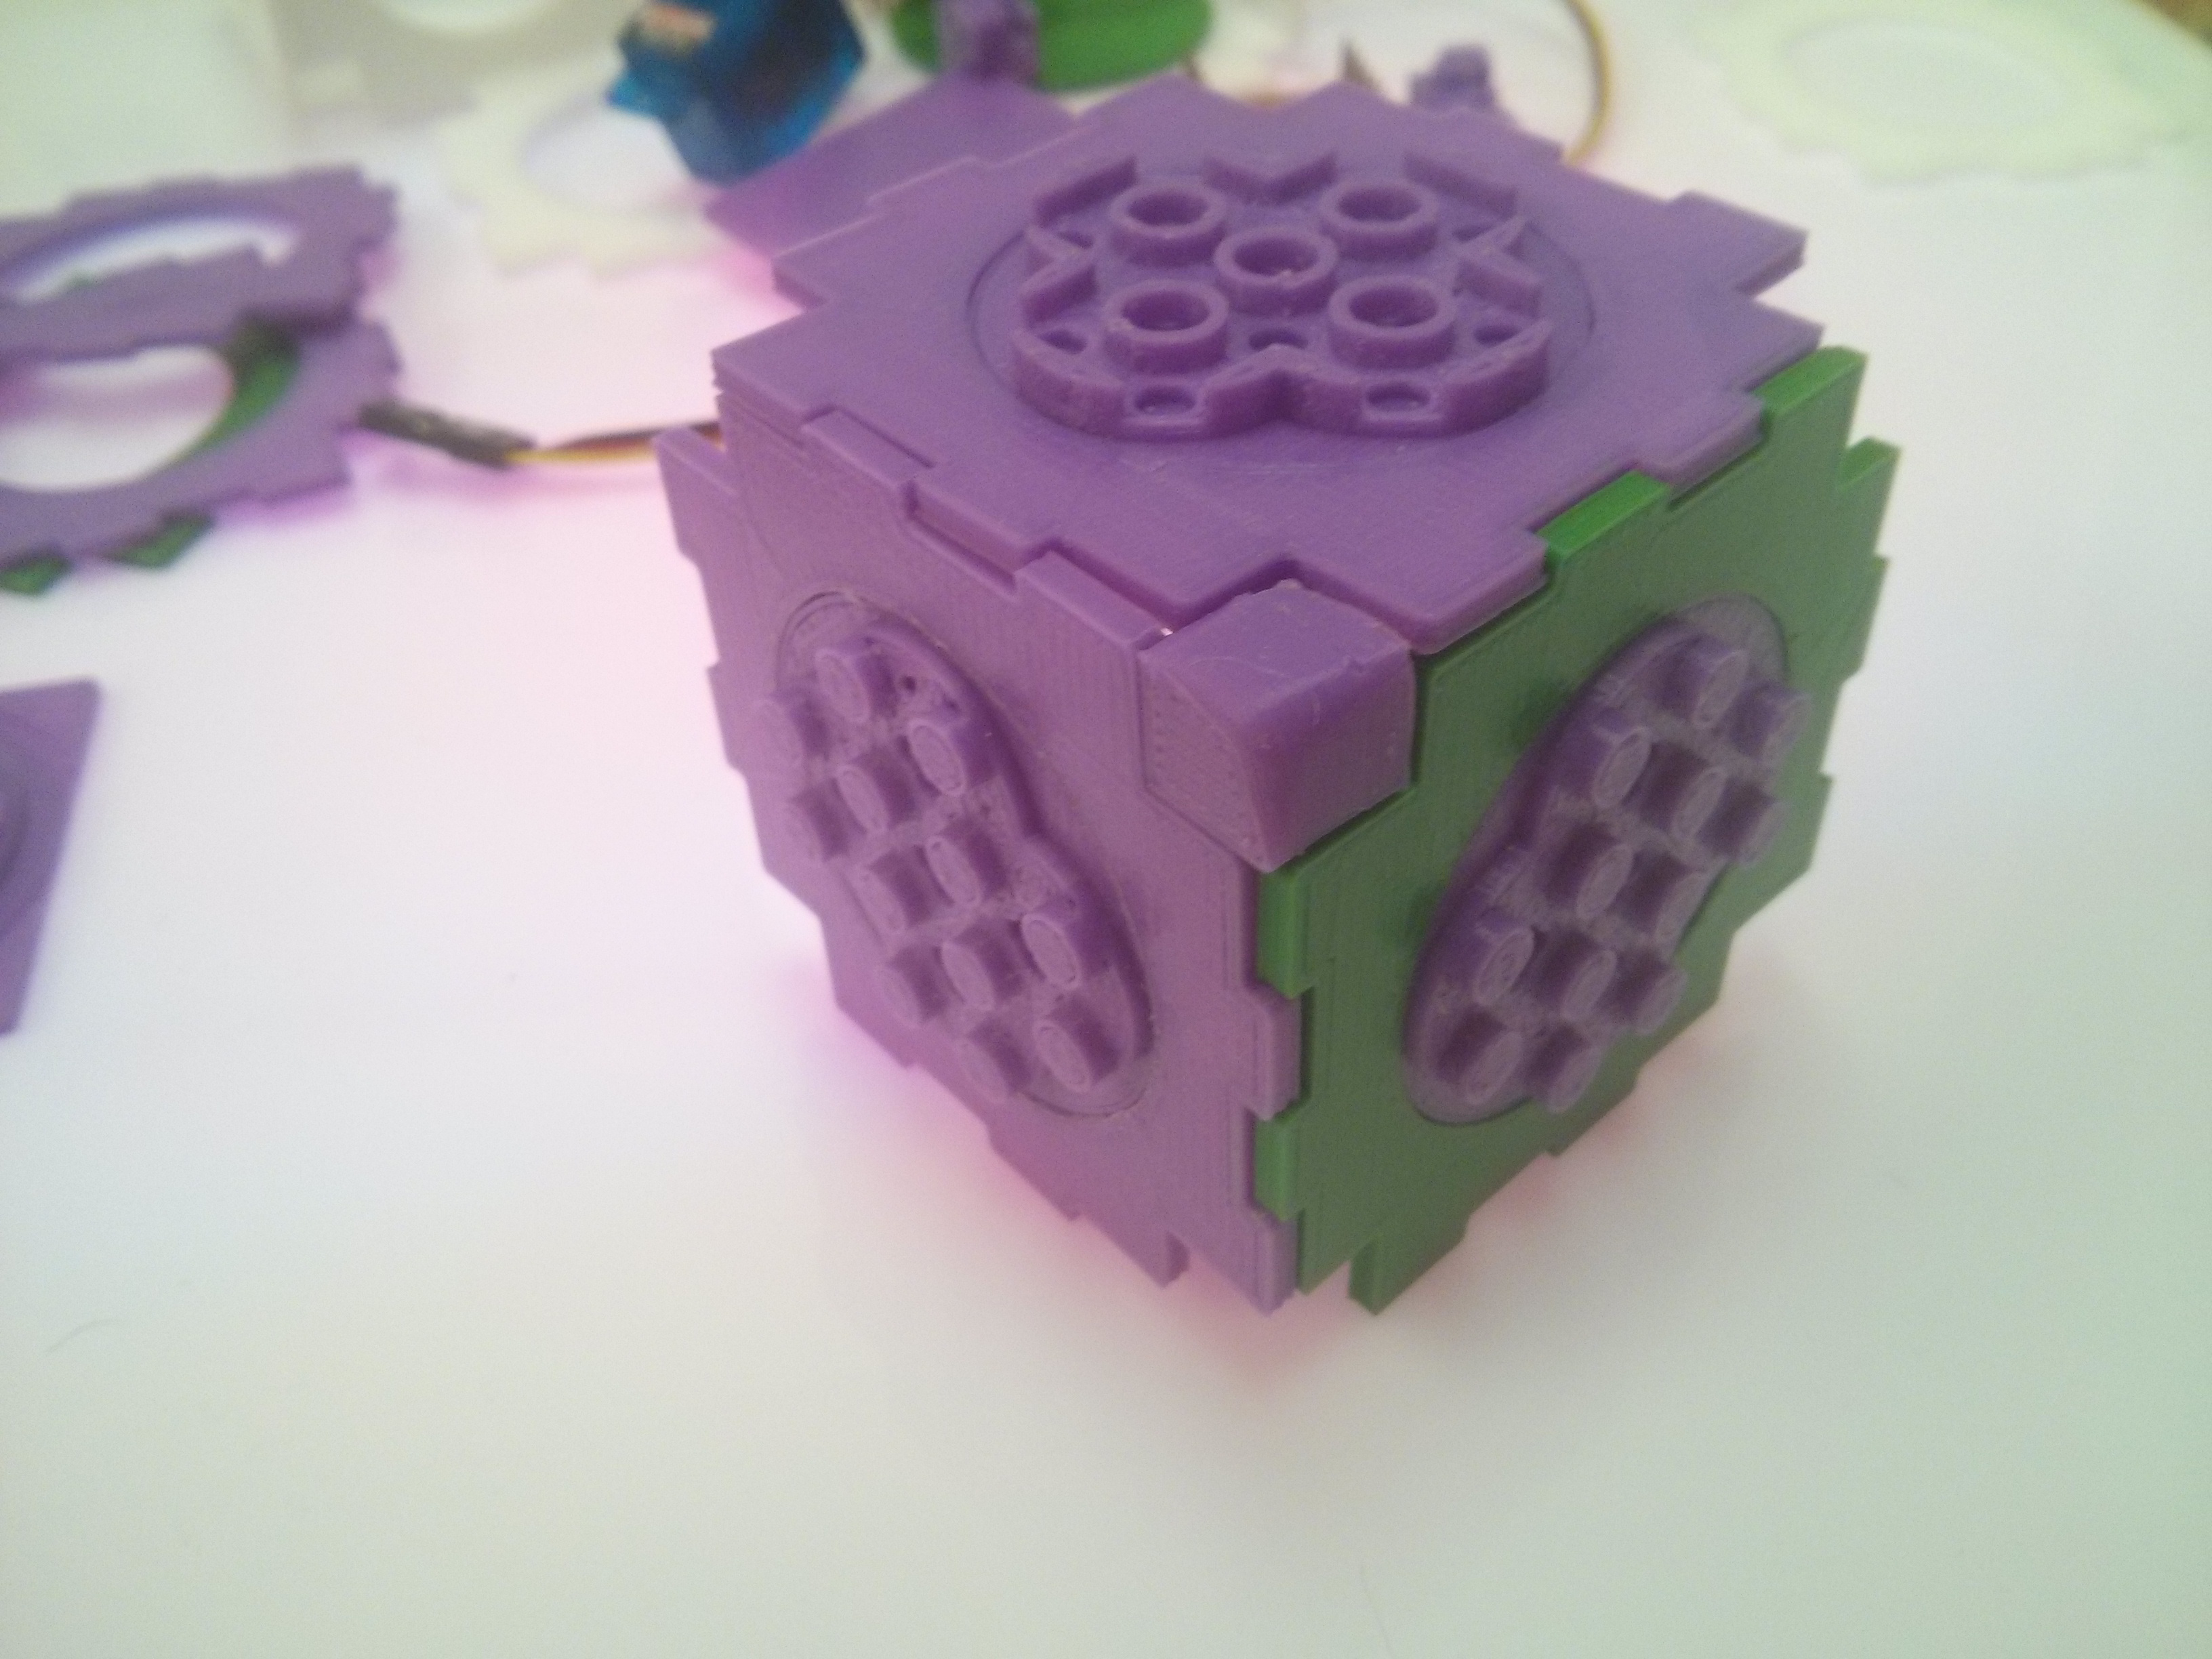
second try Molding Lego + Test connection (OK!)
I have finally bought a Lego box!

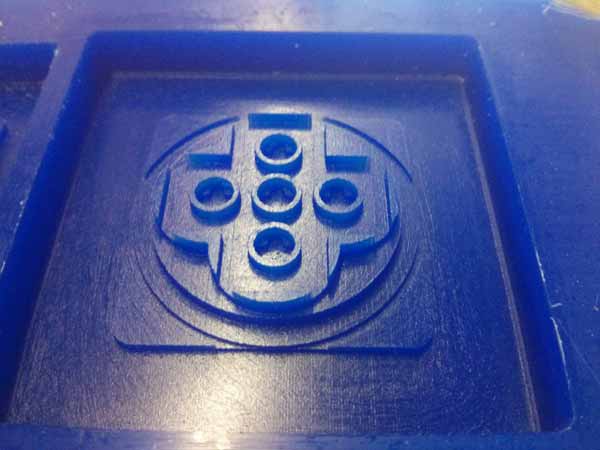
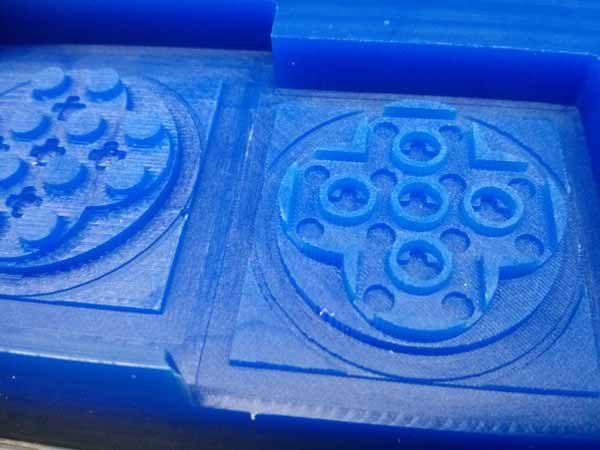
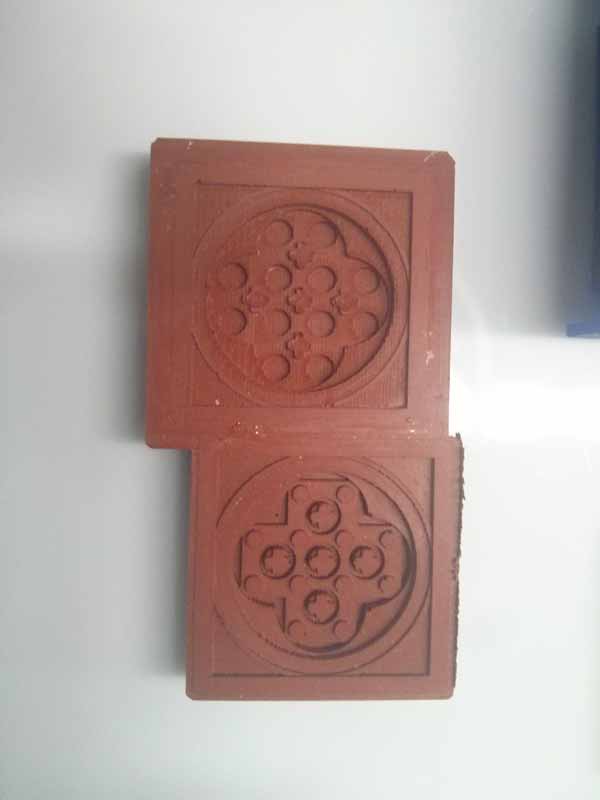
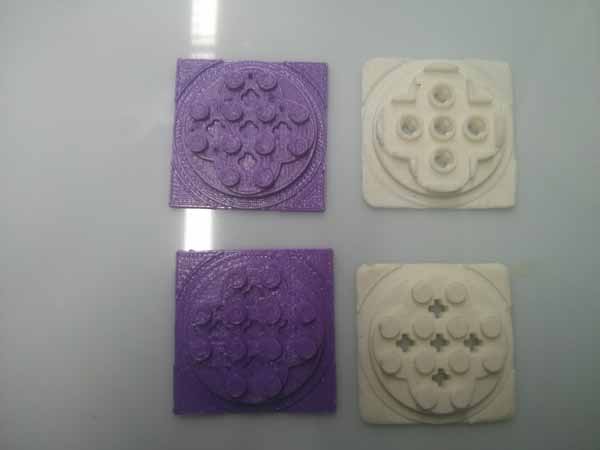
Thanks to the pieces in this box I managed to modify the measurements of the part I designed and to correct it looking at the original one. So I milled them again, using the SRM-40 once again:
tips I used - roughing 3.18 - finishing 1/32 inch (the 0.5mm one was broken) again with 4 finishing passages.
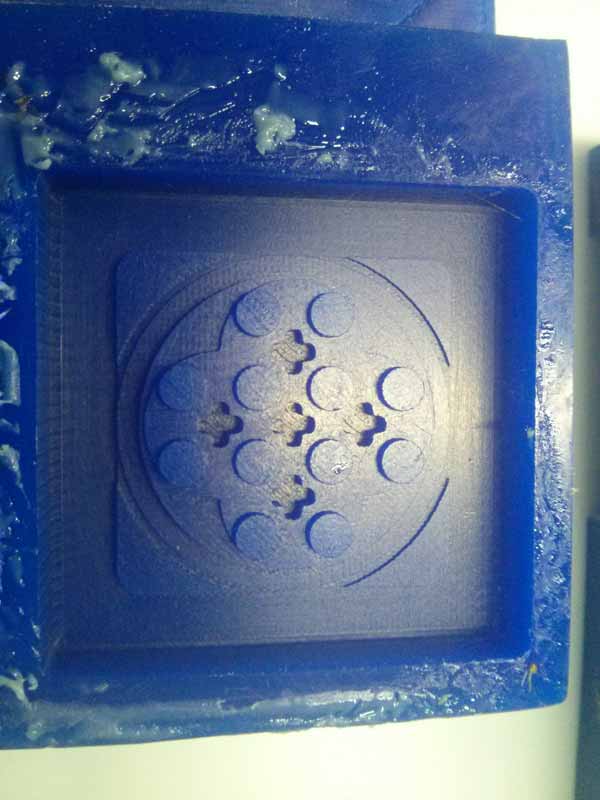
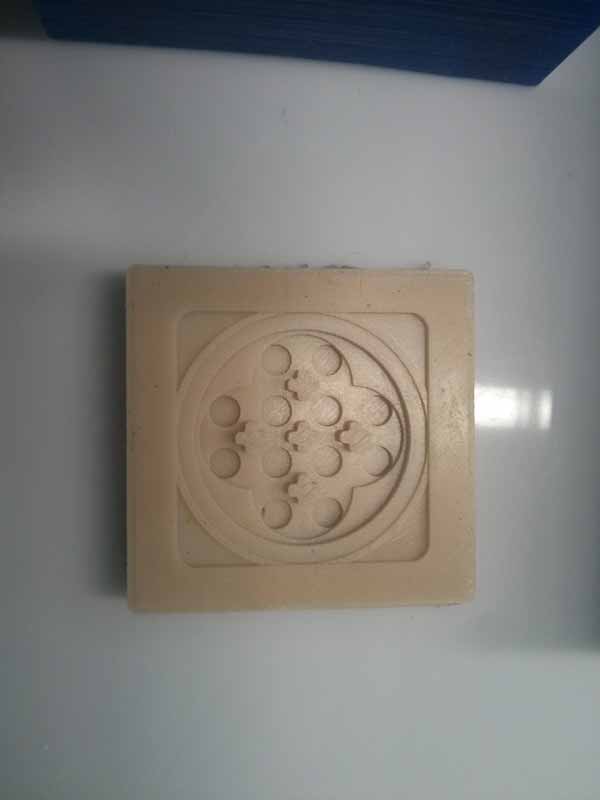
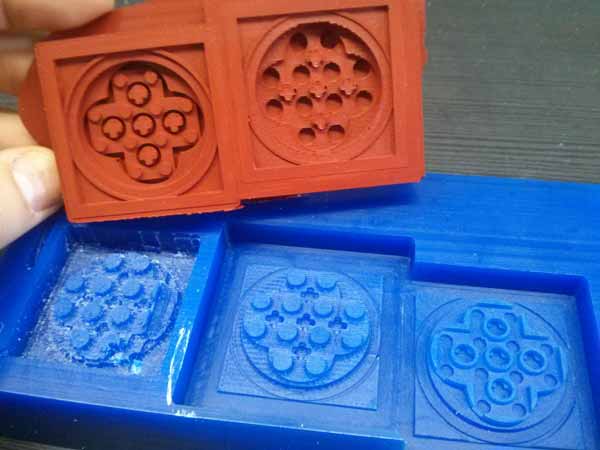
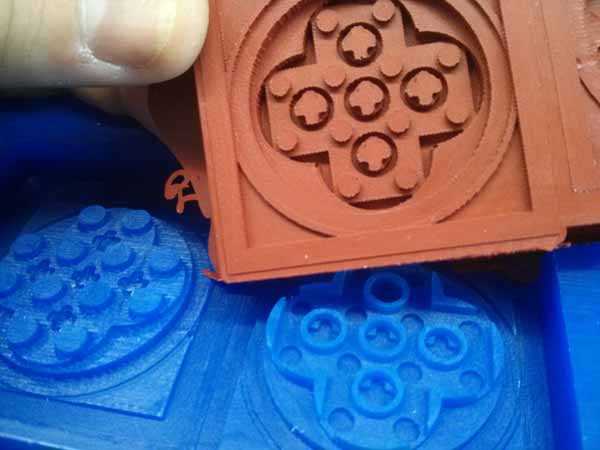
for this test I used the Prochima GLS-50
Prochima GLS-50 is much softer then the Mold MAX 60 and I have to say that the molds came out really well.
2015-04-15
Molding Lego + Test connection
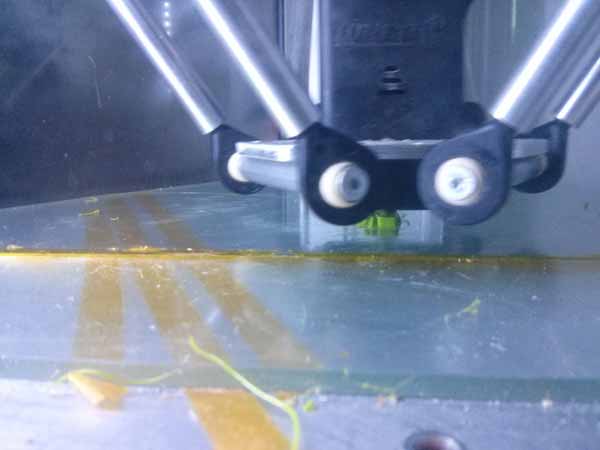
I started workinf with the file exported in stl e with Roland mill SRM-40.
Considering the tests previously done (the 3d printed parts), I started working with the stl file on the 3d cut software (Vectrix). These are the parameters I used in this milling:
tips used - roughing 3.18 - finishing 0.5 mm
The only advice is to make many finishing passages at 0 and 90 degrees, than 135 and 45, in order to improve the finishing of the piece.
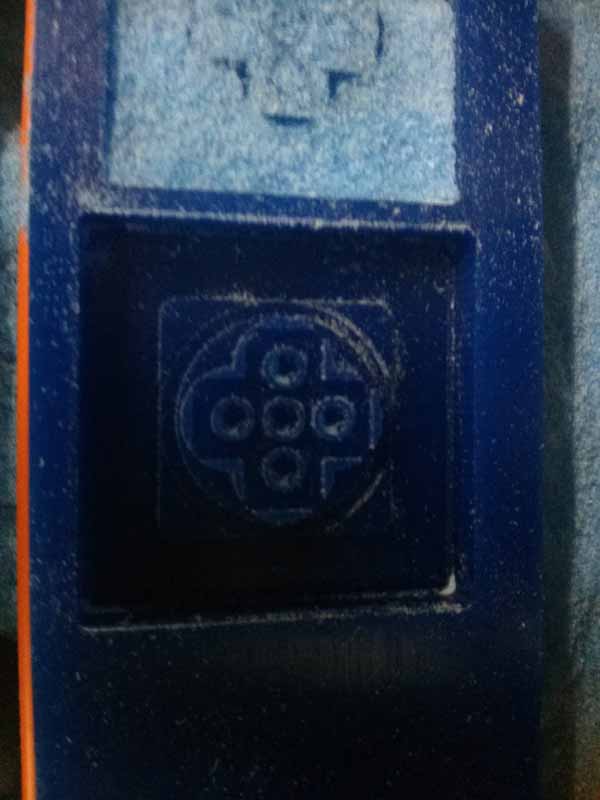
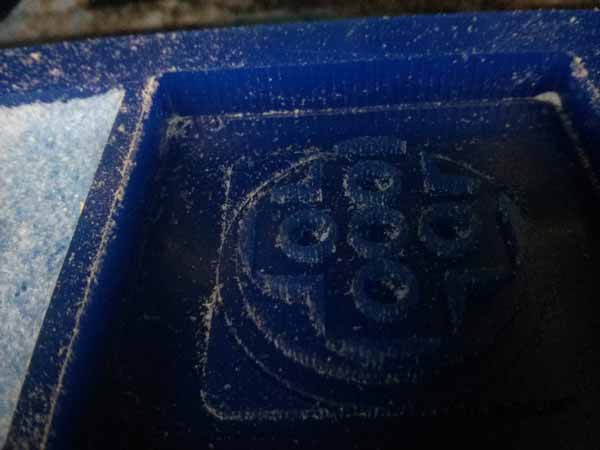

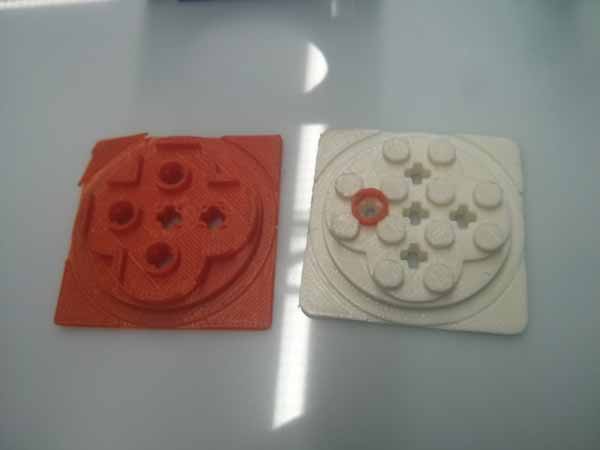
Unfortunately, even if I made a few trial, the pieces of Smooth-Cast® 325 resin have excessive tollerance. So I’ll have to buy a Lego box to exactly understand which value is the one impeeding the perfect joint.
2015-04-05
Test 3dPrinted + Molding
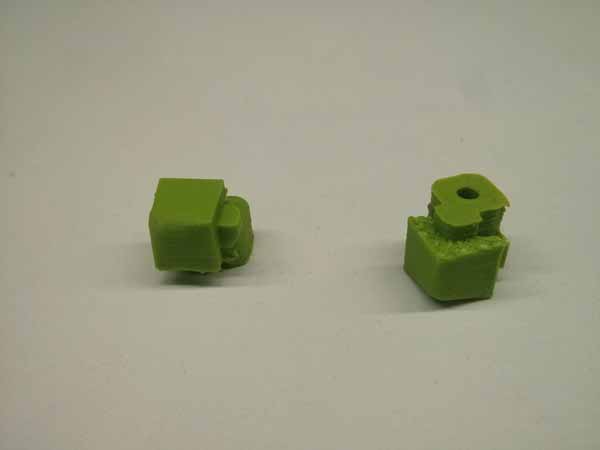
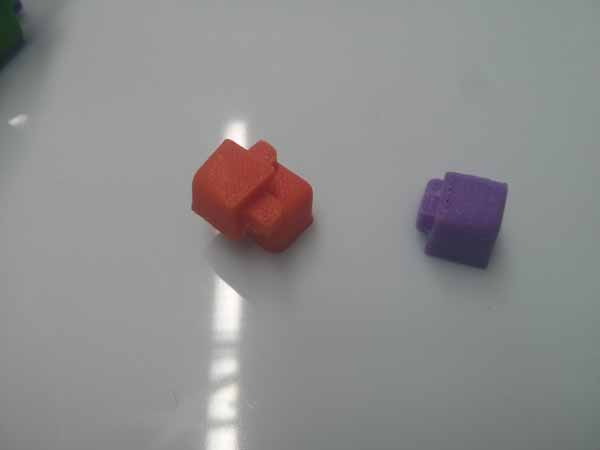
To obtain a really satifying connection result, I made this test with the Lego styled pieces
- 3d printing of the parts (positive and negative) with tolerance +- 0.1 +- 0.2

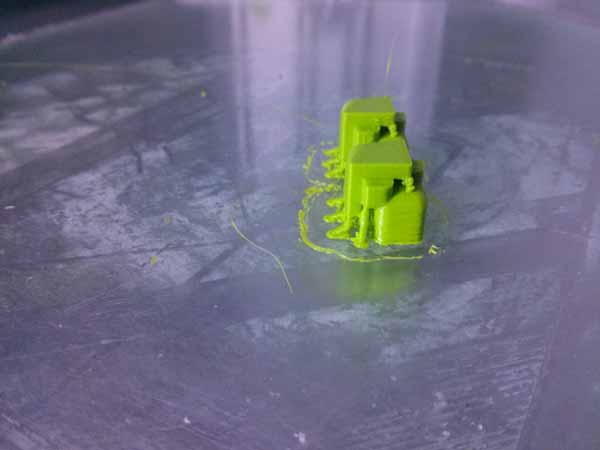
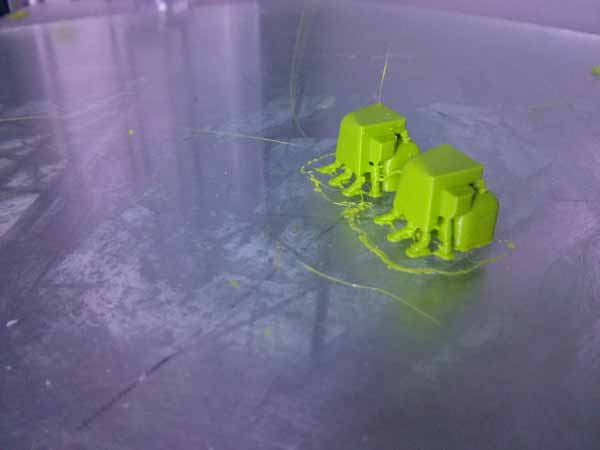
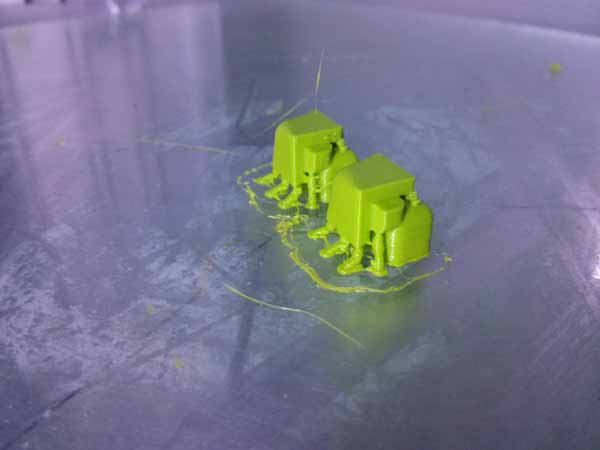
3d printing test
After some trial I obtained a basic measurement for my first molding test: comparing to the original ones I calculated +0.2 on the negative part and +0.1 on the positive one.
After some jointing tests, this is what happened with the 3d printed parts.
2015-03-26
3dPrinted new angular
I redesigned the size of the angular element, but increasing them I had to manually insert some supports with MeshMixer.
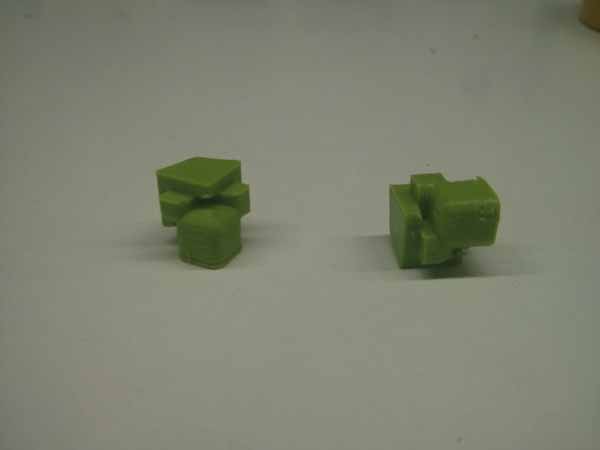
Previous version (green) vs updated and increased version (red)
2015-03-25
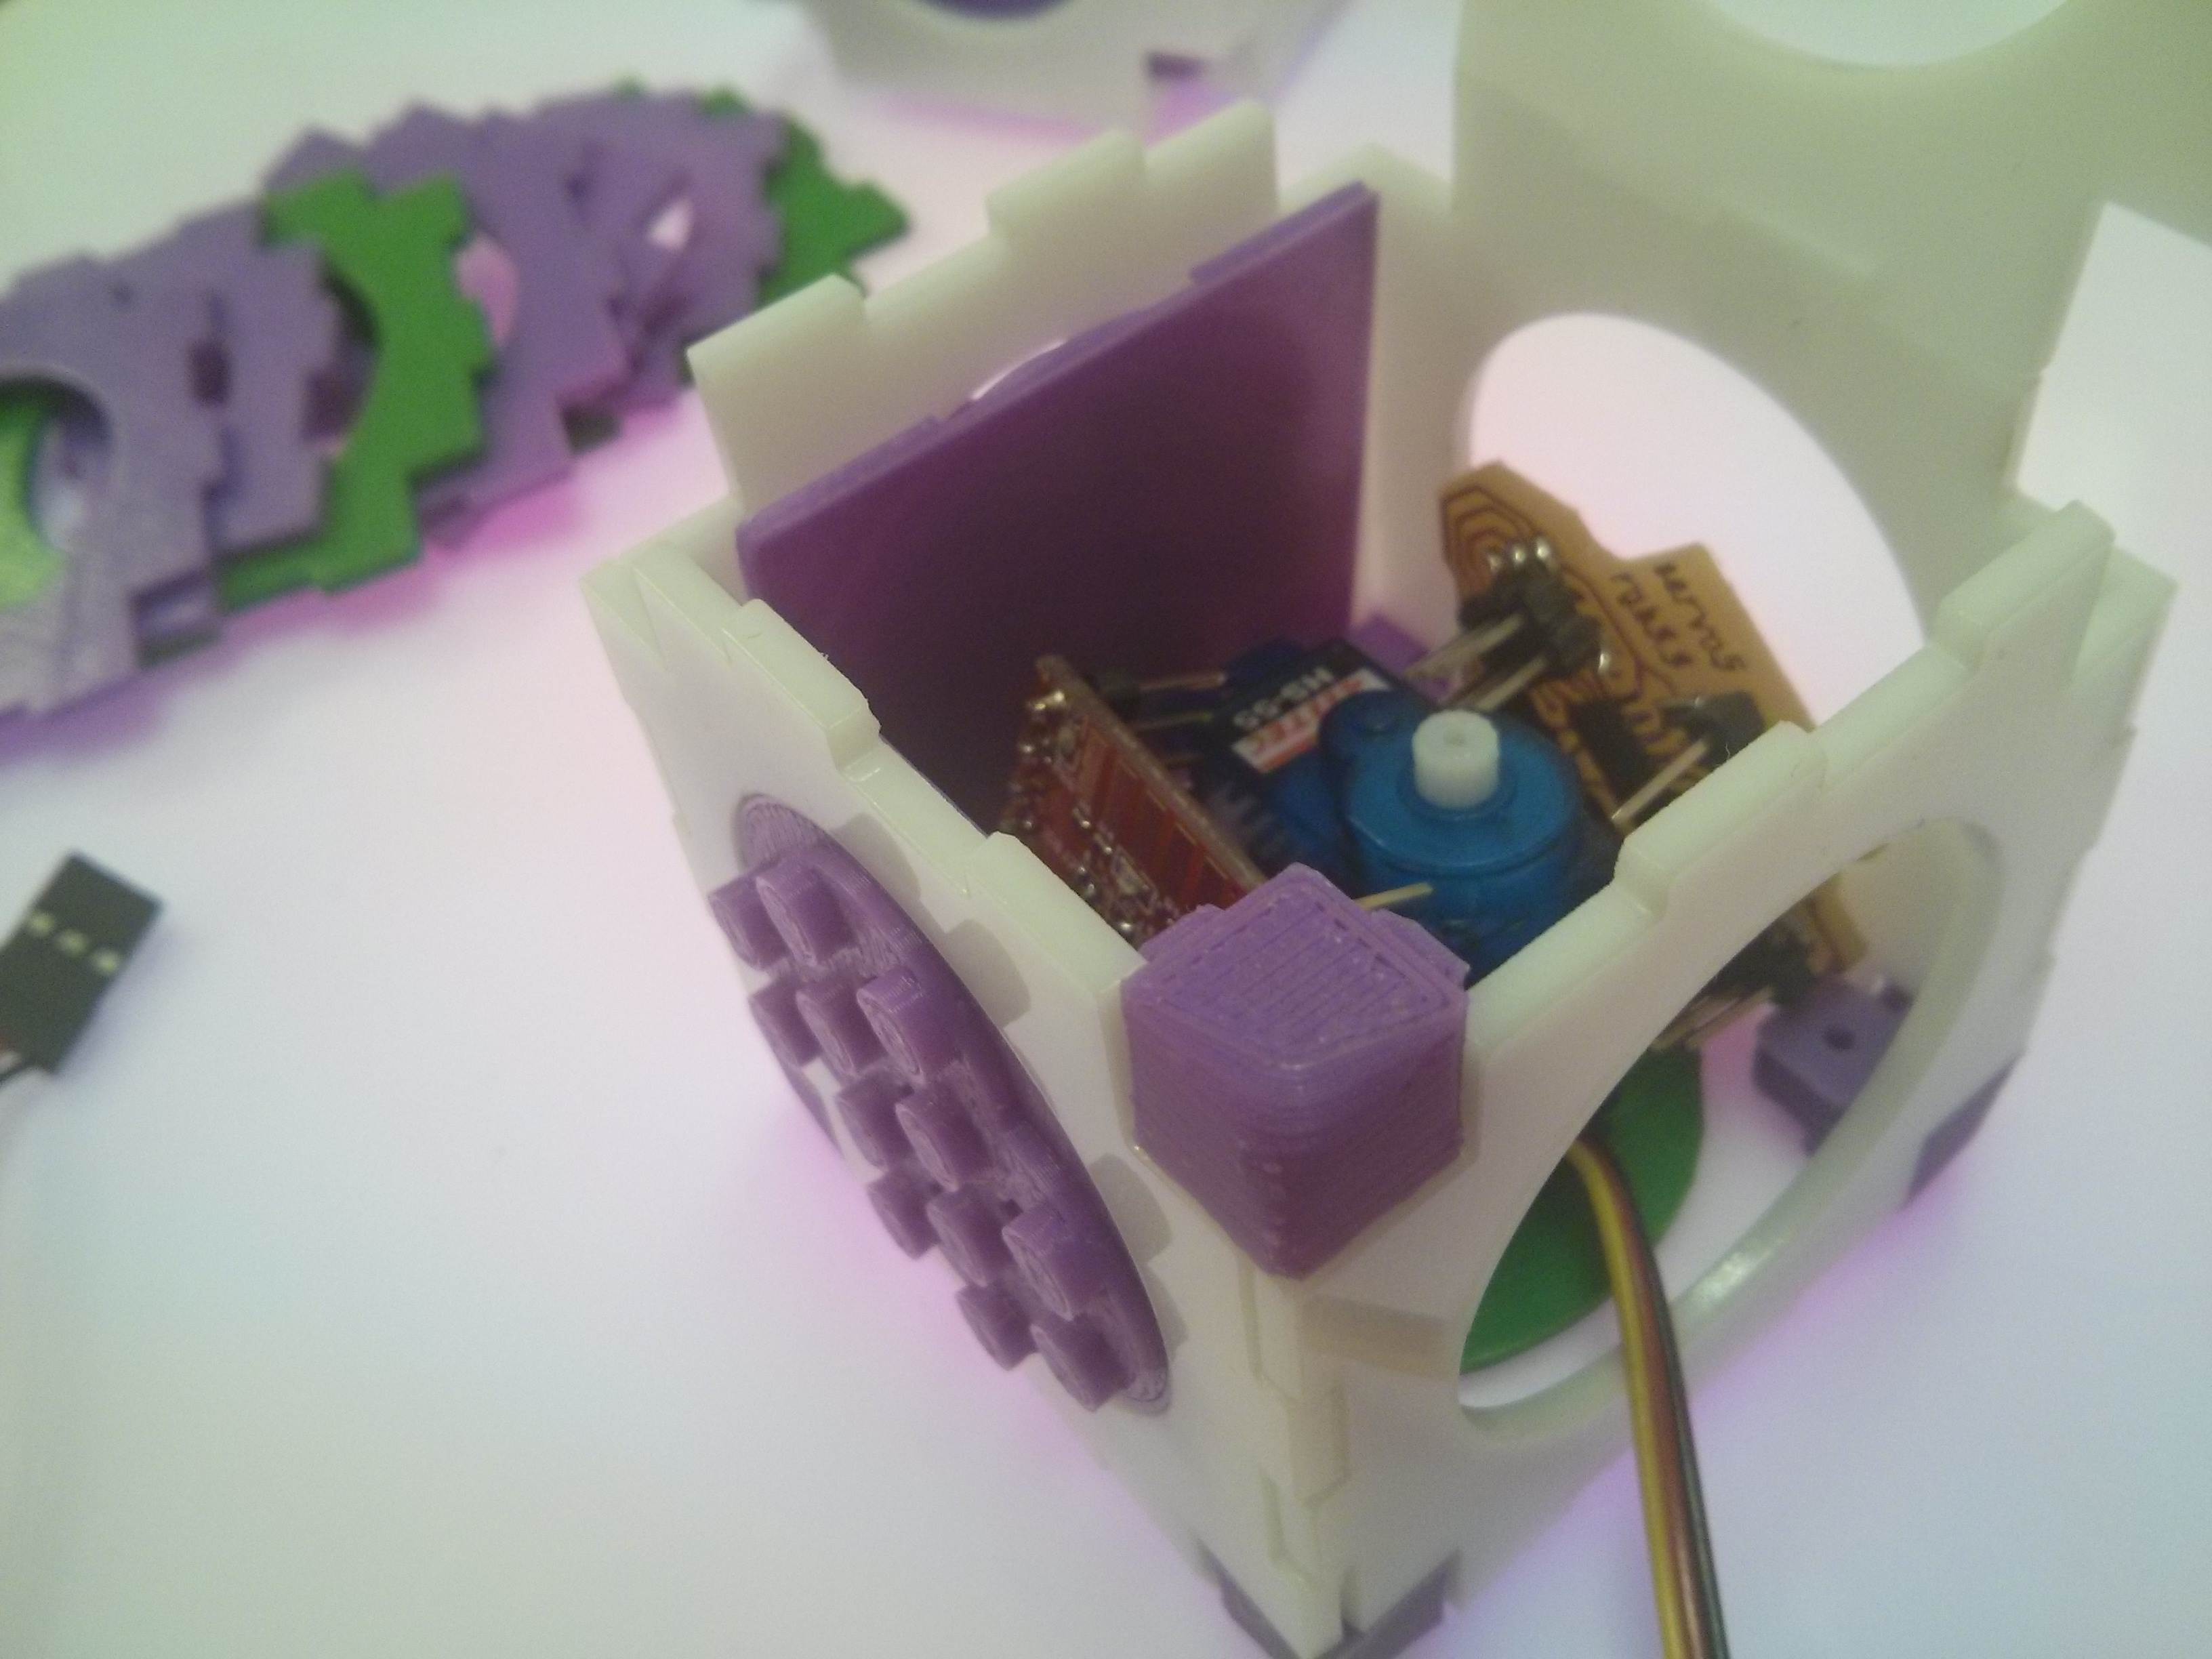
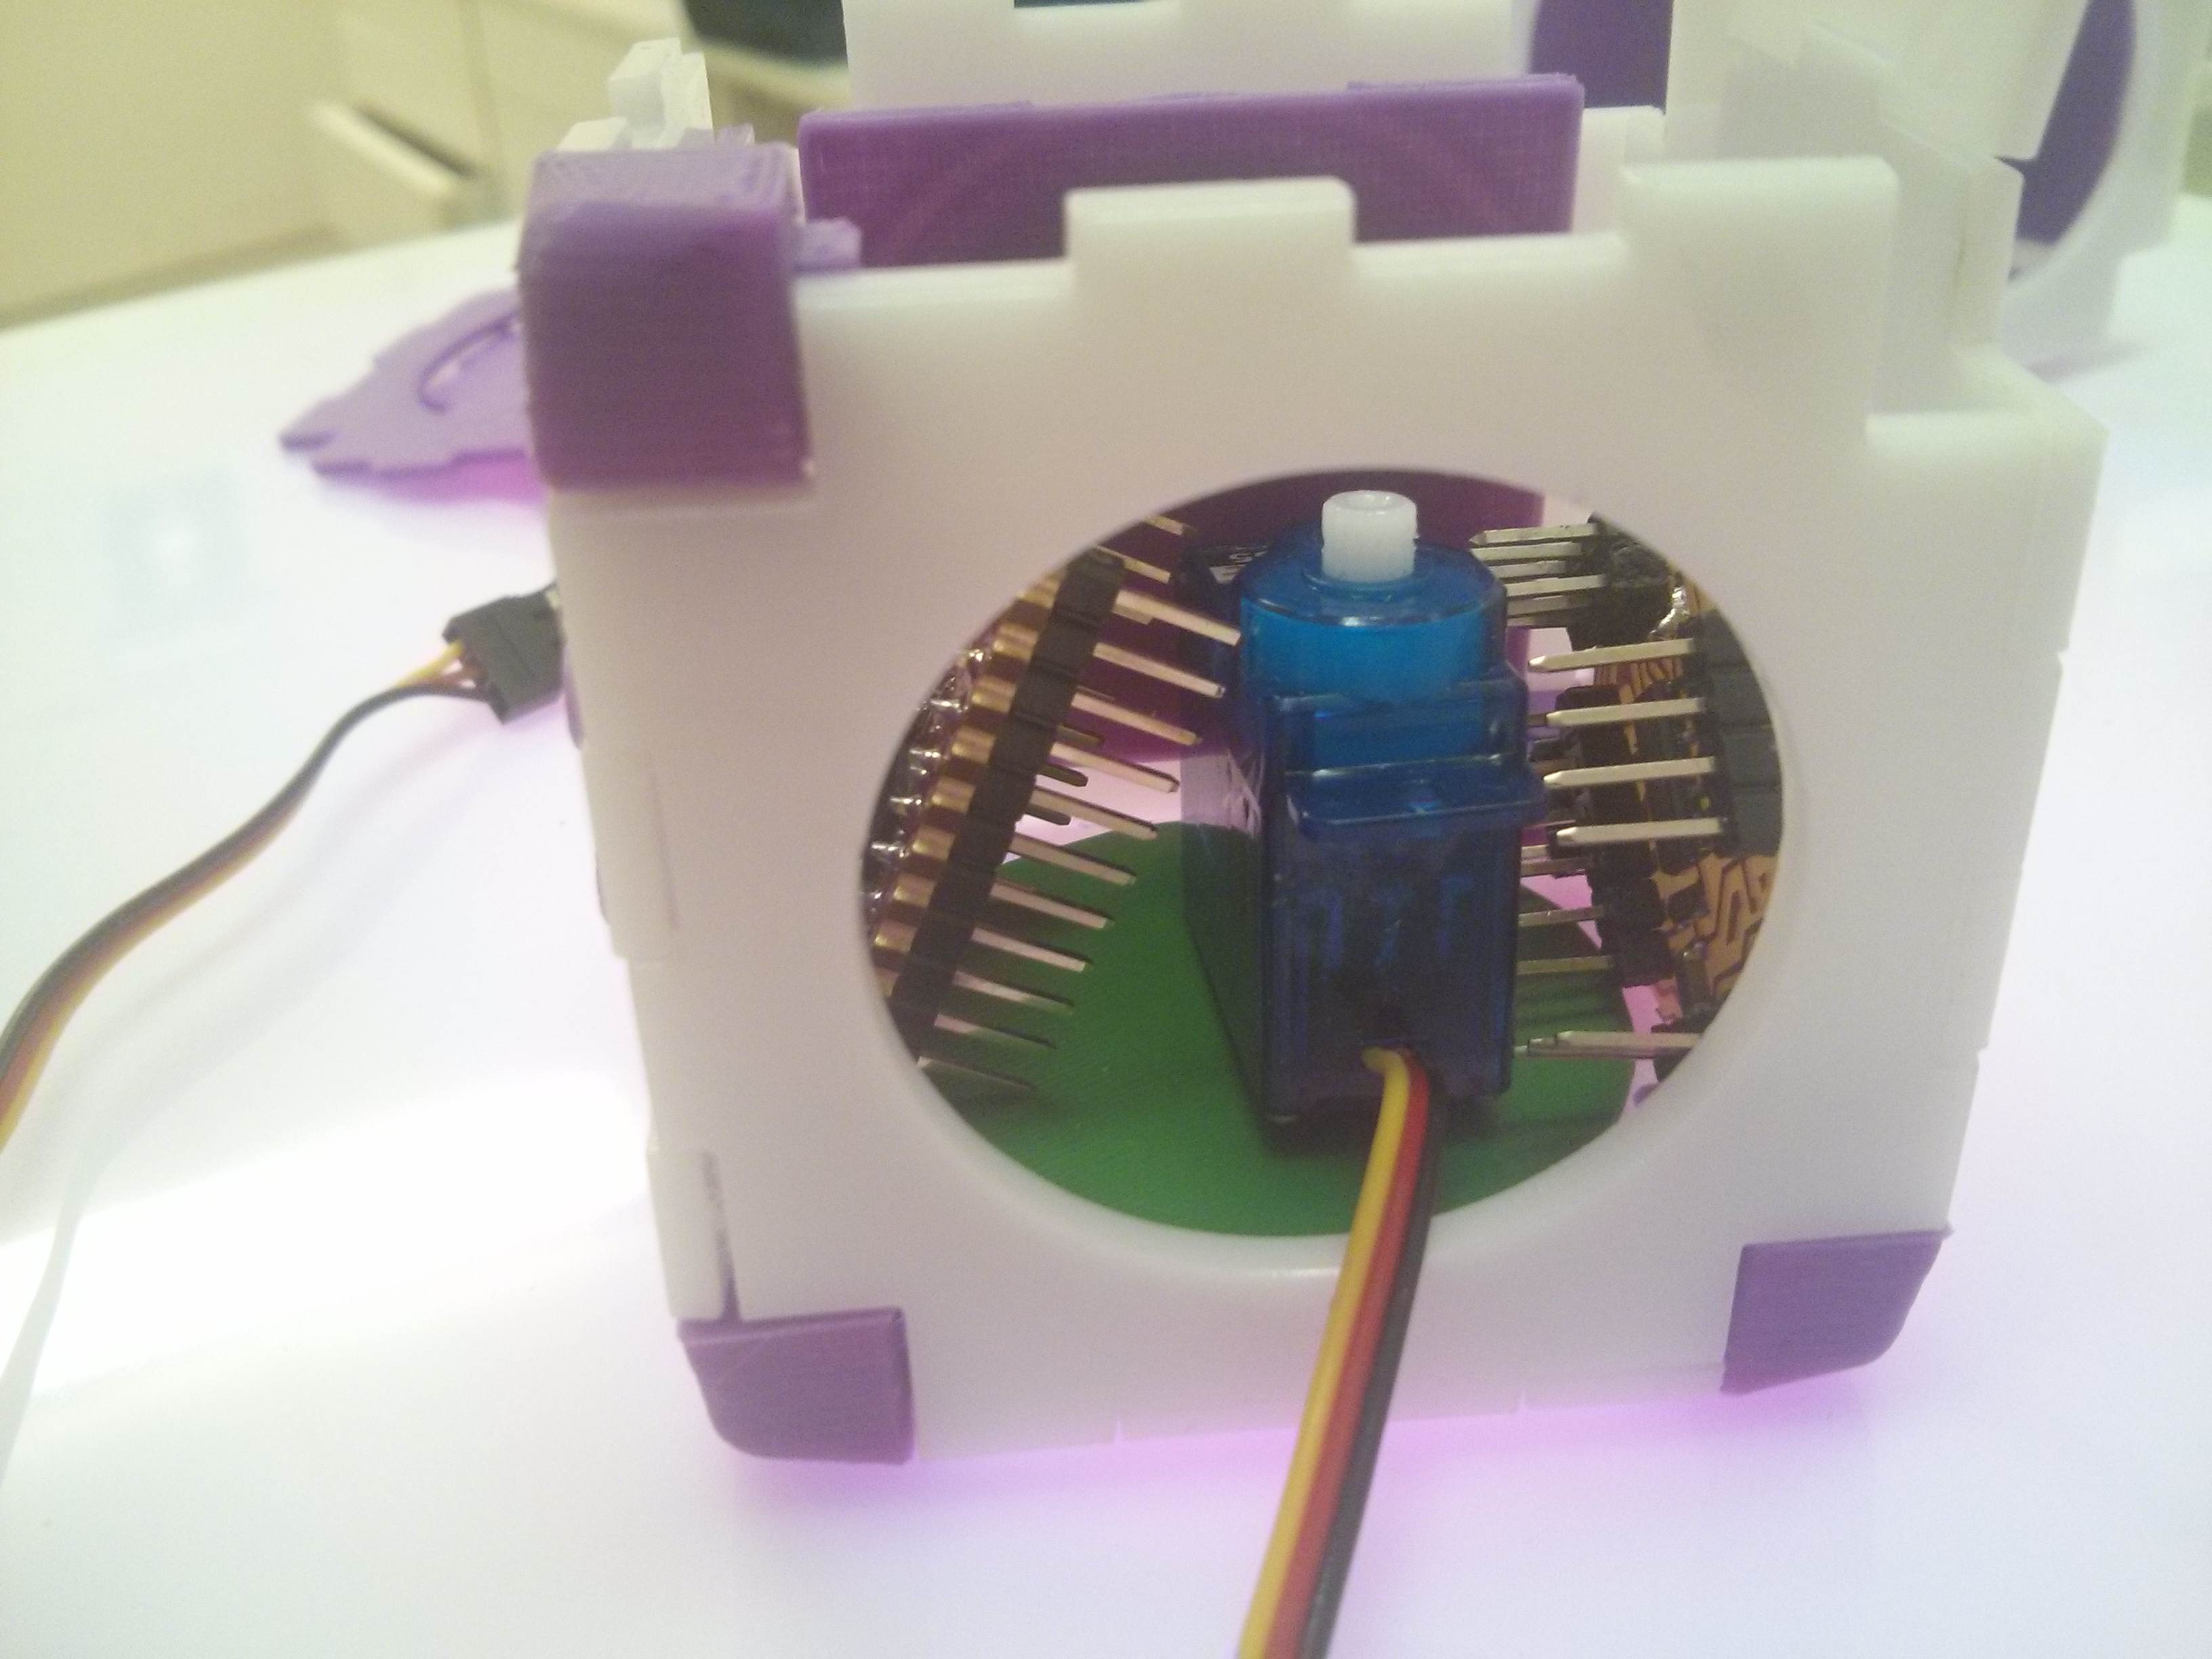
2nd TWISTER Prototipe
Paying attention in the laser cutting phase and a little kerf testing (0.08 to have a perfect joint) I managed to have a stable cube to test the internal space and to understand the size the components should have:
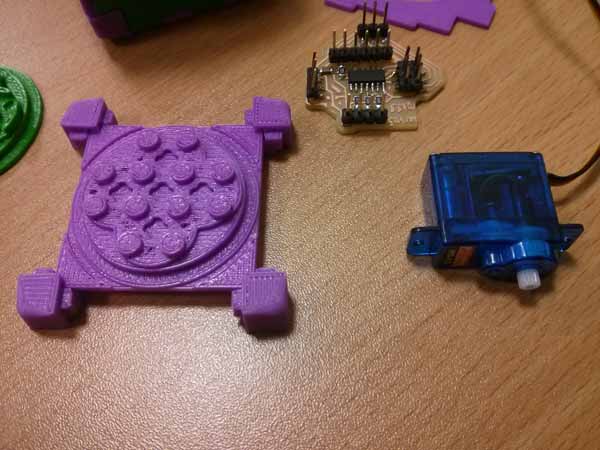
- electronic board
- accessories and part for the cube motion
- battery
what I have to modify at this stage:
- increasing the angular parts size to joint them with optional parts
-
check the Lego size and make the molding parts .
2015-03-12
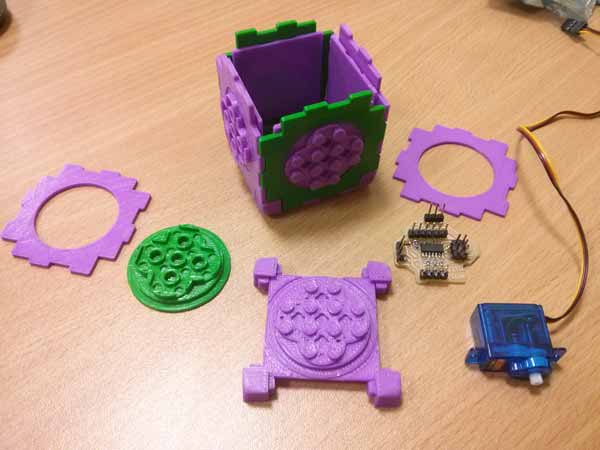
1st TWISTER Prototipe
To test the internal space I 3d printed the first Twister version.

- perhaps too small angulars (think about increasing the size)
- 3d printed Lego parts are not connecting correctly (check measurements with a bought Lego piece)
- the external walls of the cube (3d printed) are not jointing correctly (better to laser cut them from acrylic)
With the first prototype I am not abloe to understand the internal space required, because the cube doesn’t keep the right shape, due to the low stability of the external parts jointing.