2015-05-20
Assembly
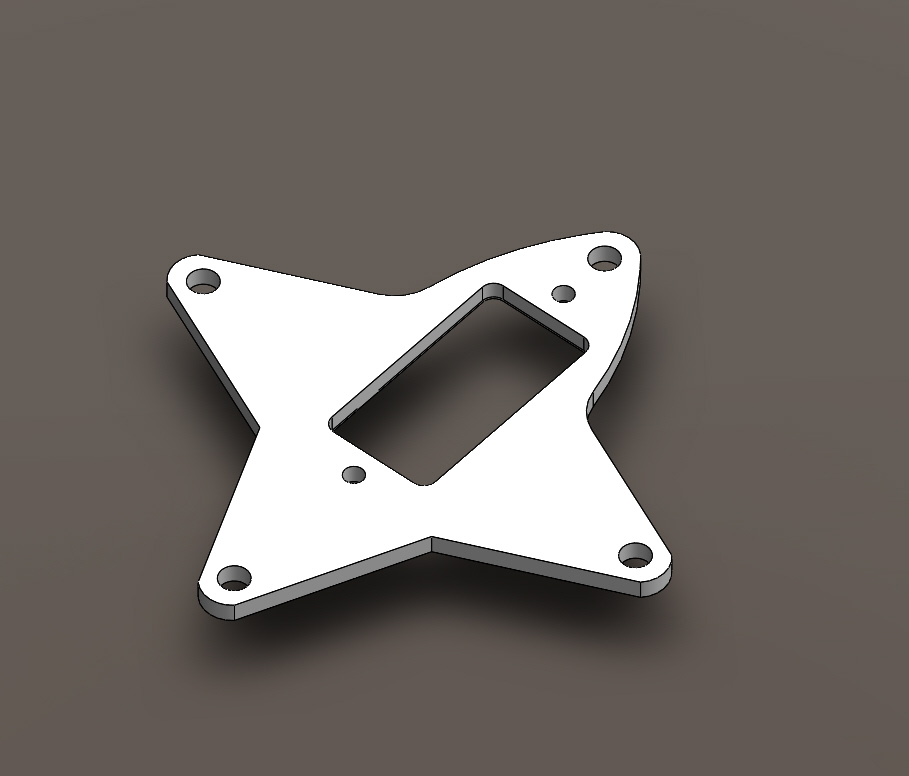
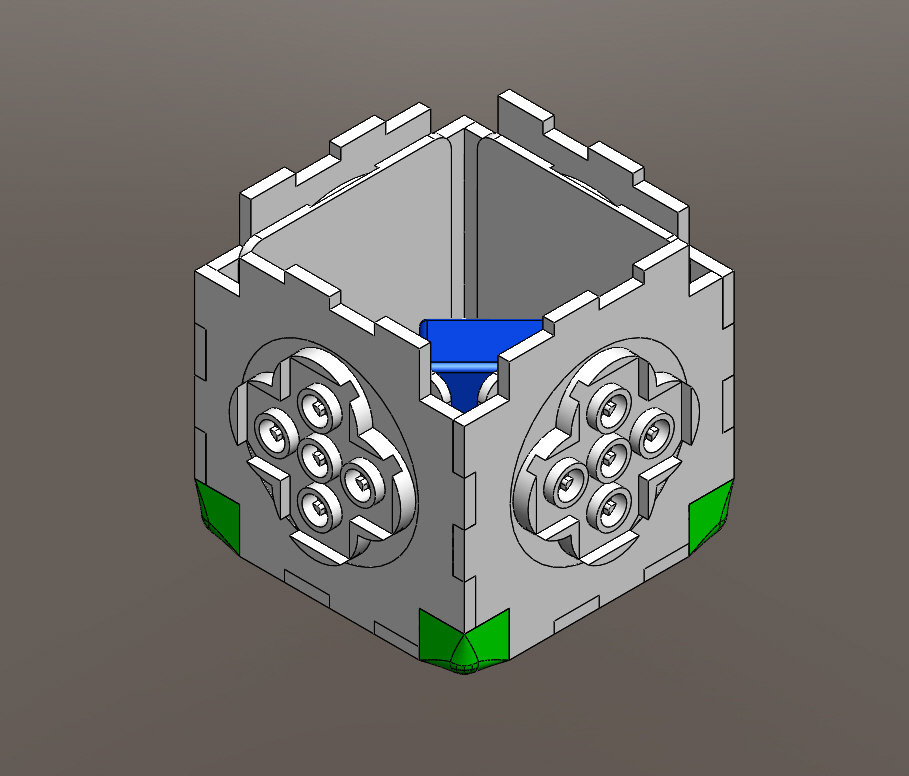
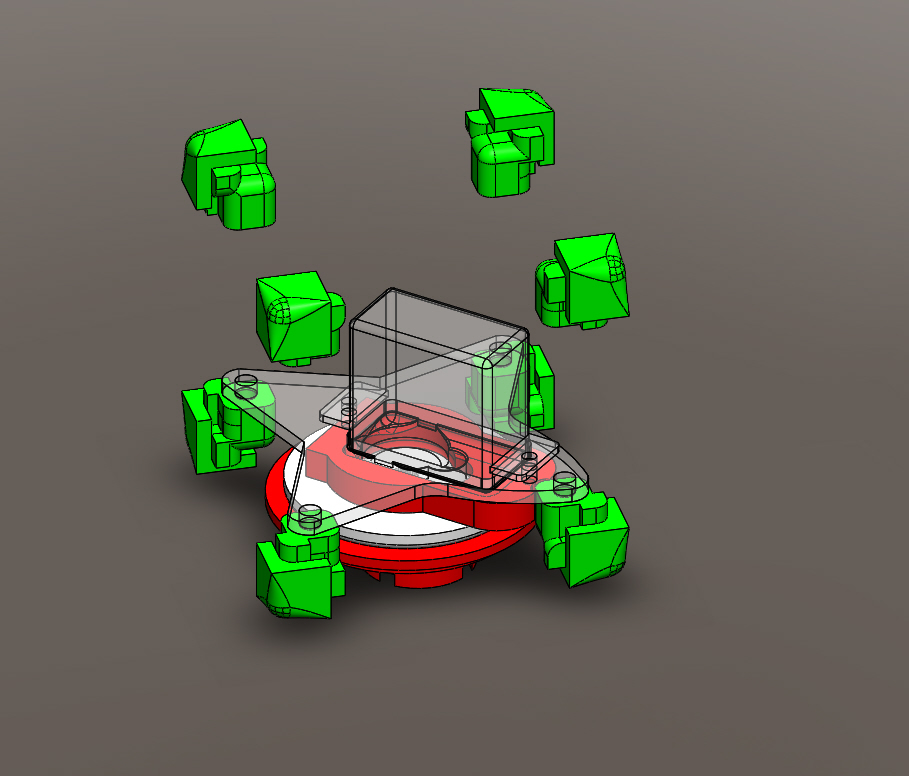
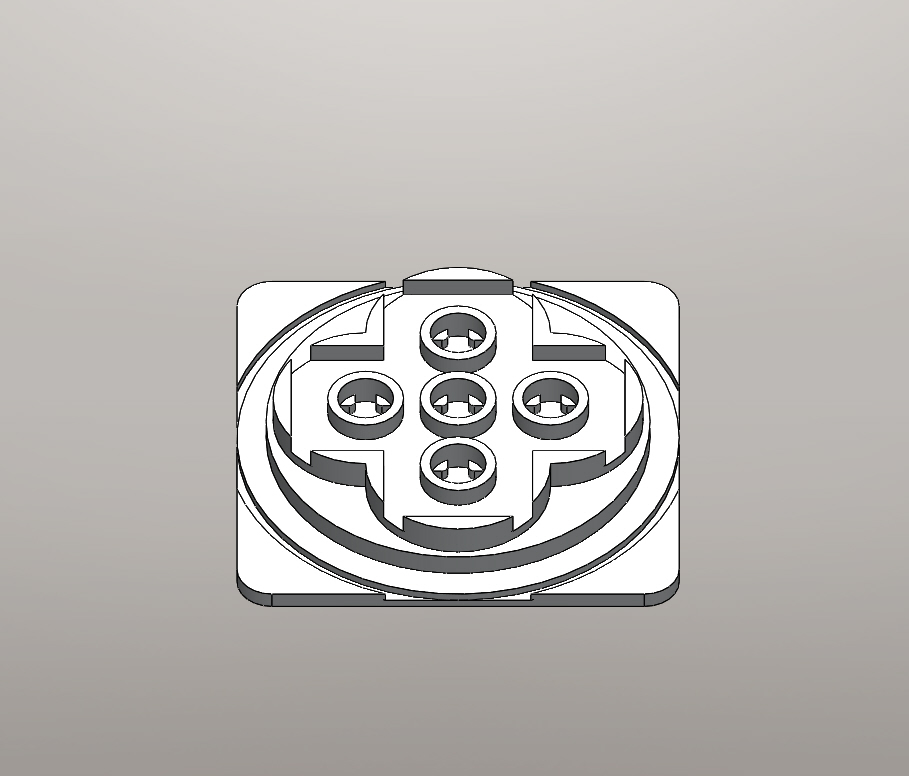
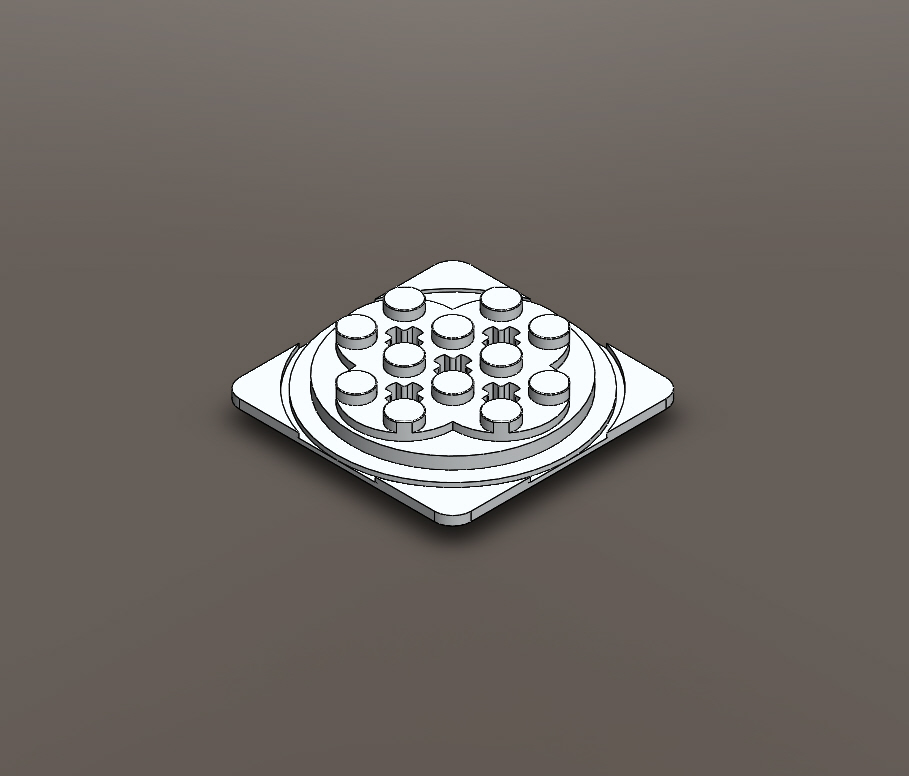
Internal star.
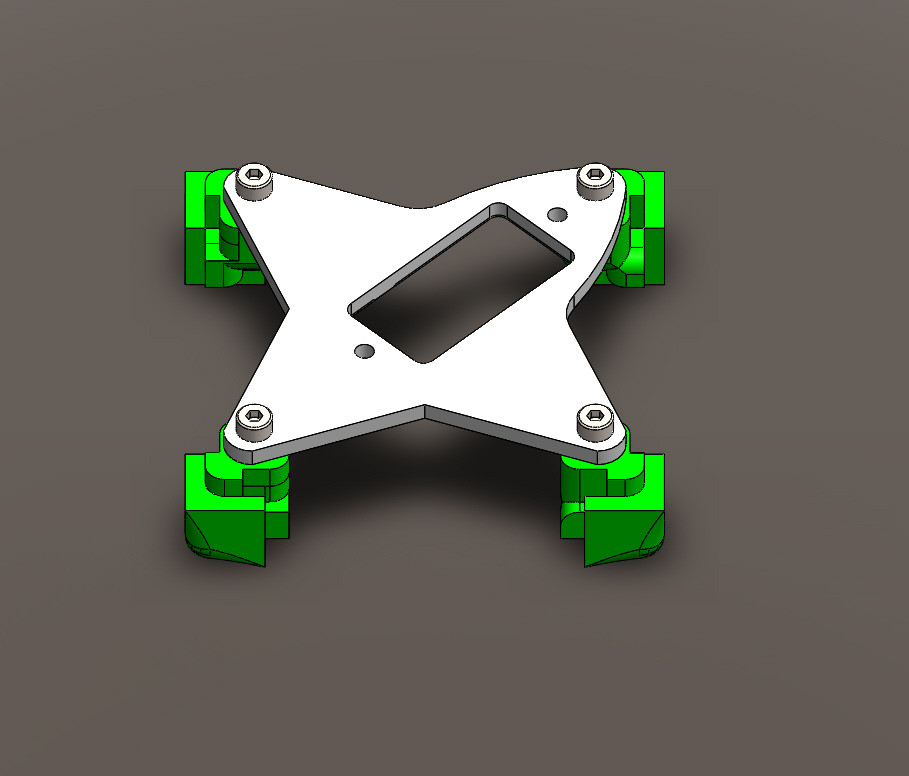
I connected the internal stars to the 4 angulars with M3 6mm screws.
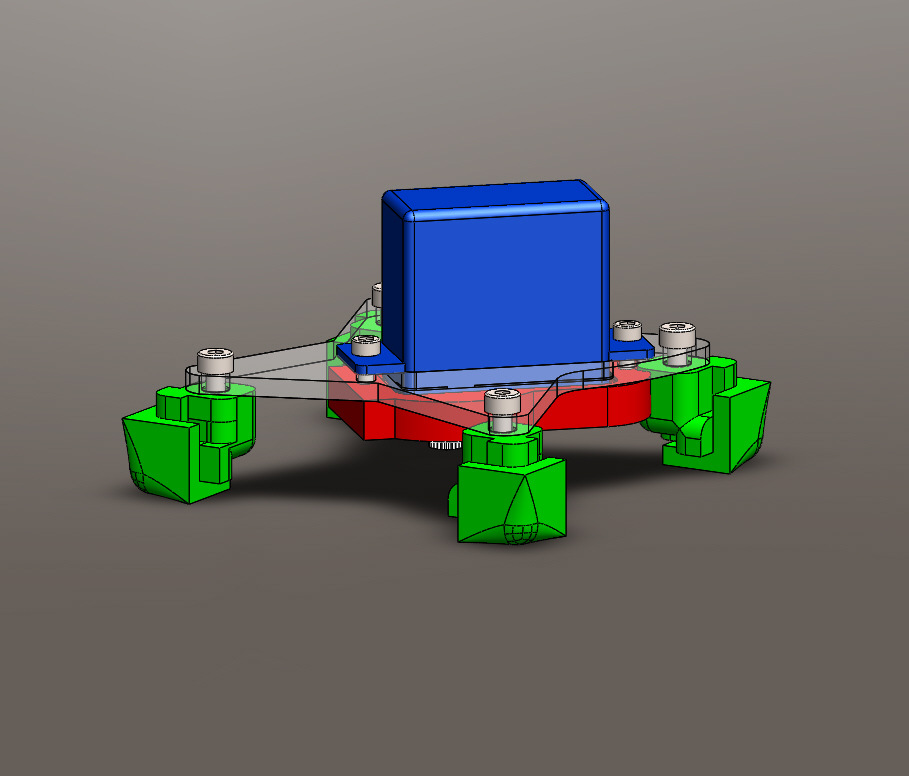
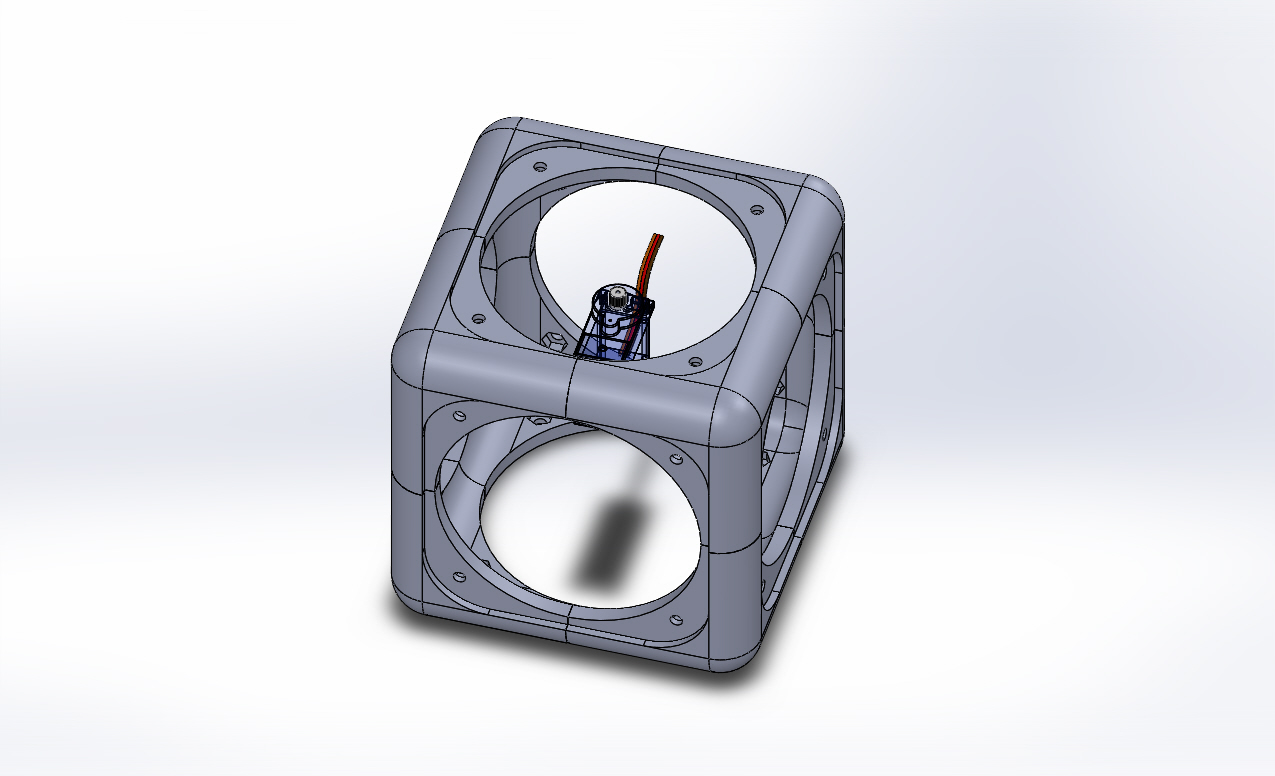
I put the miniservo motor inside the split of the internal star, while positioning the motor adapter in the bottom part, using 2 M2.5 6mm screws. You can also use the screws included in the miniservo motor kit.
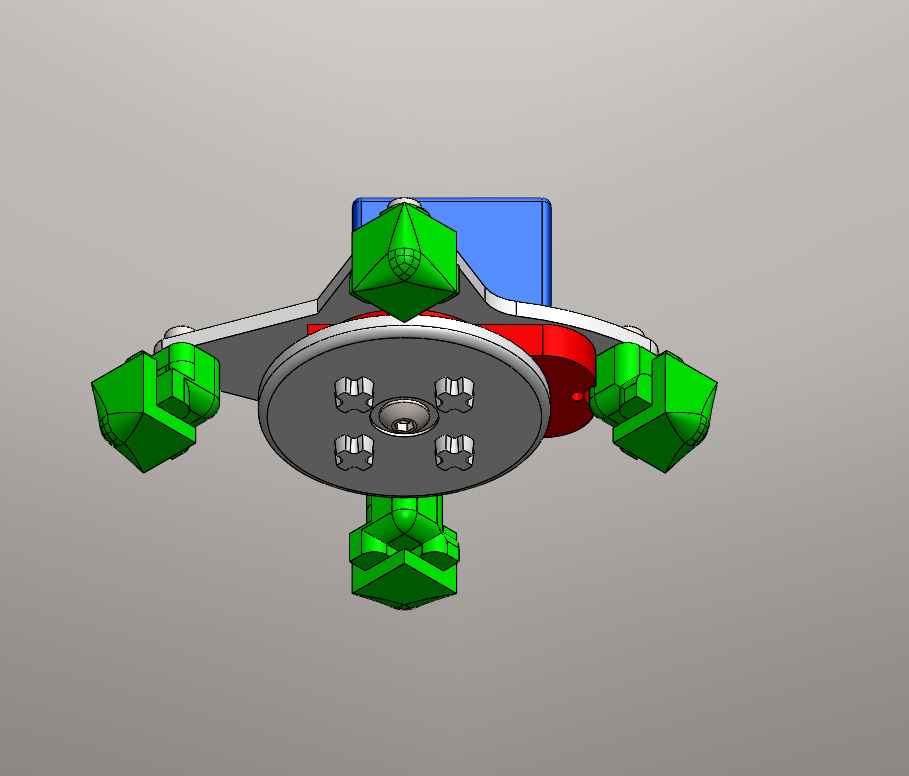
I jointed the “intersector rotate” with the axle of the servo motor, using the screw included in the kit of the mini servo motor.
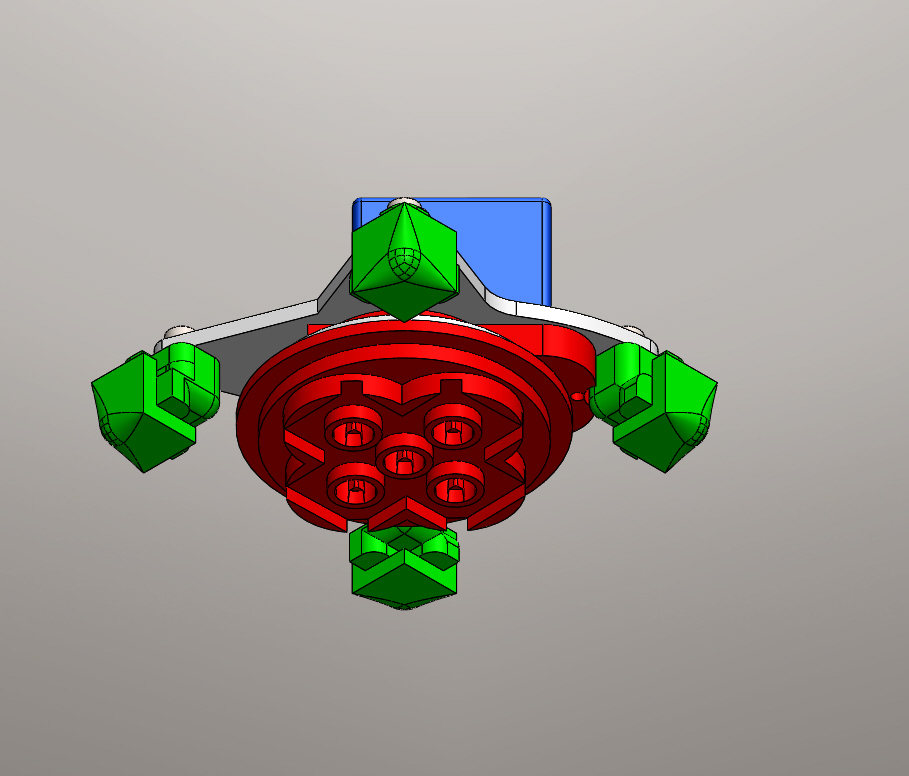
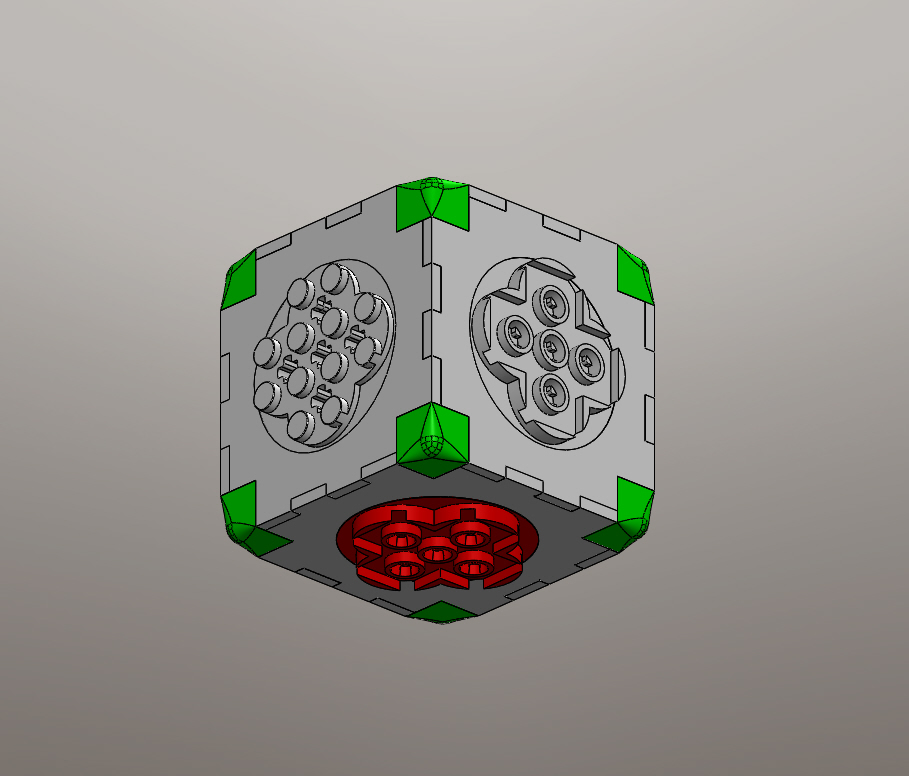
I inserted the “red Lego rotate” in the apposite holes.
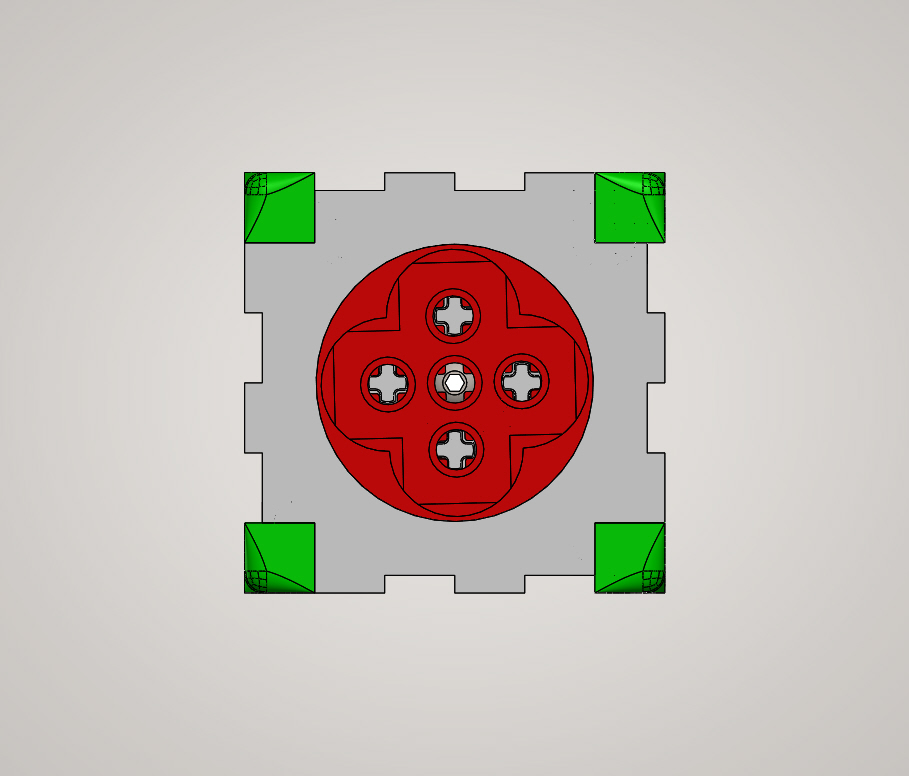
I can now cpmplete the assembl of the rotating face by inserting one laser cut single face.
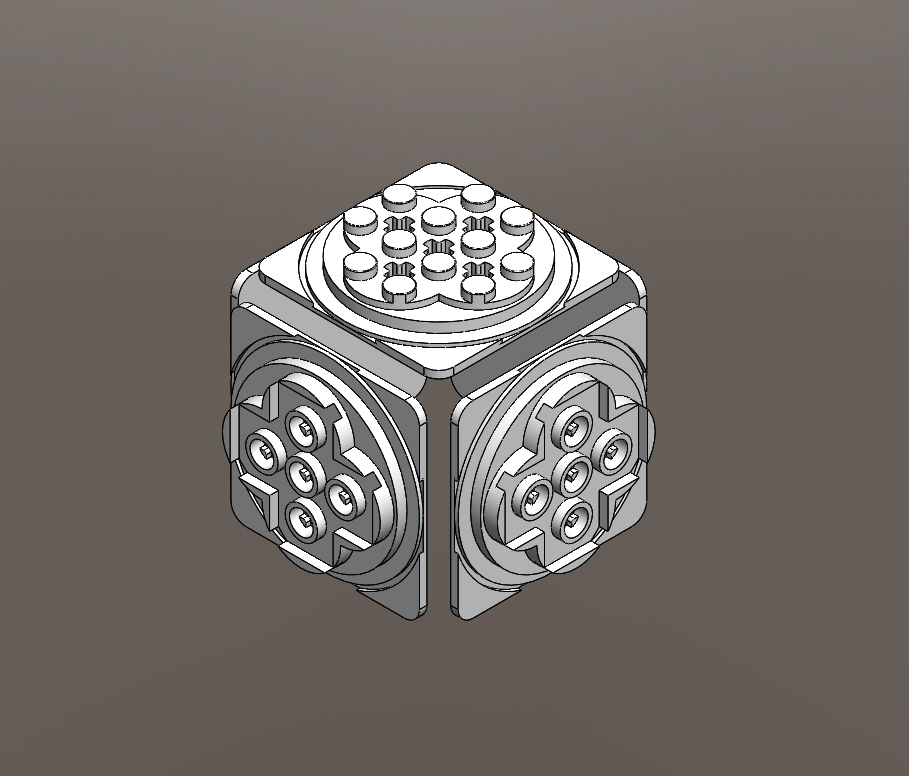
I joint now the molded Lego parts (positive and negative) in the 4 angular pieces.
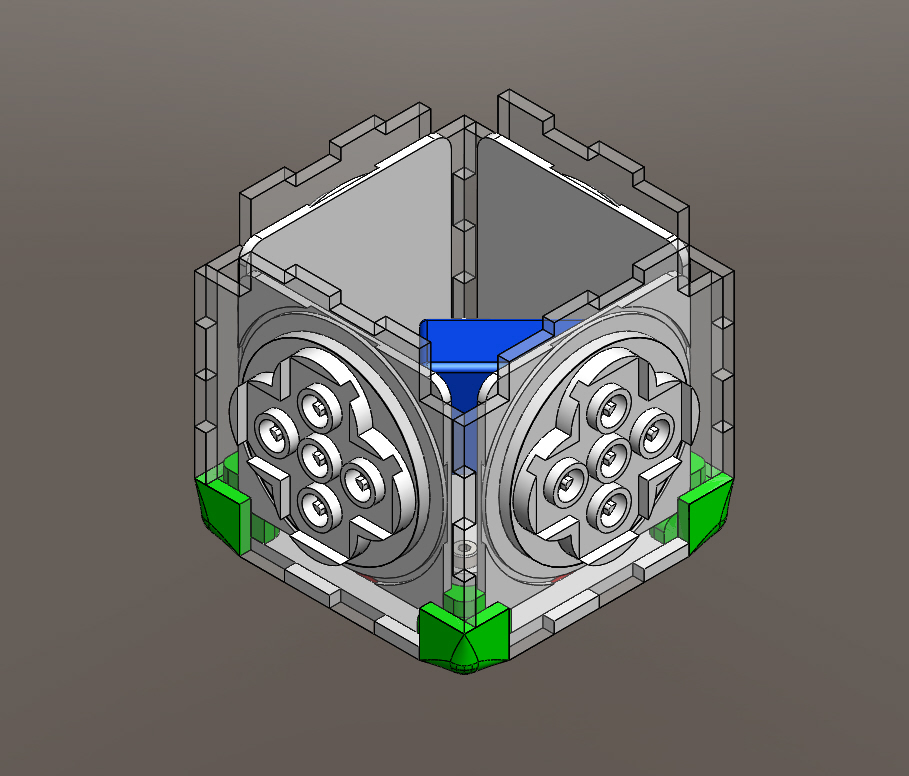
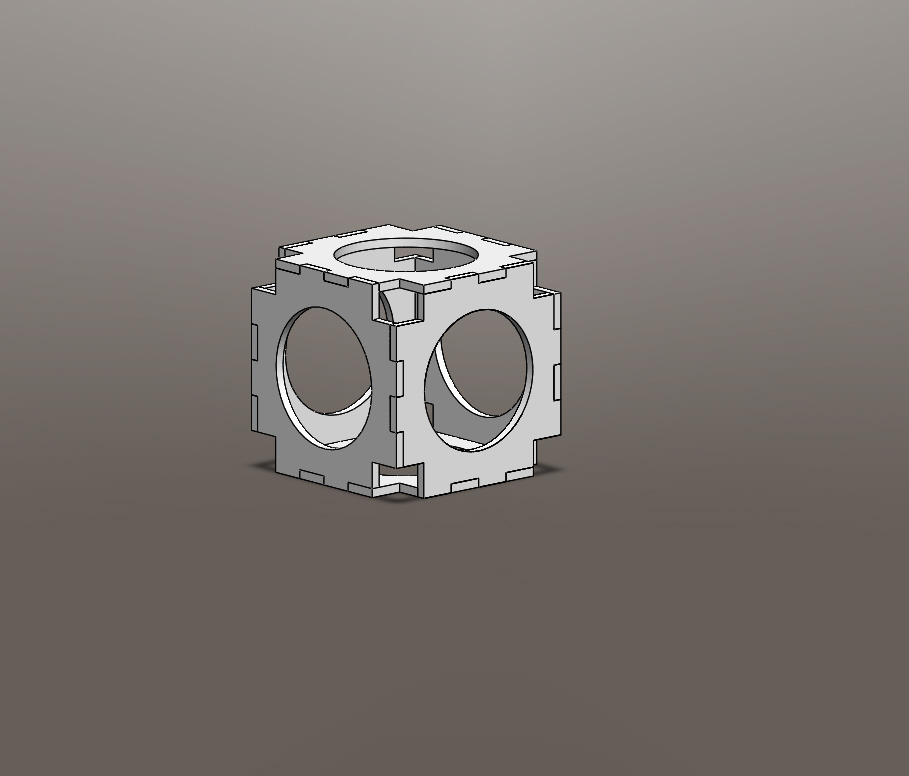
I connected the 4 laser cut single faces to each other and to the rotating face.
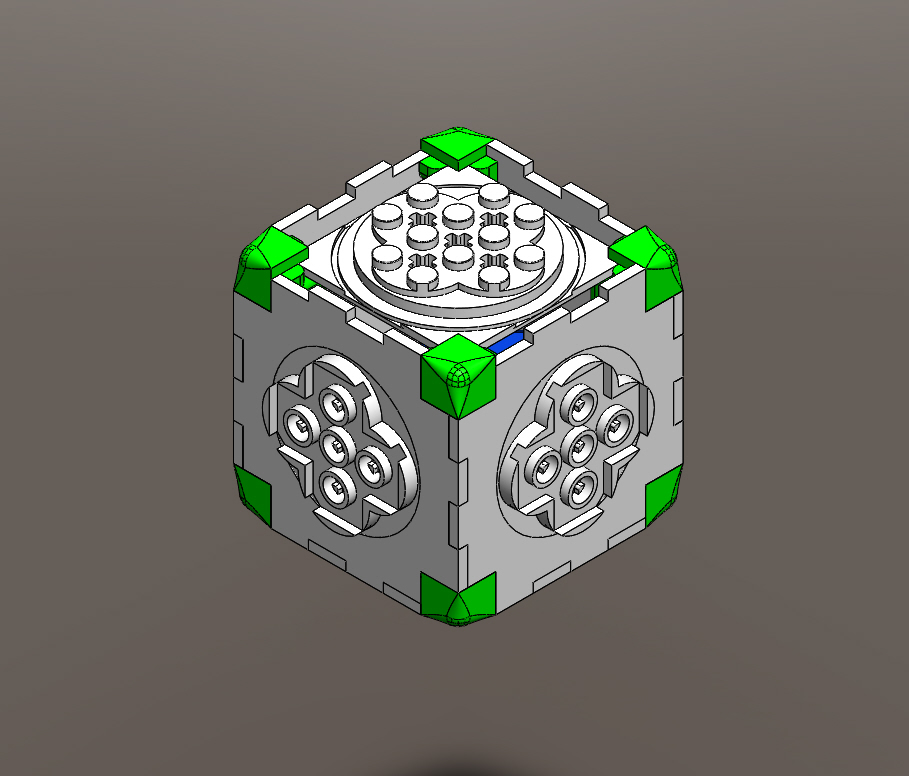
I took the 4 angulars with the positive molded Lego part and put it in the upper part of the cube, closing it.
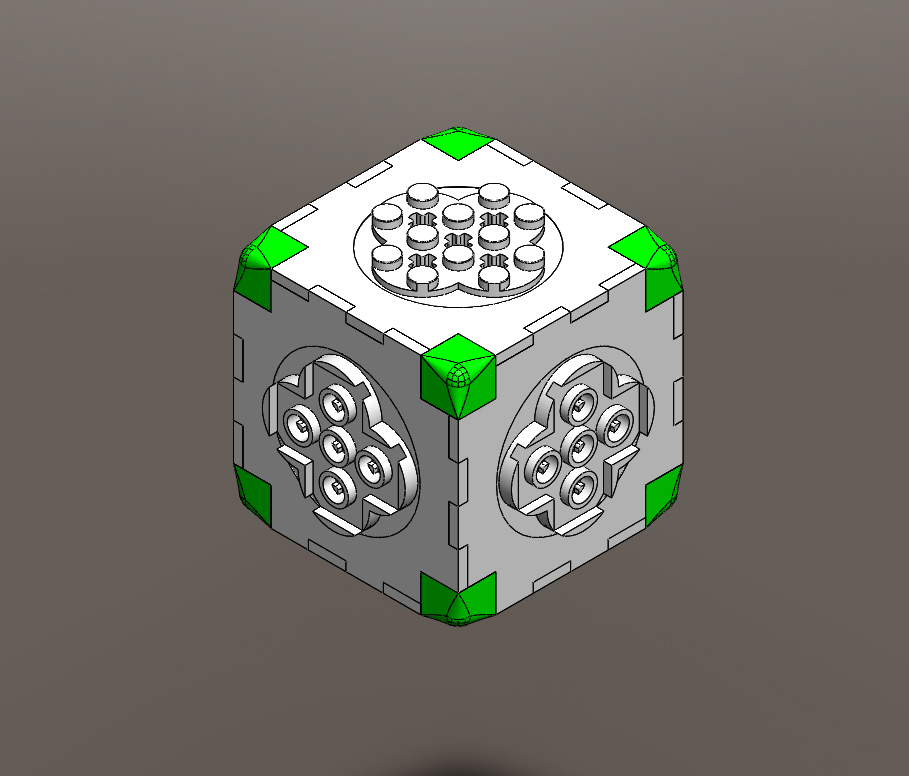
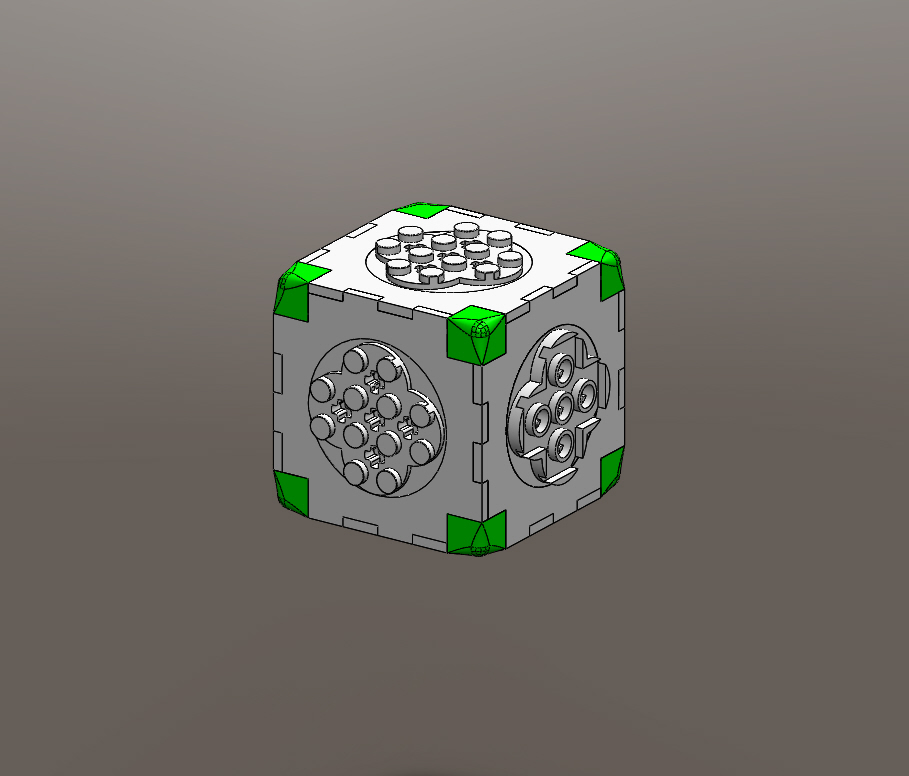
To complete the assembly, I inserted the last laser cut face on the top. And now the cube is ready.
2015-05-15
Parts listed for process
Laser cut


3d printing
Molding
2015-03-18
First tests on Solidworks