Weekly_Assignments :
- design a 3D mold, machine it, and cast parts from it
Software
Materials - Machine
Useful Tutorial:
Design 3d mold
Solidworks
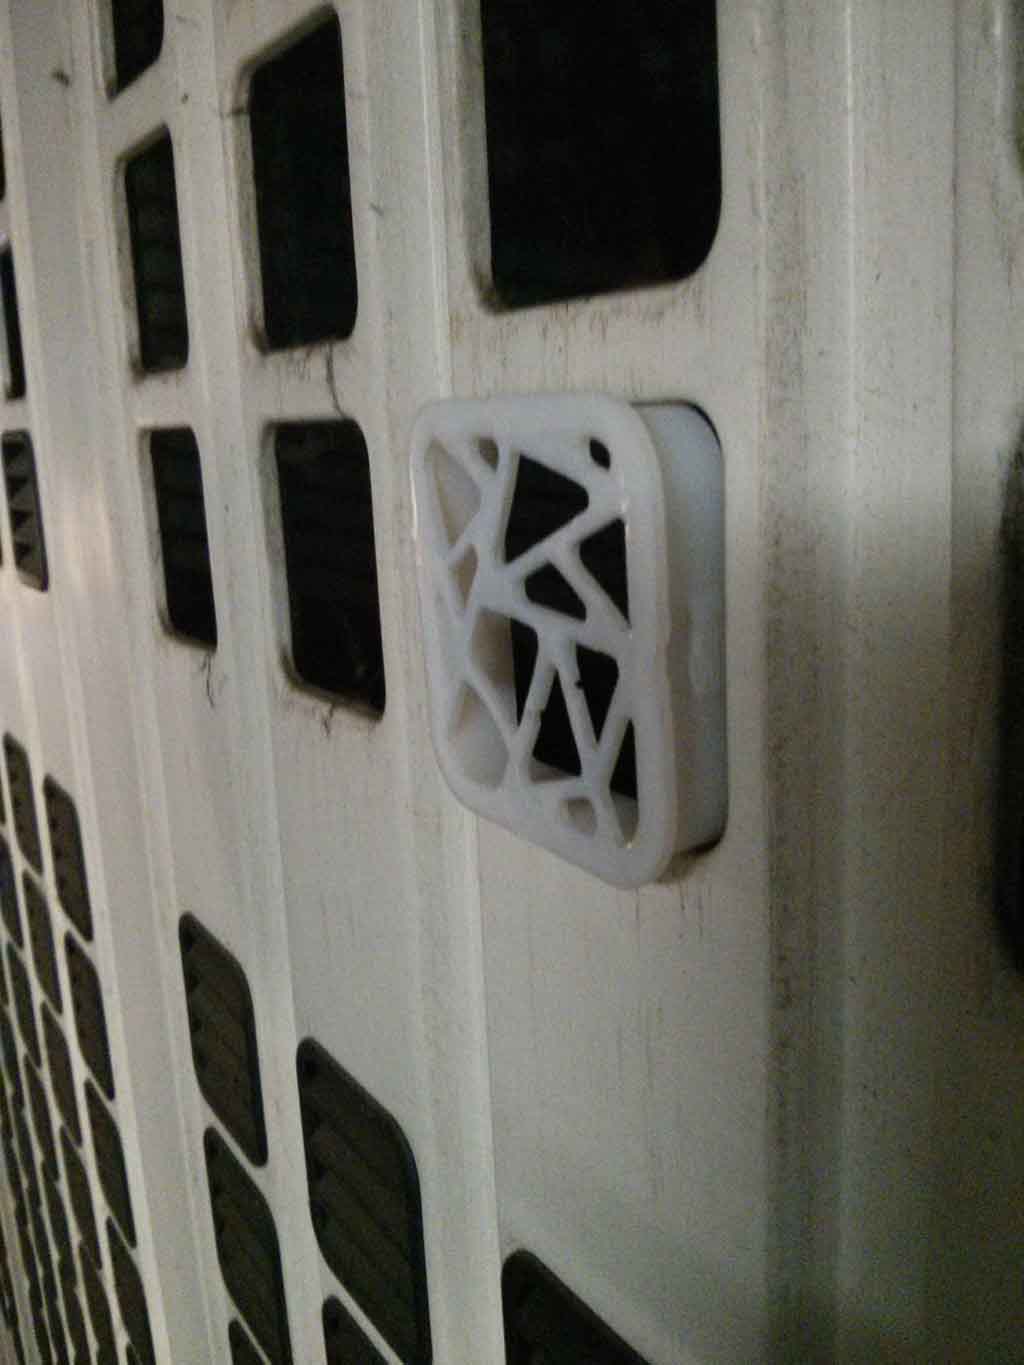
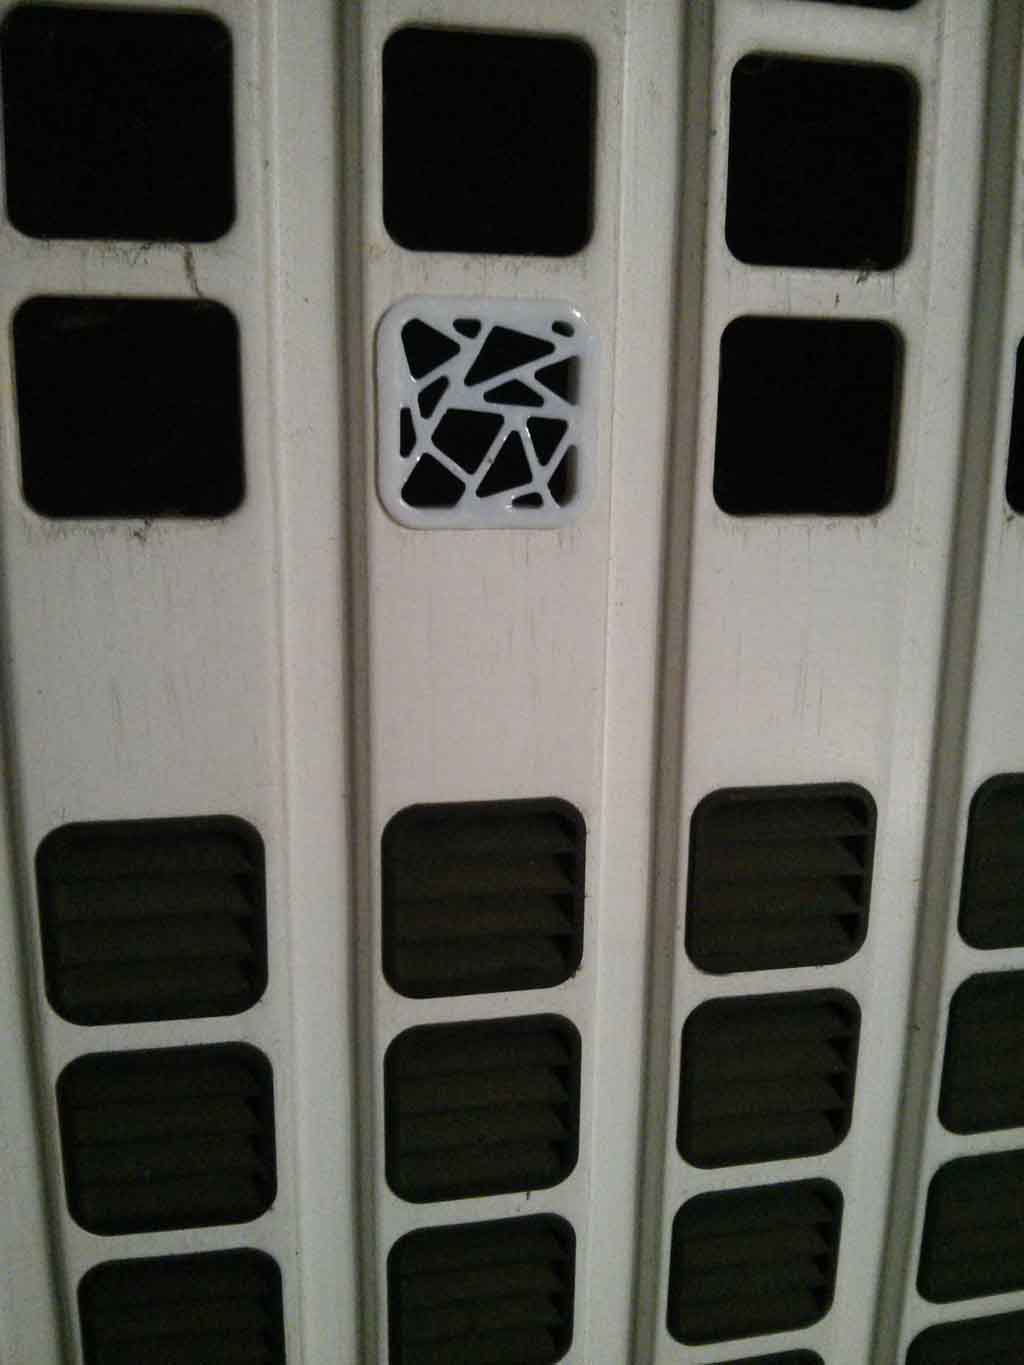
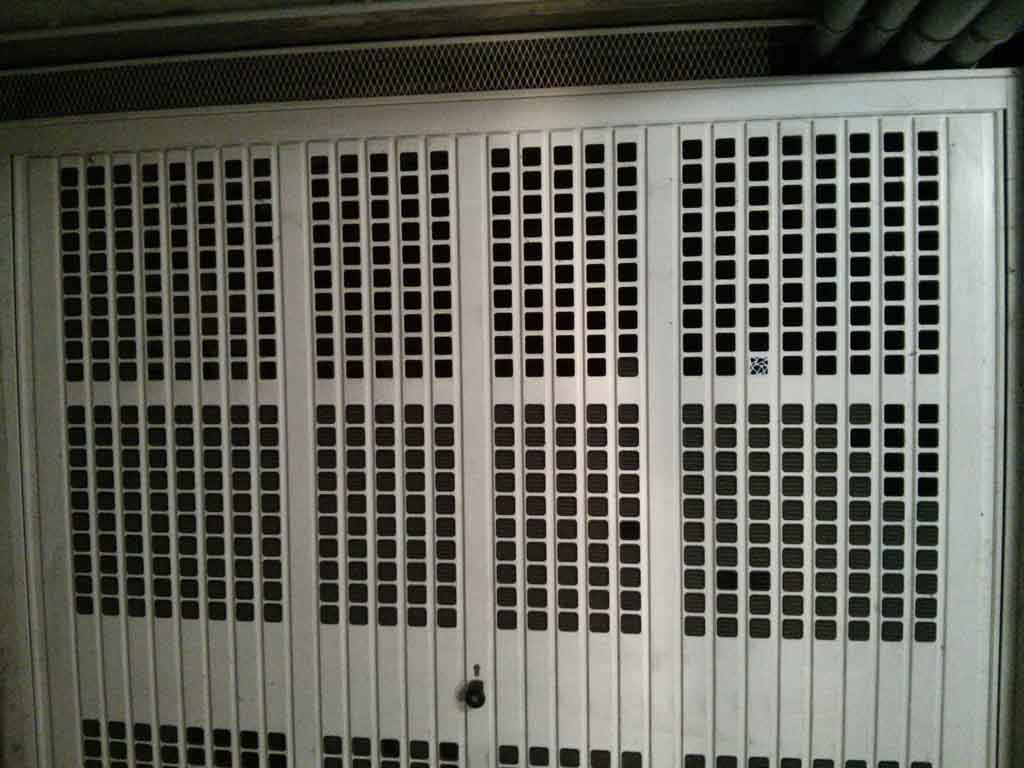
In these weeks I’m doing a little refurbishment of my house, and during the work I realized that “I miss” many plastic plates on my garage doors.
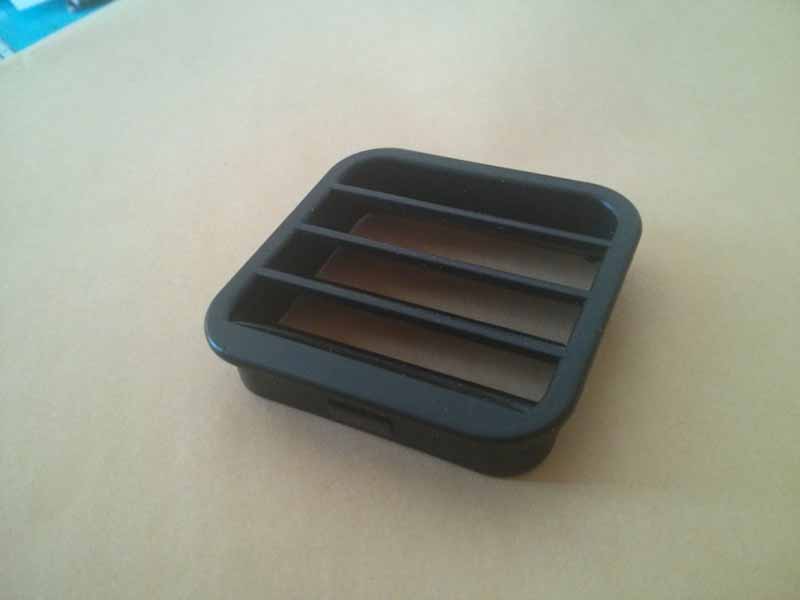
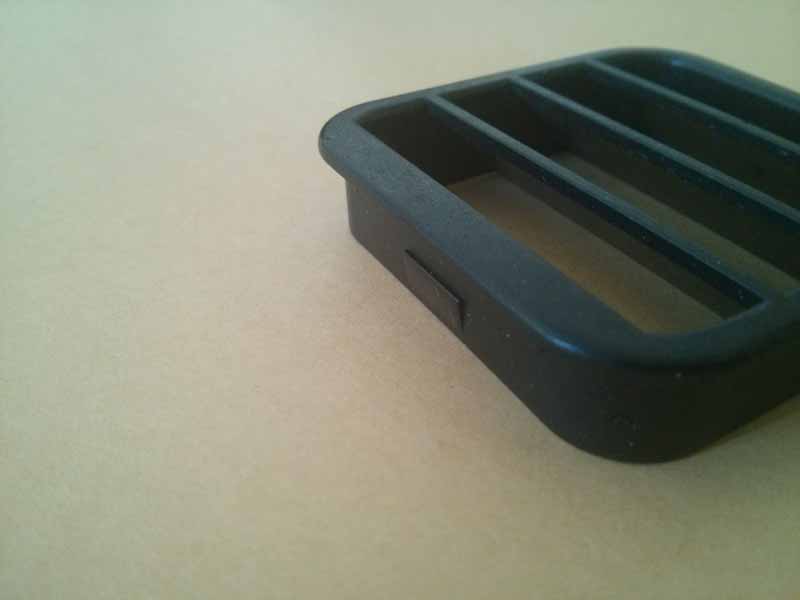
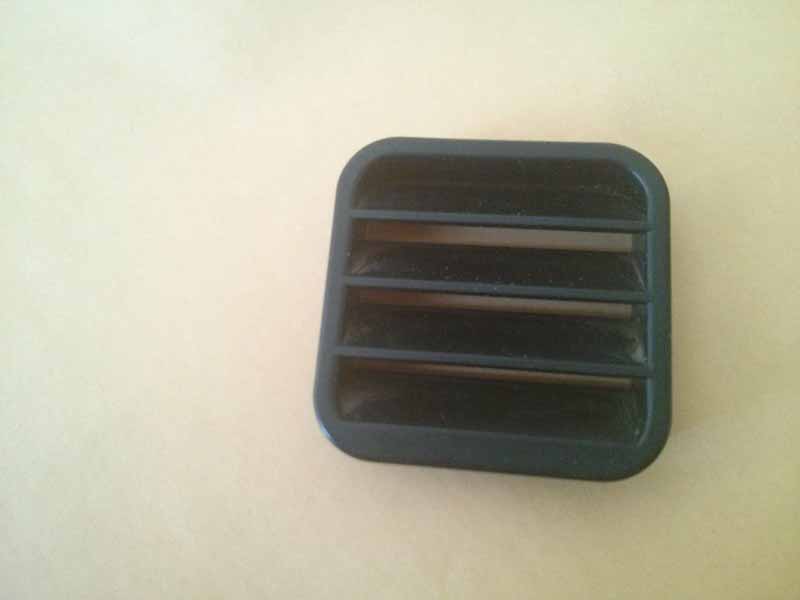
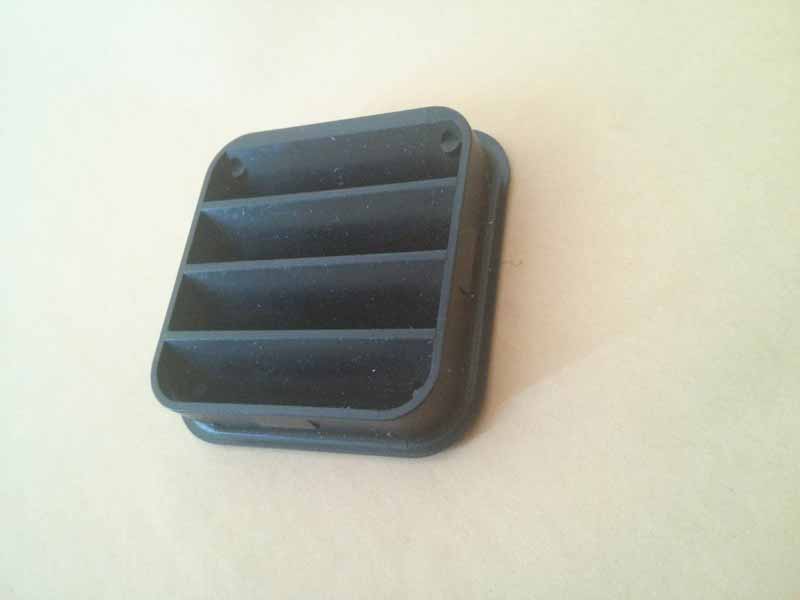

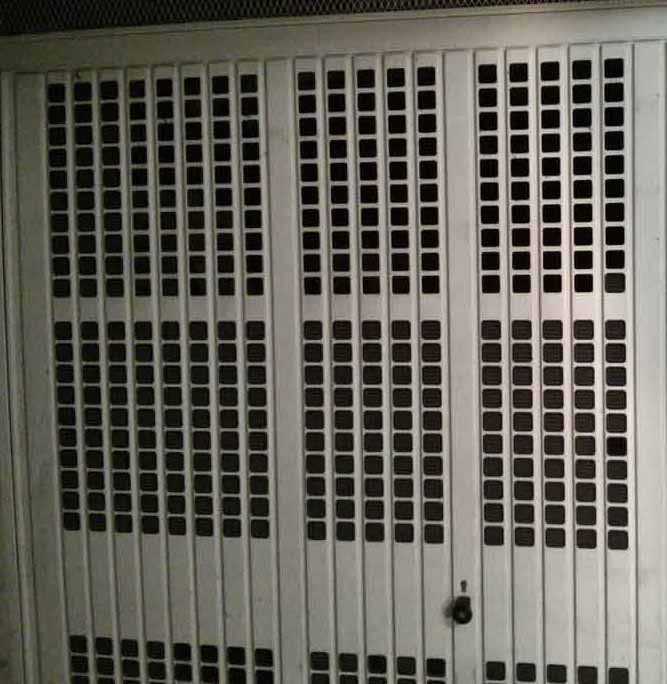
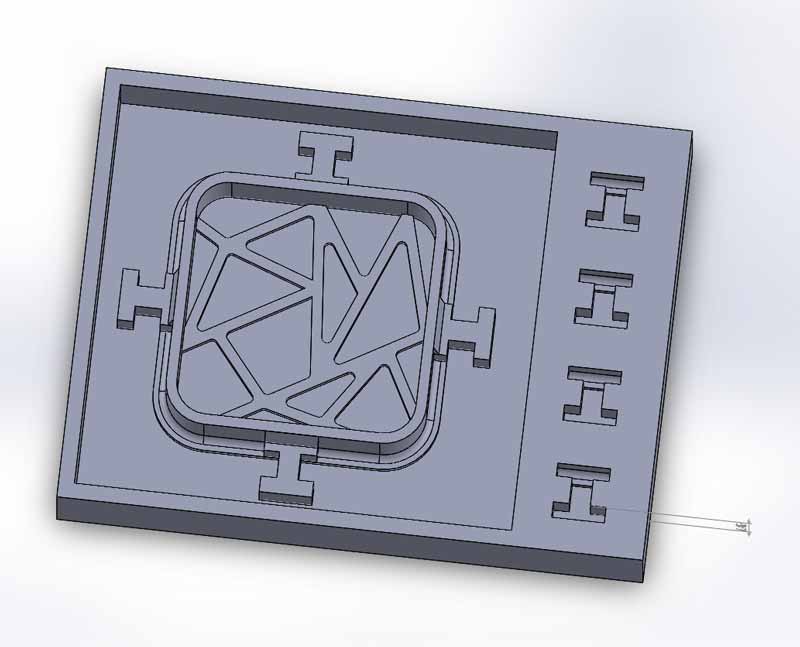
I started to rebuild them on a sketch mode, new plastic plates Voronoy styled !
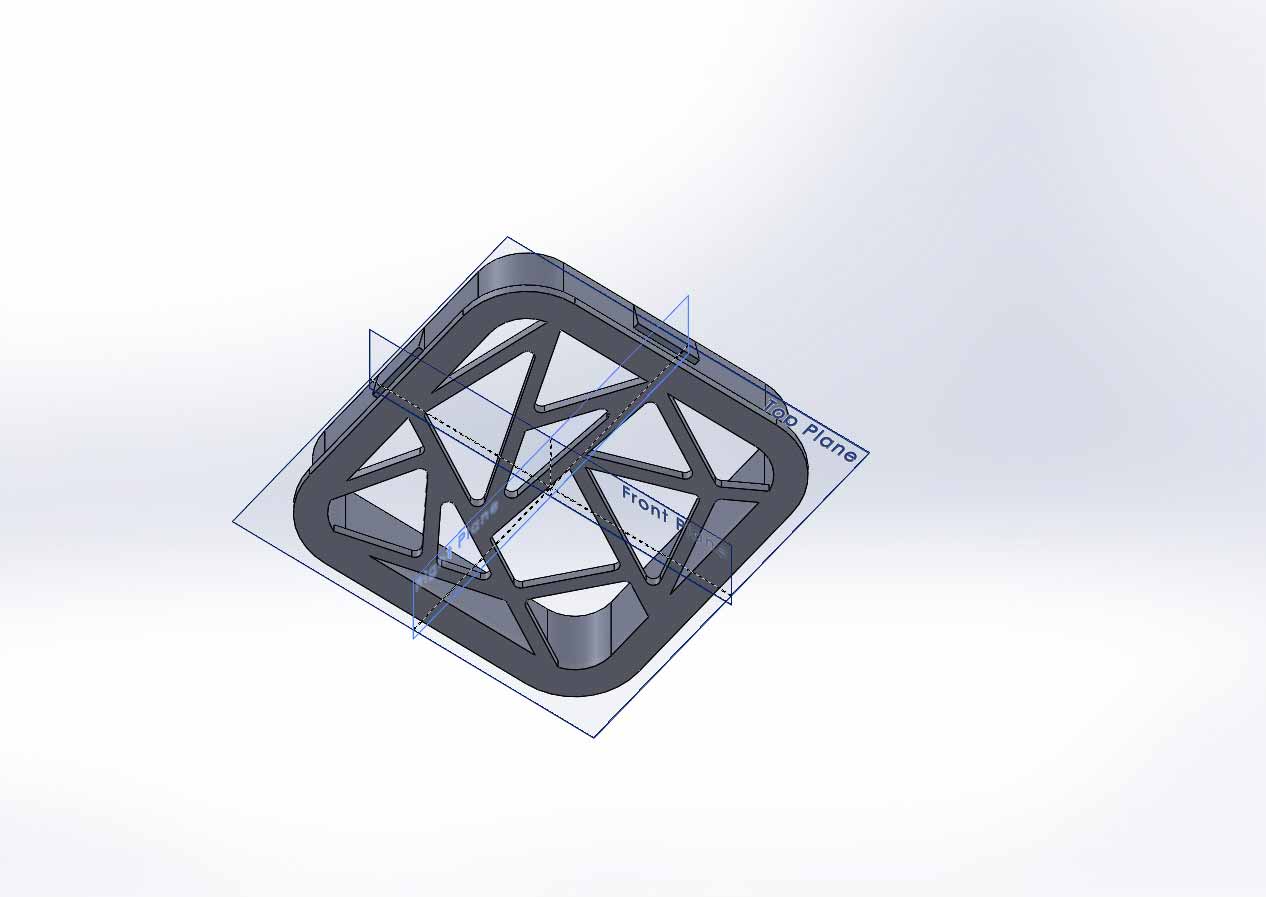
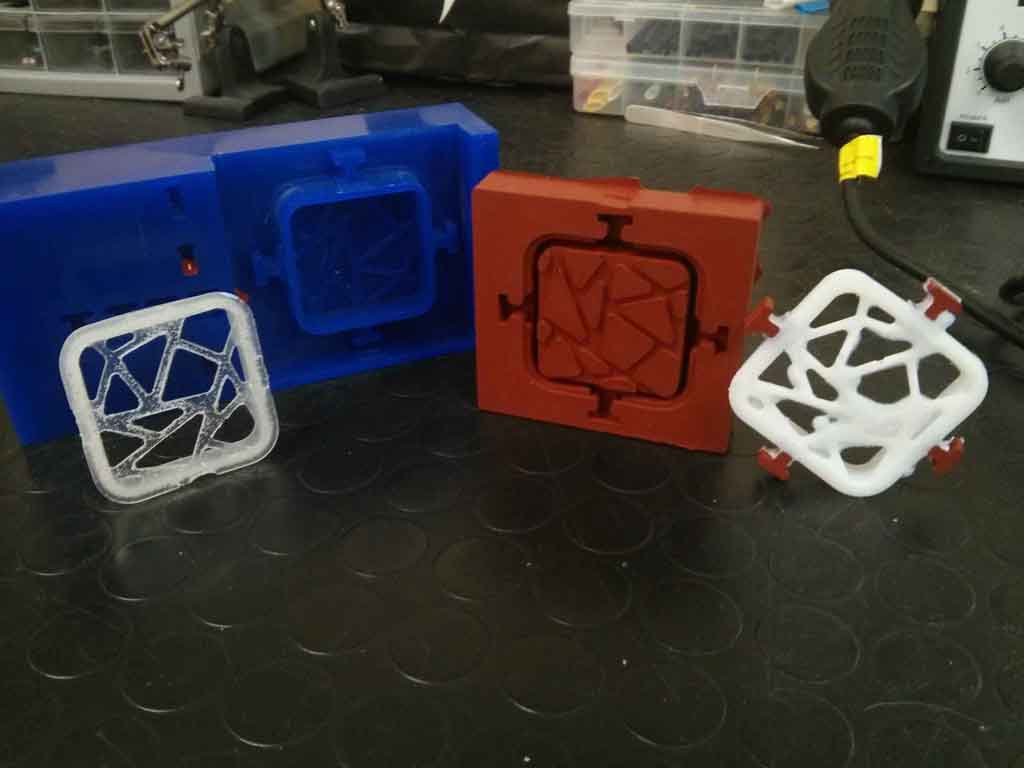
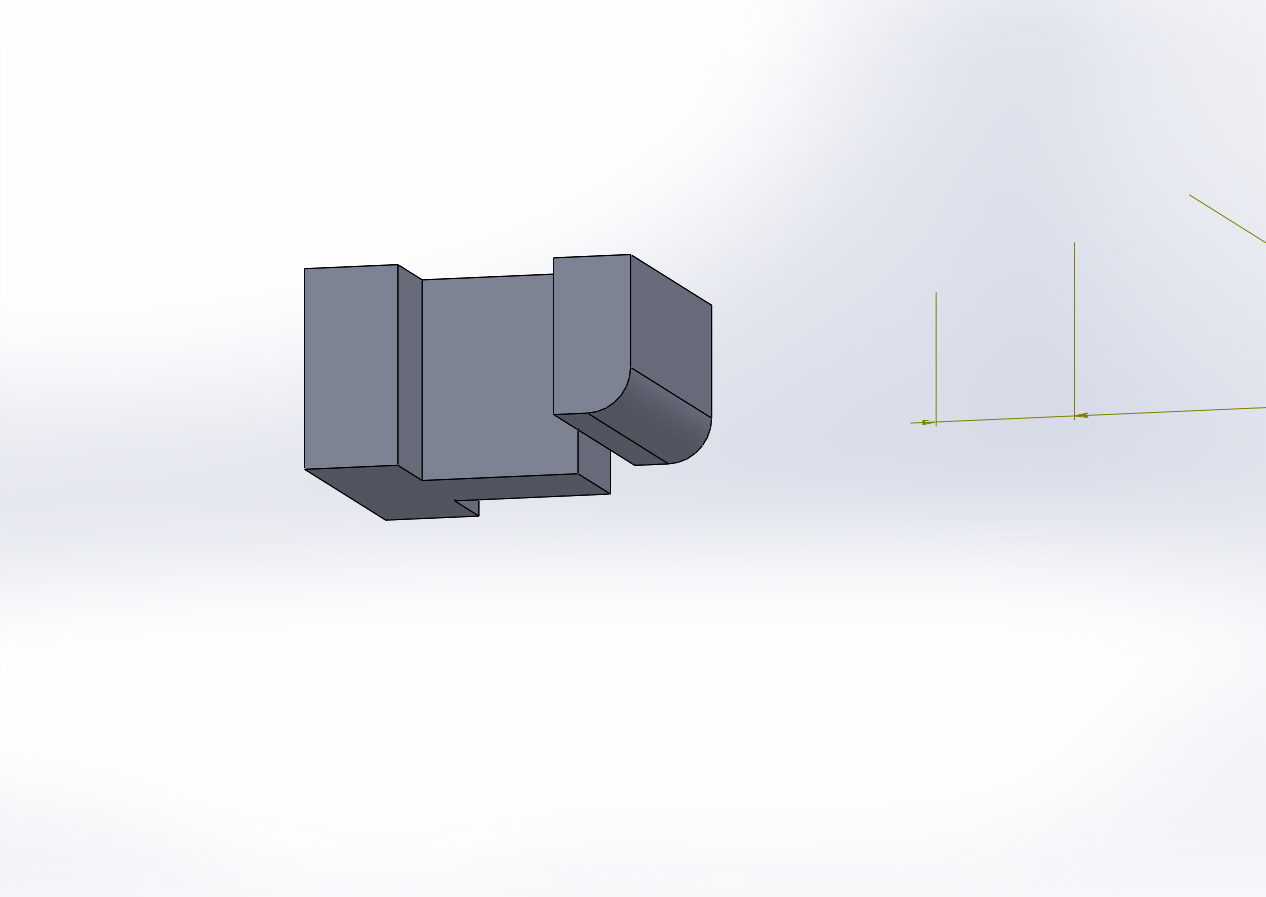
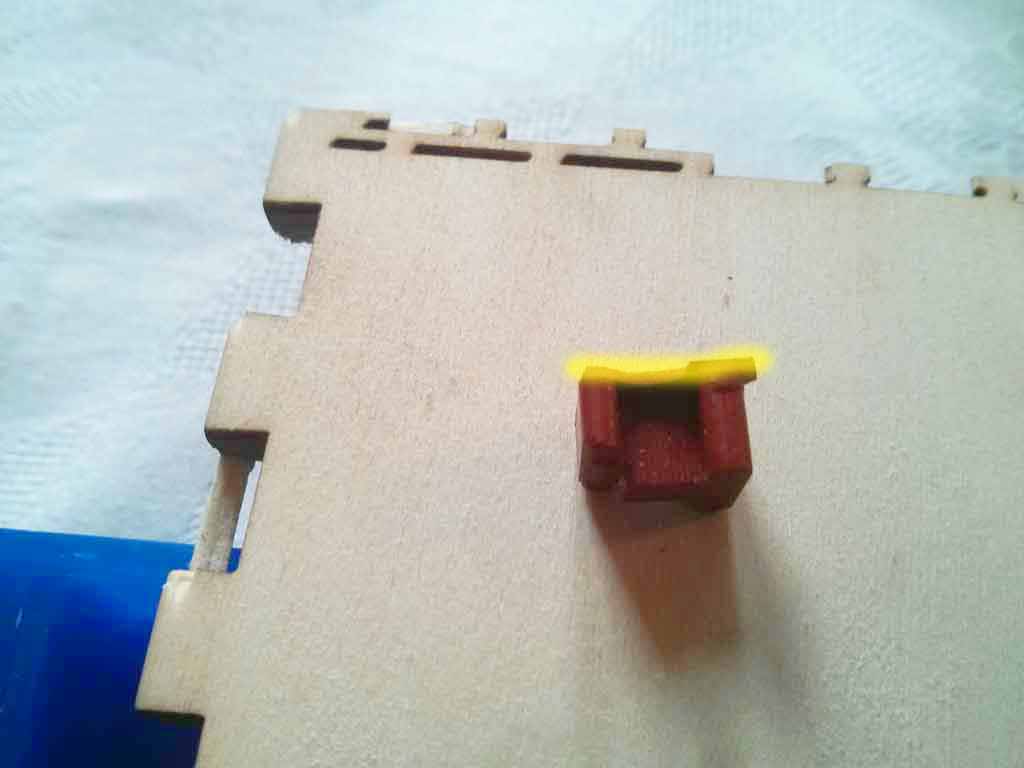
in prevision to create the block angle, I create these little parts that allow me to have overhanging resins during the melting.
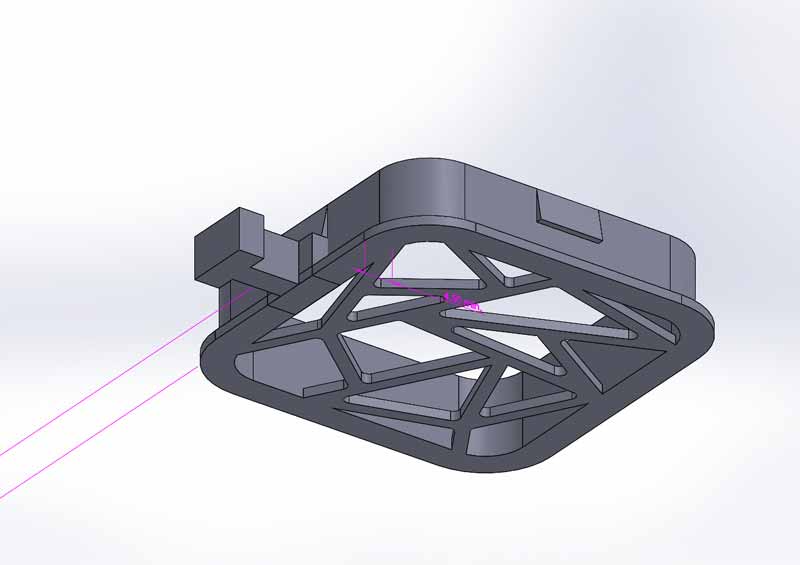
I prepared the final file to create the stl with a small border to contain the silicon Mold
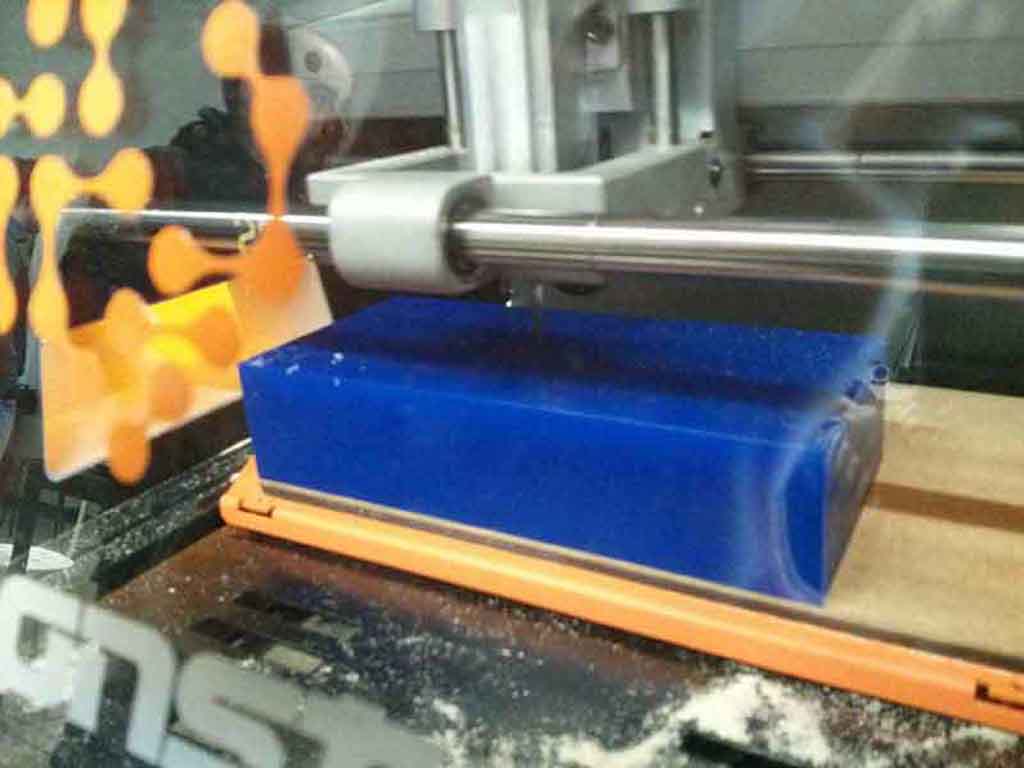
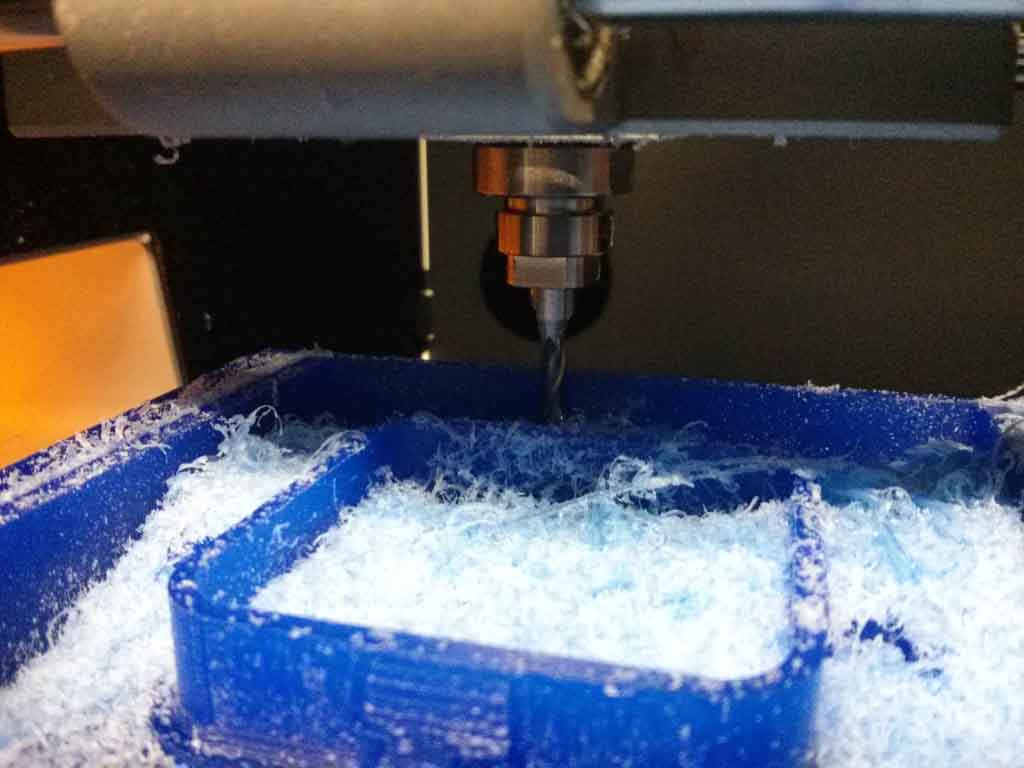
ok, I’m ready to mill the blue WAX ! for my positive object!
Machine positive WAX with SRM-20
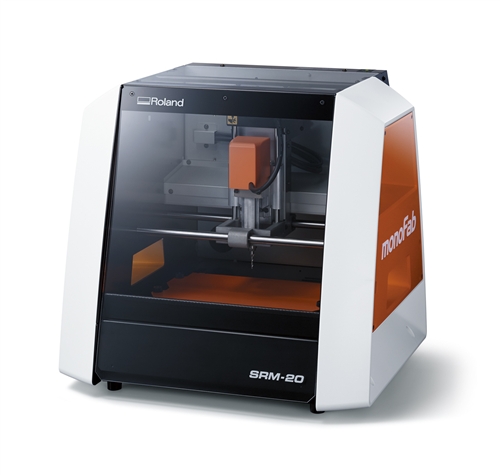
For this assignment I used the SRM-20 machine with the 3mm flat milling tip.
At first, I started to play with fabmodules but the fabmodules stopped while processing the file , after setting the wax rough cut.
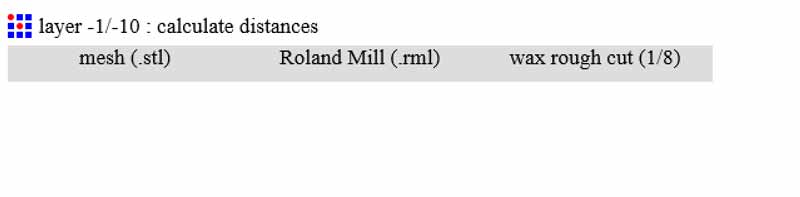 the file is assembly_final2.STL
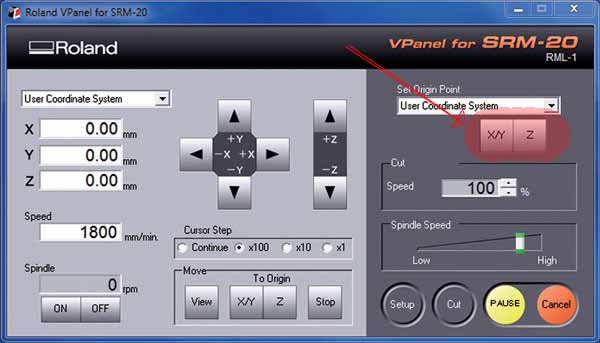
switch to modela player 4
software setting
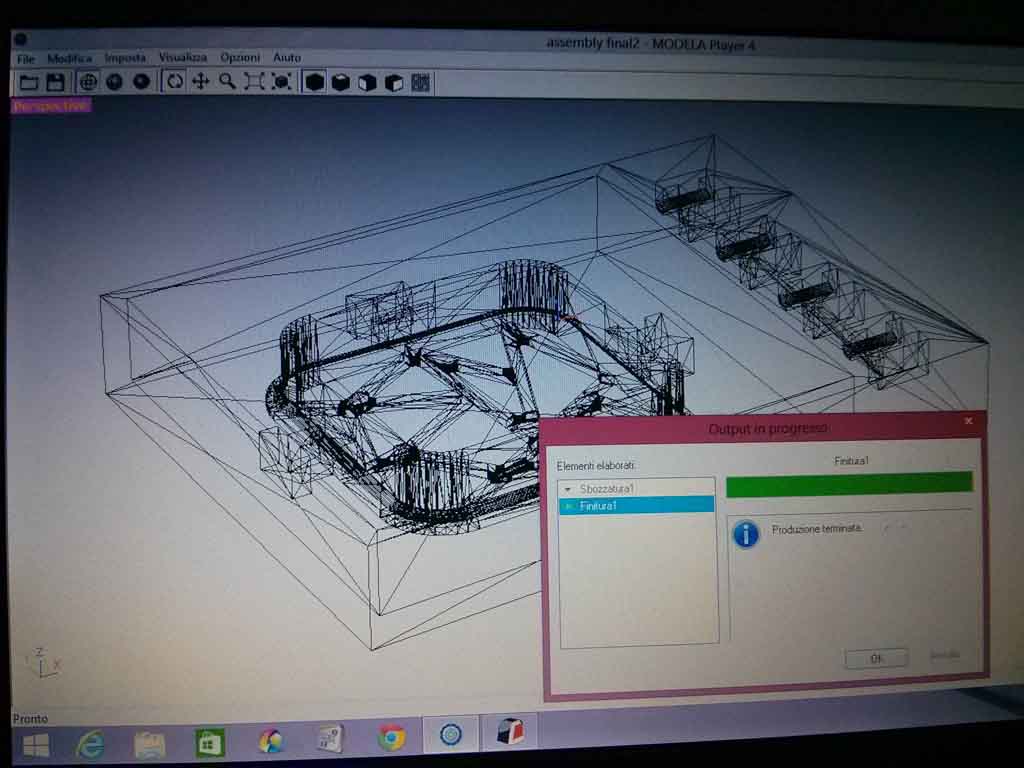
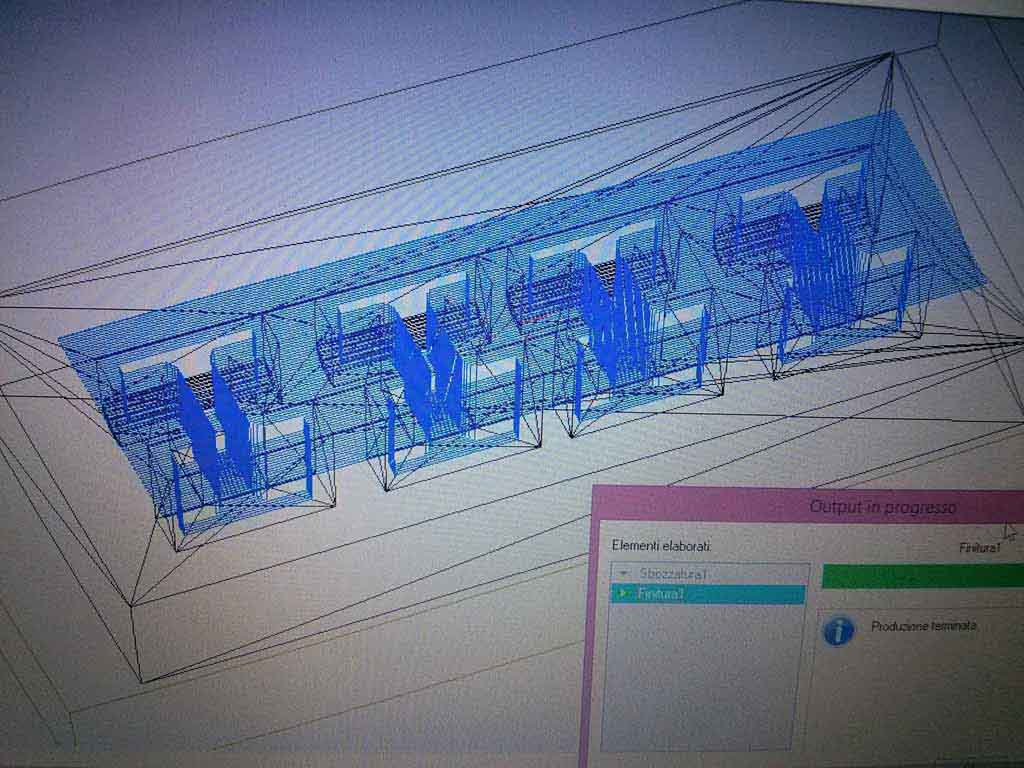
Following the tutorial I create 2 processes :
- rough (milling 3mm square tool )

- finish (milling 3mm square tool )
After setting the zero point (X,Y,Z) on imodela controller, you can start to mill!
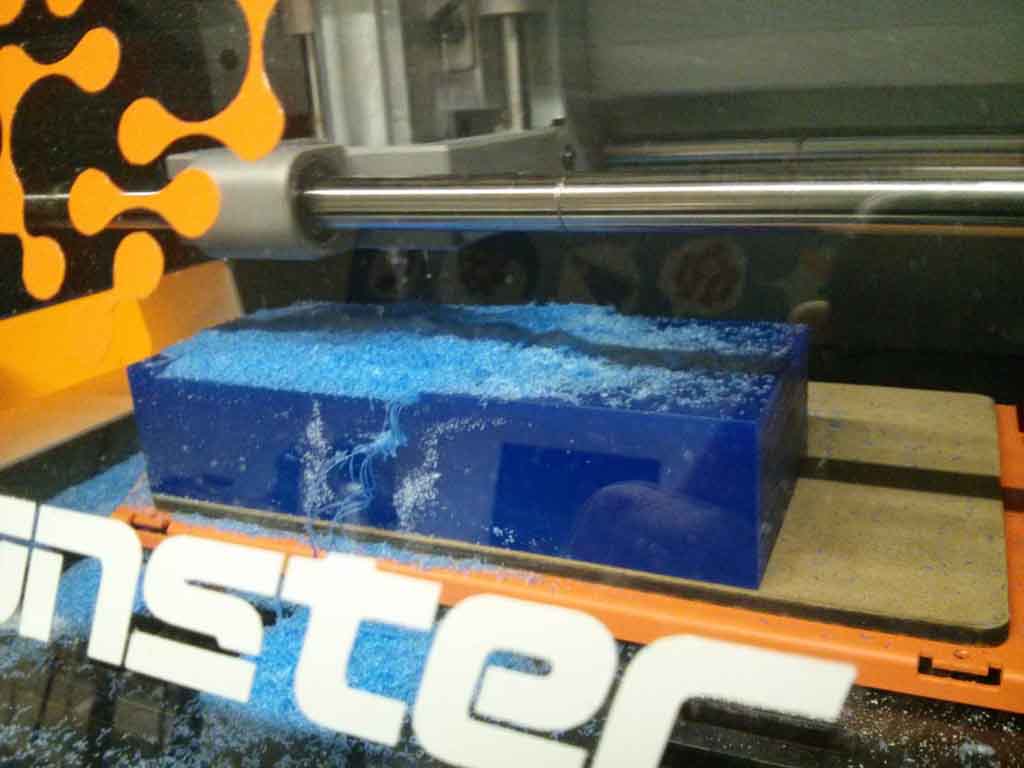
Error 1! (before the end of milling)
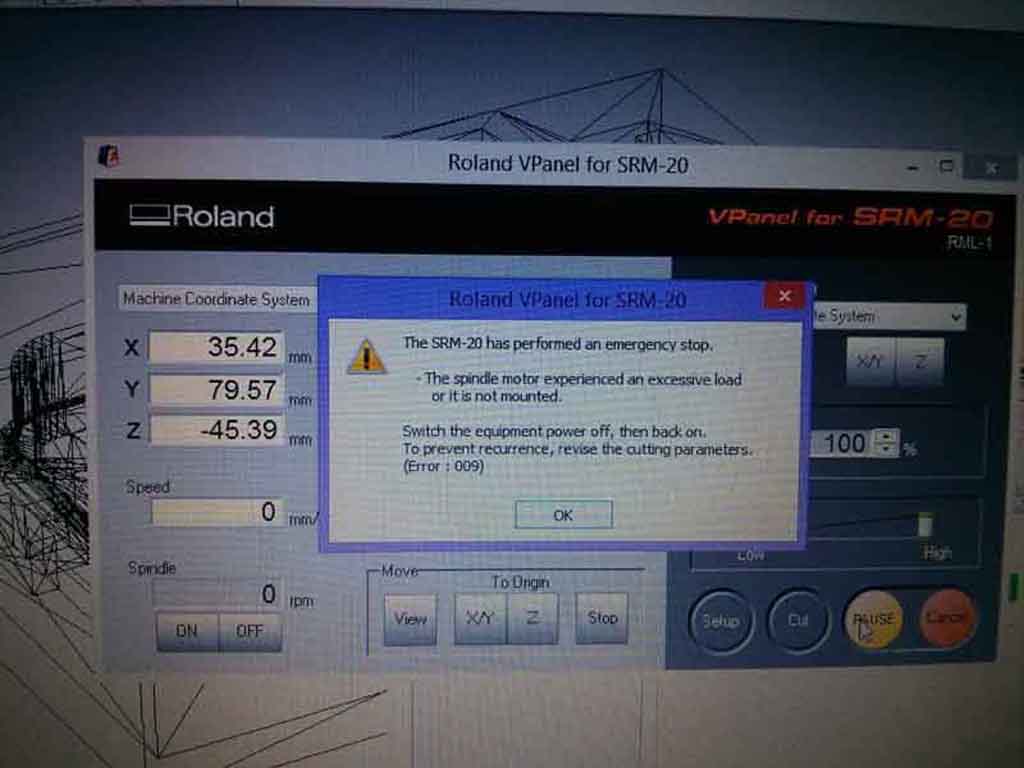
in the final part of milling, the SRM-20 suddenly stops and sends this error: “ The spindle motor experienced an excessive load or it is not mounted “ in this error case, you must reboot the SRM-20. fortunately milling was already over ! otherwise I would have had to repeat the finishing process.
Error 2
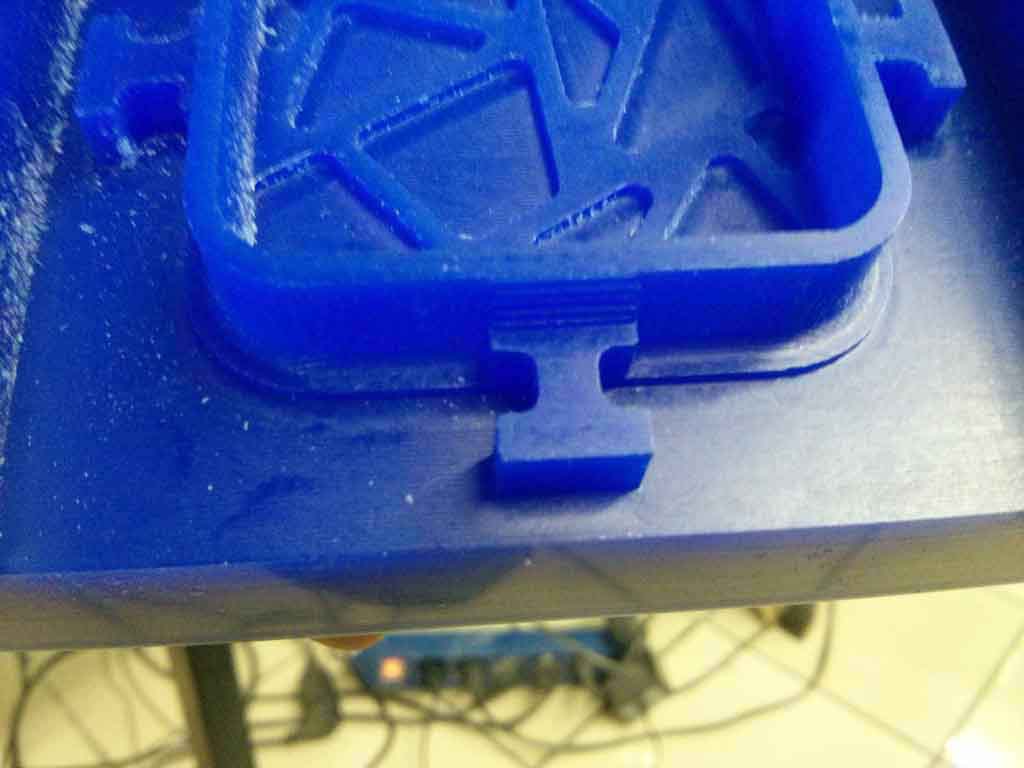
Unfortunally the little negative parts, to build the joint in the plastic plate, are too small for a mill with 3mm square drill.
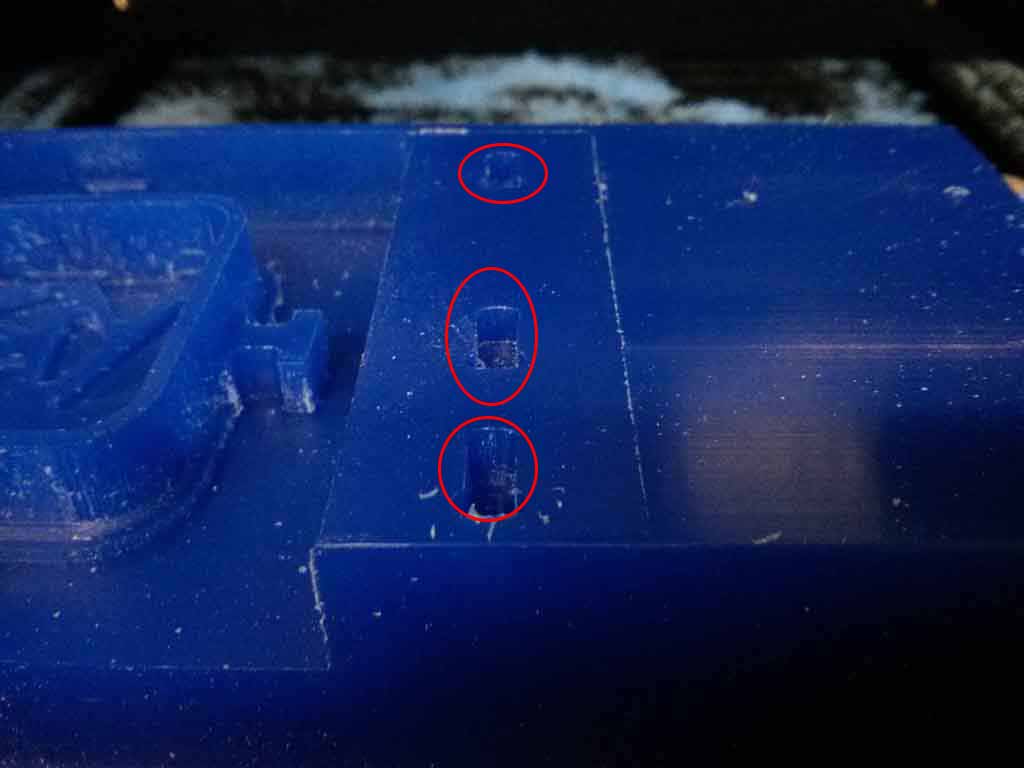
So I rebuild a file and I use the 2mm square drill.
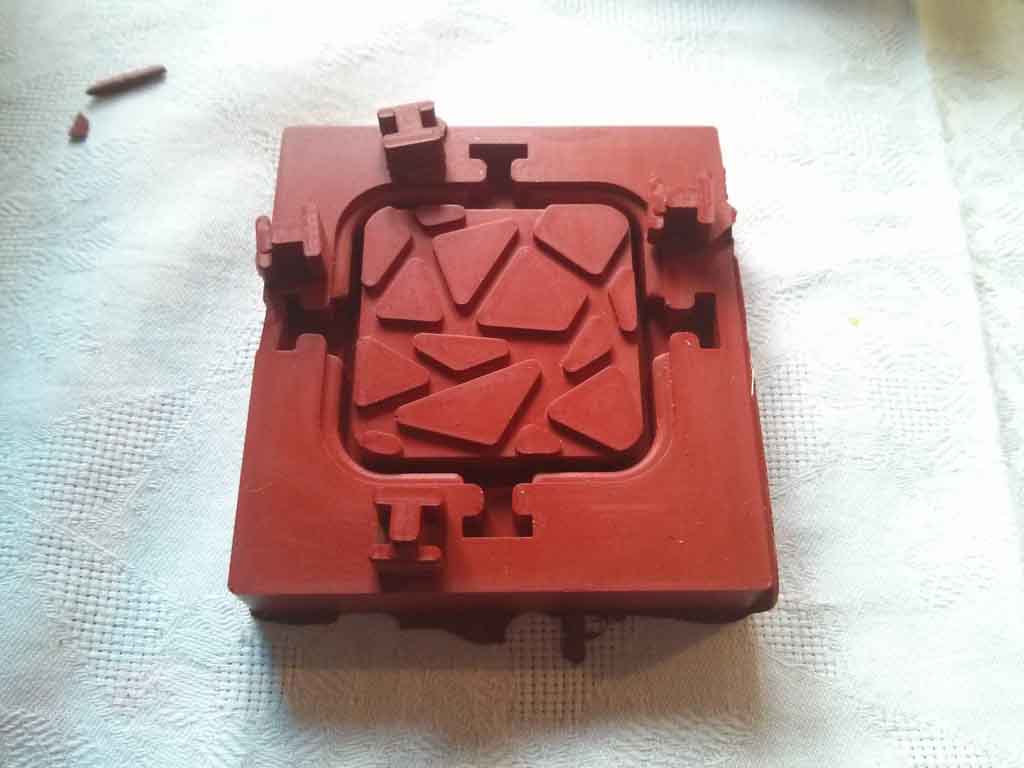
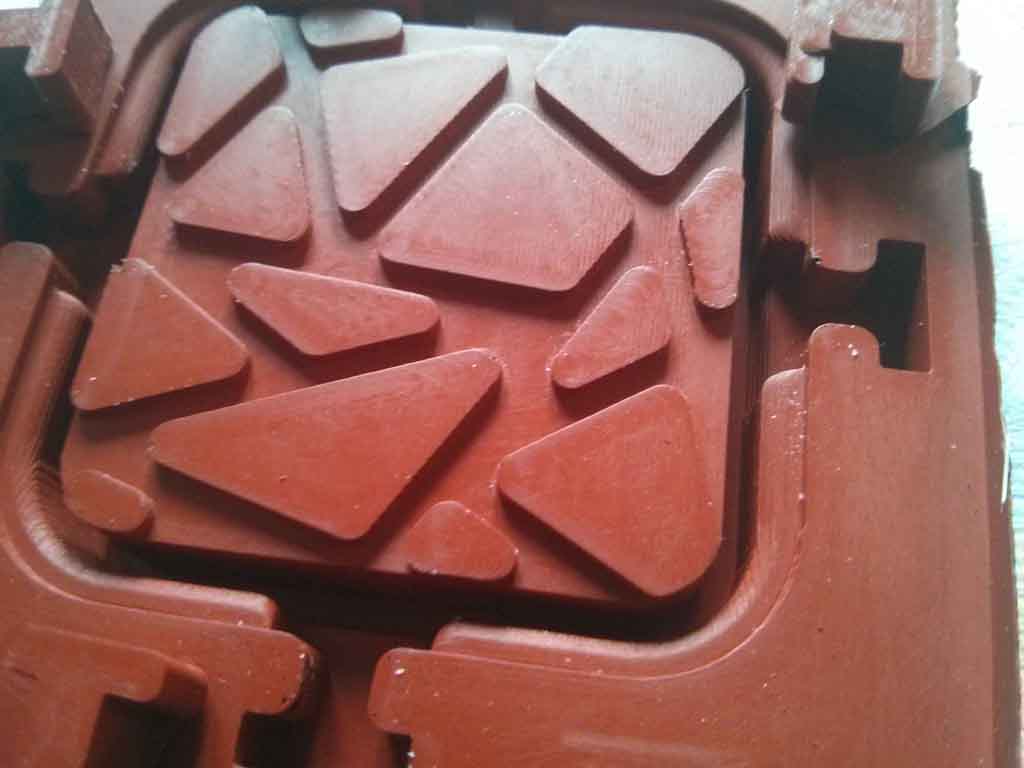
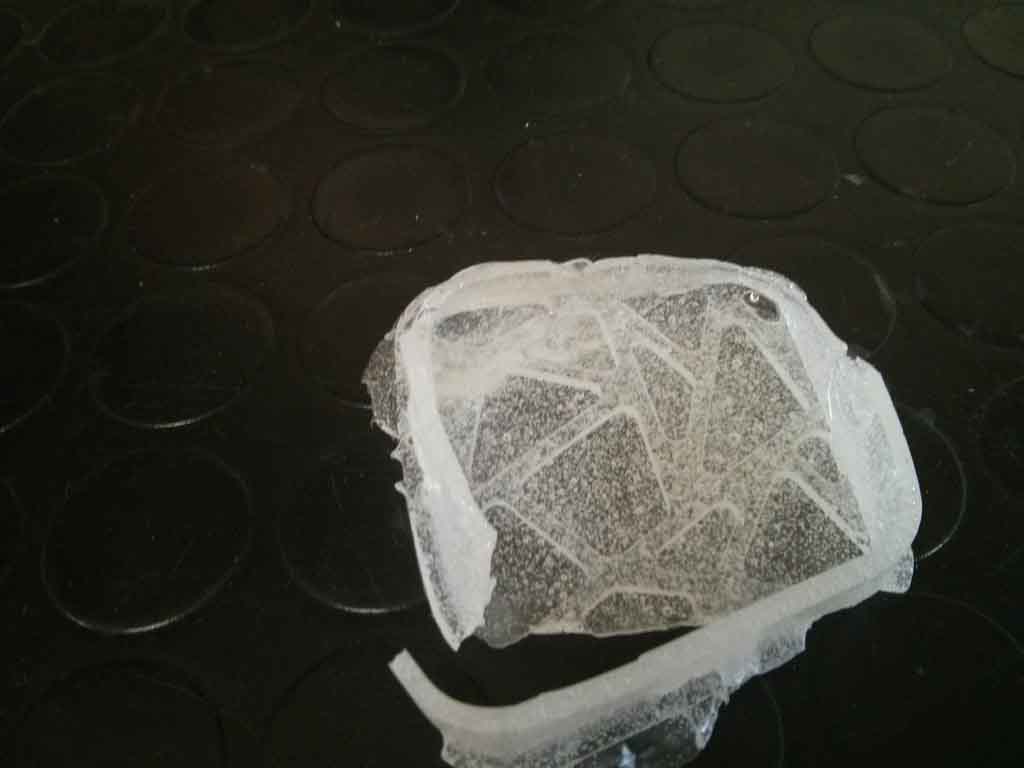
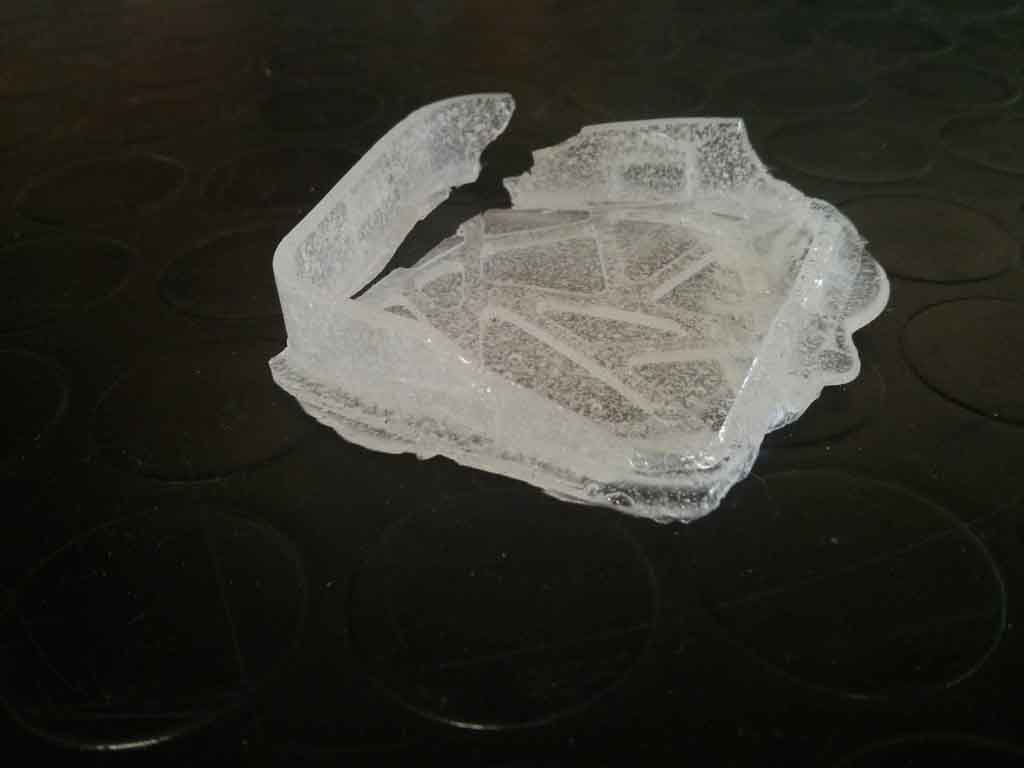
Final result
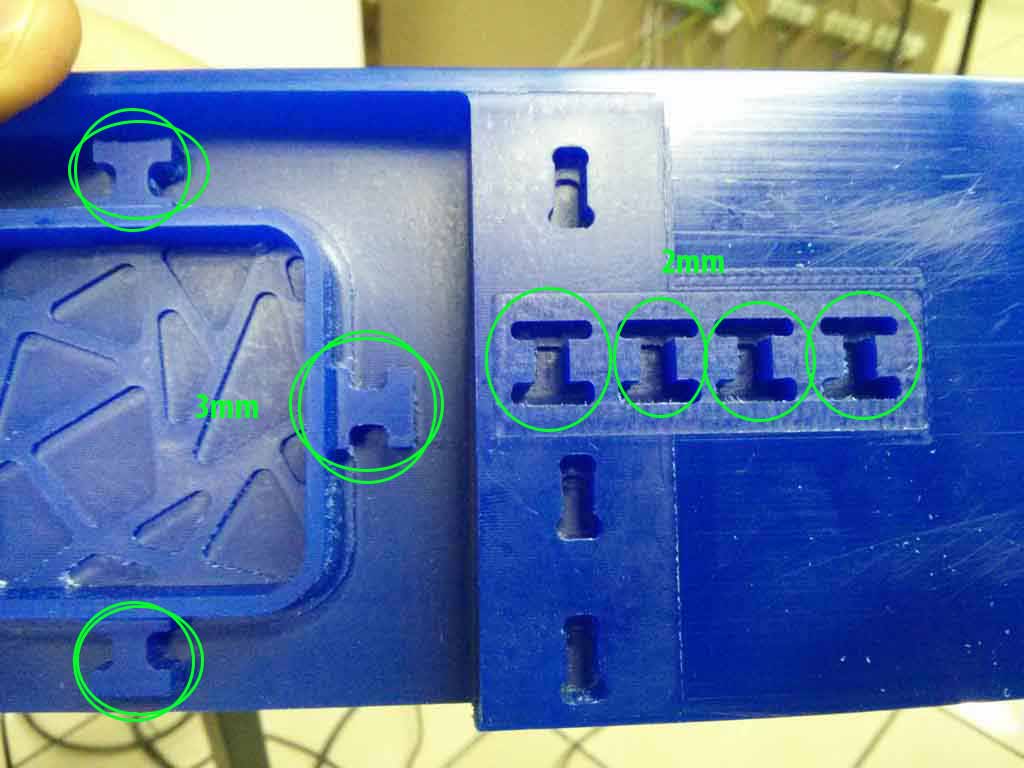
Despite my attempts to center the stl file in the wax, just for few mm one of the walls is milled, so that for the silicon molding I need a wall…
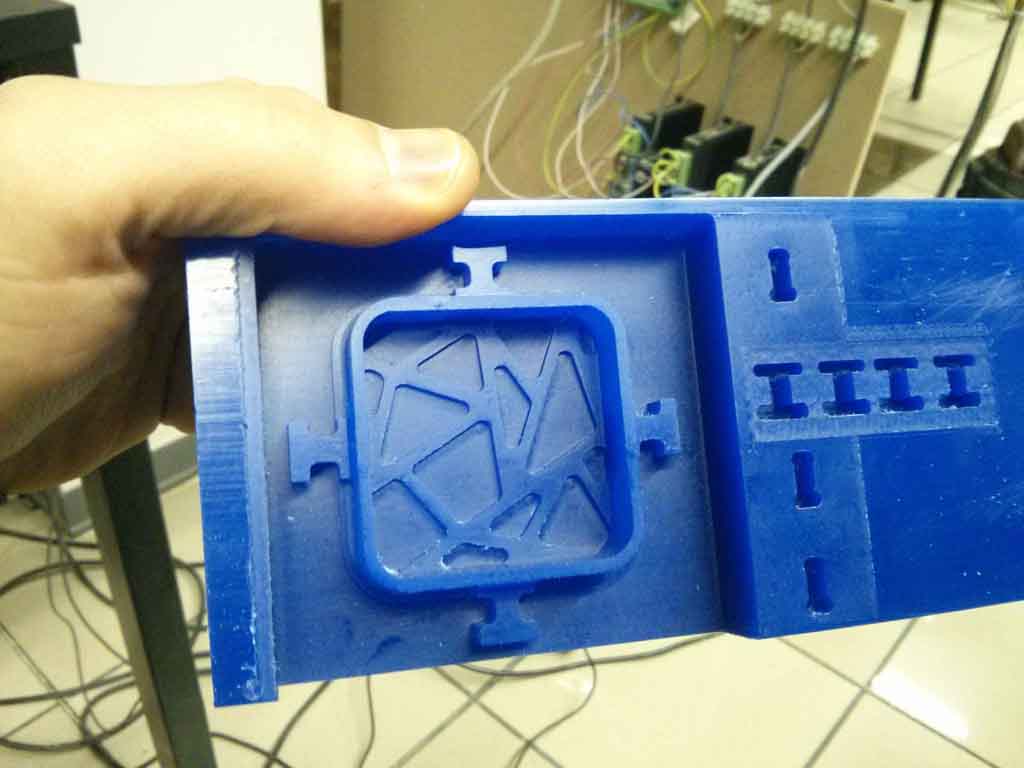
look at the parts circled in green, they are the same, one negative (single circled 2mm square drill), and one positive (double circled 3mm square drill). To match the corners maybe I should have used the smaller tips ..
Molding
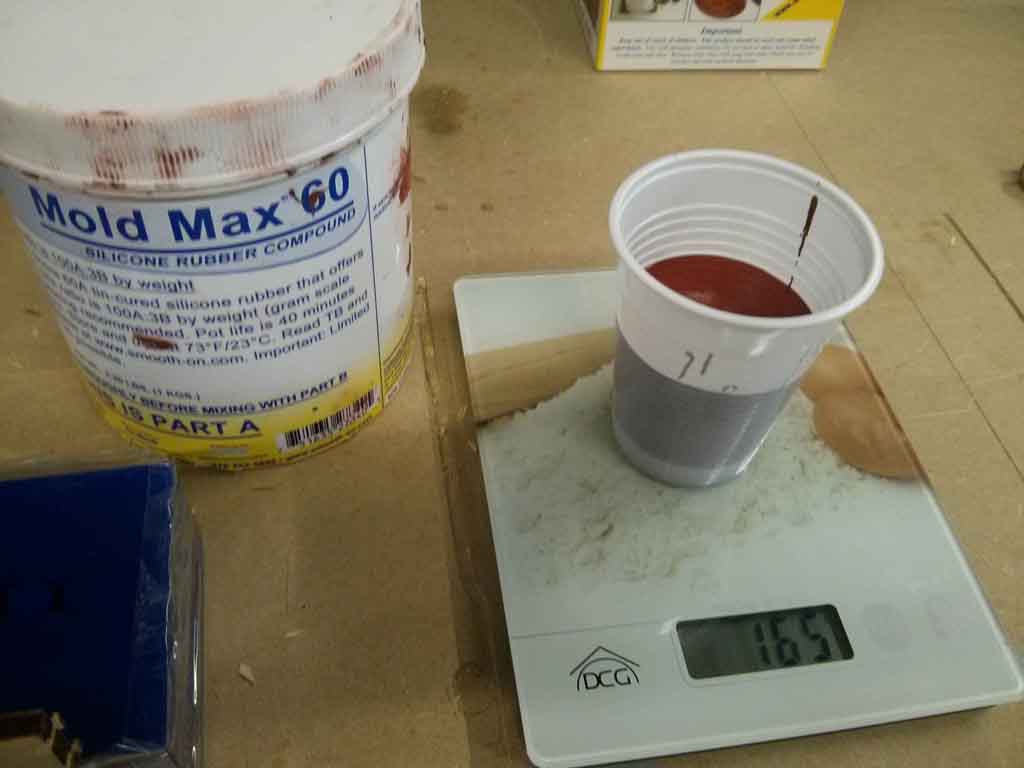
Mold MAX 60 - Smoth-on
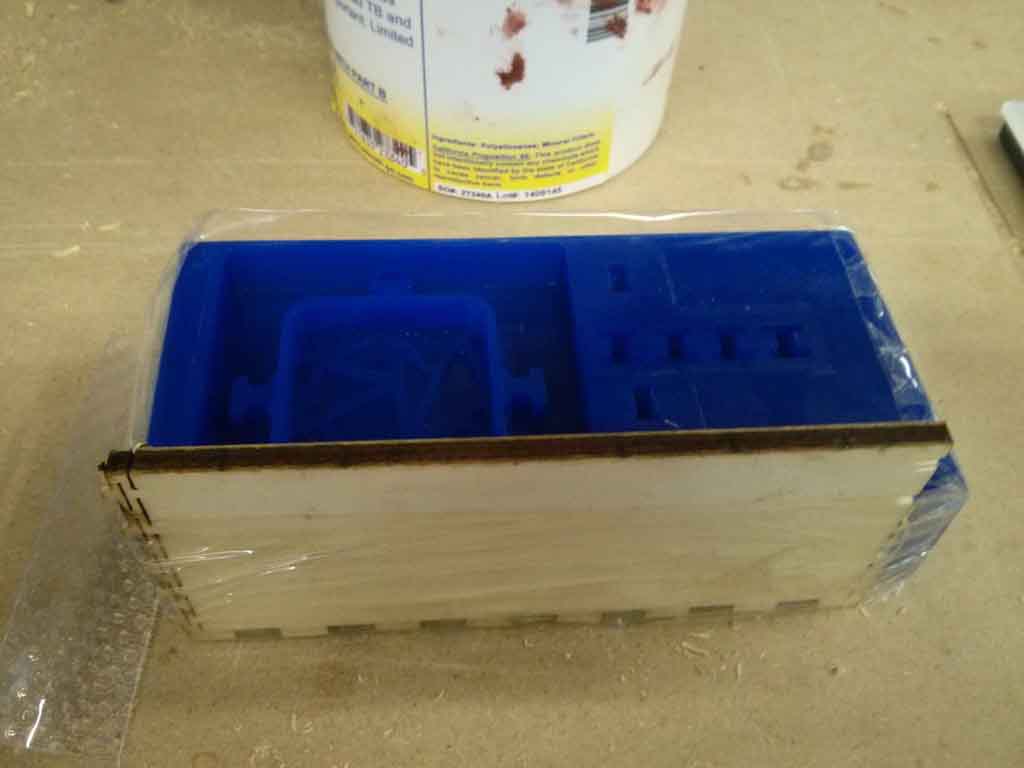
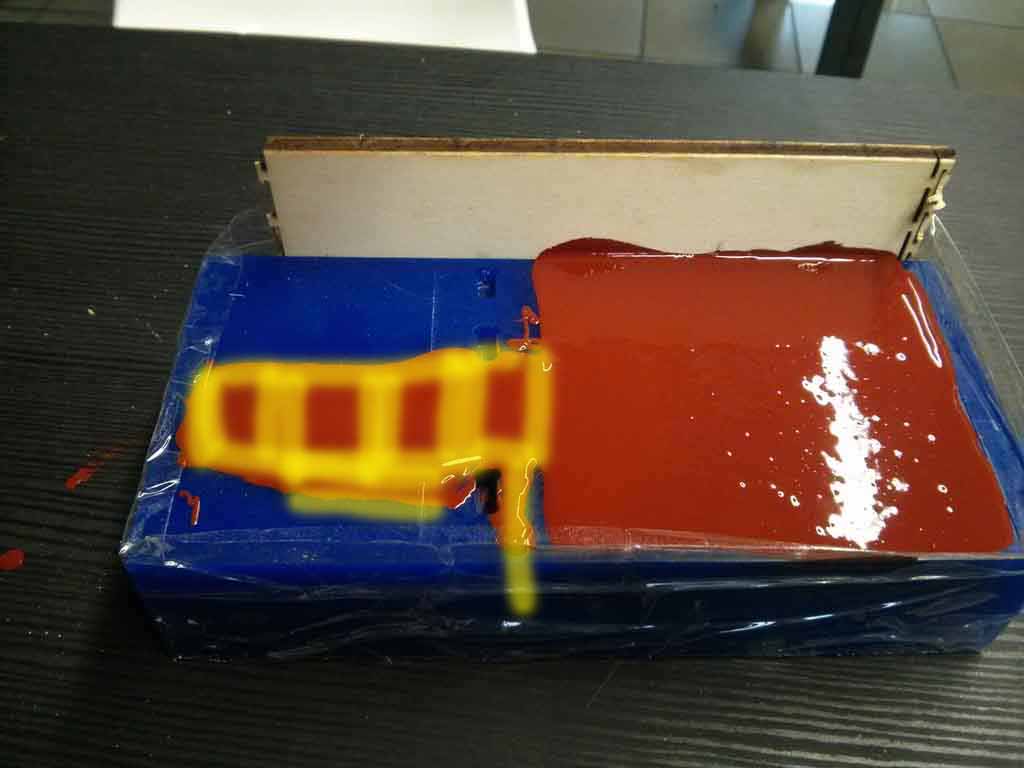
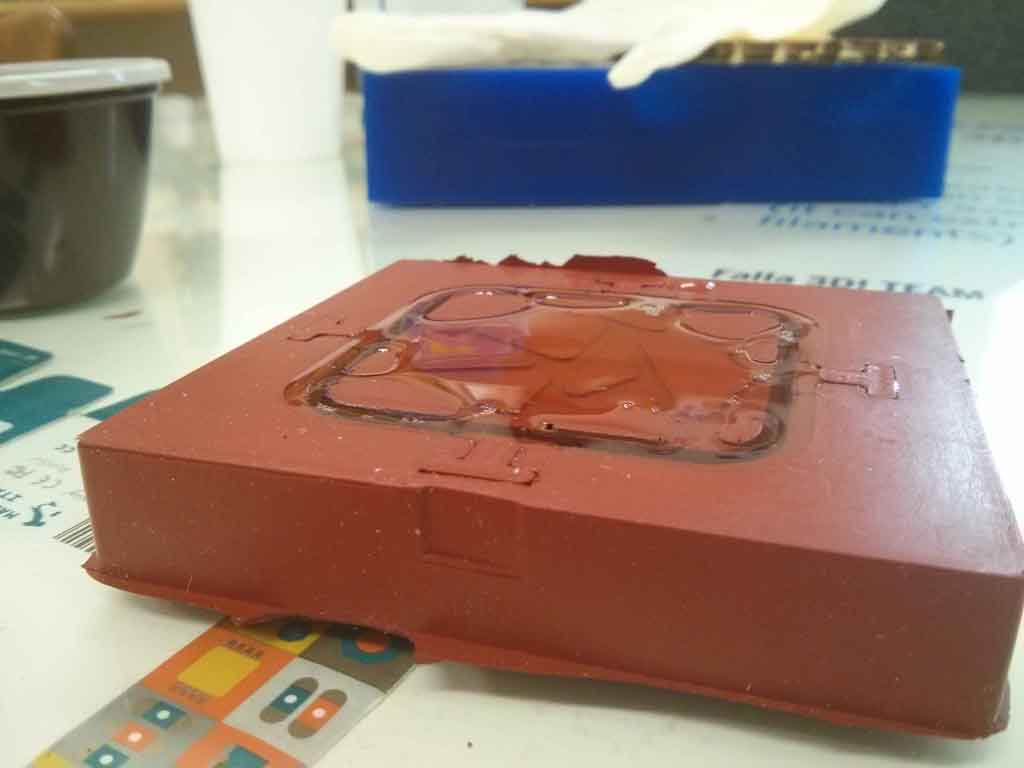
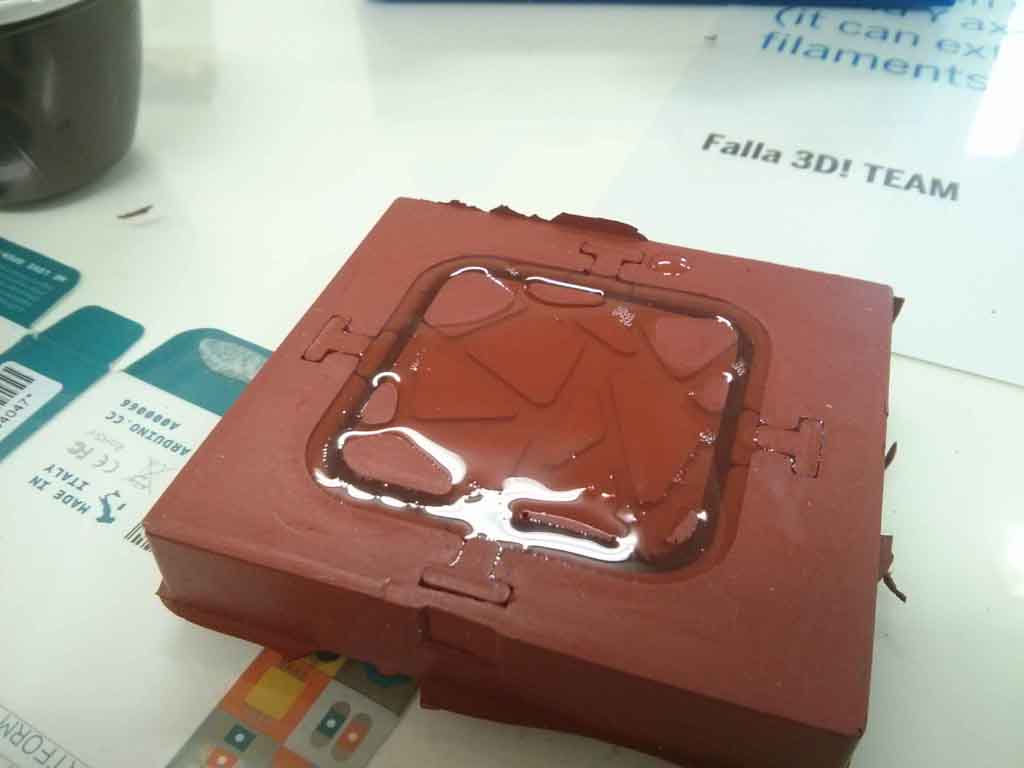
Before starting to mix and to use the red silicon ( mold max ) I have to scotch a wall on the missing side.

I mixed 100A parts (red silicon) with 3B parts (reagent), mix fast without creating bubbles, and I poured it inside the wax mold.
During this process I immediately realized that I have inserted silicone in excess (in yellow)
Final result
 –
–
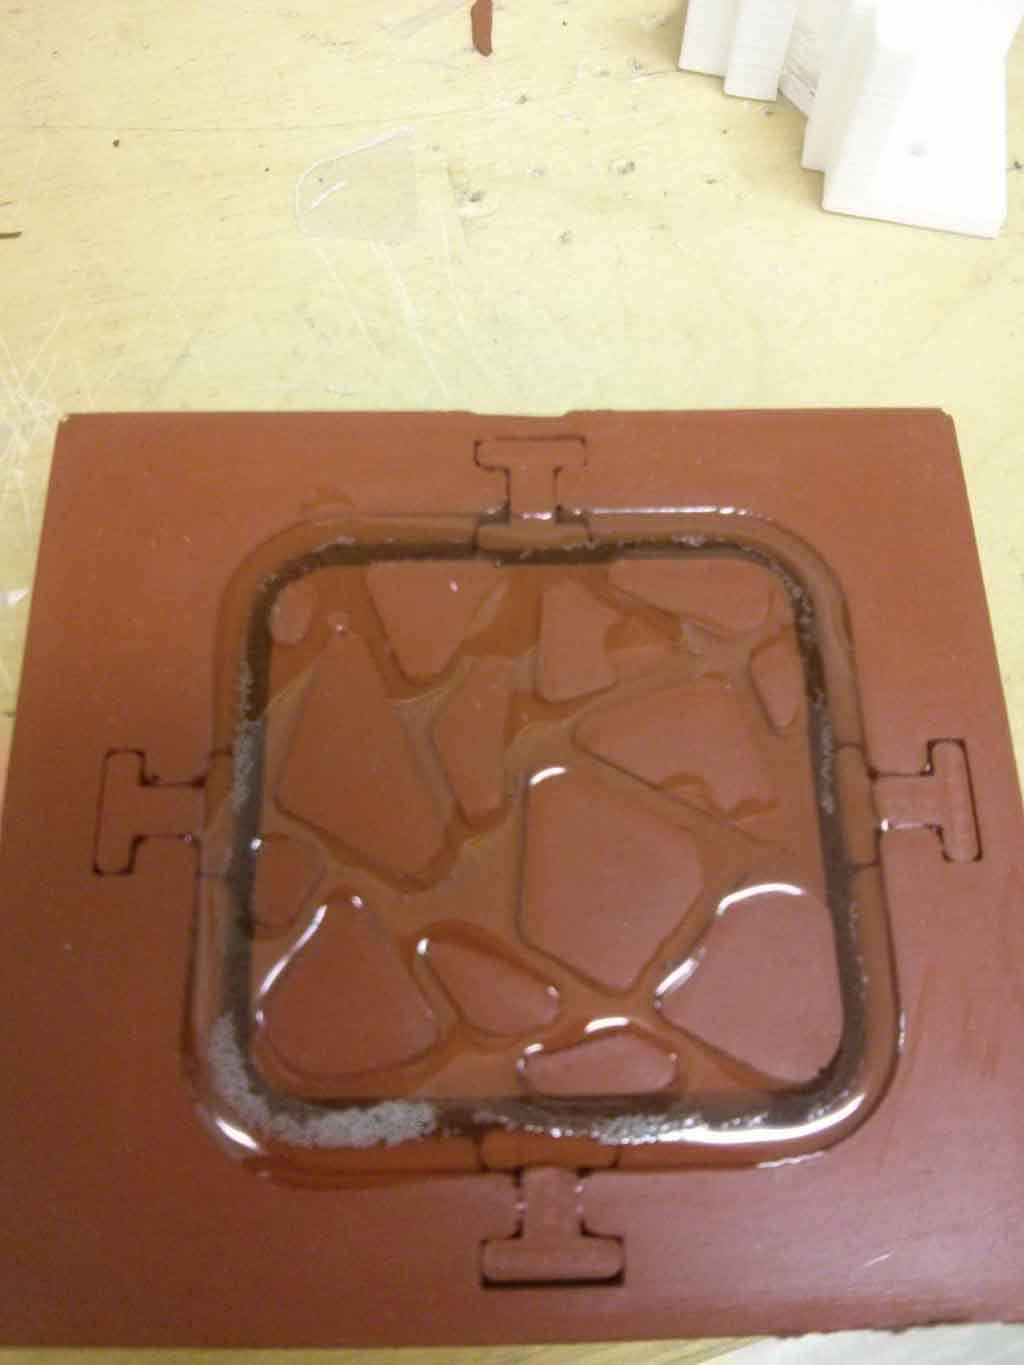
As described before, to perfectly perform the joint I need to cut the exceeding red silicon (on yellow).
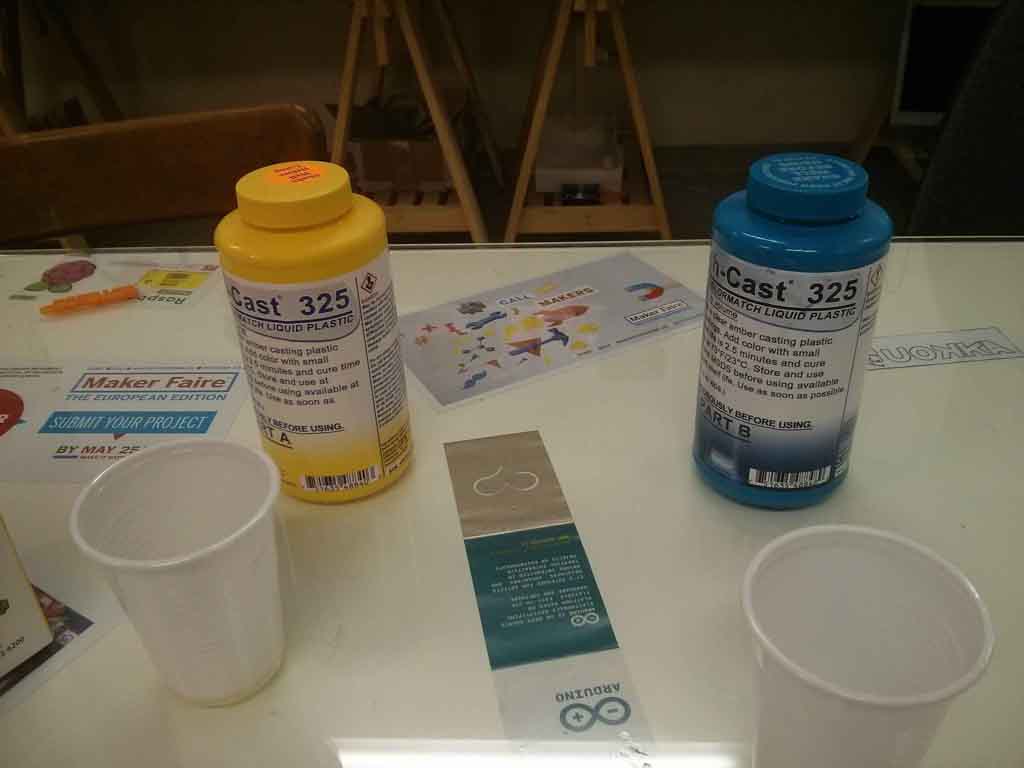
Casting
Smooth-Cast® 325
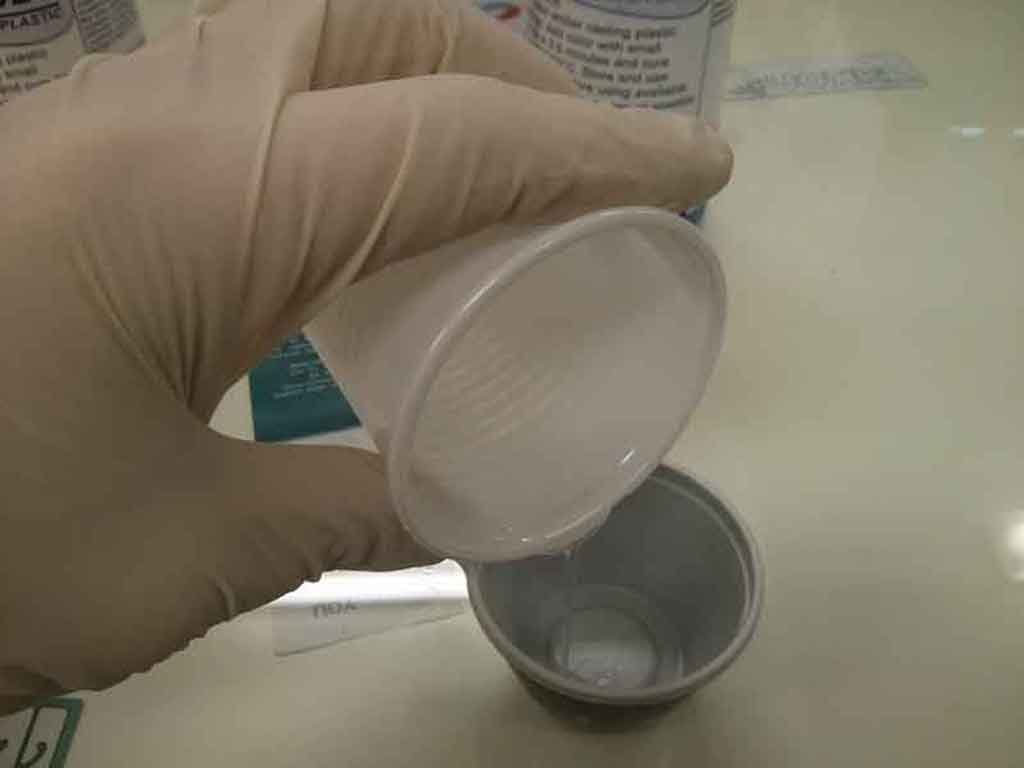
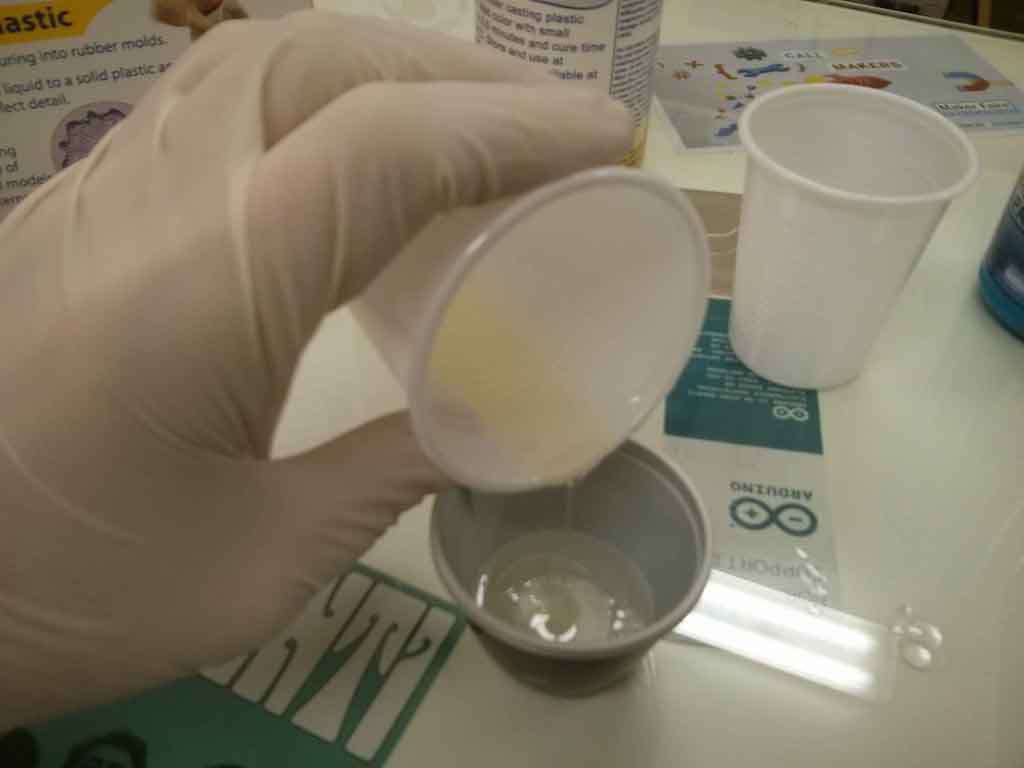
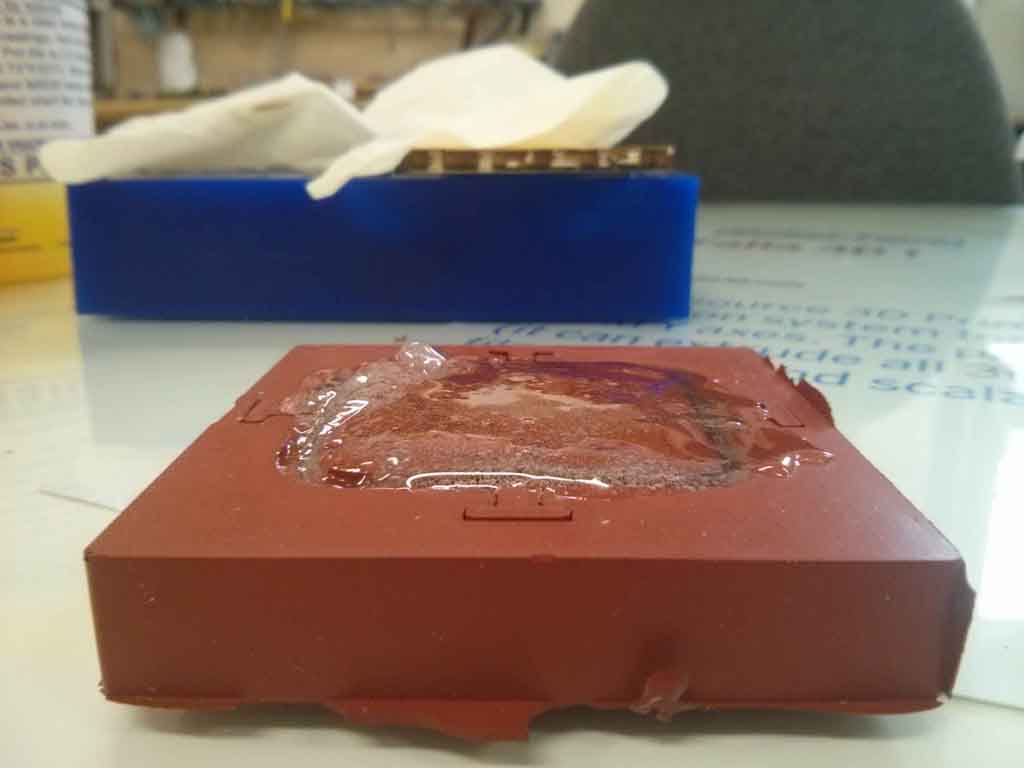
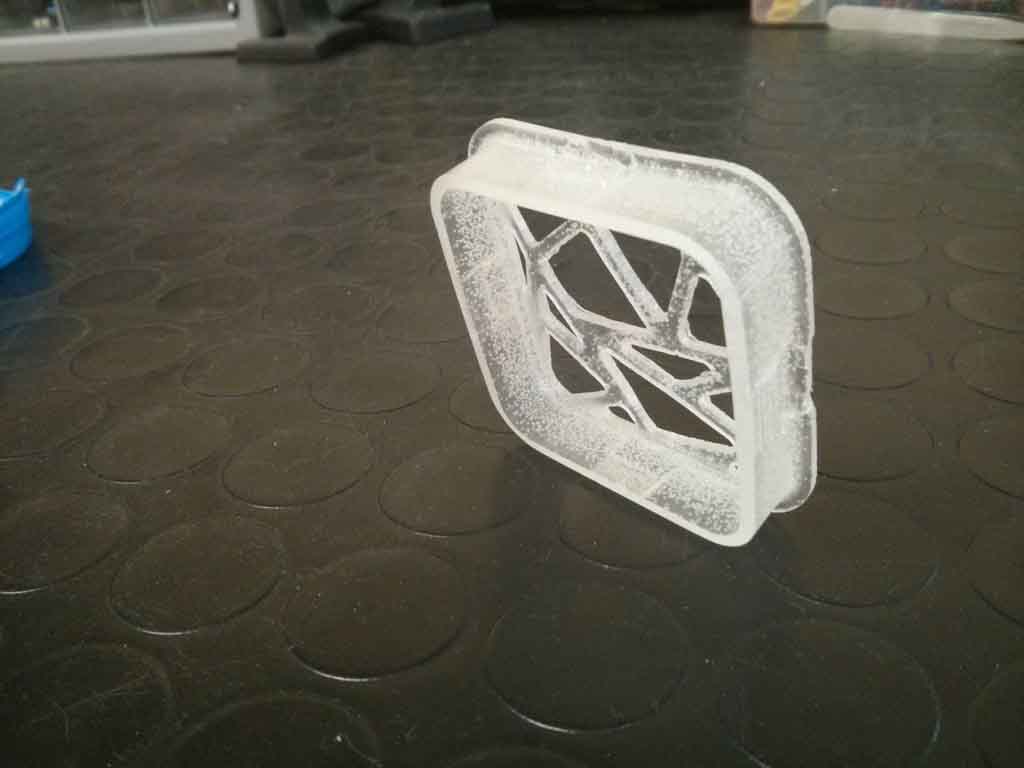
Molding 2’ try

Conclusion