Weekly_Assignments :
- make something big
Software
ideas for inspiration:
Parametric Design
Solidworks
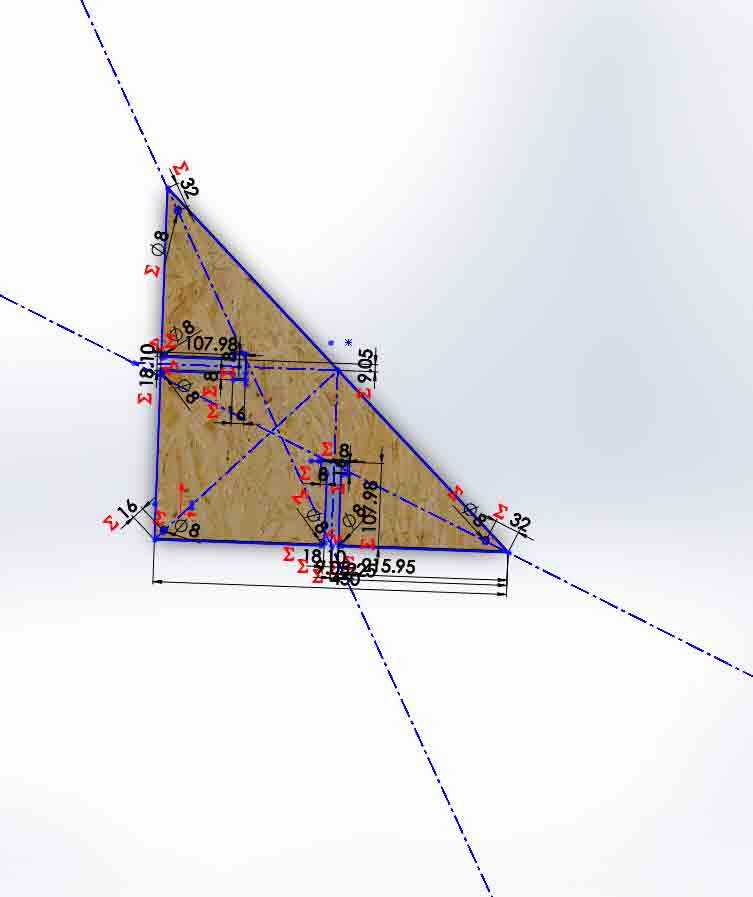
To improve my skills in solidworks I tried to design a parametric tshelf.
- I wanted to decide the base of the triangle
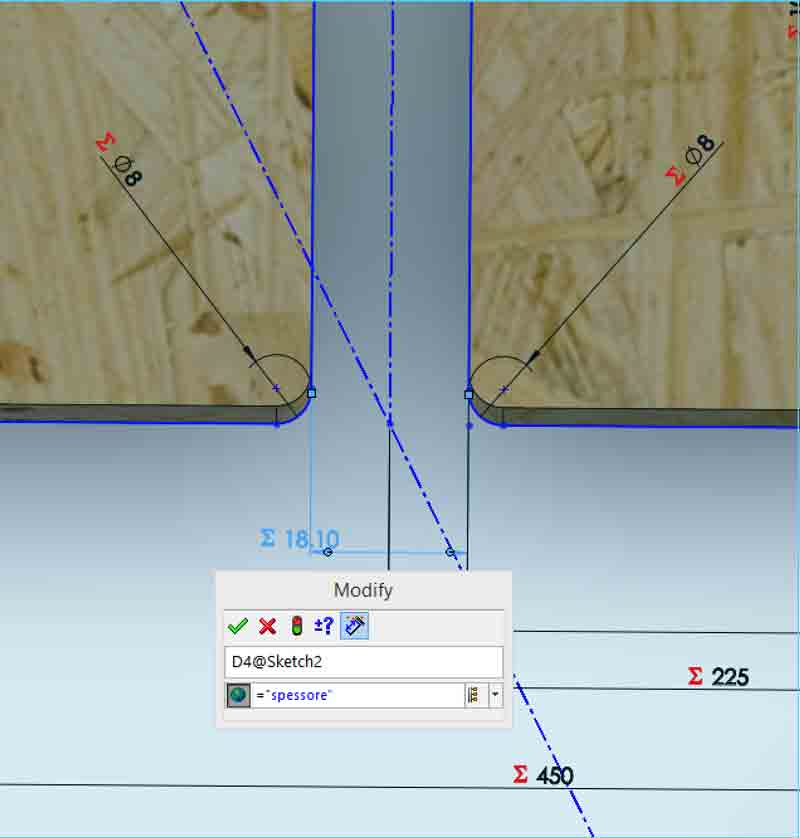
- I wanted to decide the thikness of material
- I wanted to design the joints ready for milling (without processing with other sorftware after export by solidworks) so I want include the drill tip in my design.
since I don’t know were I will be milling, which dimensions will be the panel I’m going to mill, the dimension of the drill tip… I wanted my file in solidworks to be ready for milling everywhere with any material ( thikness and dimension of panel )
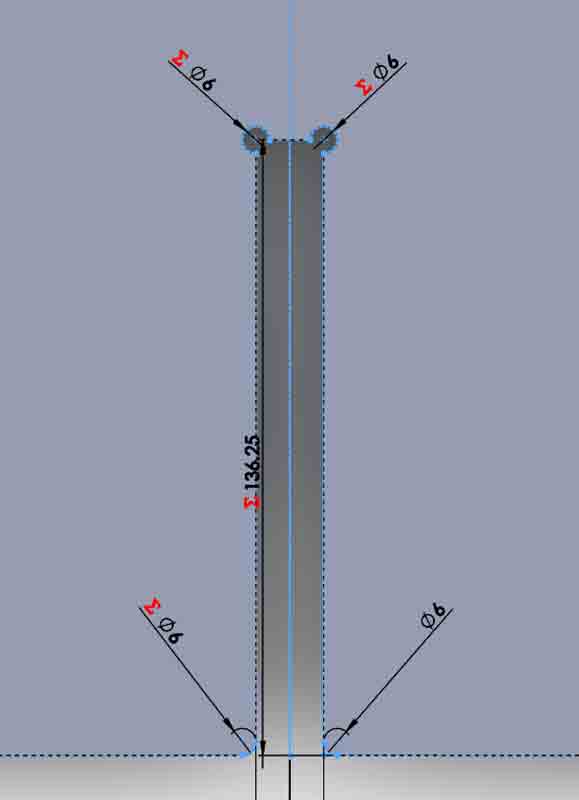
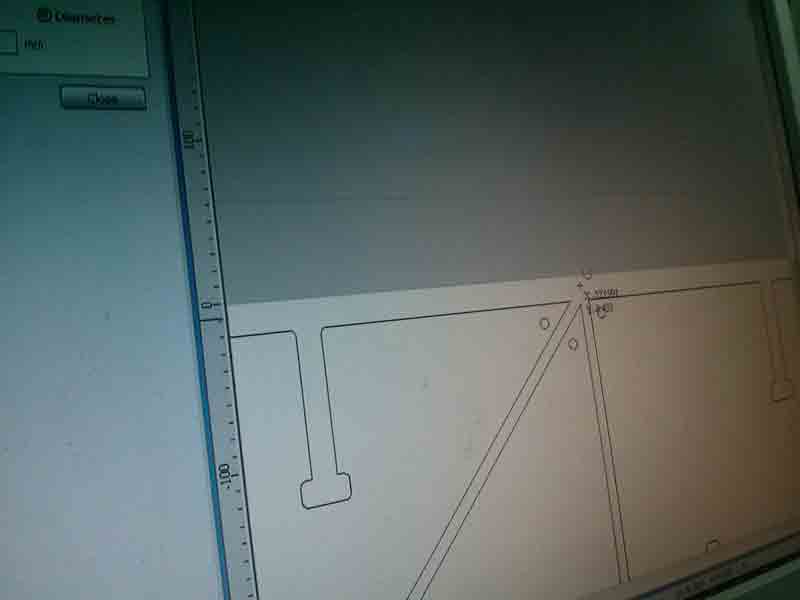
Equation

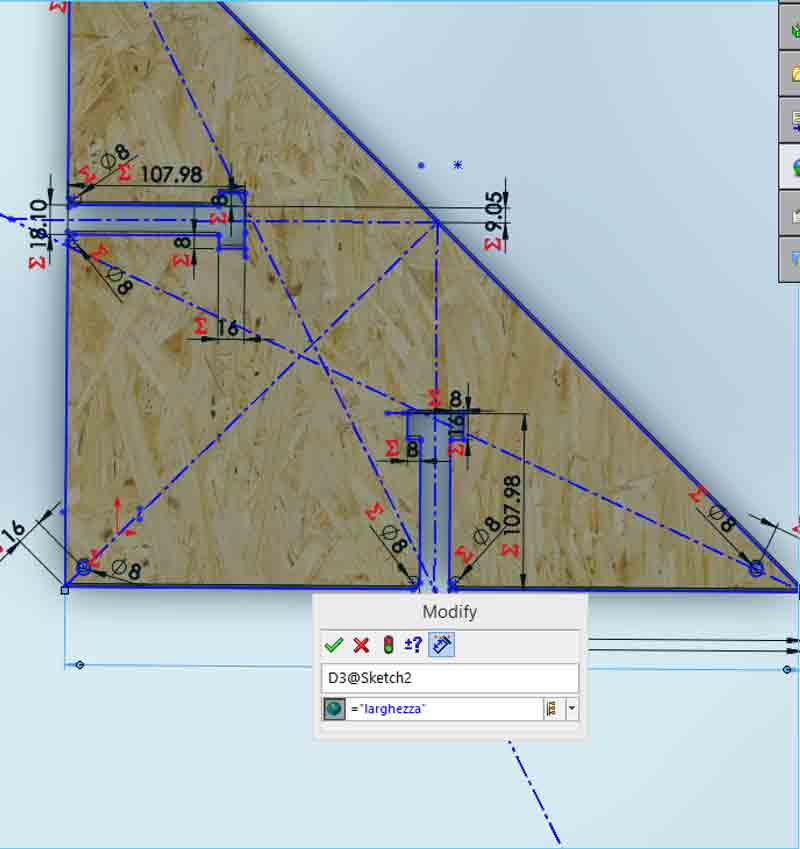
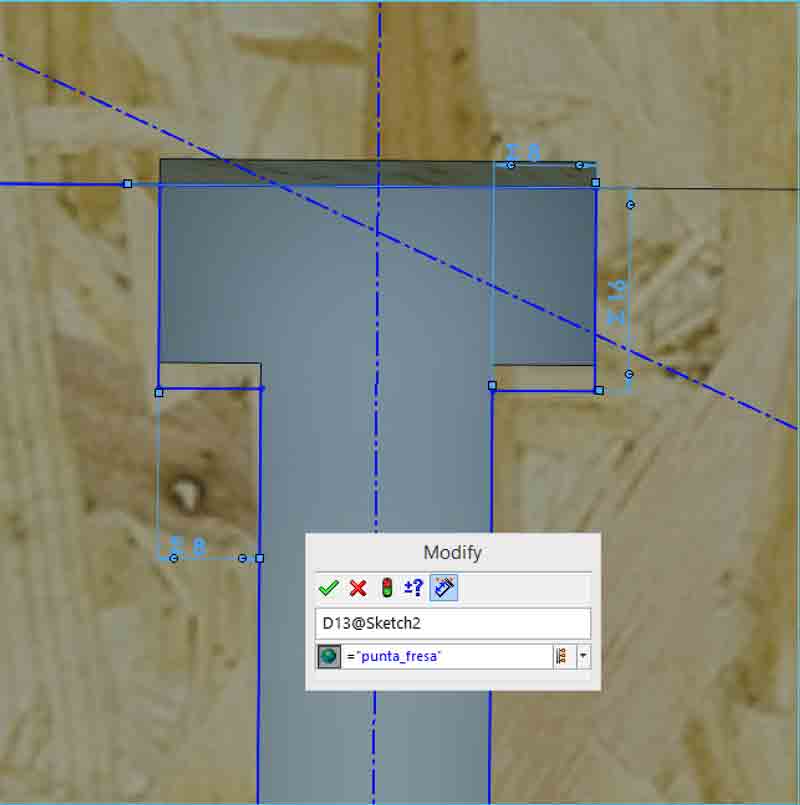
- In this file version (I think the correct version) I size the joint proportionally to the milling tip.
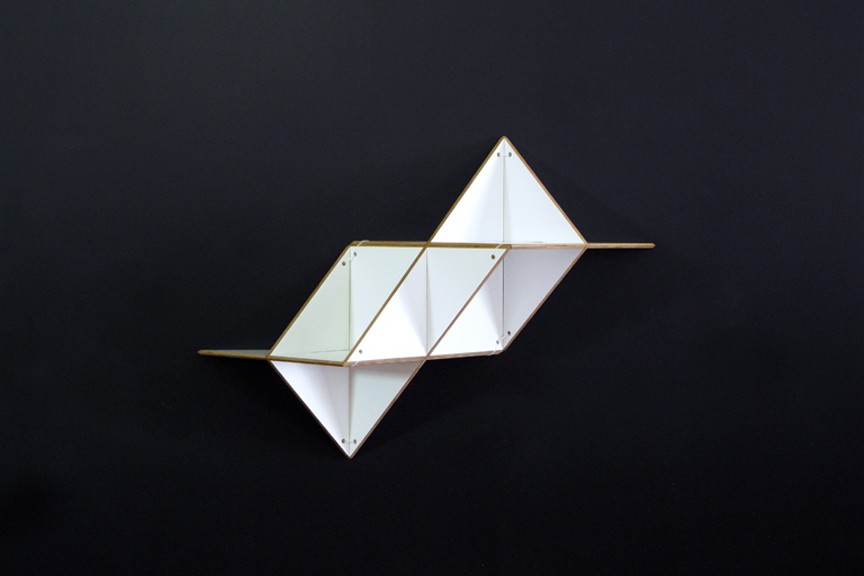
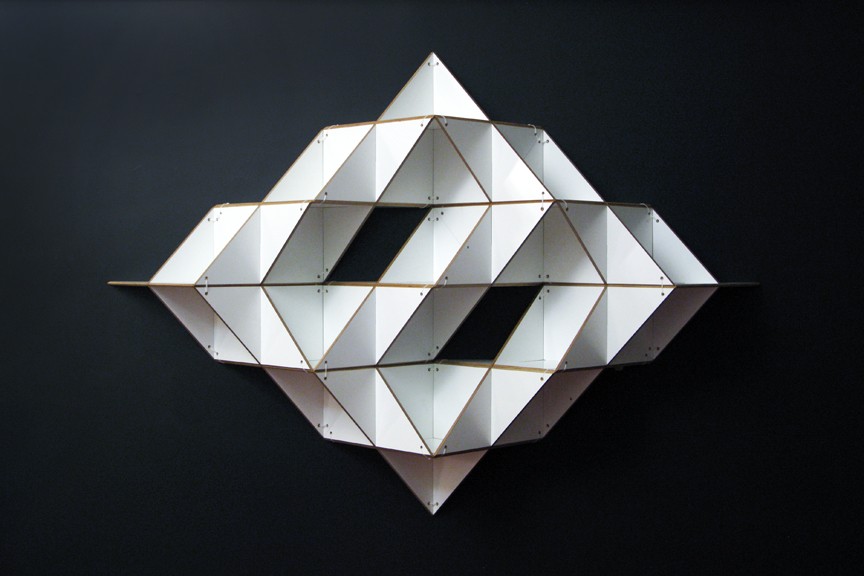
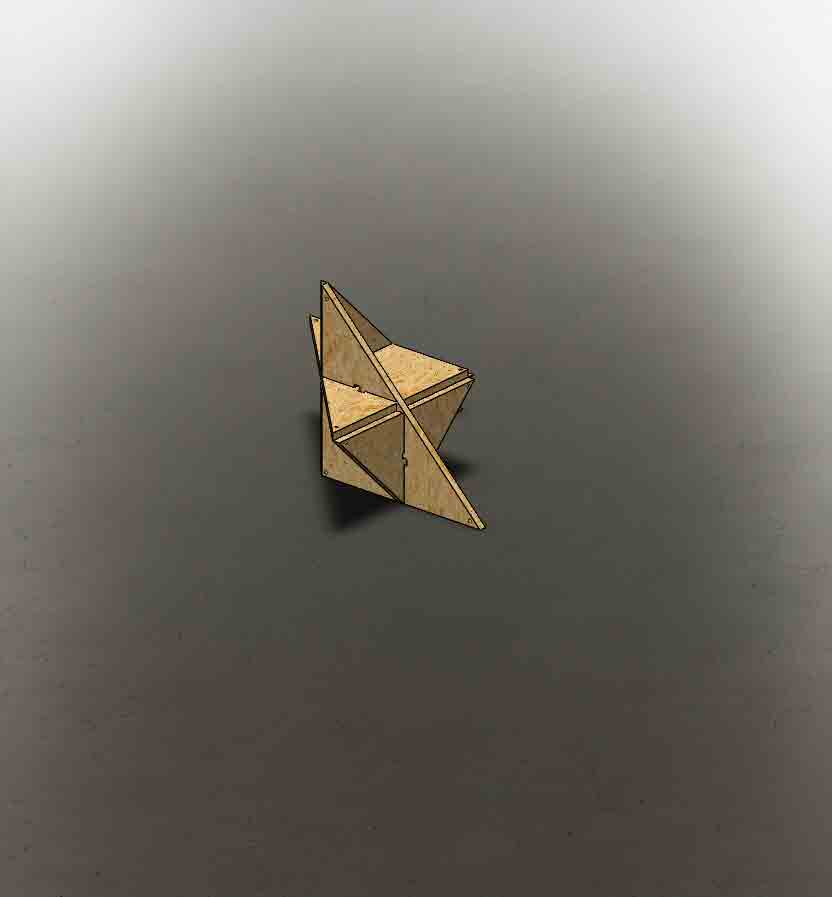
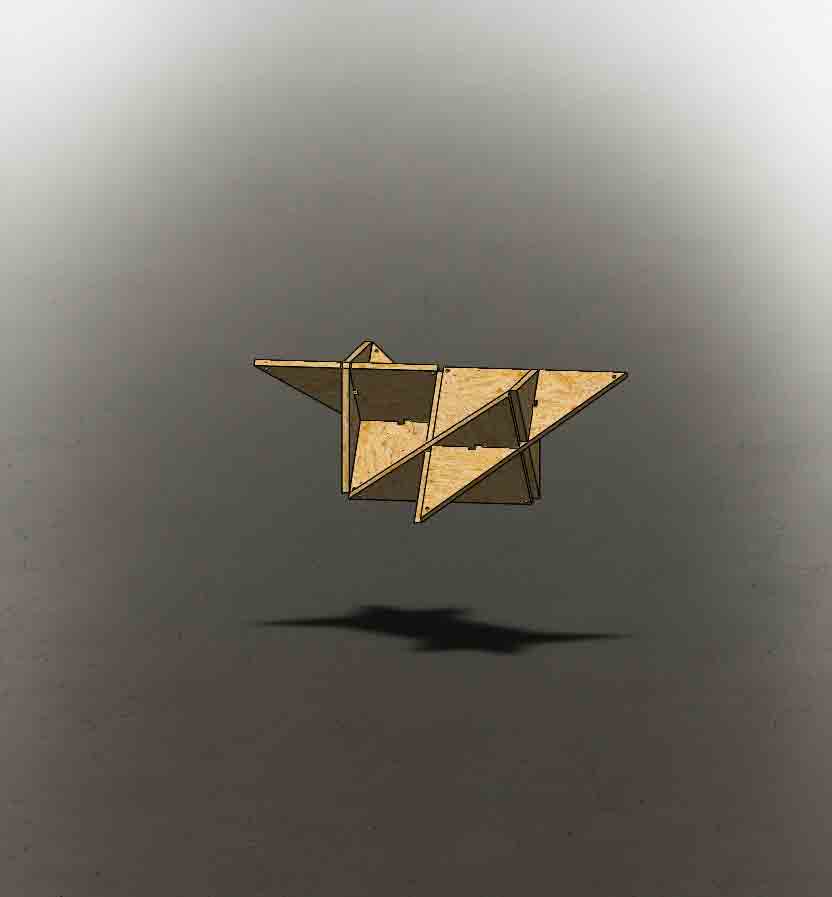
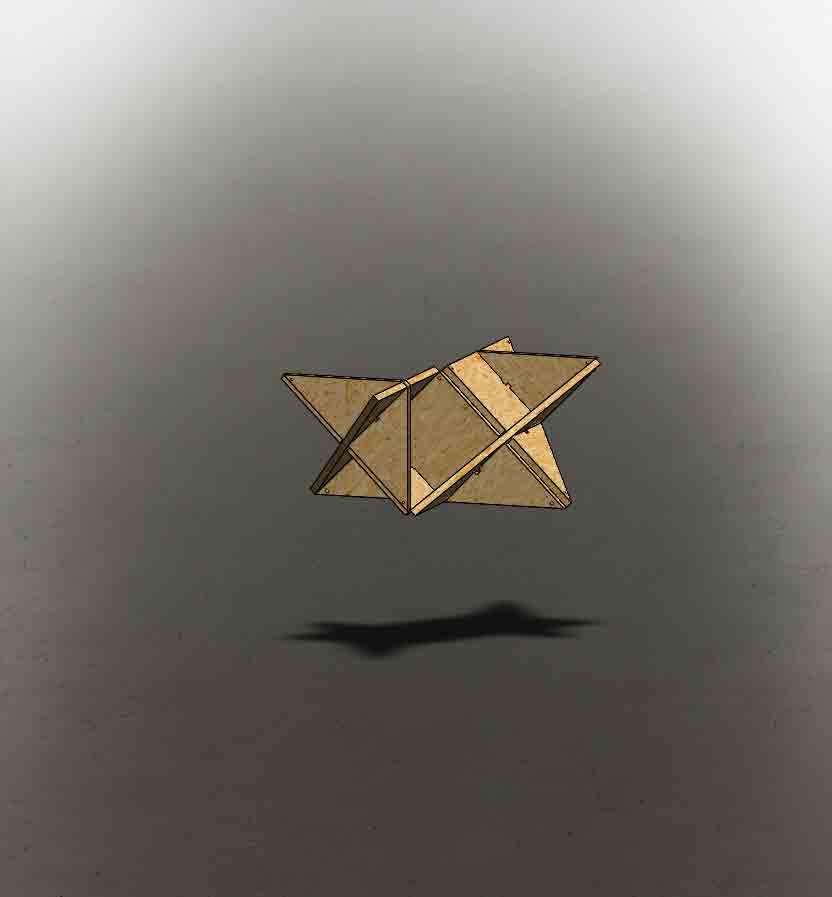
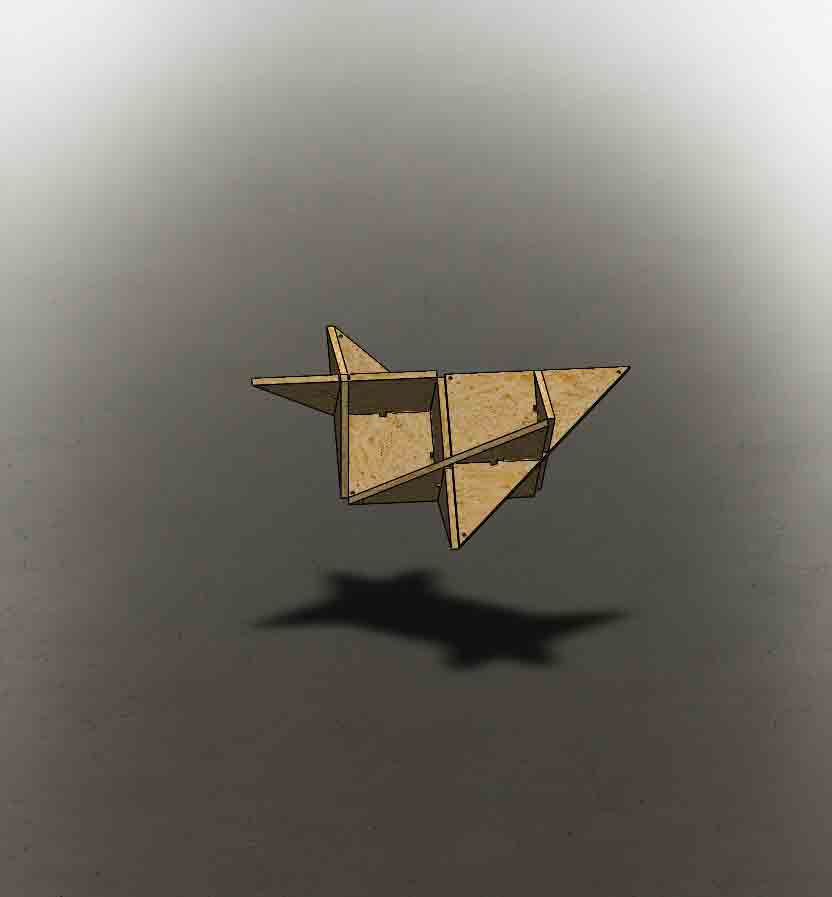
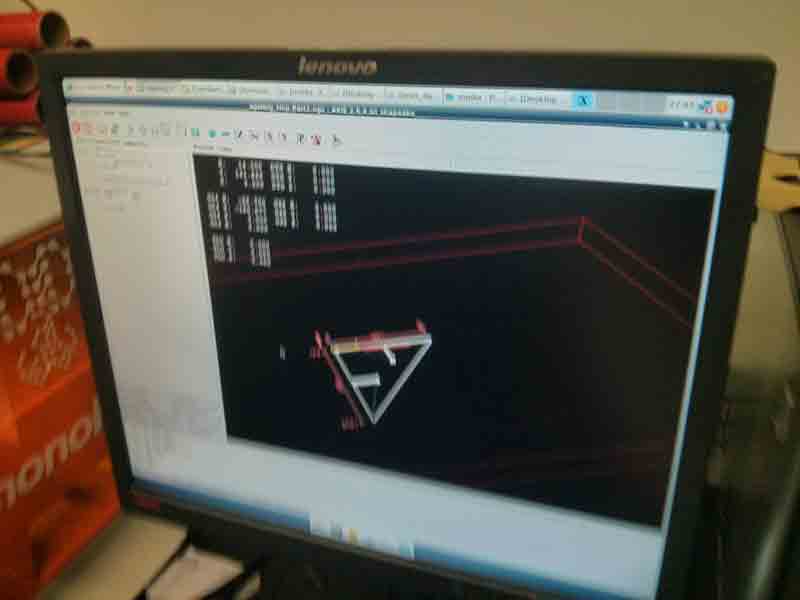
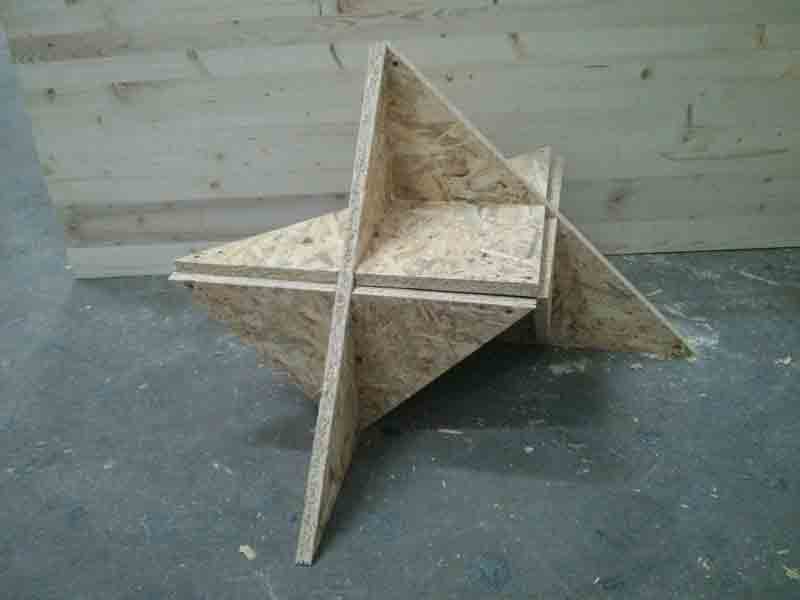
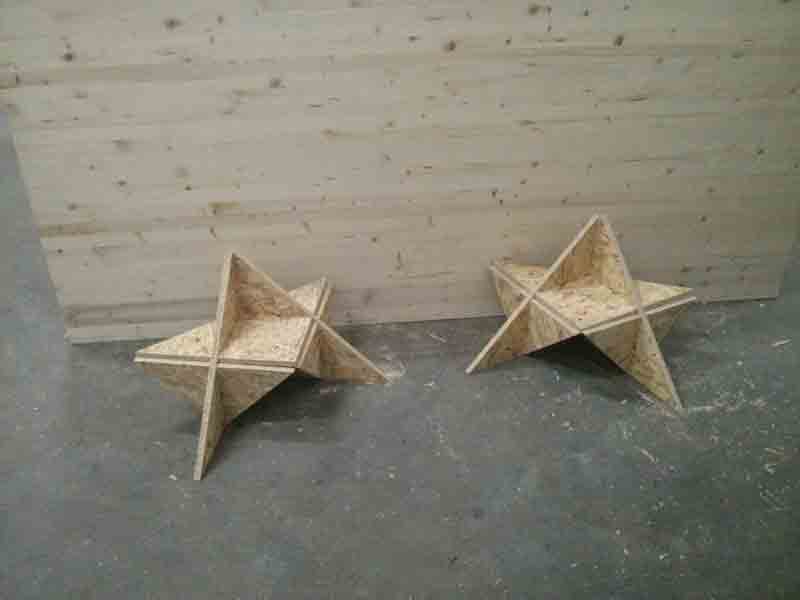
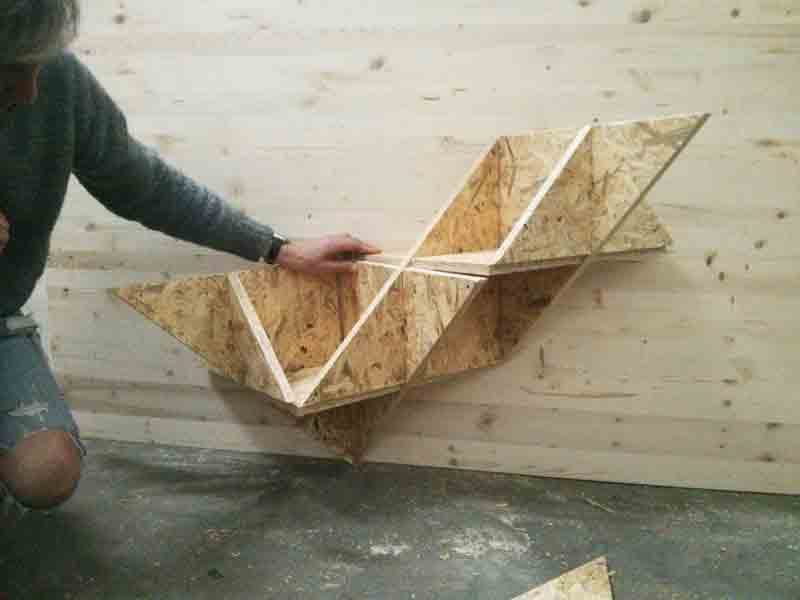
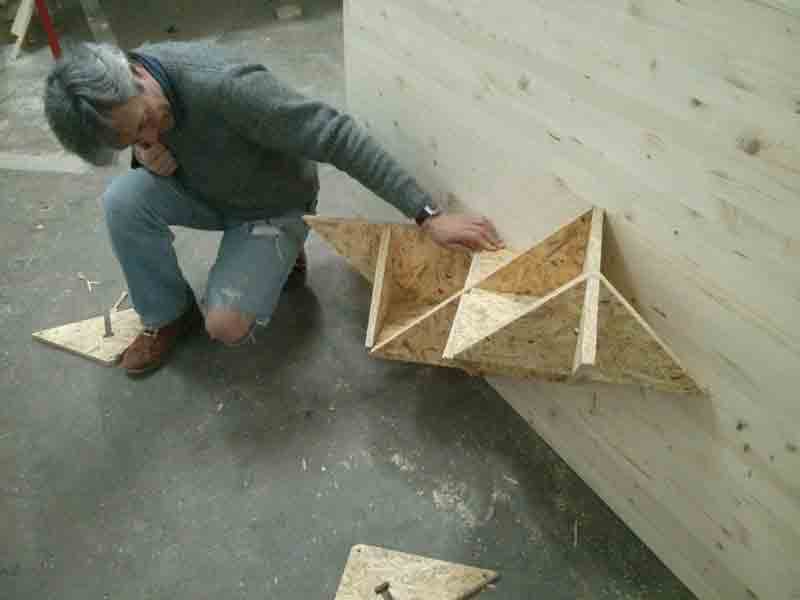
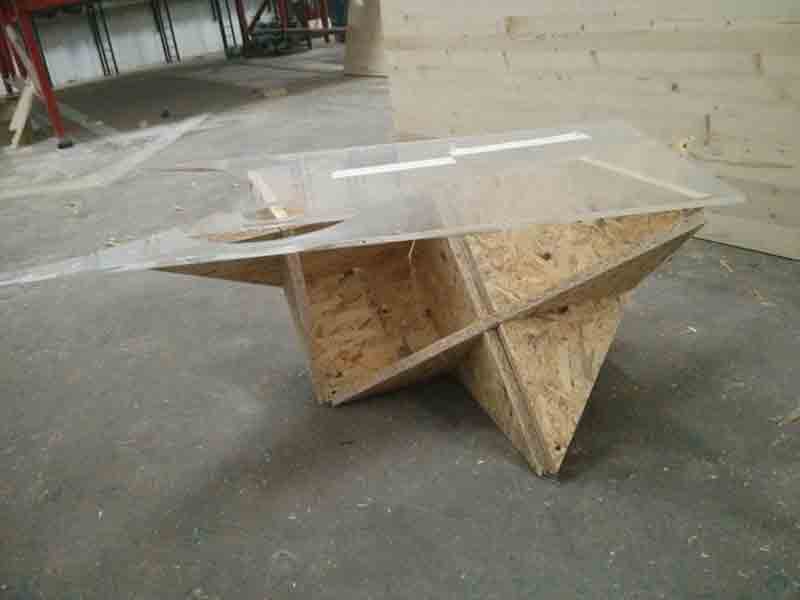
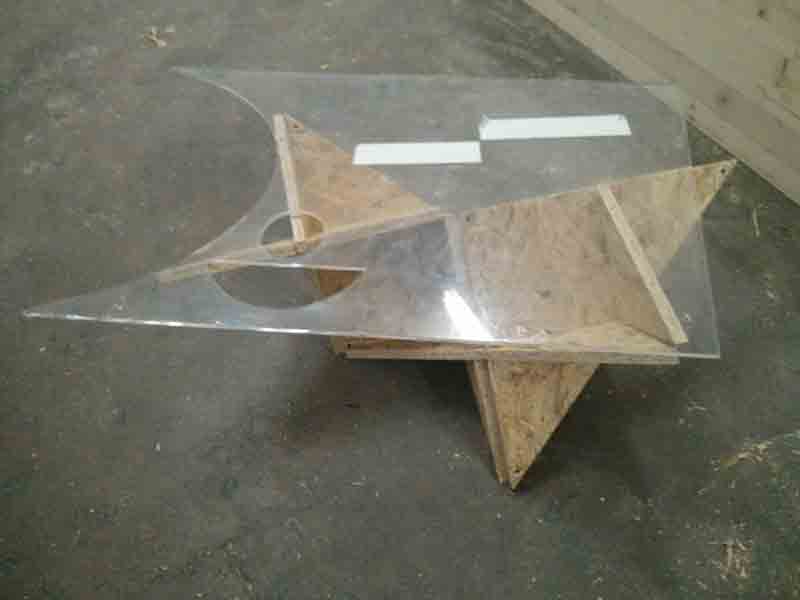
Render and pre-assemble test
shelf
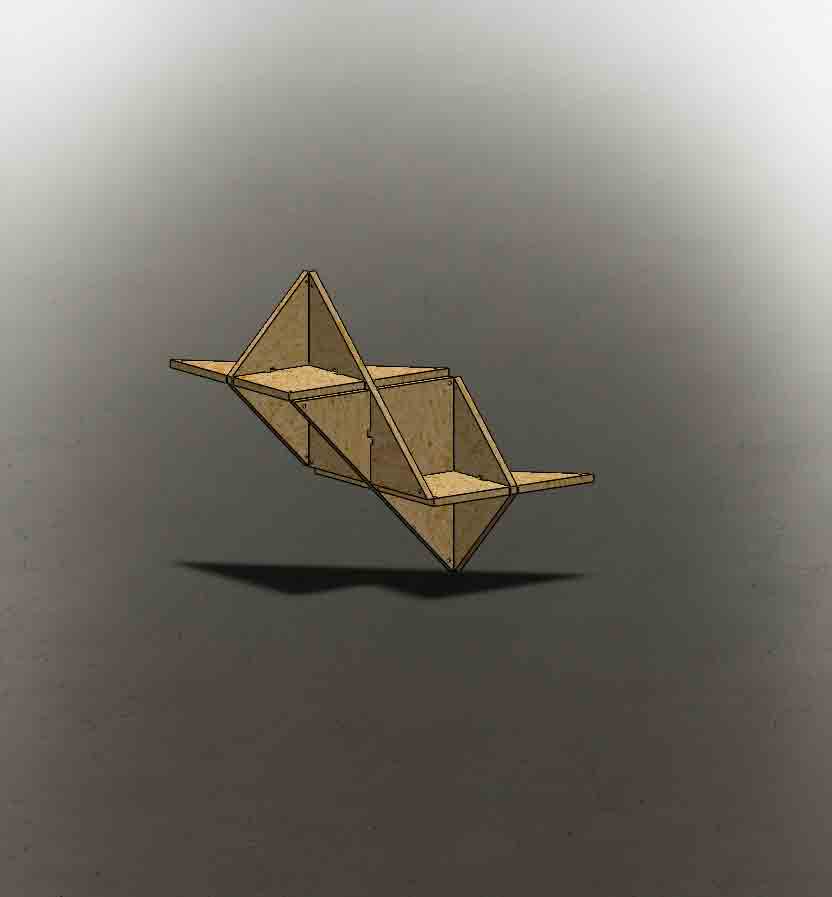
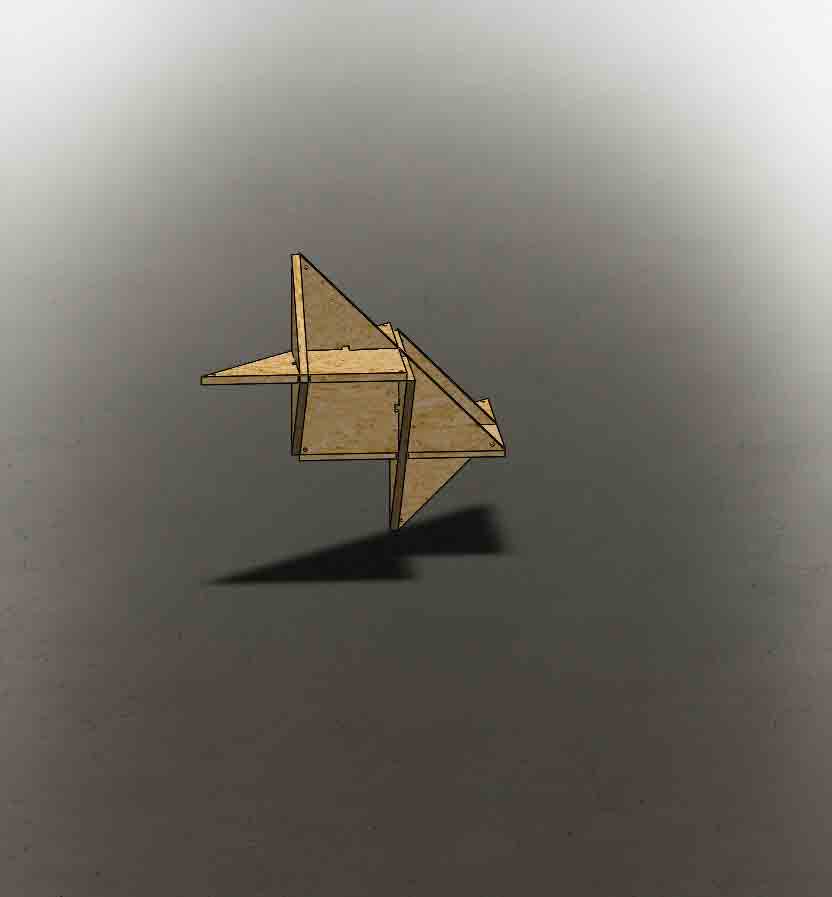
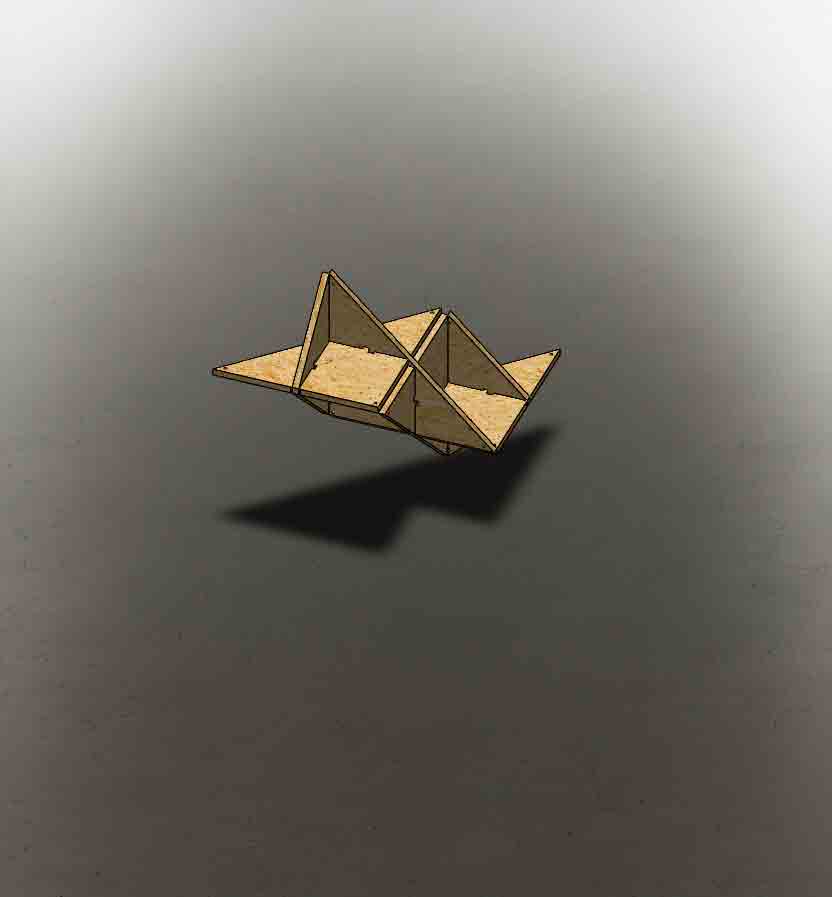
chair
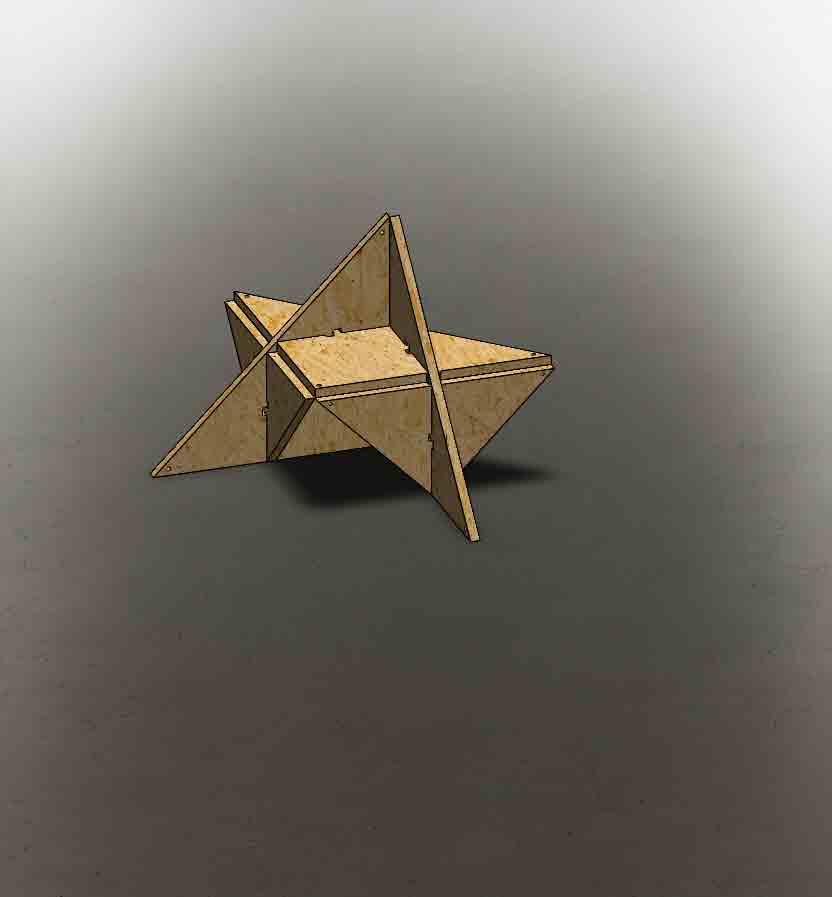

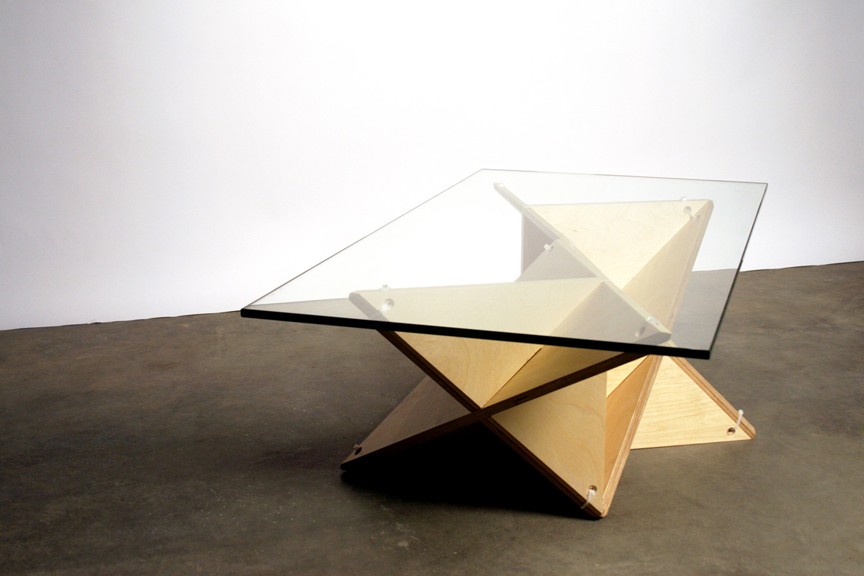
Desk
Go for milling
cnc shapoko-FabLab Cascina
First try, first error
It's sunday (23/03), and I decided to go milling !
workflow
-
measure the dimension and thickness of table to milling
-
insert the dimension in the parametric file
-
Look at pre-assemble test preview
-
Export in DXF format
-
Create Gcode in CAMBAM software**
-
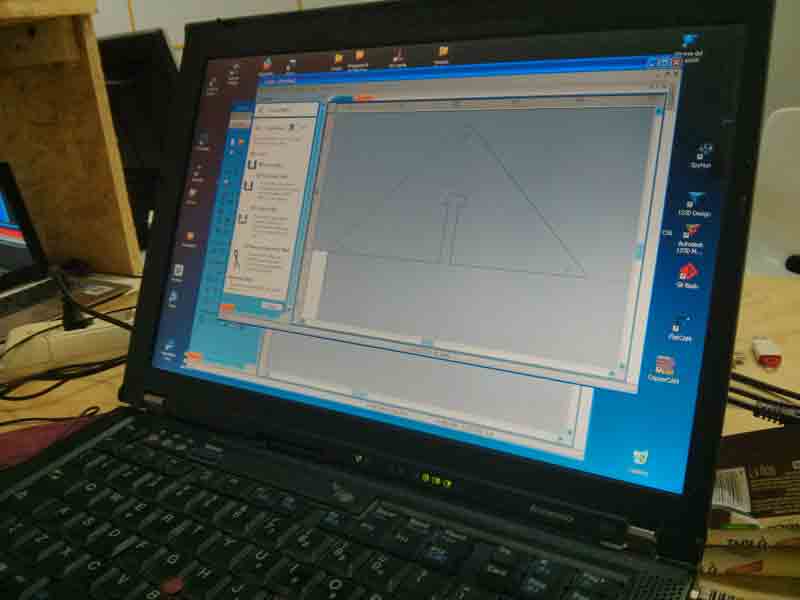
Open Gcode-file in LinuxCNC**
-
Fix the table/material over the CNC plane**
-
Turn ON the spindle
-
turn on the suction (aspiration)
-
Set Zero CNC point (X,Y,Z)**
-
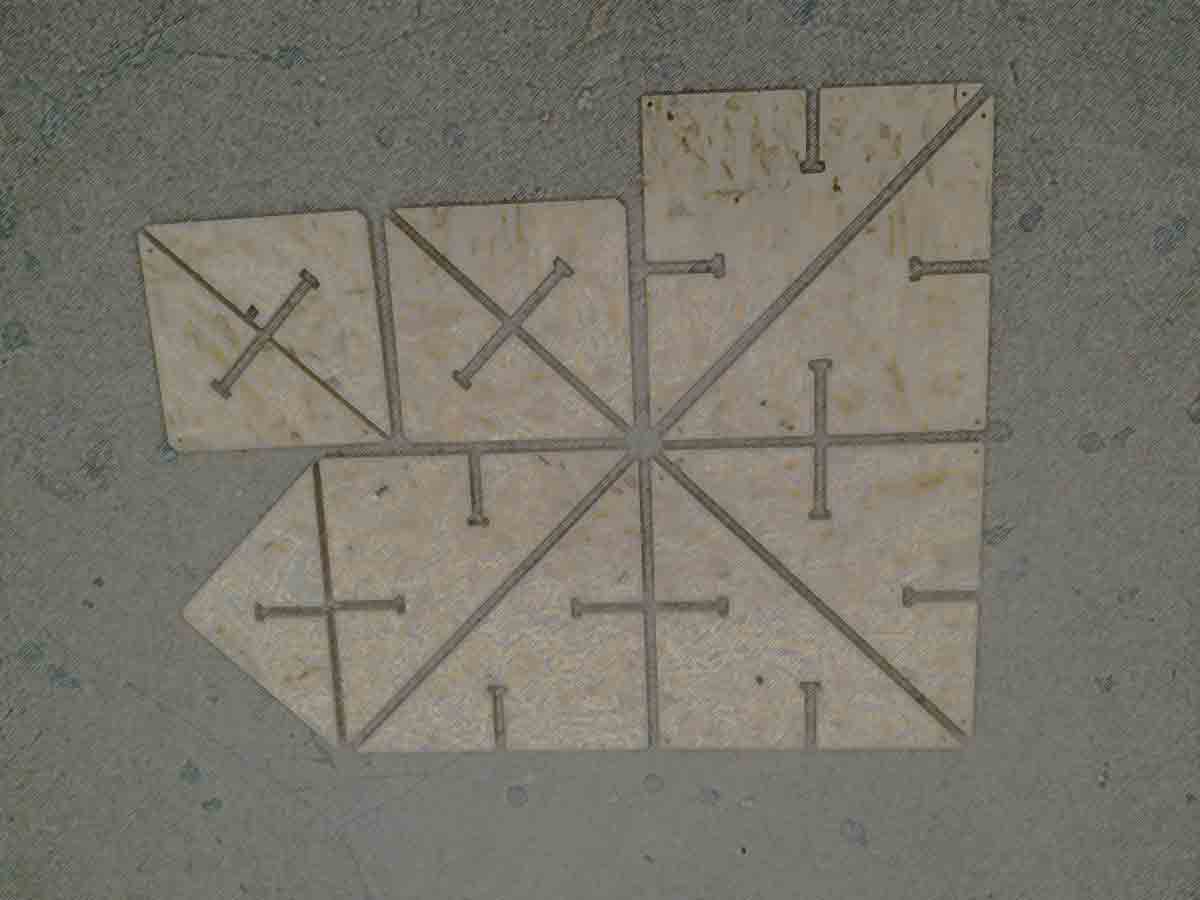
Start to Mill
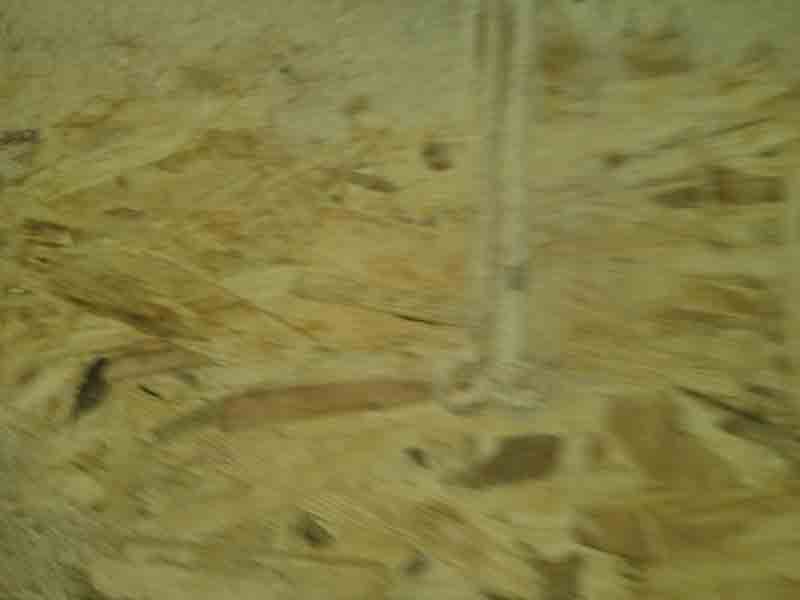
Error.! in the first version of my design, the side of the chord of the circle the joint has is less than the size of the drill tip, so the joint is compromised!
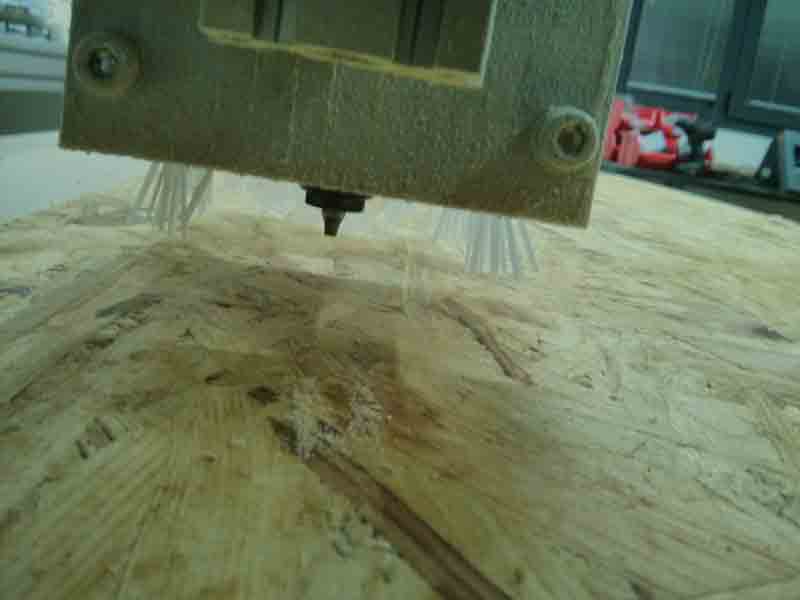
(sunday at 11.35 PM - The tip of the cutter leaves us)
I wondered why, I was worried cambam or LinuxCNC settings was wrong but my teacher, explained to me that it was probably too consumed…
Go milling 2’ try
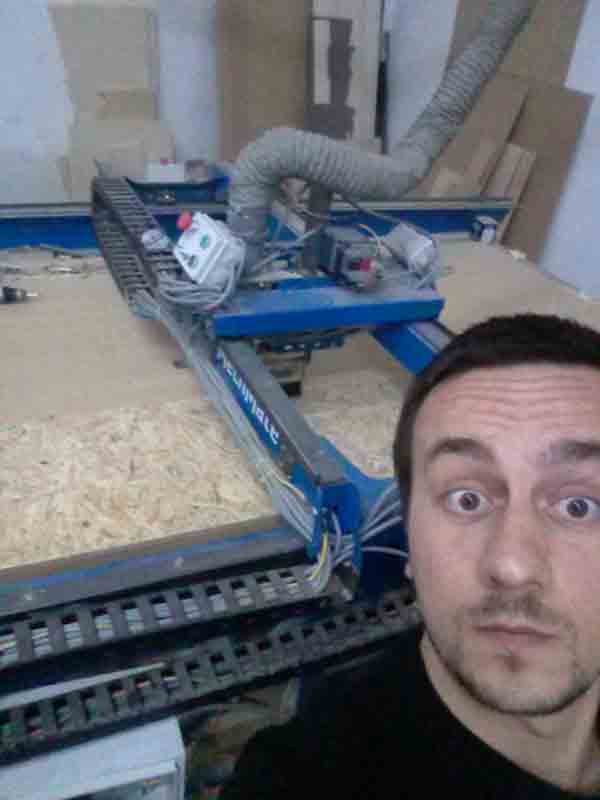
(MachMate CNC -SPQWORK Roma)
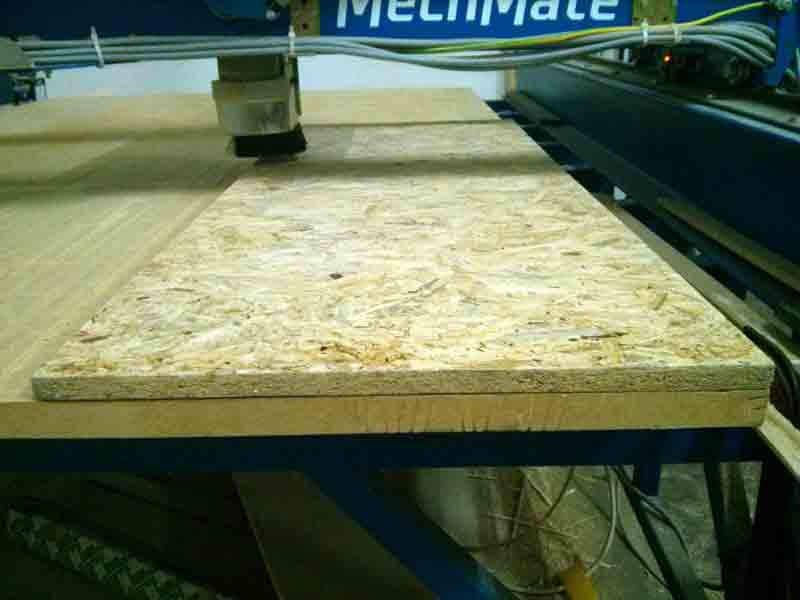
without error!! yhea!
It’s monday! 23/03
unfortunately or fortunately, I work in rome since ten years ago, thanks to the world of FabLab I met great people, like Tommaso Spagnoli e Sergio Subrizi from the FabLab SPQWORK. Tommaso was fantastic and thanks to him I could carry out my assignment at his FabLab SPQWORK
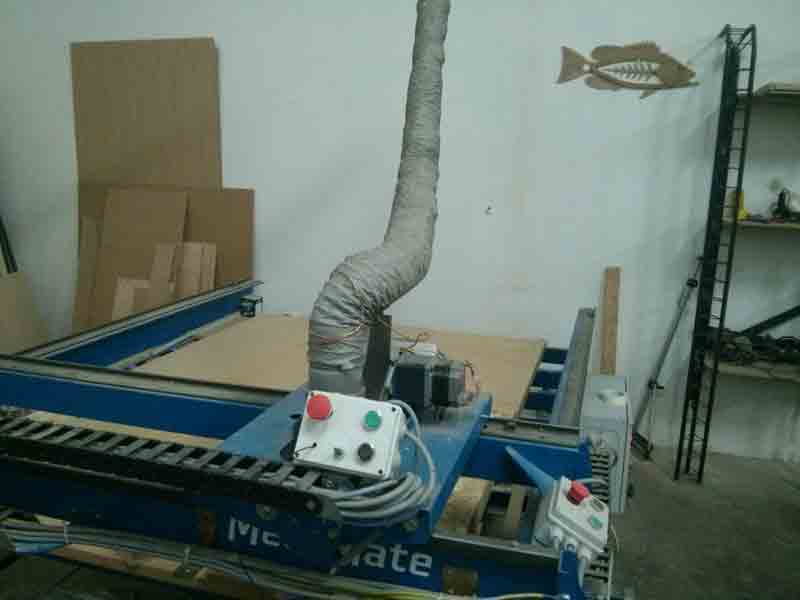
Sergio Subrizi is really experienced in the use of the CNC, he built his splendid machmate! and taught me the workflow:
the workflow described above changes only where there are asterisks
-
Create Gcode in ASPIRE software**
-
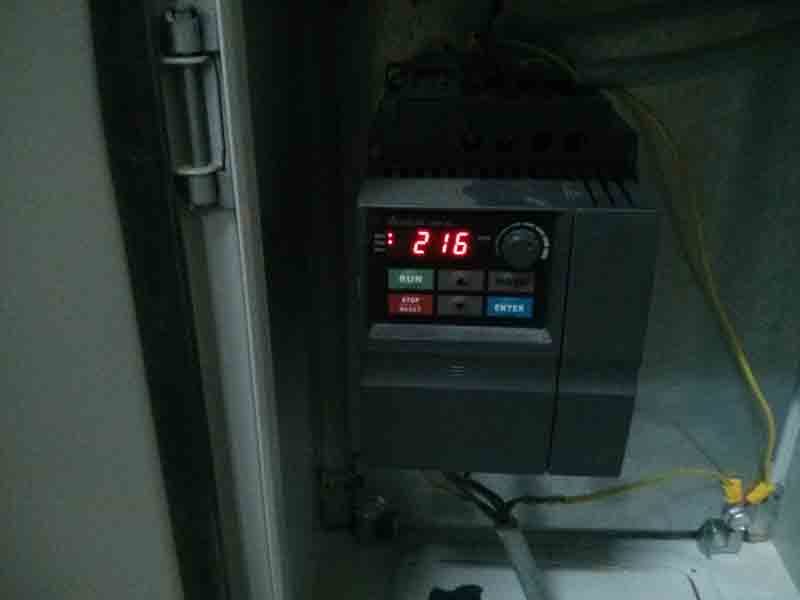
Open Gcode-file in MACH3**
-
Fix the table/material over the CNC plane** (for doing this sergio taught me to create a additional file in Aspire to drill some point where the cnc does’t work, and it is possible to use a screw to fix the material to sacrifical layer)
-
Set Zero CNC point (X,Y,Z)** the Sergio MachMate has laser pointer and joystick to move the cnc axes! it’s easy to set Zero in X-Y axes and using a tuch probe to set the Z axes.
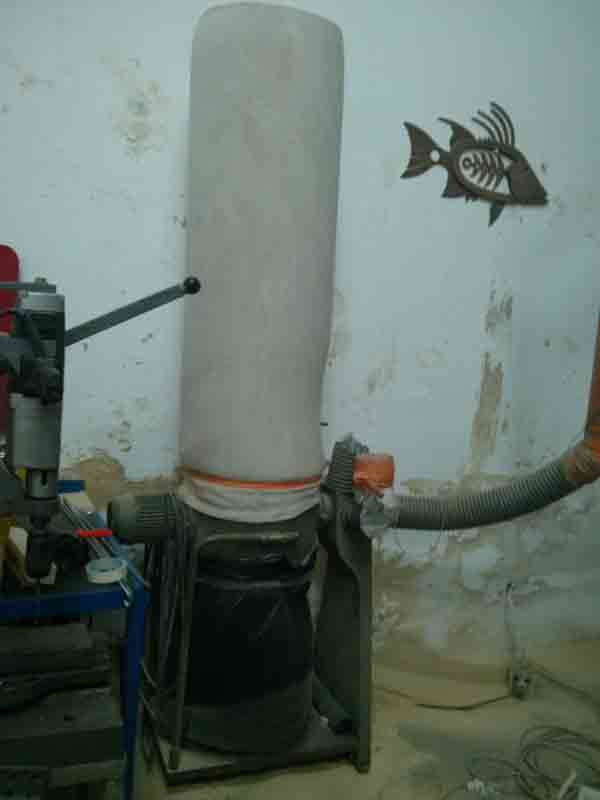
"turn on the suction (aspiration)"
"Turn ON the spindle"
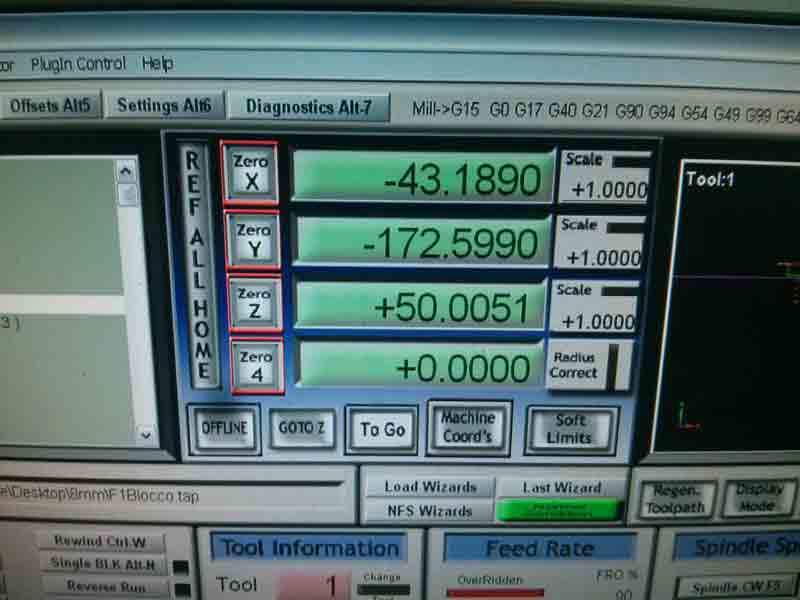
- Set Zero CNC point (X,Y,Z)**
"to drill some point where the cnc does't work, and it is possible to use screw to fix the material to sacrifical layer"

The new parametric joint works perfectly with the dimension of the drill tip !

Conclusion
In this assignment I have had the opportunity to test 2 different cnc machines. One in FabLab Cascina , big shapoko, that is slow but it works without too bulky equipment. And one in FABLAB SPQWORK a giant MachMate, splendid machine, built with professional attentions, with a lot of additional features (joystick, laser pointer…)
so the point is that milling is not a joke and as I have learned at spqWORK, the big cnc exists only as a professional machines. the speed and quality of the results of a big work (big file to cut or mill) are depend of the powers of motor and power of spindle. It’s impossible to work a big file with a non professional CNC.