Week 9::Molding and Casting
Assignments:
design a 3D mold, machine it, and cast parts from it
To perform the tasks in this this week I decided to use the following software:
- Photoshop CS5: For the layout and retouching of images for the web.
- Rhinoceros To design the model and generate .stl file
- Fab Modules: To generate .png file and do 3D mold
Design and prepare
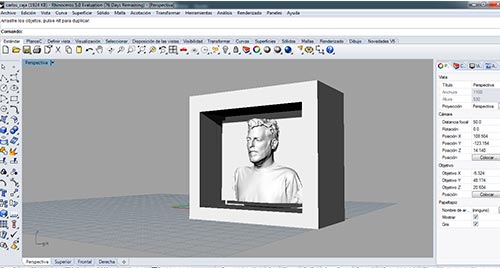
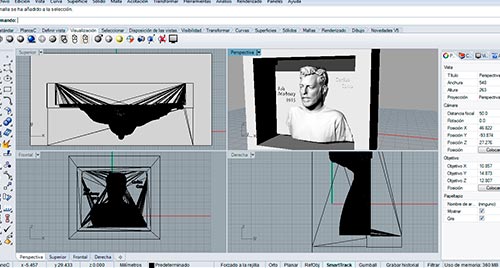
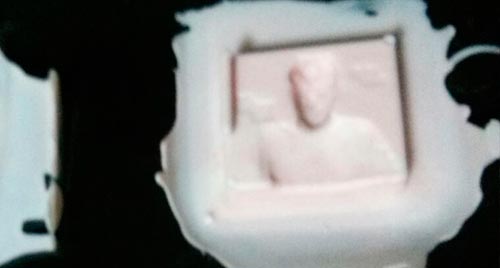
To design the mold I used a previous 3D scanning of my face made some weeks earlier. With Rhinoceros I cut the spare part and I've surrounded by a box to make the positive mold. The idea is to do chocolate bonbons, therefore I will use to carry food silicone mold. Also I tried to design incorporated some words (later discover that it was a mistake, as I have not taken into account the milling cutter diameter, about 3mm, and I could not get the desired resolution).
Rhinoceros: Preparing Mold
Rhinoceros: Preparing Mold (some words added)
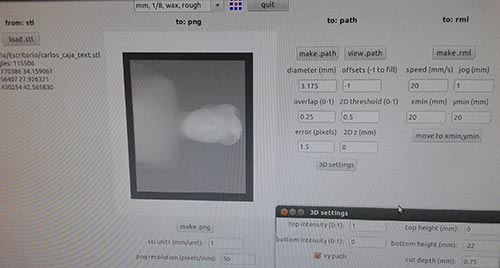
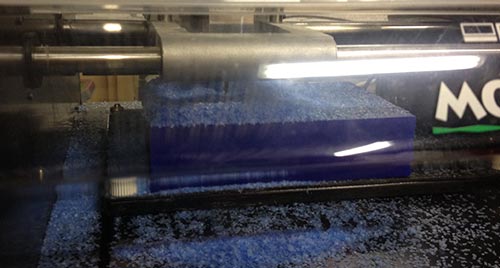
Once prepared the design exported in .stl file format, and use the fab modules to convert this design to a .png file. The work will be completed in two passes, first one roughing and finally one for definition. For this first test I used a recycled wax block (thanks to Nuria), in the coming weeks I will make other wax models aimed at my final project.
Fab Modules: Generating .png file
Modela: Fisrt pass
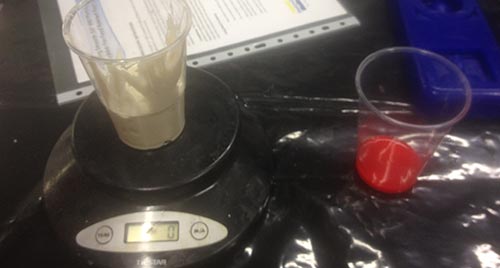
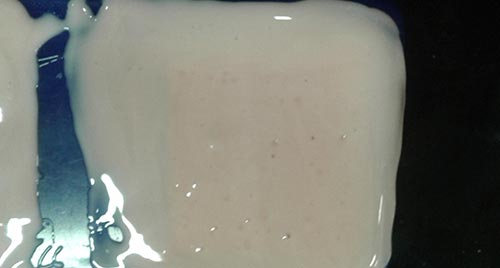
After working with models I remove all the excess material and prepare for future recycled silicone with which I will work completed. As I said I will use a food silicone ("Smooth-Sil 940), according to its manual the weight ratio is 100/10, so I prepare to mixing with the help of a small scale. We must stir for about minutes pot catalyst and I mix the two components for three minutes until the catalyst and the base create a uniform paste. with the help of a small pallet of pour wood content in the mold and cast by the edges to be easier to remove it once the mixture has set. Before leaving resting block of wax, give some small strokes to avoid bubbles.
Smooth-Sil 940
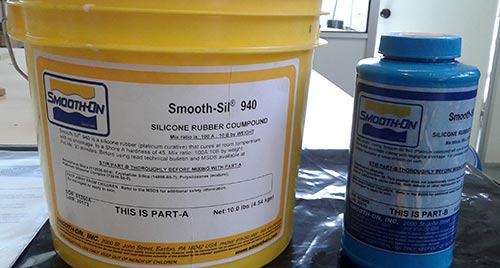
Smooth-Sil 940, 100/10
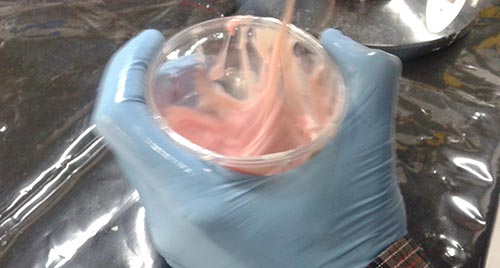
it is important to wear gloves during this process.
Mixing
Mold
After 24 hours have elapsed the mold is ready to be removed and make a final step for complete cure, place it in an oven at 100 degrees Celsius for four hours. After this process the mold is ready for use.
Oven: 100ºc
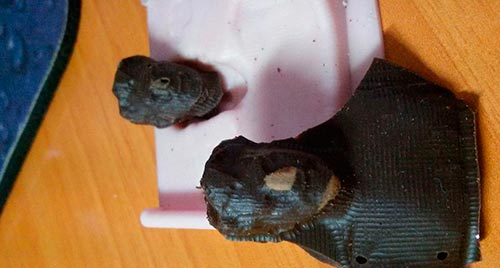
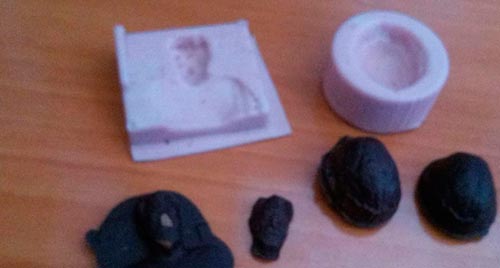
Chocolates I
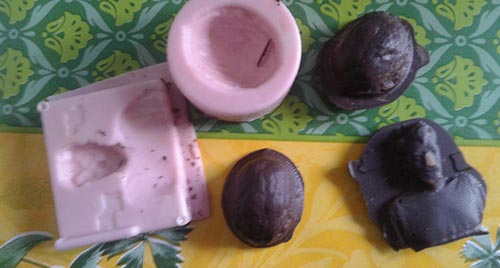
I can already make chocolates, also appears in the images create a mold silicone from an already machined wax, it is half of a walnut
Chocolates II
Chocolates II
Files: