Week 8::Computer-Controlled Machining
Assignments:
make something big
To perform the tasks in this this week I decided to use the following software:
- Photoshop CS5: For the layout and retouching of images for the web.
- Catia To design the model and generate .stl files
- Aspire: To generate .crv3d files
Design and prepare
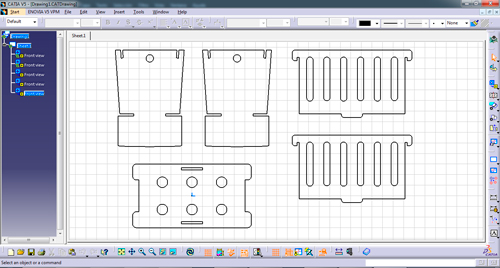
In previous weeks I make an model of the baby crib using 3d printer which has allowed me to correct design flaws when making the final model. On Catia I have corrected some bugs, especially in the parts assembled. Then I generated the .stl files required for use with other program: Aspire.
Catia: corrected some bugs
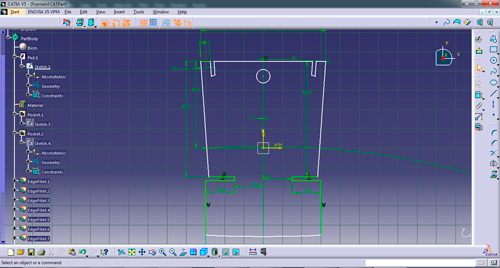
Catia: Preparing .stl´s
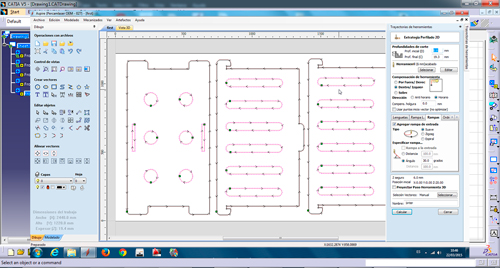
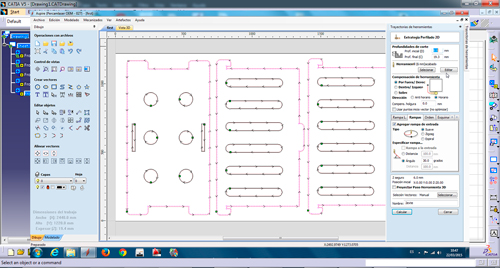
Before loading the files in Aspire I measured the thickness of the material that will be used in the milling machine is DM 19.3 mm. Now I have the information needed to create the files you need milling machine.
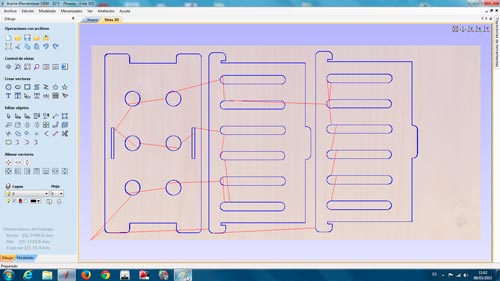
Aspire: inner cutting strategy
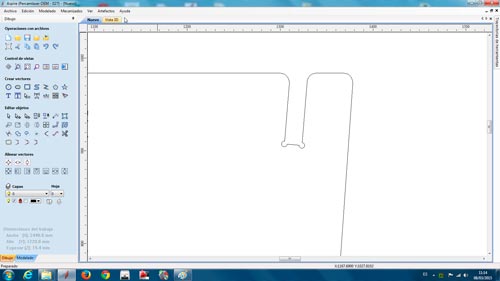
Aspire: outer cutting strategy
Prepare the Aspire software measures DM board (122mmx244mm) and begin to place the various parts of the crib I'm going to be milled. For inner sockets I need to do some drilling 6mm (I'll use a milling cutter 6mm) in the corners of assemblies: First ruling that would later discover, when the cutter is 6mm, the hole should be higher for the milling machine what do (need sanding assemblages). I took advantage Aspire to perform some chamfer to round the corners. After I designed cutting strategies, exterior and interior, with a milling cutter 6mm in both cases and making an input ramp (30º) for the milling cutter.
Aditional configuration for 6mm tool:
- Step: 2.4mm
- Screw speed: 18.000 rpm
- Feed rate: 2.000 mm/min
- Descent speed: 400 mm/min
Aspire: inner cutting strategy
Aspire: outer cutting strategy
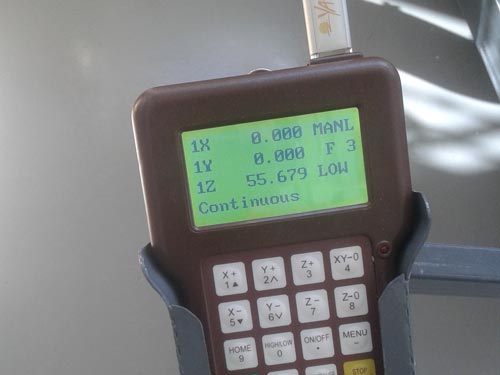
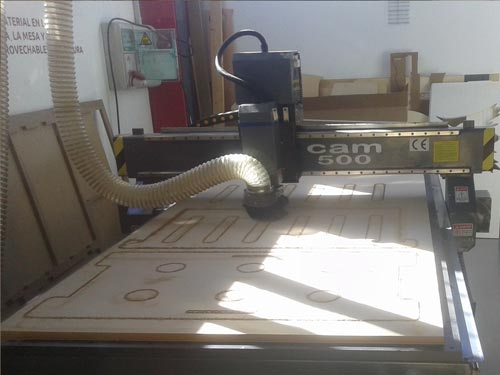
Prepare the milling machine, turn on the suction and calibrate with the measurements the thickness of MDF board, establish a home and prepare the first job, start with the inner cutting strategy.
Milling machine: Doing home
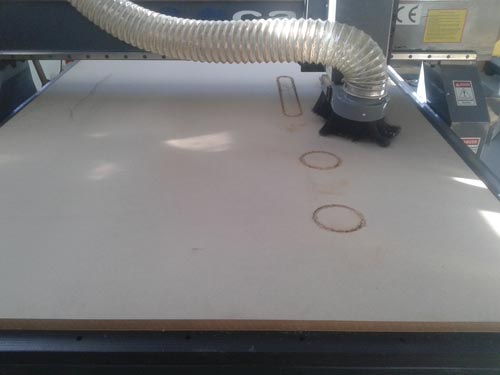
Milling machine: inner cutting
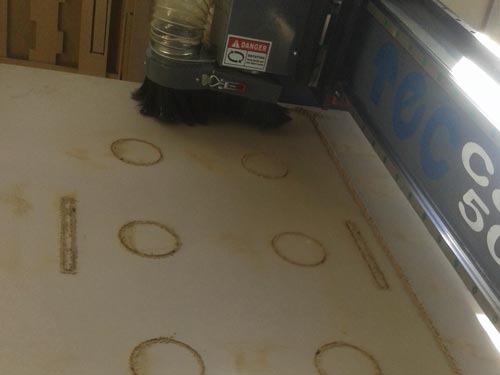
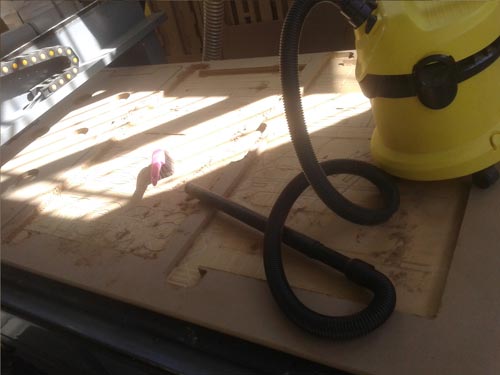
Once the milling machine is finished with inner cutting strategy, sending the second part of the work to be performed outside cuts, before I make a little vacuuming.
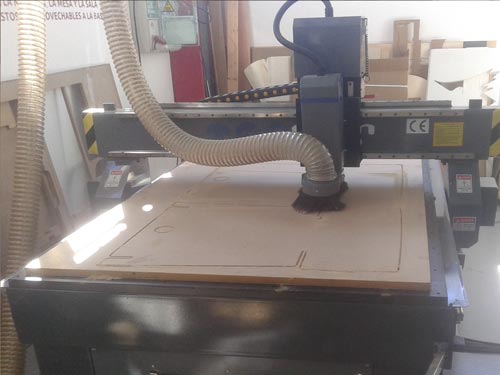
Milling machine: outer cutting
Milling machine: outer cutting
Upon completion of the first three parts (two sides and base of the cradle baby), clean everything and take back what's left of the board. I put a new board and repeat the above steps to recalibrate the machine (working with DM there may be small thickness differences). It's Time to cut the two parties to be the header of the baby crib. Repeat the above operation using two cutting strategies, one inside and the other outer.
Milling machine: Cleaning
Milling machine: Cutting headers of the baby crib
It was time to mount the cradle baby and record defects for an improved version. I can transform the baby crib into a small sofa, you can see in the last image
Baby Crib: Assembling the baby crib
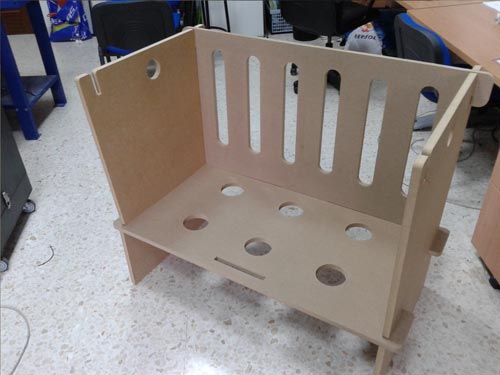
Baby Crib I
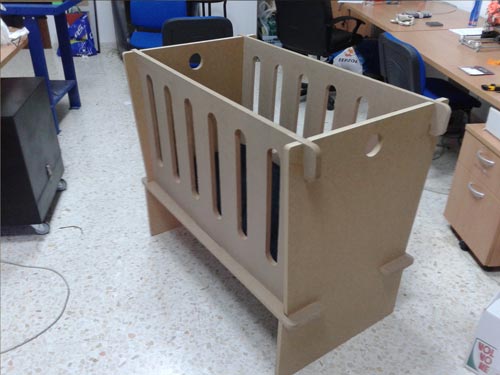
Baby Crib II
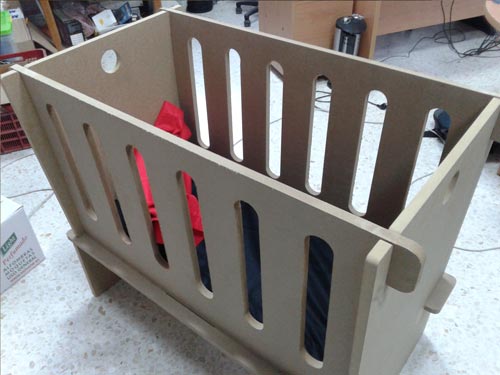
Baby Crib: Transforming into a small sofa

Faults:
- The pieces need to fit too much force.
- Maybe the crib is too deep and not be comfortable taking the baby.
- I need to create holes engaging portions with a larger diameter.
- The material used, DM, is too heavy and unattractive.
Milling Machine: Baby Crib from Carlos Cano on Vimeo.
Files: