Week 3::Computer-Controlled Cutting
-Assignment: design, make, and document a press-fit construction kit
To perform the tasks in this this week I decided to use the following programs:
- Photoshop CS5: For the layout and retouching of images for the web.
- Corel Draw X5: To create v1 of press-fit kit.
- Rhinoceros 5: To create v2 of press-fit kit, including chamfers and print it on laser cutter
- Notepad++: To edit/create this web page.
- Antimony: Only install, I do not know how this program works, I need more practice.
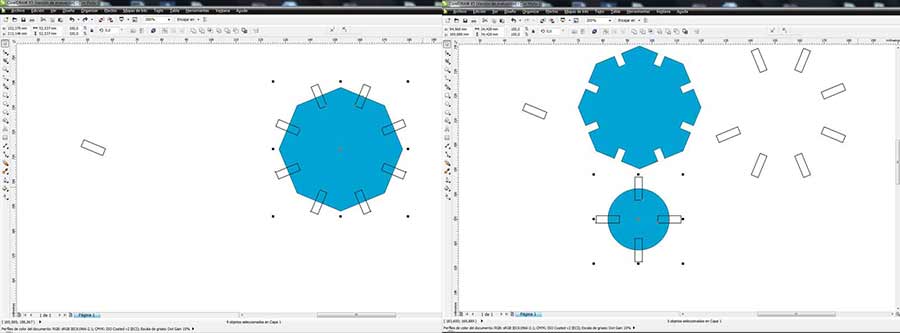
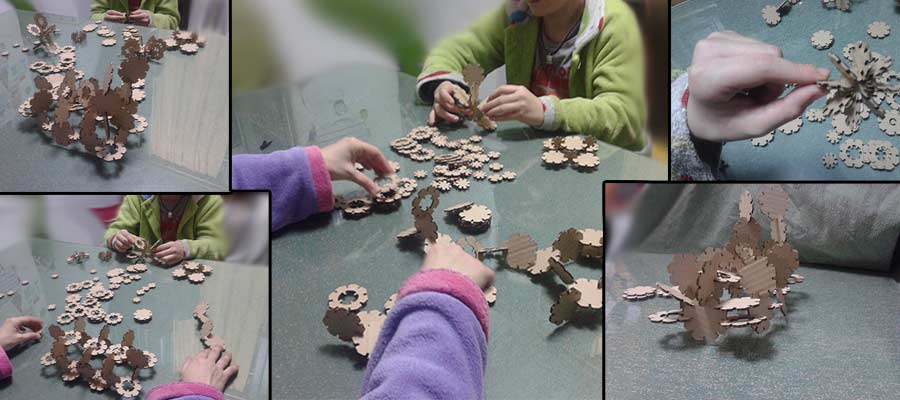
For the 2D design for the task this week I used Corel Draw X5, I decided to make some octagons notched 3mm wide (50 mm diameter) and a circle of 24 mm in diameter with eight (and other four) notches 3mm wide.
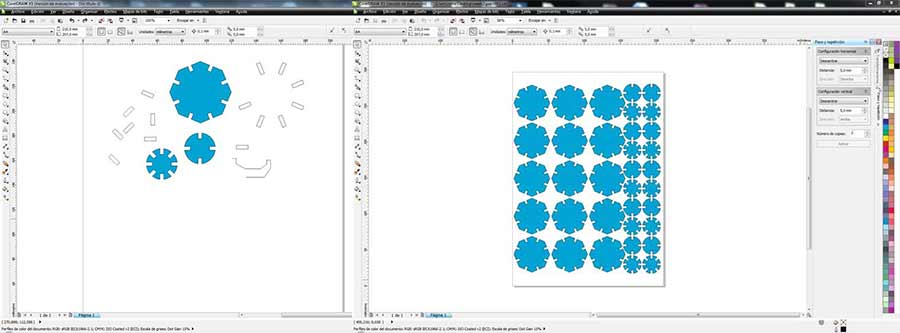

After performing the first test laser cutting I can see that the pieces do not fit, the joints are is hanging too loose. Performed a second design in Rhinoceros with a 0.2mm recess in each hole and take the opportunity to include chamfers at the corners of junction, allowing a union between parts in a simple way

I managed to install "Antimony" in Ubuntu 14.04, but have failed to produce any design, still do not quite understand how this application works. The final assembly kit file've exported to various formats such as .svg and .dxf (needs adjustment stroke width before sending the order to the laser cutter).
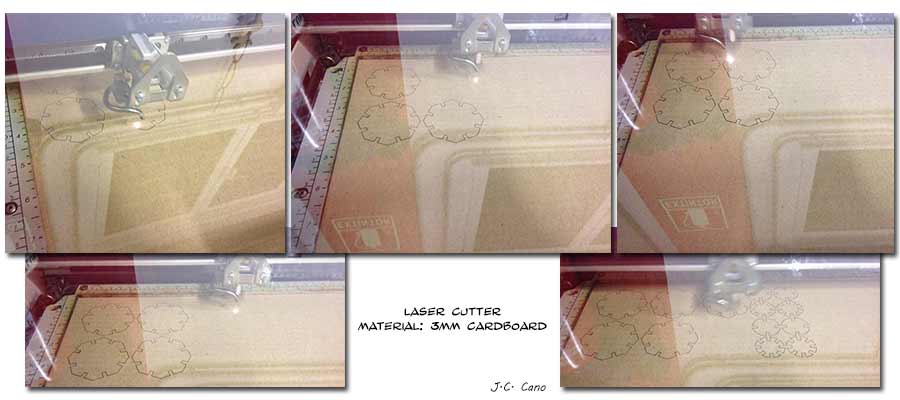
I added a little video with the hypnotic movement of the laser cutting machine.
The material used was 3mm thick cardboard.In the first test cut lace observe that the pieces had too much slack, I had to redesign and eliminate each notch parts 0.2mm (0.1mm + 0.1mm), also decided to fit a piece into another to save material and do chamfers on it. The parameters used are (for 3mm thick cardboard):
- Speed: 100%
- Power: 40%
- Frequency: 500Hz
- Wear of the cut: 0.1 mm (per side)
The cut in this second attempt pieces fit perfectly. I made a small mounting evidence, the result can be: a murderer robot, a spectacular vehicle, a legendary dragon ... and as you can imagine, it is a mess :)
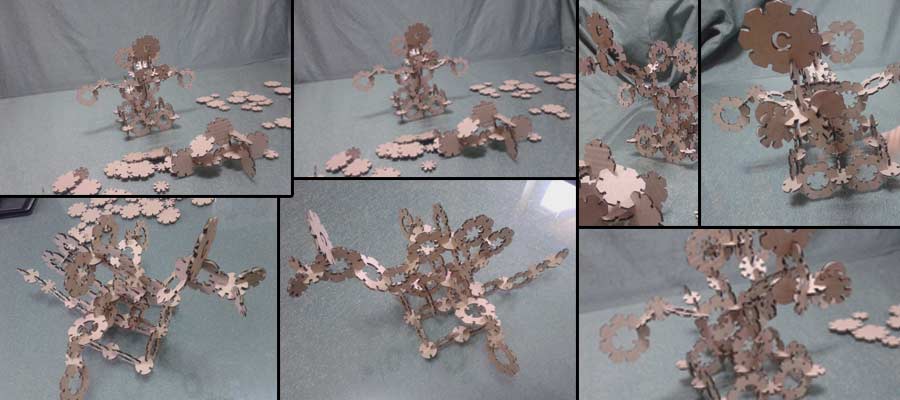
I asked for a little help to make figures with cut pieces, the result: my son finds it funny, my wife finds it relaxing.
Files:
- Version 1: dxf Format | svg Format
- Version 2: dxf Format | svg Format
- Version Final: dxf Format | svg Format
Vinyl cutting
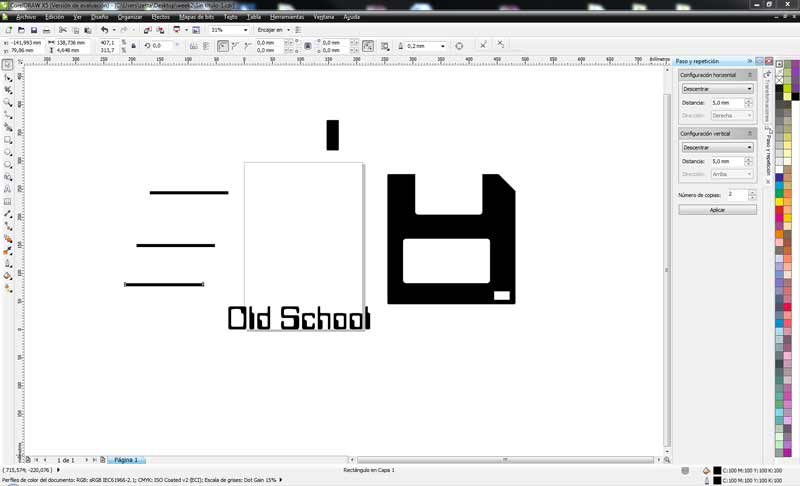
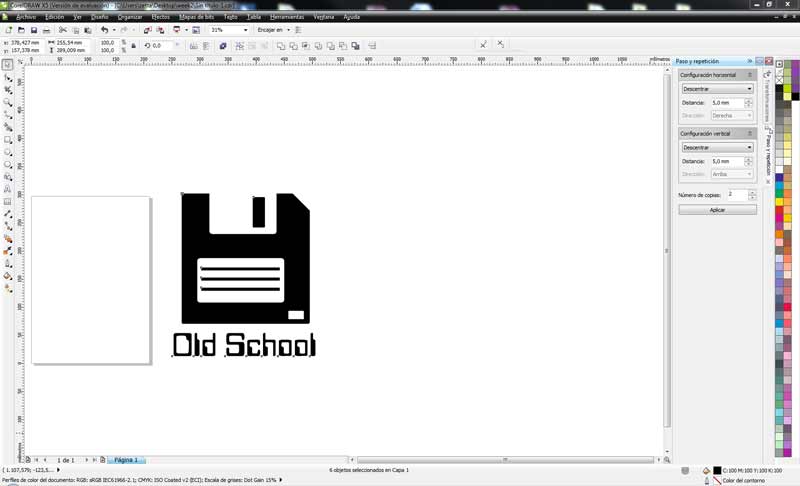
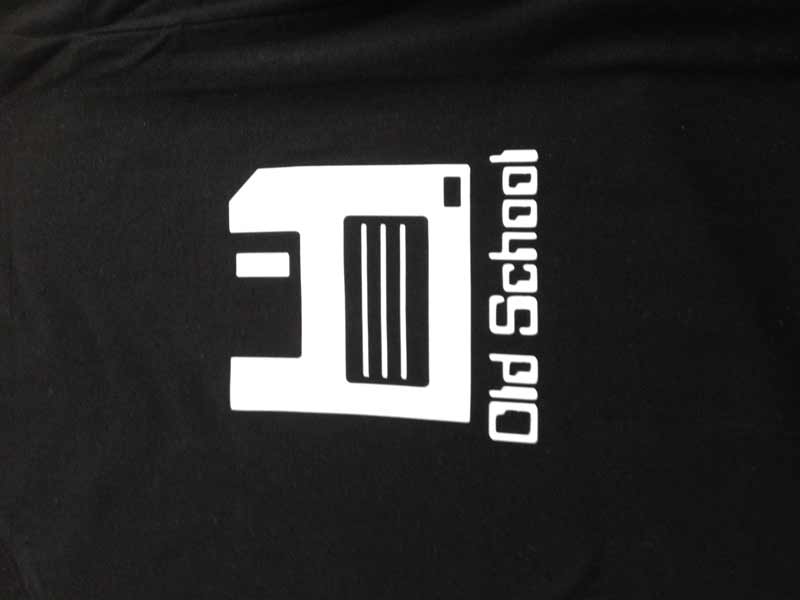
I have also decided to make me a shirt with vinyl fabric, I made a quick design in Corel Draw, and I added: "old school" to the result.
I remembered the old 3½ floppy disks and thought it would be great to have a shirt with the phrase "Old School". The design is quite simple, you just need rectangles (round some corners), and a small diagonal cut in the top right. Choose a font that reminds the 90s and ready. On the next shirt the design will perform with 5 1/4 floppy disk, and the legend: "Very old school"
Parameters for vinyl cutting machine:
- Force: 90gf
- Velocity: 20cm/s
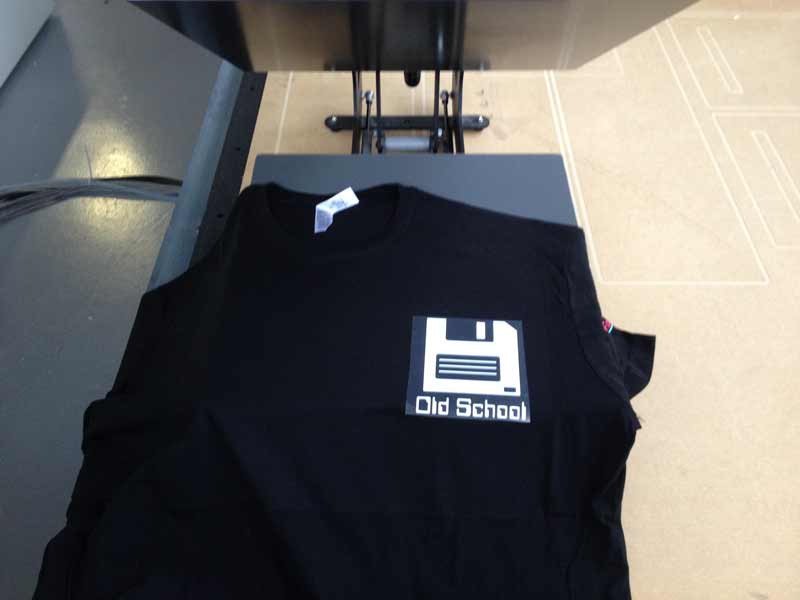
When the vinyl is cut, with the help of a cutter removed the excess material design, place it in the desired position and with the help of an iron attach it to the shirt.
Files:
- Version 1: dxf Format | svg Format