Week 2::Computer-aided design
- Assignment: model (draw, render, animate, simulate, ...) a possible final project, and post it on your class page
To perform the tasks in this this week I decided to use the following programs:
- Photoshop CS5: For the layout and retouching of images for the web.
- Corel Draw X5: For creating drawings of baby crib.
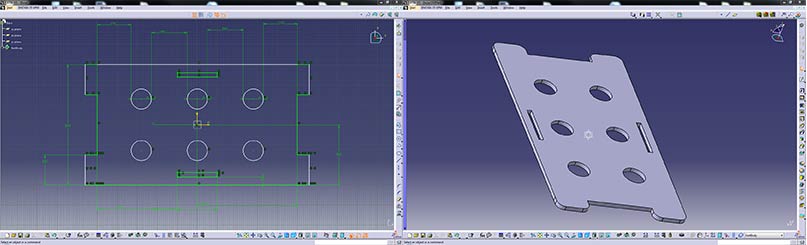
- Catia V5: To create the definitive model of a cot and a description of mobile toy.
- Notepad++: For edit/create this web page.
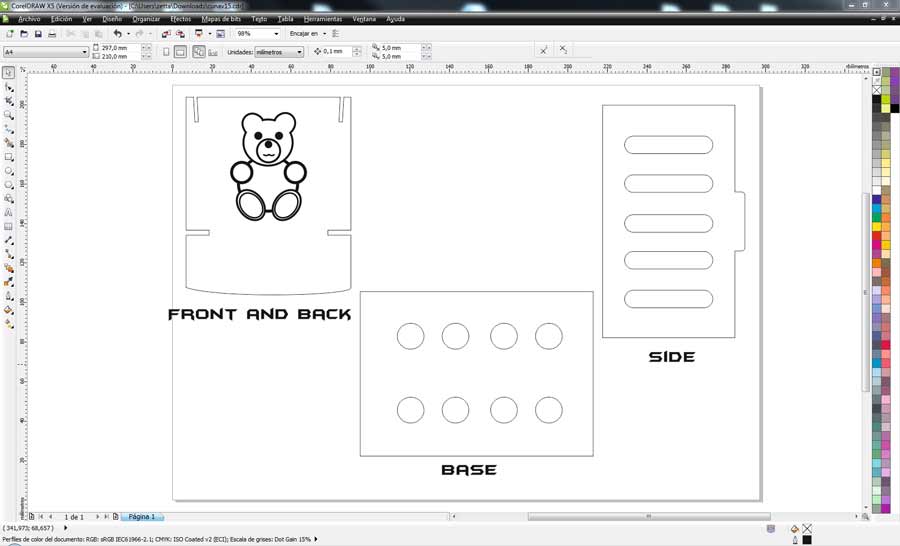
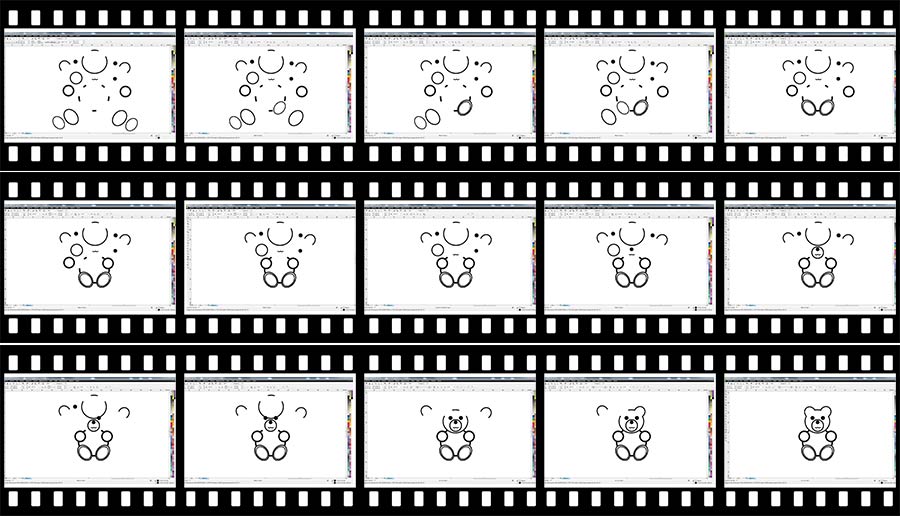
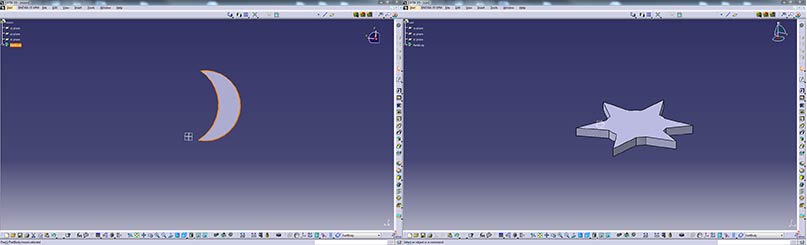
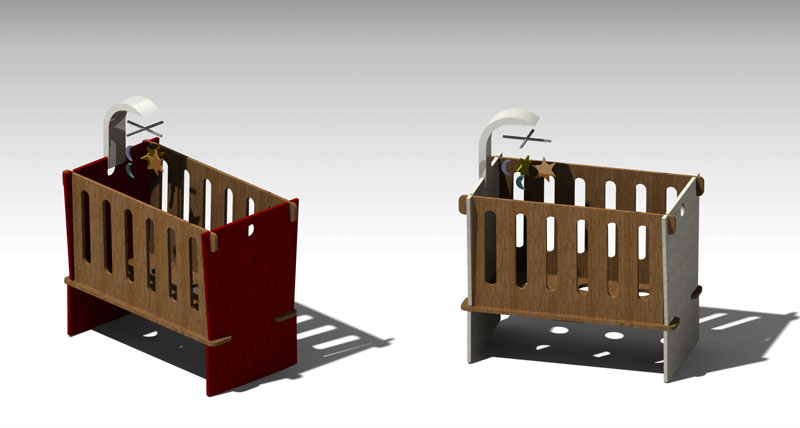
Corel Draw is a software application that I use for almost everything (schedules, posters, covers dossier, models, ...). I feel pretty comfortable with this program, so I decided to create the initial model with it. I created the vector of a teddy bear that I would add to cradle baby, when I have made the front of the crib I would burn it on laser or CNC machine.
I think Corel Draw generates files for laser cutting machines and cutting vinyl (or so I read), next week will prove it with vinyl cutting machine.
This is an early version, is not valid for the prototype, just to make a first impression of the baby crib.
File (.dxf format): corelcuna.dxf
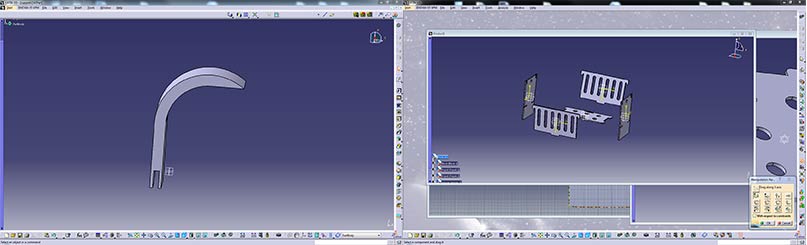
I've never done 3D design, thanks to Raul Diosdado for giving me some quick lessons on Catia. This program has a short learning curve, and although I do not know even 1% of its possibilities, has enabled me to design baby cot quite accurately. I had to make some changes to the original design that I made in Corel Draw, Catia has allowed me to observe in detail how to assemble the parts.
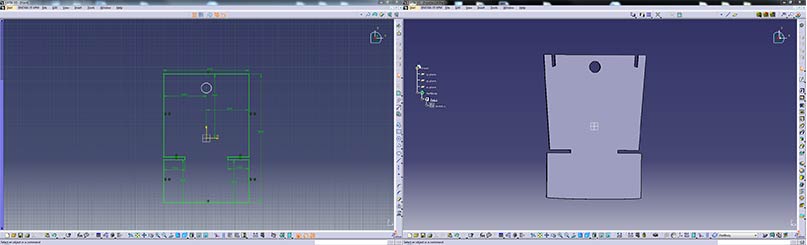
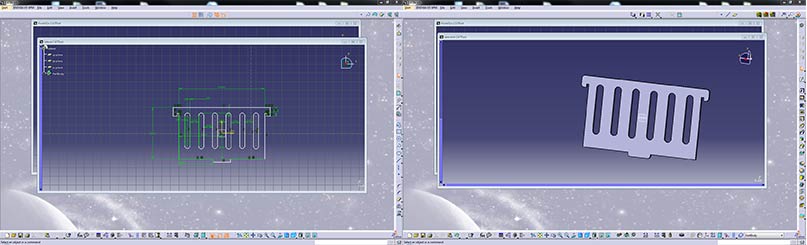
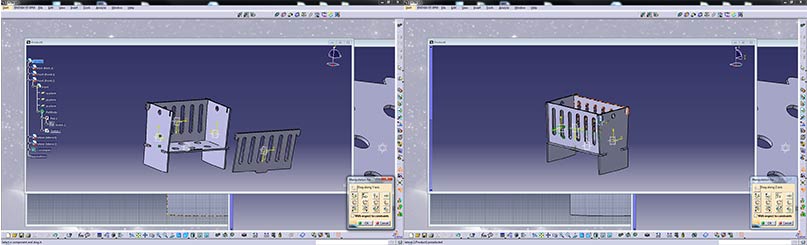

Files:
- For milling machine (.dxf format):
- Front: front.dxf
- Lateral: lateral.dxf
- Base: base.dxf
- For 3D Printer (.stl format):
- Not defined, I need to redesign (.stl format)
- Crosstree: crux.stl
- Support: support.stl
- All files zipped: week2.zip