Composite Structures
The challenge:
Design and make a 3D mold. Produce a fiber composite part. Provide mold design files.
Plan of attack:
Produce a number of samples to test the strength, flexability and detail of different fibers. Attempt wet lay-up. Design a mold and create a composite from it.
Approach:
This week we’re waiting on some of the resins to arrive due to public holidays. In the meantime, I’m creating test pieces using the silicone and polyurethane resins we already have, creating some of my own fibre materials and testing existing fabrics. These tests should hopefully inform the material choices for the final composite. Components this big are unlikely to be useful for my final project so hopefully there’s a potential upgrade around the lab that could be made from a composite.
Flax Adventures
While scavenging around for potential fibres to use as test coupons I ran across some flax and thought it might be fun to make my own natural fibre.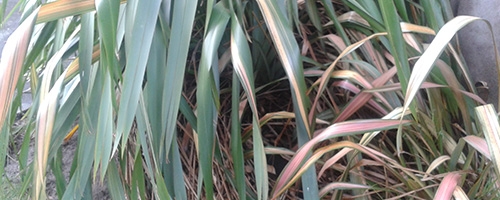
This flax bush provided the raw material. Its’ fibrous leaves can grow up to two meters long, making it an ideal choice for weaving.
Initially I tried to process the flax using heckling method. I took a dry flax leaf and flexed it to soften the outer layer before scraping and combing it.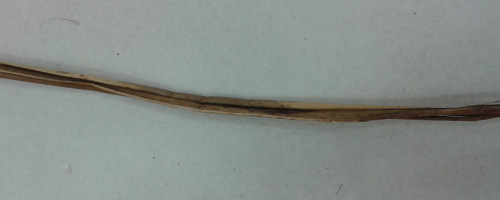
The comb worked ok, but a lot of the fibres ended up on the floor. The resulting fibres were quite coarse and also frayed or snapped in places making them quite difficult to work with. The flax being so dry also meant that it would tend to snap rather than flex nicely when bent.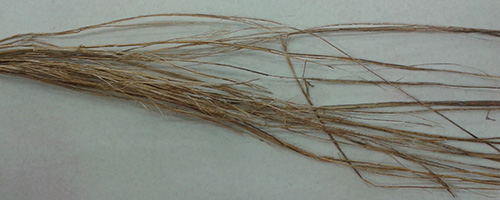
In an attempt to improve the flexibility of the fibres I sourced some fresher flax leaves, that had the added bonus of being longer as well.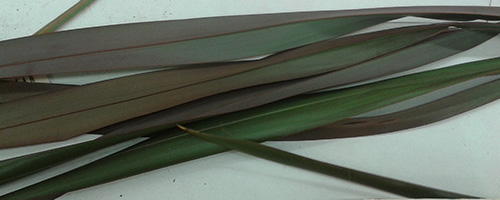
The cut flax could be scrapped back with a straight edge to reveal the internal fibers.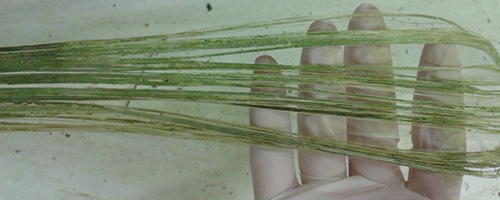
The flax gave off kind of furry lint as it was scrapped, which could be useful for something else later on.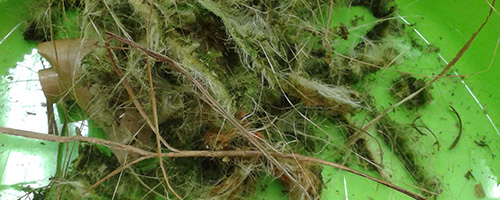
We also tried fraying the flax, as well as soaking and stripping it. None of the results produced a particularly fine fiber.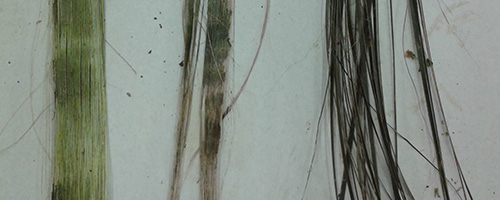 The soaked flax was a little easier to work with, so I decided to see if boiling it would have any effect. The flax was boiled for 40 minutes, which turned the water green and didn’t smell particularly amazing.
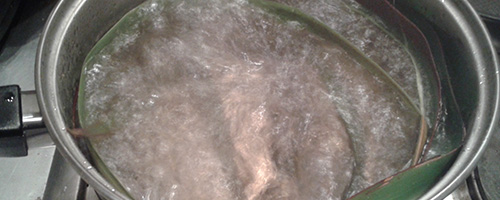
Sections of the boiled flax had a white sap-like substance on it, but overall the flax was much softer and more flexible.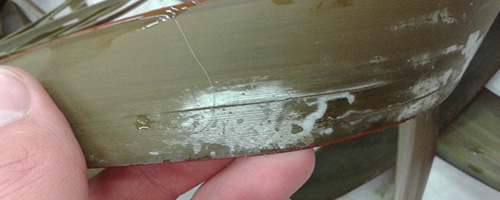
I had hoped that boiling process would remove everything that wasn’t fibre from my pre-stripped flax, but unfortunately it had no noticeable effect.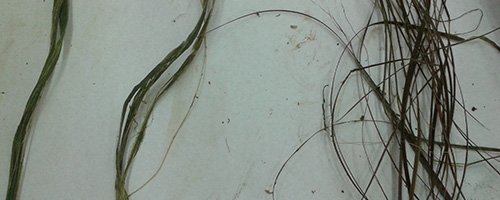
With the freshly boiled flax so soft I had another attempt at scraping it down.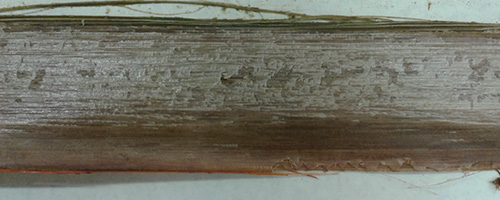
This time the surface layers gave way much more quickly and the fibres inside also seemed to be a little more resilient to the scraping process. Conveniently, this leaf happened to be longer as well.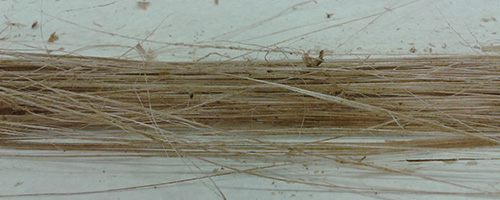
The muck that came off these leaves was much more like mud that the almost mossy texture I had previously gotten.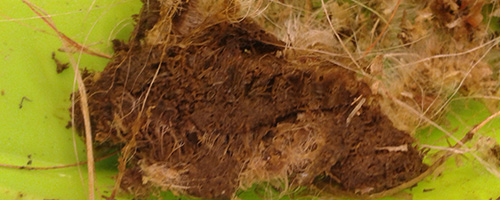
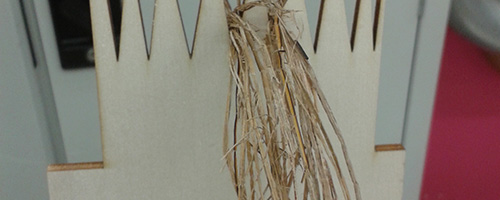
The fresh flax fibers were cut down from their bases.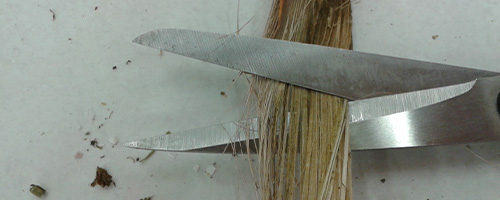
Before being twisted into a single strand.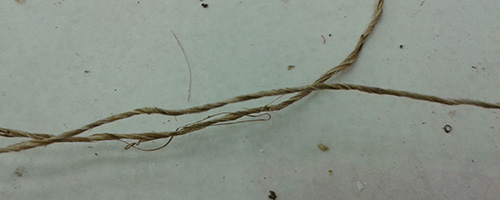
And twisted into each other to form one long, slightly wonky, string.
This week Bridget, one of the co-founders of Fab Lab xchch, was taking a break from running her lab to pop up to Wellington and work on some of her awesome fab academy project with us. She has an amazing understanding textiles and gave me heaps of advice on how to work with the flax. Including how to make this cute little cardboard loom.
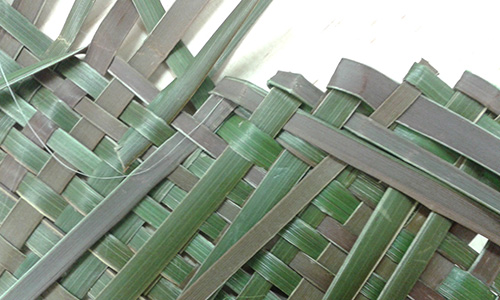
The loom allows me to weave a little test square for casting relatively quickly.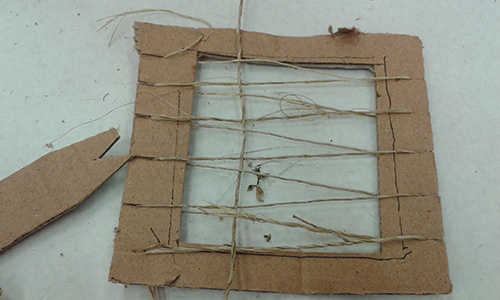
The main challenge was ensuring the joins in my fibre thread didn’t come undone and not over tightening the weave.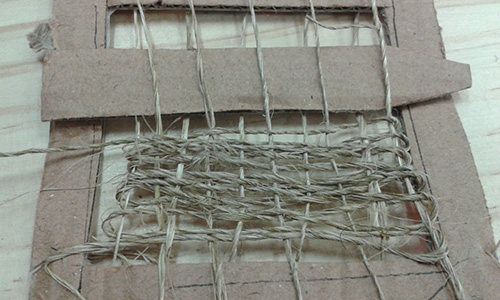
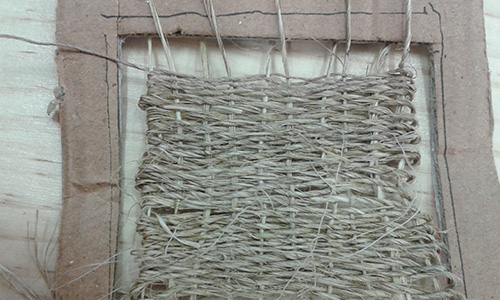
With the weave completed, all I had to do to finish it off was cut the weave from the loom and tie it off.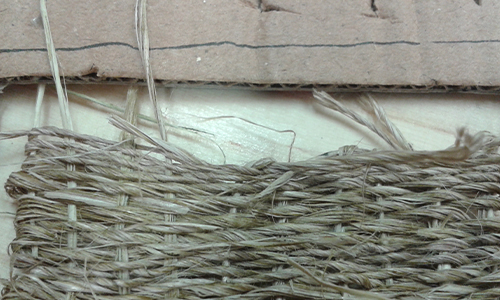
The weave came out really well, but will probably have quite a lot of flex in it. As another test, I thought it would be fun to do some flax plaiting to make a much coarser surface.
I started out by cutting the flax into little strips of even width and length.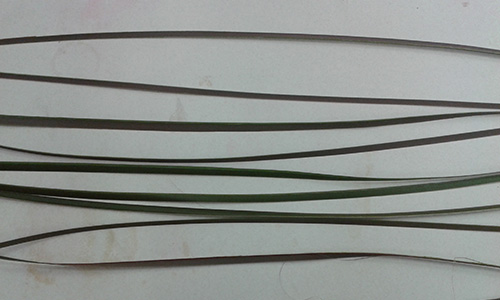
The folding method I followed relies on making even 45 degree folds.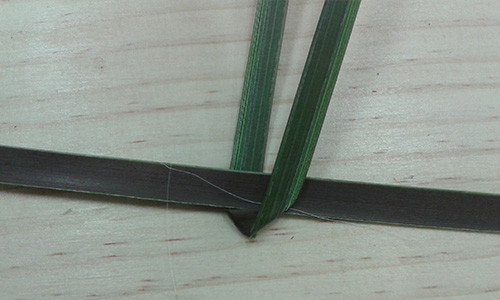
And on the flax having an even width.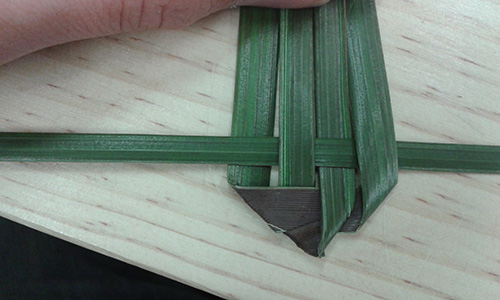
Neither of these were achieved particularly well, so the edges of my matt were a little bit wonky.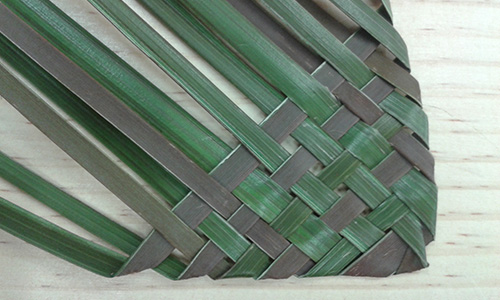
The instructions I was following were a little vague as to how to end the weave, so Bridget and I just made something up.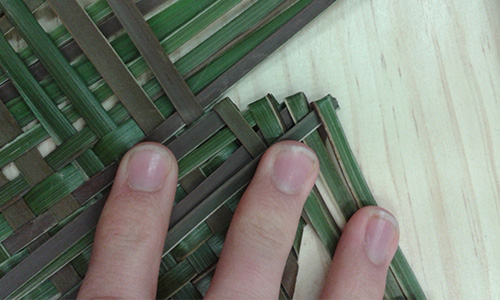
It worked out ok in the end and the resin will help hold the ends in place in the finished part. The mat is really flexible so it will be interesting to see how much of an impact the resin has on its characteristics.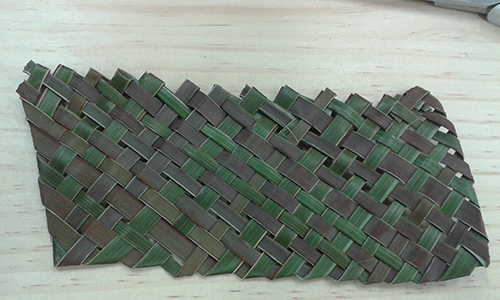
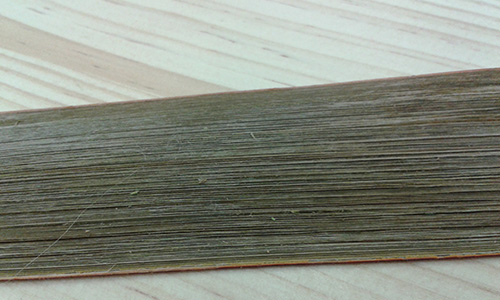
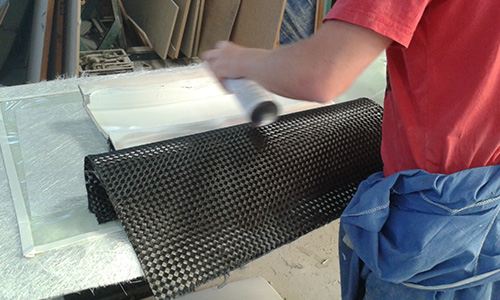
The final flax material test was a simple one. Removing one side of the outer coating to expose the fibers inside. These panels would then be cross laid inside my mold.
With my materials prepared, I was ready to cast my coupons.
Casting Coupons
Attempting to learn from our last composites misstep, where a key oversight rendered the composite inseparable from the mold, this time I did a workspace layout and a dry run before casting my coupons.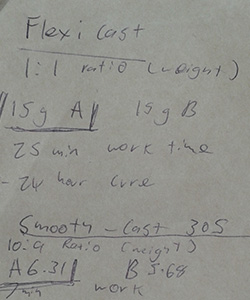
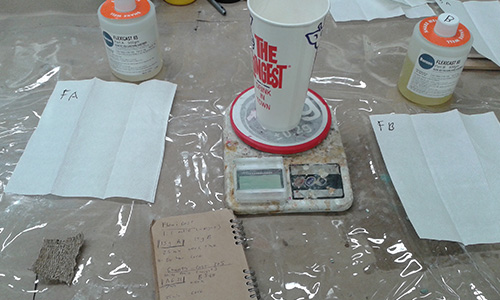
By having everything laid out, I hoped that it would be hard to accidentally miss a step. It would also be easier to react if something did go wrong because everything was on hand. The pot life of the resin I was planning to cast was only 7 minutes, so I would have to work quickly to get everything in place. As a result there are no photos of the mixing and pouring process.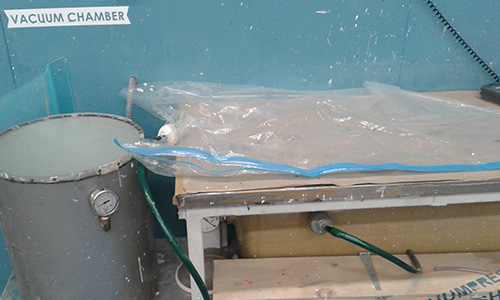
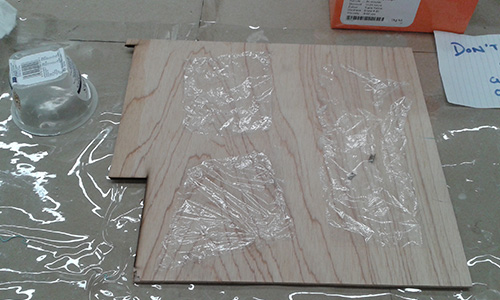
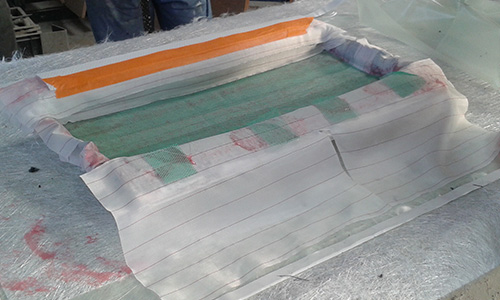
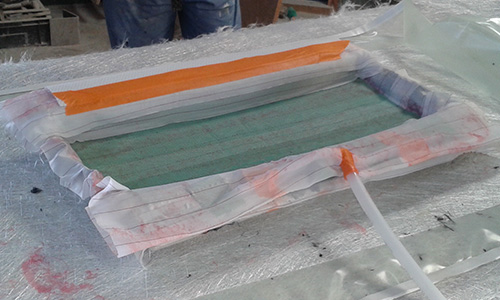
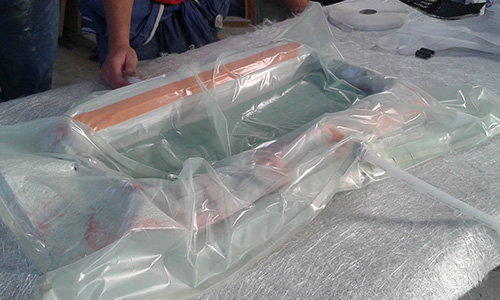
I mixed the resin then poured it onto the fibre part and rubbed it in throughly on both sides. I placed the part into its mould and covered it with cling wrap.
This was repeated for all the parts before moving them into the vacuum bag. The bag proved difficult to seal and I was already tight on time so I didn’t get to work the bridging of corner details out of the bag as much as I would have liked.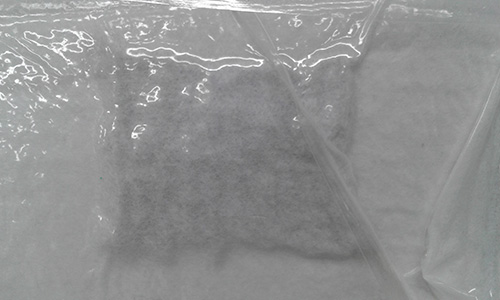
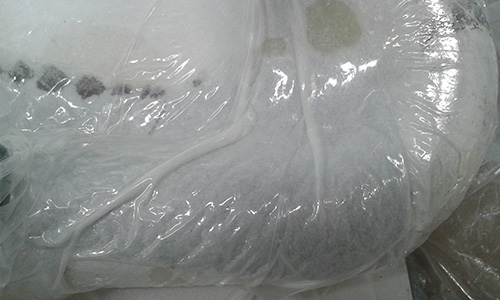
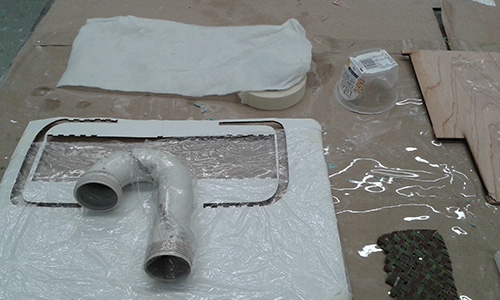
The coarse weave moved slightly during the vacuum process, which could have been prevented if I was using a real mould, but for the curve test I was undertaking this wasn’t a huge issue.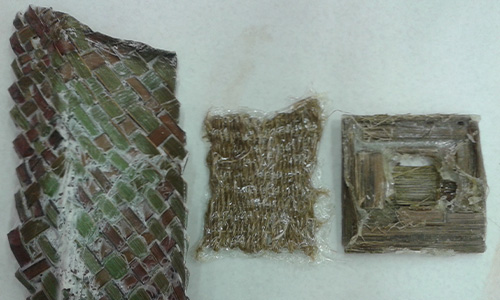
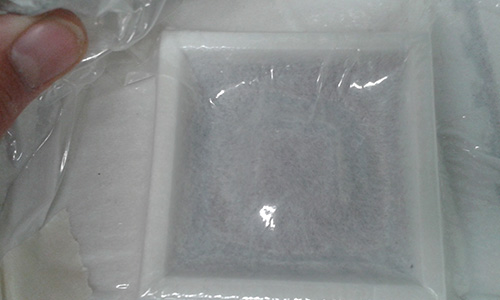
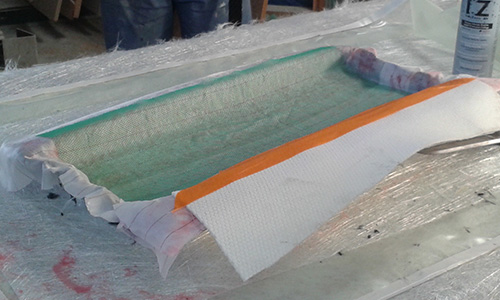
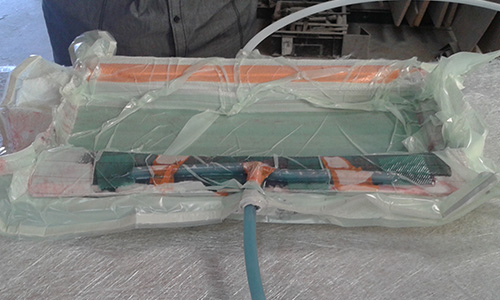
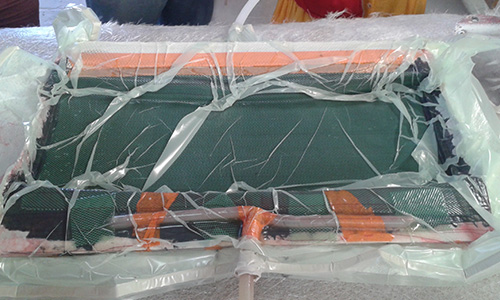
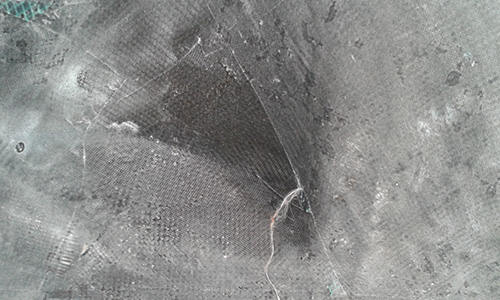
In the coarse mat on the left, you can see a resin build up where the plastic moved and bunched. The middle fine weave is covered in resin and probably could have done with a little less as its now fully encased. The laid flax on the right curled up as it dried pre-casting that made it hard to stick flat to the mold even when it was soaked in resin. Interestingly, the resin seems to have been pulled away from some areas of the mould creating dry spots, possibly due to the placement of the vacuum feed and the plastic cover layer.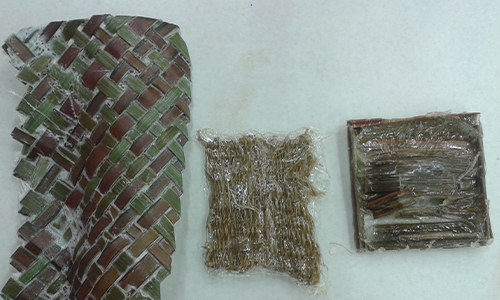
Overall the top surfaces have a better finish, clearly showing the mat conforming nicely to most contours of the pipe.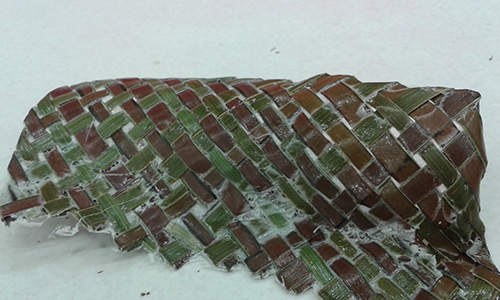
Weaved hood
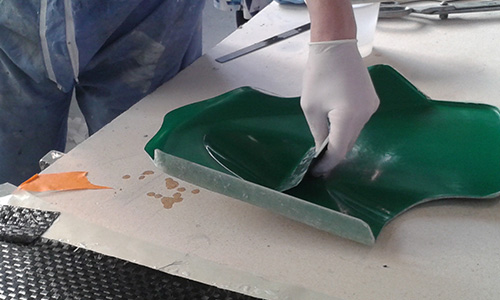
For my final composite part I decided to make something practical for the lab. Back in week 8 I documented vacuum forming a new extractor foot. This plastic replacement foot was starting to show signs of strain along the same edges so I thought I might try making a composite form.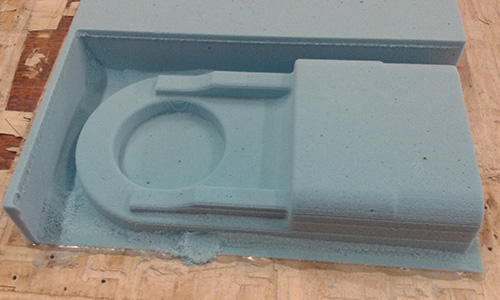
Having no experience with pattern making, my approach was to cut a whole set of strips of different sizes. These would be saturated with resin and laid over the mould. Stacking the layers on would allow me to add extra strength to some areas.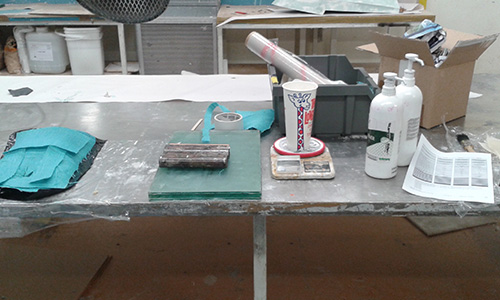
Once again, I had everything set up across the desk to allow for quick mixing, laying up and vacuum bagging.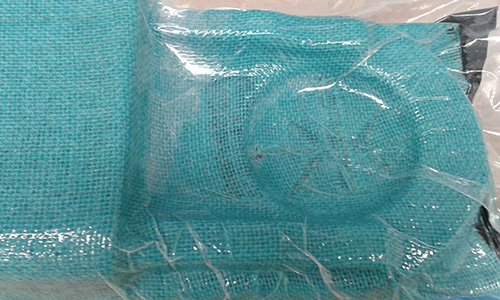
Getting the tessian weave cloth to hold form actually turned out to be really difficult. Despite being covered in resin, it didn’t hold form around the mould particularly well.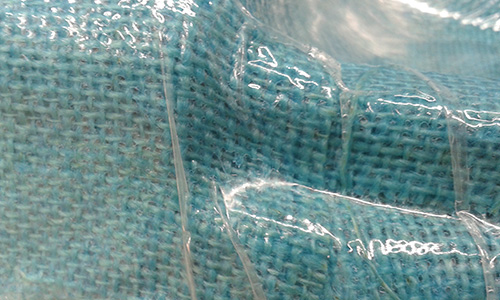
Getting it into the vacuum bag helped a lot but with only 2 minutes left on the working time, getting everything to sit nicely was getting quite challenging.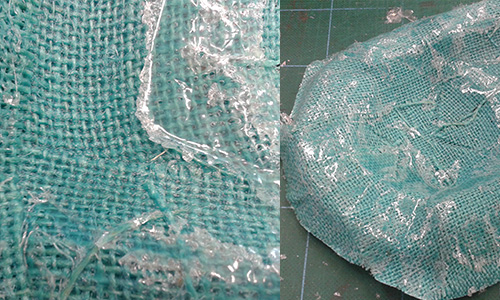
After taking the composite cover out of the bag and mould I saw that there were some areas where everything came together nicely, but there were also a lot of patches where the resin was unevenly distributed. The simplistic approach to pattern making also didn’t work very well, as the mesh refused to conform nicely to the edge of my mould, resulting in a billowing edge.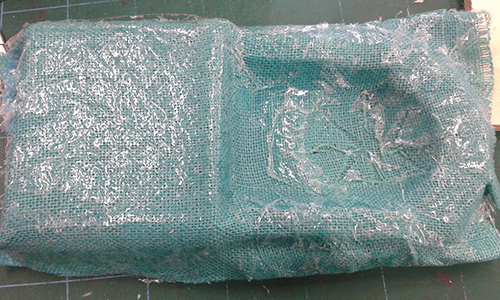
Tools used this week:
Hardware:
DIY Vacuum chamber
Software:
Inventor 2015
Materials:
Phormium cookianum (New Zealand Flax)
Smooth Cast 305
Flexicast 65
Super Sap - CLX
Tutorials links or references used
Files Produced
Archived files
Good links from last year:
martin magal
How the pros do it - Our visit to a professional composites workshop
This week we took a trip out to carboglass, a composites workshop in Wellington. To take a look at two of the many different methods that they use for creating composite materials. The processes demoed were vacuum resin infusion and wet lay-up vacuum bagging.
Vacuum resin infusion
This process involves laying up the fiber material on the mold and holding it in place with a special spray glue. Then the whole object is sealed in a vacuum bag and resin is pulled through.
The first layer of the carbon composite will be visible on the outside of the finished part. Clear spray tac InfuZene AV is used to hold the sheet in place. This glue dries clear and doesn’t leave a residue when the resin hits it.
The carbon sheet is carefully pressed into place to ensure a quality surface finish.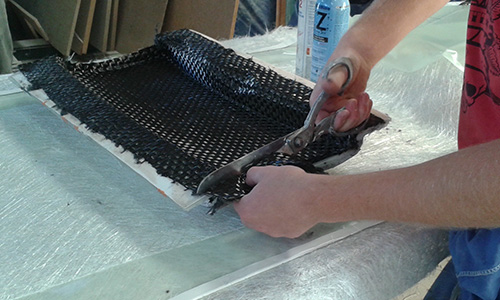
Then the edges are trimmed to size.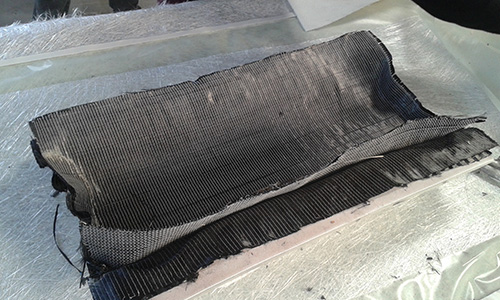
A finer weave carbon sheet is laid on top of the last and held in place with red Airtac 2 to make it easy to see where the glue has been applied.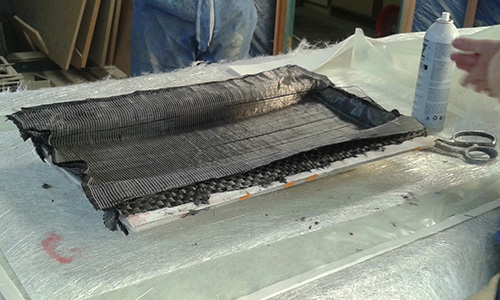
Again this is carefully pressed into place.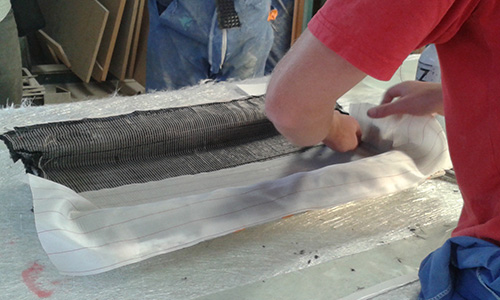

A light foam breather is applied on top of the carbon layers.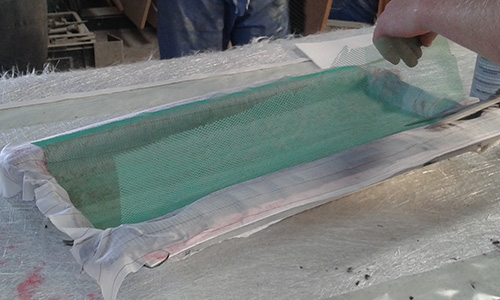
A wire mesh makes up the outer layer to allow the resin to easily flow across the mold.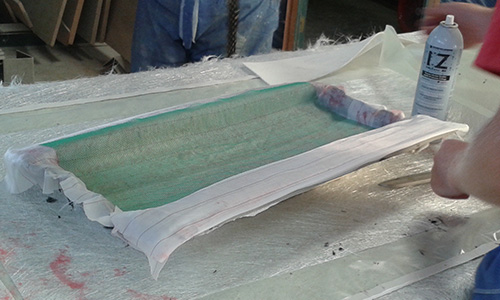
A course foam is added to one side to create a resin stop where the vacuum pipe will be placed.
On the opposite side more fine mesh and foam are used to hold the resin inlet in place.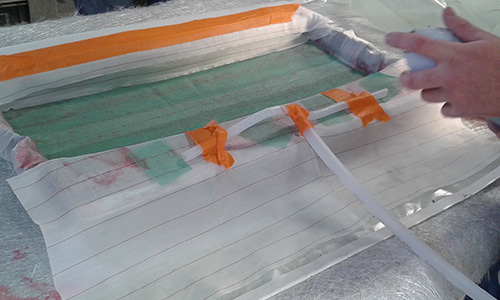
The whole assembly is then sealed in a bag.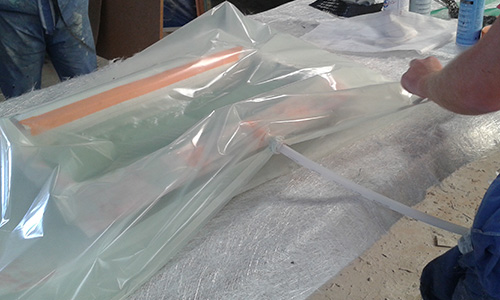
A small amount of vacuum is used to remove most of the air and work the plastic evenly into all of the corners and details. This is then left to sit for 10 minutes.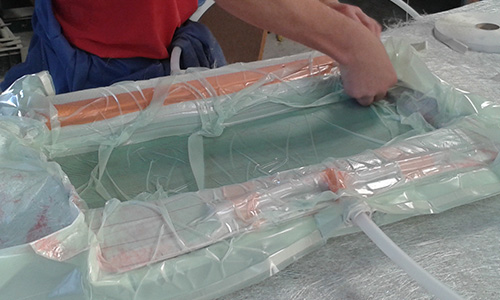
Resin is mixed up and feed into the vacuum inlet.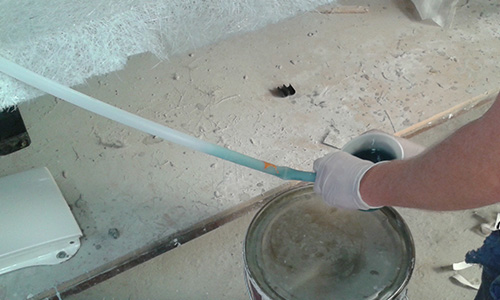
The wire mesh allows the resin to flow evenly through the mold. Special attention is paid to ensure the resin reaches all of the edges and corners.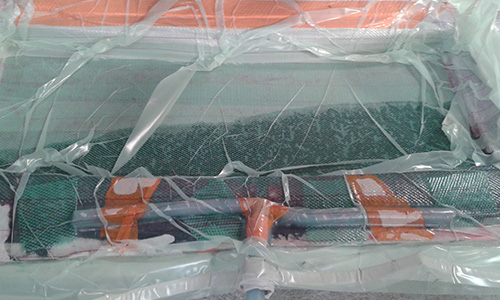
The final piece will be held under vacuum until the resin is cured.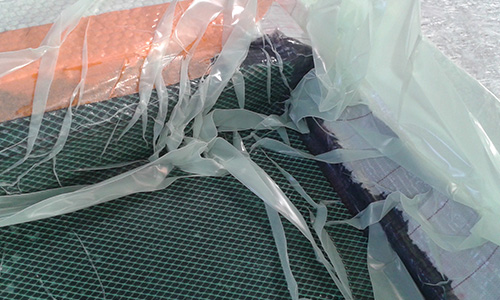
Wet lay-up vacuum bagging
This process involves pre saturating all of the fiber materials with resin before they are placed into the mold. The resin encourages the fiber stick to the mold meaning that spray tac is unnecessary.
A carbon sheet is prepared on top of a backing plastic while the resin is mixed up.
The resin is pressed into the fibers creating an even saturation across the sheet.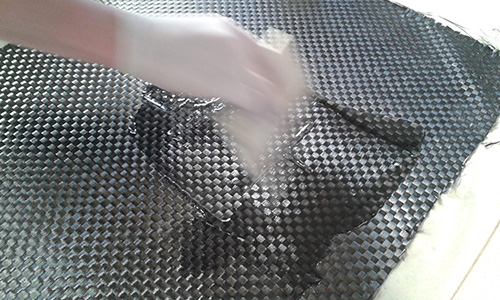
Strips of the fiber sheet are cut out to use as pattern pieces of smaller details on the mold.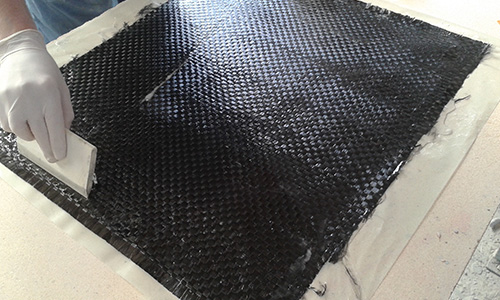
These are trimmed to shape and attached to the mold.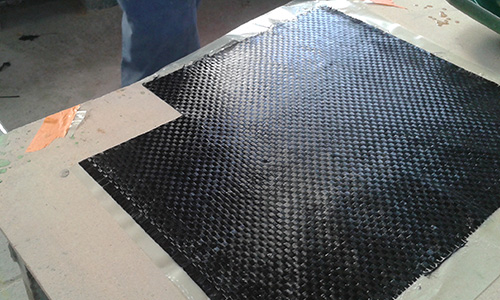
Larger pieces are pressed into place and trimmed to fit while their plastic backing is still attached.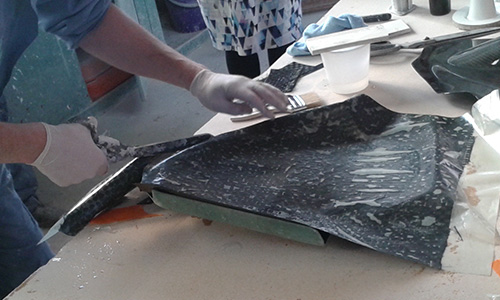
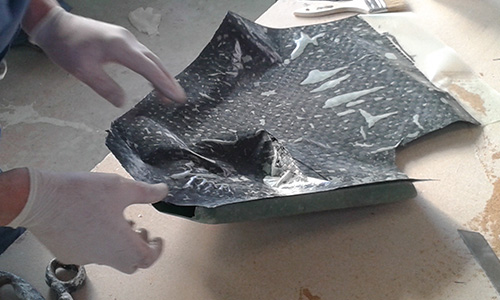
A brush is used to push the carbon sheet into the details of the mold.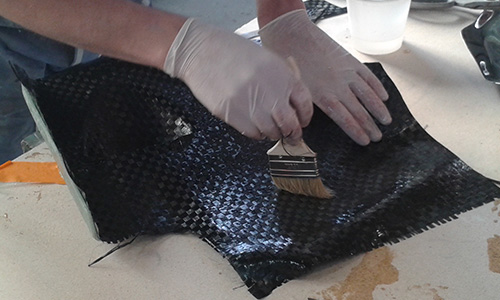
Finer weave is used for the next layer, it is prepared the same way as the first.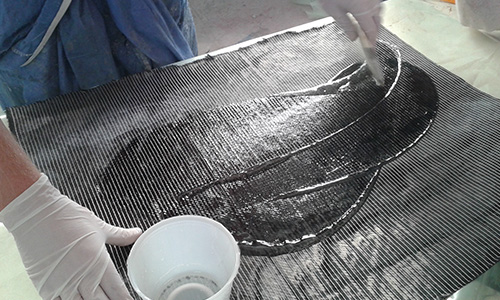
And cut to form pattern pieces on the mold, increasing its strength.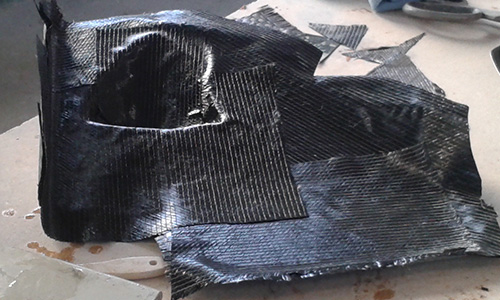
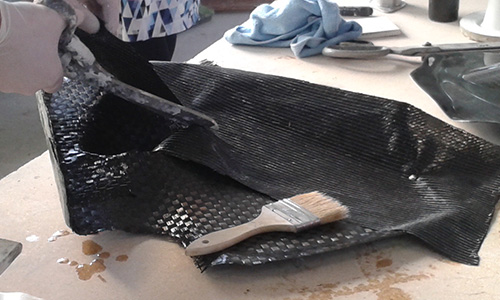
More course weave carbon is used for the backing.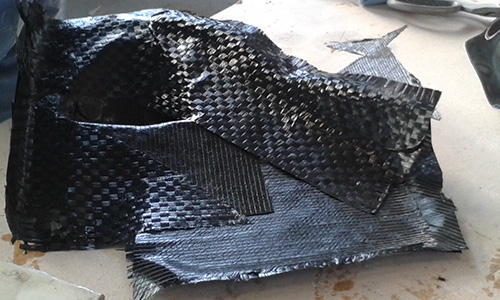
The whole assembly is covered with a plastic sheet to prevent it sticking to the next layer.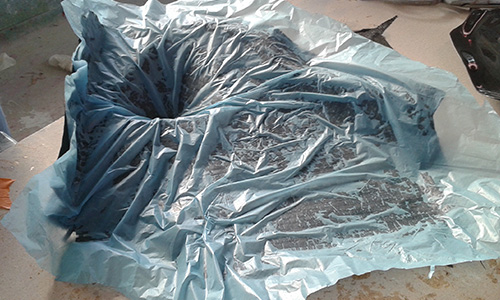
An off cut of fiberglass is used to smooth over sharp edges of the mold, ensuring that it can’t repute the vacuum bag.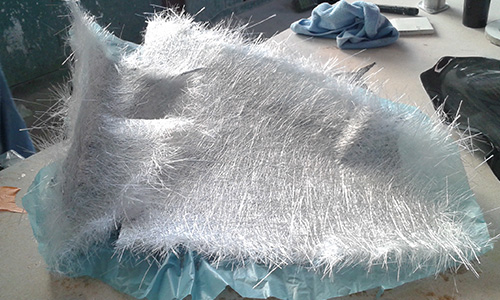
The mold is then encased in a plastic vacuum envelope.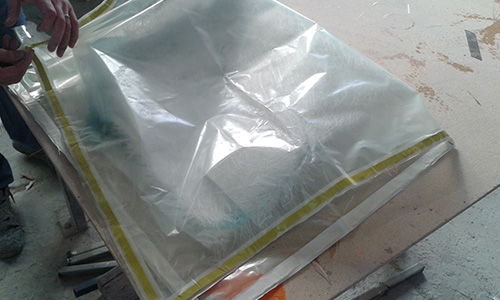
The air is partially sucked out while the bag is worked into all of the corners and detail spots in the mold.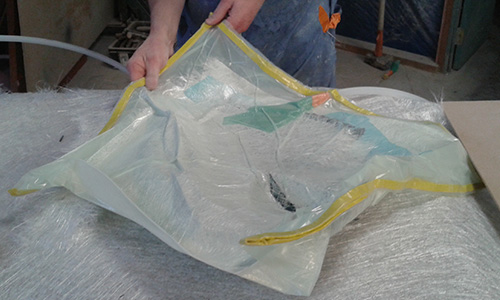
Finally the vacuum is applied and will remain on until the part is cured.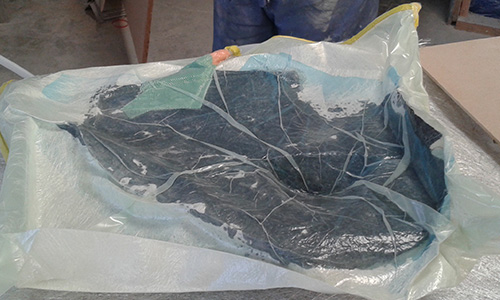
The finished object will have small part lines where the fiber sheets meet.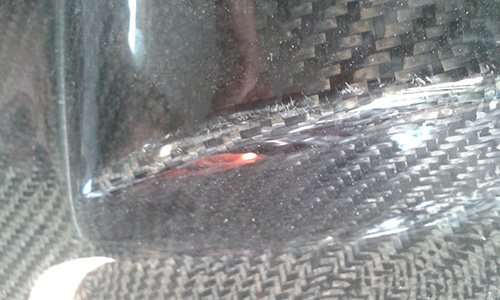
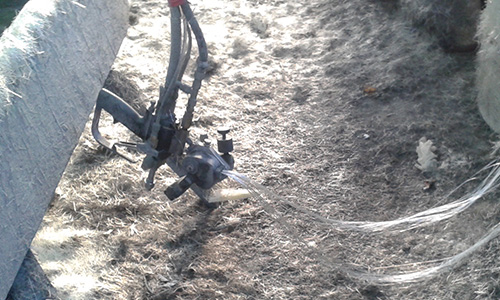
The guys also had a fiberglass chop gun that is used for making bigger objects and molds. It uses a compressed air line to pull fibers from a drum, cut them up and launch them out the front of the gun. While at the same drawing and mixing resin, which is sprayed into the path of the chopped fiberglass. Very cool, but very very messy.